
|
Scroll down to see some new amazing quilts from Tech Know Quilter members as they share some of their favorite quilts completed in January.
From Electric Quilt to Cricut Design Space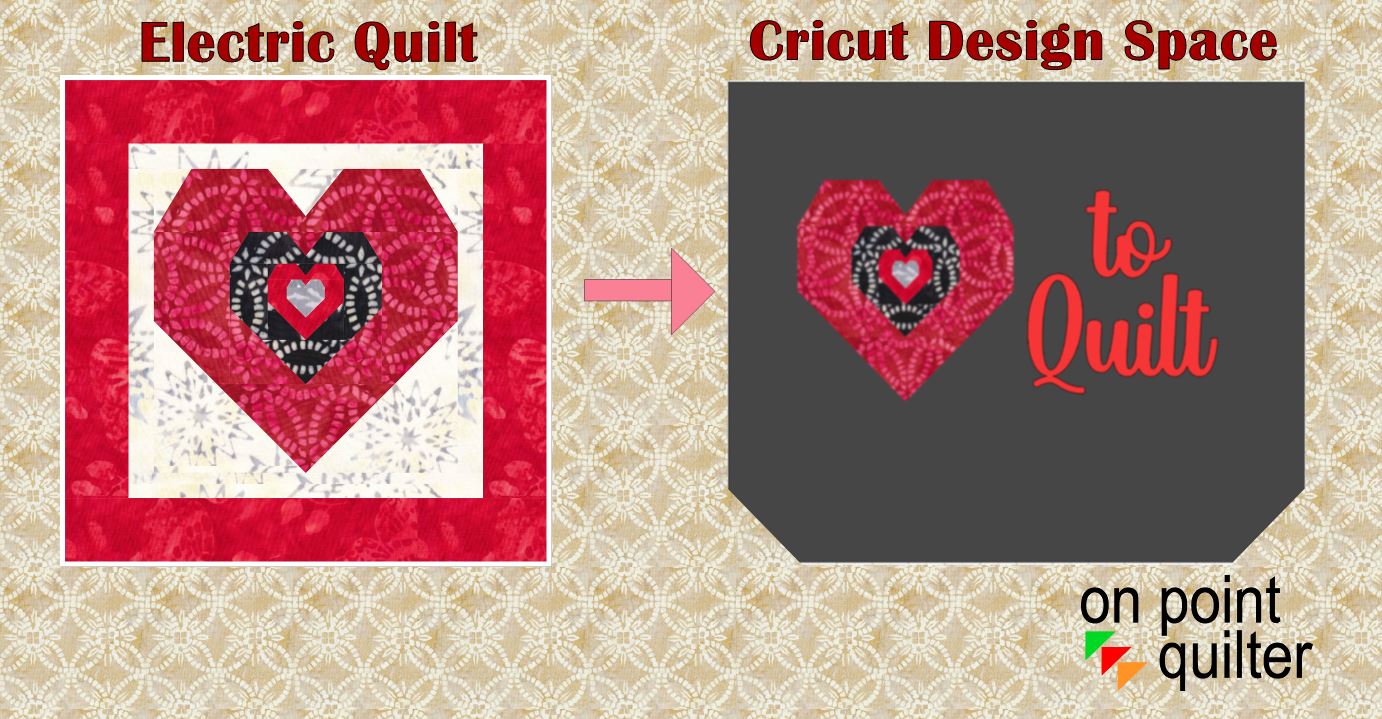
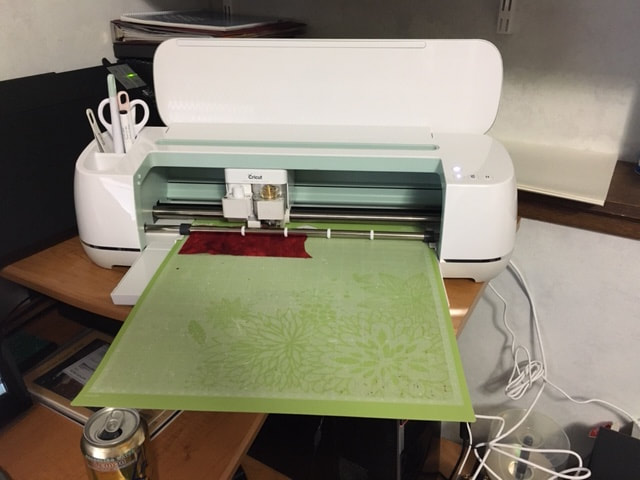
I recently purchased a Cricut Maker and have been having fun learning how to use it. This week I watched a tutorial on using Print and Cut. With Print and Cut you can print an image on your home printer and then cut it out using a Cricut machine. The light bulb went on and I thought -- this is how we could feature those complex EQ8 designs that we will never get around to piecing.
Please tell me I am not the only one with a treasure trove of EQ projects that will never become a quilt or a wall hanging.
In this tutorial, I will share exactly how I modified and exported a design in EQ to make it cutting friendly. Then I will take you through setting up a project using Cricut Design Space along with the rest of the process to create the love to quilt design that would be suitable for putting on a canvas tote.
The font I used in the Love to Quilt design was Angelica Script Font. I obtained it from Creative Fabrica. This website offers a free font every day and this was one of the fonts they offered for free earlier this year. It is called a Modern Calligraphy Font.
If you are debating whether a Cricut is in your future, you can download a free copy of Design Space here and follow my process to create your own Love to Quilt design.
Tech Know Quilters Apply What They Learned in January
Tech Know Quilters is a membership of Electric Quilt 8 owners who are mastering Electric Quilt through online training. At the end of their January class, they were encouraged to apply what they learned during the month of January. We had a fair number of completed projects this month -- showing how they have moved from design to construction.
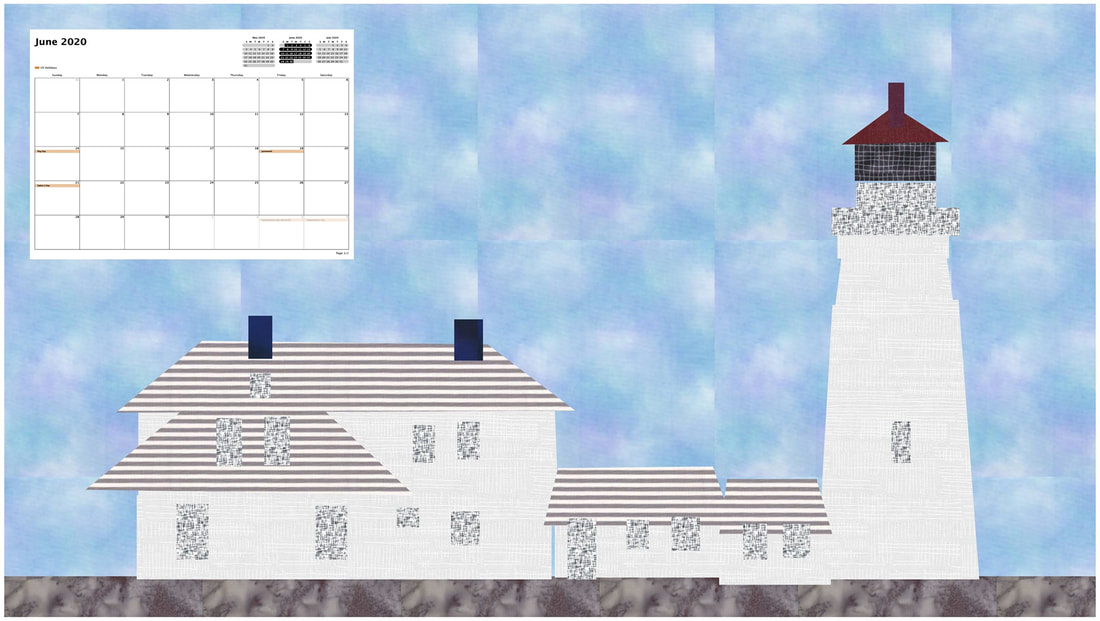
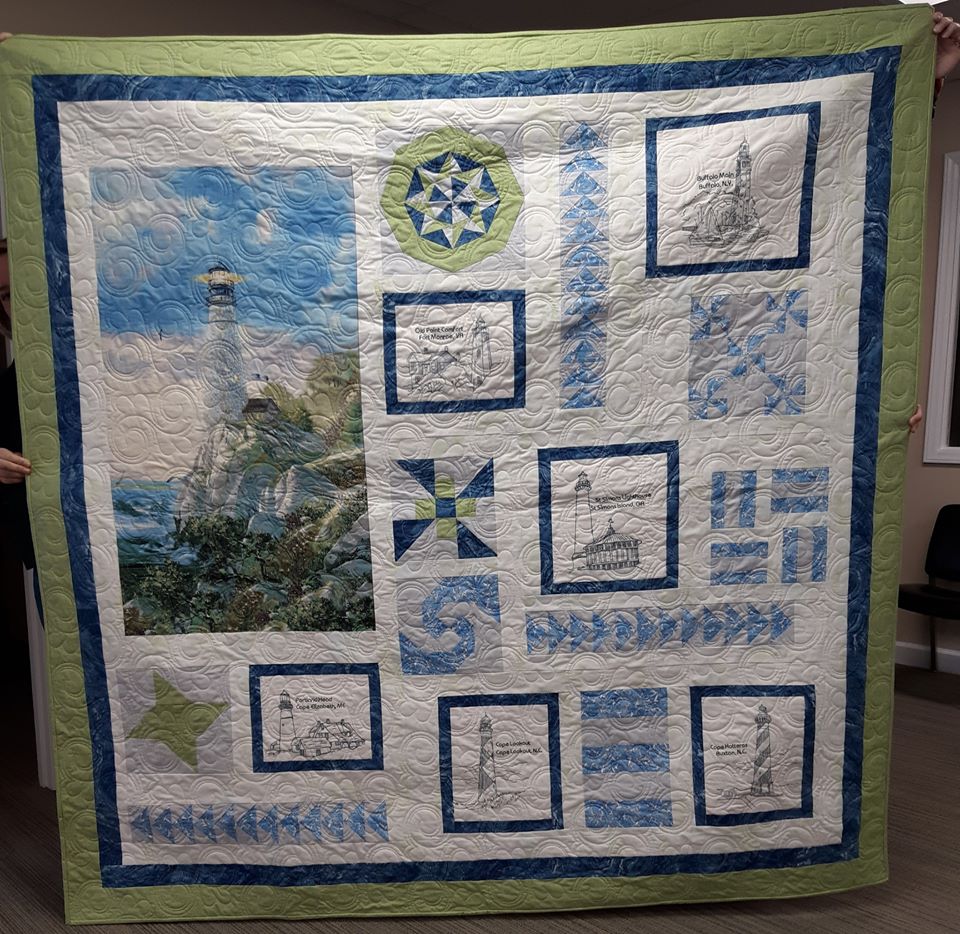
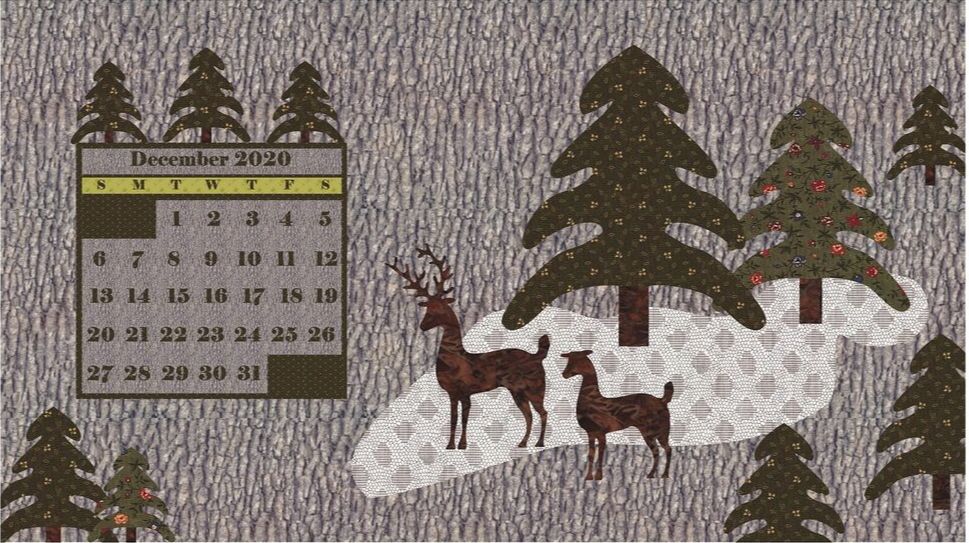
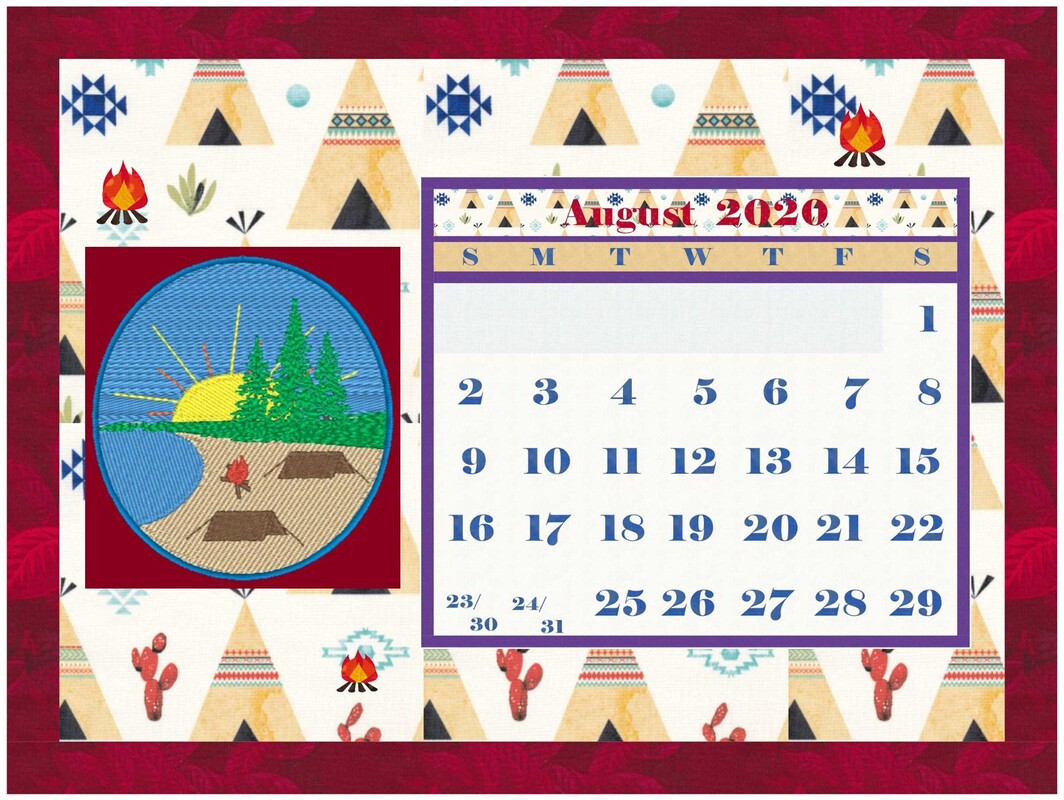
Kathleen McCorkmick I was taking the calendar class. I have decided to print a copy of my current calendar on display for my computer. (print as pdf, then convert to jpg to bring into EQ) I like having my real calendar up in the background! This is one I made for the challenge, of Portland Head, ME.
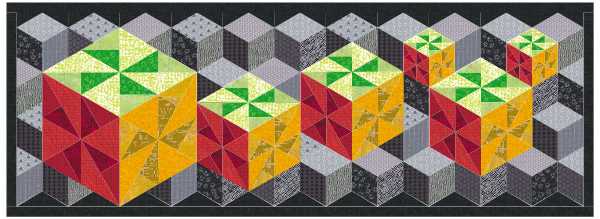
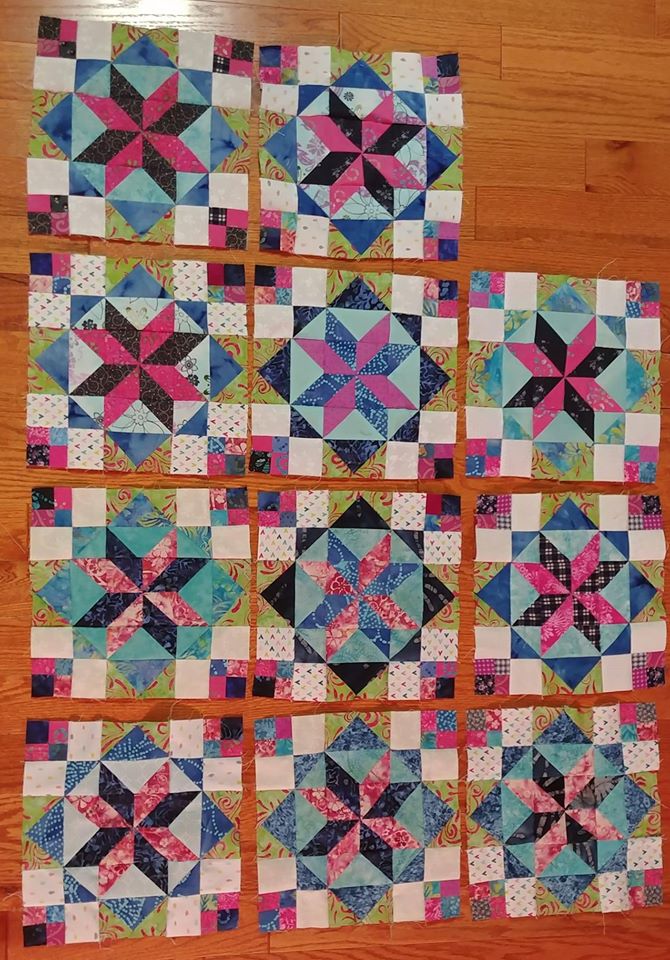
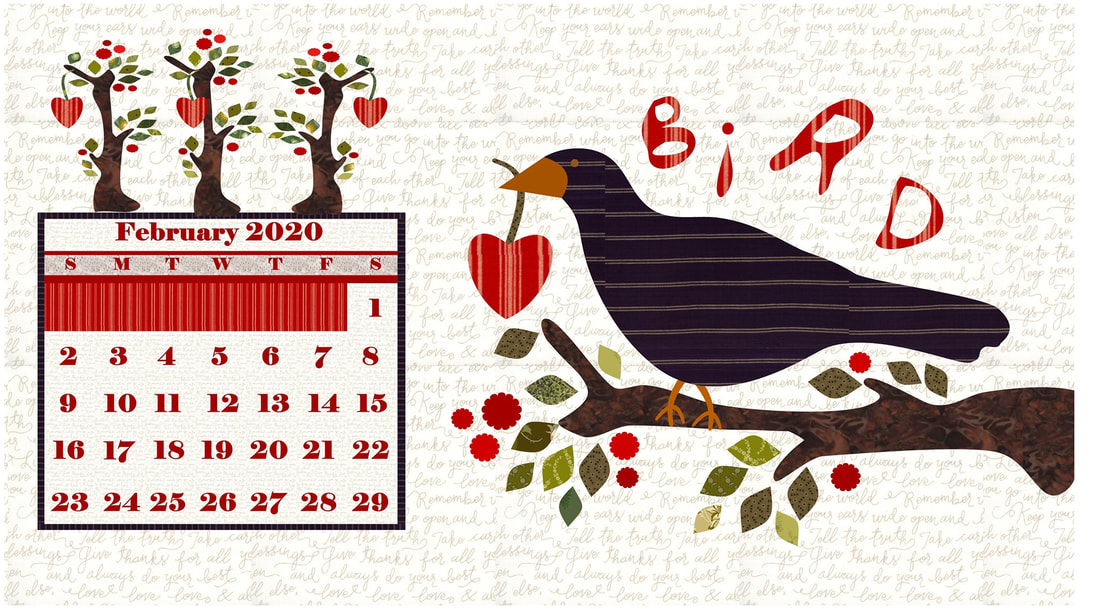
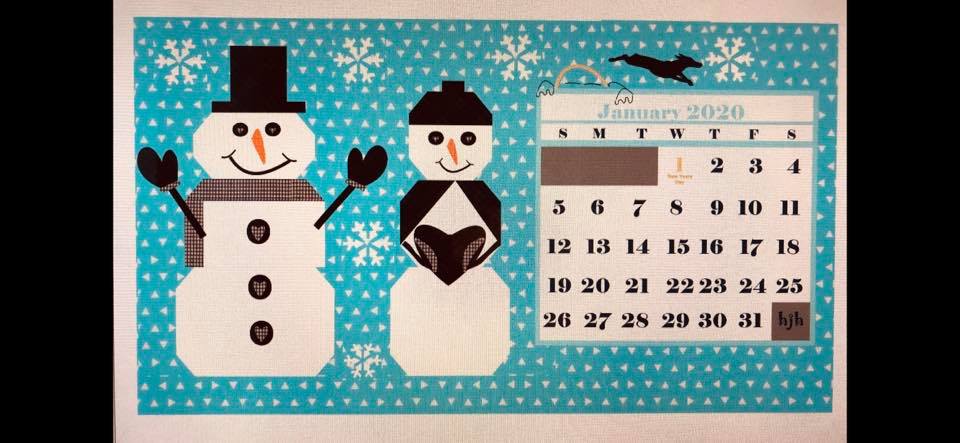
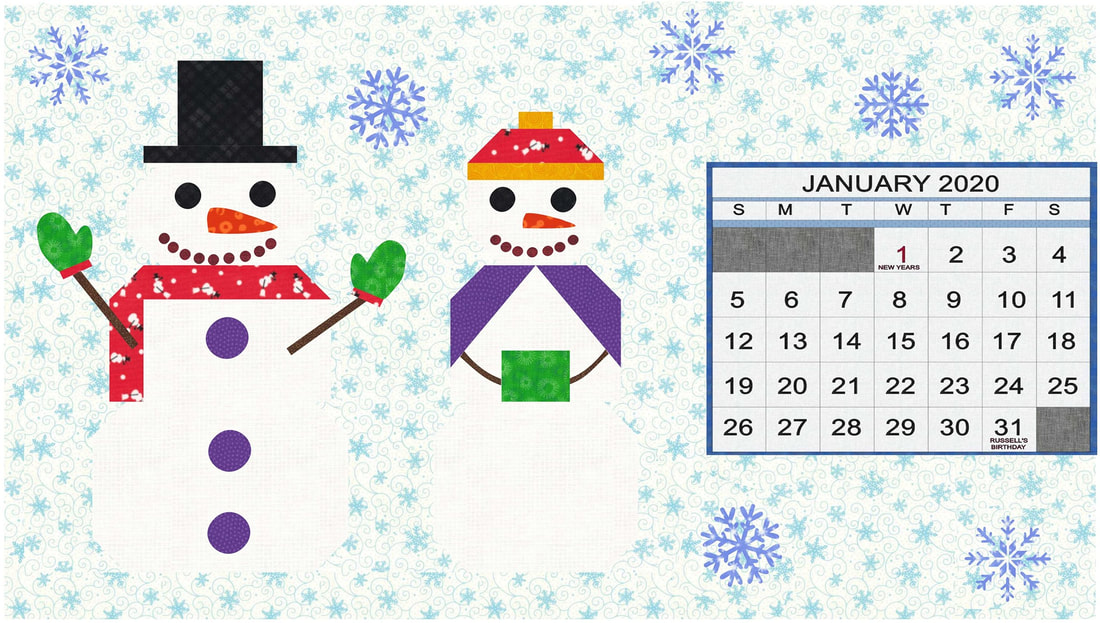
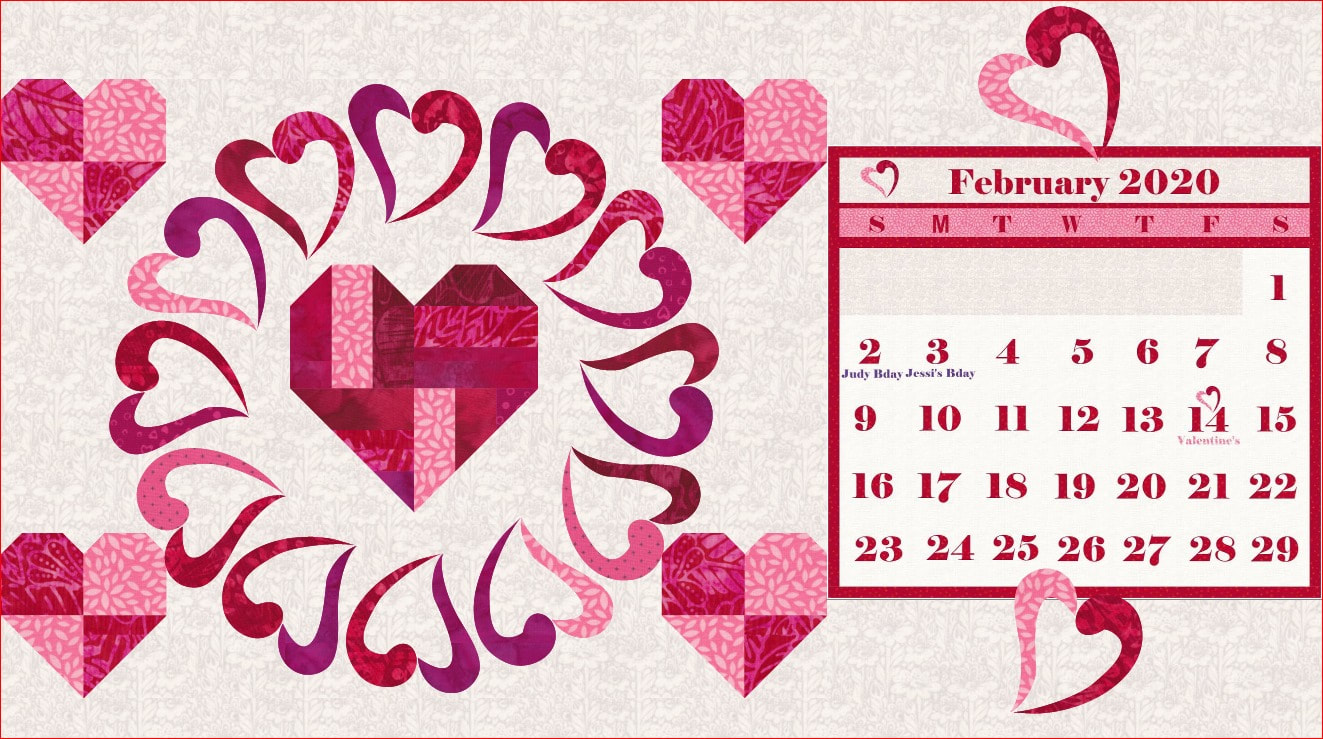
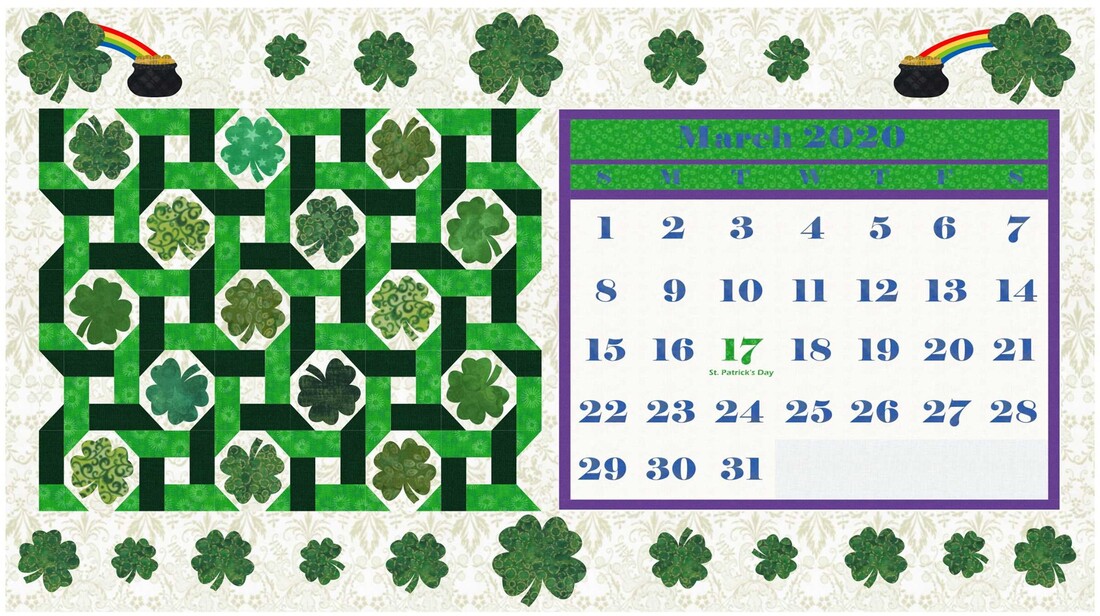
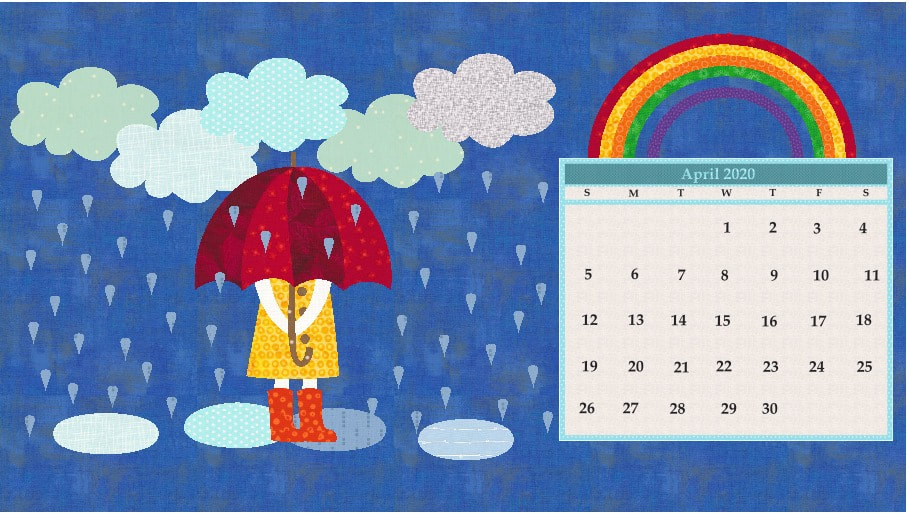
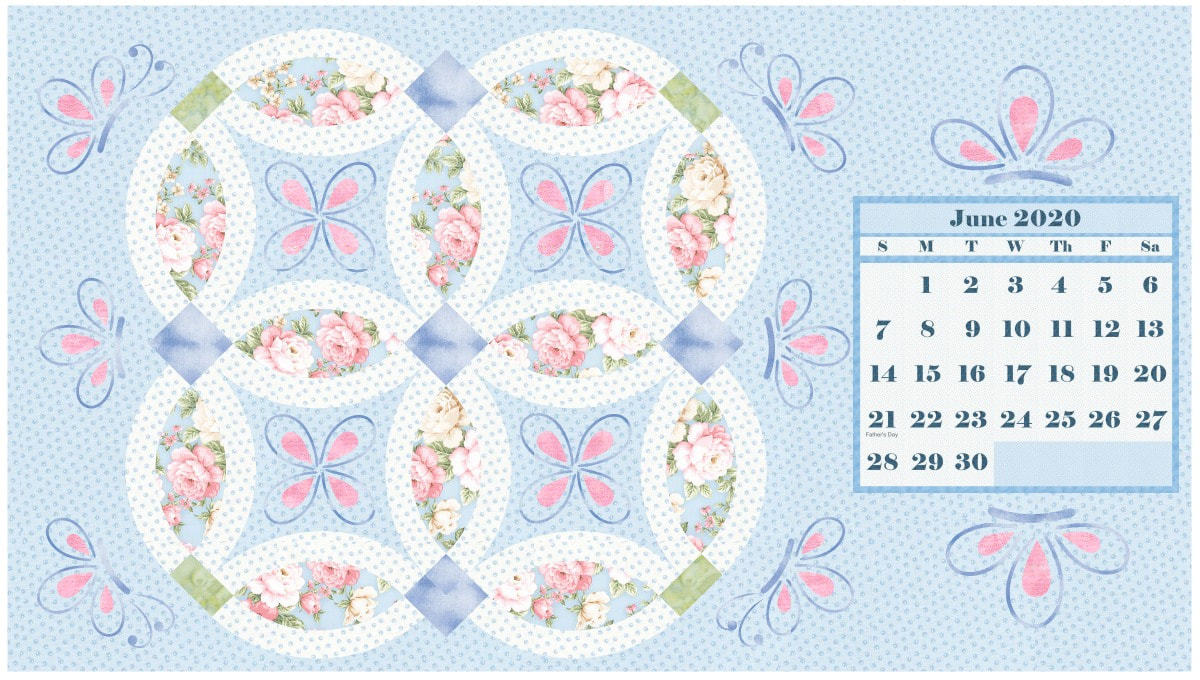
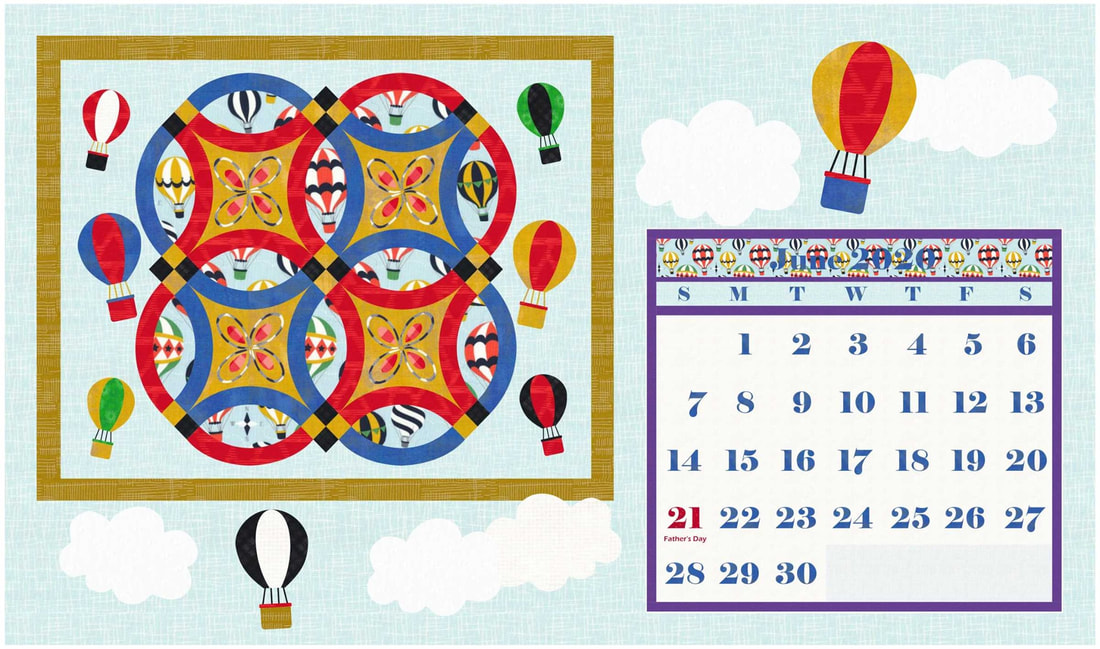
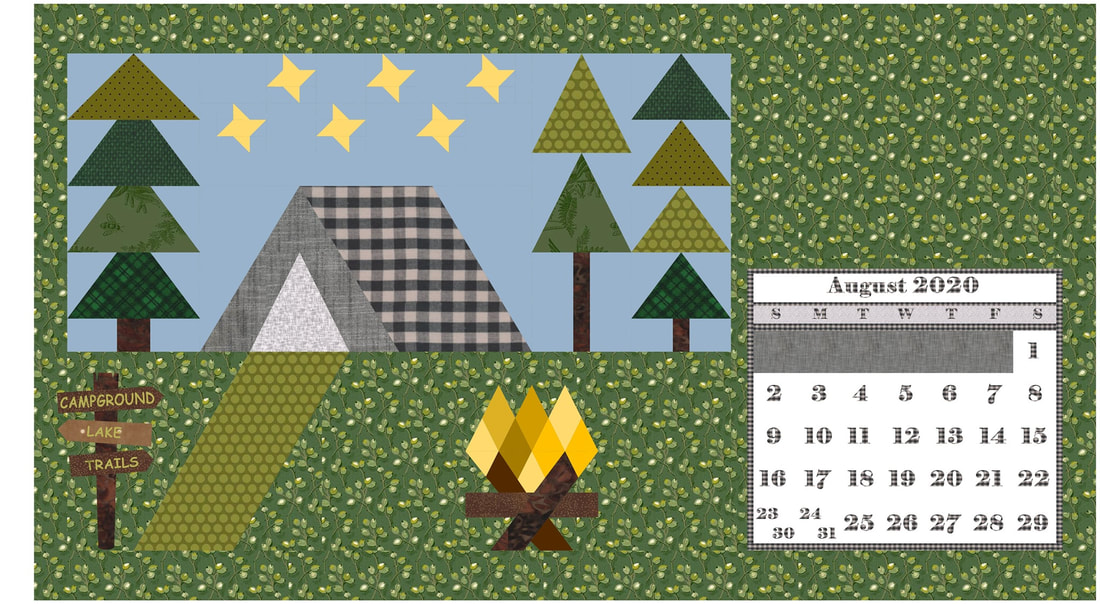
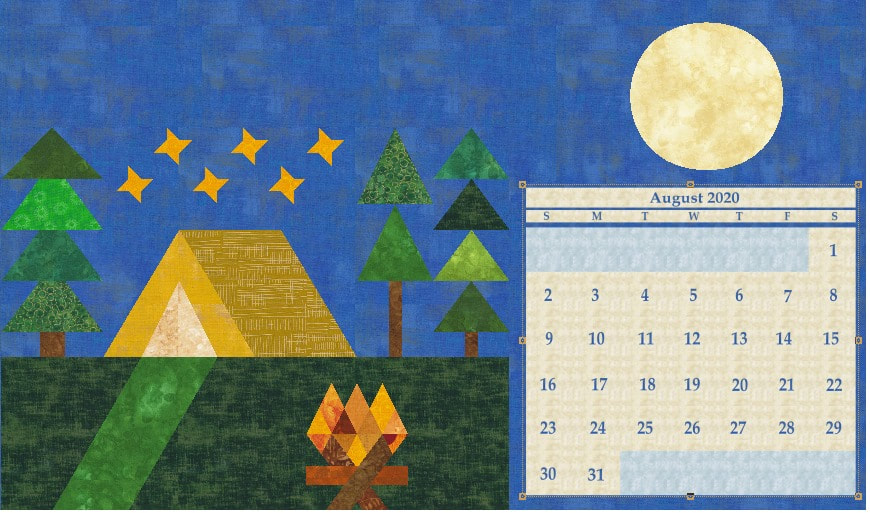
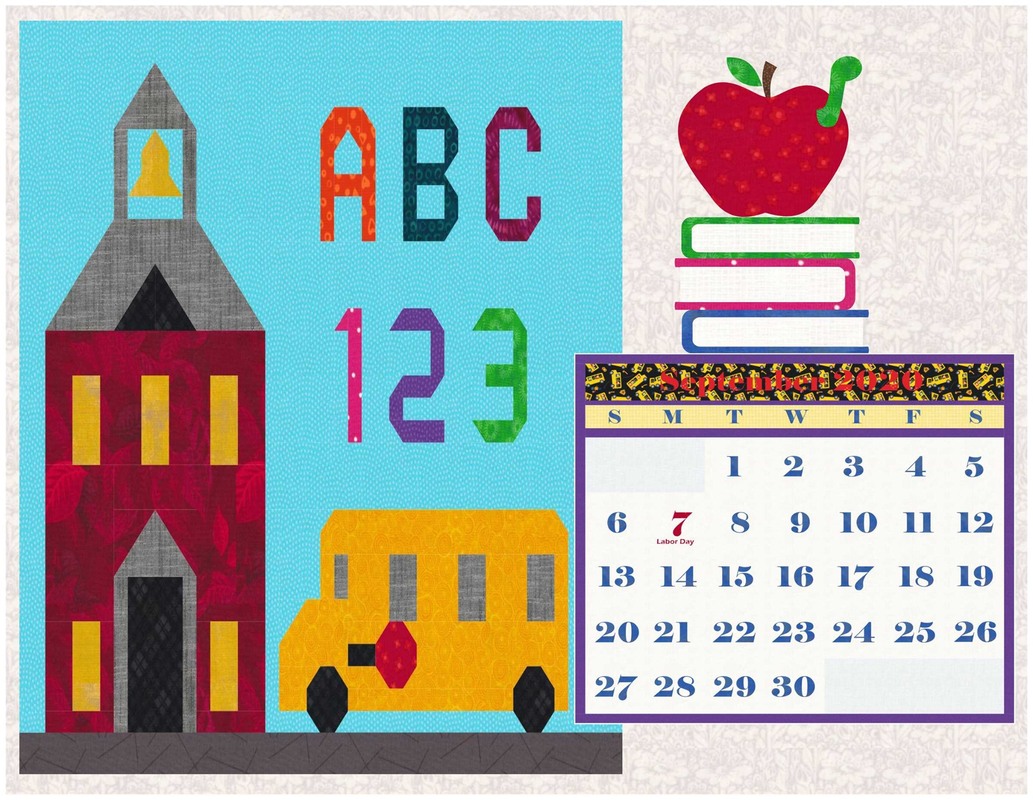
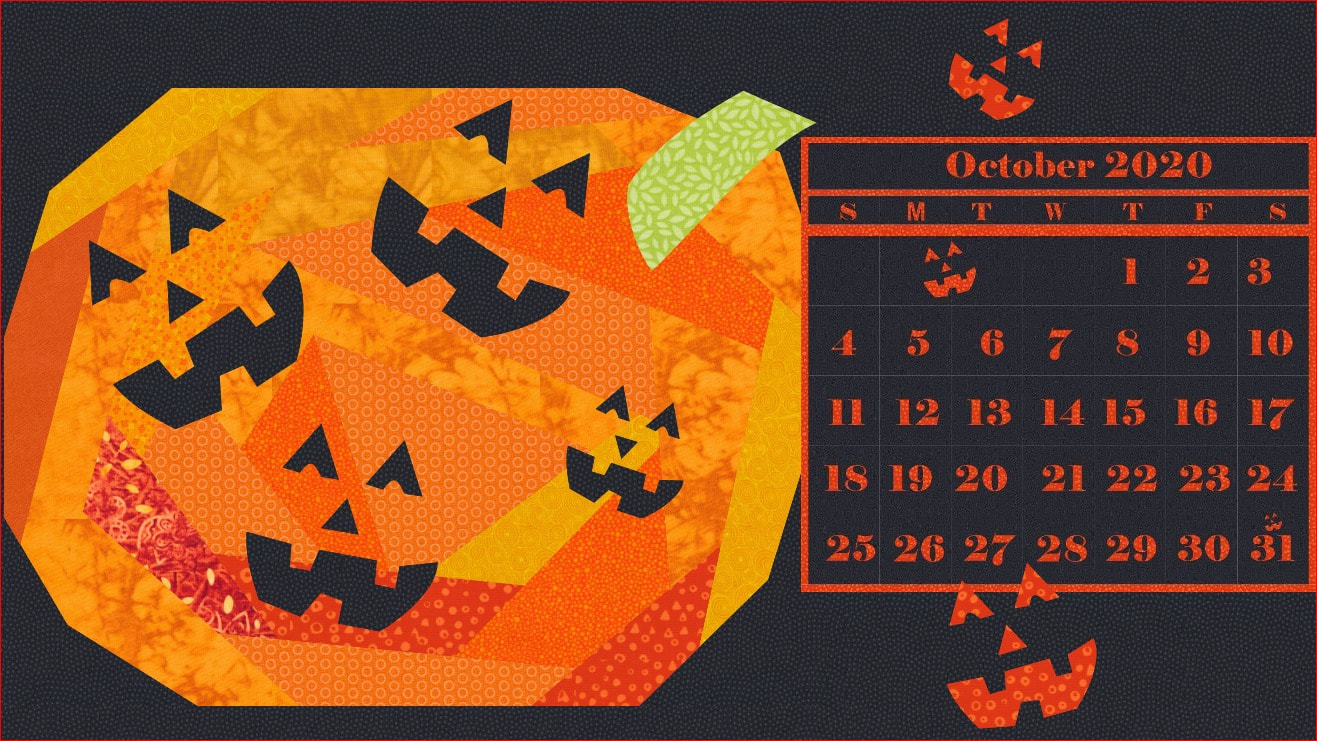
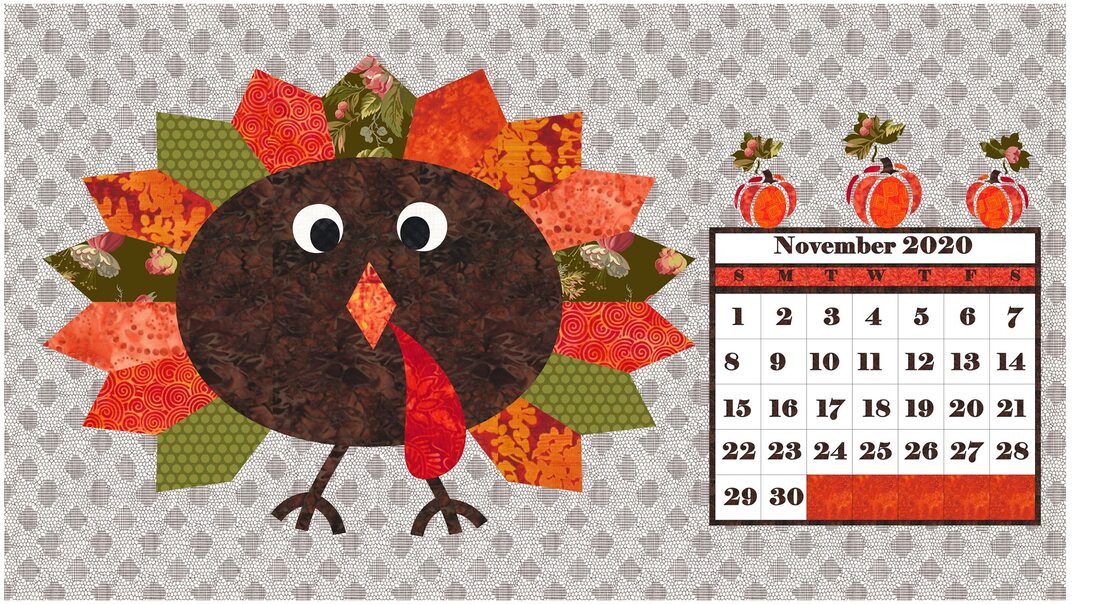
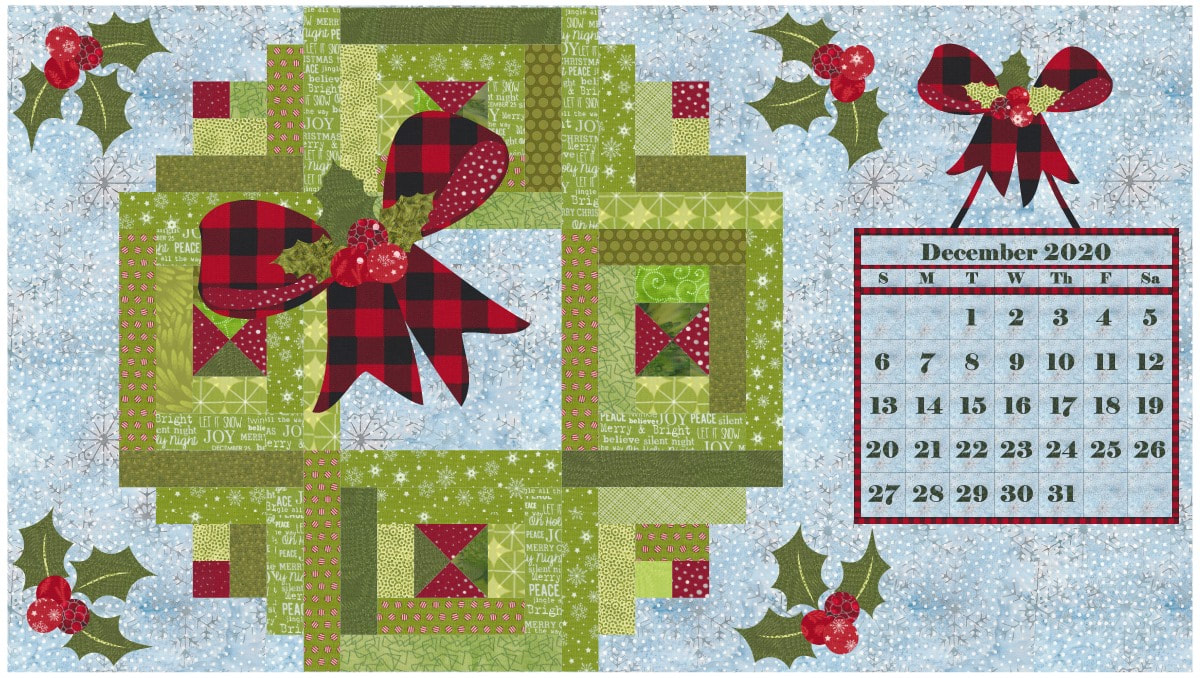
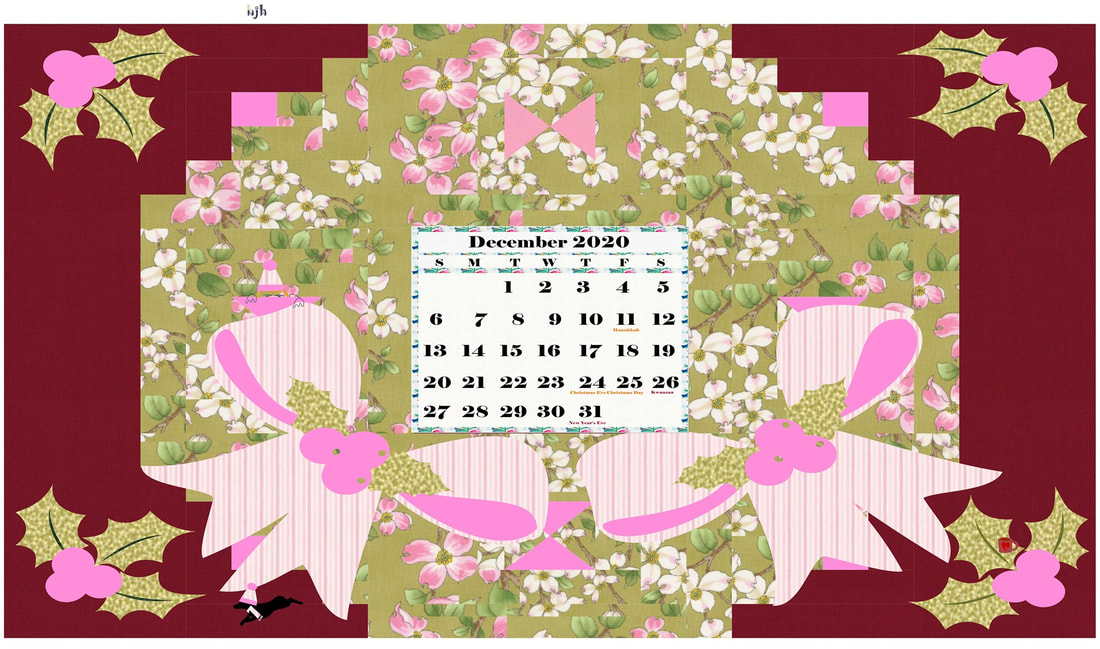
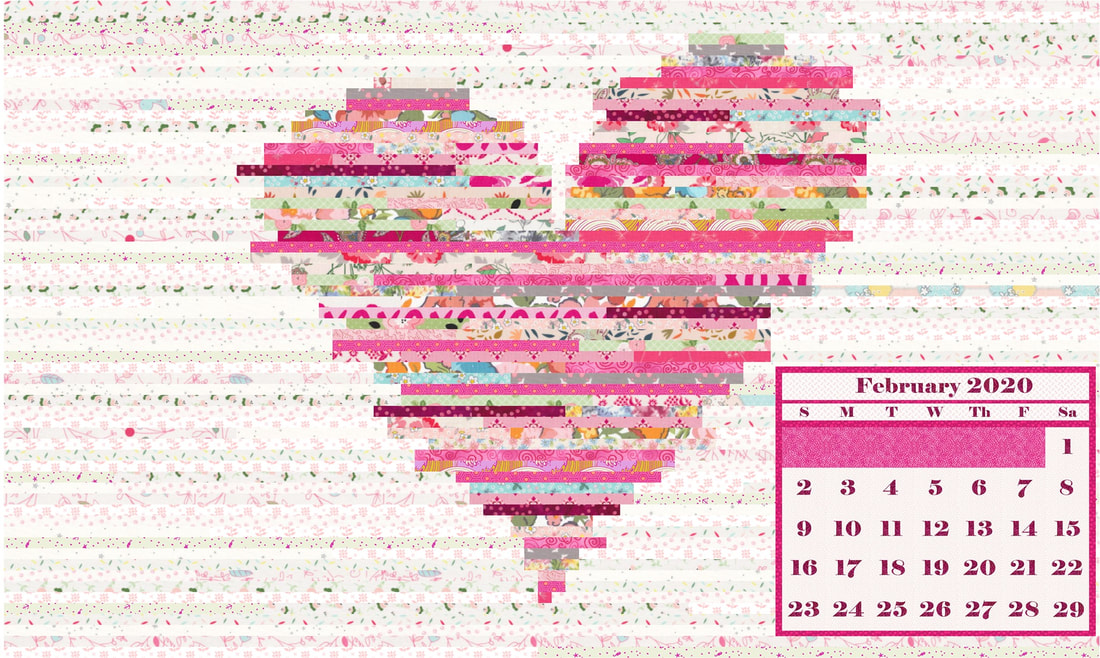
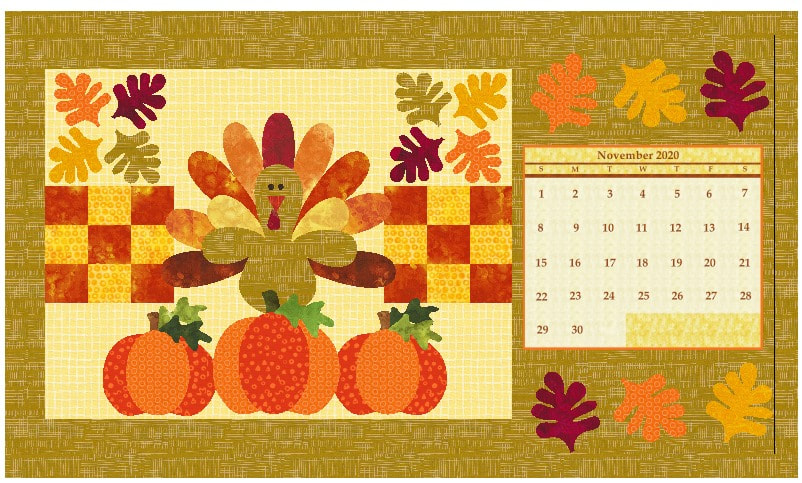
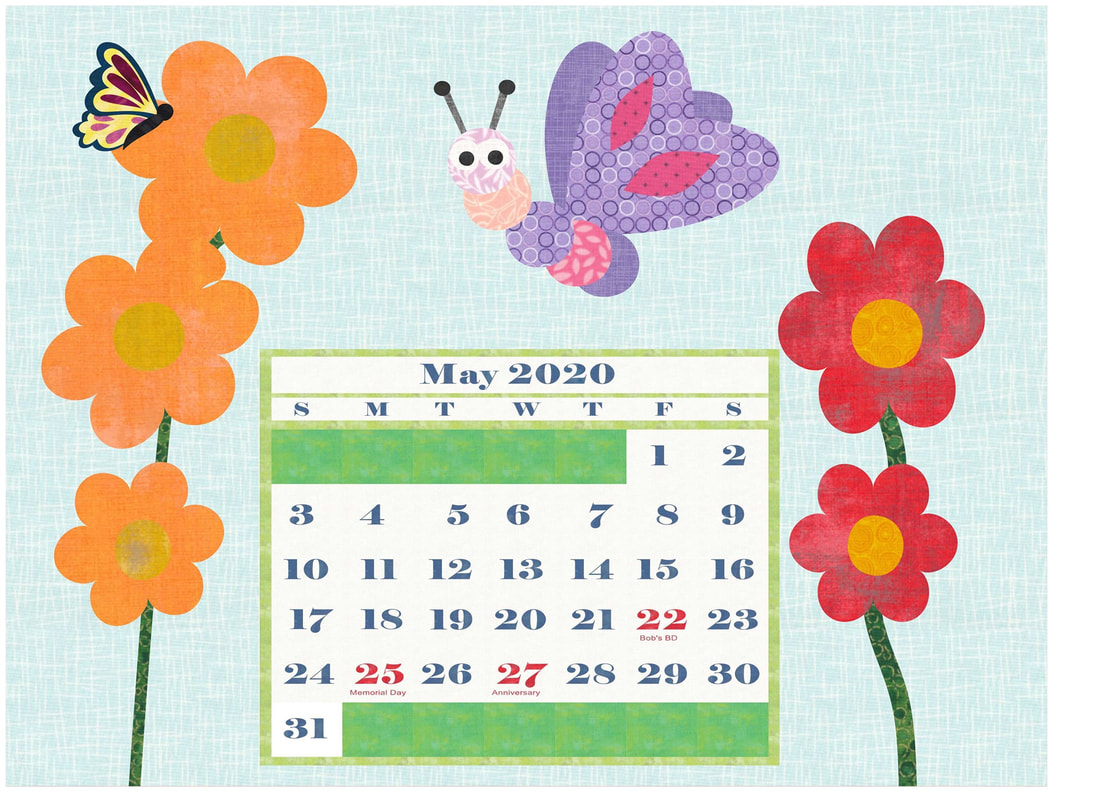
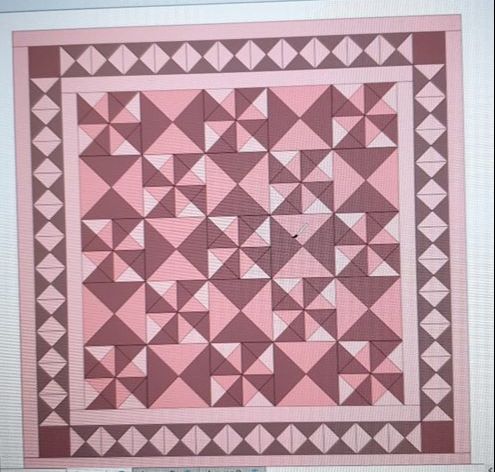
Calendar Quilts
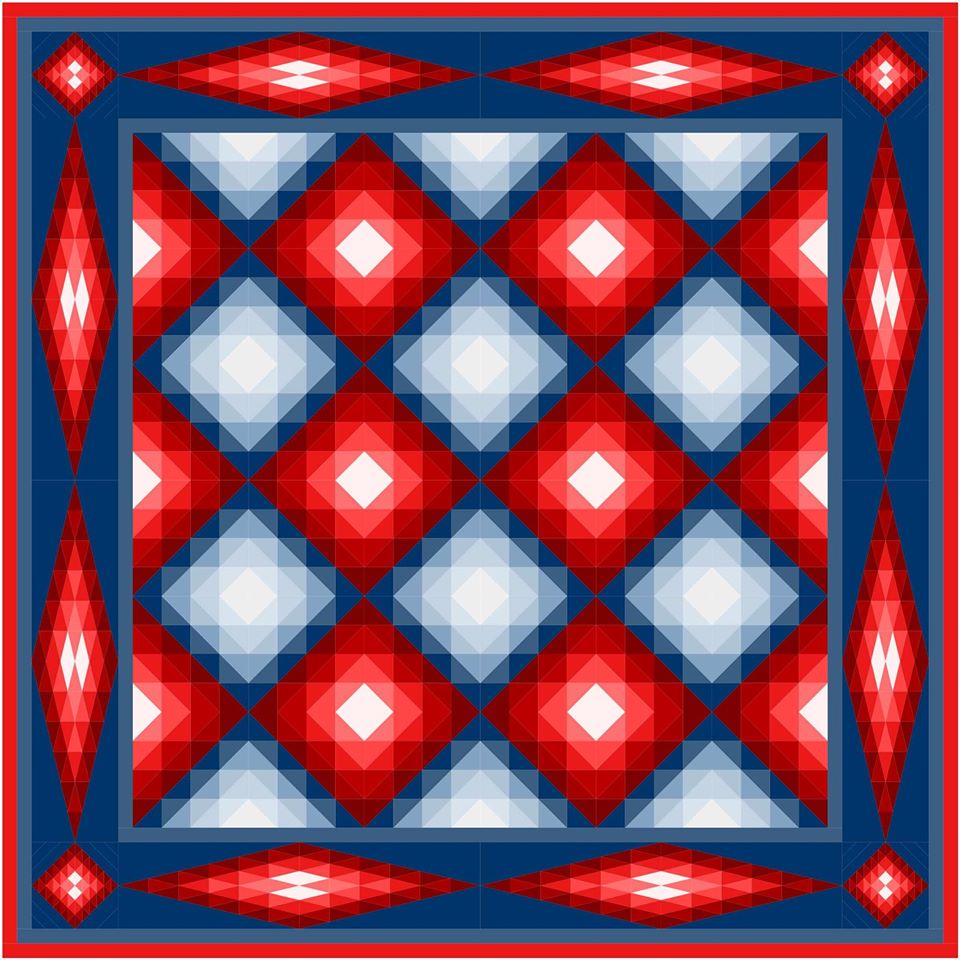
During January, I introduced a new class in which we drafted 12 different calendar quilts. Here are some of the blocks and quilts from the class.
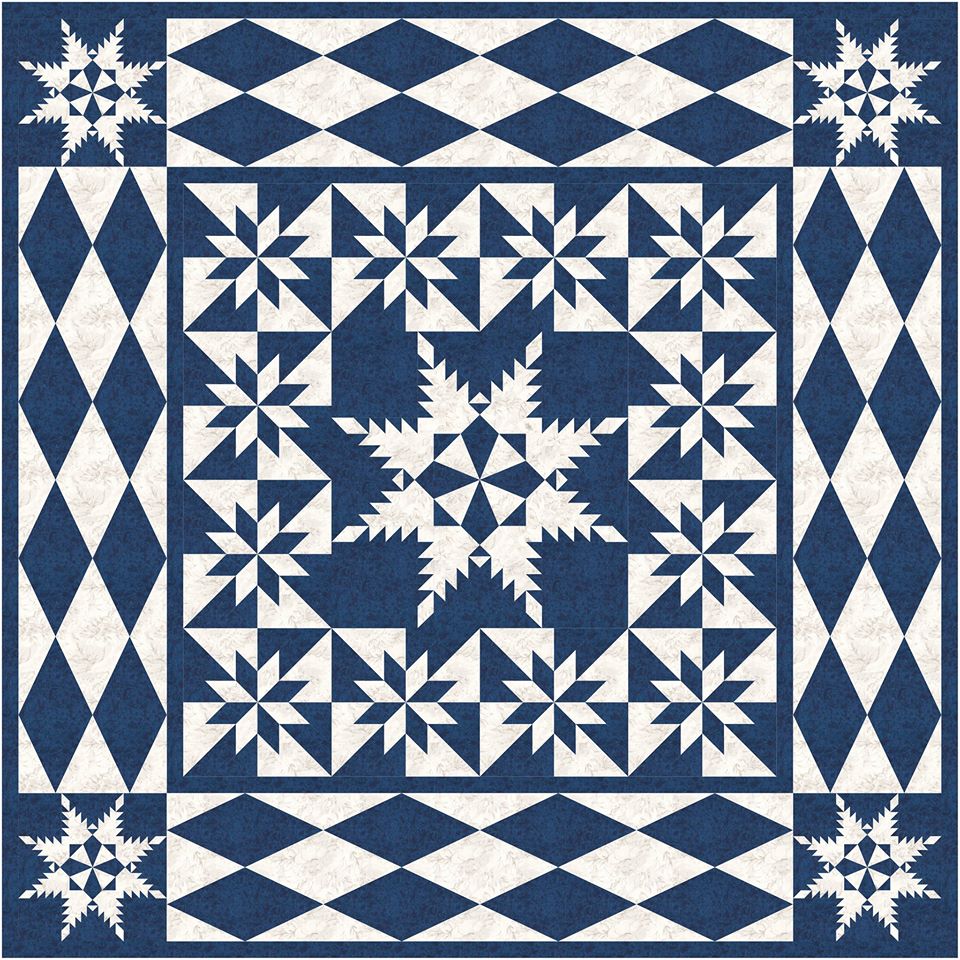
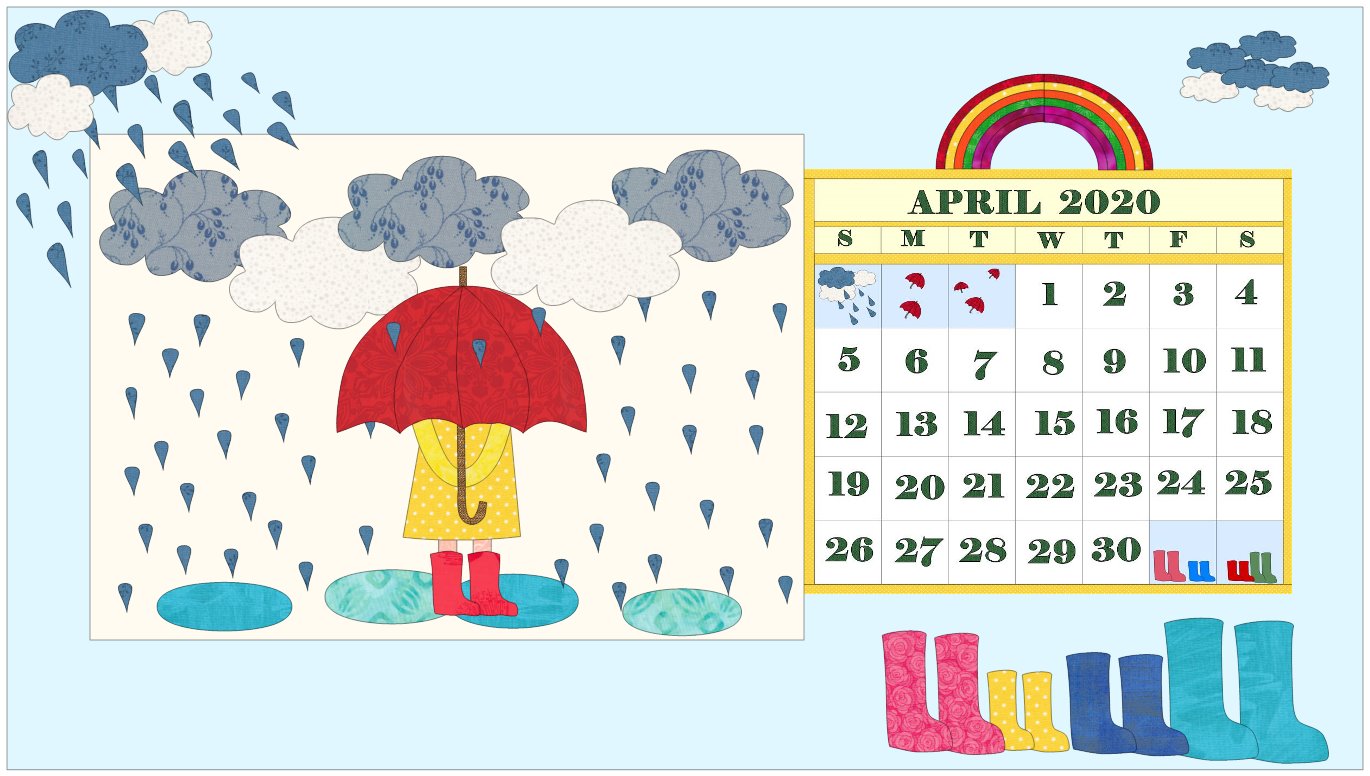
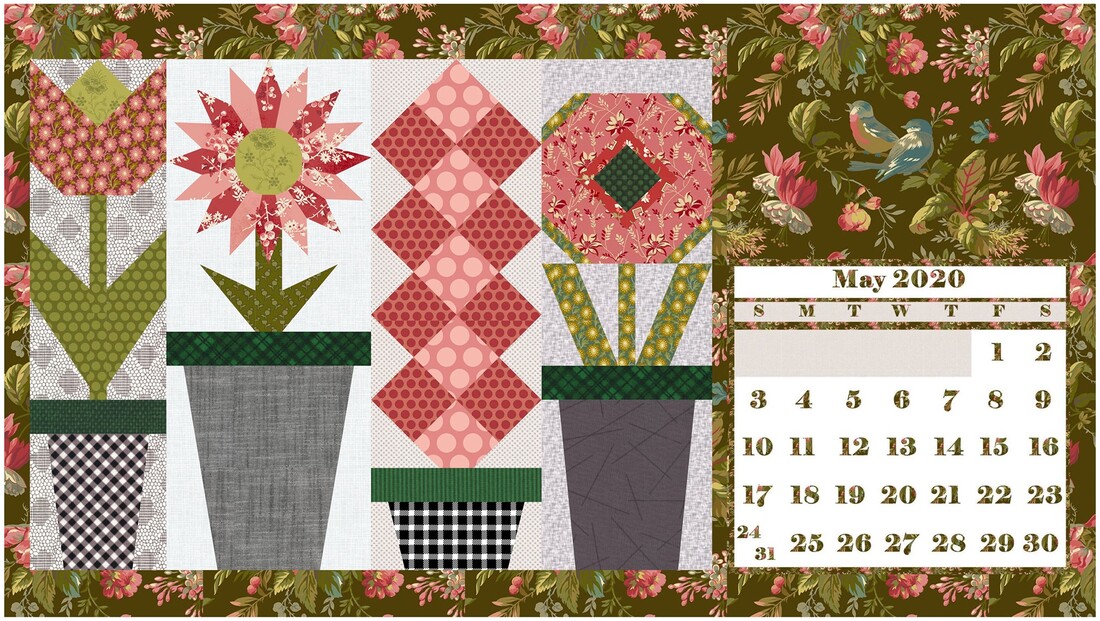
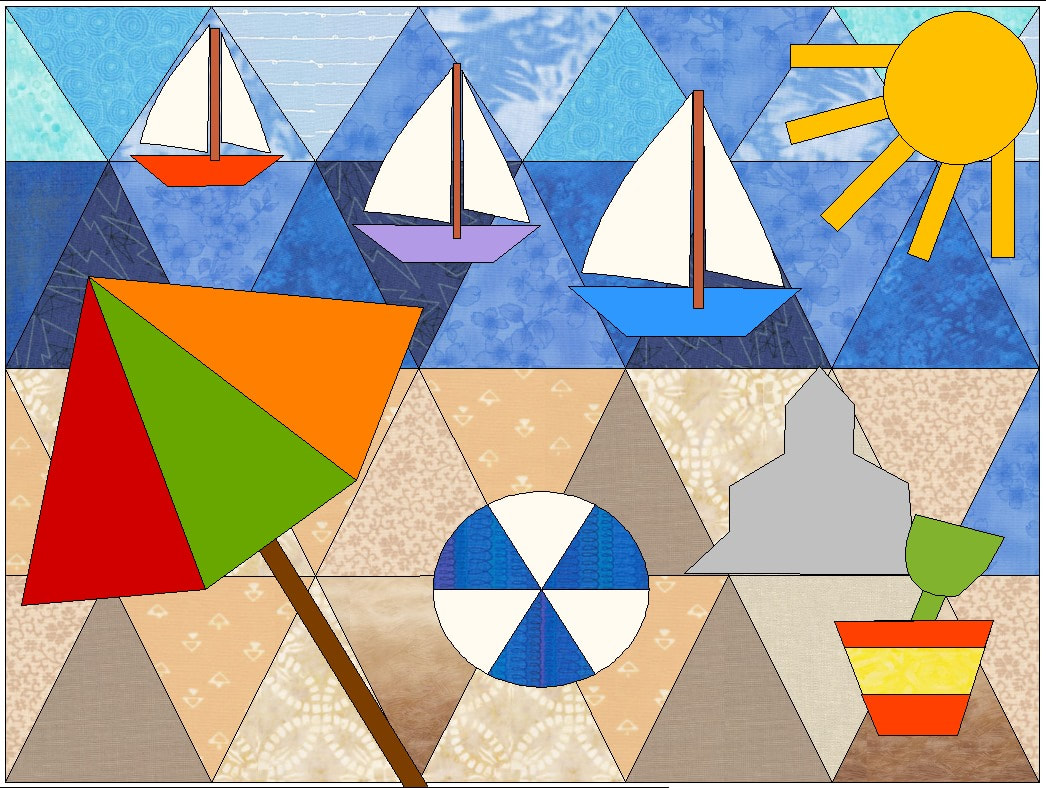
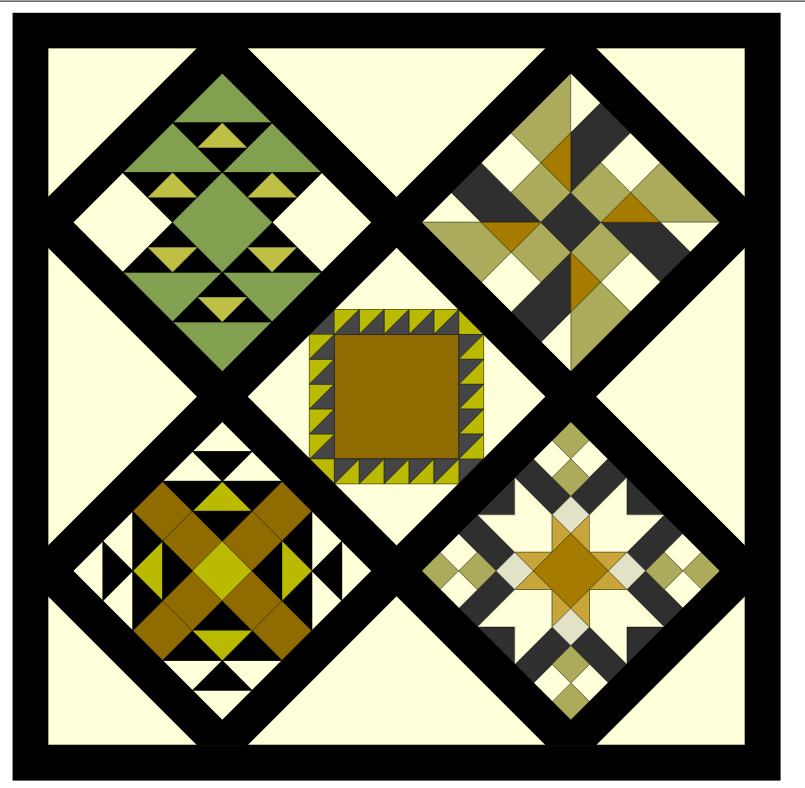
Calendar Quilts Master Challenge
Tech Know Quilter's Masters members have been in Tech Know Quilters for at least 12 months. They are committed to expanding their use of EQ through design. Their challenge for January was to create their own calendar block or quilt.
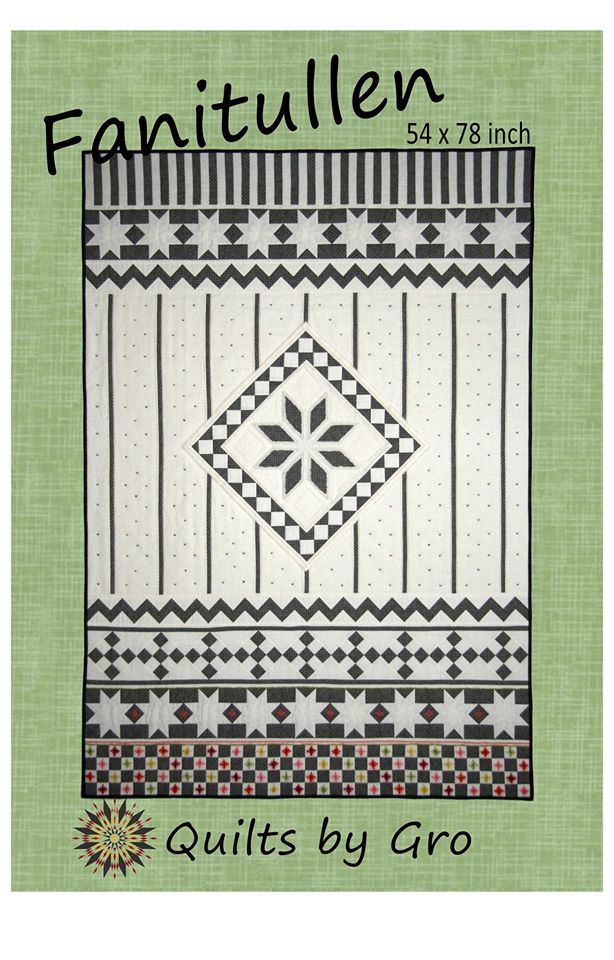
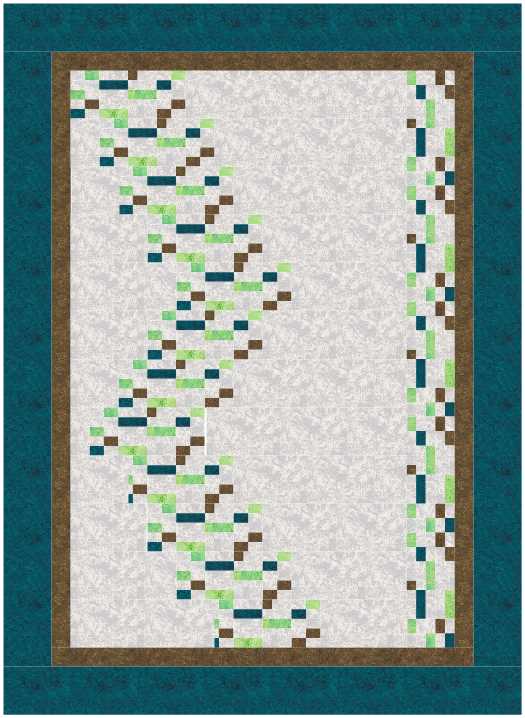
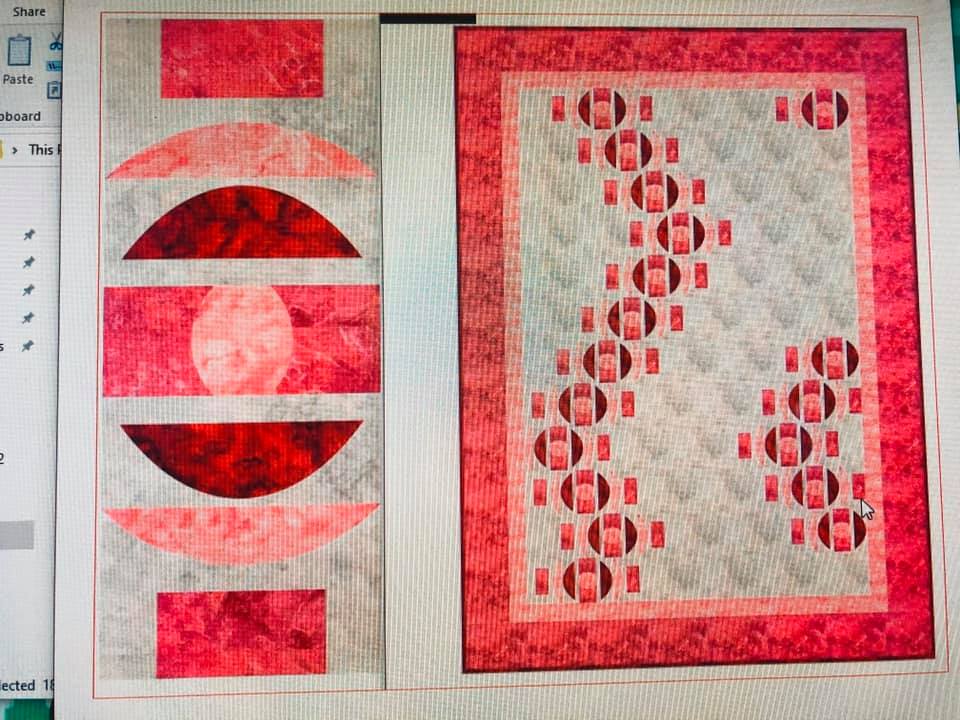
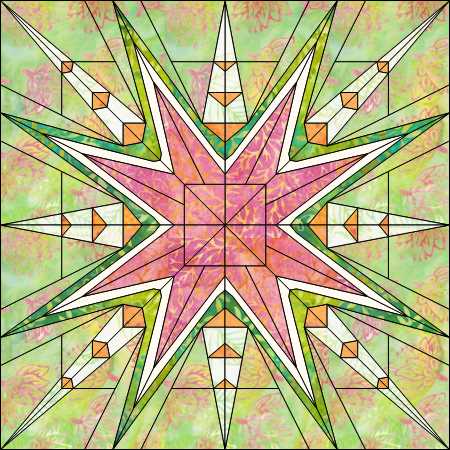
Some Other Fun Designs
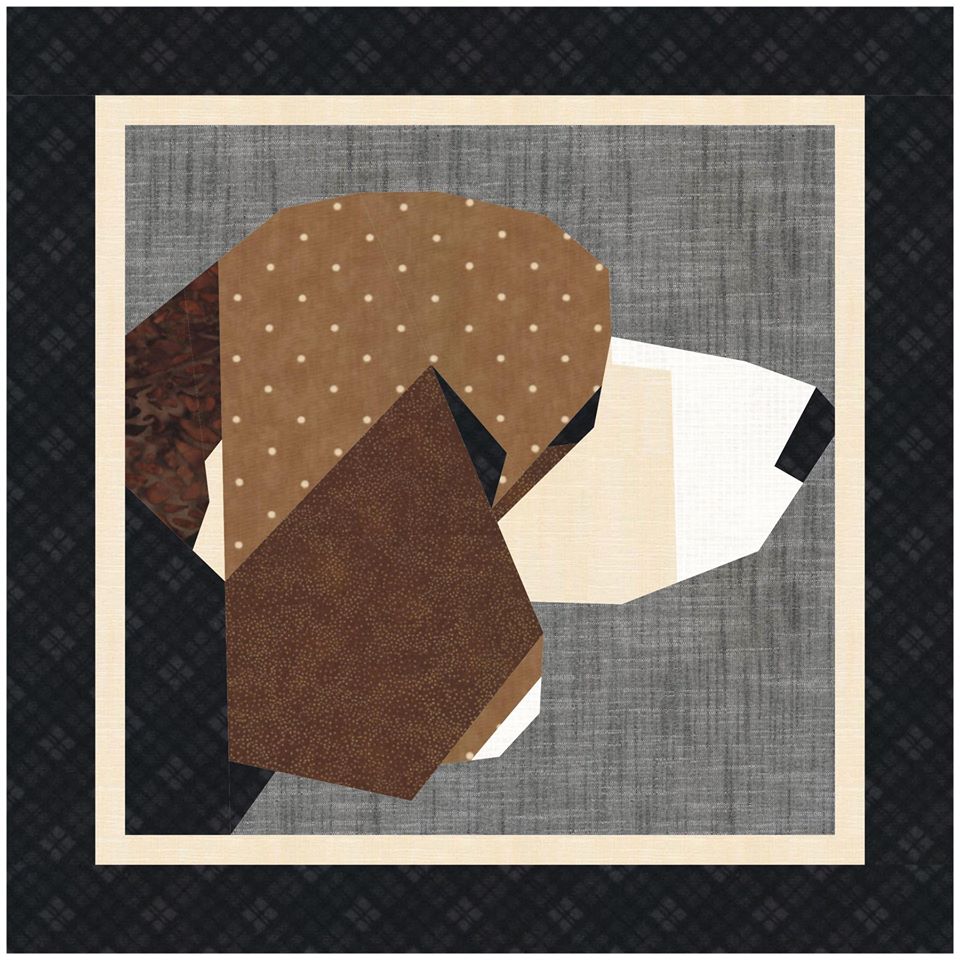
Tech Know Quilters will also post designs as they work through their monthly lessons. Some will follow the design exactly as laid out. Others will choose to exercise their creativity muscle and expand upon the lesson.
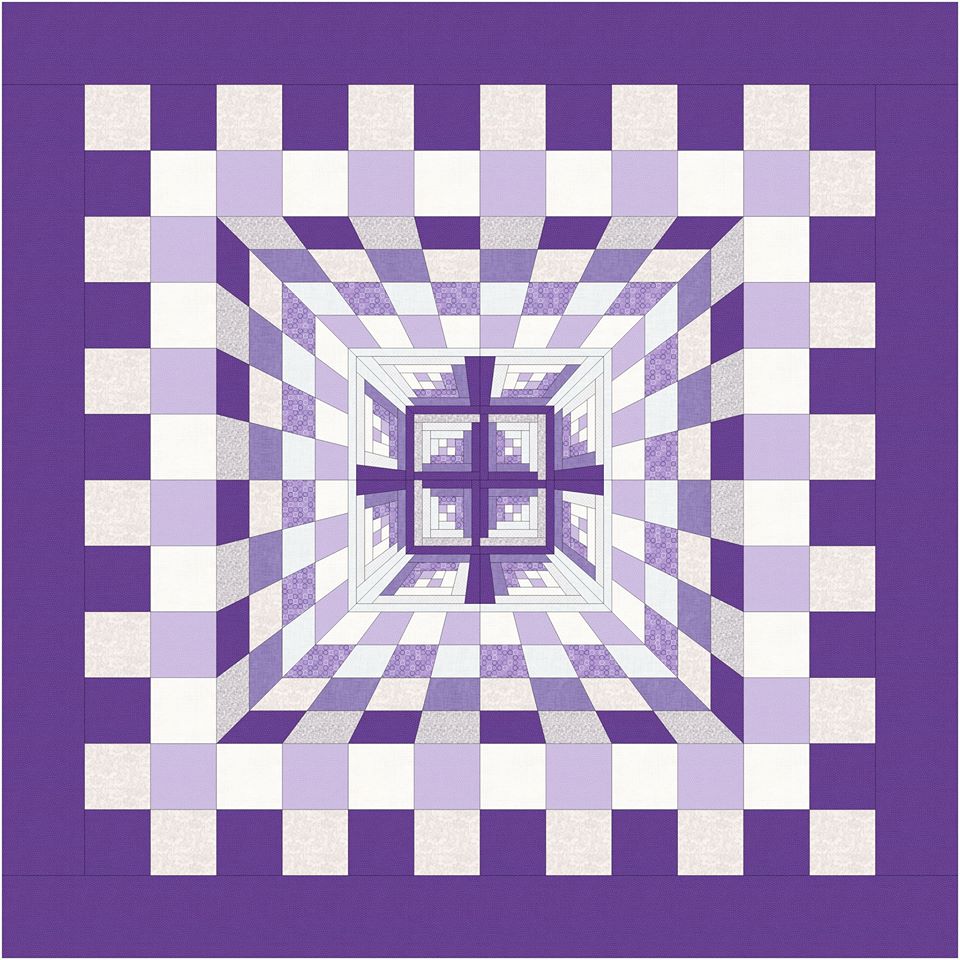
Barbara O'Brien
My current plans are to open enrollment to new members at the end of March. Invitations to join will be sent out to those on the wait list. Learn more about Tech Know Quilters and sign up for the wait list here,
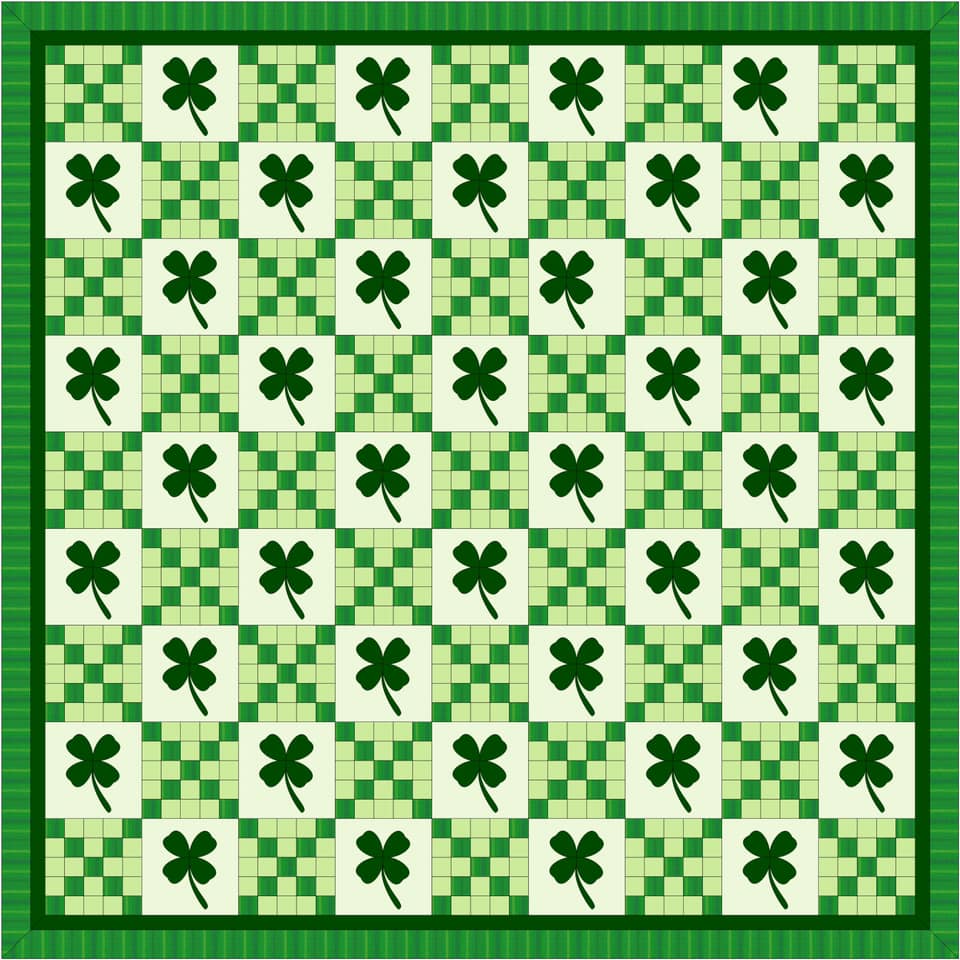
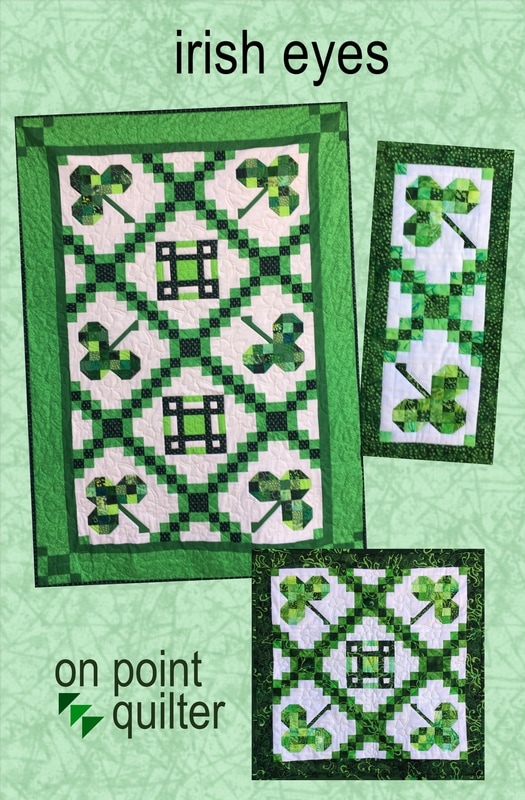
Irish Eyes Sale
Penguin Mug Rug
Last week I shared about cutting my applique patches using a Cricut Maker. This week I decided I needed a new Mug Rug and decided that with the ease of cutting out designs with the Cricut Maker, I would create a mug rug that featured some seasonal applique.
The penguin in my mug rug came from the EQ library -- so this was a fun and easy project for Electric Quilt 8. Transferring Designs from Electric Quilt to an Electronic Cutting System
Problems: After writing the tutorial last week on transferring designs from EQ to my Cricut Maker, I ran into a couple of issues. I found out that designs resize when moving from Inkscape to Cricut Design Space. (They also resize when bringing them into Silhouette Studio as well.) I also discovered that when I imported designs into Cricut Design Space, the patches did not always show up on the import.
I've signed up for a class/membership on using both Cricut Design Space and creating SVGs in Inkscape from Erica Martin. I had watched a number of her free tutorials in December and knew Erica would be super helpful in finally moving my Inkscape skills beyond basic hacker -- and to be be able to confidently use Cricut Design Space. She very graciously responded to questions on my problems and assisted me in identifying the best way to address them. I would highly recommend her membership if you are interested in mastering Inkscape and Cricut Design Space. Here website is svgandme.com if you would like to check out her tutorials and membership.
In my bonus tutorial, I will walk you through my updated process for transferring designs from Electric Quilt to Inkscape to Cricut Design Space. This will also work if you are using Silhouette Studio or Brother Canvas Workspace.
Free Penguin SVG File
Piecing the Penguin Mug Rug
Penguin Mug Rug by Kari Schell
Today was Day 1 of a quilt retreat. In addition to catching up with friends and lots of great stories and laughing, I managed to sew up the Penguin mug rug as shown here. The background squares are cut 1-1/2" x 1-1/2" and the "ice" is cut 9-1/2" x 1-1/2".
For the applique, I ironed SoftFuse on the back of my fabric. Removed the paper and with the fusible size down, placed on a Cricut Green Mat. I cut all the pieces using the rotary cutter blade on my Cricut Maker with the material setting Fused Fabric. After fusing the applique to the background, I used a blanket stitch on my machine to stitch down the pieces. For quilting, I did some stitch in the ditch around the applique shapes and cross-hatching through the grey background squares. The mug rug finished 9" x 6" (before binding).
Background: I owned a Silhouette Cameo (first edition) and had pretty mixed results with cutting fabric. I had some nice cuts but wouldn't have achieved that without some great advice from my blog readers. Check out my paper snowflake project last year -- which was done on the Silhouette Cameo.)
Given my fairly frustrating learning curve on the Cameo, I will admit to being a bit gun-shy. However, I have a retreat coming up next week, and realized that if I actually wanted to make my snowman project, I needed to cut it out -- NOW! I experienced a couple of glitches with Cricut Design Space including designs not showing up in the import and modifications to design in Inkscape not carrying over to Cricut Design Space. But once my design was loaded, the cutting process was a dream. Not one bad cut in my first time cutting fabric with the Cricut Maker.
Here was the block I created for the TKQ Calendar Quilts class. I want to piece the block at the size 20 x 15.
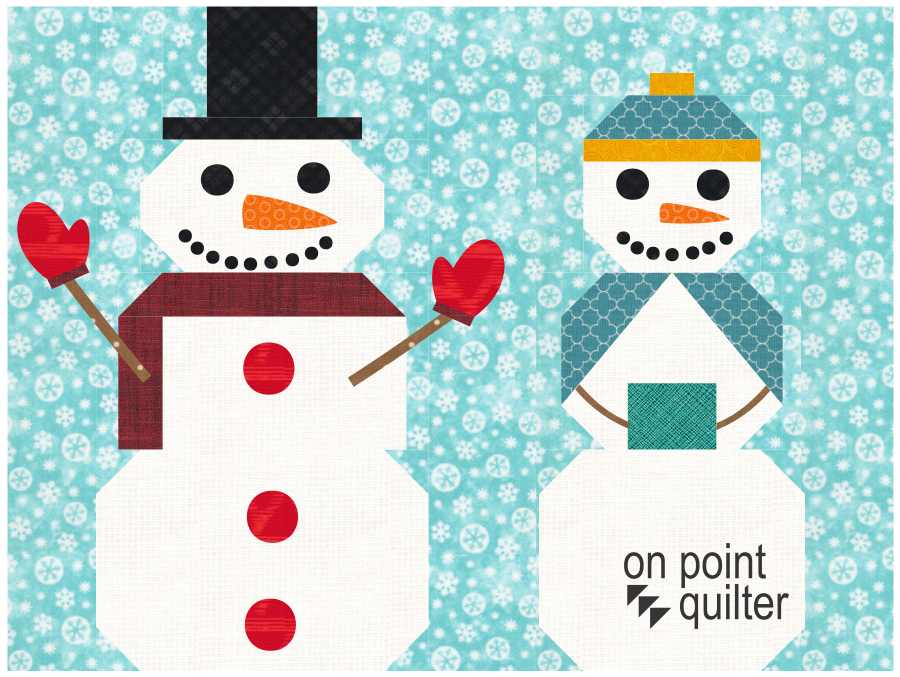
Snowman Block designed by Kari in EQ (for a Tech Know Quilter class)
Here is the video describing my process. Not sure if I figured out the most efficient way to do everything -- but I figured I needed to start with the basics.
In the video, I explain that I printed my block to a pdf writer. In the video I used Cute PDF Writer. However the actual pdf writer is not important. Feel free to use what you have available to use on your computer.
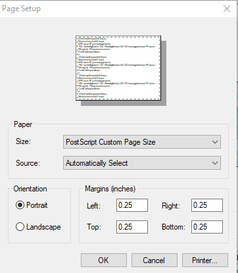
Look to see if you have a setting for your pdf writer called Post Script Custom Page Size. I just discovered this setting a few months ago -- but essentially it lets you pick a page size (even one that is larger than any of your installed printers). This is particularly useful for larger sized blocks.
If you don't have this option, just pick the largest paper size you have installed on your computer. You make have some tiling which will require multiple Inkscape files.
The intermediate software I used to convert my design from the pdf format to an svg format is Inkscape. Inkscape is a professional vector graphics editor for Windows, Mac OS X and Linux. It's free and open source.
Inkscape can seem overwhelming to use when you open it for the first time. However you only need to use a couple of tools within Inkscape -- so this really is a piece of cake. You can download Inkscape here. Inkscape will allow you to create an SVG file which may be used in any electronic cutting system (Cricut Design Space, Silhouette Studio, or Brother Canvas Workspace). So what is an SVG file? An SVG file is a graphics file that uses a two-dimensional vector graphic format. Unlike raster formats such as JPG, GIF, and PNG, an SVG image remains crisp and clear at any resolution or size. 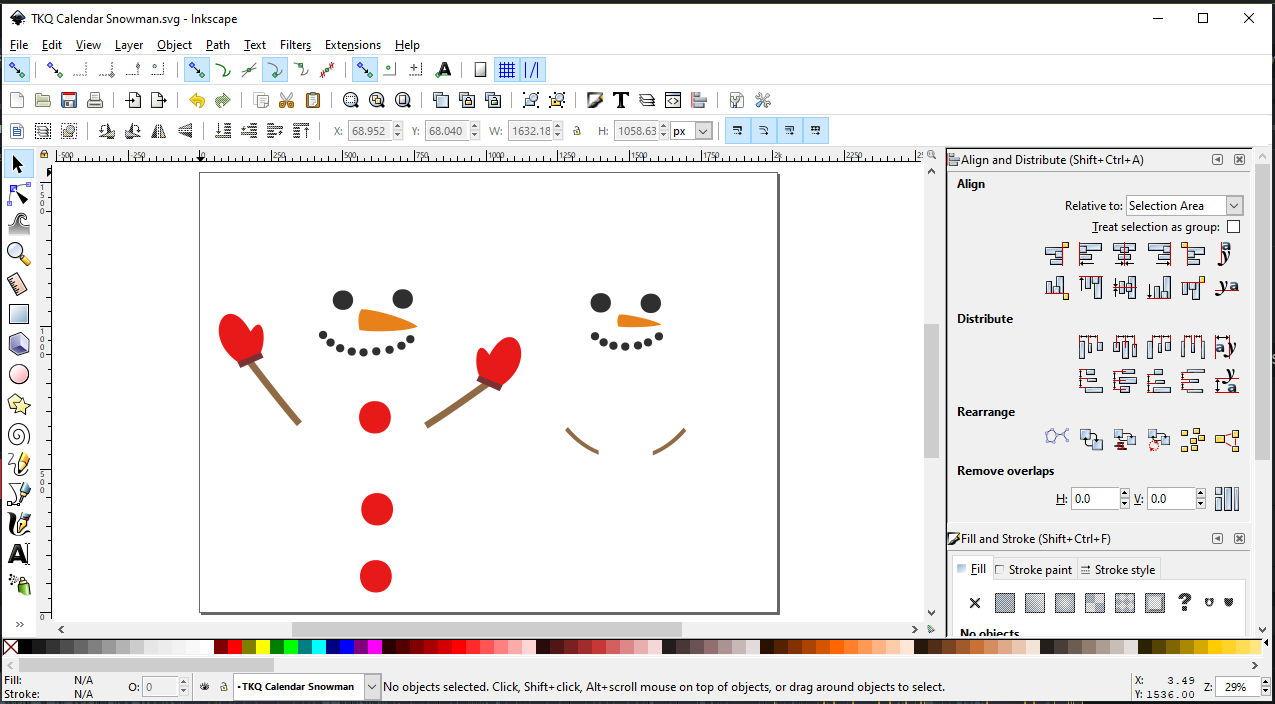
In Inkscape, ungroup your image and select and delete any patches that you don't want to cut with your cutting system. Then save as an SVG. (Update: Make note of the size of the svg objects.)
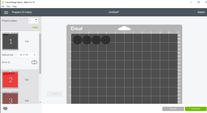
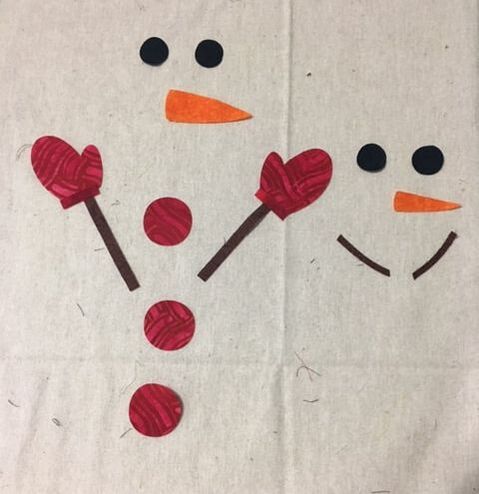
In Cricut Design Space, select Upload Image and navigate to the SVG file. Select Save. Select the Image and select Insert Images. (Update: Resize the grouped images to match the size noted in Inkscape.) Make any modifications. I chose to remove the circles for the mouth as I think it will be easier to use a decorative stitch on my sewing machine rather than appliquing 1/4 inch circles on my block.
I chose to back my fabric with Soft Fuse Premium. I love the soft hand of this fusible -- it actually feels like there is none. I ironed the fusible to the fabric (3 seconds with a dry iron), removed the paper and placed it fusible size down on the Cricut mat. I used the green mat -- but after I was all done found that they actually recommend the pink mat.
Cutting with the rotary cutter blade was an absolute dream. I had absolutely no problems with shifting material and there were no snags in the cut (both issues that I had with my old Silhouette Cameo). (Note -- I had the first version of the Silhouette Cameo and based on conversations with others who have upgraded, I think the later versions are less troublesome.)
|


Free guide available for newsletter subscribers


Kari SchellElectric Quilt Expert and Educator and Pattern Designer. Categories
All
Archives
July 2024
|


 RSS Feed