
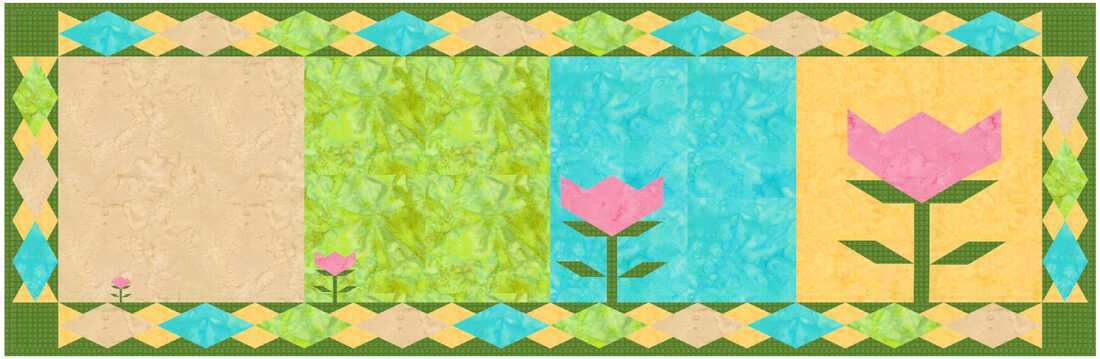
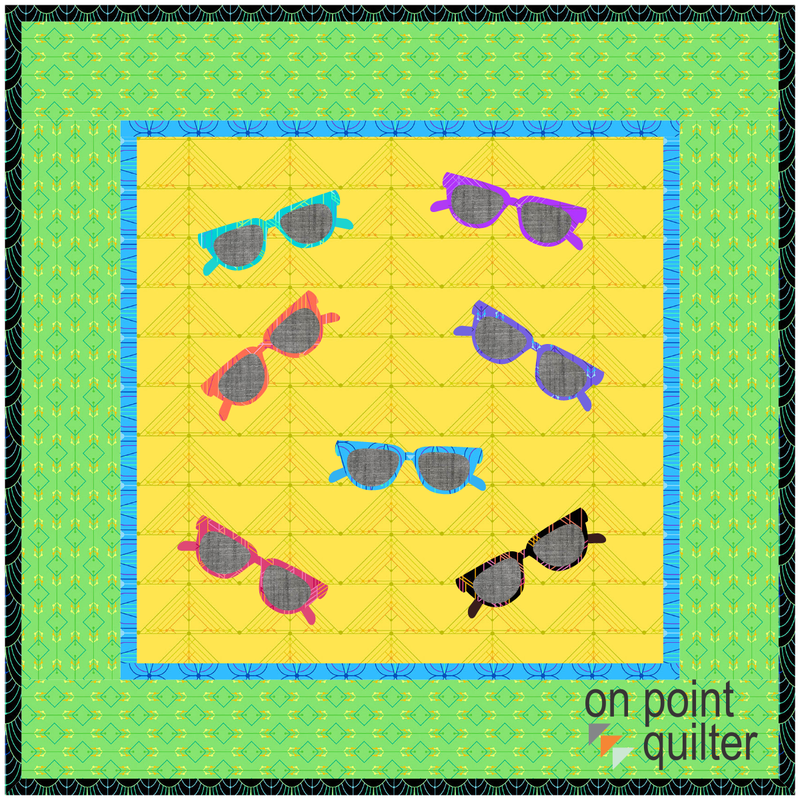
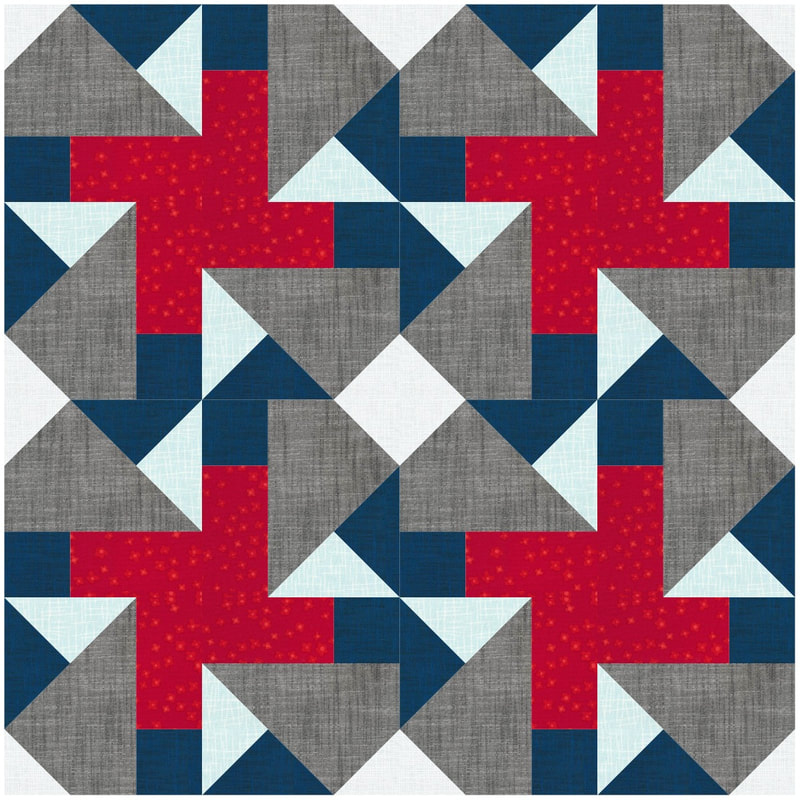
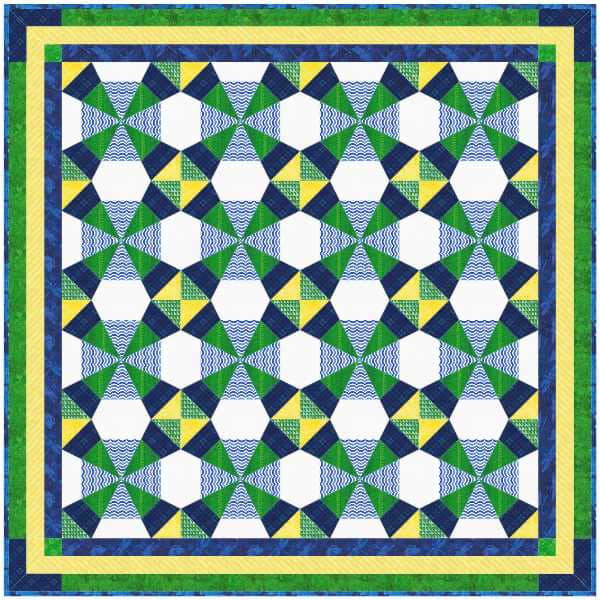
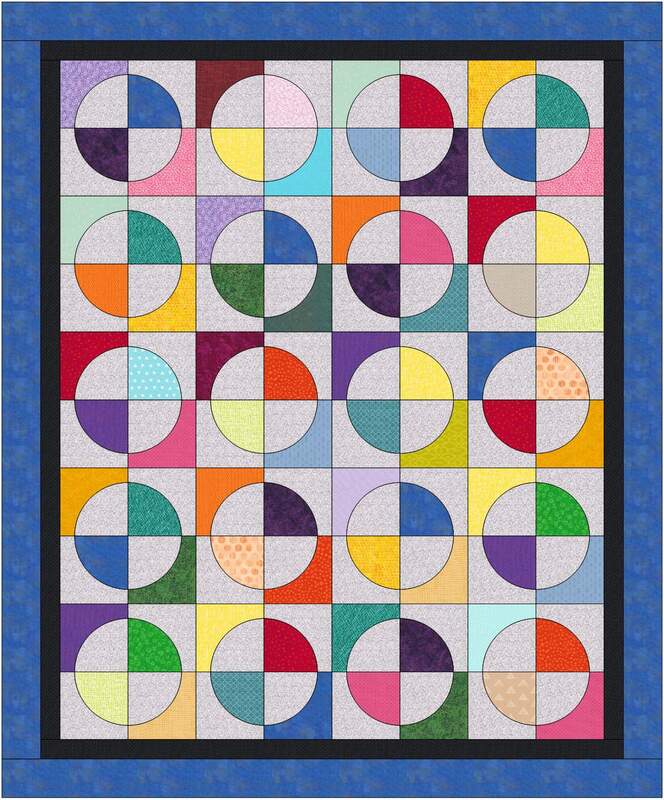
Here Comes the Sun
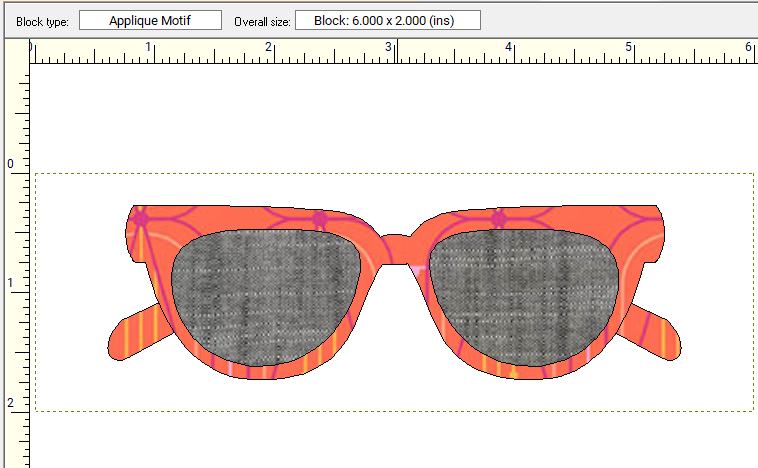
For the quilt, set up a new Horizontal quilt on the Quilt Worktable. Change the number of blocks to 1 x 1 and the size to 16. Then add borders.
To personalize your quilt, consider using a different fabric collection. And rather than a collection of sunglasses, use a collection of different summer motifs. I would love to see pictures of your quilt.
Feel free to share in the post I have set up in the Learning EQ Facebook group. Tech Know Quilters Virtual Quilt Show
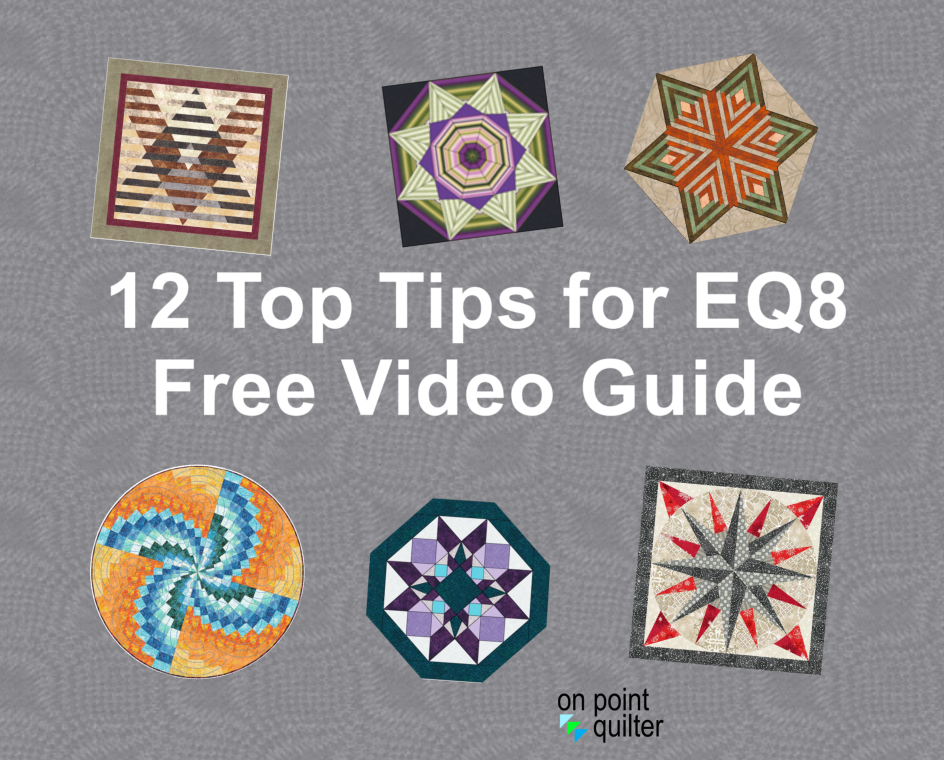
One thing I hear over and over again is -- I didn't know you could do "that" using Electric Quilt 8. I have found that the main thing that holds us back from truly using Electric Quilt 8 is just not understanding that this versatile software can help you create any type of quilt. I think you will be inspired by the quilts created by Tech Know Quilter members using Electric Quilt 8.
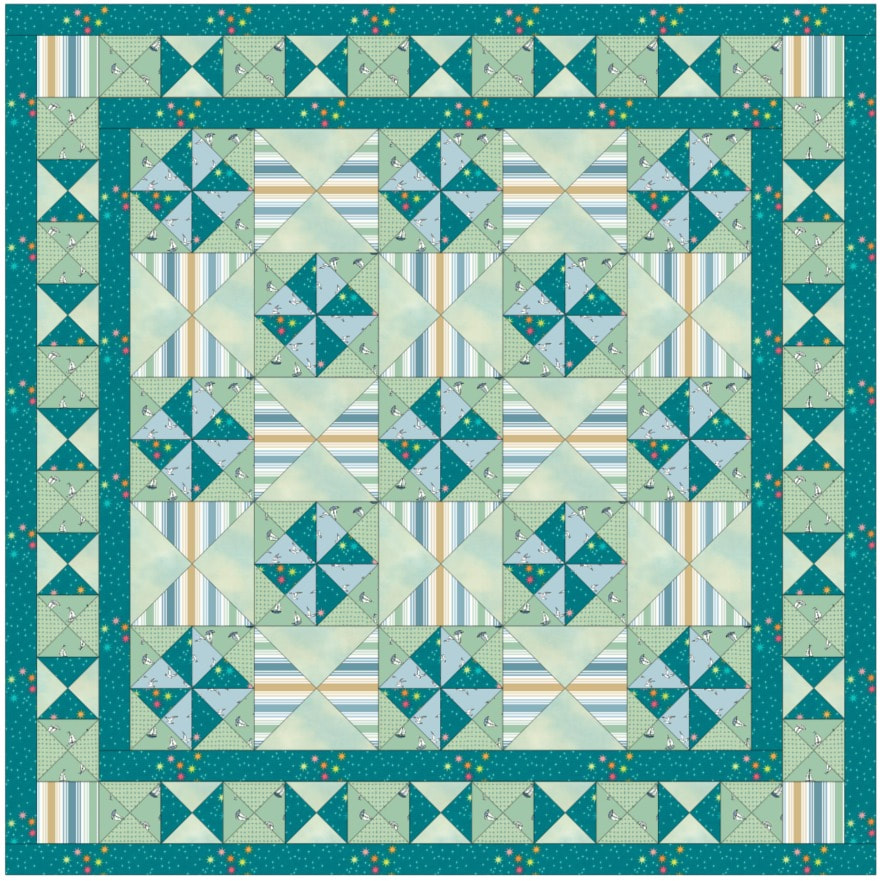
Tech Know Quilters is a membership program focused on mastery of EQ8. We have members at all stages of their Electric Quilt journey. If you would like to join this amazing group of quilters, you can sign up for the wait list here. There just may be an enrollment opportunity at the end of June. Here are the quilts submitted in the last "apply what you learned" challenge.
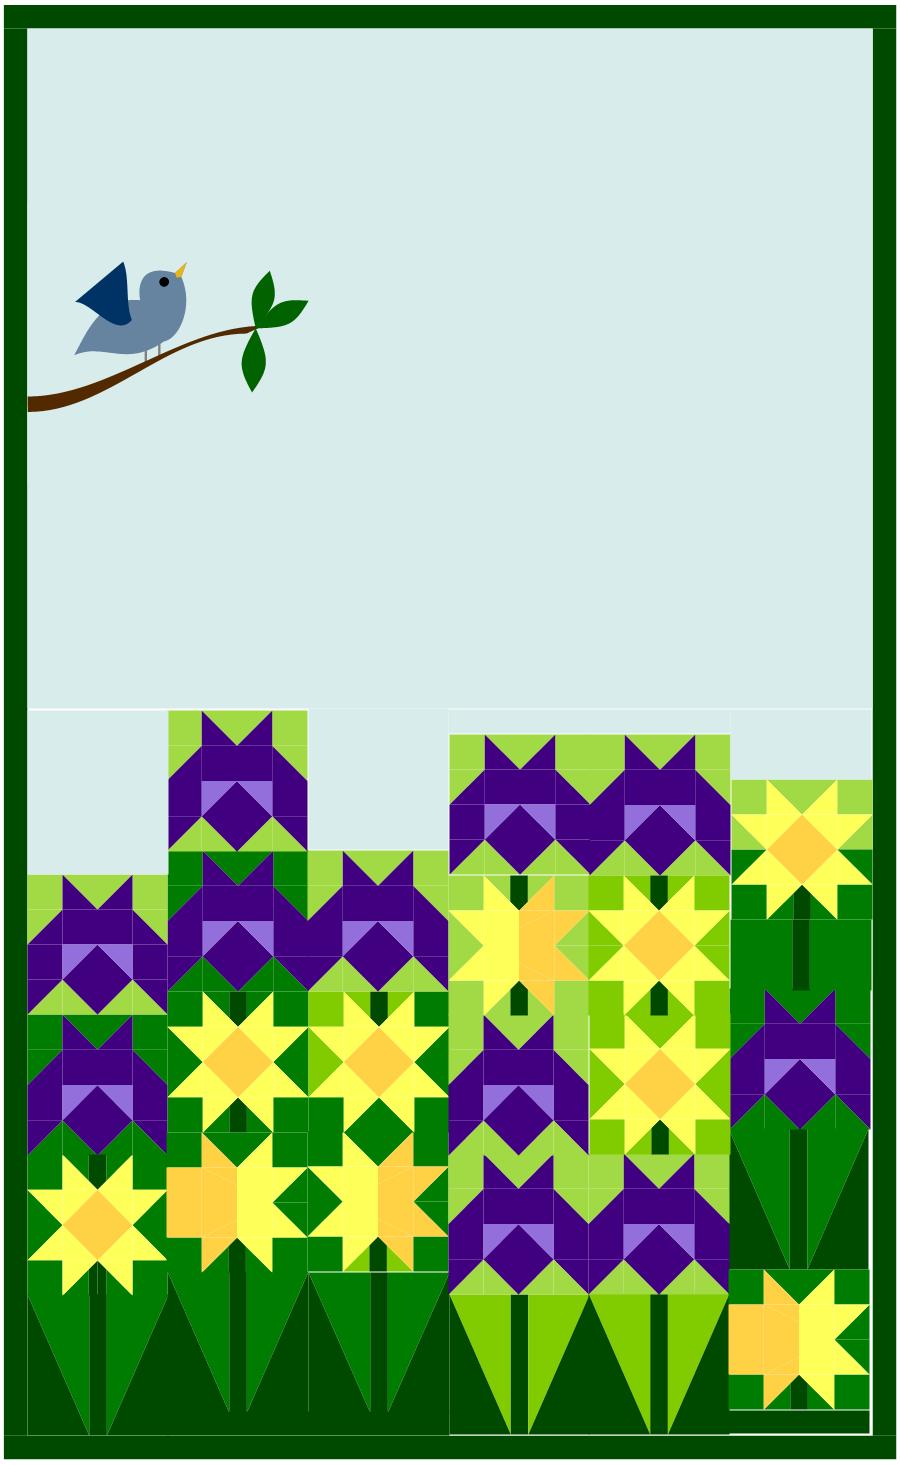
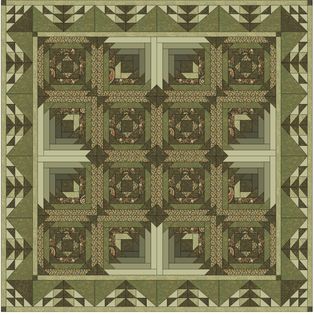
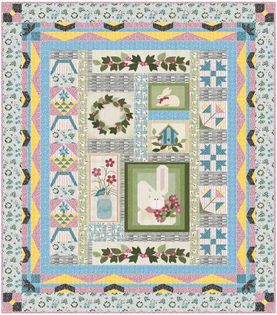
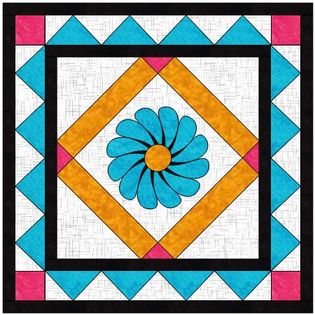
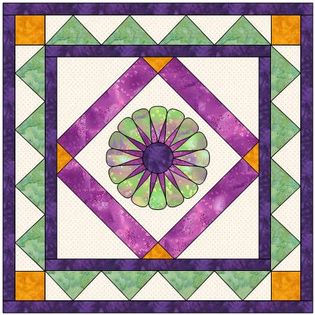
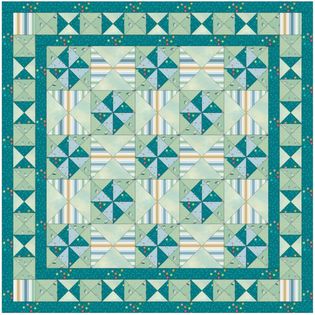
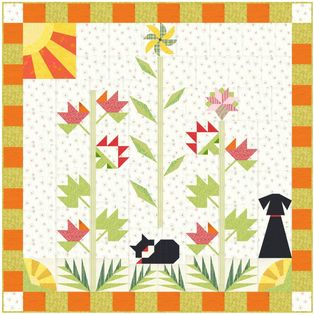
Tech Know Quilters Masters Challenge -- Bloom Where You Are Planted
TKQ Masters members were encouraged to design an original quilt around the topic "bloom where you are planted". Here are some of their quilts.
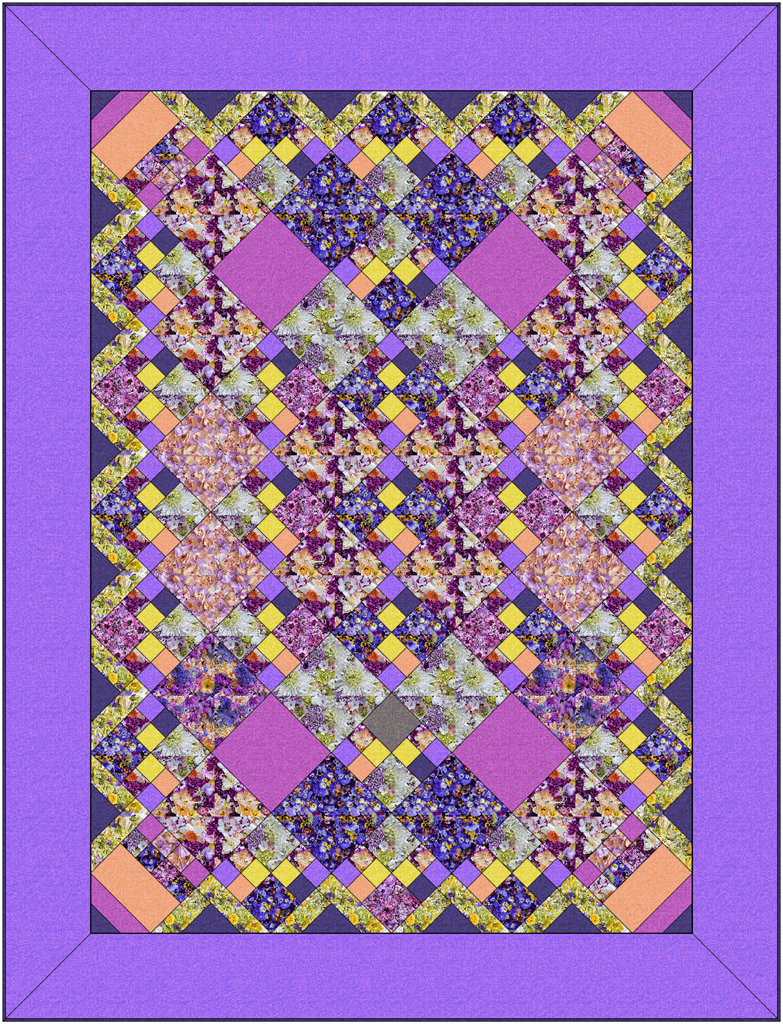
Curryanne Hostetler My idea of Bloom where you are
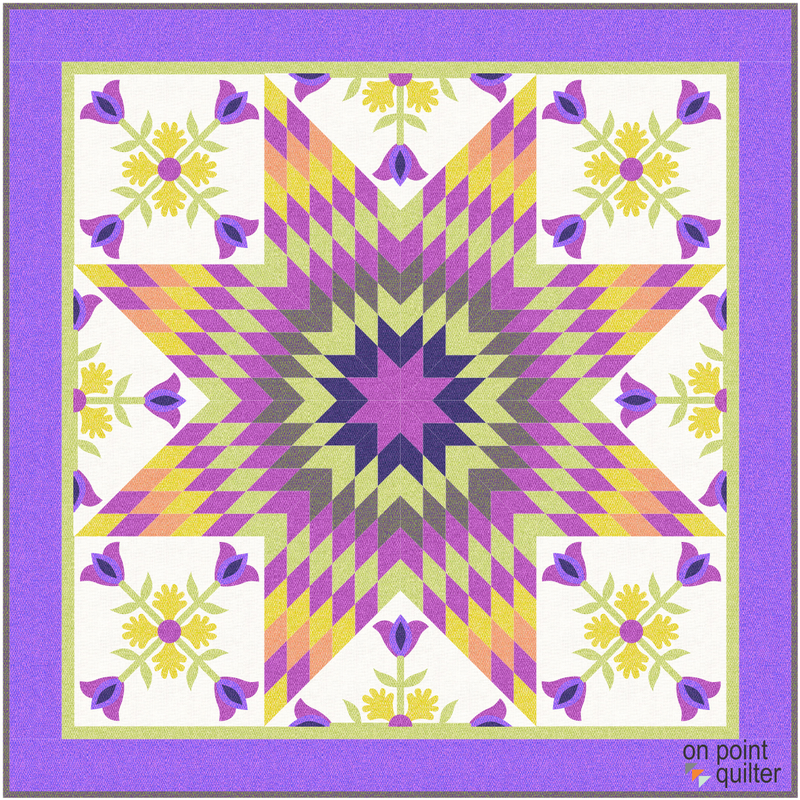
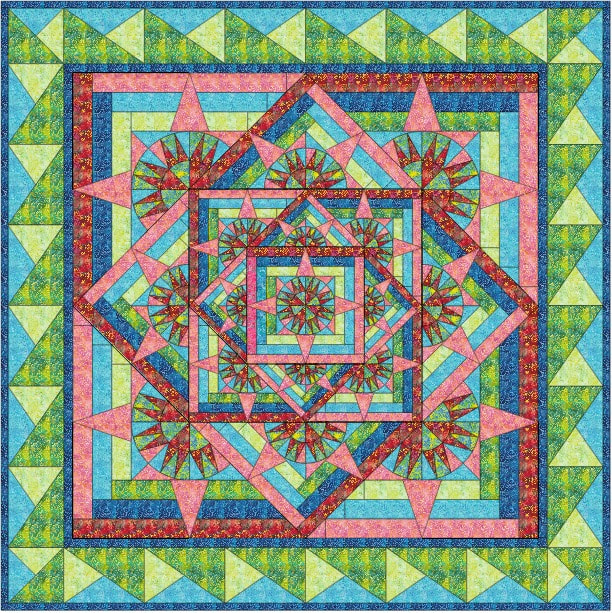
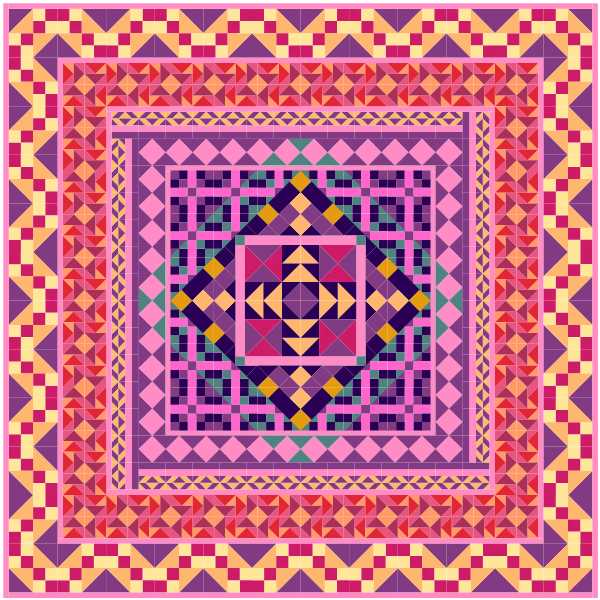
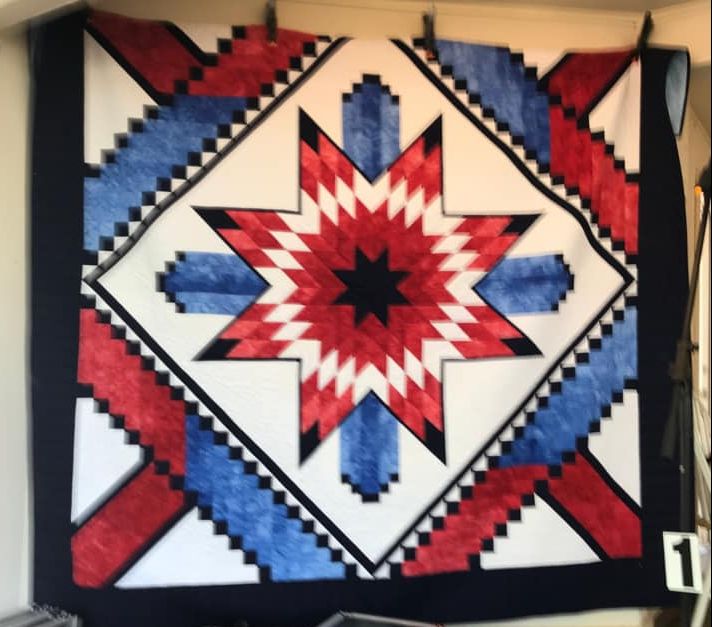
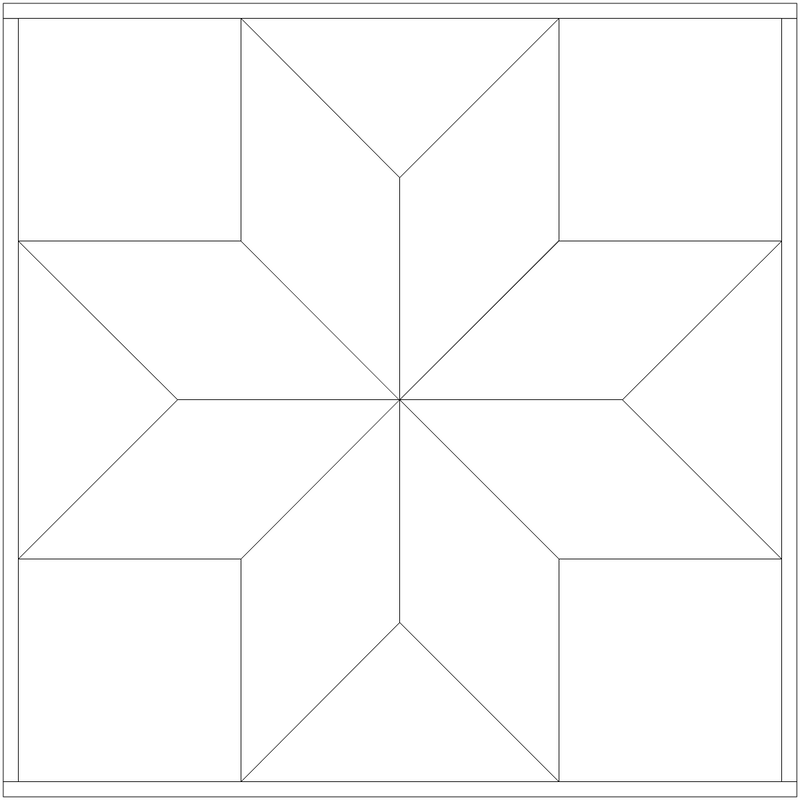
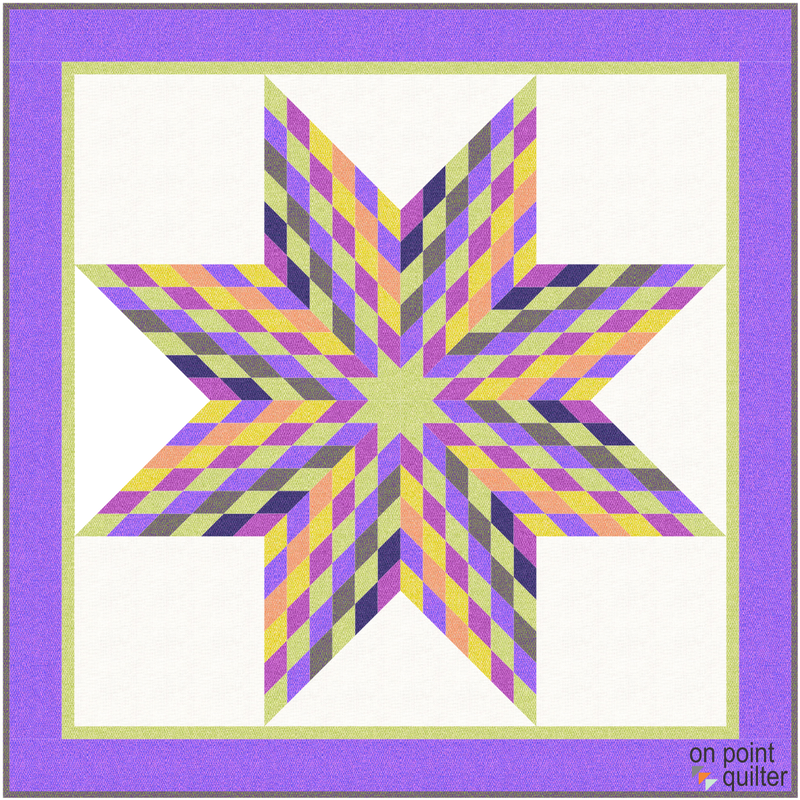
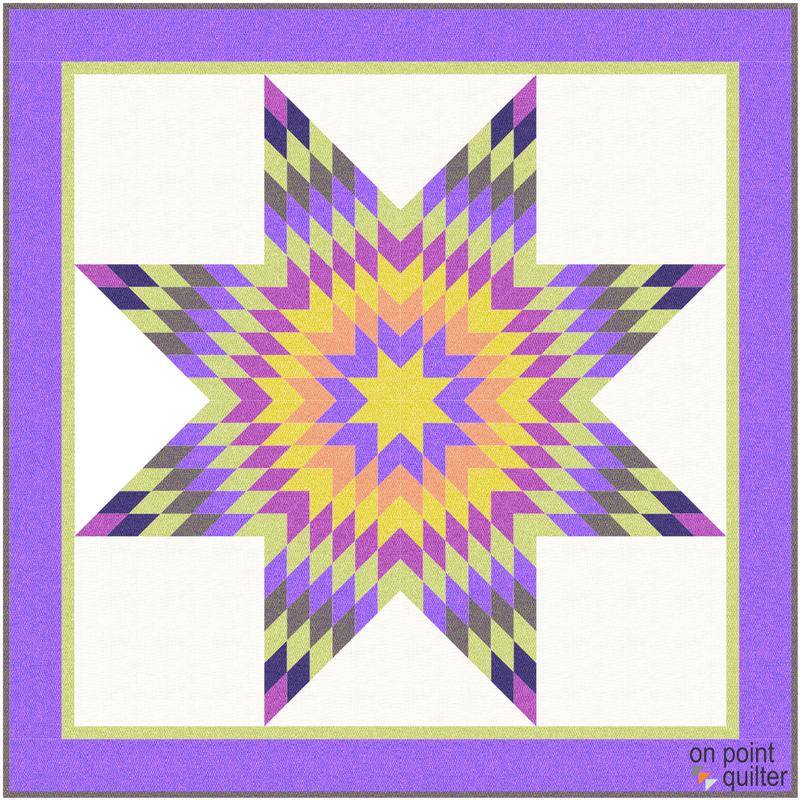
Start with a Basic Lonestar Quilt
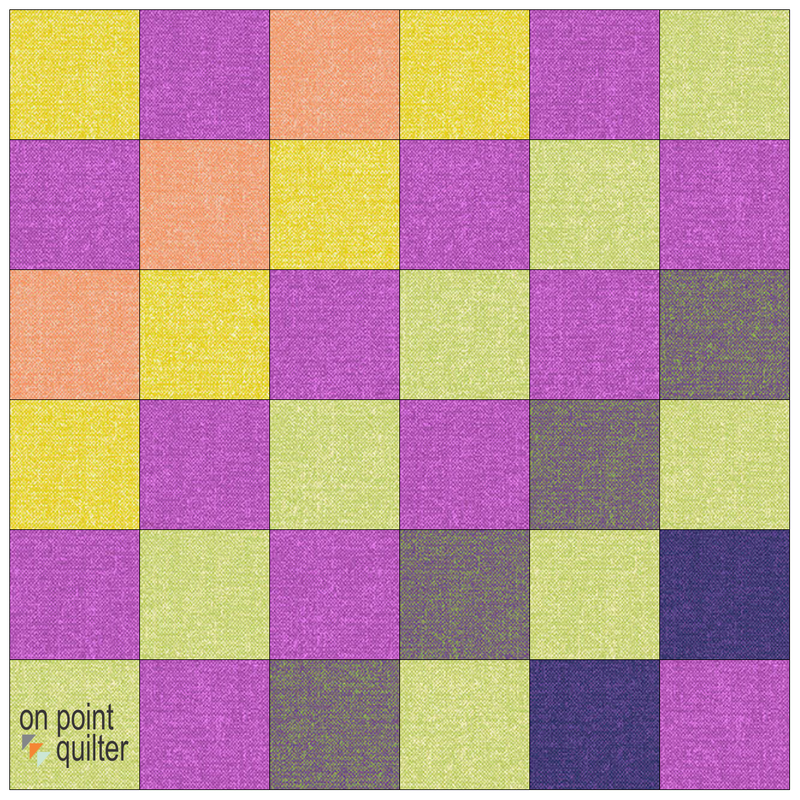
To color the block (and quilt), I selected one of the free fabric downloads from Electric Quilt. You can find their free fabric downloads here. I used the March 2022 collection. Hand Pick: First Light was designed by Nicholas Lapp for Maywood Studio. There were some awesome photorealistic floral collages included in the fabrics, but I decided to stick with the textured solids for my Lonestar quilt.
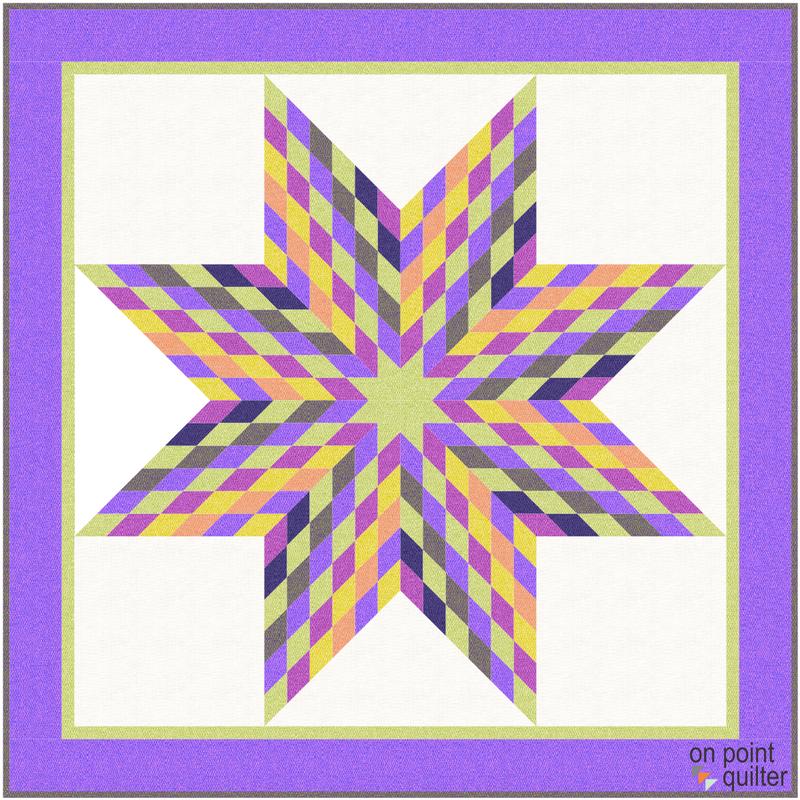
I didn't include this in the video. But once you have the rotations done, try this. Using the Control (PC users) or Command (MAC users), also select Rotate and click on one of the blocks. Make sure Control or Command is still engaged when selecting the block. Notice that it will rotate all of the blocks at once for fun variations.
After each click, make sure to select Add to Sketchbook to save your new variations.
Spicing Up Your Lonestar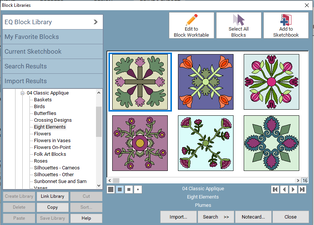
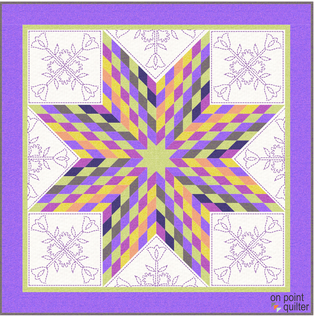
Adding Applique
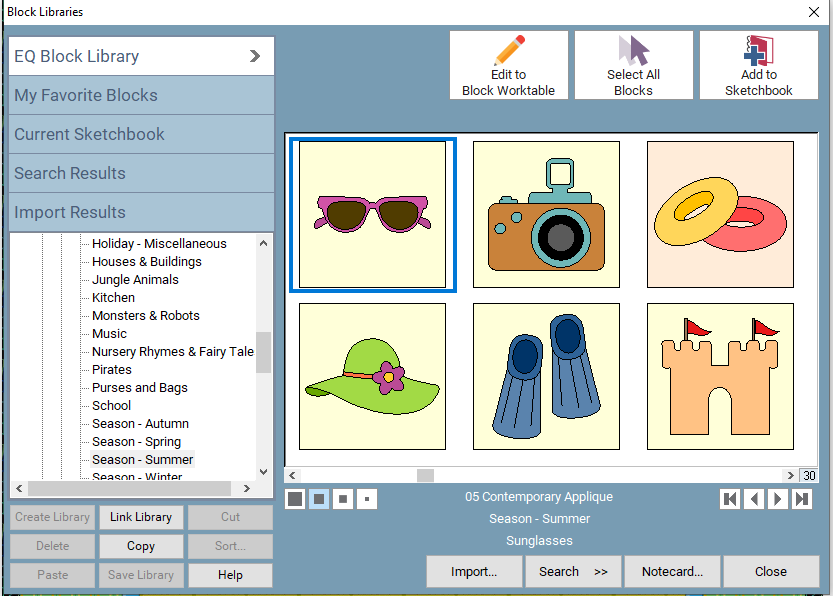
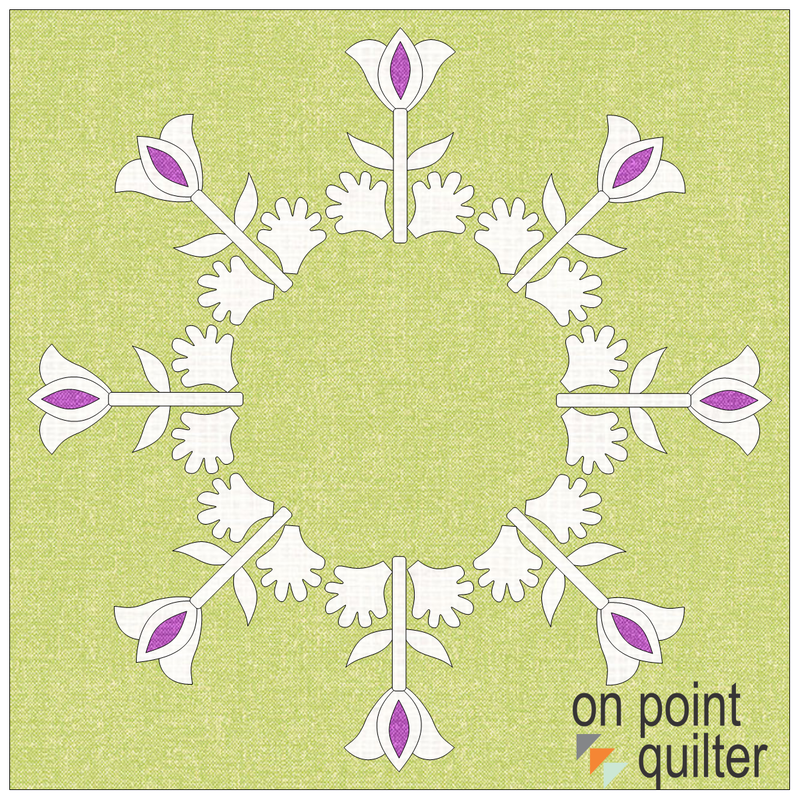
Do those setting triangles call out to you? If you love applique, you are probably thinking about adding applique to your quilt. Electric Quilt has a huge collection of applique blocks that are available for personalizing our lonestar quilt. One group that works really well for setting spaces is Eight Elements. You can find this collection under 04 Classic Applique in the EQ Block Library. Crossing Designs is also another category worth taking a look at.
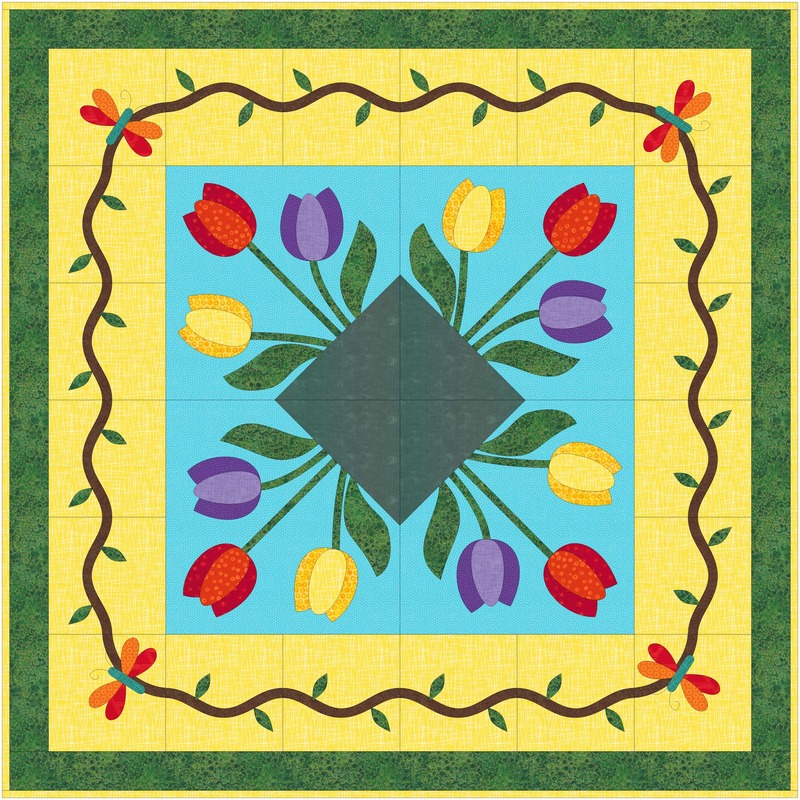
Here is the original Lonestar quilt with the addition of the Tulip Crossing Block from the EQ8 Block Library.
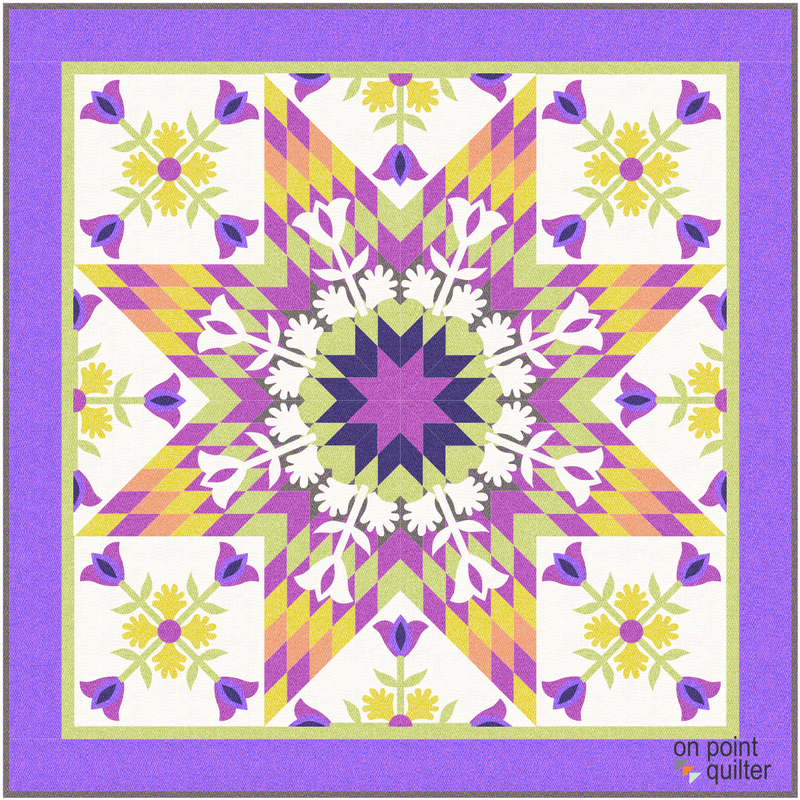
Check out the full video tutorial for more information on creating these quilts.
This would be such a fun layout to personalize. Try playing with different fabrics and blocks. I would love to see pictures.
Feel free to post a favorite of your quilts on the Learning EQ Facebook group. I have set up a separate post so we can admire each others creativity.
If you own an Electric Cutting System (such as Cricut Design Space, Silhouette Cameo or Brother Scan N Cut), you have probably figured out that the easiest way to create perfect shapes to cut on your system is having an svg file that includes all your cut shapes.
And if you own Electric Quilt 8, you may also realize that svg is currently not a format that files can be saved in within the program.
What is Inkscape?
The extra piece of software I used for creating the SVGs is Inkscape. Inkscape is a professional vector graphics editor for Windows, Mac OS X and Linux. It's free and open source.
Inkscape can seem overwhelming to use when you open it for the first time. However you only need to use a couple of tools within Inkscape -- so this really is a piece of cake. You can download Inkscape here. Inkscape will allow you to create an SVG file which may be used in any electronic cutting system (Cricut Design Space, Silhouette Studio, or Brother Canvas Workspace). So what is an SVG file? An SVG file is a graphics file that uses a two-dimensional vector graphic format. Unlike raster formats such as JPG, GIF, and PNG, an SVG image remains crisp and clear at any resolution or size. Creating an SVG File for an EasyDraw Block
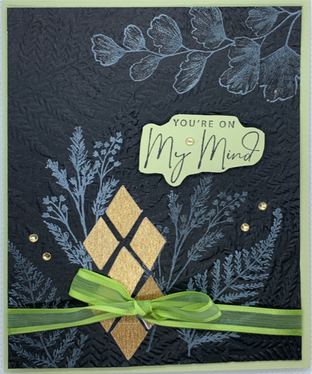
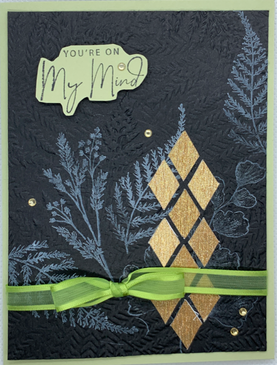
I was working on a greeting card yesterday and wanted some diamond shapes cut out of Gold Metallic Specialty Paper. I knew that I could quickly draft a block in EasyDraw that had my diamonds at exactly the shape and size I wanted.
In the video, I will take you through my process to draft them, convert them to an svg file using Inkscape and then bring them into Cricut Design Space for cutting. 
2-1/2 x 2 EasyDraw Block Drawn in Electric Quilt
Best Tips from the Video
Electric Quilt Tips
Inkscape Tips
Cricut Design Space Tips
Here are a couple of cards I created that incorporates these diamonds. Thanks to Cheri Stojkovich whose You Tube video inspired my card.
Card Instructions:
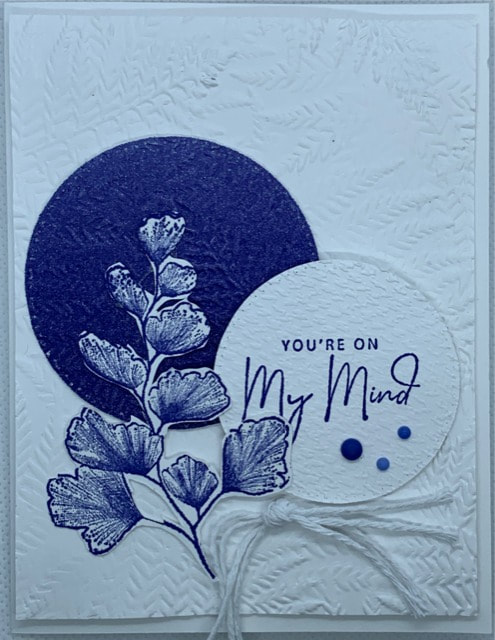
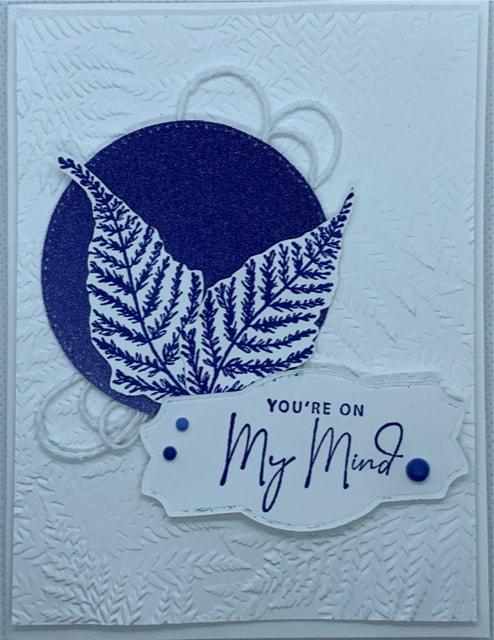
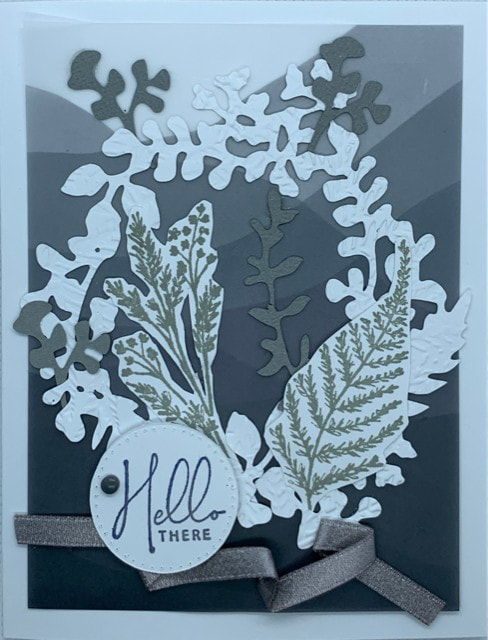
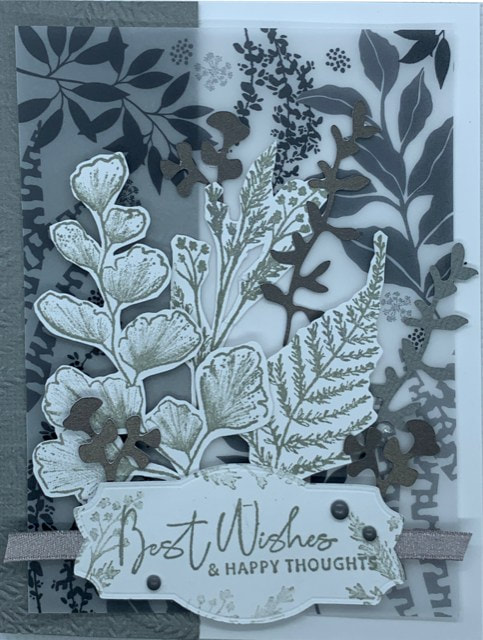
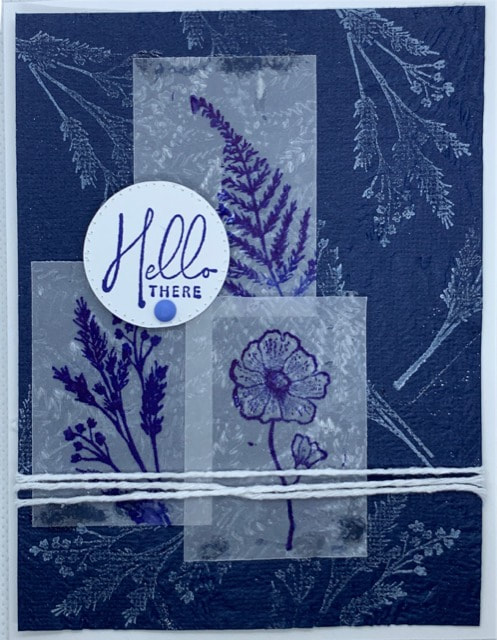
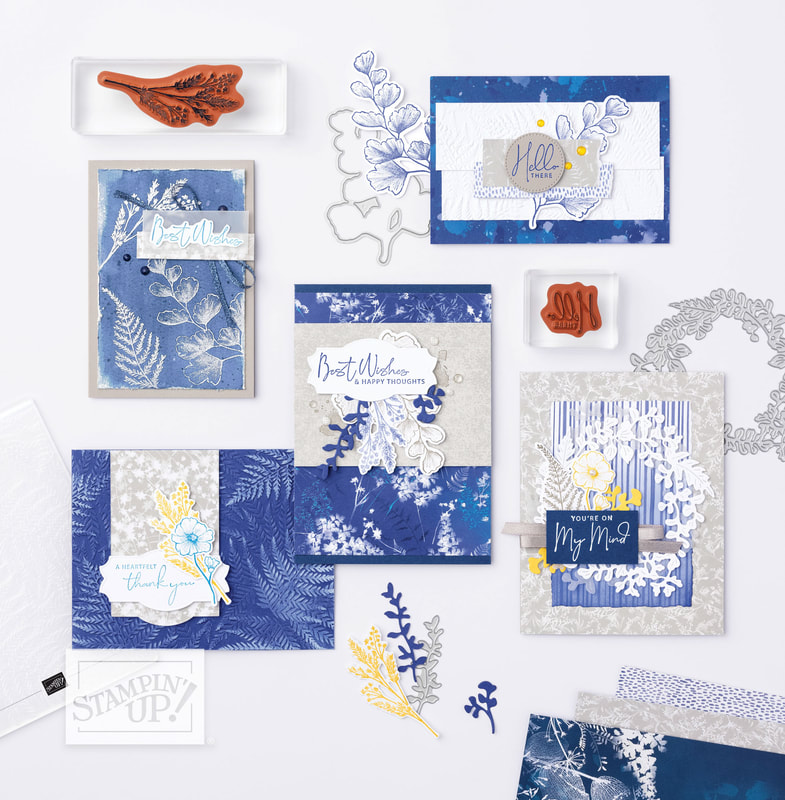
Nature's Prints has been my favorite stamp set in the new annual catalog. Here are a few other cards I created from this set.
If you questions about some of the additional supplies in these cards, feel free to drop me a note.
FYI - When you buy something I recommend, I may get an affiliate commission — but it never affects your price or what I pick.
Scroll down for the Vintage Bicycle Girl Panel Quilt EQ8 Tutorial.
Tech Know Quilter March Showcase
One thing I hear over and over again is -- I didn't know you could do "that" using Electric Quilt 8. One thing that holds us back from truly using Electric Quilt 8 is just not understanding that this versatile software can help you create any type of quilt. I think you will be inspired by the quilts created by Tech Know Quilter members using Electric Quilt 8.
Tech Know Quilters is a membership program focused on mastery of Electric Quilt 8. We have members at all stages of their Electric Quilt journey. If you would like to join this amazing group of quilters, you can sign up for the wait list here.
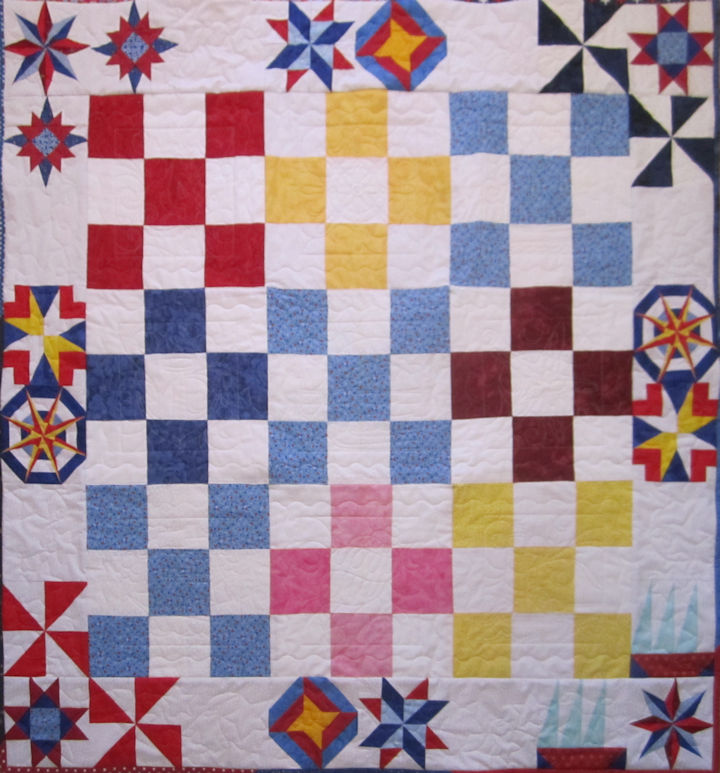
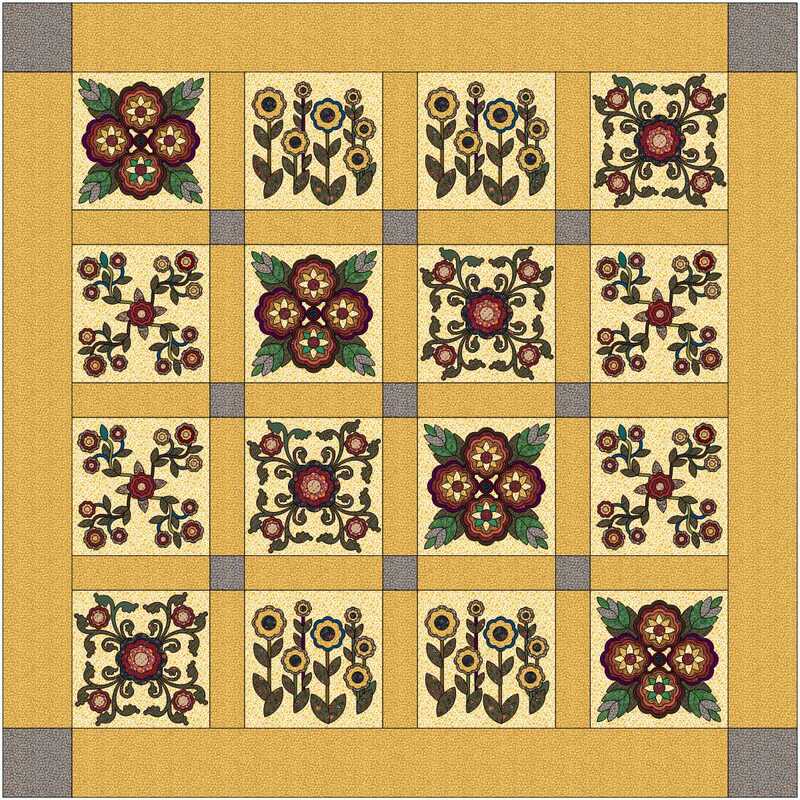
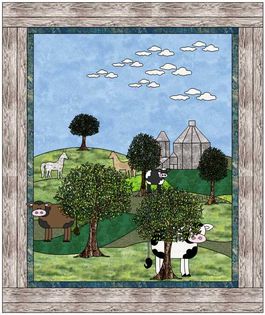
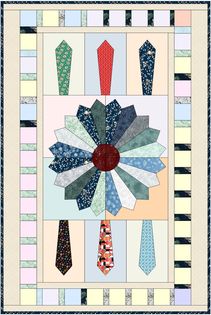
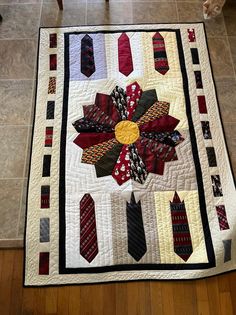
Karen Eddie Neal This is a tie quilt I designed in EQ. The actual quilt is on the right.
Masters Pattern Writing Challenge
In March, a number of Tech Know Quilter Master's members responded to the challenge to create their own pattern. In the Master's classes for February and March we covered some basics of pattern design. In addition to working in Electric Quilt 8, we also covered using Word (PC users) and Pages (Mac users) along with Inkscape to create illustrations and instructions for our patterns. We spent a lot of time on drafting pattern diagram illustrations.
Numerous members commented that they had a much greater appreciation for all the work that goes into creating a pattern. Kudos to those of you that are writing and publishing patterns. Here is some of what was shared during the lessons. Designed Quilts
Logos and Covers
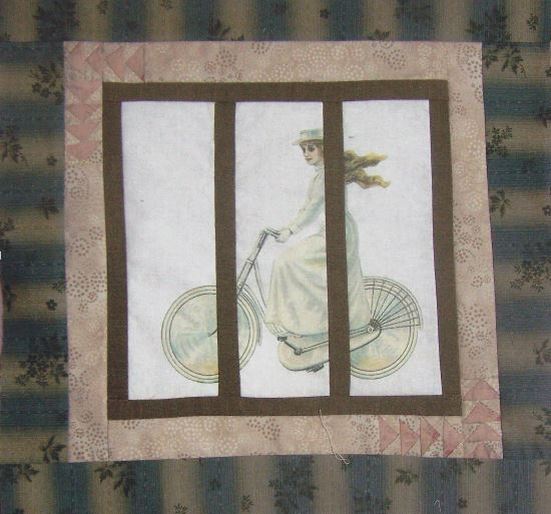
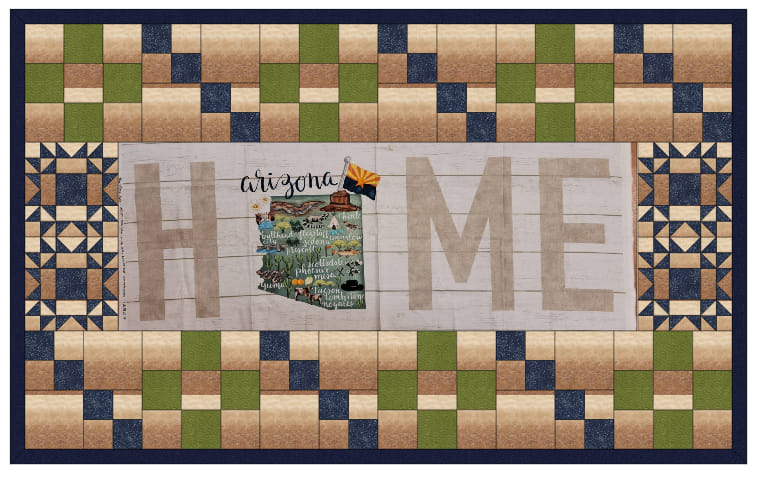
Vintage Bicycle Girl Panel Quilt
Did you know that you can print your own "panel" and incorporate it into a quilt. The image in today's quilt was obtained from the Graphics Fairy. It was resized to fit on one sheet of paper and printed on fabric.
If you need some help on how to print on fabric, you can check out my video - Secrets to Successfully Printing Words on Fabric. To use this image in your Electric Quilt project, download the image and save in your My EQ8>Images folder. 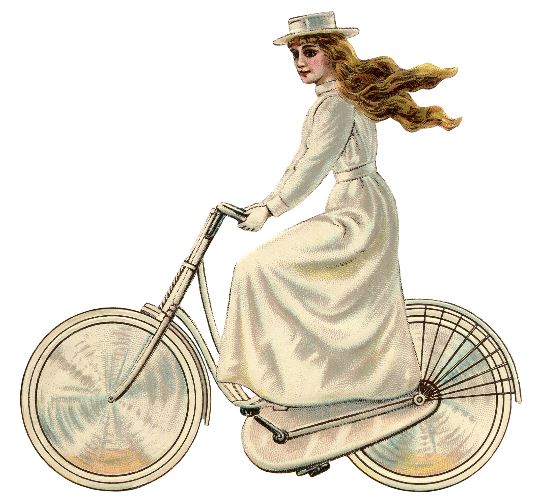
Vintage Girl on Bicycle from Graphics Fairy website
In the video tutorial you will learn
Here is the quilt from the video.
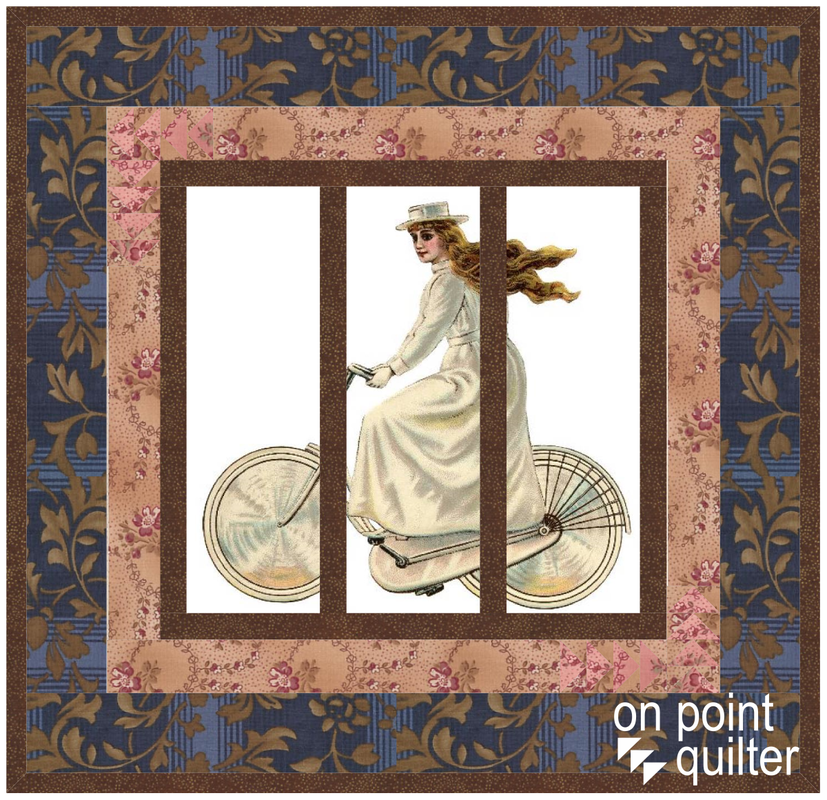
Vintage Bicycle Girl Quilt designed in EQ8 by Kari Schell
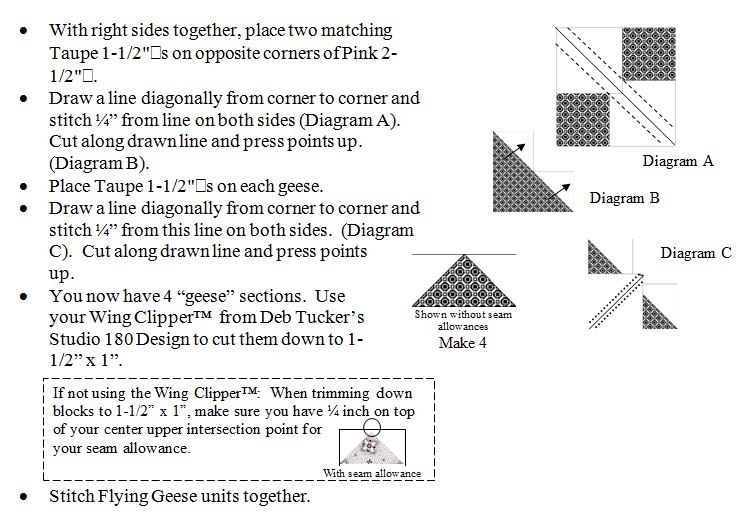
Piecing the Vintage Bicycle Girl Quilt
Cut the Vintage Girl panel to three equal size units (3" x 8-1/2").
To quilt I did swirls around the outside of the quilt. I stitched in the ditch around the graphic and I filled the background space with "Fracture Fill" -- a pattern within Art and Stitch's Creative Fill library. With my Intelliquilter, I used both No Sew Zones and Clipping blocks for this part.
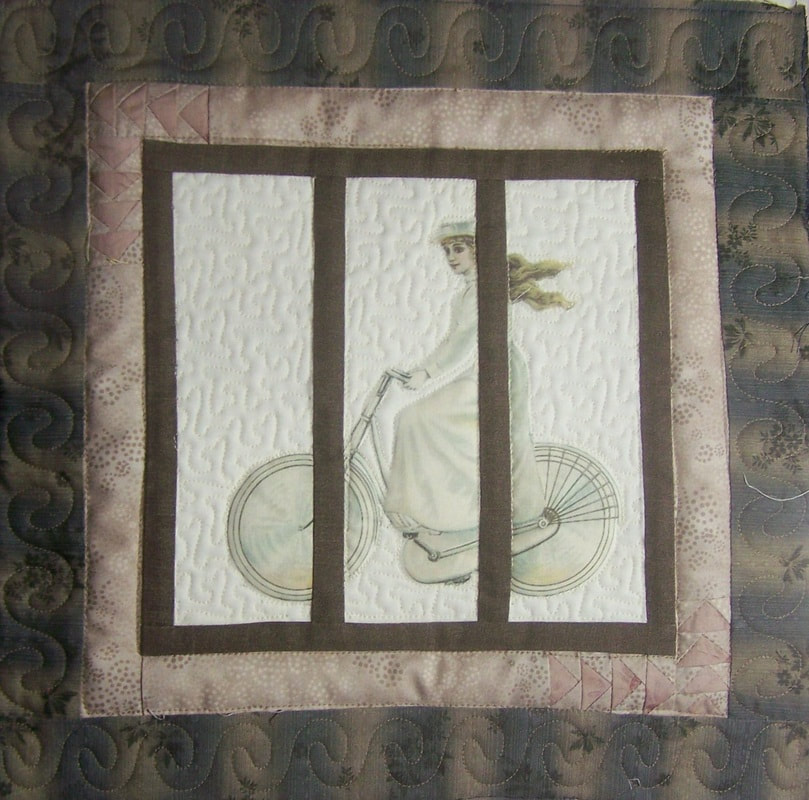
Vintage Girl on Bicycle Window View by Kari Schell
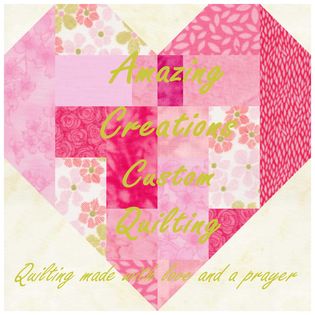
Happy Mother's Day.
|


Free guide available for newsletter subscribers


Kari SchellElectric Quilt Expert and Educator and Pattern Designer. Categories
All
Archives
July 2024
|


 RSS Feed