|
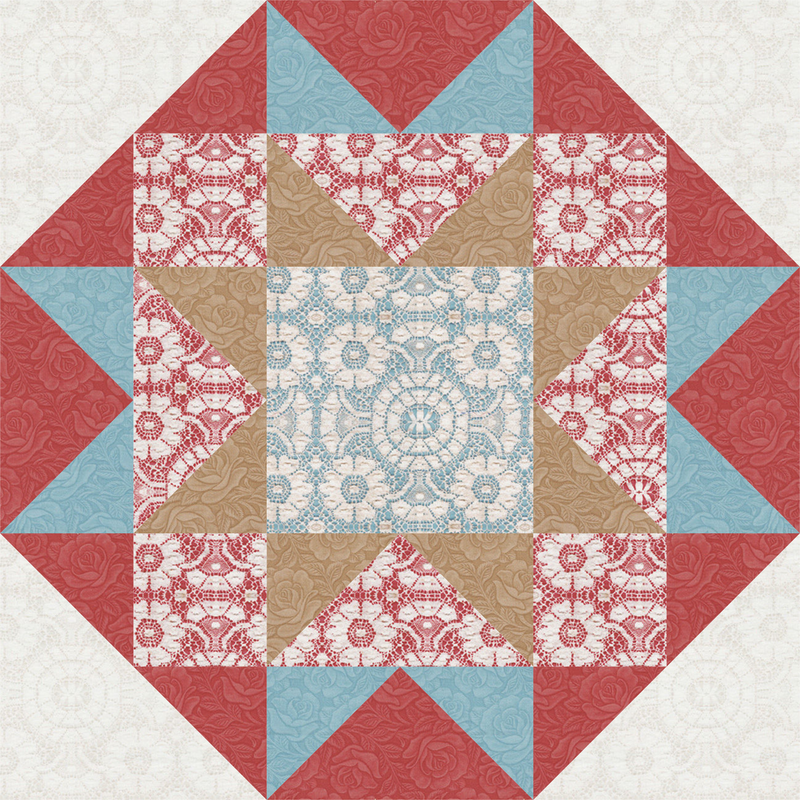
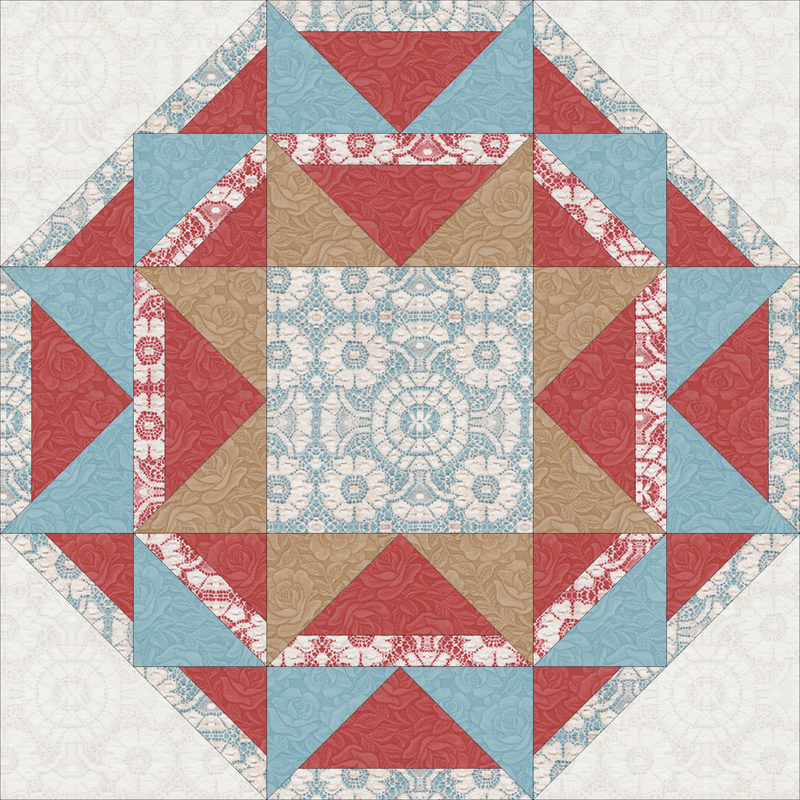
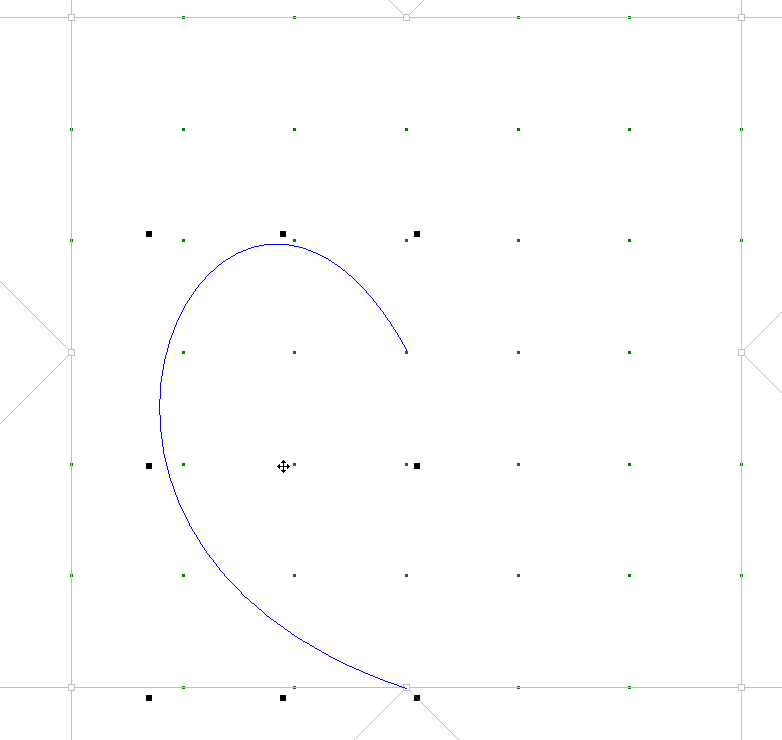
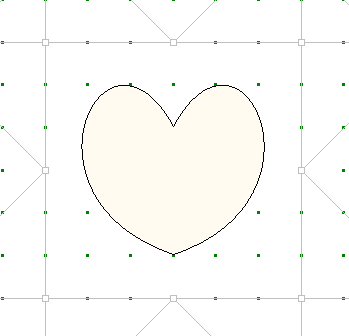
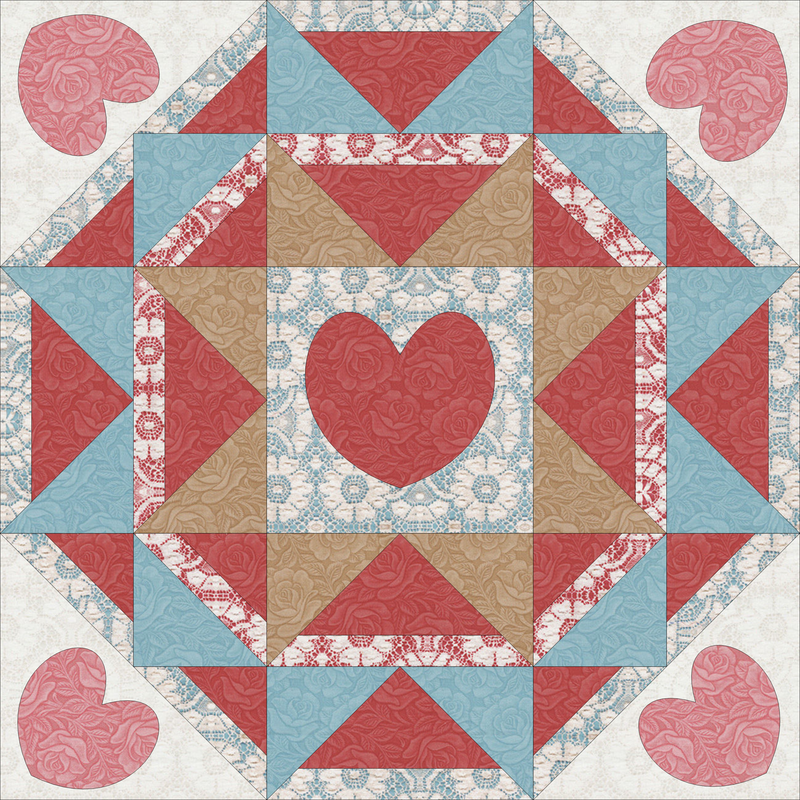
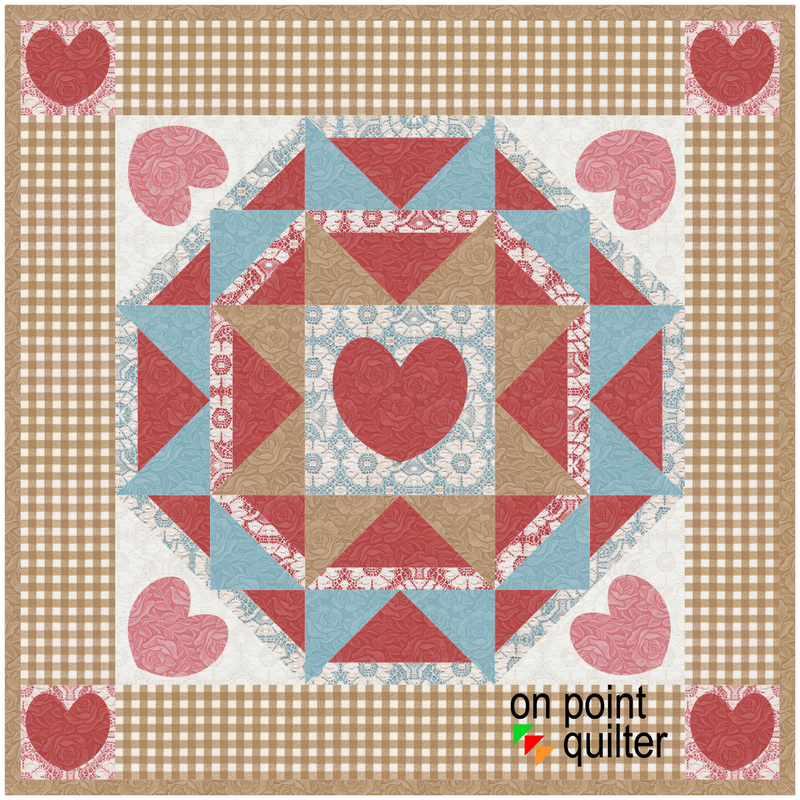
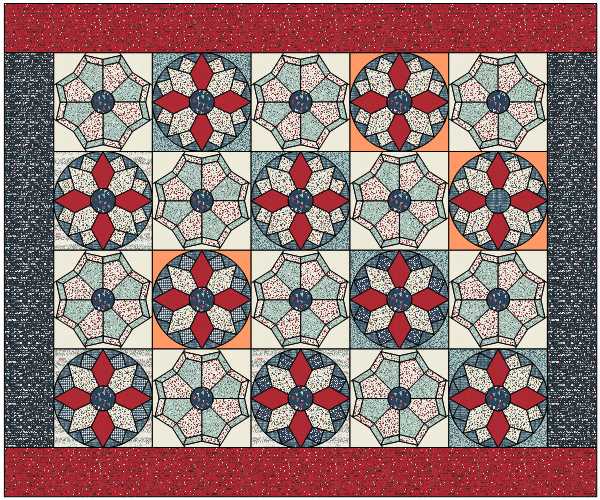
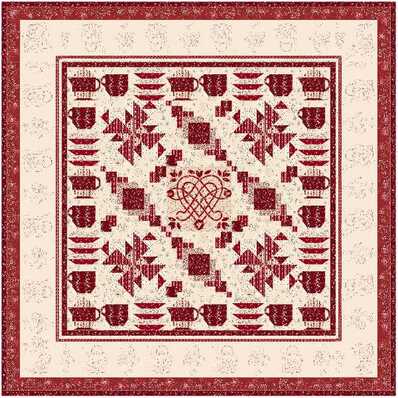
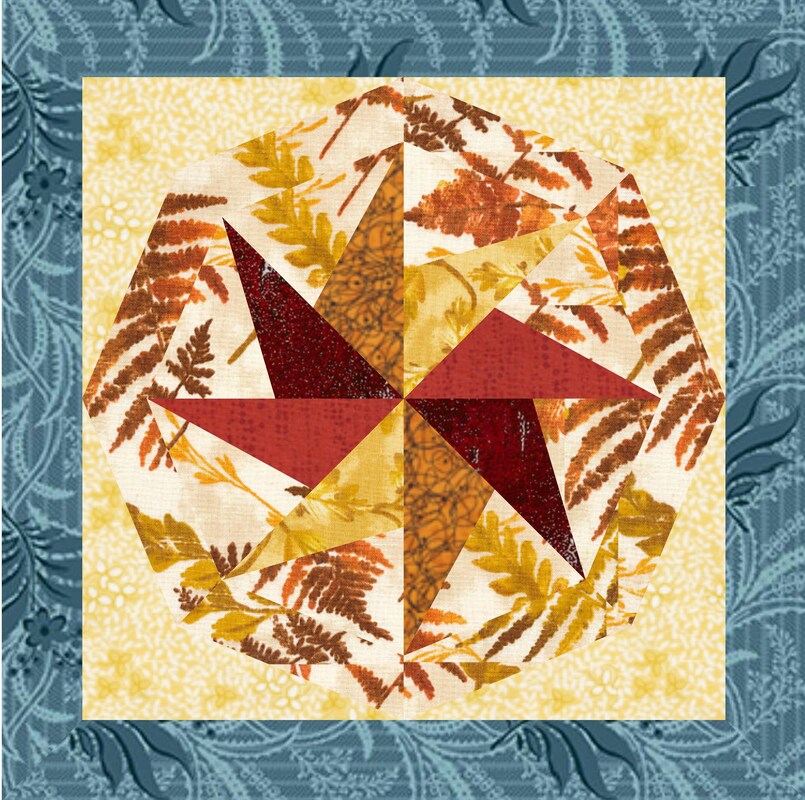
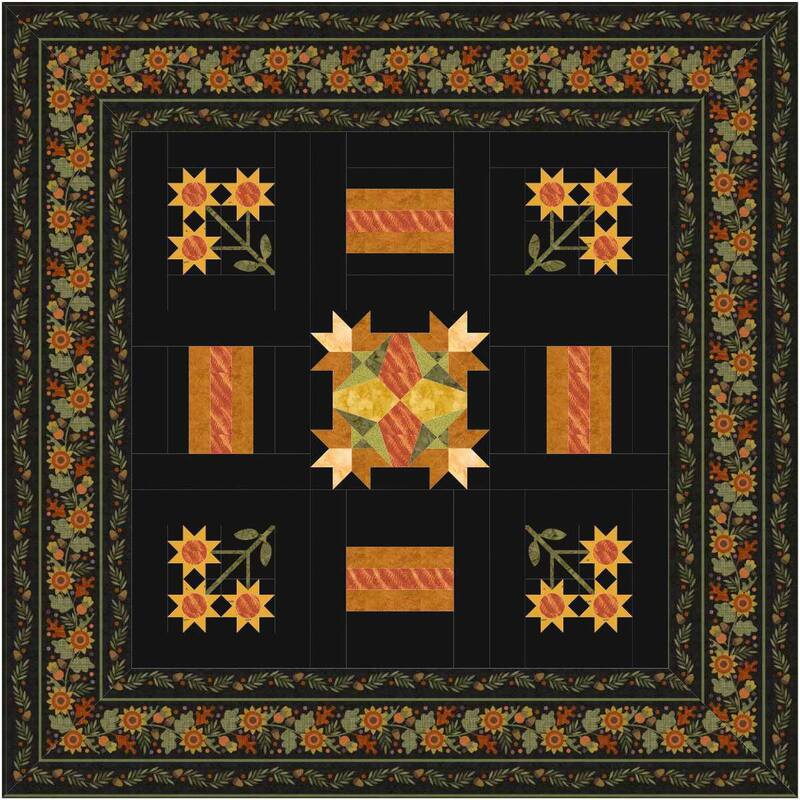
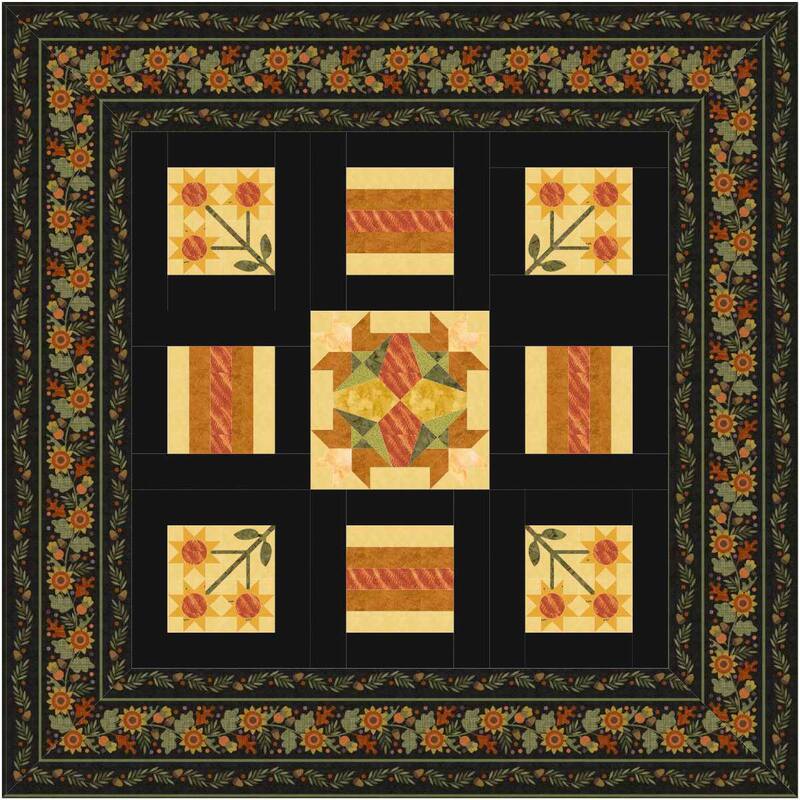
The block for this weeks tutorial is primarily pieced and drafted in EasyDraw. But includes some optional heart applique motifs. I used the fabric collection Leather and Lace and Amazing Grace to color the block and quilt.
I combined the hearts with the fabric collection for the name of my new block - Heartfelt Grace. Scroll down to see some fantastic EQ8 designs in the latest Tech Know Quilter showcase. Heartfelt Grace Electric Quilt 8 Tutorial
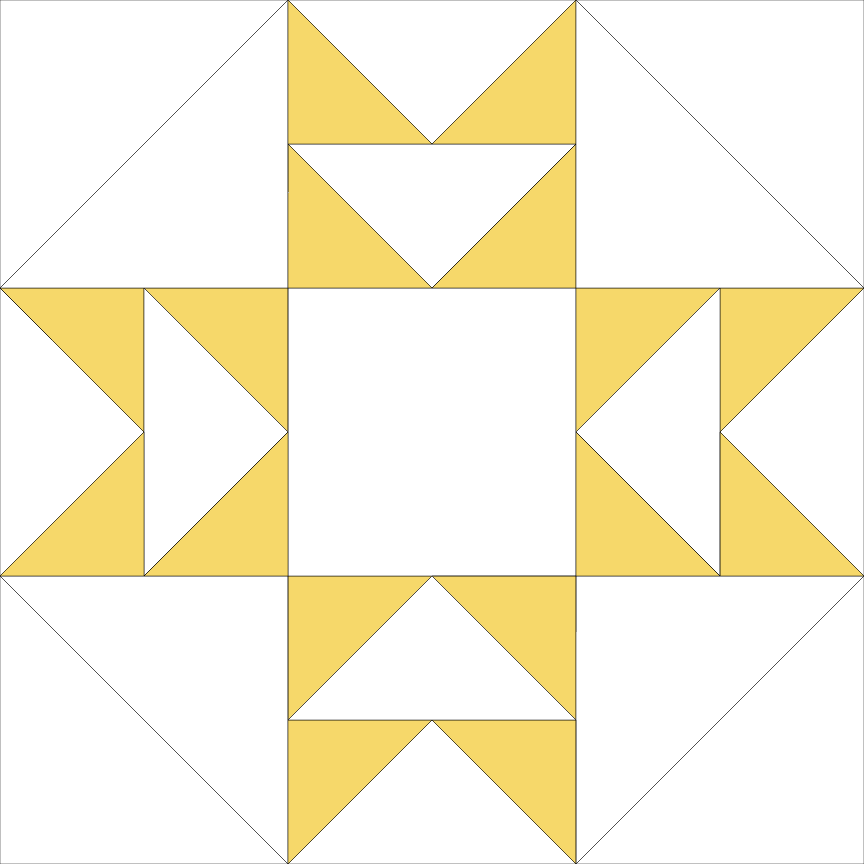
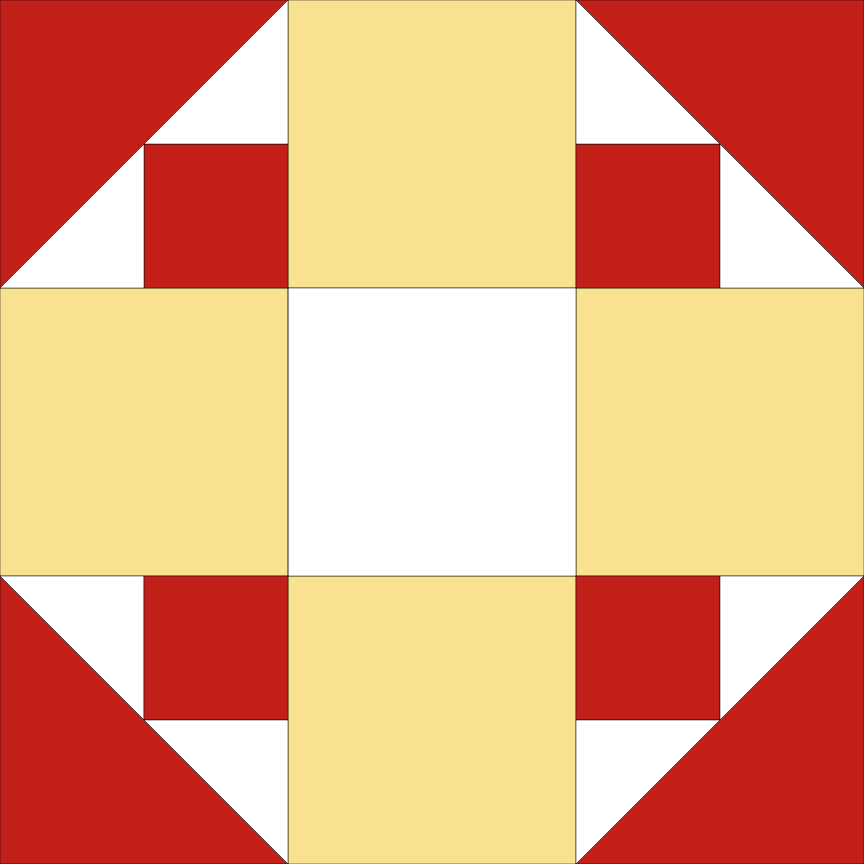
The inspiration for this block came from two different blocks in Block Base+.
Block Base Plus is based Barbara Brackman's Encyclopedia of Pieced Quilt Patterns. This book is the perfect resource for identifying 4000+ historic blocks plus the names and publishing information. The blocks are EQ friendly and can be used in Electric Quilt 8. Check out my review of Block Base + here.
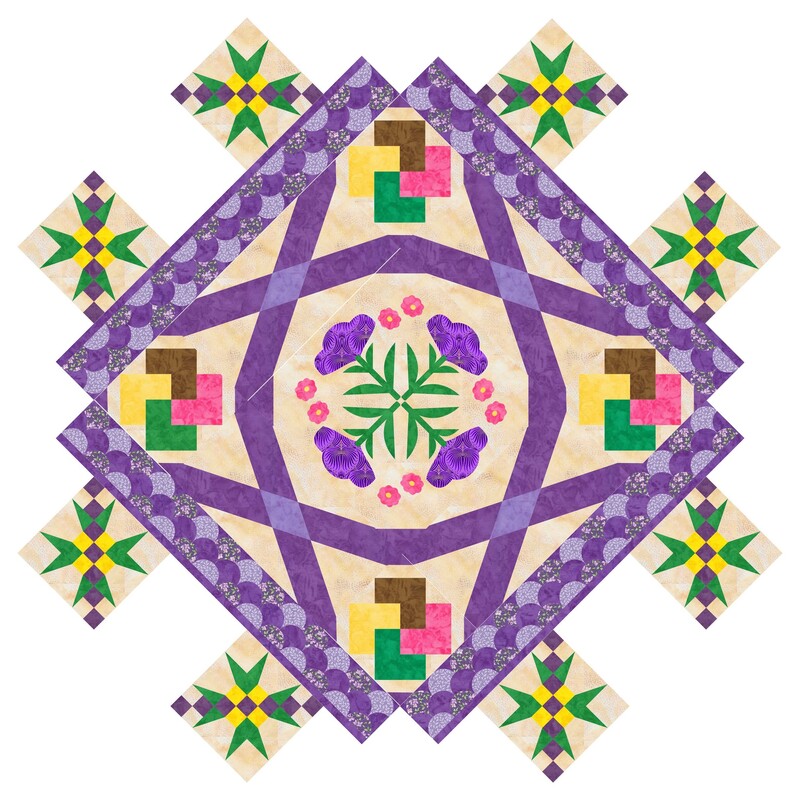
Adding Bands Around the Octagon Shape
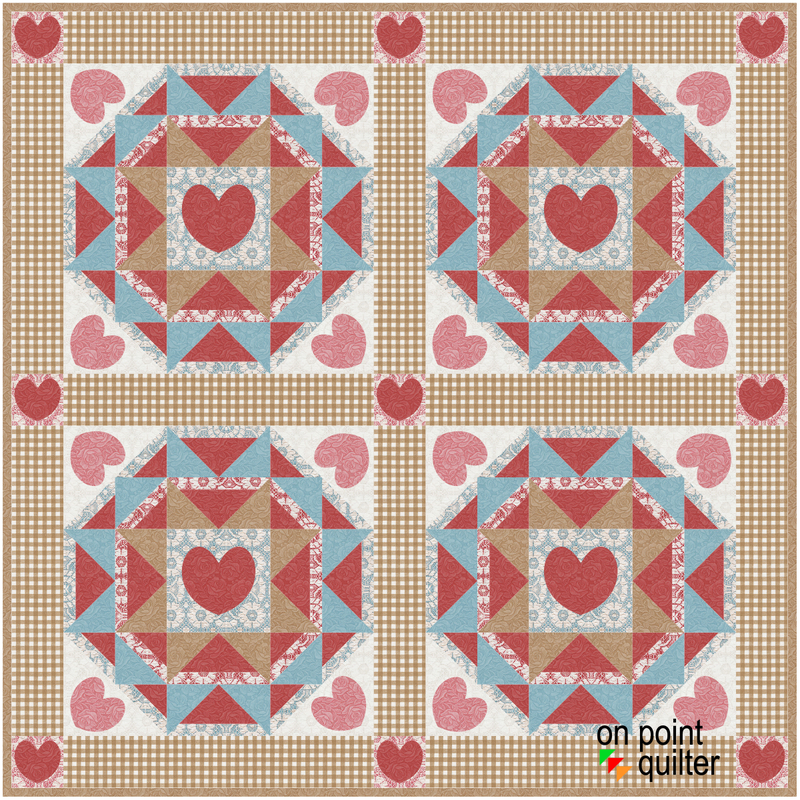
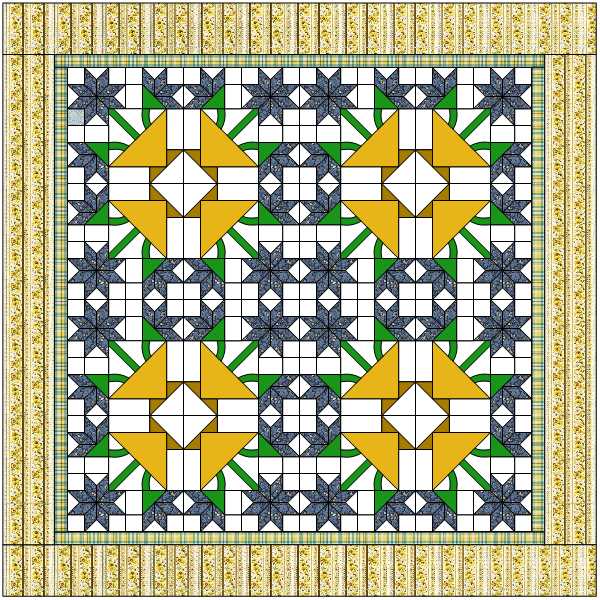
Heartfelt Grace Quilt Design
See how to create your own Heartfelt Block and Quilt in the complete video tutorial.
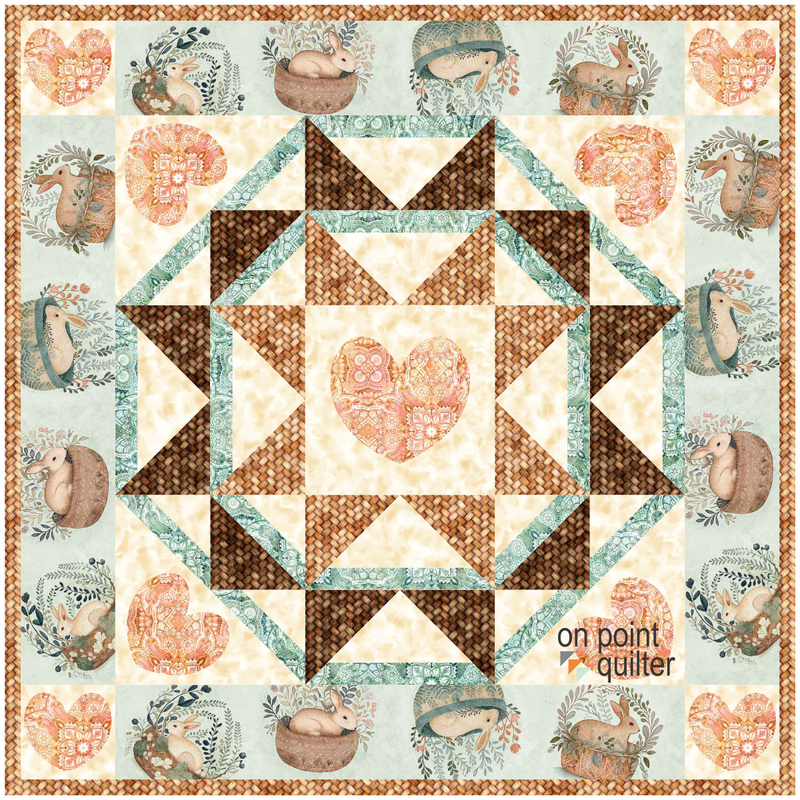
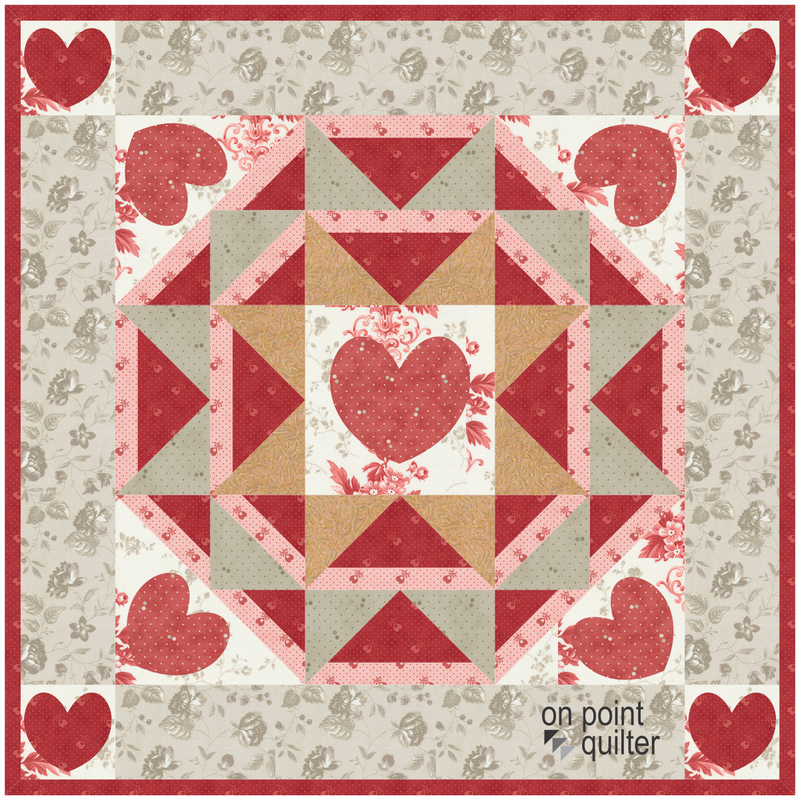
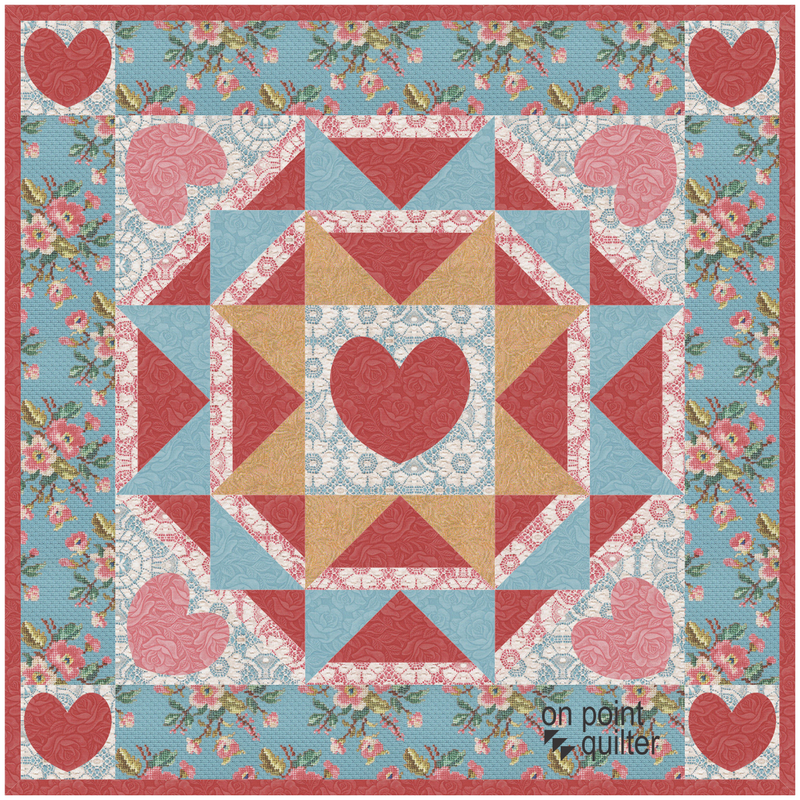
Here are the quilts from the video.
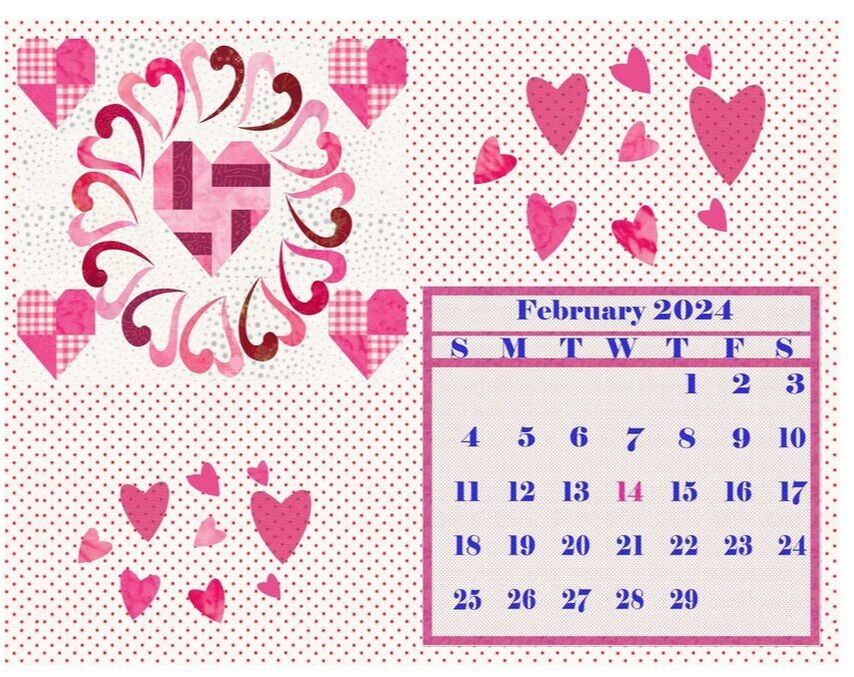
I also did a variation of the quilt -- with just one block. Valentines Day is just around the corner. So this might be an easier option to be complete in time.
It isn't included in the video, but I played with a couple of different fabric collections as well.
I look forward to seeing what you decide to do with this design -- or maybe you will be inspired to create your own "banded" block. Share your creation in the Learning EQ Facebook Group.
Tech Know Quilters Showcase
Each month I encourage Tech Know Quilter members to share favorite projects from their class for the month and applications of the concepts for their own quilts. Here are their submitted designs for the December Month-End Challenge.
I am so grateful to be able to assist an amazing group of quilters and designers in their Electric Quilt journey.
Tech Know Quilters is a membership program focused on mastery of Electric Quilt 8. We have members at all stages of their Electric Quilt journey.
Click here to learn more.
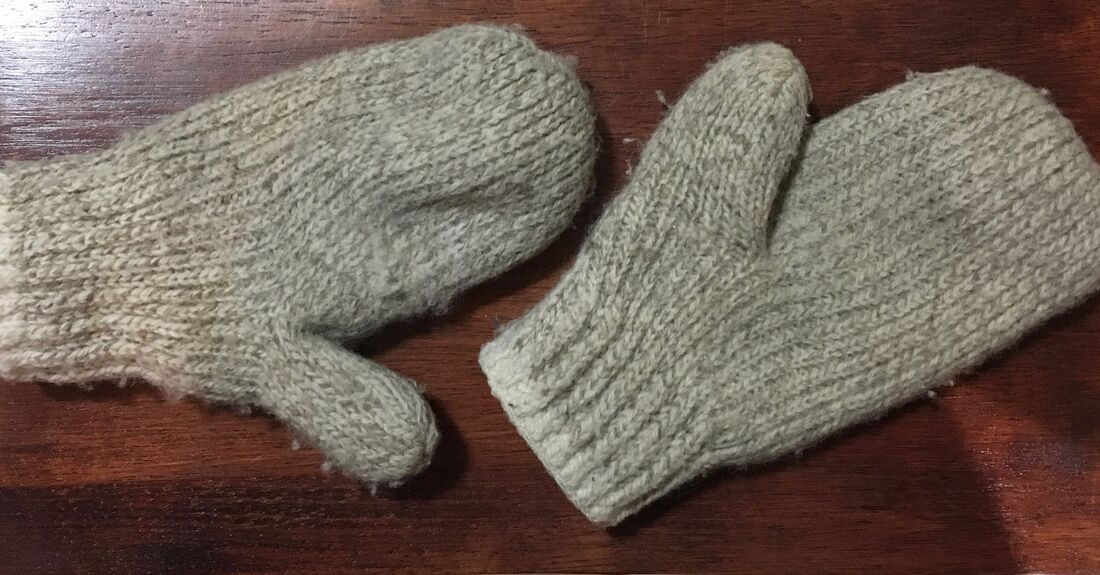
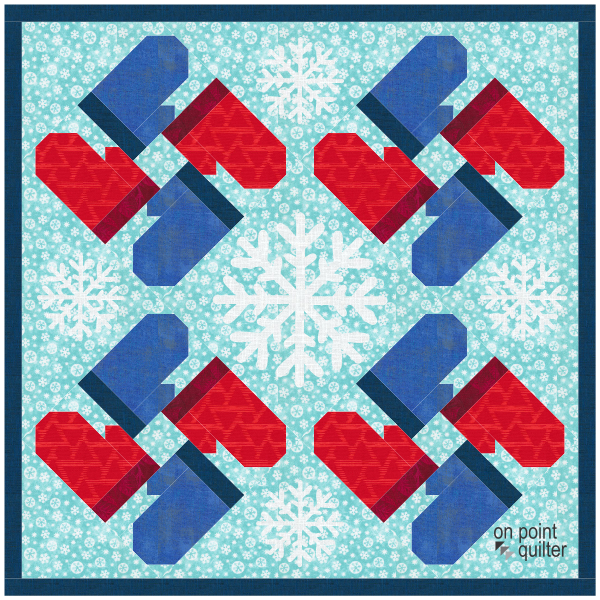
The last week has been a cold one. And for those of us in the Midwest, it is another week before the planned warm-up. The weather definitely had me looking for my best mittens.
These are made of wool and have kept my hands warm even when cross-country skiing in sub-zero temperature.
Gloves may be considered more "adult" -- but mittens are definitely warmer. Mittens are warmer than gloves (made with the same materials) because, unlike with gloves, your fingers can share warmth. Mittens also have less total surface area for body heat to escape.
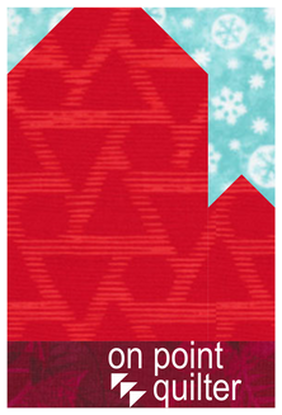
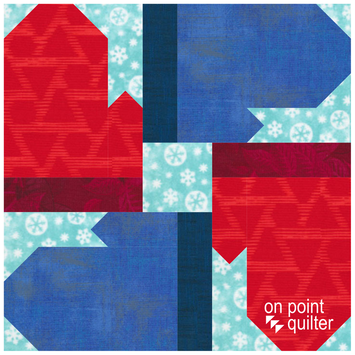
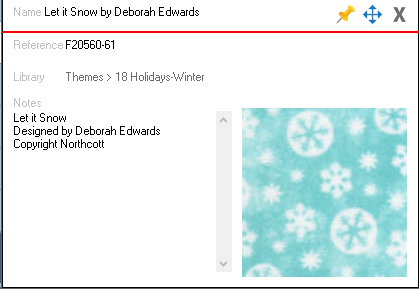
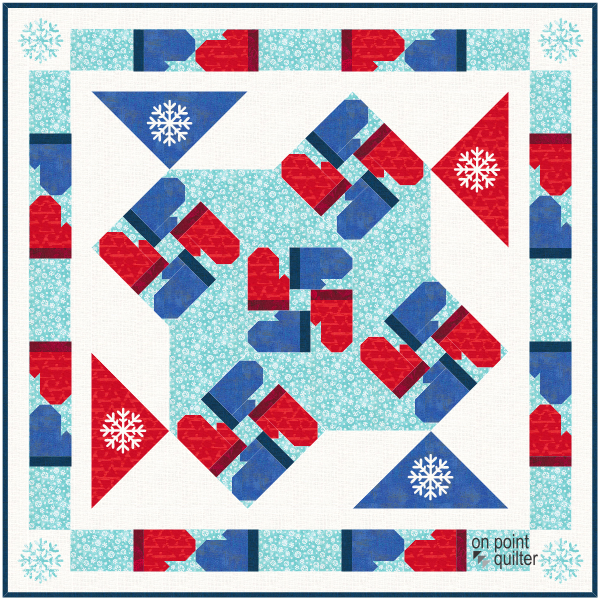
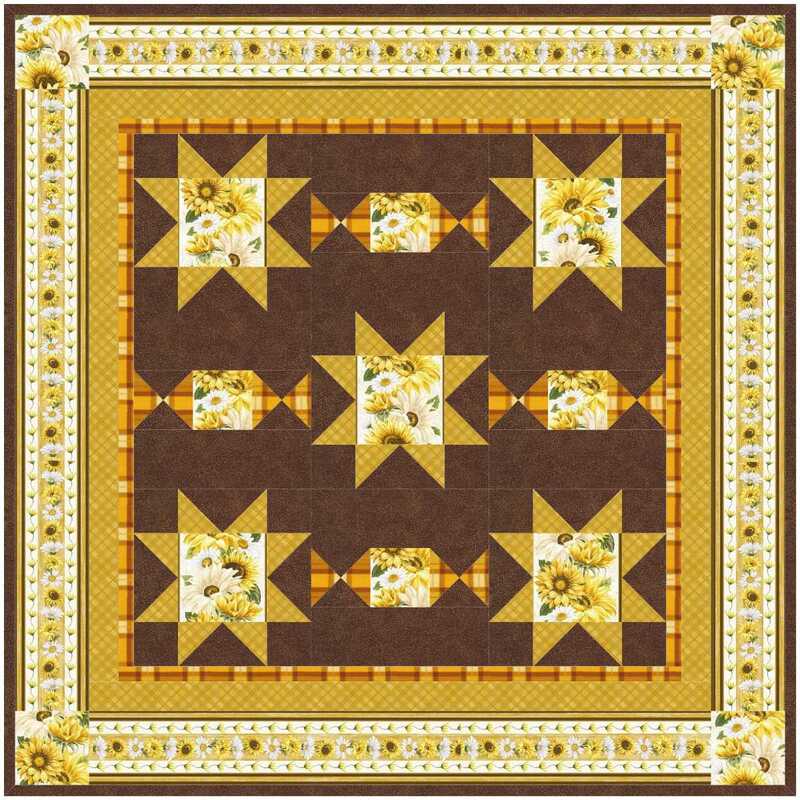
I didn't include this in the video, but I came up with a couple of ideas to use the mitten block. Can you guess the layout that was used for each of these quilts. Both of these quilts use the snowflake motif from last weeks blog post.
If you missed the post with the snowflake motif, you can learn more here (and make your own mug rug).
I look forward to seeing what you do with the Mitten block(s). Share your designs on the Learning EQ Facebook group.
TKQ Masters Border Challenge Show
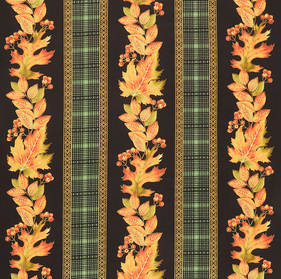
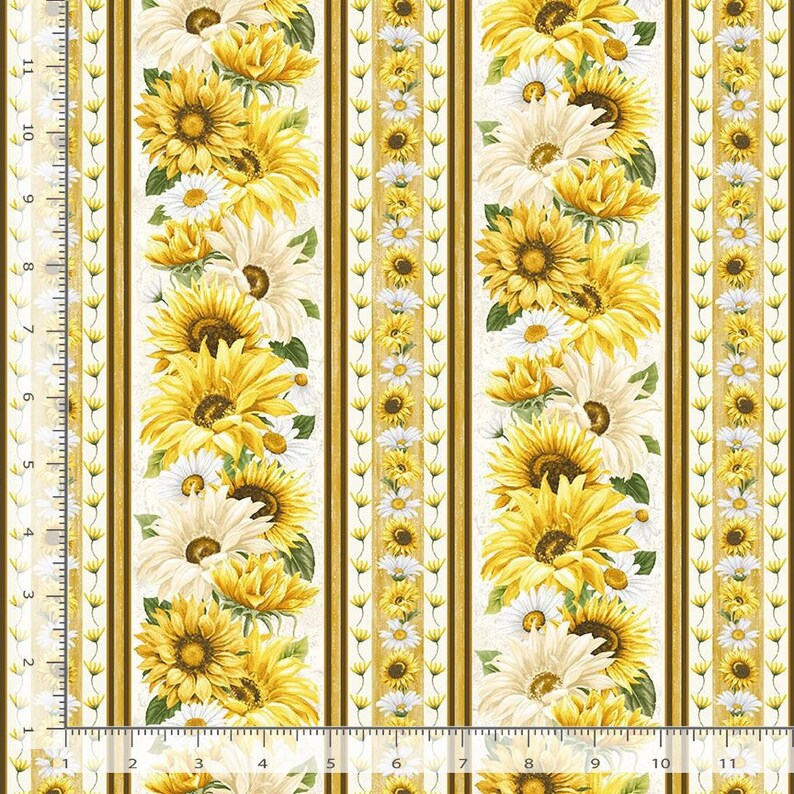
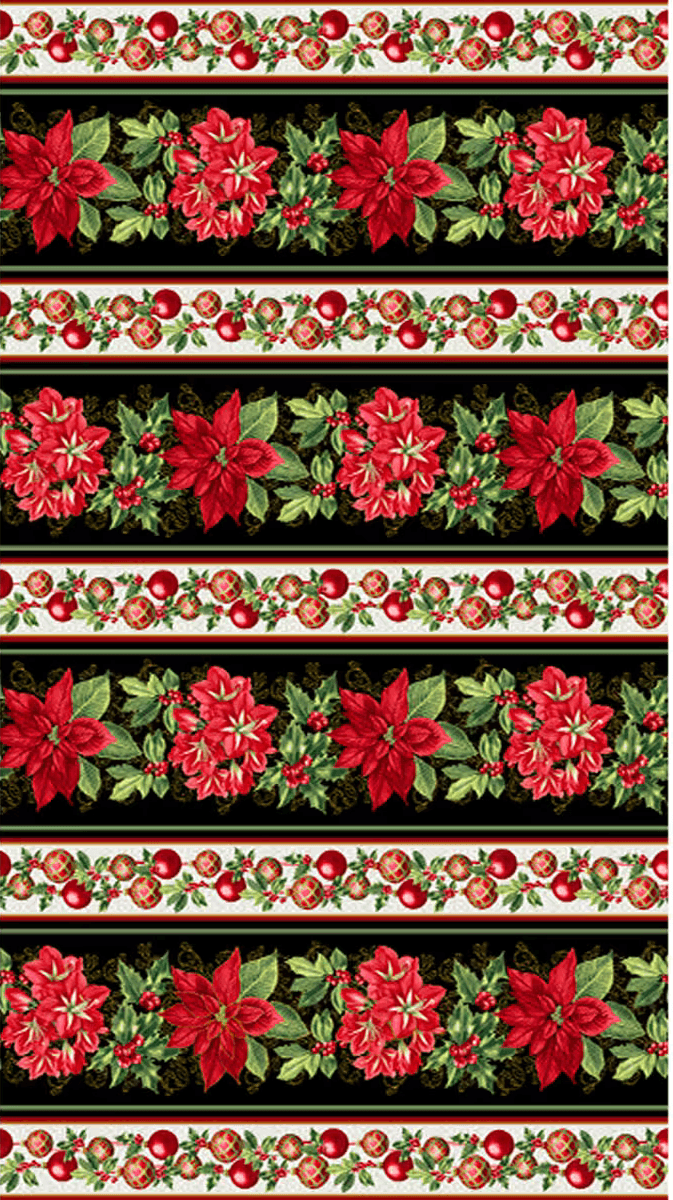
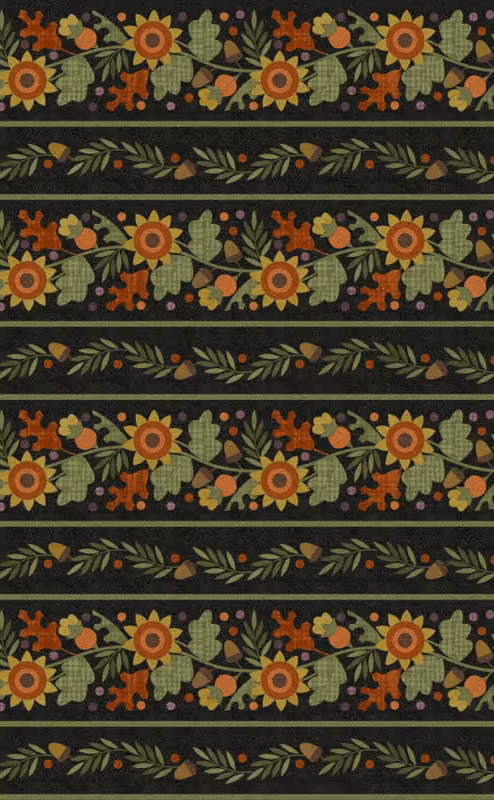
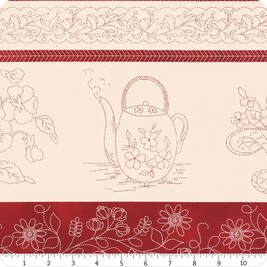
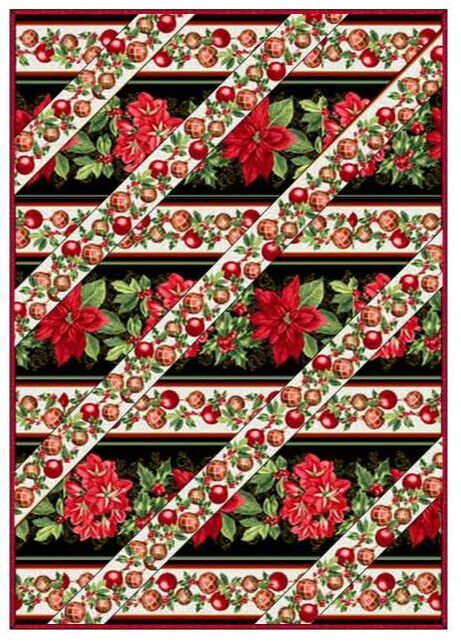
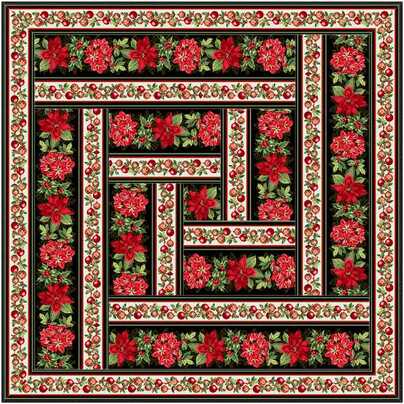
In November I challenged members to design a quilt around a border fabric. How many of us have that perfect fabric -- and then are afraid to cut it up. The solution is to cut it up virtually first!
I found three different border fabrics for them to design around. However, none were cropped and sized correctly. So they first had to start with fixing that issue. And then incorporate the border fabric in a block or quilt.
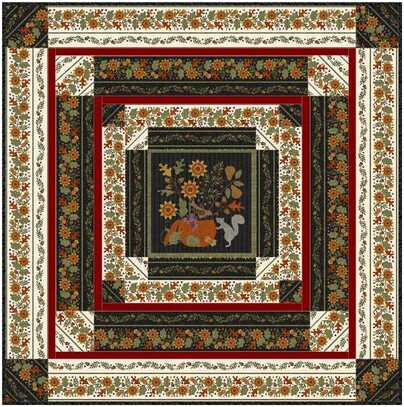
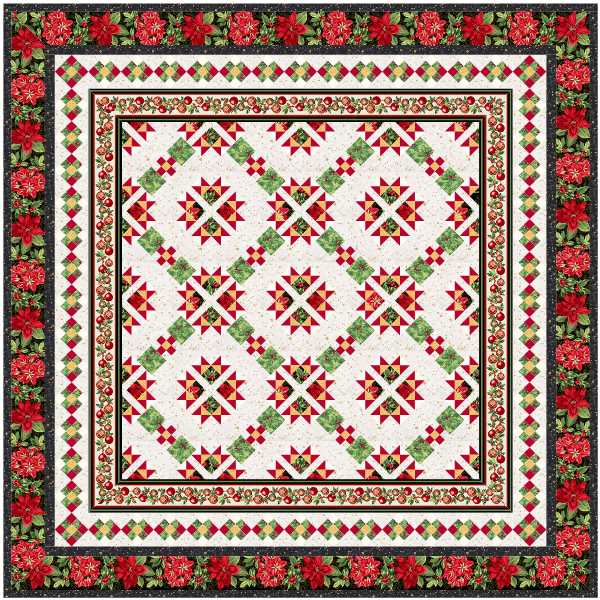
Here are their quilts.
Want to Know More about TKQ Masters?
Tech Know Quilters members are eligible for the Masters program after completing 12 months of Tech Know Quilter classes. Masters members receive fewer lessons each month, with more time to devote to their own projects and challenges.
Drop me a note if you have completed over 12 months of Tech Know Quilters and are interested in learning more about the Masters program. You can learn more about the regular Tech Know Quilters membership program and sign up for the wait list for the next open enrollment period here.
In much of the country, it is going to be much colder than normal with lots of weather warnings. Not a lot of snow in MN this year -- but we will get the sub-zero temperatures. And that is without wind-chill factored it. On days like that, I love to stay inside with a good quilt to work on and some nice warm liquid to ward off the chill that seems to penetrate even the inside of the house.
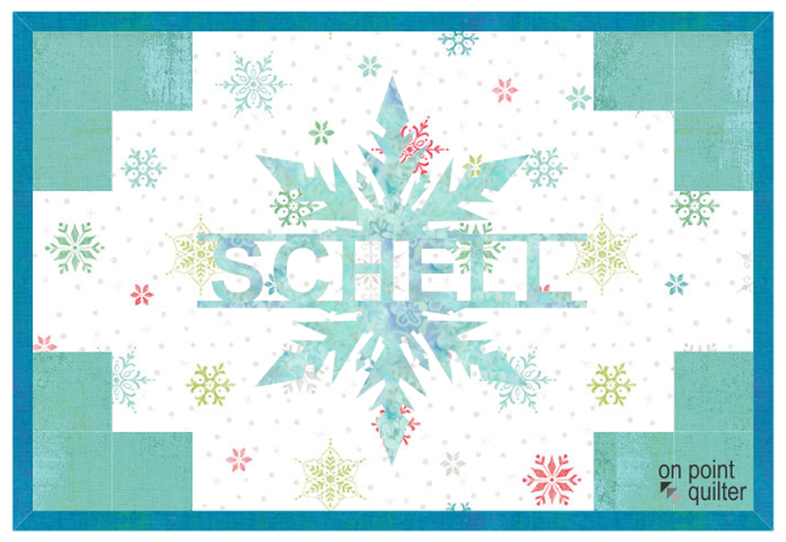
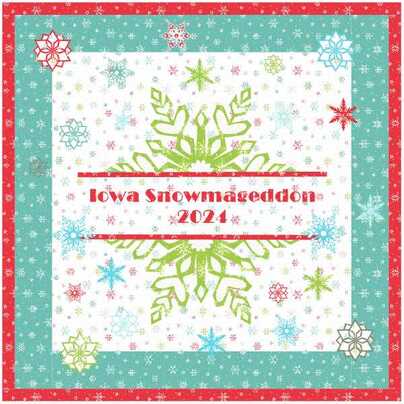
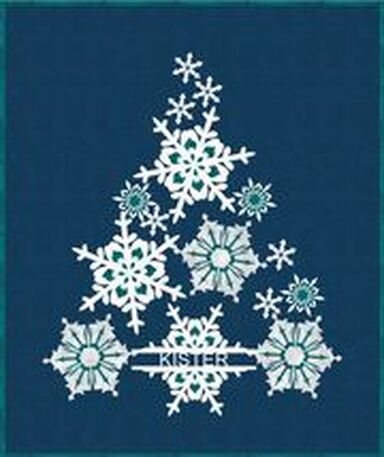
I thought it was the perfect opportunity for a new mug rug to use with a favorite cup of tea. Snowflake Mug Rugs
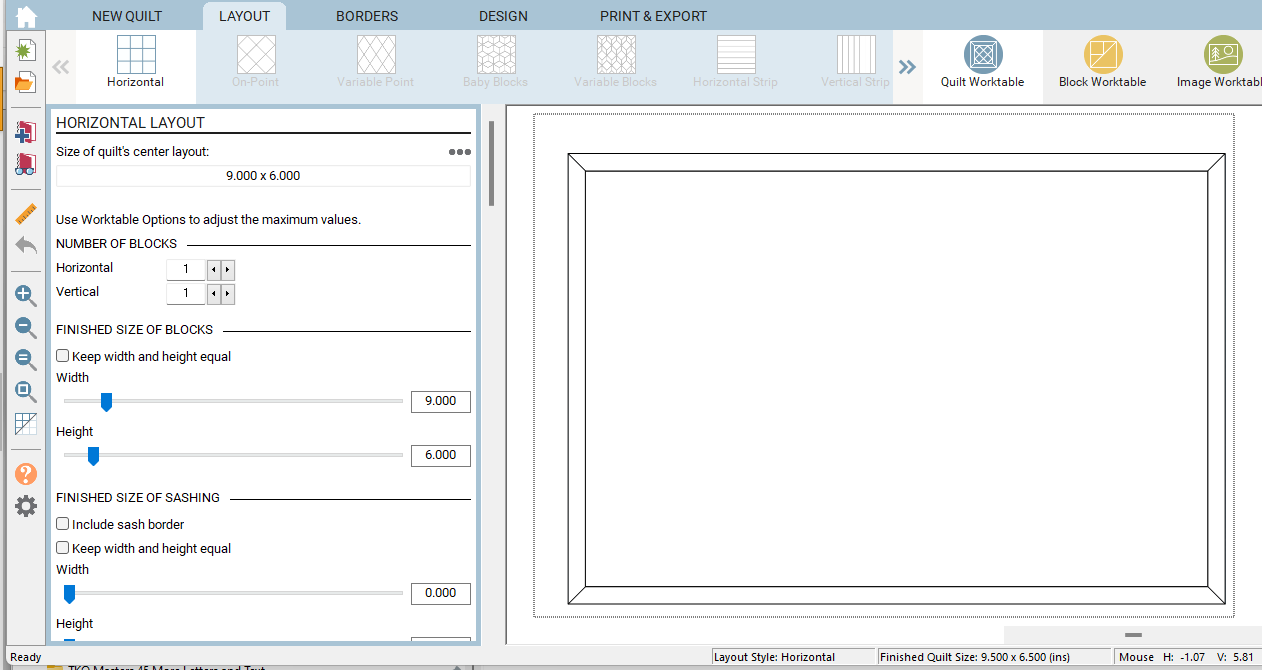
The mug rugs I make are typically 9" x 6". This is a nice size to do a bit of experimenting with a new design or a new concept.
I have been presenting some snowflake ideas to my Masters group this month. In the Masters class we incorporated text in our snowflakes. I promise -- the EQ design presented in this blog post is much simpler than the design concept I shared with them.
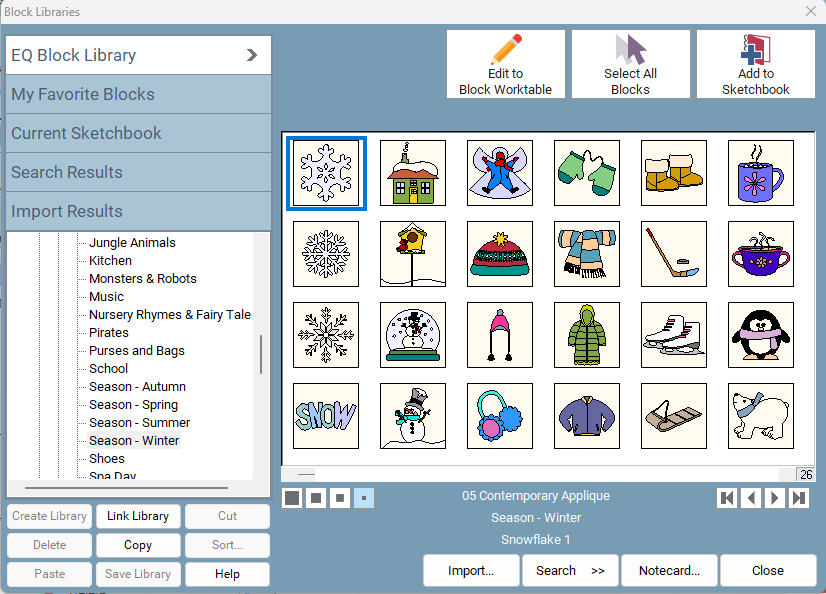
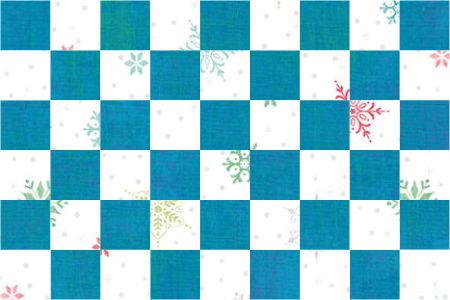
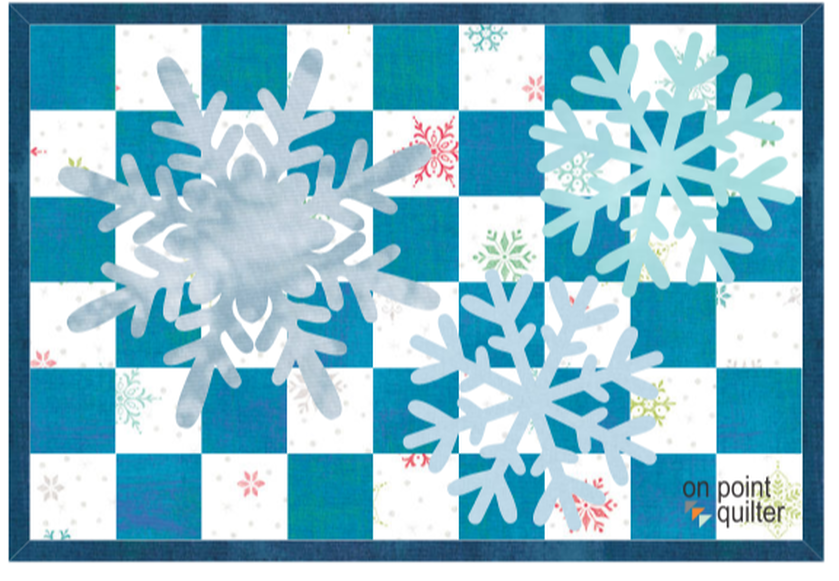
On the Design tab, place the checkerboard block on Layer 1 and three snowflake blocks on Layer 2.
Resize and rotate the snowflakes. A little bit of coloring and you are done.
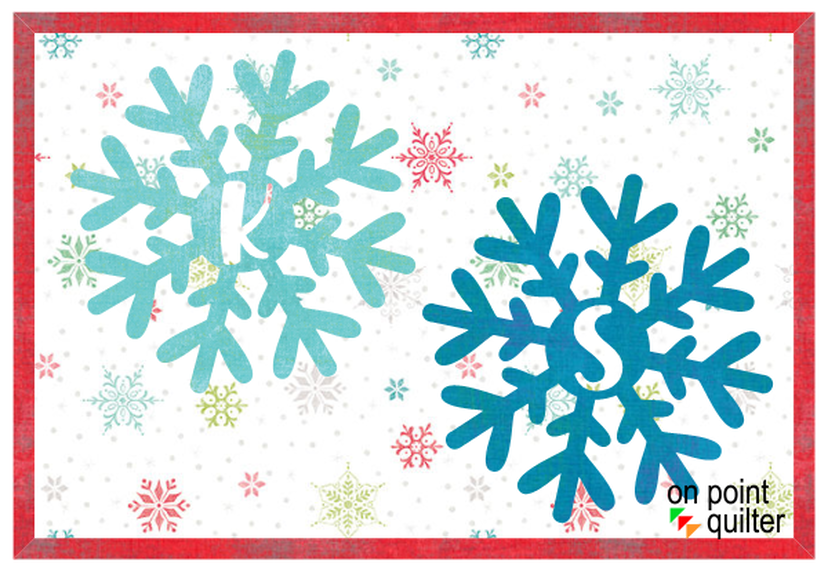
For an alternate design, delete the pieced block and replace with a single fabric.
On Layer 2 include two of the snowflakes with the circle center. Use the text tool to add a monogram to each snowflake. I used the font Mr. Rabbit that I obtained from Creative Fabrica a number of years ago. Pick a bold font from the fonts on your computer. If you need some new fonts, check out the free fonts currently available at Creative Fabrica.
Learn how to draft these two Snowflake Mug Rug quilts in this weeks free video tutorial.
I would love to see your mug rugs. Feel free to post in the Learning EQ Facebook post. I have set up a post for sharing.
I also decided to play with one of my blocks from the TKQ Masters class on Letters and Text. (No instruction provided in this blog post).
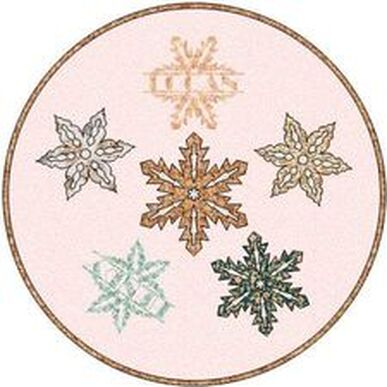
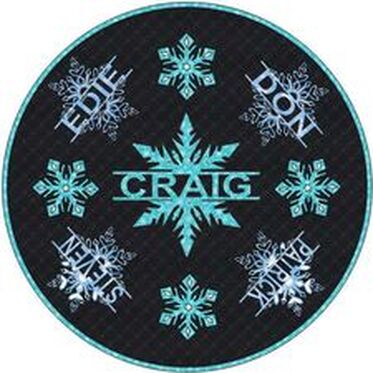
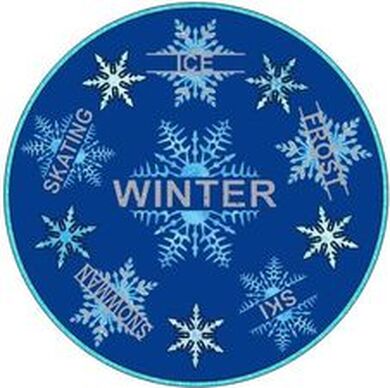
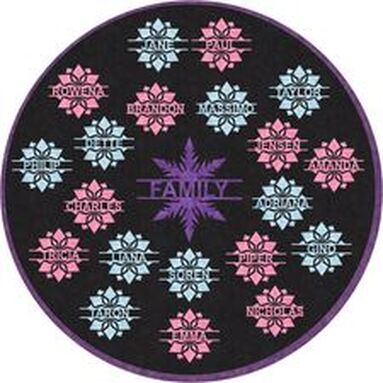
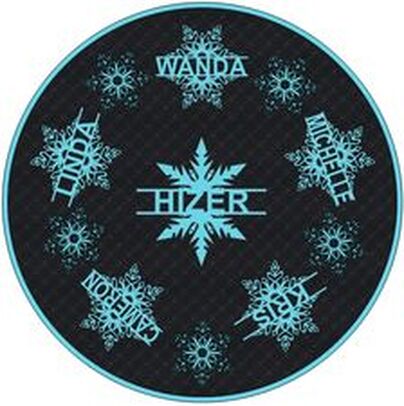
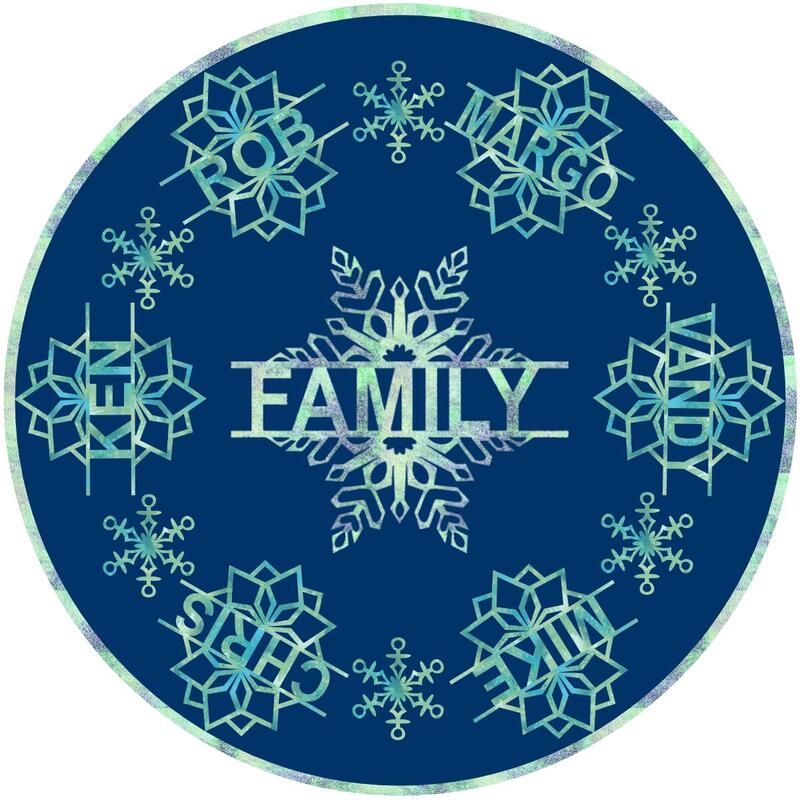
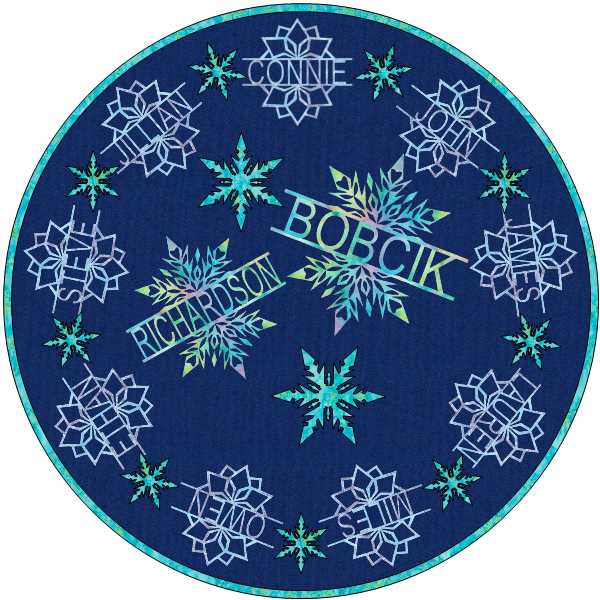
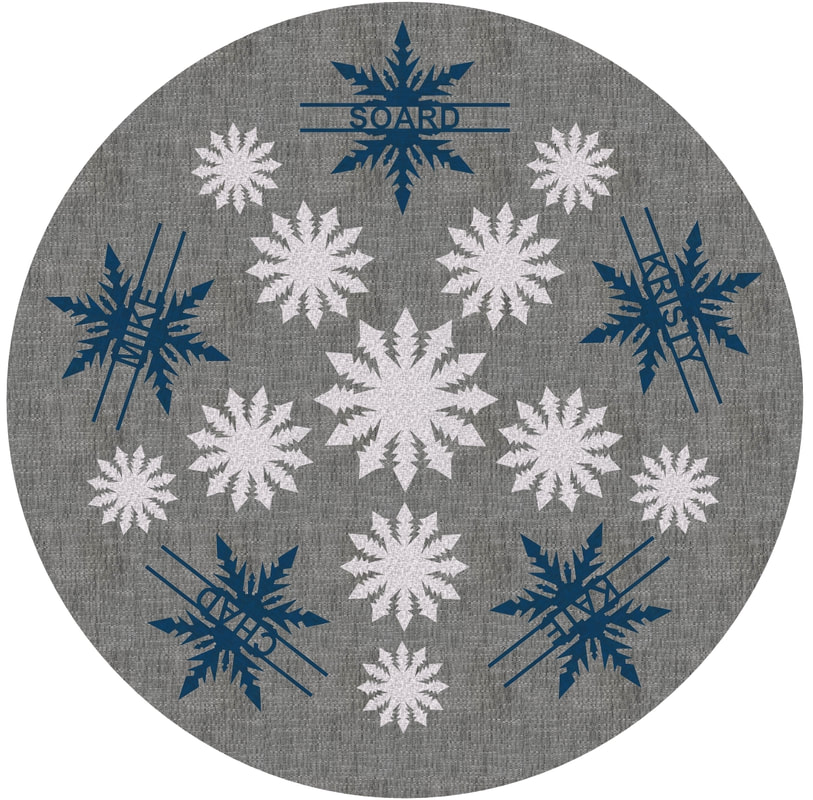
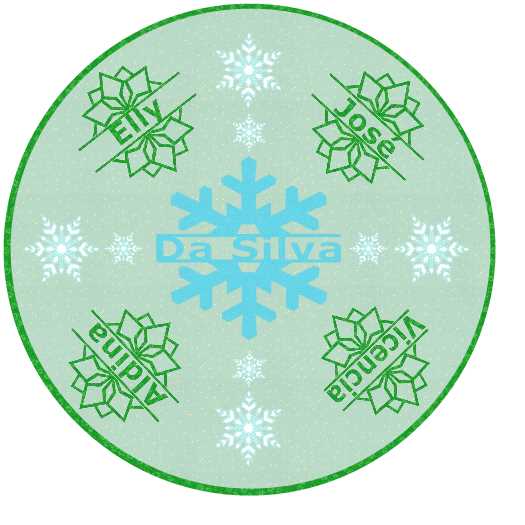
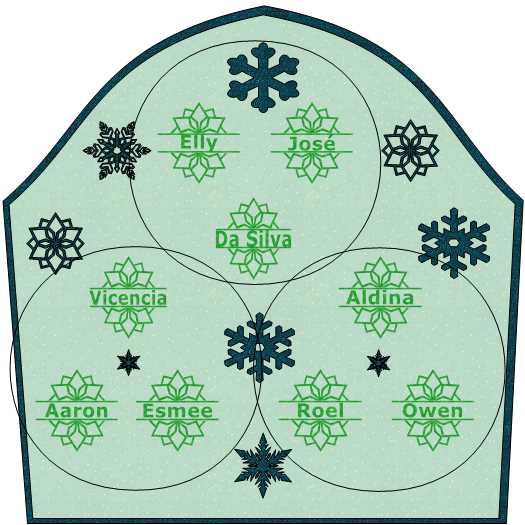
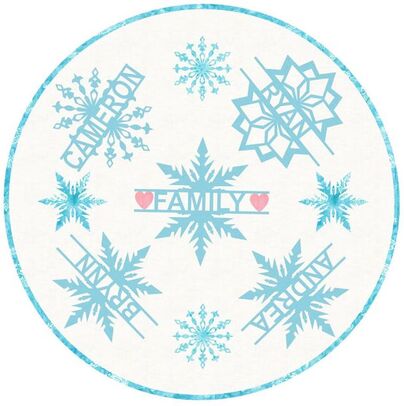
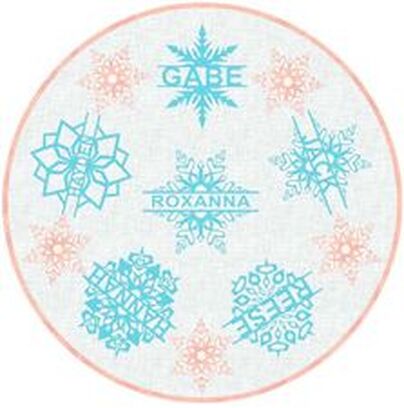
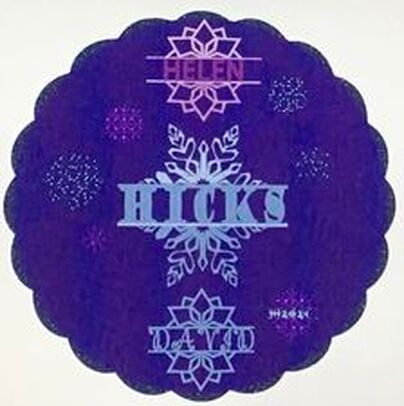
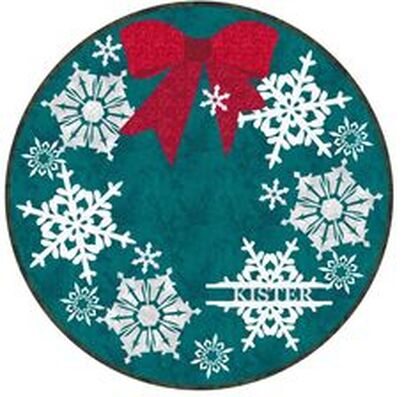
TKQ Masters Snowflake Name Designs
This week, Tech Know Quilter Masters members were working on snowflakes that incorporated names (or other text). Check out some of their amazing designs as they created (for the most part) circular quilts.
If you have completed twelve or more months of Tech Know Quilters, you are eligible to join Tech Know Quilters Masters. If this interests you, send me a note and I will provide you more information on the program.
Electric Quilt has a lot of features in the Image Worktable. Many that aren't regularly used by quilters. Until today!
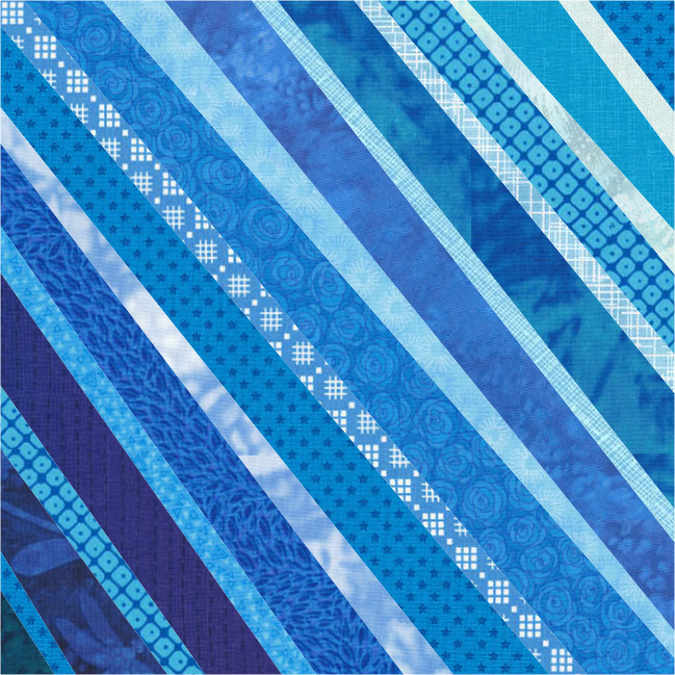
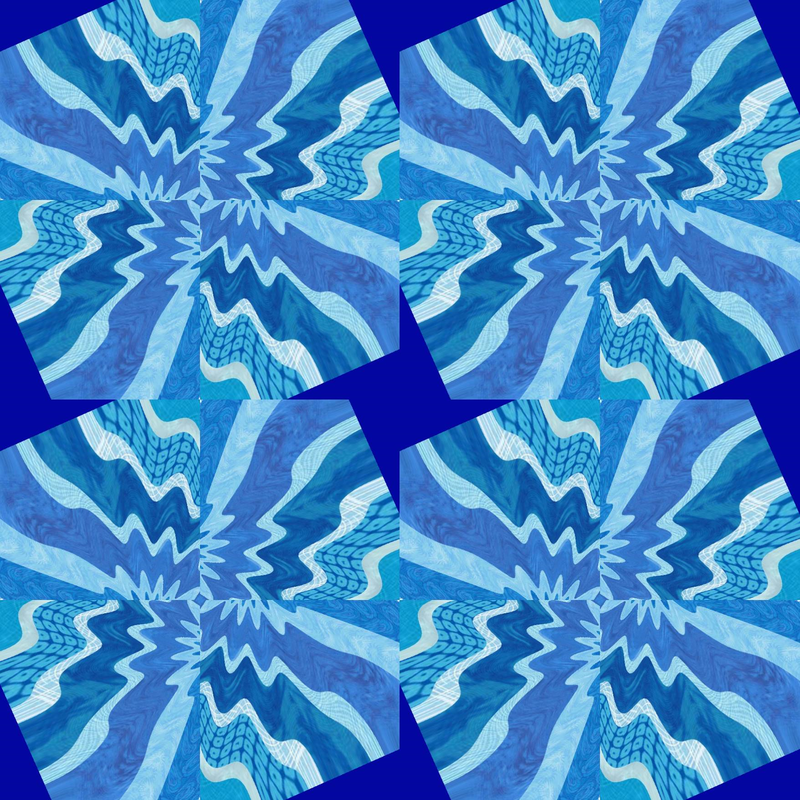
My tutorial will share a few of those tools to create works of art. And they will all start with a block using EasyDraw with a series of slanted lines.
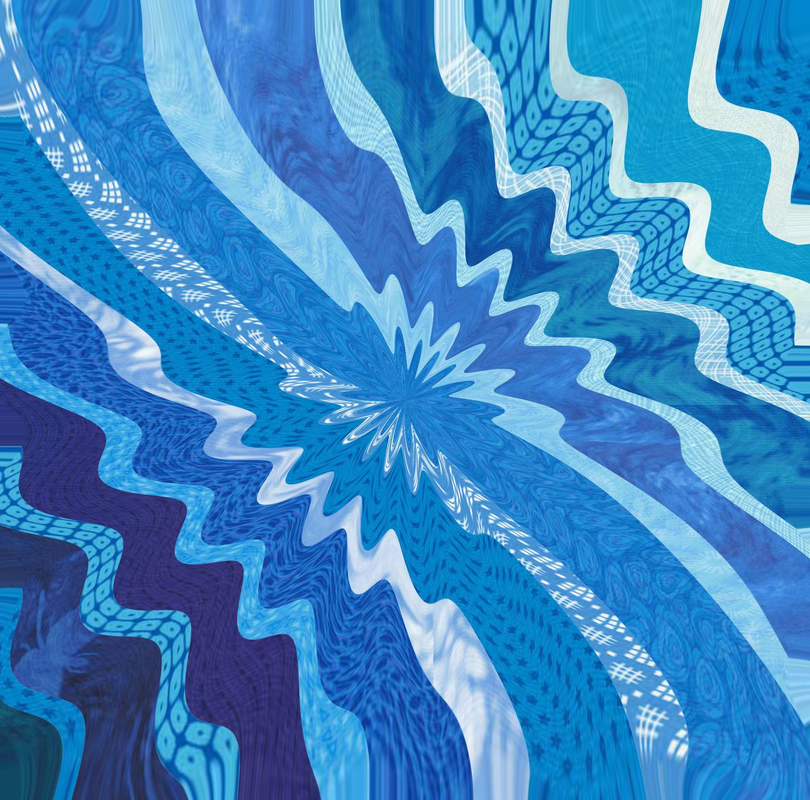
The real magic happens on the image worktable. The image worktable isn't just for cropping and resizing fabric images.
Start by cropping the small white borders EQ puts around all its photos from quilts.
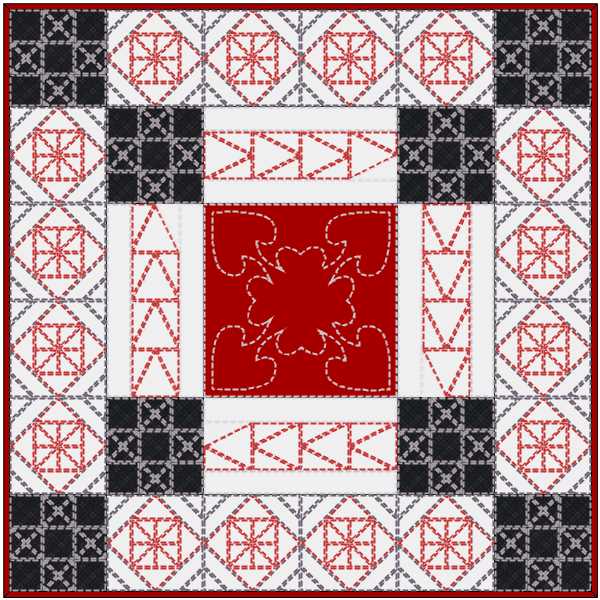
Create the Quilt
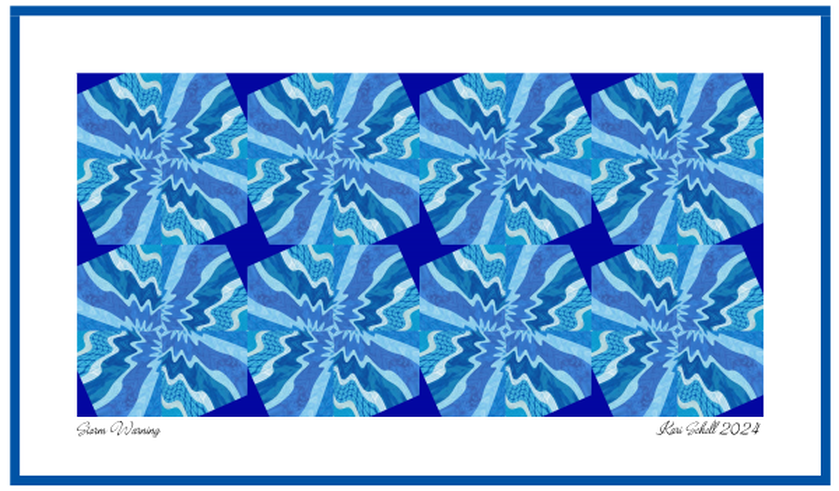
Select the quilt worktable, and set up a quilt. You can decide the size and number of blocks. I decided on a Layout of 2 horizontal and 1 vertical. To give the impression of signed artwork, I decided to add a title along with my name to the quilt. In the video I will walk you through the steps to complete this. The typeface for text can be any font that is installed on your computer. I chose the Armelya script which I had download from Creative Fabrica a few years ago. Here is the quilt from the video. I decided to call it Storm Warning. For some reason I kept seeing the wind and snow resulting in blizzard weather conditions.
Here is the quilt I did with the block created with colors (rathe than fabrics). Which do you prefer?
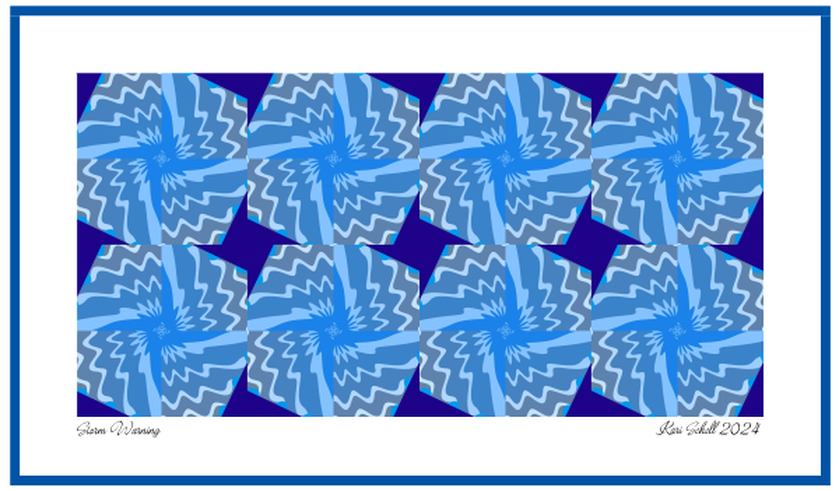 Storm Warning with Colors (rather than fabrics) using EQ8 Storm Warning with Colors (rather than fabrics) using EQ8
See exactly how to create this design using EQ8 in the video tutorial.
I am looking forward to seeing what you do with this concept.
Try using a different block. Or try exploring some of the other options on the quilt worktable. Keep playing until you find something you like and create your own "artwork".
Construction Thoughts
Note that Image designs cannot be pieced or appliqued -- unless you choose to redraft them as blocks. My thought was to print the designs on fabric. Consider changing the block size to 8" and print on EQ Printables. You would only need two blocks for your quilt. Or crop the image to 1/4 of the block. Resize to 4-1/2" x 4-1/2" and print eight of them. |
Kari SchellElectric Quilt Expert and Educator and Pattern Designer. Categories
All
Archives
July 2024
|











 RSS Feed