
|
In 2020 I joined a couple of memberships to expand my own crafting capability. I also found it useful to have an opportunity to experience the online learning experience as a beginner. In addition to learning new skills, the experience is helping me enhance the experience for beginners in Tech Know Quilters -- my online program for Electric Quilt 8.
Learning Inkscape
I purchased a Cricut Maker in 2020 principally to work with fabric. I quickly learned that Cricut Design Space is fairly basic software and as a result it can be a challenge to create your own designs with it.
I found that those who wished to create their own designs are using software called Inkscape. Inscape is a vector graphics program that is free. There are versions for both MAC and PC. And it allows us to convert a pdf document into a svg file. You can read more about Inkscape and download a version here. SVG files can be used by all the major cutting systems including Silhouette Cameo, Cricut Maker, and Brother Scan n Cut. This means if I have any of those systems, I will be able to cut out Electric Quilt blocks and quilts that are printed to a pdf file. The Inkscape class I am taking is from a company called SVG&Me. Greeting Card Design
I stumbled across another membership toward the the end of the year on learning to create your own greeting cards. The instructor is big into Stampin' Up products. But I have been challenging myself to take her concepts and apply them to the tools I already have -- Electric Quilt and Cricut Maker.
Today I will share how I used the concepts I am learning in the Confident Cardmaker membership to design my own card using Electric Quilt 8. The video is focused on creating the EQ card design.
Here is the card/quilt from the video.

2021 New Year Card design in Electric Quilt by Kari Schell
After creating the EQ design, I saved it to a PDF file. Imported the PDF into Inkscape. Deleted the stuff I didn't need and saved it as an SVG file. The SVG file was opened in Cricut Design Space and I cut the necessary pieces for my card.
I used glitter cardstock and added a few embellishment in the final card. 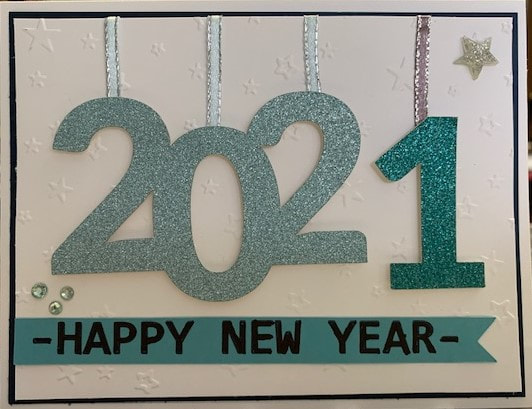
2021 New Year Card Created by Kari Schell using EQ8 and Cricut Maker
I hope this inspires you to design some non-quilt items using Electric Quilt.
Shoot for the Stars with EQ8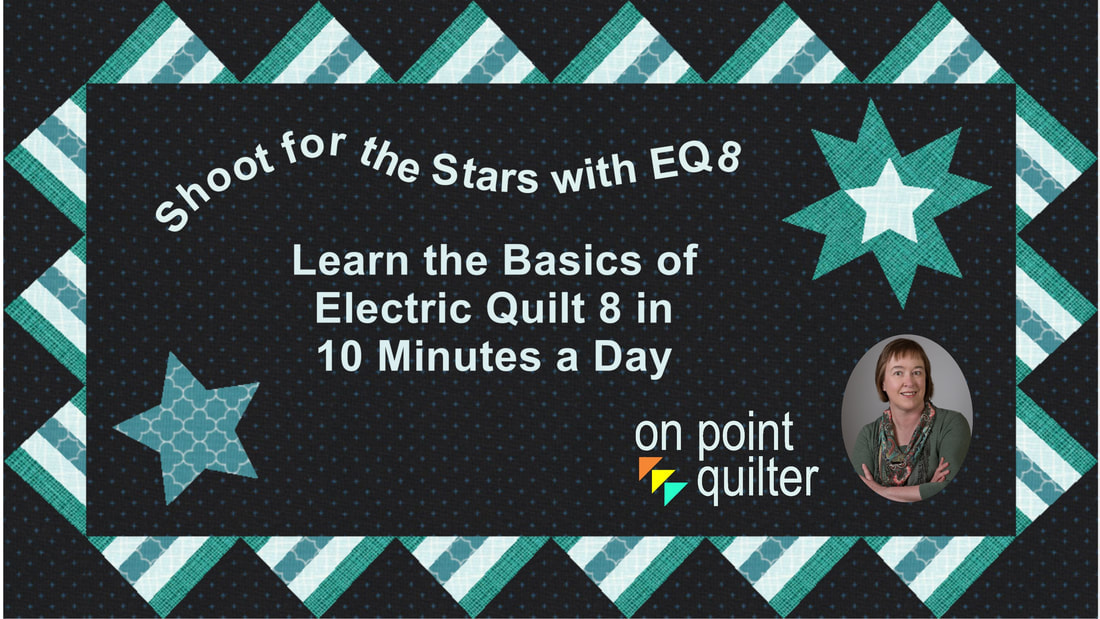
Are you just getting started with Electric Quilt 8 and need some help?
Shoot for the Stars is designed to get you started with Electric Quilt 8 through training delivered straight to your inbox. This series includes 14 short (ie. 5-10 minute) videos delivered over the course of a month allowing you to learn the basics of this complex program in bite size increments. The class is currently on sale for one week at $30 (regular $49). Join now.
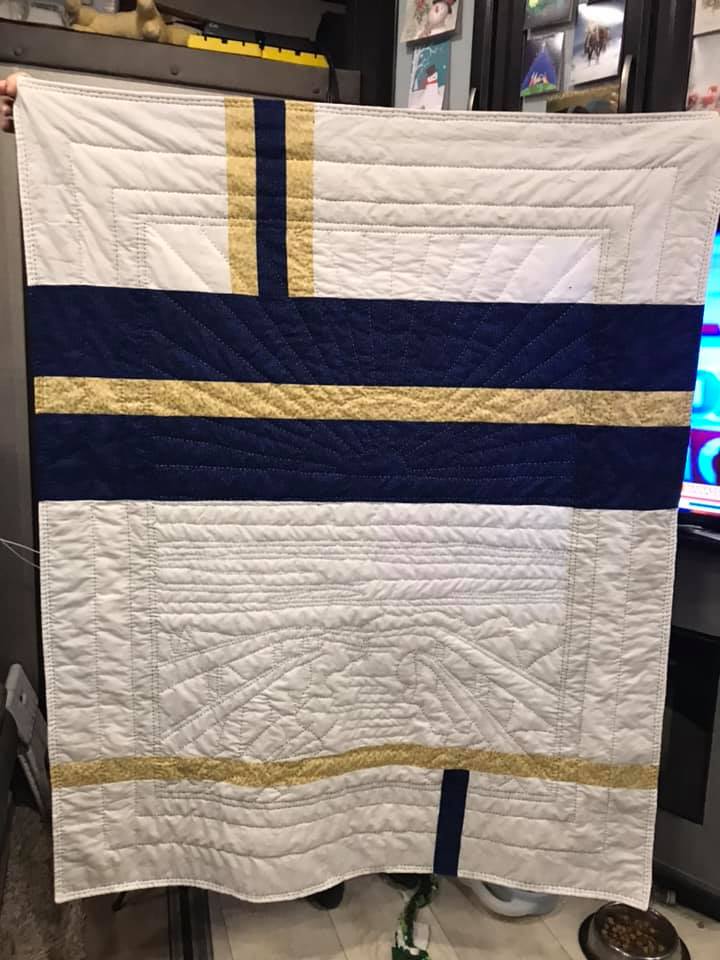
In this blog, I will share with you how I turned my virtual quilt into a "real" quilt during a mini-quilt retreat..
I used 2-1/2" squares of five different ombre fabrics and some English Paper Piecing templates for the hexagons. The background is a grey Kona cotton (Dove) . I added a grey ombre for the binding.
Hexagon Templates from EQ to Cricut Design Space
With EQ and an electronic cutting system of your choice, you will never need to purchase English Paper Piecing templates again -- and you will be able to have complete control over the sizes.
I printed the hexagon template from Electric Quilt to a pdf file. Then I used Inkscape to convert the pdf file to svg. Inkscape is a professional vector graphics editor for Windows, Mac OS X and Linux. It's free and open source. You can download the most current version of Inkscape here. Once I had an SVG file, I could import it into Cricut Design Space and cut out all my templates using my Cricut Maker. This process would also work if you use the Brother Scan n Cut or Silhouette Studio.
This video will take you through the process of going from EQ to Inkscape to Cricut Design Space.
Modern Hexagon Quilt Construction
I used a number of new techniques (at least for me) to construct my quilt.
This video will take you through the major steps of my process:
Here is an Amazon link to the glue products used in the video.
Note that these are affiliate links and I will receive a small commission if you purchase from the link.
Here is my finished project (100% completed at my mini-retreat). It feels so good to have had some sew time along with a chance to catch up with some quilting friends. And I could get really spoiled with the four tables per person -- to help us with social distancing.
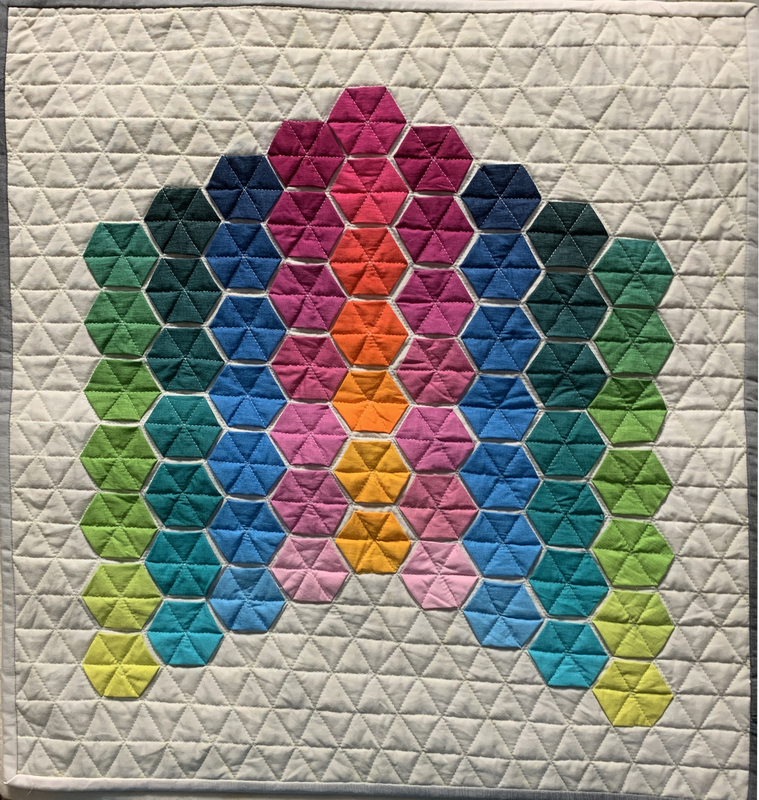
Modern Hexagon Quilt by Kari Schell
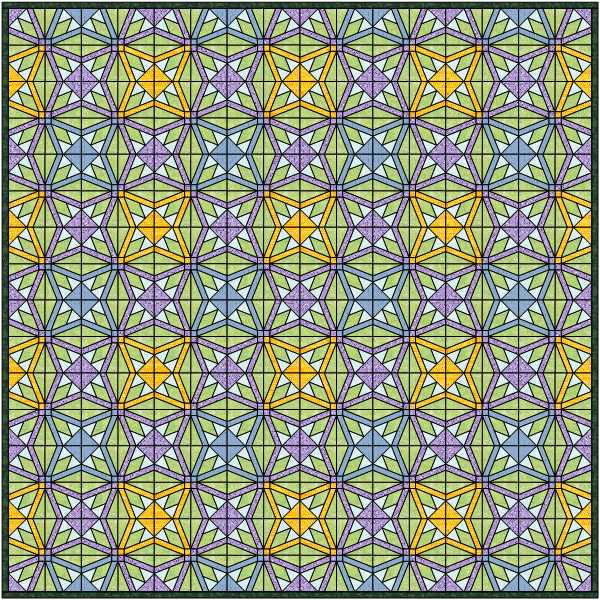
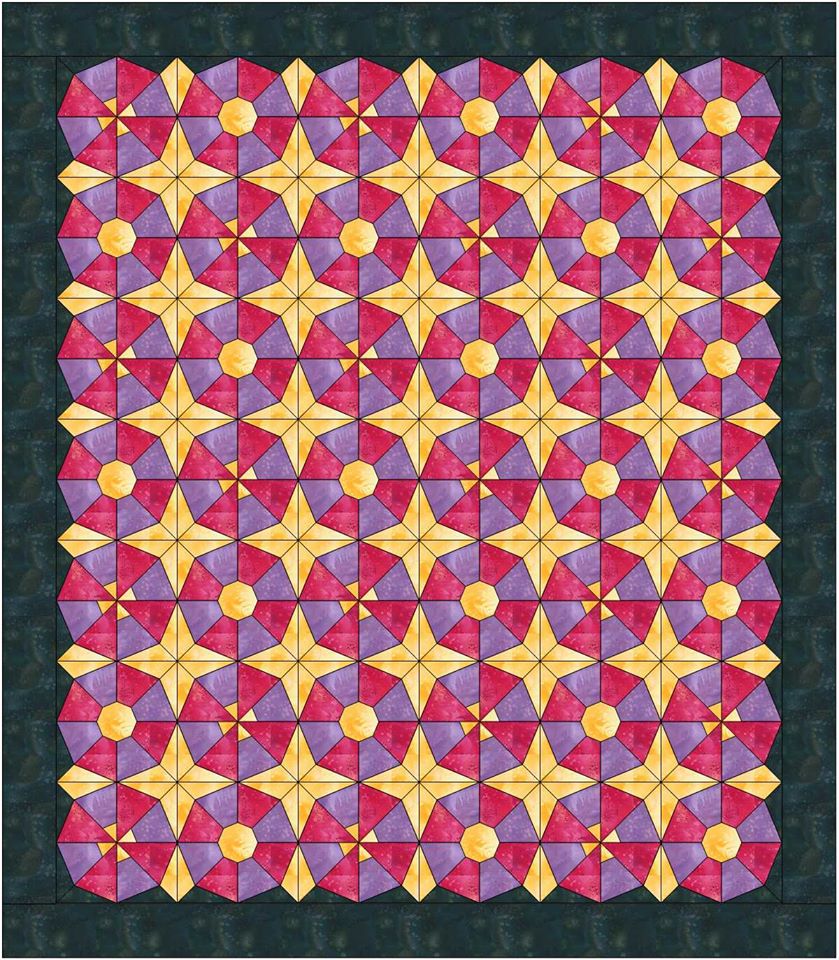
Last week, some creative modern hexagon designs were shared in the Learning EQ Facebook group. Great job ladies!
I am departing from my normal Electric Quilt post this week. My tutorial will focus on using Cricut Design Space to prepare and cut out my applique block that was created in Electric Quilt 8.
I am now ready to bring the SVG files into Cricut Design Space where I will cut all of my fabrics. I also decided to draw the embroidery lines on my fabric using a washout marker before doing the cut. Adding the embroidery lines made the process much more complex. But the video will show you how to work through issues when what is showing in Cricut Design Space isn't exactly what you thought you sent it.
I then will share actually cutting the pieces on my Cricut Maker. Before purchasing the Cricut Maker, I was google searching "how small can I cut fabric patches with the Cricut Maker". All the videos I could find on cutting fabric were doing mega large pieces. However, as a quilter, I wanted to be able to do really small pieces. I definitely put Cricut Maker to the test on figuring out how small was "acceptable". Watch the entire process (with some speed up sections) with my Cricut Maker in this video.
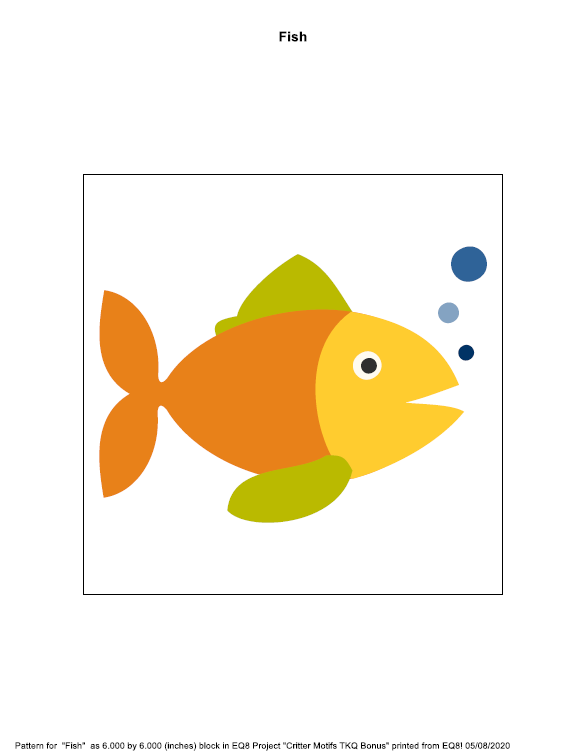
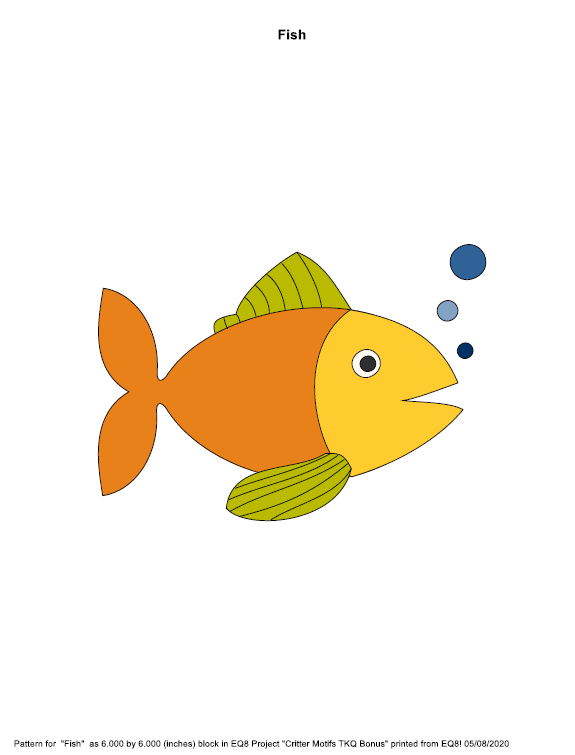
Here is my finished 6" fish motif block. I am heading off to a very small retreat this weekend, where I plan to get a lot of critter applique stitching complete.
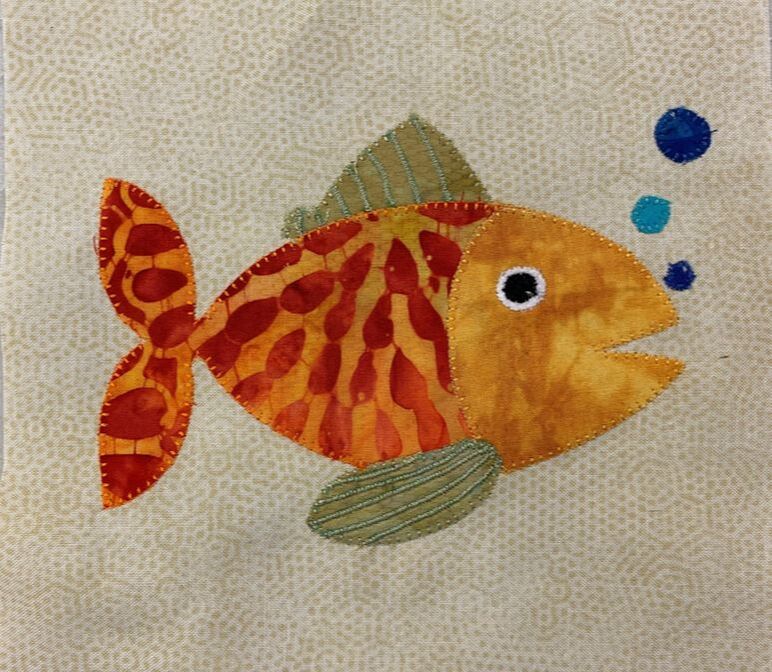
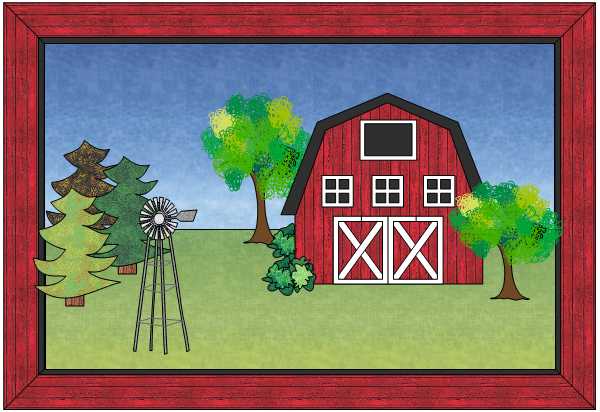
6" Fish Block Designed in EQ and Cut Using the Cricut Maker with the Rotary Cutting Blade.
And if you were wondering -- I am able to cut pieces as small as 1/4 inch with the Cricut Maker. I could even cut smaller pieces, but when I went to remove them from the mat, they disintegrated as they are only a few threads wide.
Scroll down for the free video tutorial on converting the EQ8 critter applique motif blocks to an SVG file.
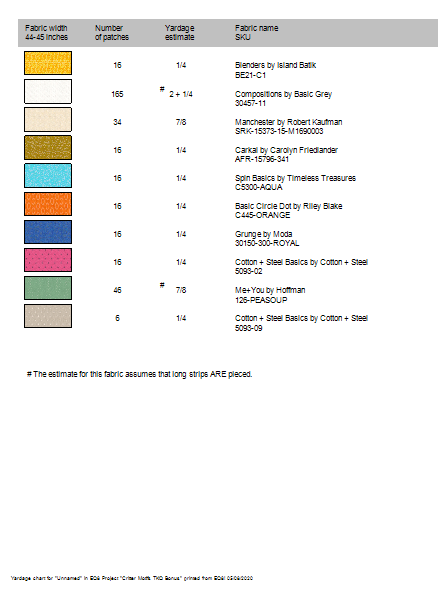
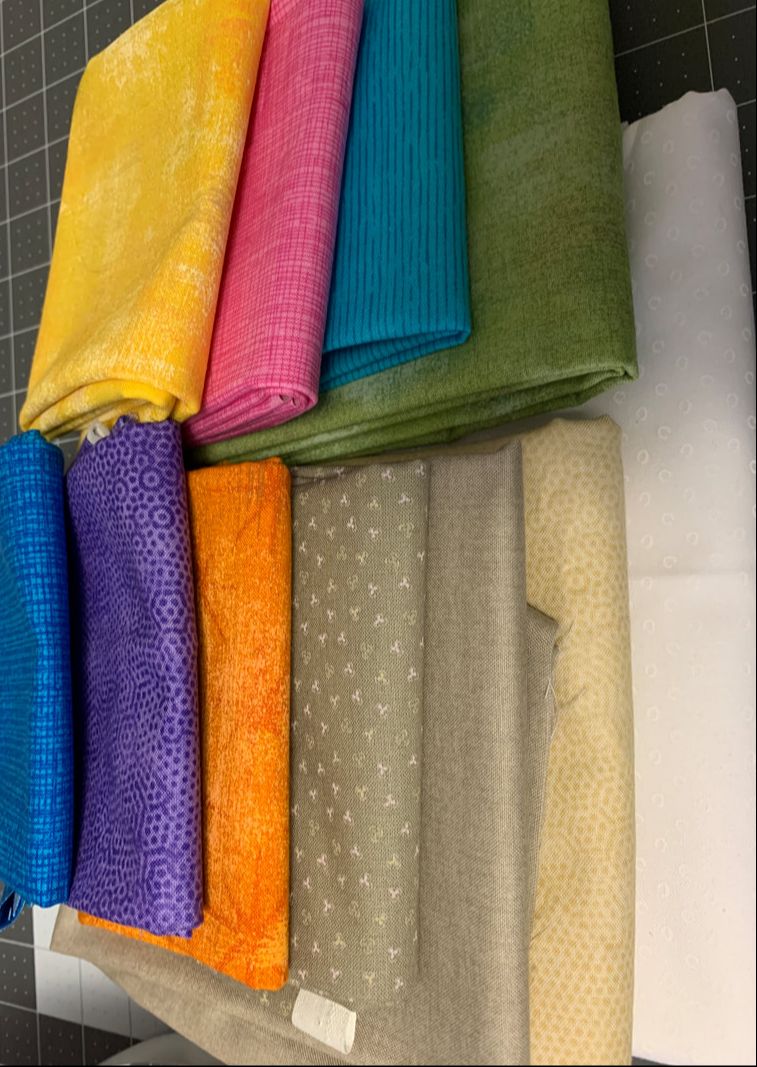
Fabric Collection
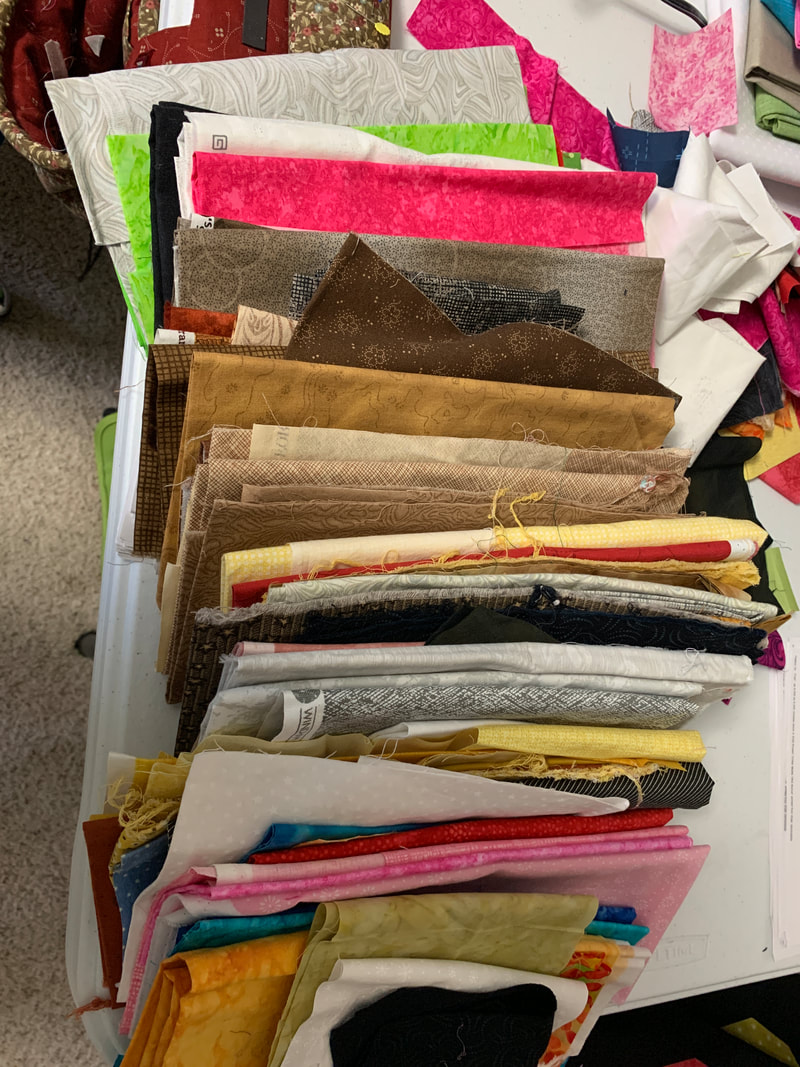
I'm pulling fabrics from my stash for each of the critter blocks. And I talked to a local quilt shop to arrange for fabric for the backgrounds and the pieced portions of the blocks. To come up with the required fabric yardages in EQ8, I deleted all the applique motifs (which is where I am using my stash) and re-pulled the yardage estimates from Print and Export.
I saw a post from a friend earlier this week who was asking about keeping small pieces of fabrics. If you plan to do 6" applique blocks -- the answer is yes. When doing a project like this, I can tell myself that it is good that I have that large collection of fabric.
Can you relate?
I am using my Cricut Maker to cut out all of the pieces for those 30+ 6" applique critter blocks. To prepare the blocks for the Cricut Maker, I needed to convert the applique blocks to SVG files. Electric Quilt does not have an export to SVG option.
However it is easy to do the conversion if you use a program such as Inkscape which can easily convert pdfs to SVG files. Inkscape is a professional vector graphics editor for Windows, Mac OS X and Linux. It's free and open source. Inkscape can seem overwhelming to use when you open it for the first time. However you only need to use a couple of tools within Inkscape -- so this really is a piece of cake. You can download Inkscape here. Inkscape will allow you to create an SVG file which may be used in any electronic cutting system (Cricut Design Space, Silhouette Studio, or Brother Canvas Workspace). So what is an SVG file? An SVG file is a graphics file that uses a two-dimensional vector graphic format. Unlike raster formats such as JPG, GIF, and PNG, an SVG image remains crisp and clear at any resolution or size. There are a few tricks I have learned to make the process go smoothly. I also decided to experiment with also adding in some of the embroidery lines in the file so I could draw them on my fabric when processing the fabric in Cricut Maker and not have to manually trace them later. (Note that drawing on fabric is different then print and cut.) If you aren't worried about adding those embroidery lines, you can plan for less than 5 minutes to convert a file from EQ to SVG once you've got the process down. Learn my process for converting Electric Quilt 8 designs to an SVG file in this free video tutorial as I transfer my fish block from EQ to an SVG file.
If you would like to try this for yourself, feel free to use the two pdf files from the video. Just click on the image to access the pdf file which can be downloaded to your computer.
Next week I will share my process in Cricut Design Space (including cutting out all the pieces) for the fish block.
Saturday -- March 21, 2020 is National Quilting Day. With many of us staying put to help fight the cornavirus threat, there might be some extra time to get a little bit of extra quilting done.
There is lots to inspire you in this blog post. (1) I will share my process for embellishing a canvas bag using my Cricut Maker and a fun block created in EQ8. My first effort with both vinyl and transfer material. (2) Tech Know Quilter members will inspire you with some of their (and my) favorite accomplishments during February. Tech Know Quilter's is a paid membership program for those wanting to receive training an ongoing support in their masterly of EQ8. (3) Tech Know Quilter Masters members will share their results of a challenge to design a foundation friendly pattern based on a photo. Creating a Love to Quilt Bag
As a quilter, I find that I can never have enough bags. We all need a place to store those in-process projects. And it is so convenient when we need to grab a project to work on during the next guild meeting meeting. I even have a group of bags all set to go for my next quilt retreat.
If you can relate, I have a new bag idea for you. It is quilt related -- but there is no quilting involved. Two weeks ago, I created a design and transferred a block I drafted in Electric Quilt 8 to Cricut Design Space. If you missed that tutorial, you will want to catch it here. 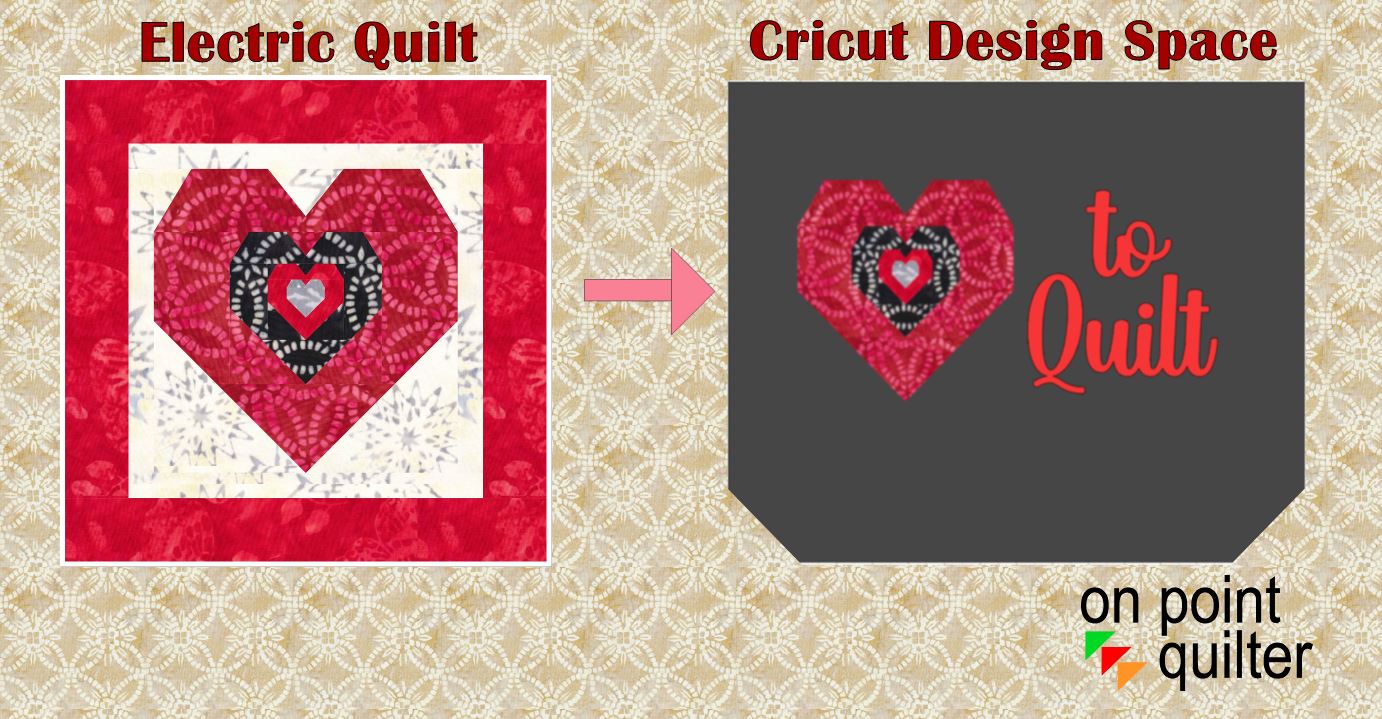
The video tutorial this week shows my process for adding the design to a canvas tote.
The supplies used in my project are as follows. Please note that links are affiliate links and I will receive a small commission on any purchases.
In my video tutorial, I shared that I used my laser printer -- rather than the inkjet printer recommended for transfer sheets. I only used the iron for 10 seconds in each area during the transfer to the canvas. I did not notice any melting during the process and was pleased with my ending design.
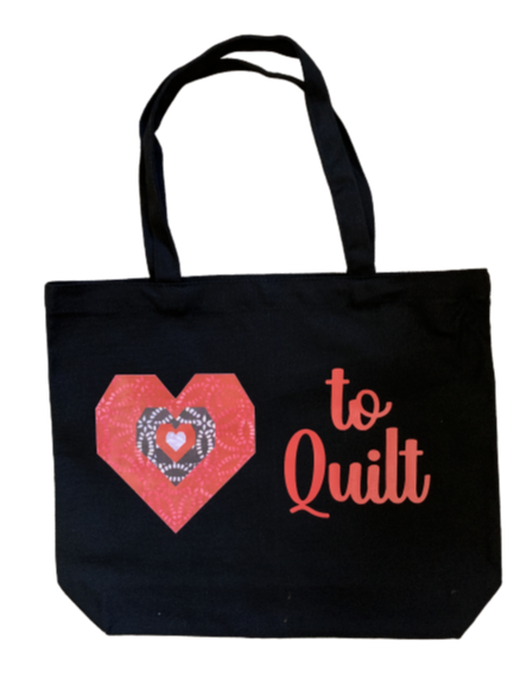
Love to Quilt Canvas Tote created by Kari Schell
I am thinking that this might be a good item for the boutique for my quilt guild -- and am already thinking about who I could gift with the bag.
Or maybe I should find another of my Electric Quilt designs for the next bag. Lots to think about. Tech Know Quilters Apply What They Learned in February 2020
Tech Know Quilters is a membership of Electric Quilt 8 owners who are mastering Electric Quilt through online training. At the end of their February class, they were encouraged to apply what they learned during the month of February.
Tech Know Quilters is open to new members only a few times a year. Thee will be an open enrollment offering next week -- but just for those on the wait list. You can sign up for the wait list here.
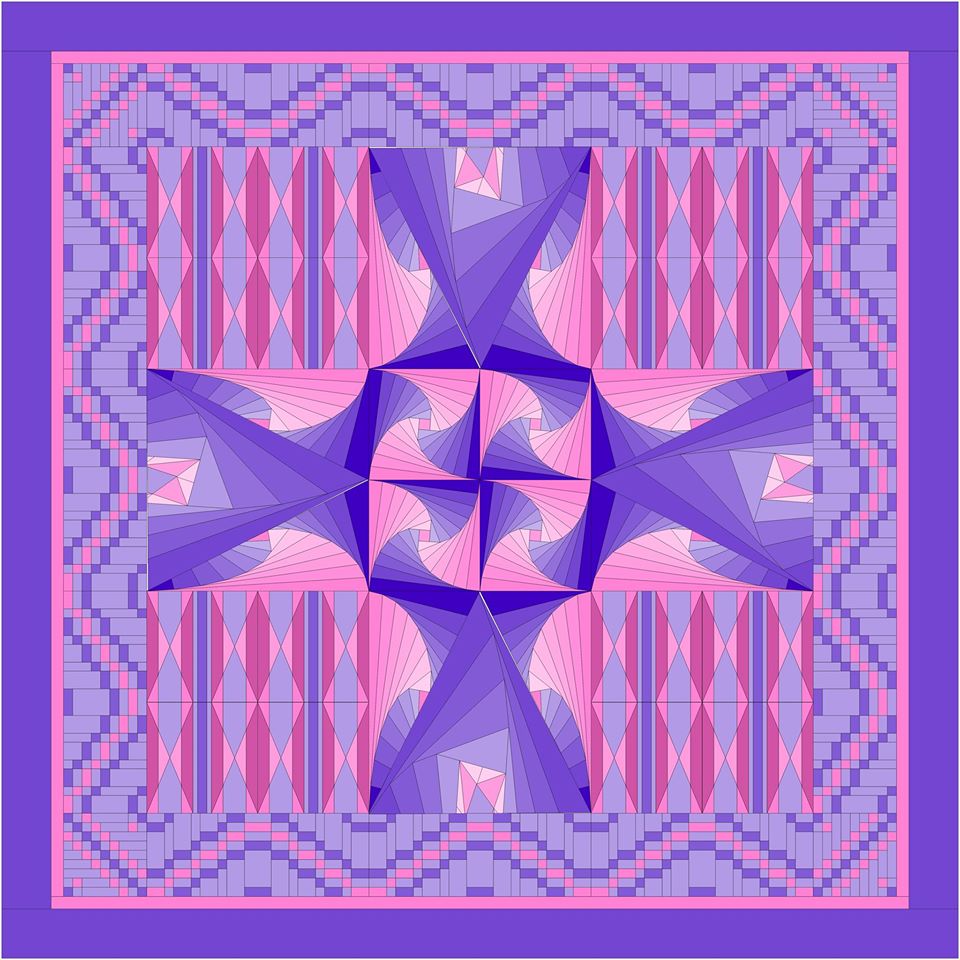
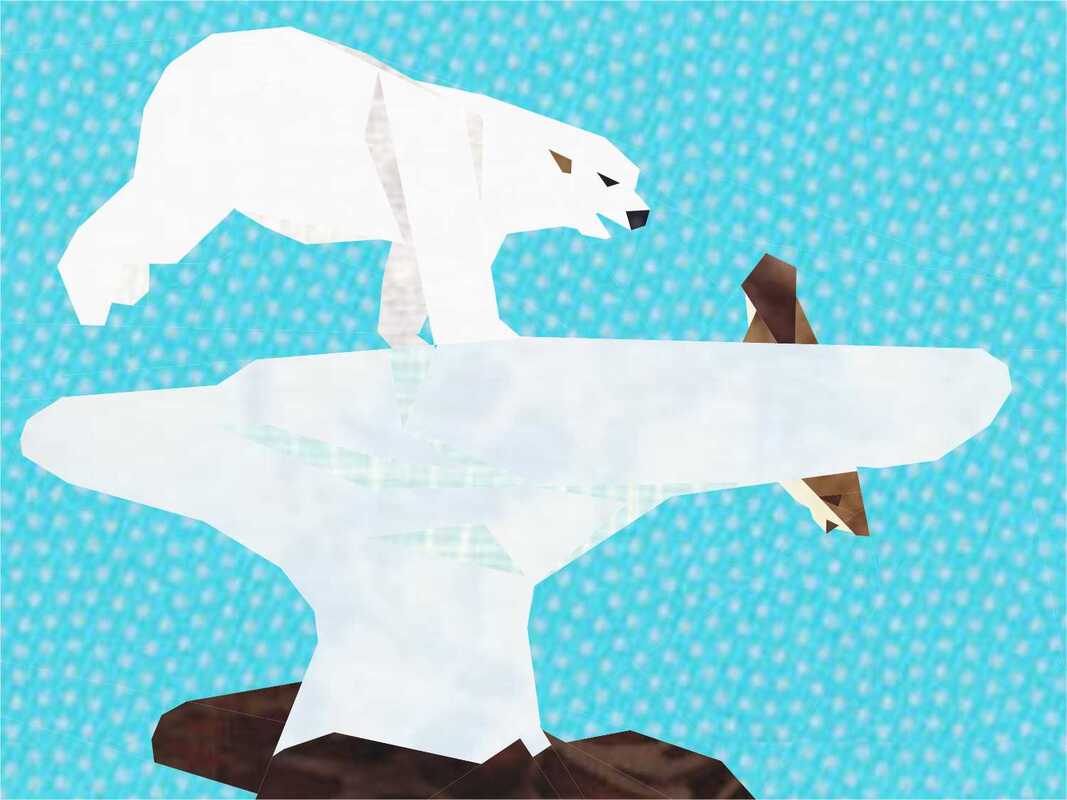
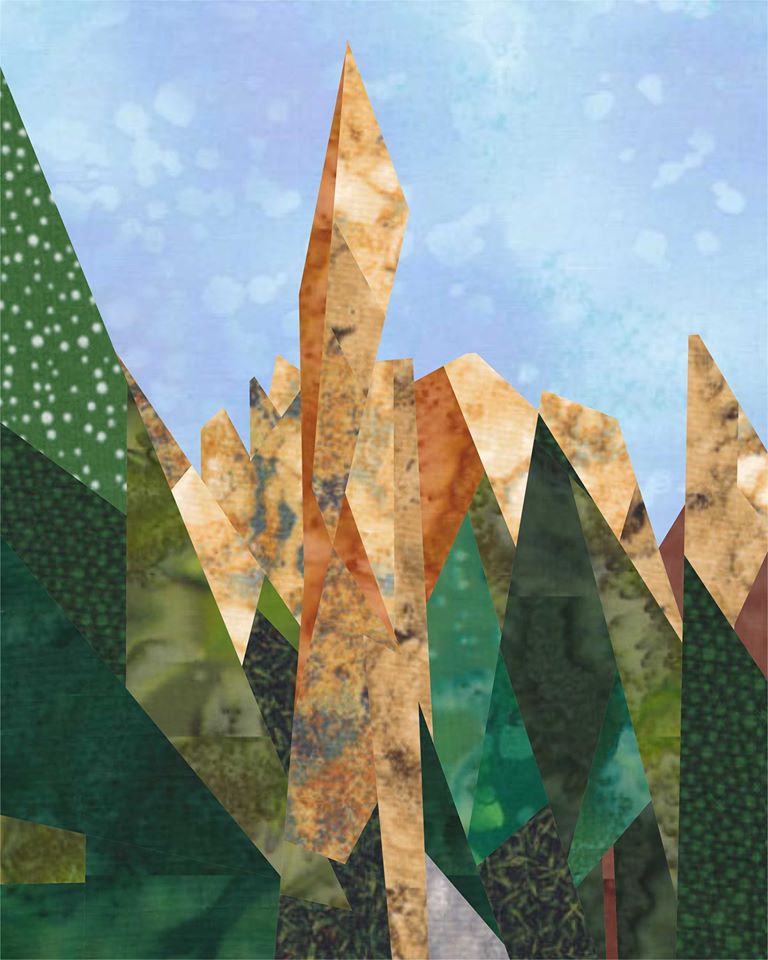
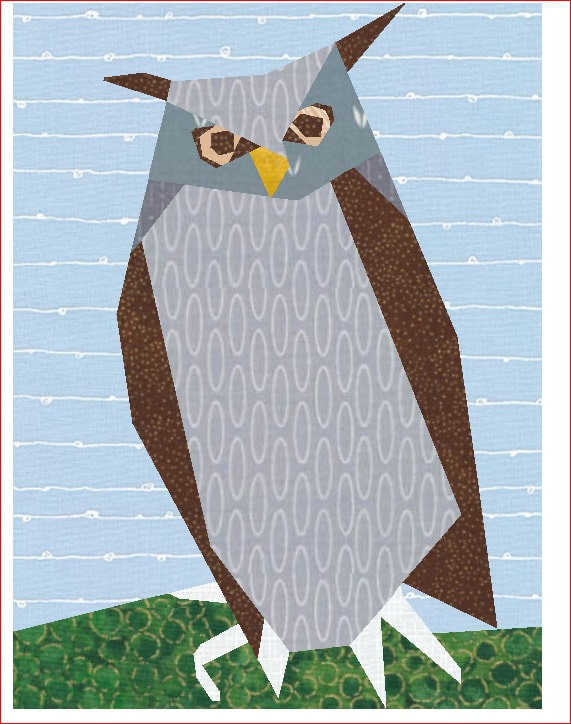
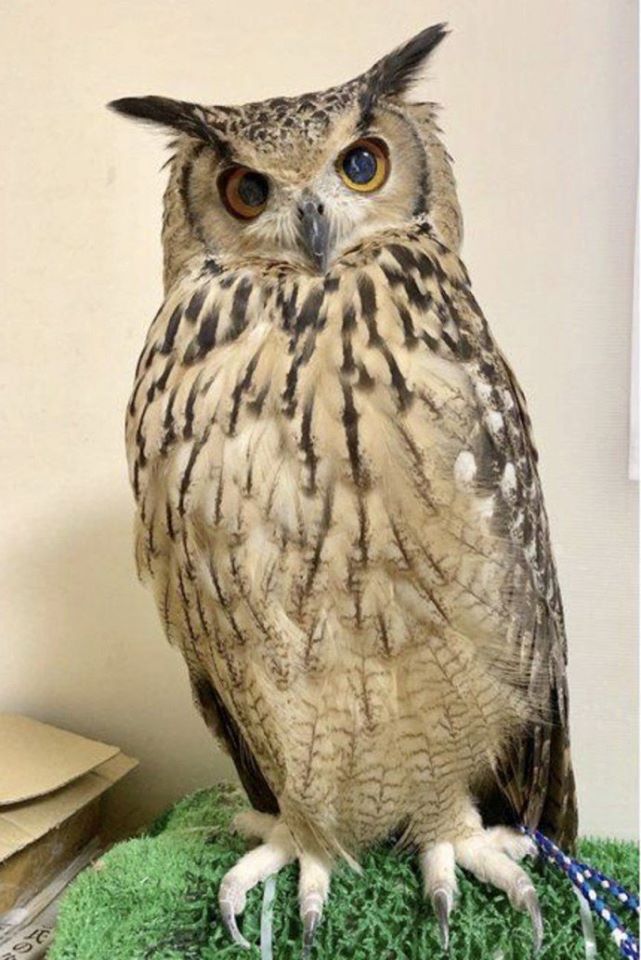
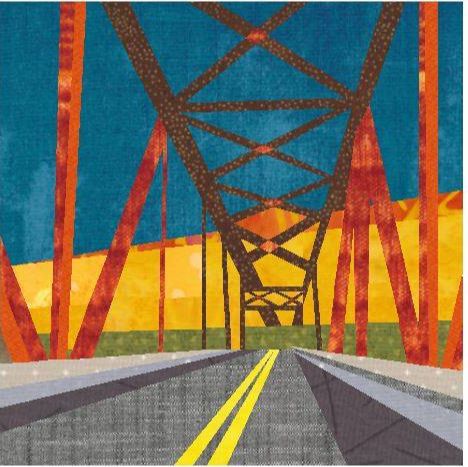
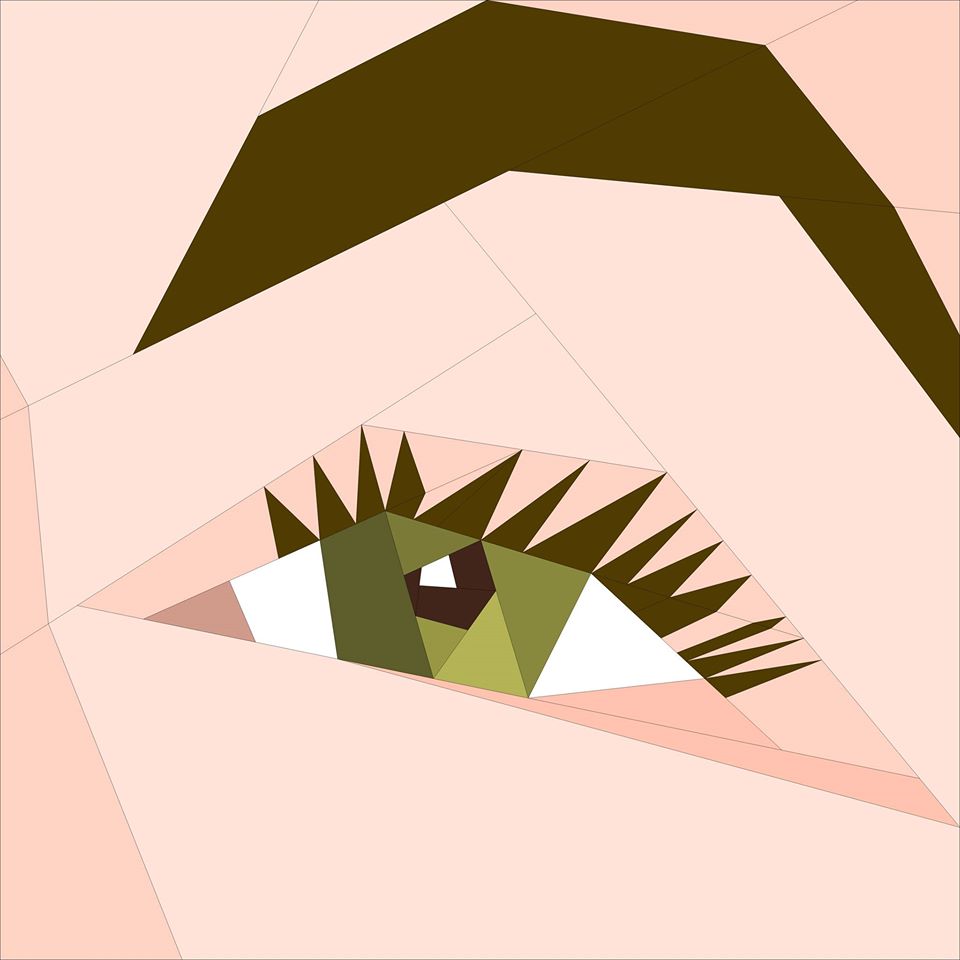
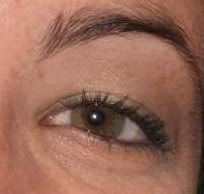
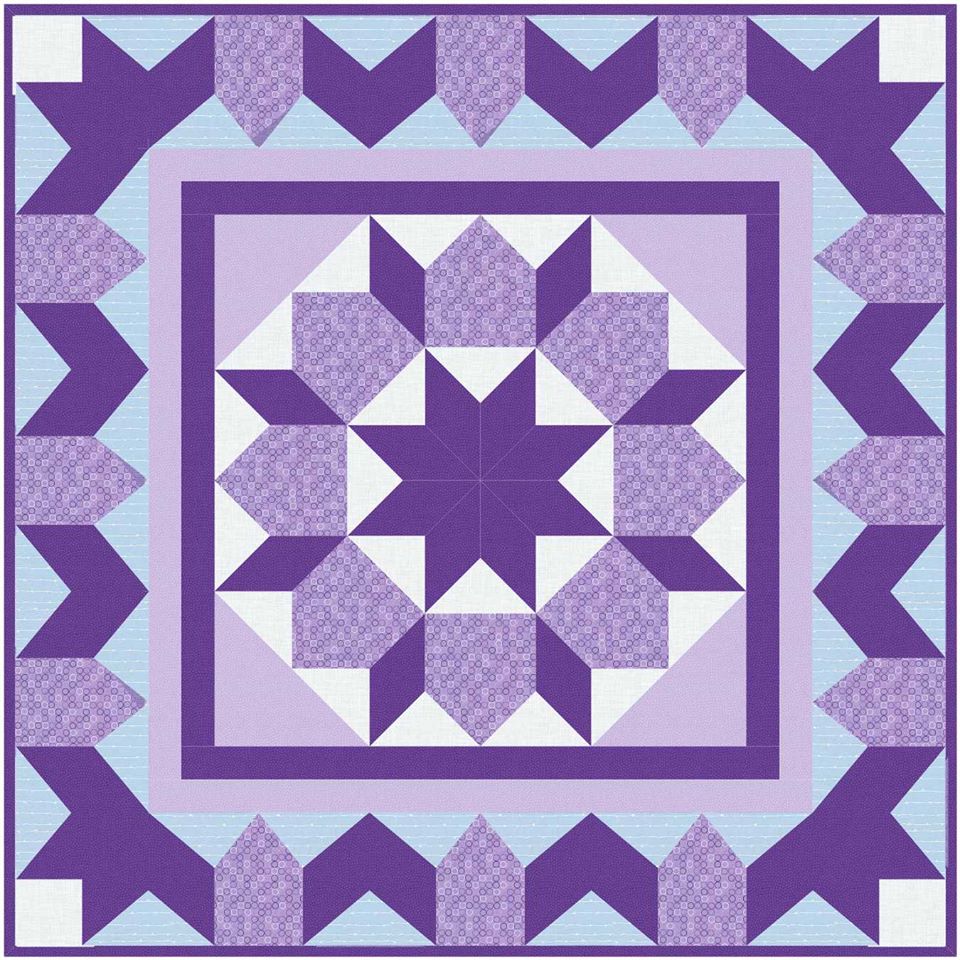
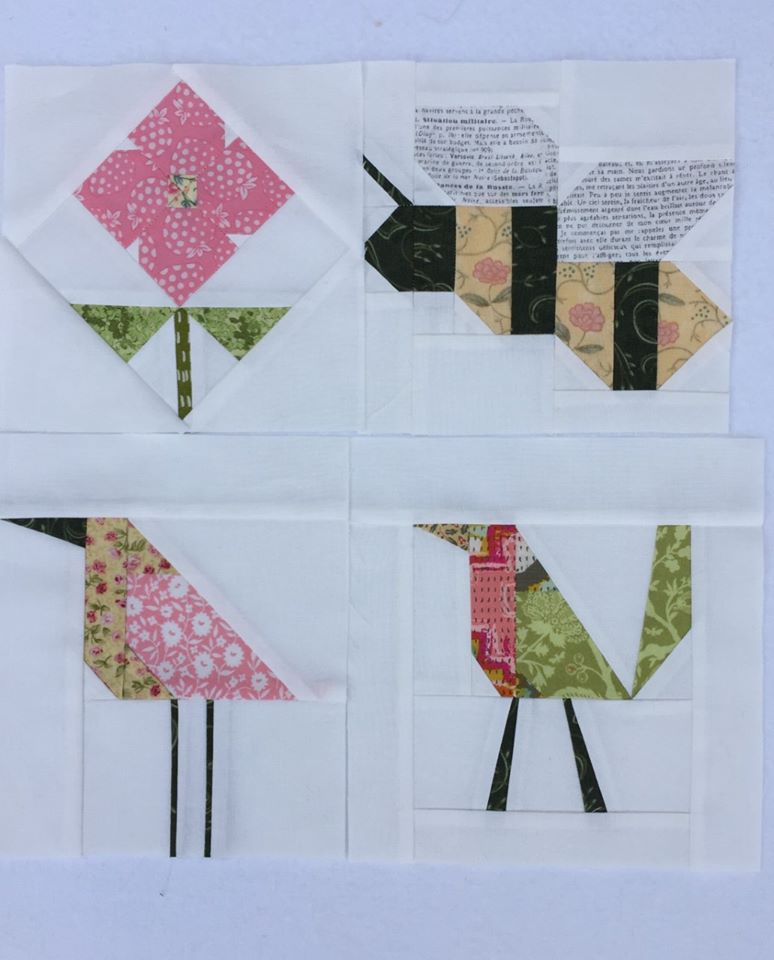
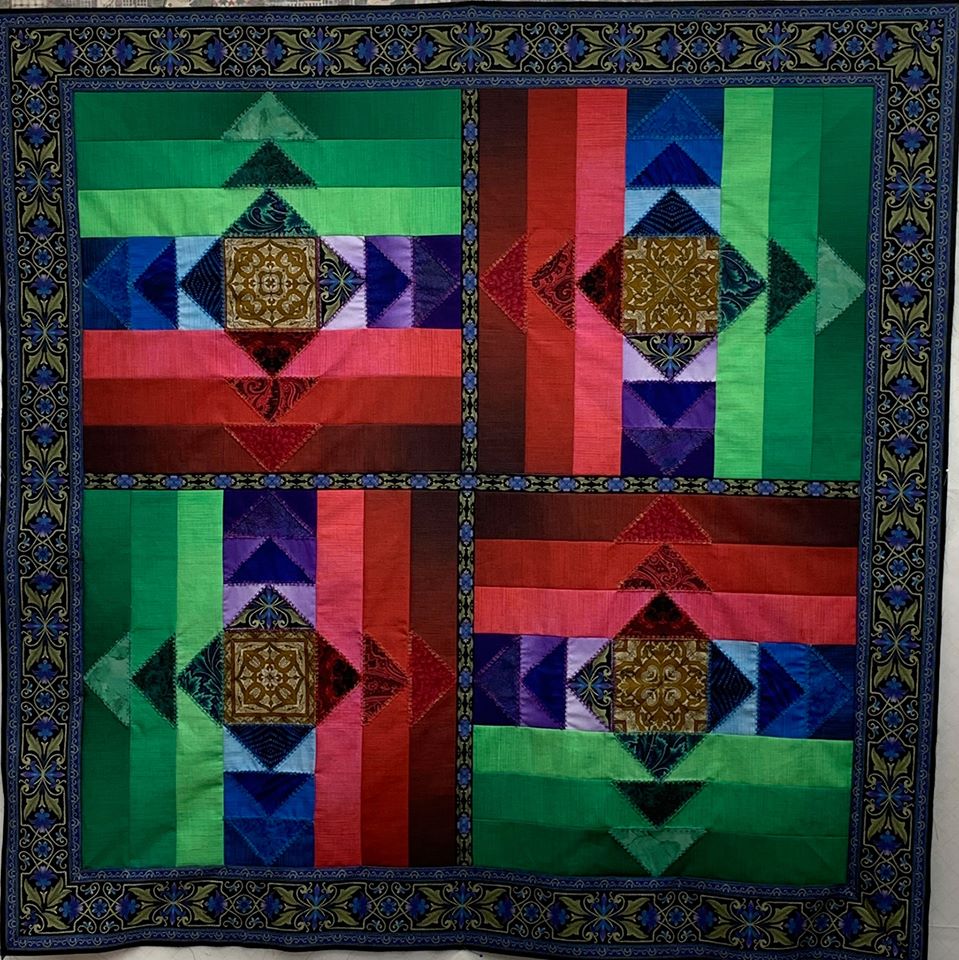
Masters Pictoral Foundation Challenge
During February TKQ Masters Members had classes in Advanced Foundation Piecing. They were challenged to take a photo and create a foundation friendly pattern inspired by their photo. I think they did a phenomenal job.
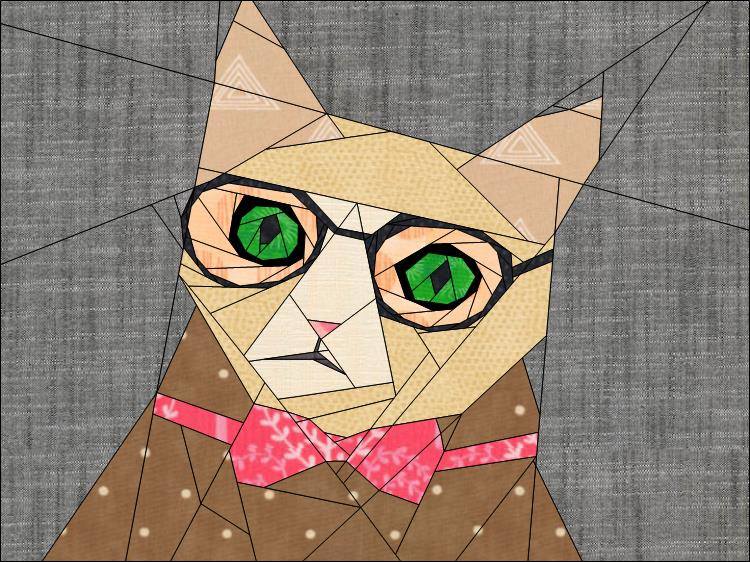
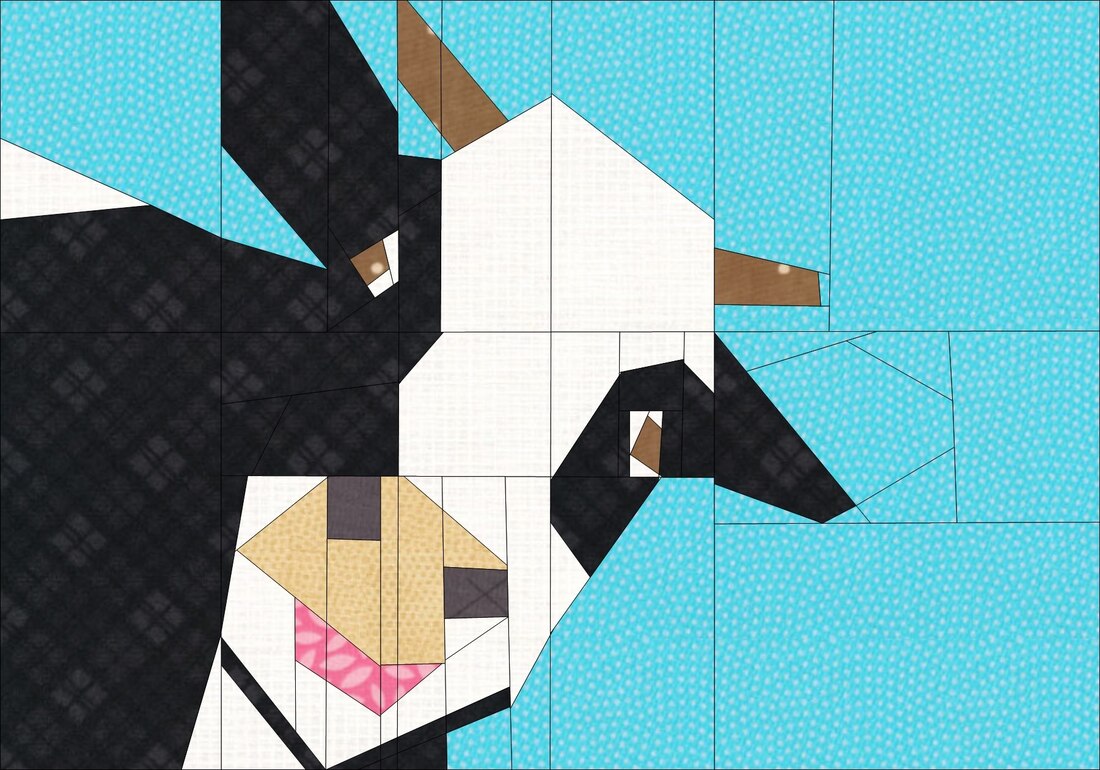
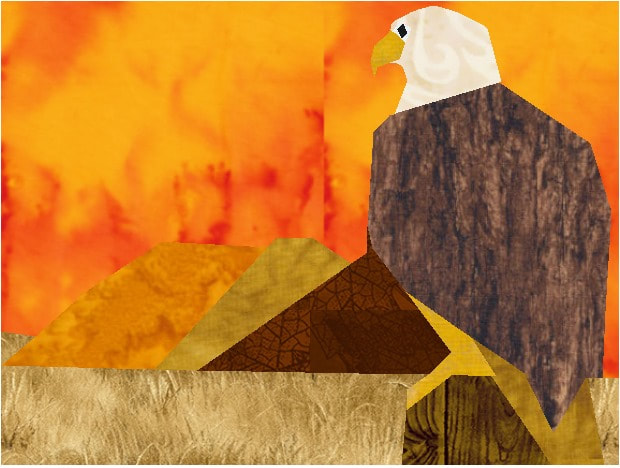
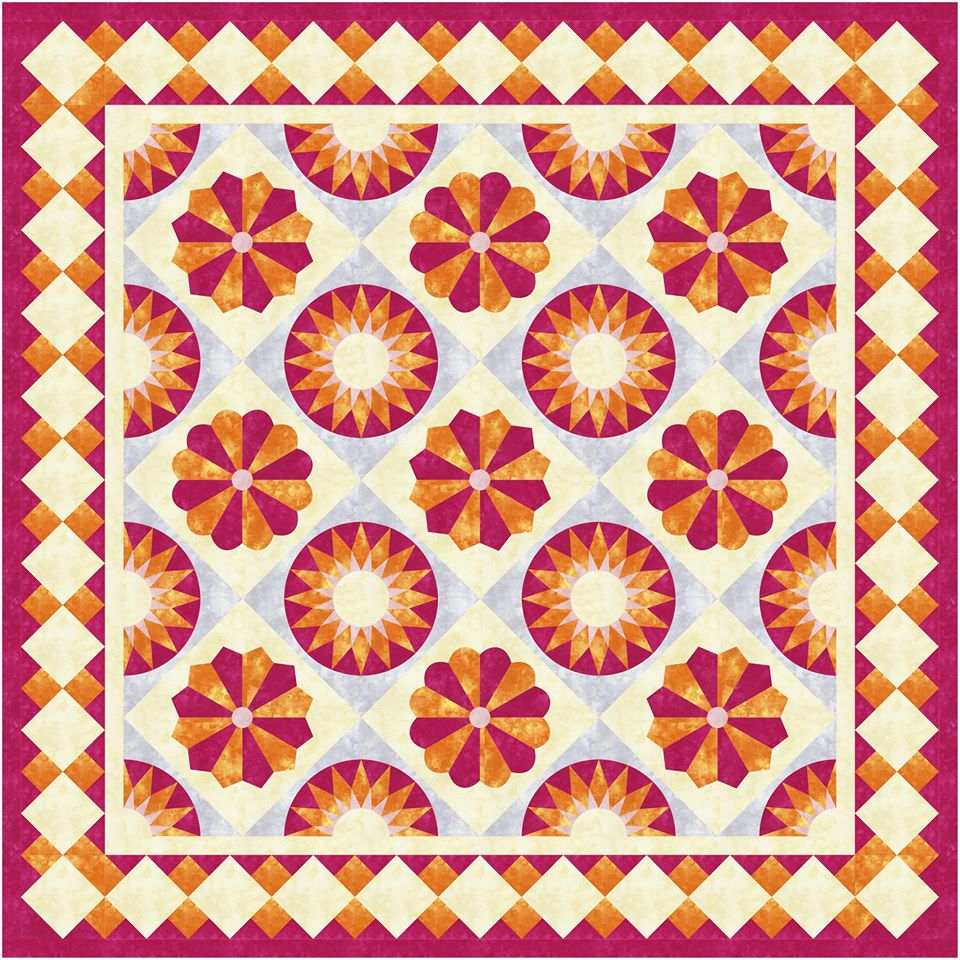
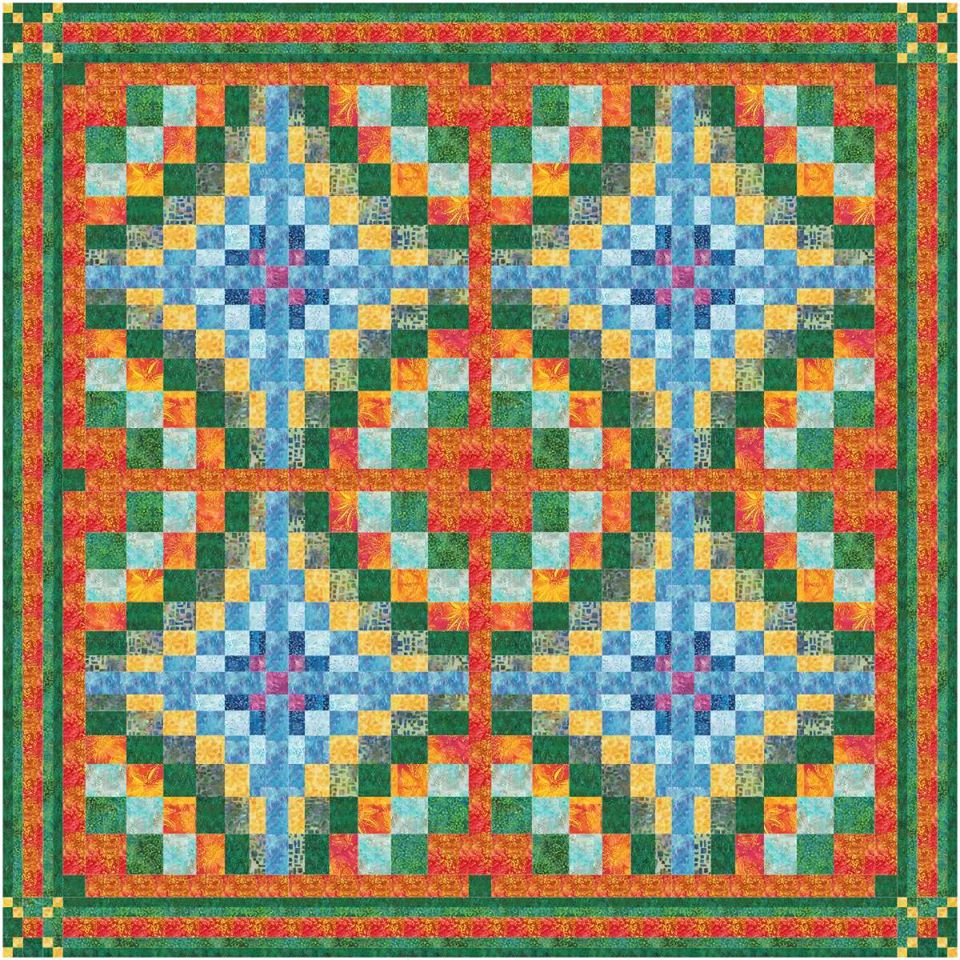
Other Projects
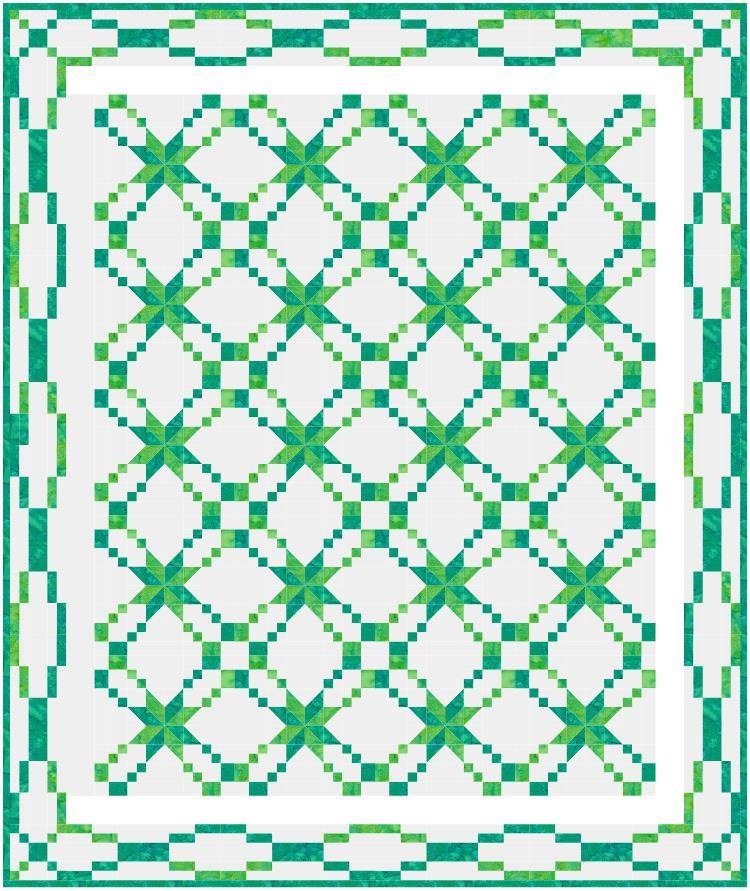
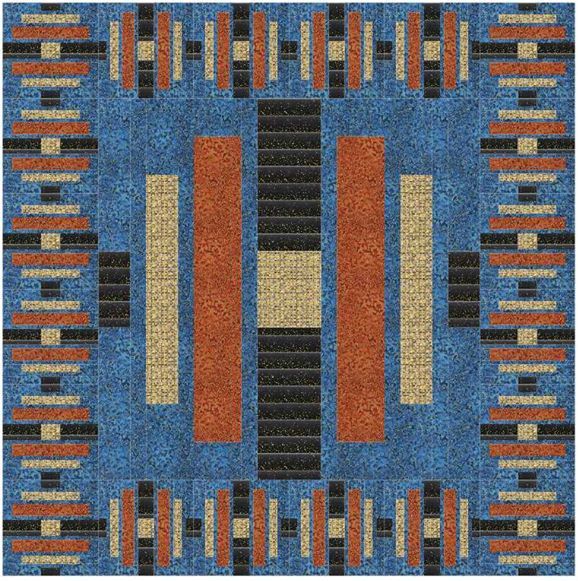
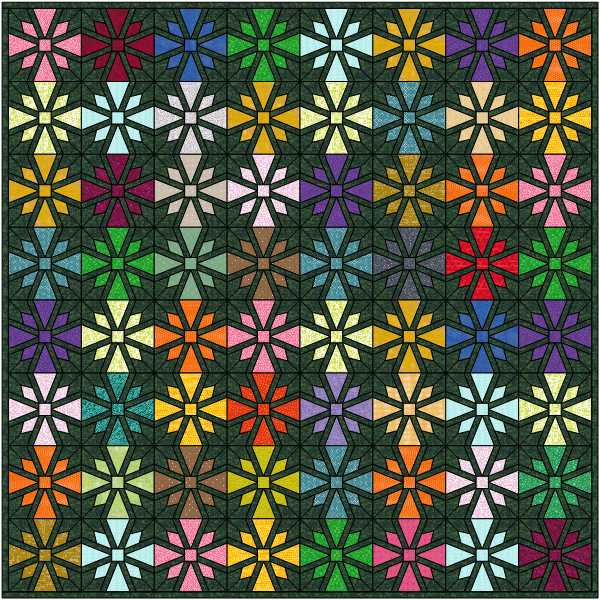
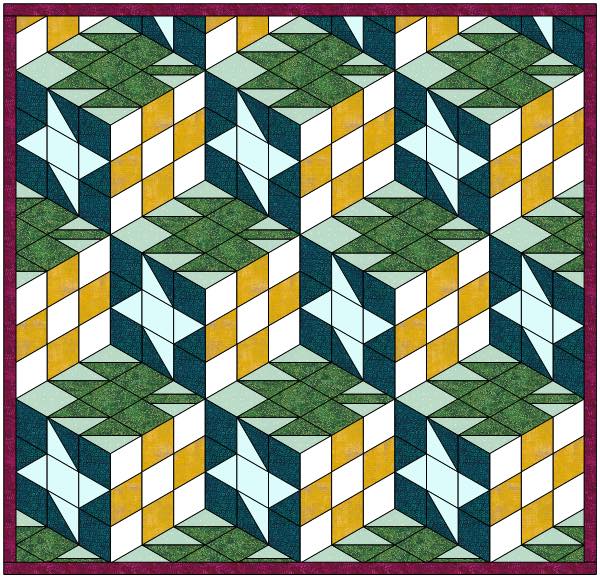
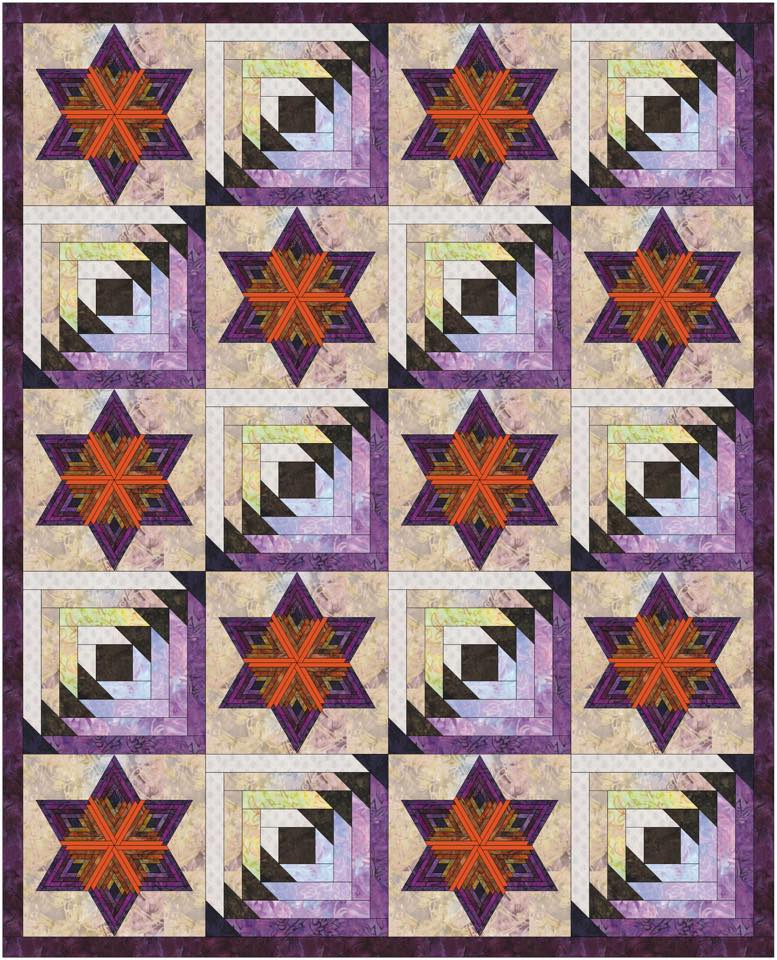
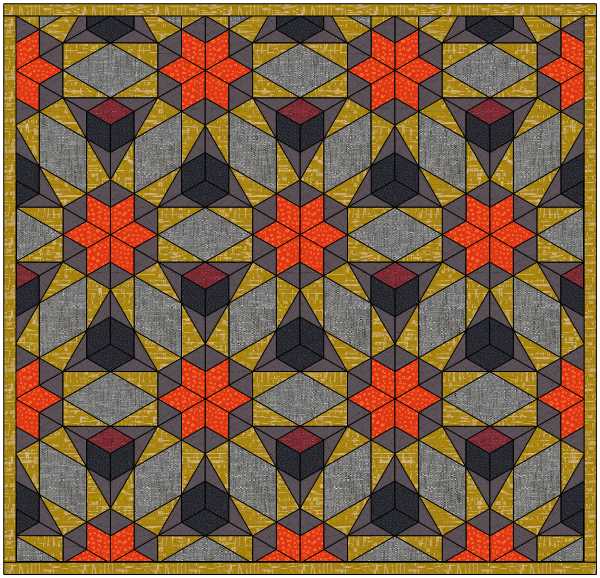
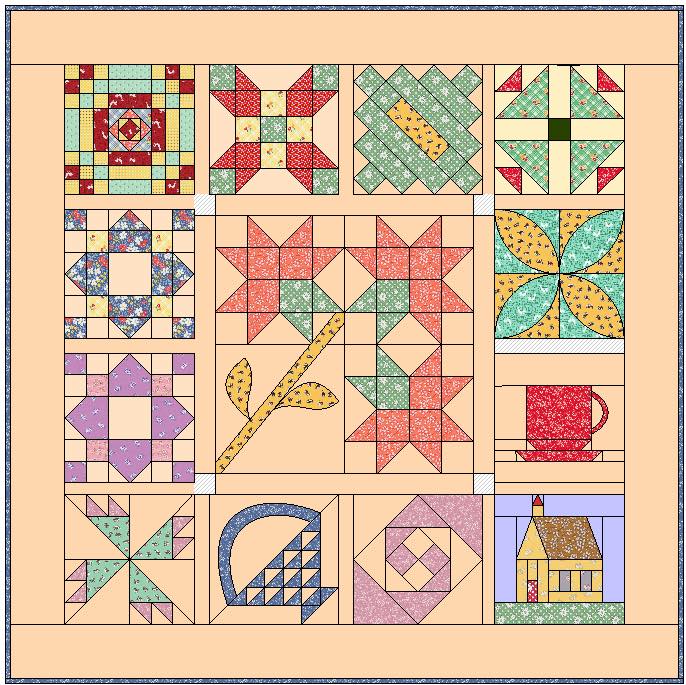
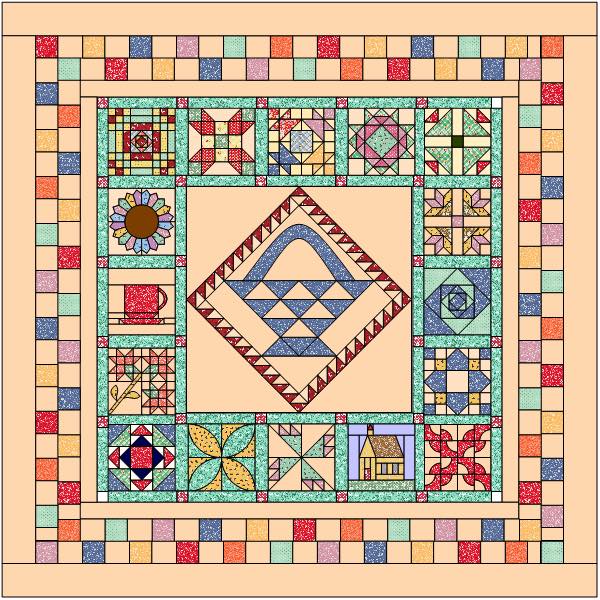
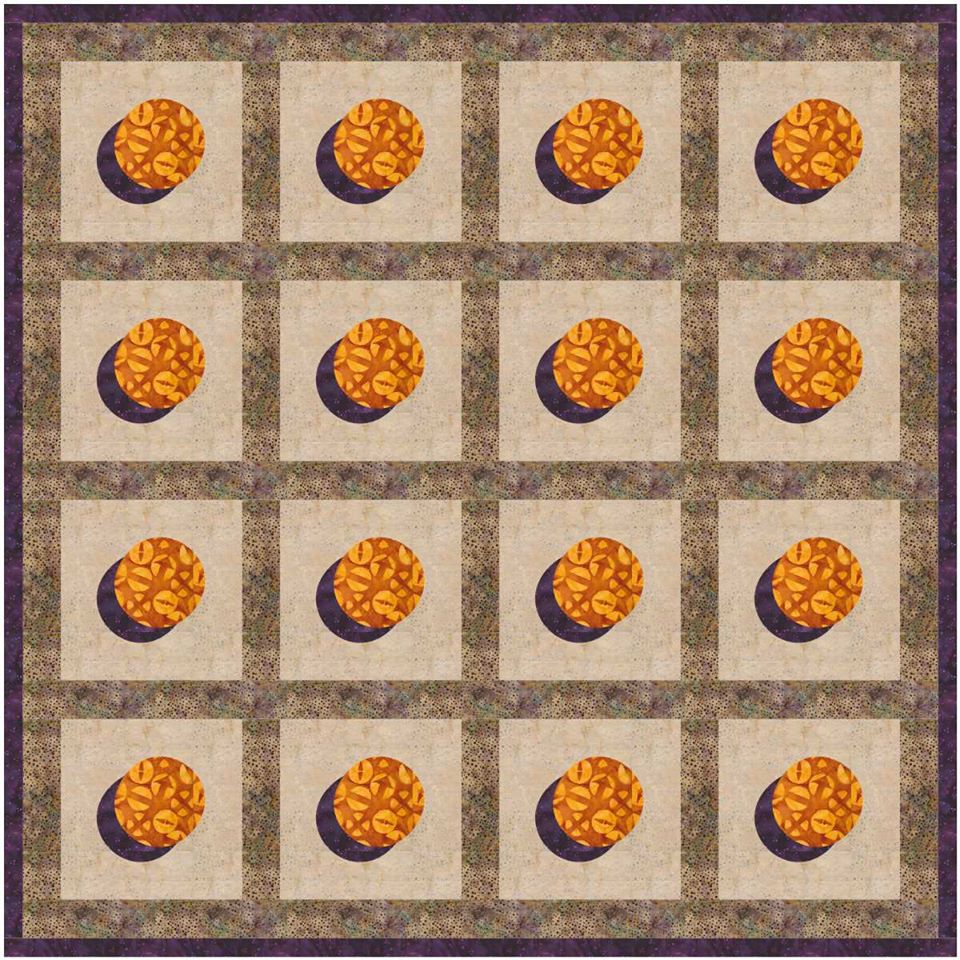
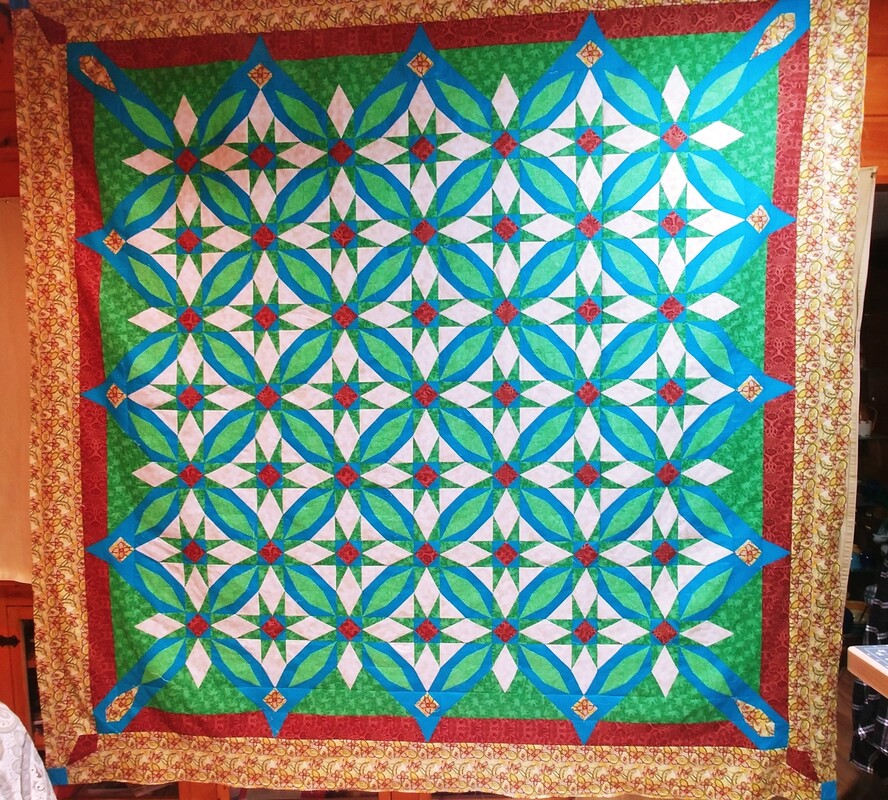
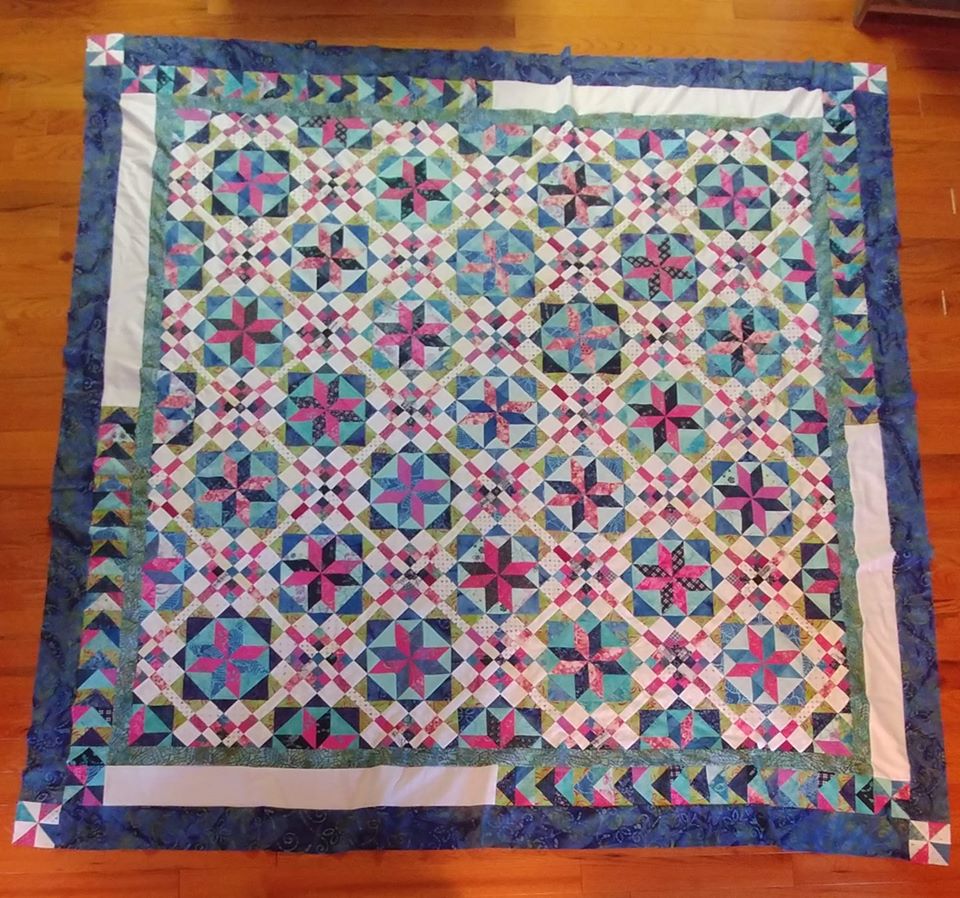
Here are some additional projects created by Tech Know Quilter members -- they are a very talented group who are doing amazing things with Electric Quilt 8.
|


Free guide available for newsletter subscribers


Kari SchellElectric Quilt Expert and Educator and Pattern Designer. Categories
All
Archives
July 2024
|


 RSS Feed