|
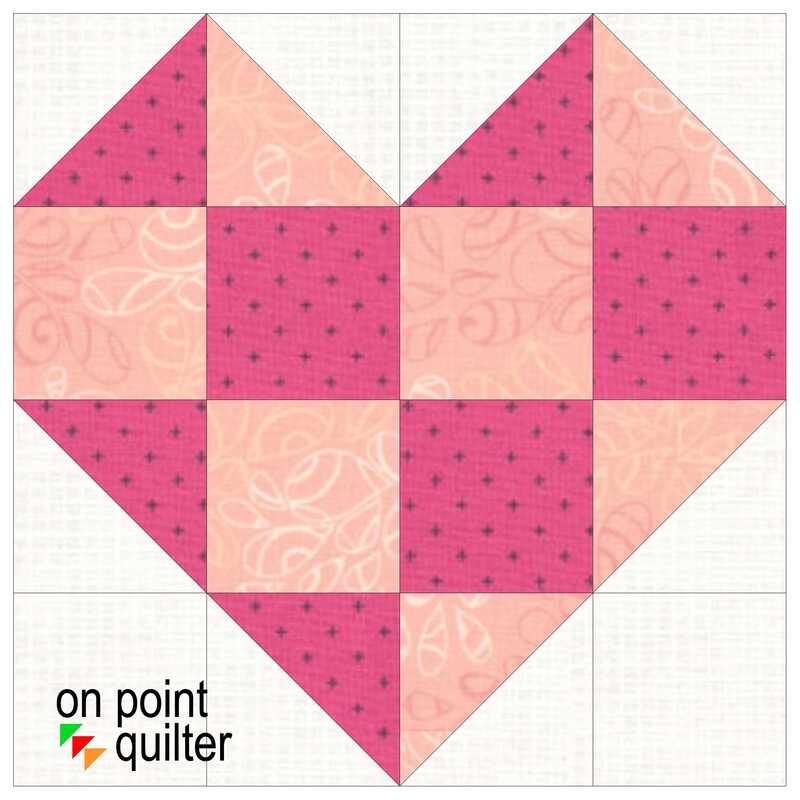
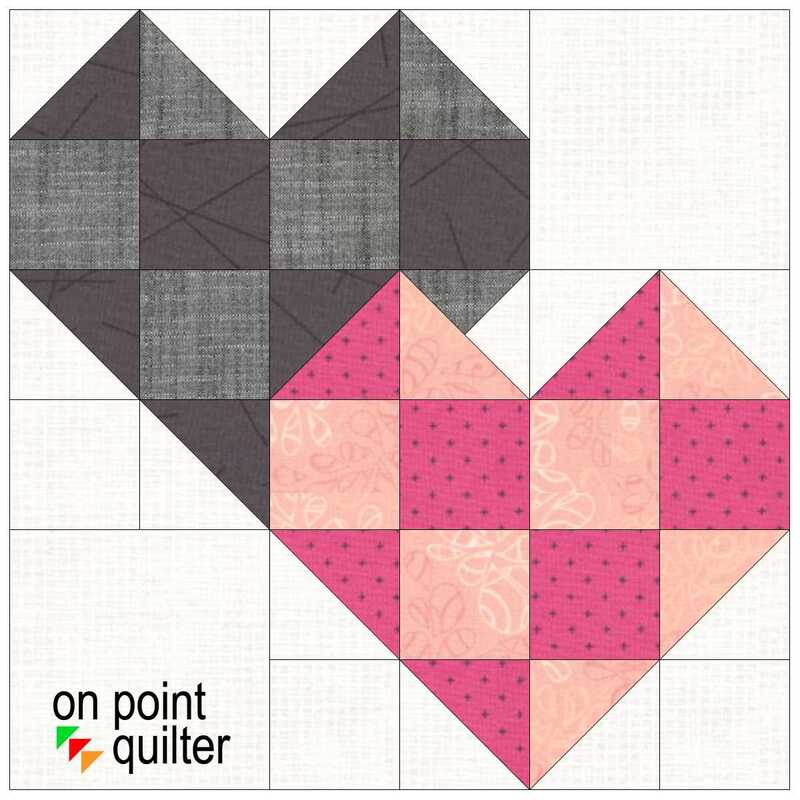
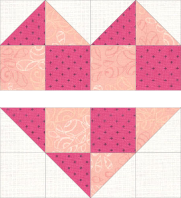
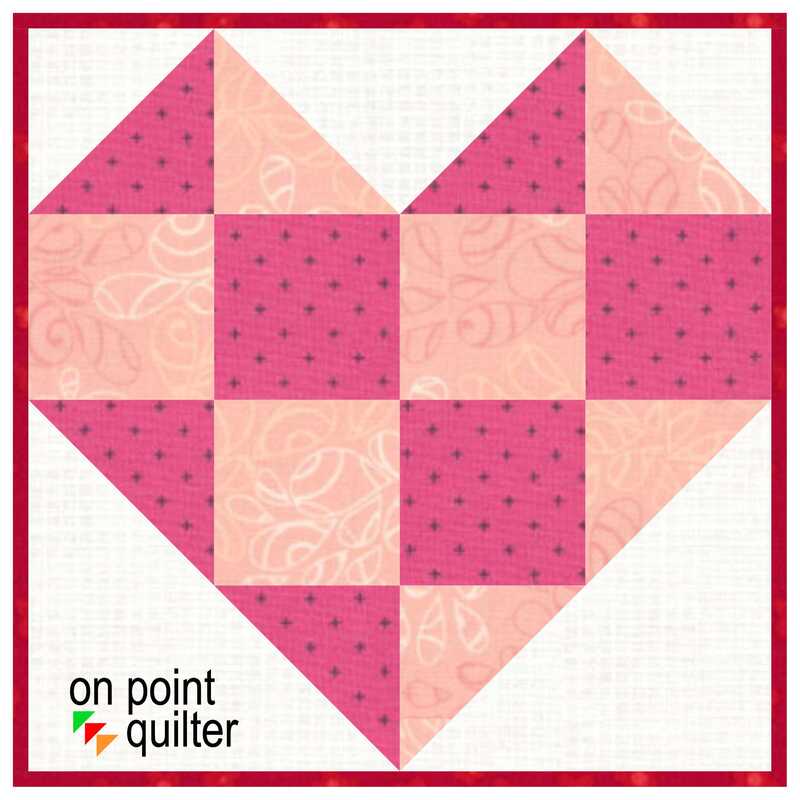
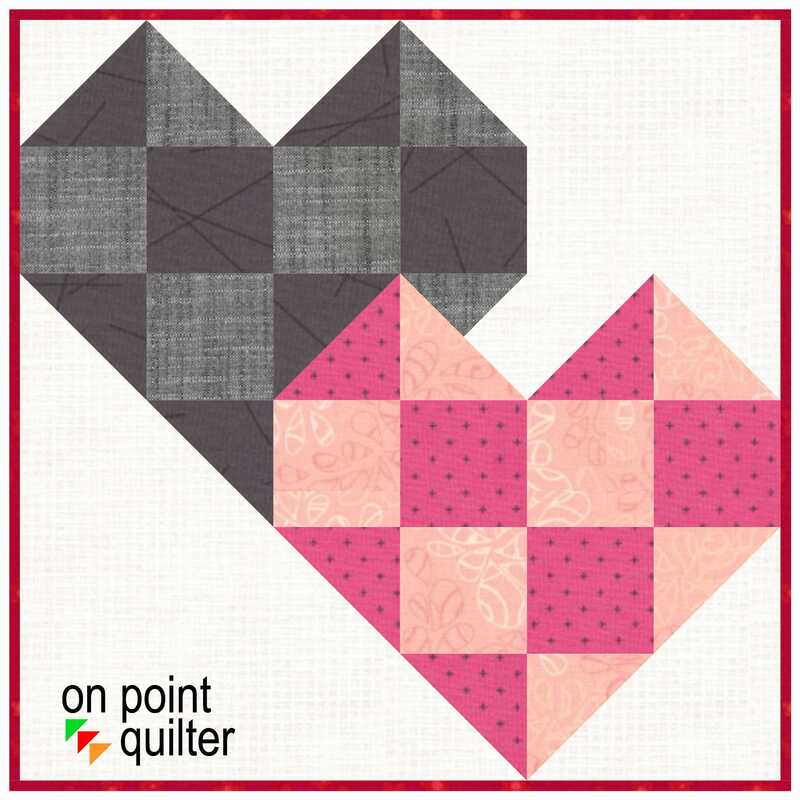
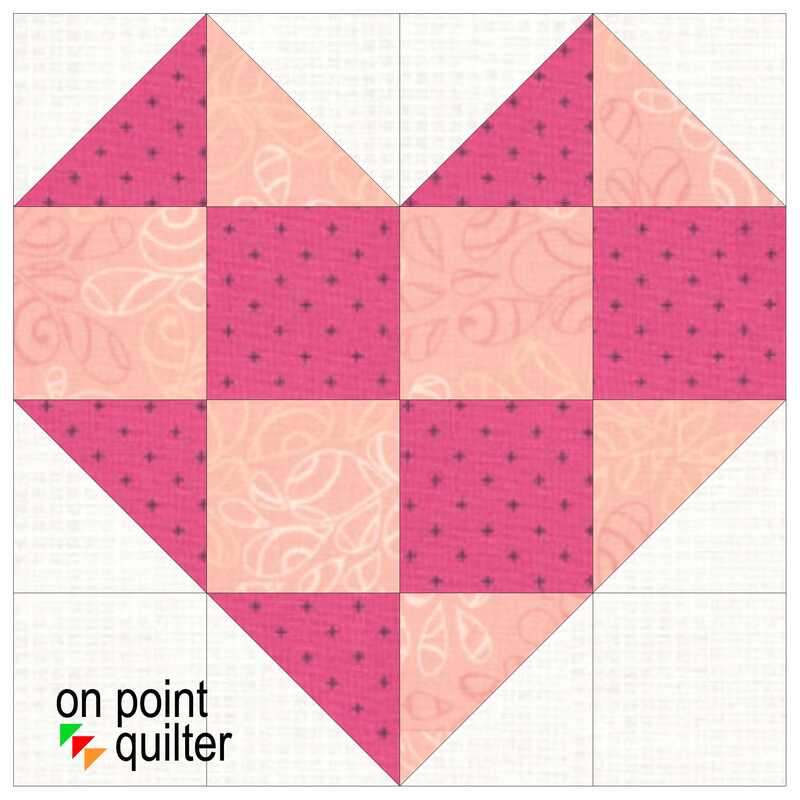
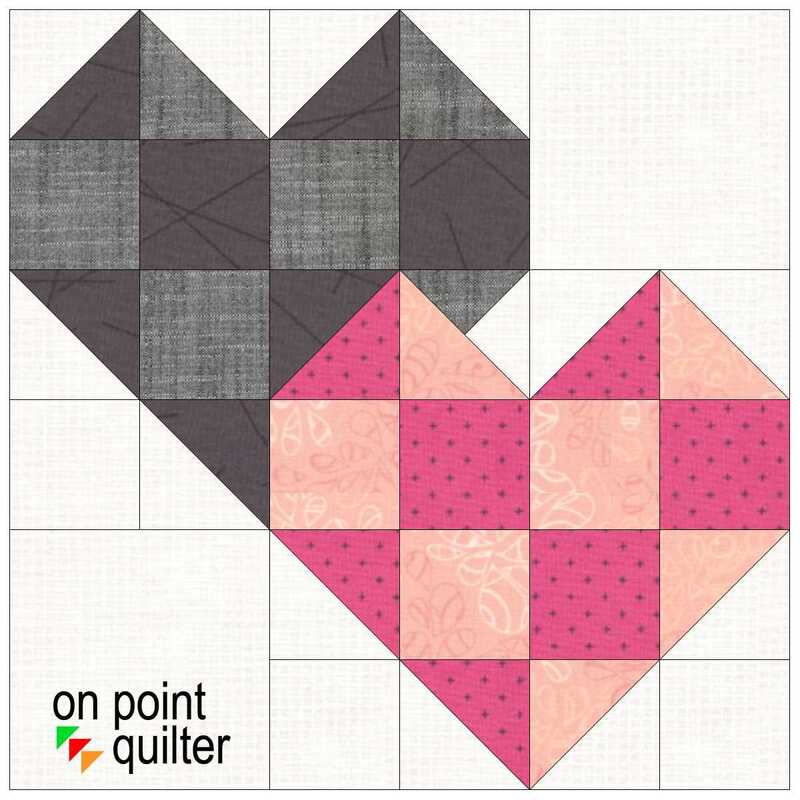
Last week I shared with you how I drafted a couple of heart blocks using Easy Draw within Electric Quilt 8. The single heart block finished at a size of 6" x 6". Then I shared a fun way to turn it into a Shadow Heart block with a size of 9" x 9".
If you missed that tutorial, click here to catch up. This tutorial also provided information on piecing both of the blocks. Here are the blocks.
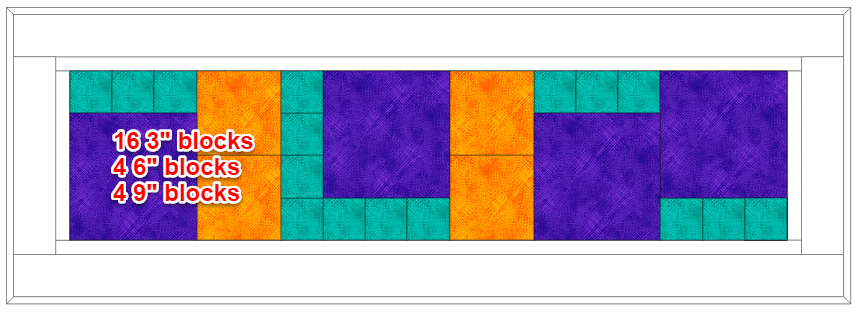
This week I decided to incorporate the two blocks into a custom set quilt. A custom set quilt layout in Electric Quilt 8 gives you the most flexibility in placement of your blocks and is my go to quilt layout for working with blocks that are different sizes.
Since Valentine's day is quickly approaching, I decided to create a table runner. This could also be used as a wall quilt. However you could apply the concepts from the video and create any size quilt you want.
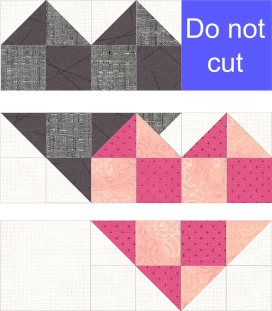
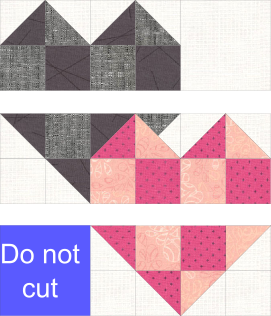
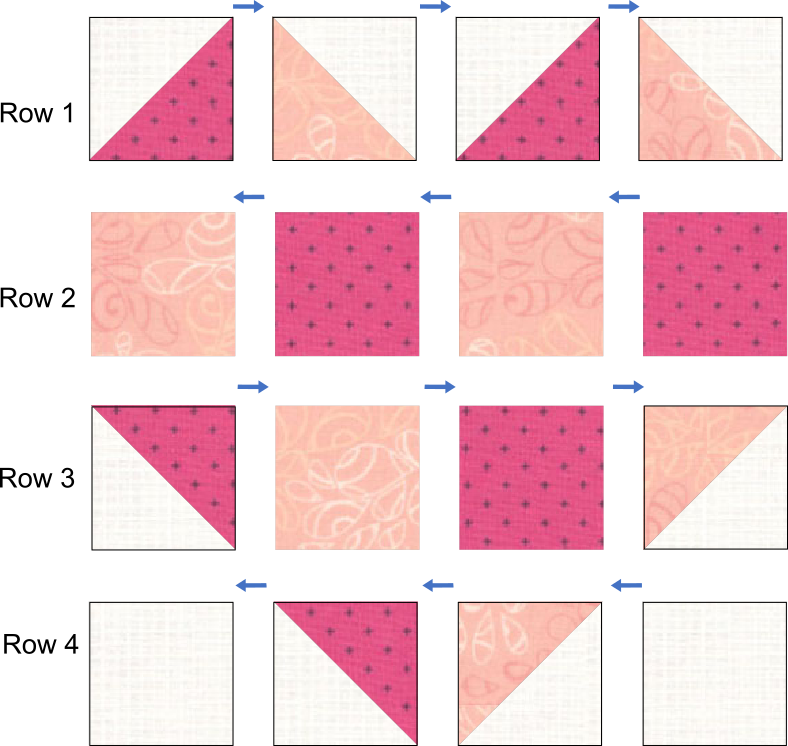
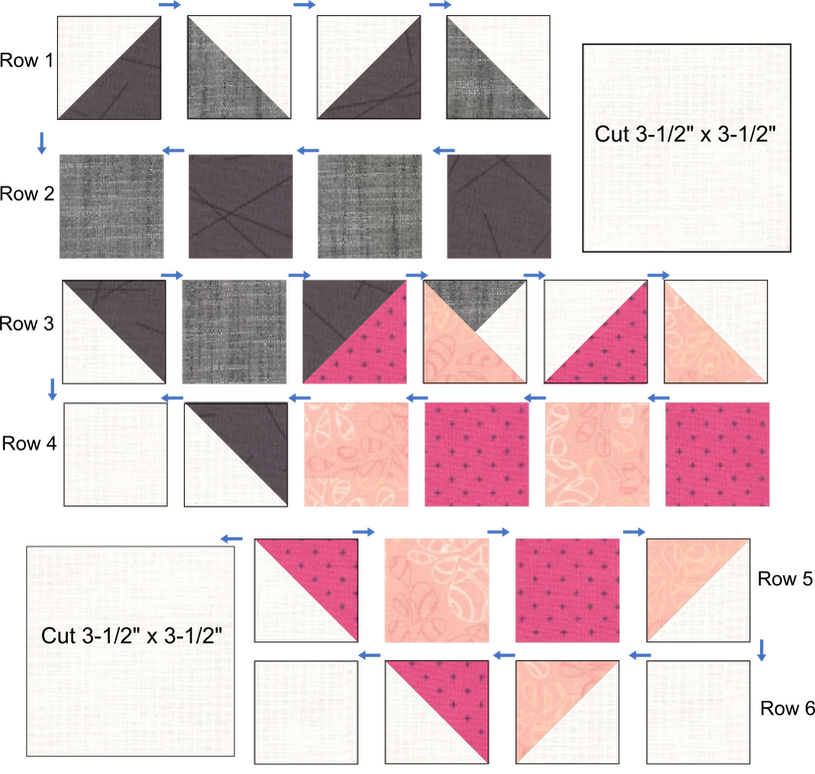
The instructions for cutting and piecing the blocks were provided here. However when piecing the blocks for this setting, you will want to split the small block in half and the shadow block in thirds. Note that one of the 3-1/2" background squares will not be needed for each of the shadow blocks.
Finish the quilt as follows:
It is the season for hearts. One of the loveliest ways to share our love is through a quilt full of hearts.
The blocks I will be sharing with your today could be done in five fabrics. Or the pieces could be easily cut from charm squares. Who doesn't have an extra collection or two of those five inch squares that are ready to be incorporated in a quilt.
In the video tutorial, I will be sharing a new technique on quickly creating the double (shadow) block. This uses one of the Serendipity options in EQ8.
Tips for Constructing the Blocks
The finished size of the single heart block is 6 inches finished (6-1/2" x 6-1/2" with seam allowances). The size of the double heart block is 9 inches finished (9-1/2" x 9-1/2" with seam allowances).
Regardless of whether you are doing the single or the double heart block, the small squares have a finished size of 1-1/2" (cut size of 2"). Piecing Half Square Triangles
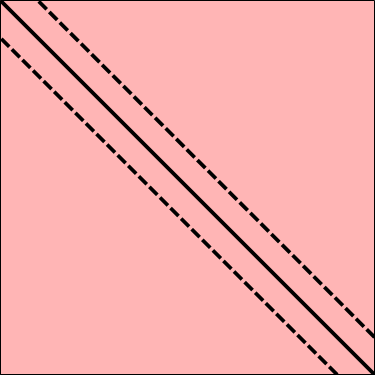
Electric Quilt will suggest cutting the squares for the half square triangles 2-3/8" x 2-3/8". This is the size you can use if you are an accurate piecer and don't want to deal with the trim down. For the rest of us, I find it super useful to use the over-sized piecing, trim down technique.
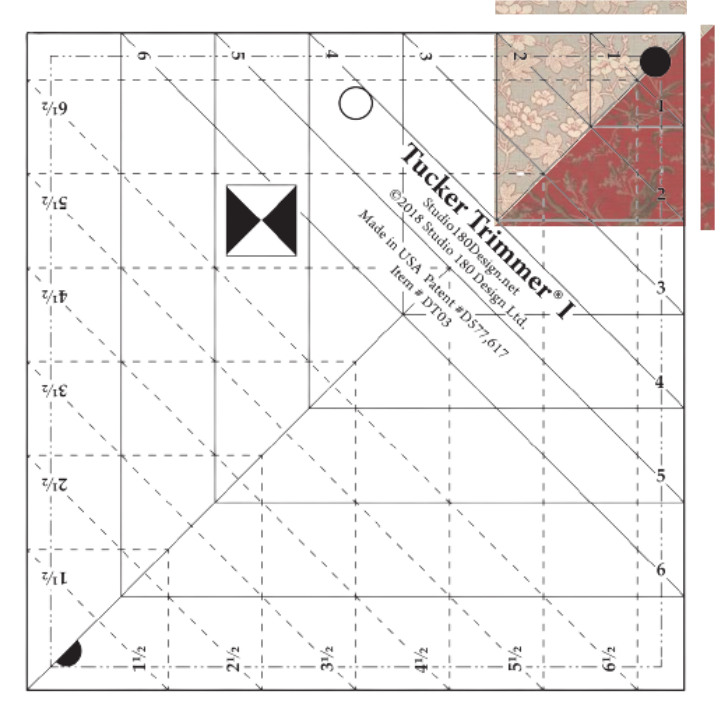
My preferred approach is to sew the triangles with 2-1/2" squares, which are trimmed down to a 2" finished size. I personally love to use the Tucker Trimmer 1 for my trim downs.
Piecing the Single Heart BlockPiecing the Shadow Double Block
Next week I plan to share a layout for these blocks. But feel free to experiment with layouts of your own in the interim. Share your blocks and quilts in the Learning EQ Facebook group.
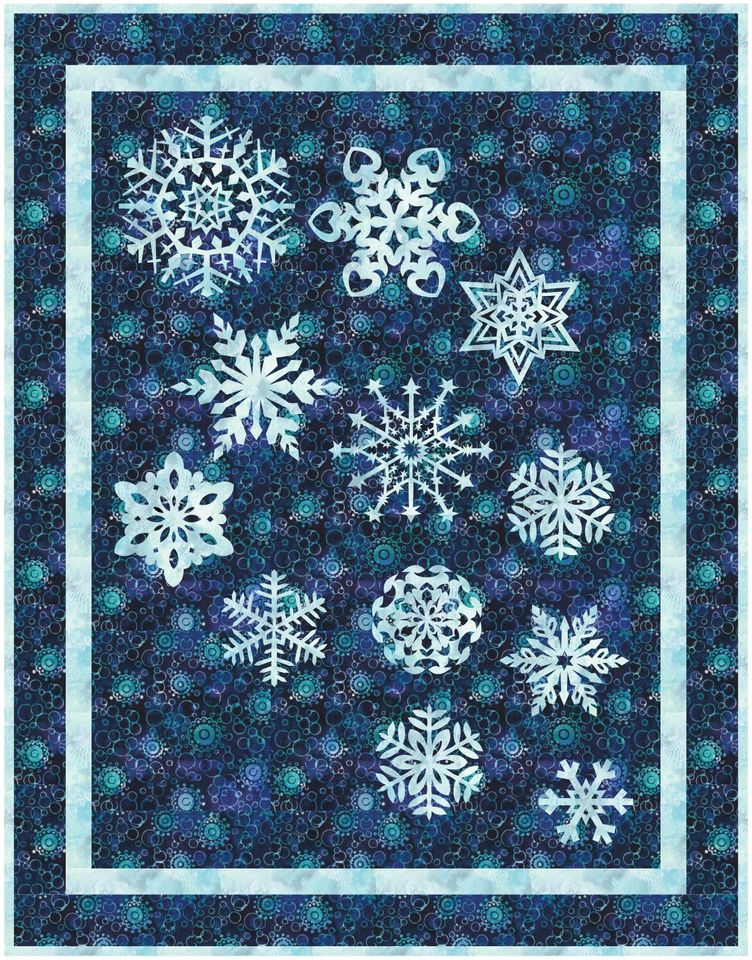
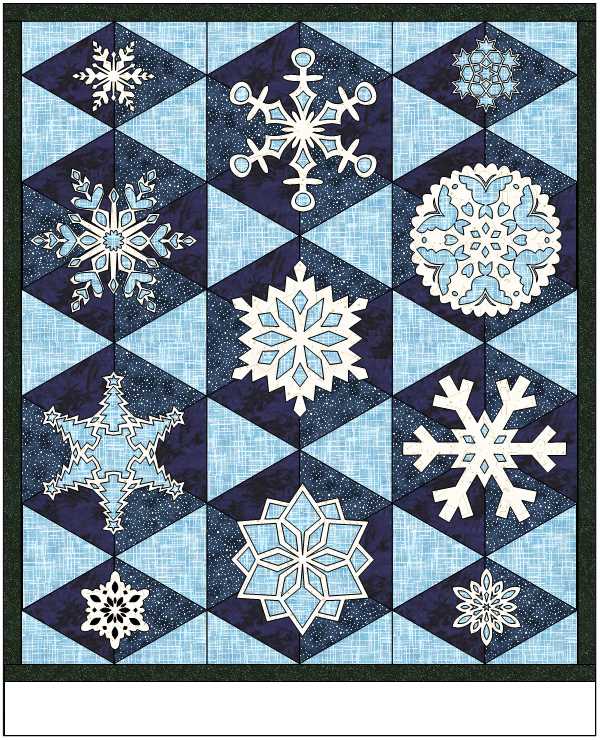
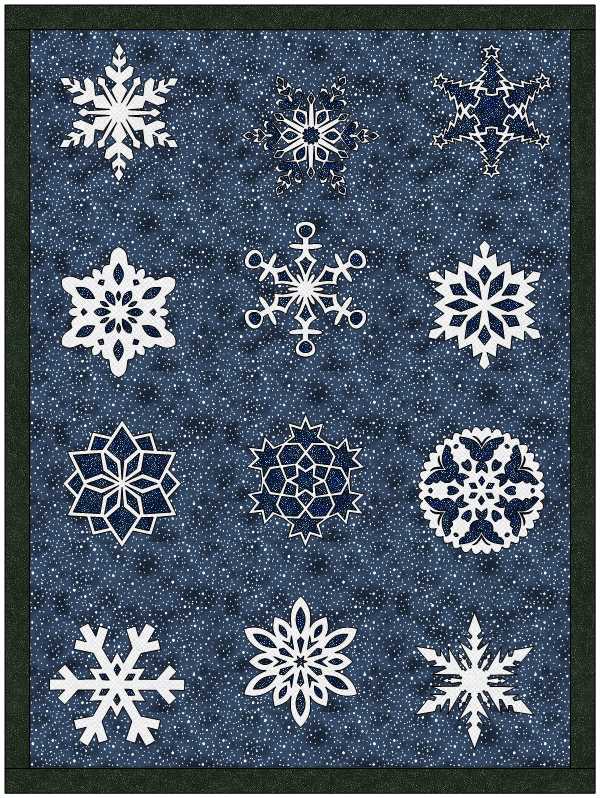
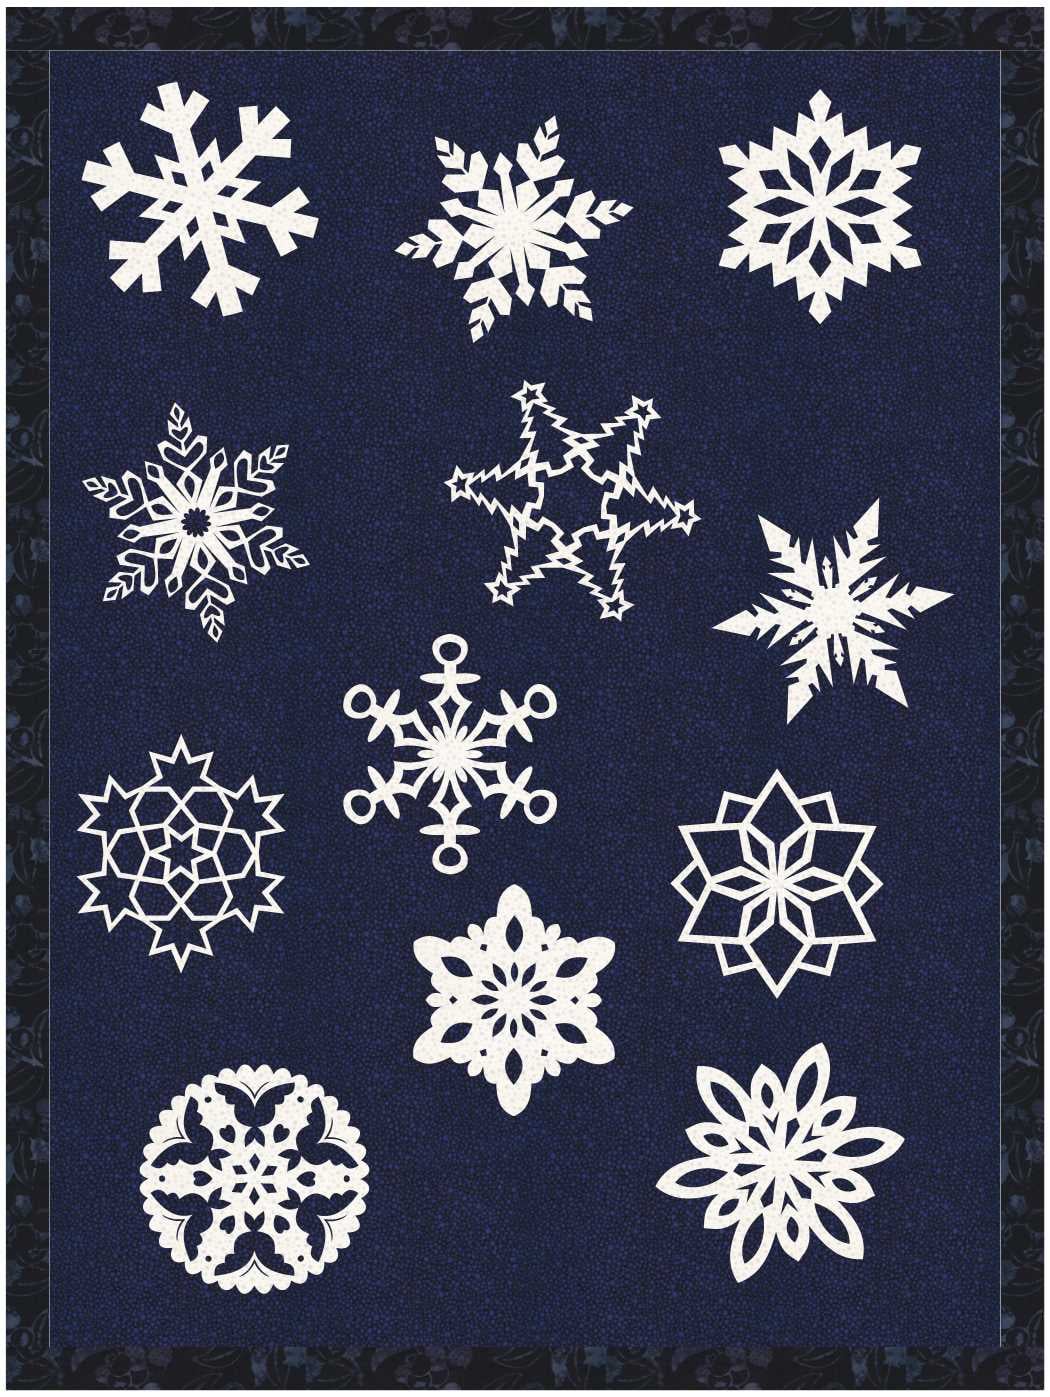
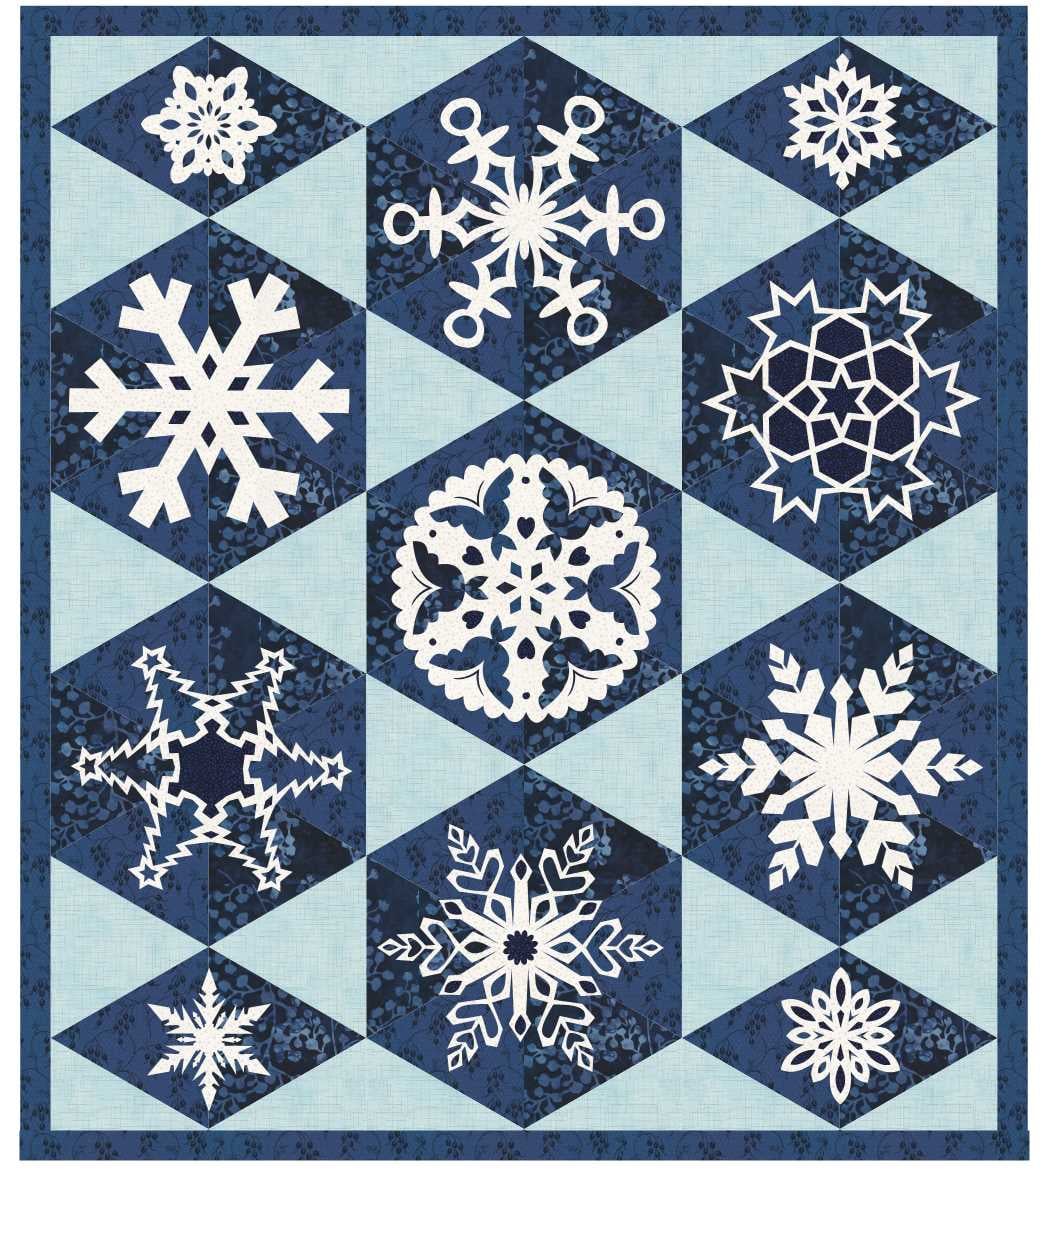
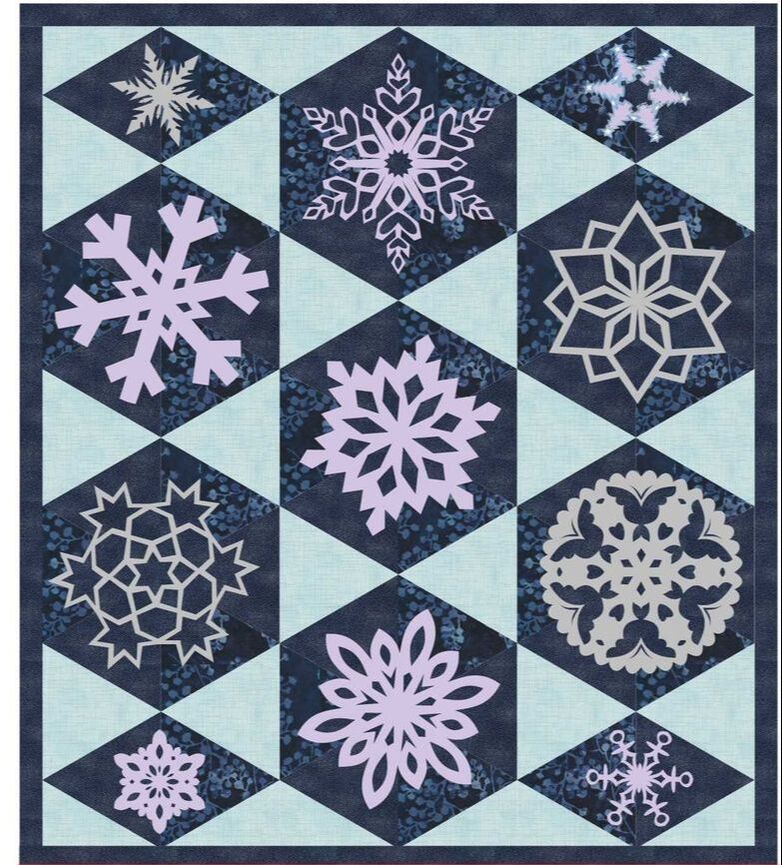
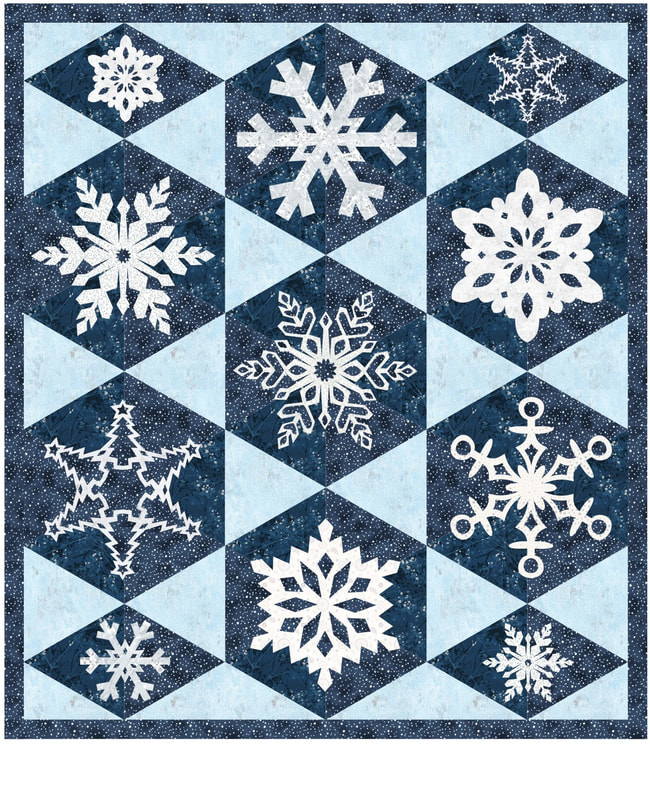
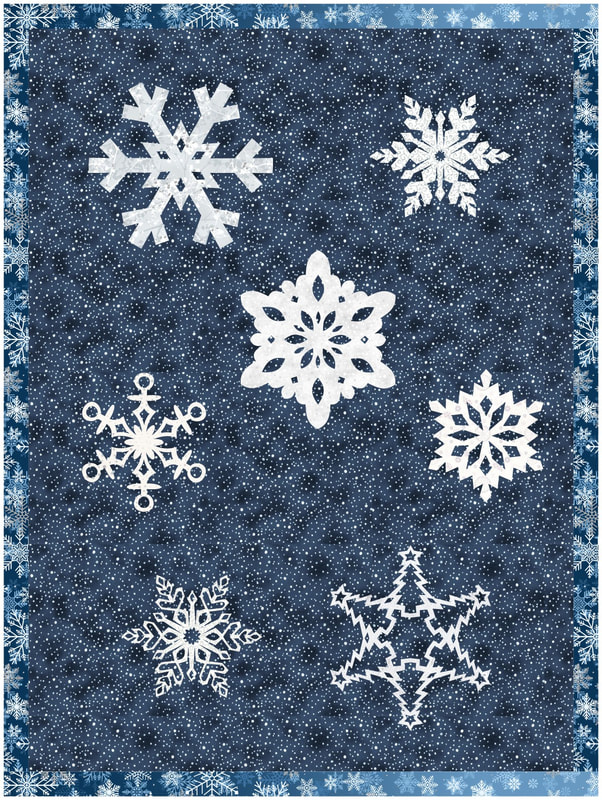
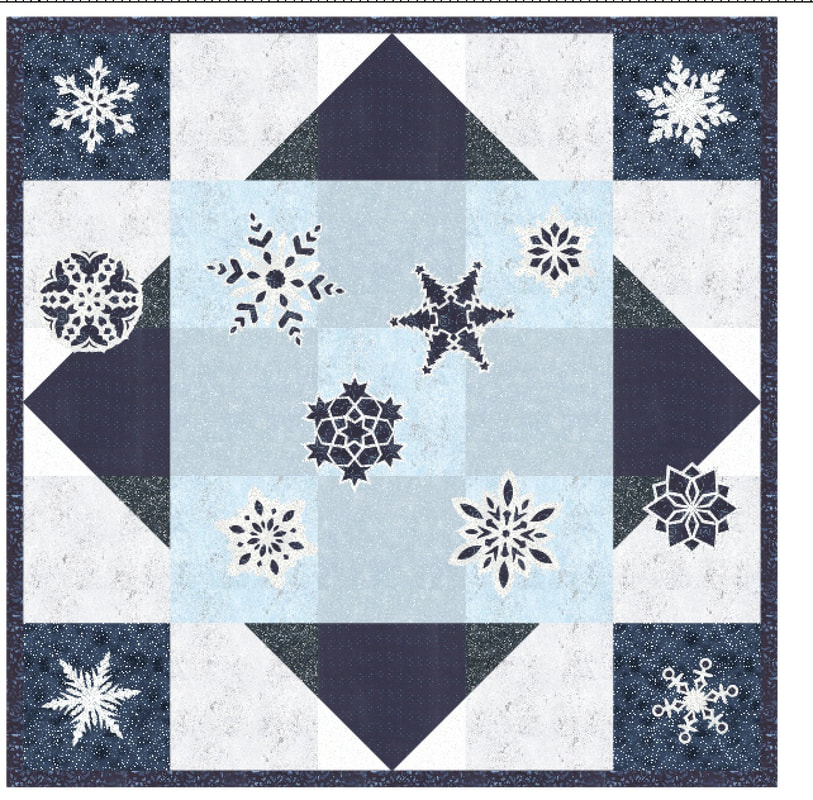
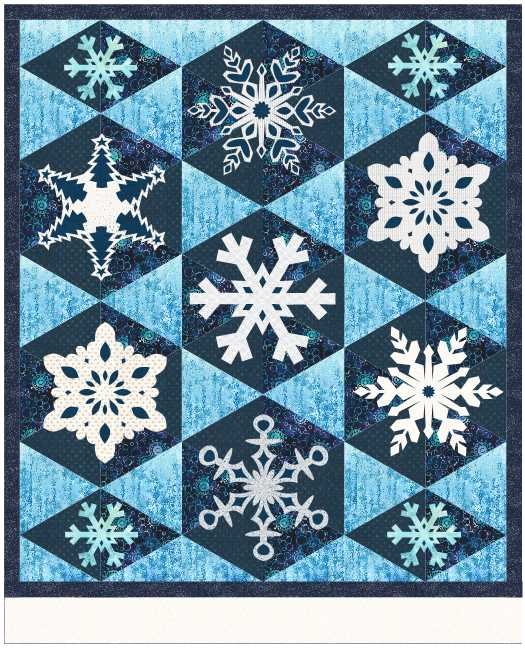
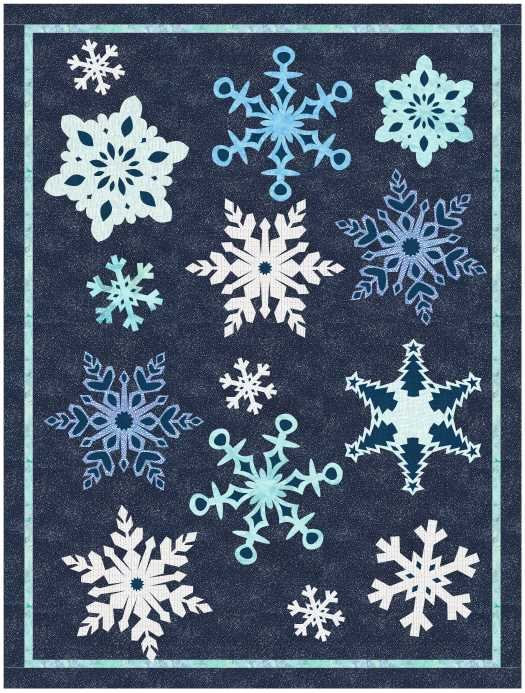
Many of you participated in a webinar shortly after Christmas, where I shared how to create applique snowflakes. This used a process similar to how we cut paper snowflakes as a child. It was a great opportunity to become acquainted with some of the tools within the applique worktable in EQ8.
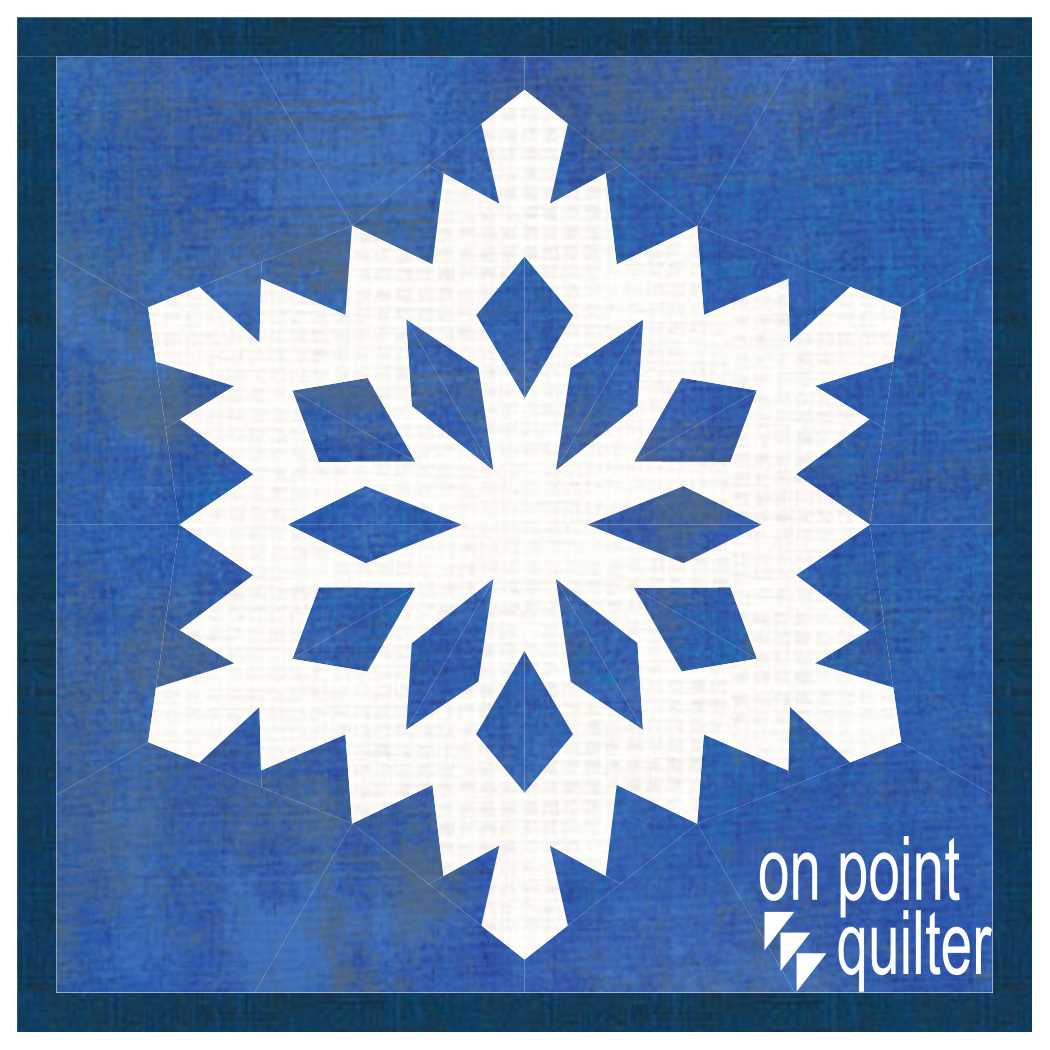
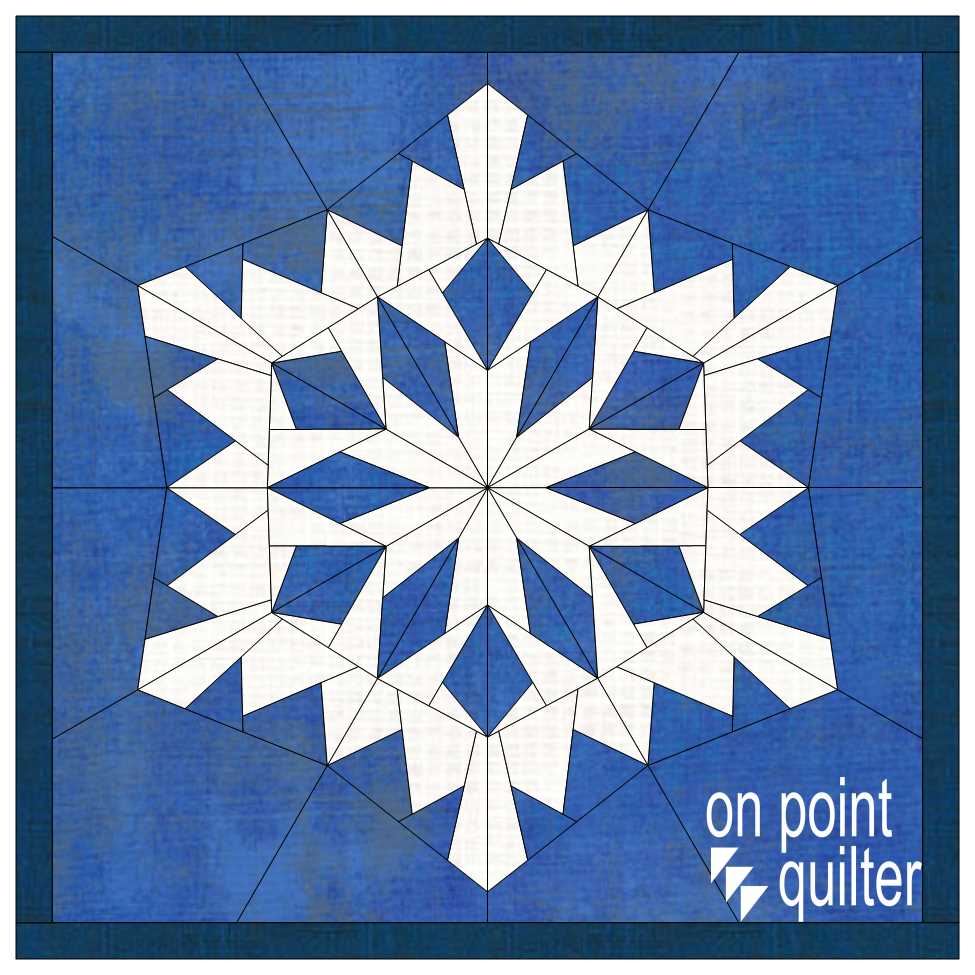
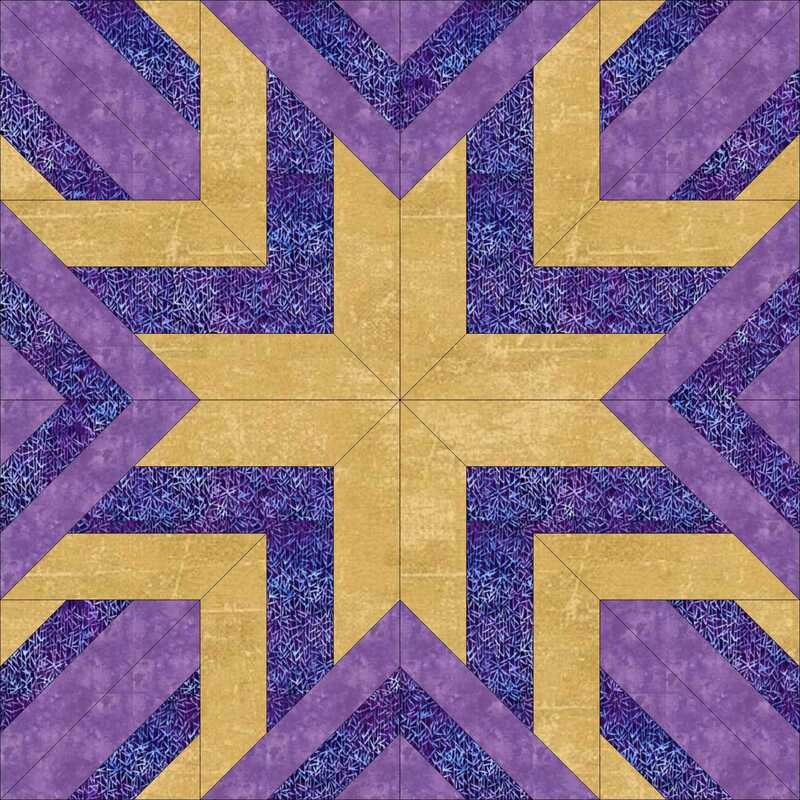
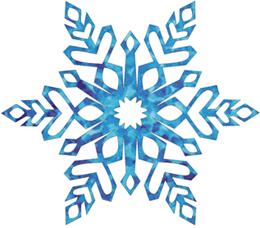
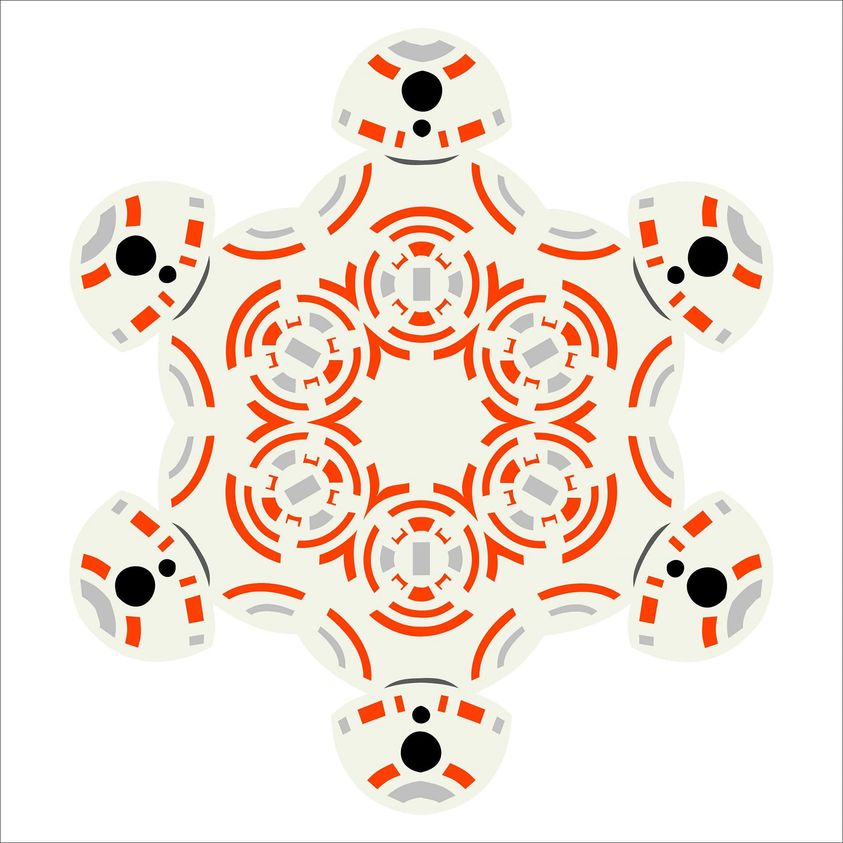
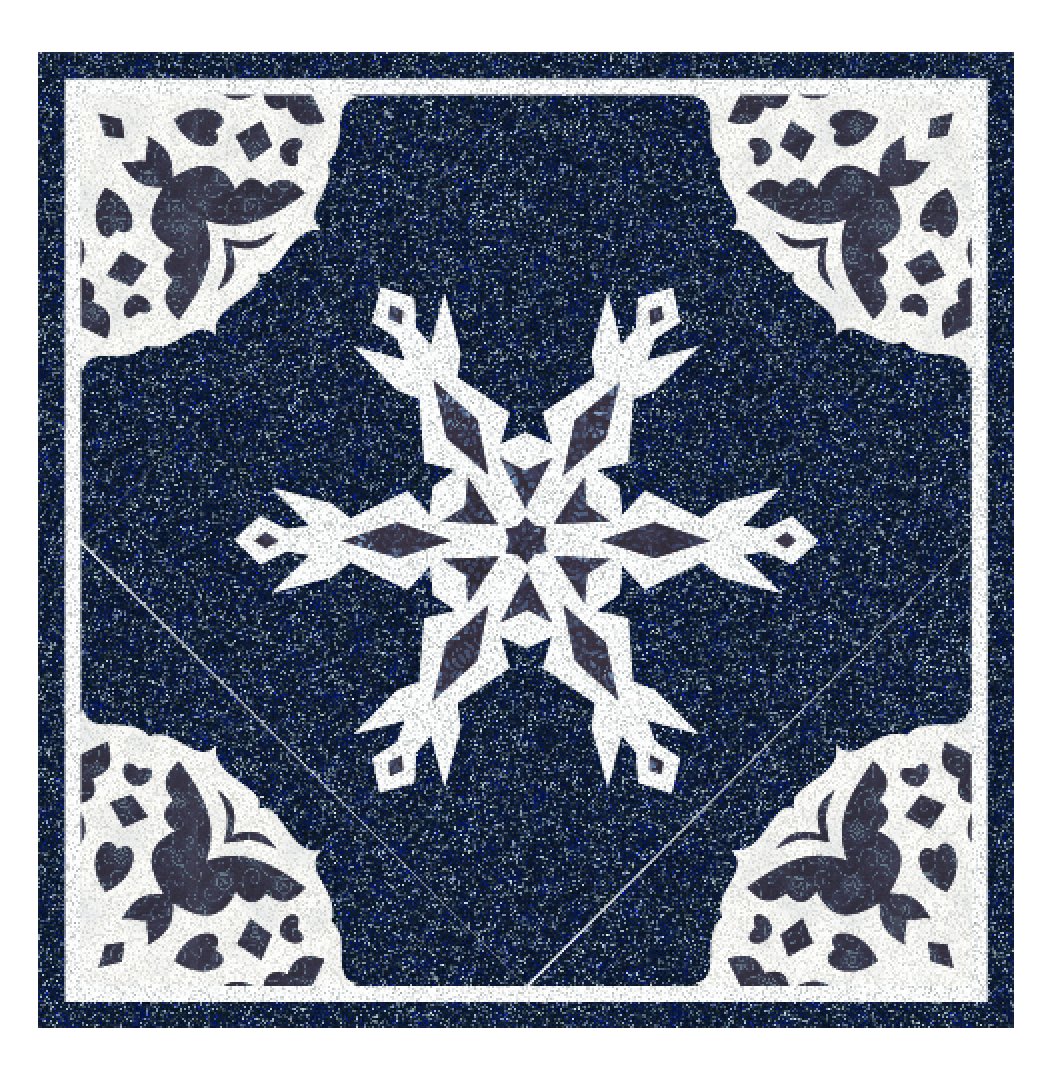
However I know that not everyone is into applique. So I decided to challenge myself to take one of those starting snowflake sections and turn it into a foundation piecing friendly block. We will use a similar process in that we will start by creating a foundation friendly wedge and then use clone and rotate to create and place the other wedges. This process is slightly more complex than the applique as cloning and rotating large segments have a few challenges in EasyDraw.
True confession. My first attempt at this technique was pretty seamless. However, once I started recording, I experienced a couple of issues.
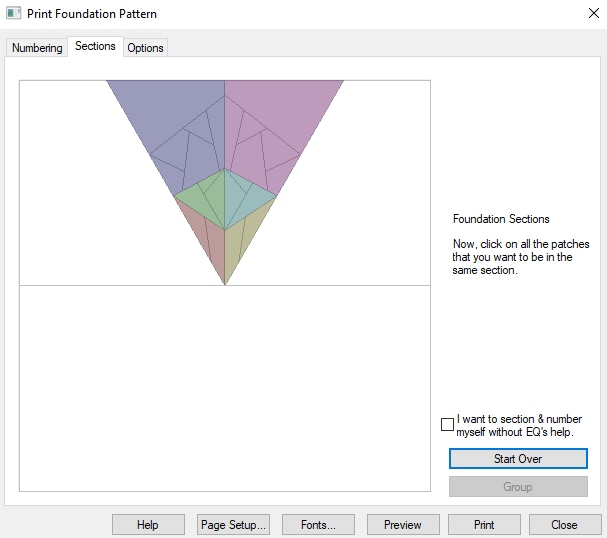
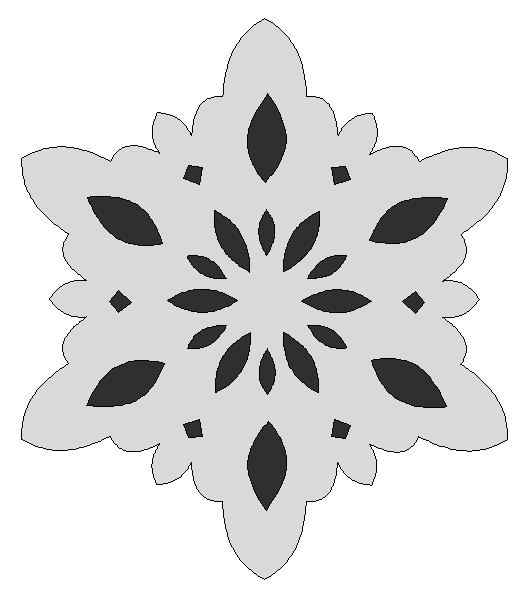
Here is my proposed sectioning for the two sections for each wedge
Click here for the pdf download of the wedge segments (six inch size). if you would like to piece the block. Make sure to print out 6 copies for each block.
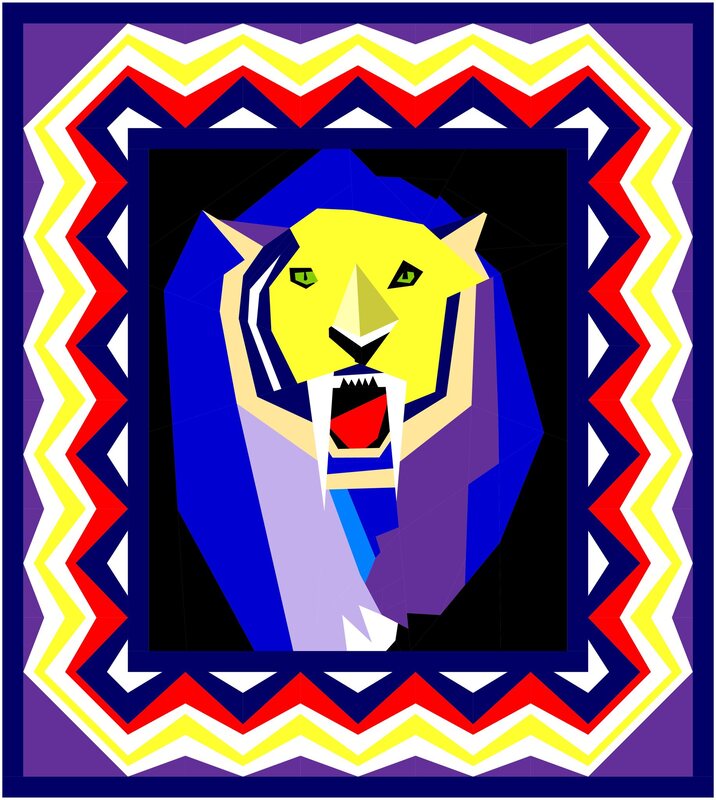
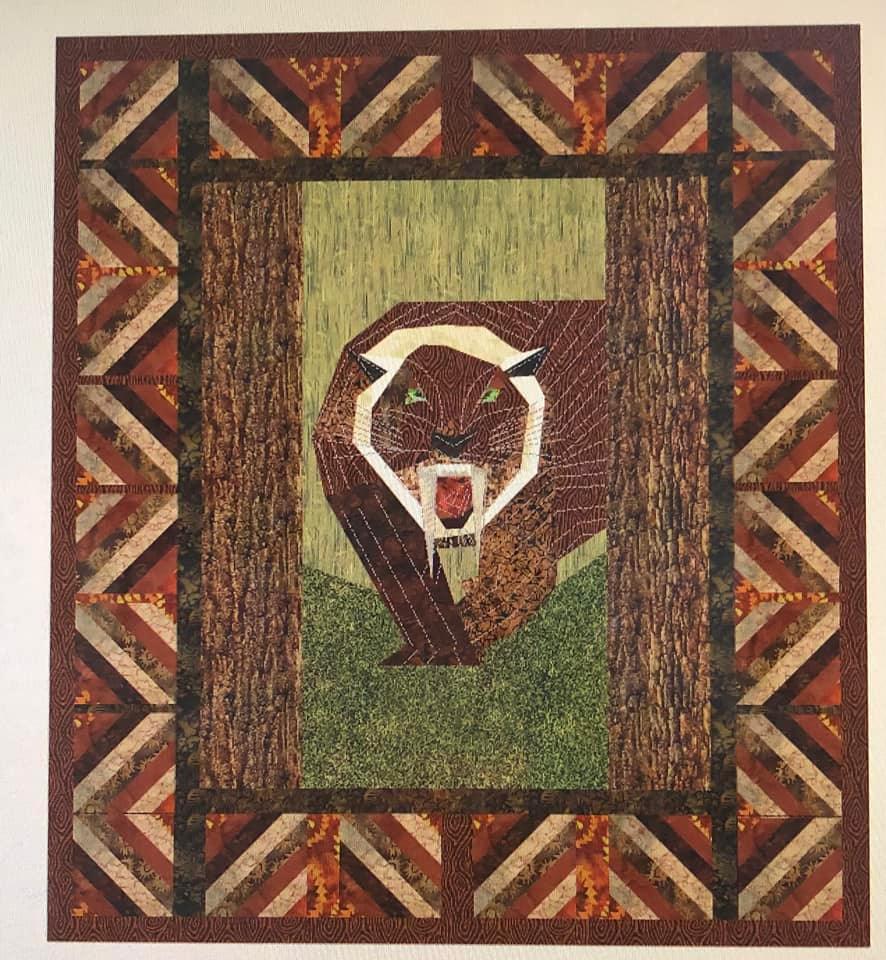
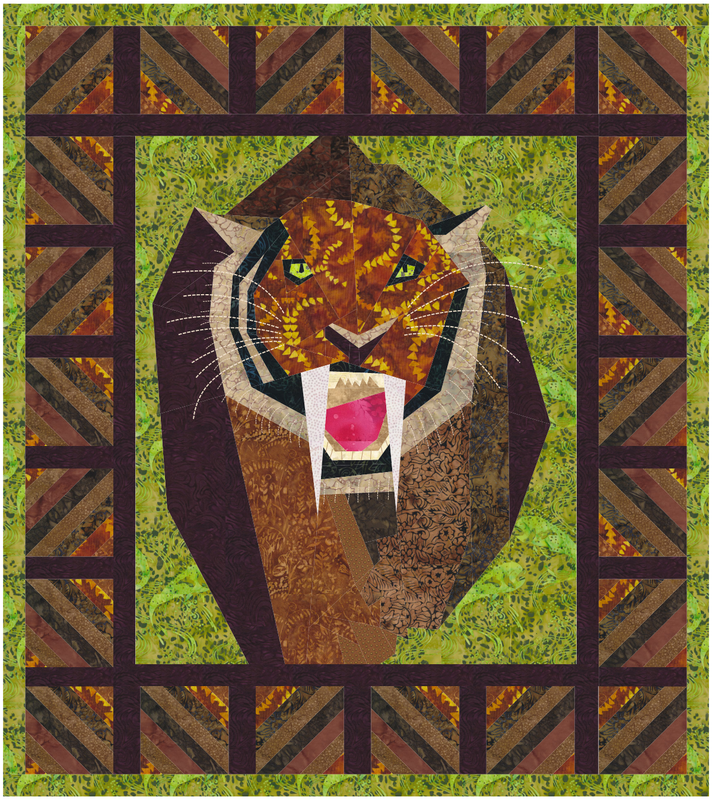
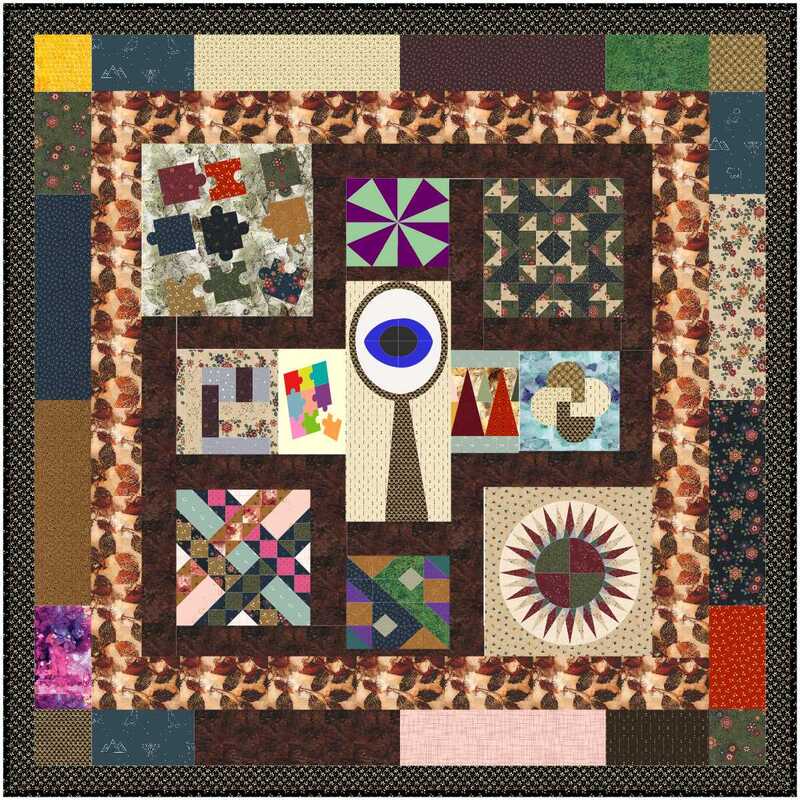
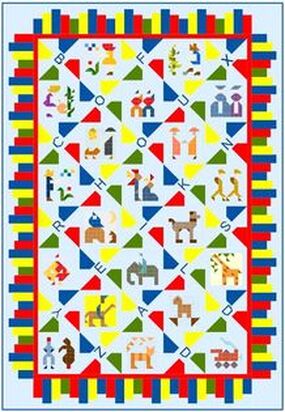
One thing I hear over and over again is -- I didn't know you could do "that" using Electric Quilt 8. One thing that holds us back from truly using Electric Quilt 8 is just not understanding that this versatile software can help you create any type of quilt. In this blog post, be inspired by the quilts created by Tech Know Quilter members using Electric Quilt 8. Month End ChallengeEach month I challenge those in Tech Know Quilters to apply what they learned during the last month. They can share a project from a lesson or an original design applying the concepts they have been learning in Tech Know Quilters. Tech Know Quilters is a membership program focused on mastery of Electric Quilt 8. We have members at all stages of their Electric Quilt journey. If you would like to join this amazing group of quilters, you can sign up for the wait list here. 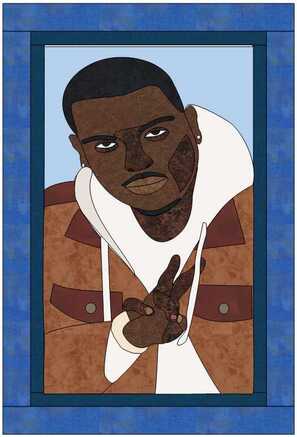 Julie Pedersen I did the Masters Complex Pieced Animals class this month. I learned a lot and decided to submit this design that I plan on making over Christmas break for a lady at school. The photo is her son who died this year. It will be applique which uses the same tracing techniques as I learned in class. I played with colors and couldn't get the shading color right, but I will do better with the fabrics when I make it. His favorite color was blue hence the border and background colors. Zdenka Nemethova In November I also worked on this quilt. I found in TKQ archive how to work with a panel in EQ 8, added 5 inch piano autoborder (in Christmas colors) with paper pieced little birds in the corners. Still not finished (last border Is missing) but we had snow today (for the first time this winter) and I couldn't resist to make this winter photo Sabertooth Tigers In November, Masters members honed their paper piecing drafting skills. Dorothee Ilgner, a Tech Know Quilter member completed a sabertooth tiger foundation friendly block which was inspired from a photo. Members learned from her design as they enhanced their own skills. Here is Dorothee's original Sabertooth Tiger quilt. Tech Know Quilters Masters ChallengeWithin Tech Know Quilters Masters, there is an opportunity for those who have completed twelve or more months of Tech Know Quilters to join this more advanced program where we focus on support for those applying their EQ8 skills to their own projects. Each month members are encouraged to create an original design around a specific topic. The Master's challenge in November was to create a quilt inspired by a favorite childhood book. Four members rose to the challenge. Snowflakes Webinar Wrap-Up
Wow. What a week. We ended up with over 1300 people signed up for one of the three Snowflake webinars. That's a lot. I did put a little too much content in the webinars which caused them to go long (a little over two hours for each of them with Q&A). You did an amazing job of hanging in there and I know that many of you are working through the replay.
I've had a few requests to extend the playback period since there was so much valuable information to absorb. I was planning to turn off the general access last night. But have decided to extend through Tuesday. For those in Tech Know Quilters, I am hoping to get you your forever links by end of next week. Here are some blocks and quilts posted on Facebook. 2022 Balloon Celebration
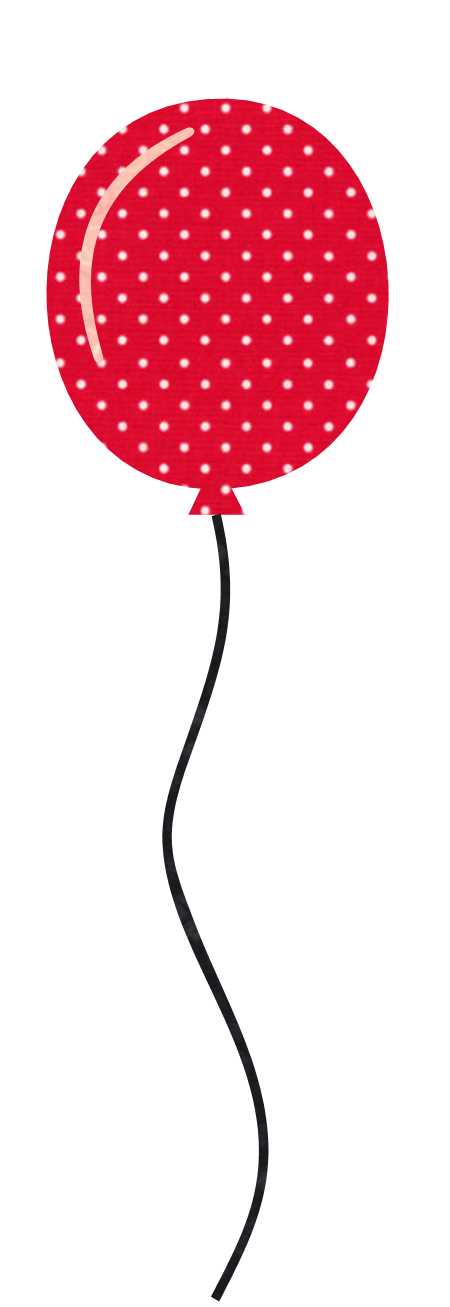
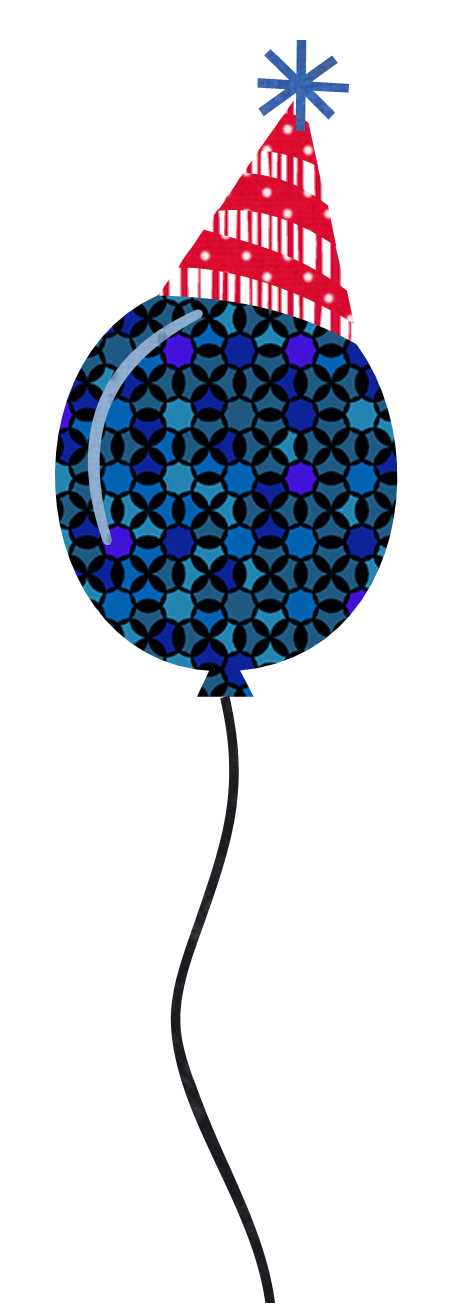
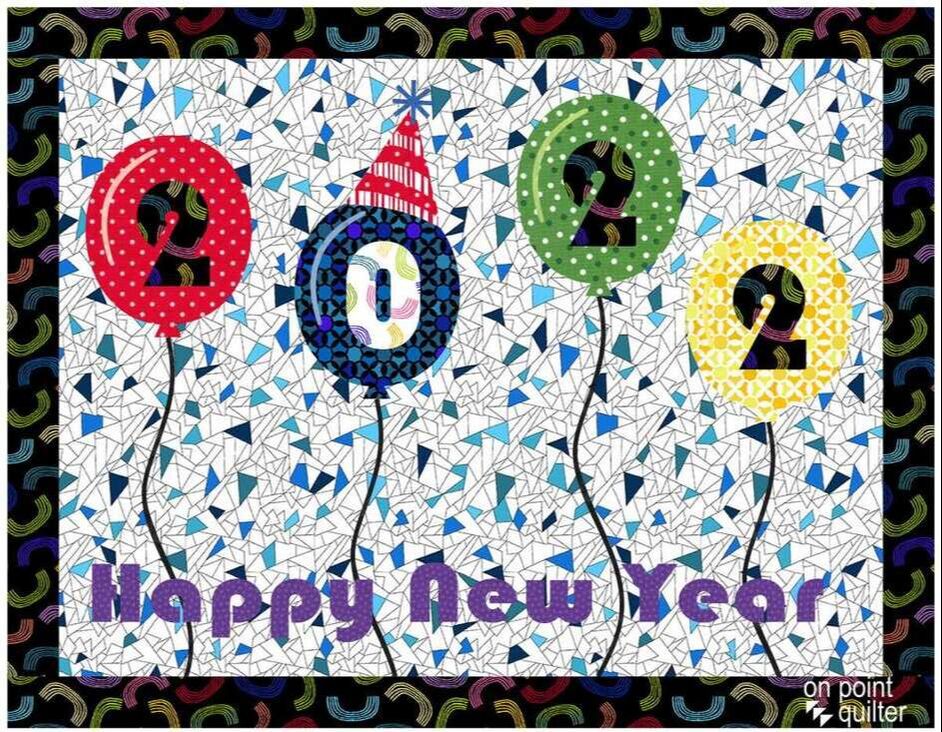
To color my balloons, I used fabrics from the one of the 2021 free downloads from Electric Quilt 8. The November 2021 collection is Black, White & Bright. It was designed by Christa Watson for Benartex. Click here to download the free collection. I paired them with a few fabrics from the EQ8 default library and a couple of polka dot fabrics from the EQ Fabric Library. The polka dot fabrics came from Themes 01 Dots.
For extra playtime, I drafted a couple of quilts using my balloons.
Here are my quilts -- one to welcome in 2022 and the other to welcome new members to Tech Know Quilters.
As you can see I added some text with the Text Tools (on Layer 2). When using the text tool, you can pick any font stored on your computer. It really is easy to spend a lot of time auditioning various fonts. The font for the Happy New Year quilt was Bauhaus 93. The font for the Welcome New Members quilt was Lemon Crush. You may also find it useful to useful to use Clip to Edge. This is under the adjust tool and allows you cut off any extra string from the balloons if they are hanging into the border or off the edge of the quilt. I am still not completely sold on my fabric choices. I did lighten the background fabric in the second quilt to allow the text to pop. 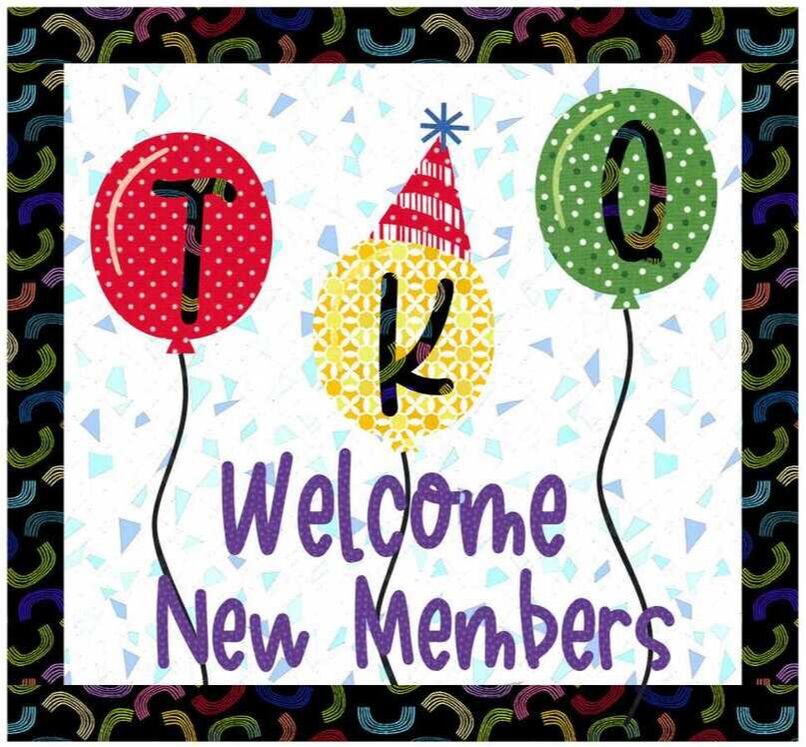
I look forward seeing what you will do with your balloons.
I have set up a post on the Learning EQ Facebook group. Feel free to post pictures in this post. Tech Know Quilters Update
We are currently welcoming over 150 new members to Tech Know Quilters. I was checking my records and I believe that is a record high (other than for the initial opening of the group right after EQ8 came out.) I heard that Santa was very good to many of you and gifted you EQ8 this year.
Our new members will be joining a pretty special group of quilters and designers and I am looking forward to being your guide as you master EQ8. The membership is currently closed, but please sign up for the wait list, so that you are notified for the next open enrollment period. |
Kari SchellElectric Quilt Expert and Educator and Pattern Designer. Categories
All
Archives
July 2024
|












 RSS Feed