On Point Quilter
  • Blog
  • About
  • EQ Training
    • Tech Know Quilters Electric Quilt 8 Membership Training
    • Shoot for the Stars with EQ8
    • Electric Quilt 8 Sneak Peek
    • Scheduling a Workshop or Lecture
  • Store
  • Contact
  • Free Stuff
    • Other Video Tutorials
Picture

Harvest Stars

10/26/2019

 
Included in this blog post:
  • Harvest Stars EQ8 Video Tutorial
  • Instructions for constructing the Harvest Star block using Folded Corners
  • Tech Know Quilters Virtual Quilt Show

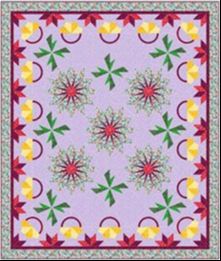
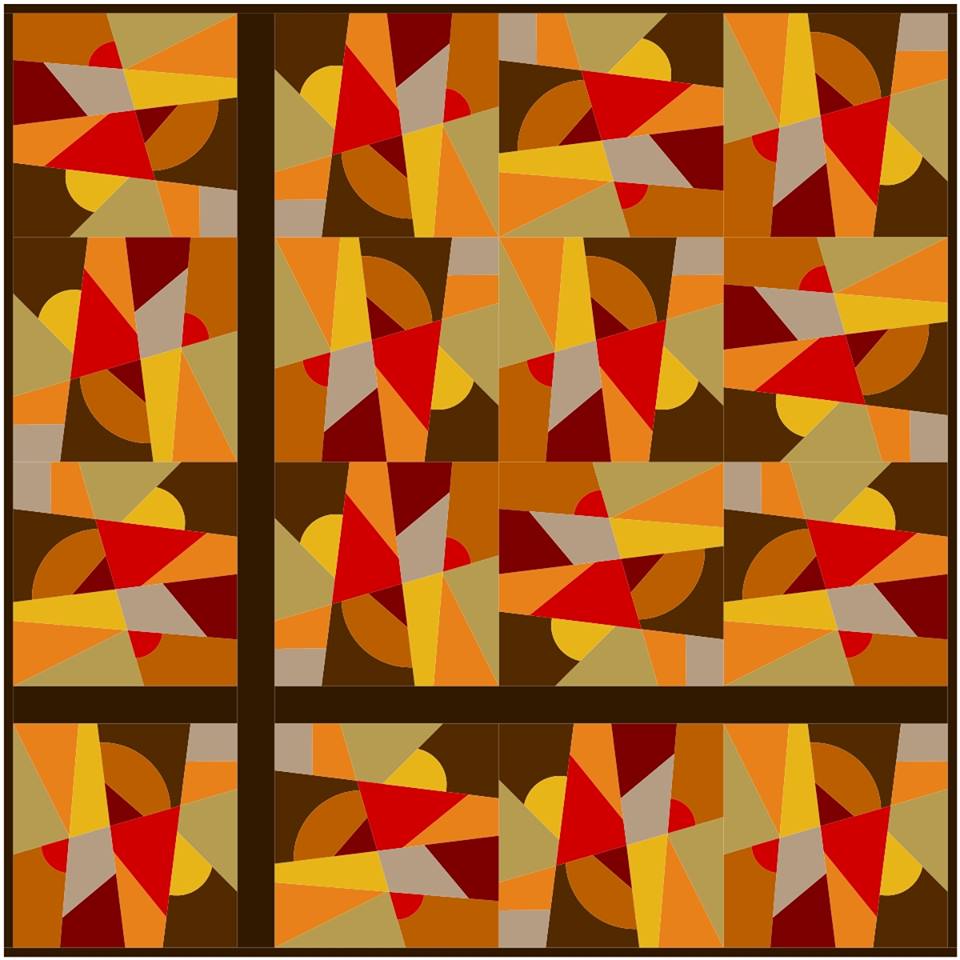
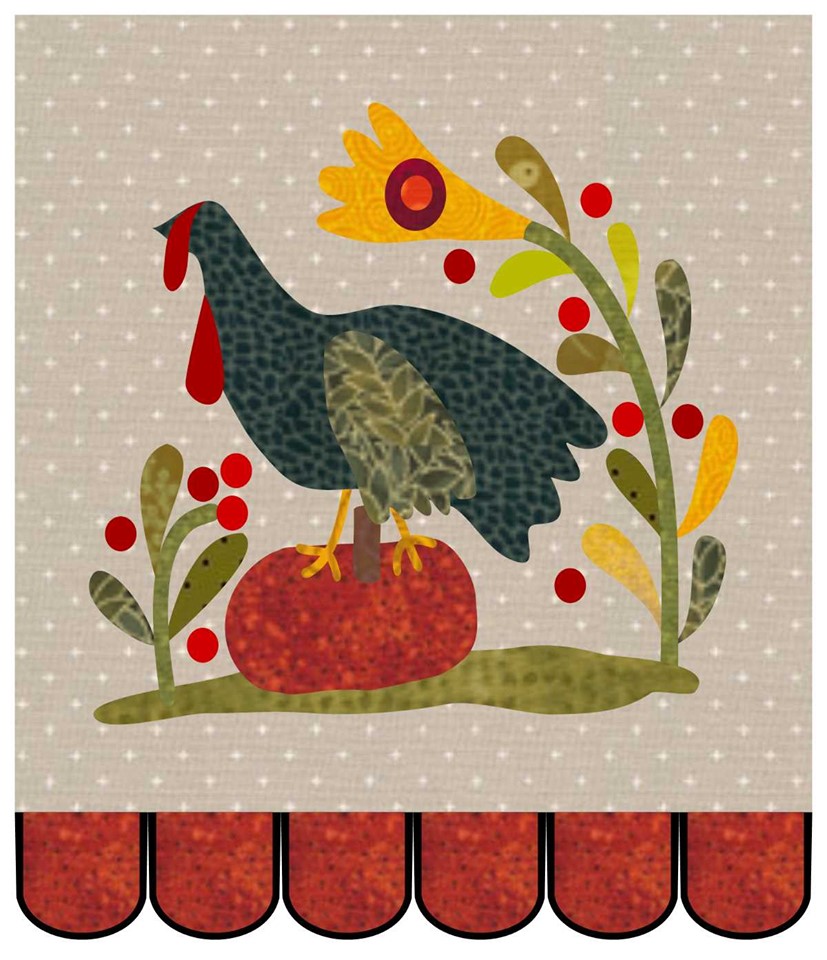
Harvest Stars EQ8 Tutorial

Learn to draft an easy asymmetrical block, color it with a All Hallows Eve, a fabric collection by Fig Tree Design that was produced by Moda.  Then use Symmetry in Electric Quilt 8 to audition various rotations of the blocks.

I think this creates a great quilt to celebrate harvest time -- or Halloween.
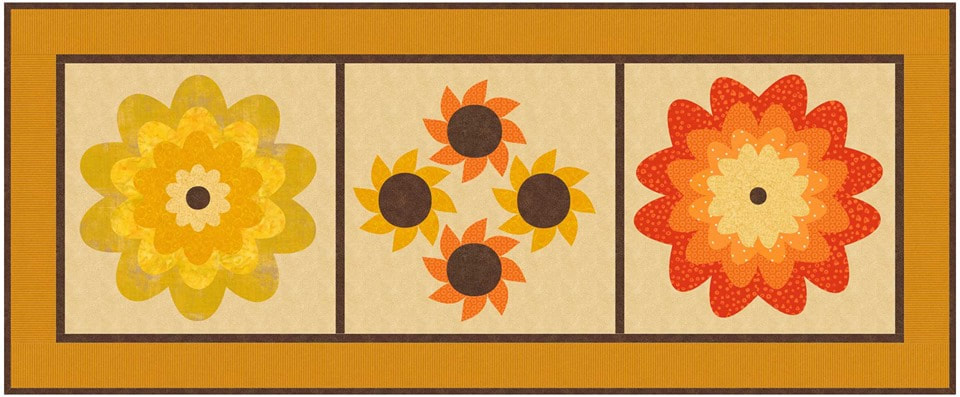
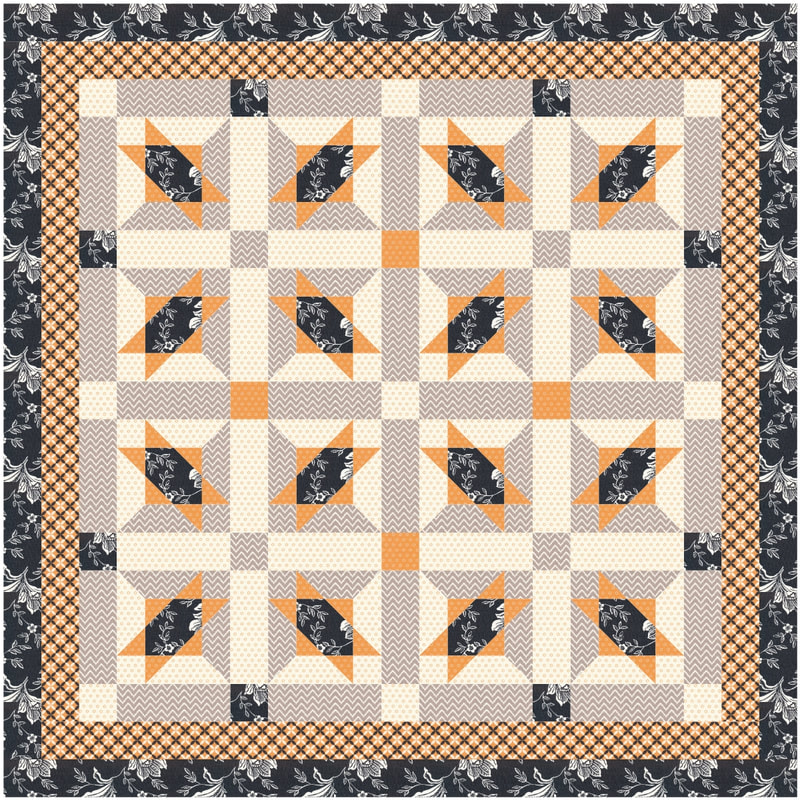
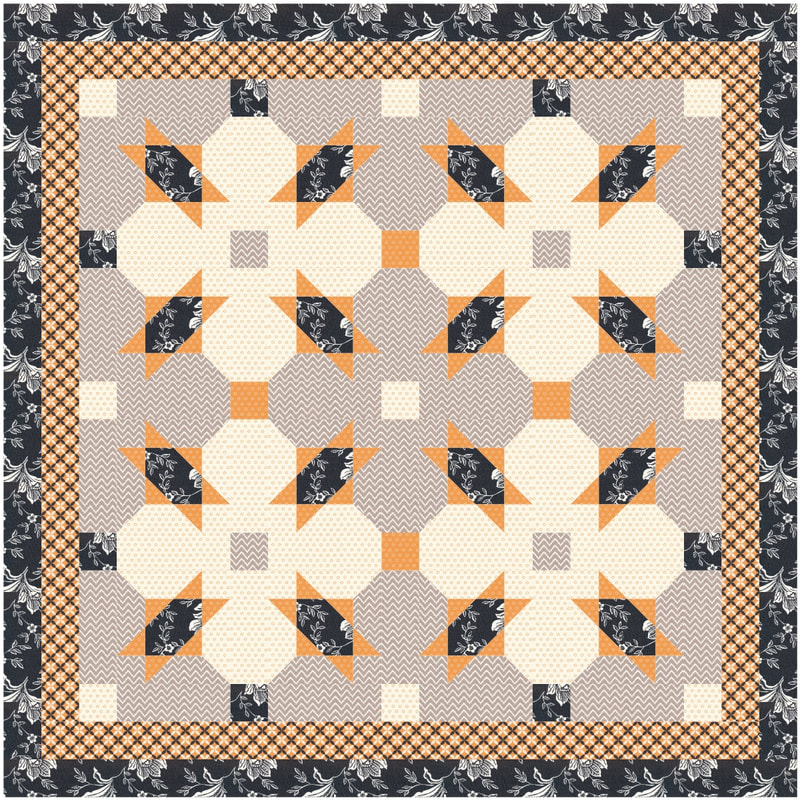
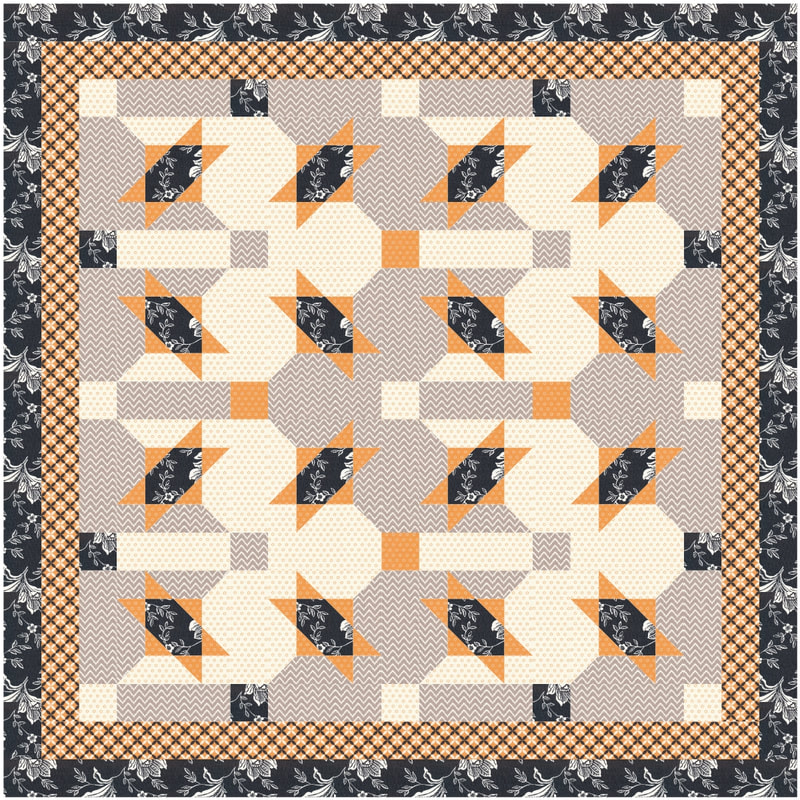
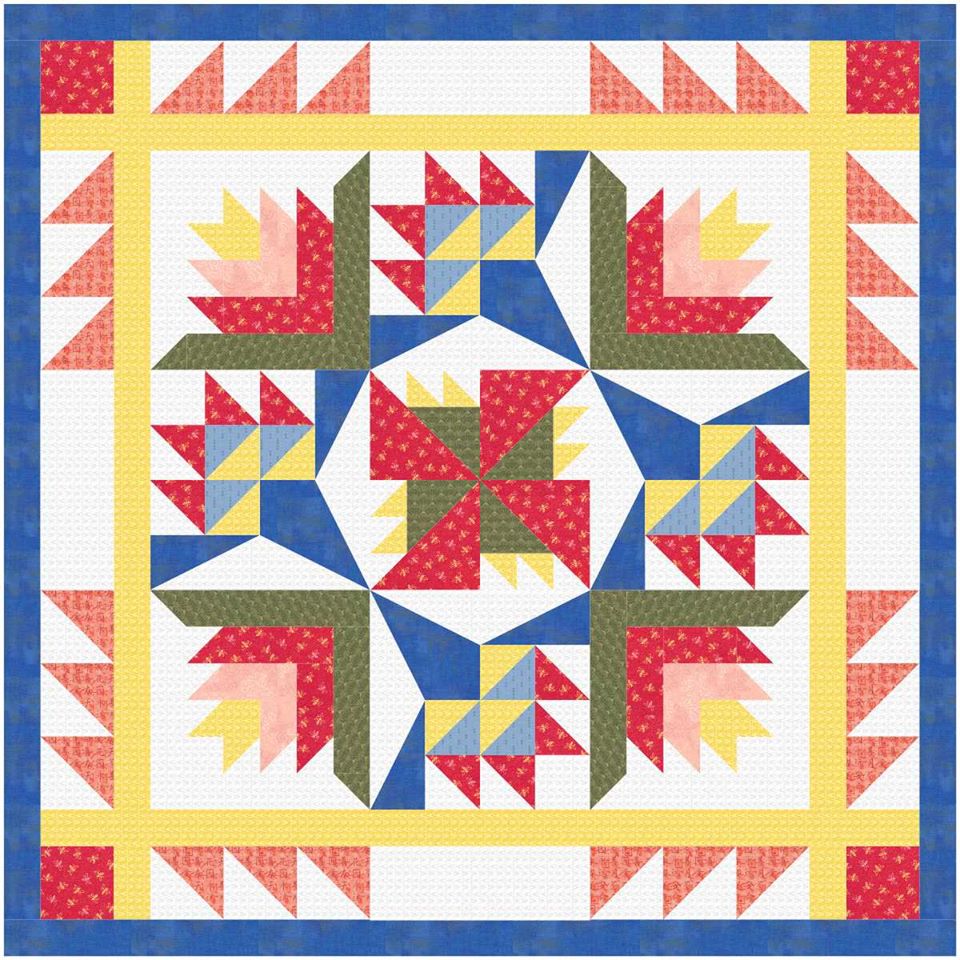
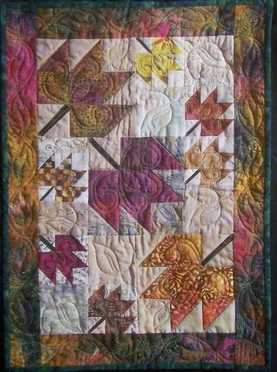
Here is the block and quilts, I saved during the video tutorial.
Picture
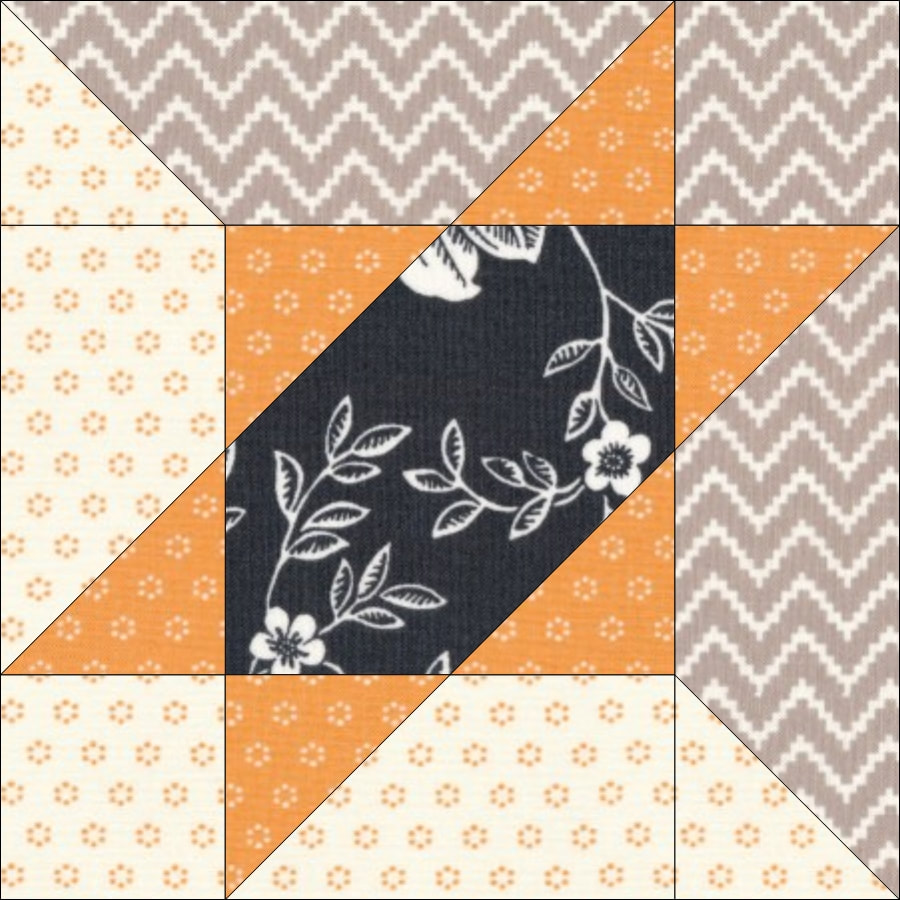
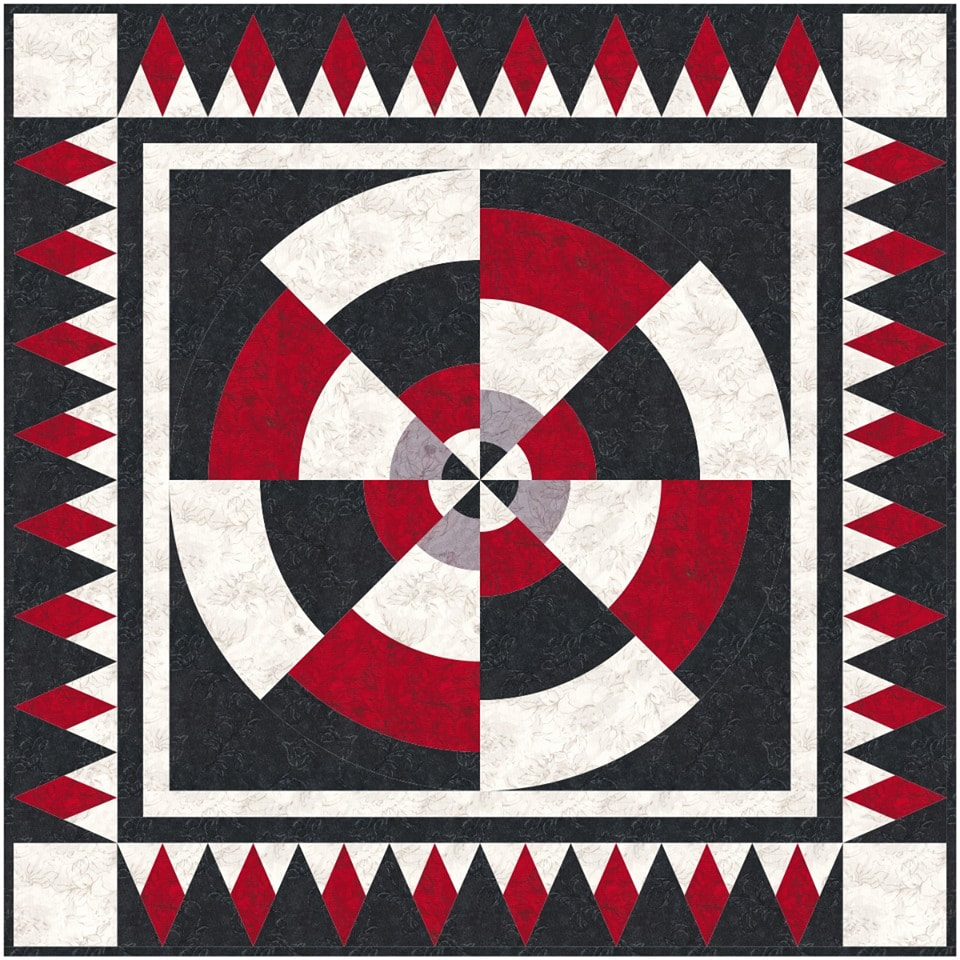
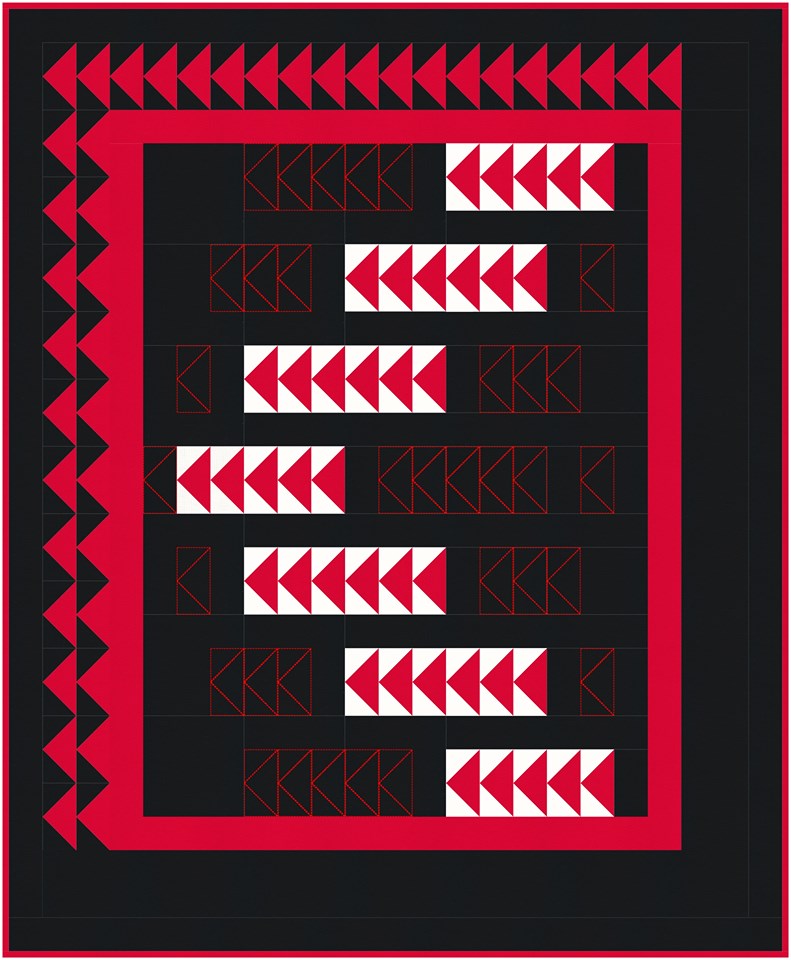
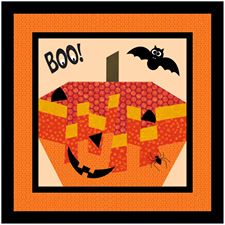
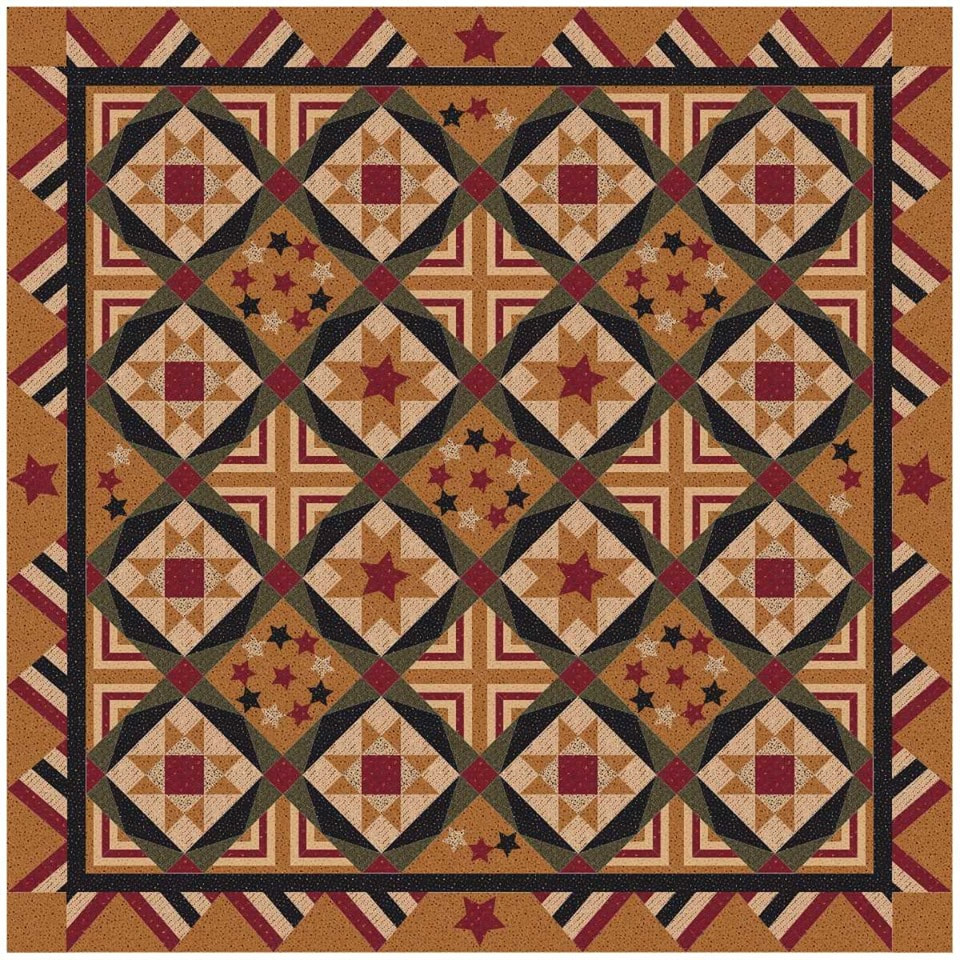
Harvest Star Block by Kari Schell
Picture
Harvest Stars by Kari Schell Rotation 1
Picture
Harvest Stars by Kari Schell Rotation 2
Picture
Harvest Stars by Kari Schell Rotation 3
Picture
Harvest Stars by Kari Schell Rotation 4

Harvest Stars Block Construction using Folded Corners

I often receive questions on how I would approach piecing a particular block.  For this block, the most efficient cutting chart is not the one produced by Electric Quilt. 

Instead I would cut squares and rectangles as noted in the annotated diagram below.  
Picture
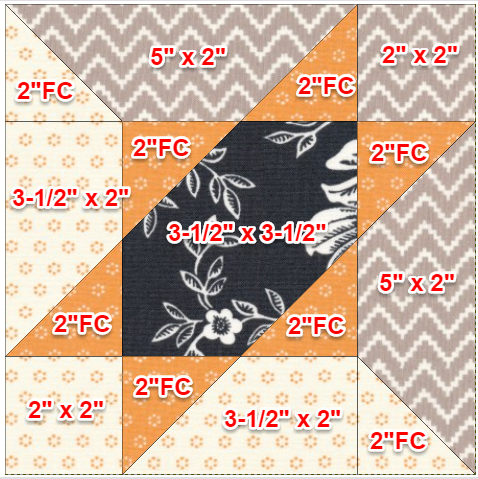
Cutting chart for 6 inch Harvest Star block by Kari Schell
FC is my abbreviation for Folded Corner.  It is a square piece of fabric that is sewn onto another square or a rectangle.  

If you haven't used folded corners, it is a very efficient want to work with patches with 45 degree angles.  Here is how to construct a folded corner.
Picture
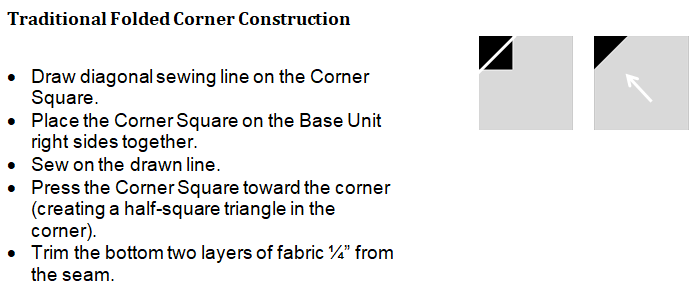
After adding the Folded Corners on the square and rectangular base units, combine units per diagram below.
Picture
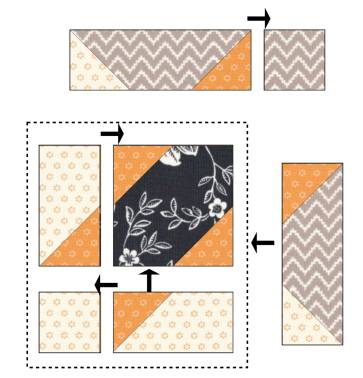
Harvest Star Assembly

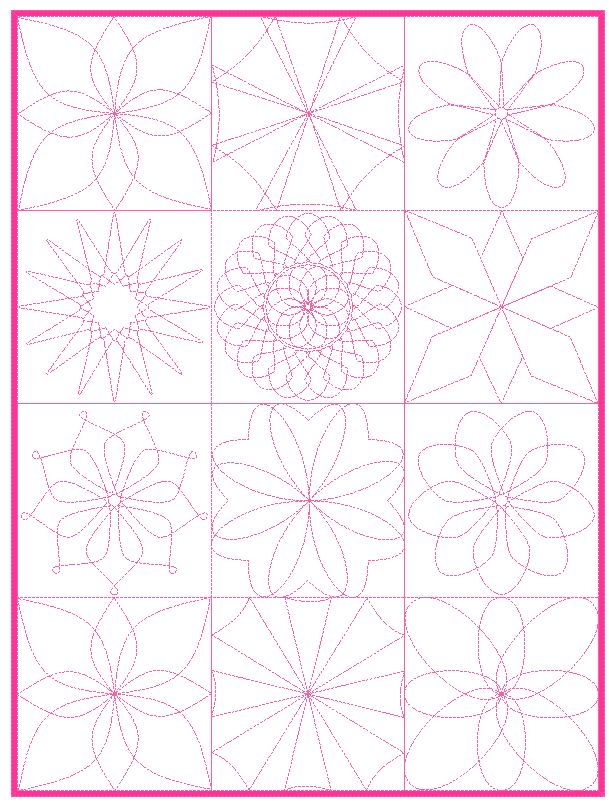
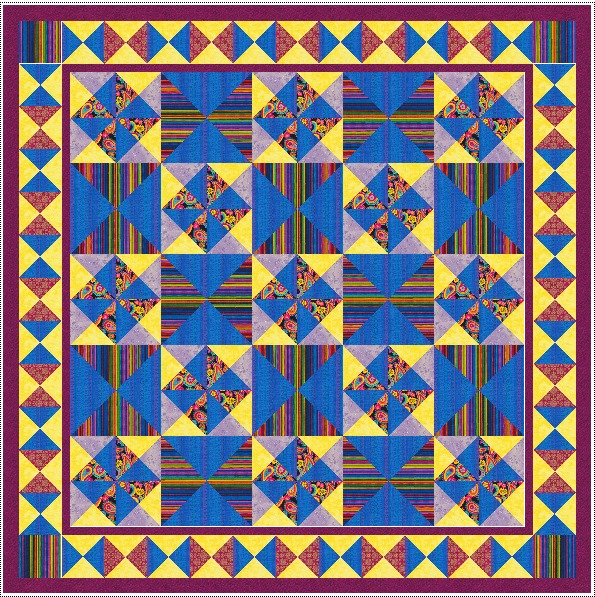
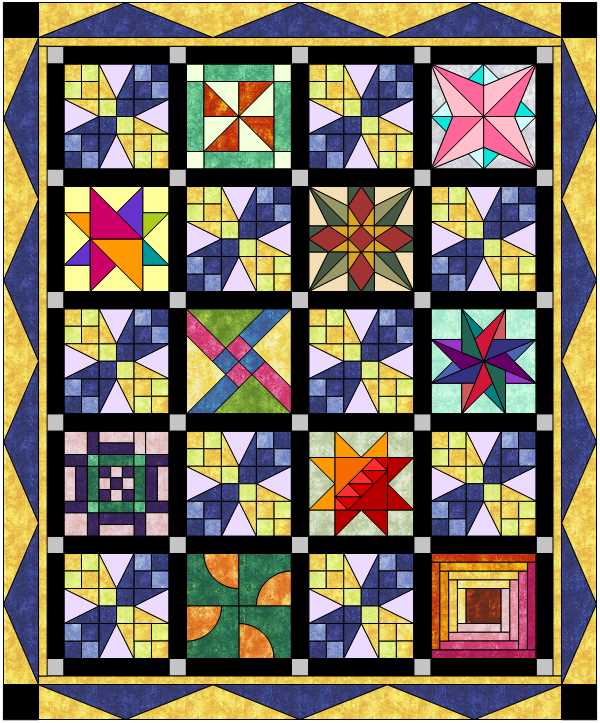
Tech Know Quilters September Showcase

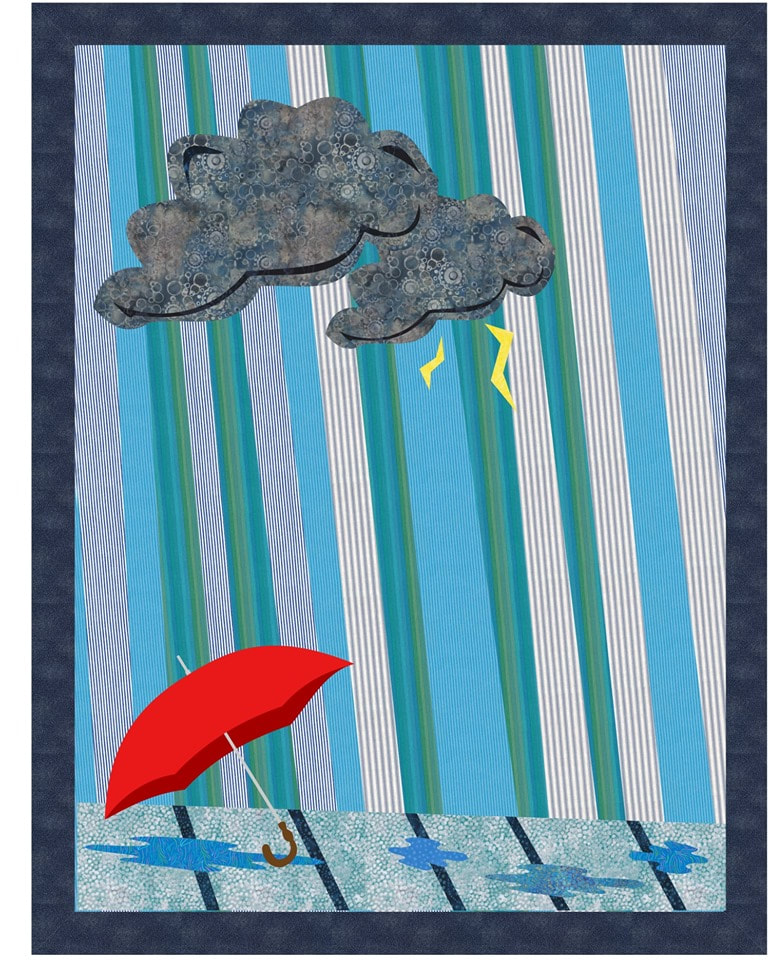
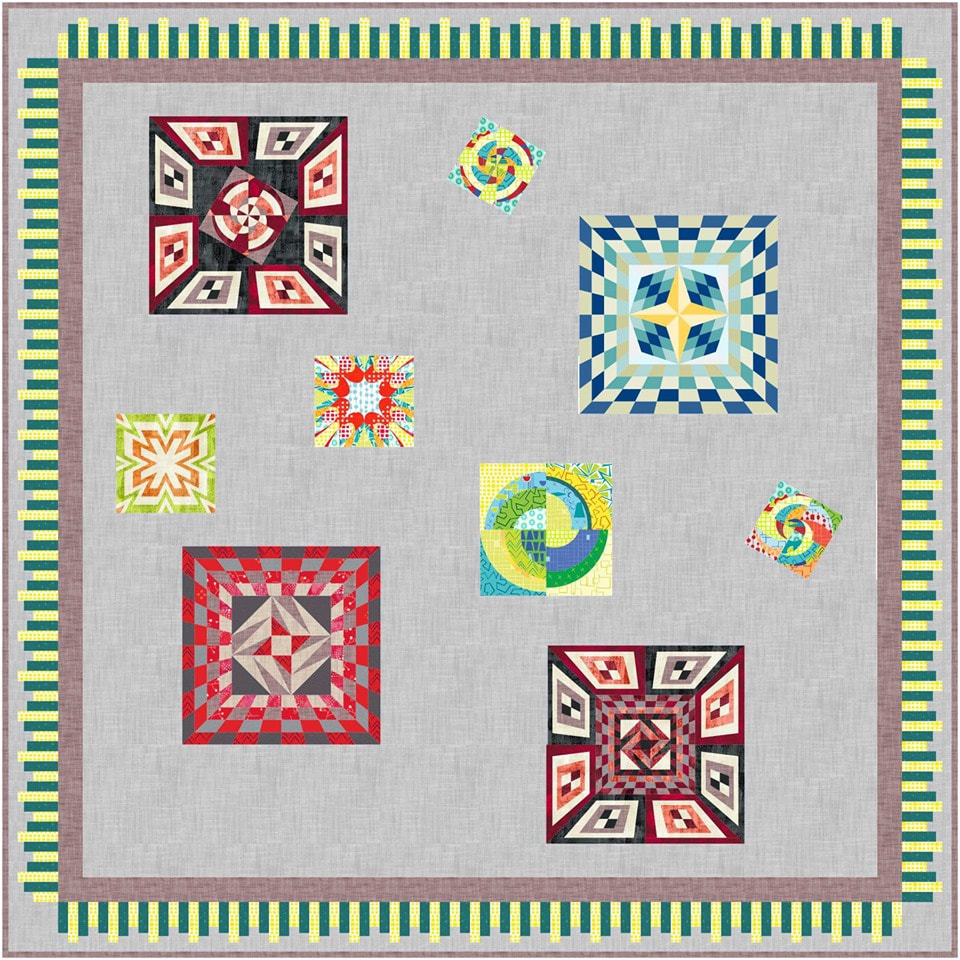
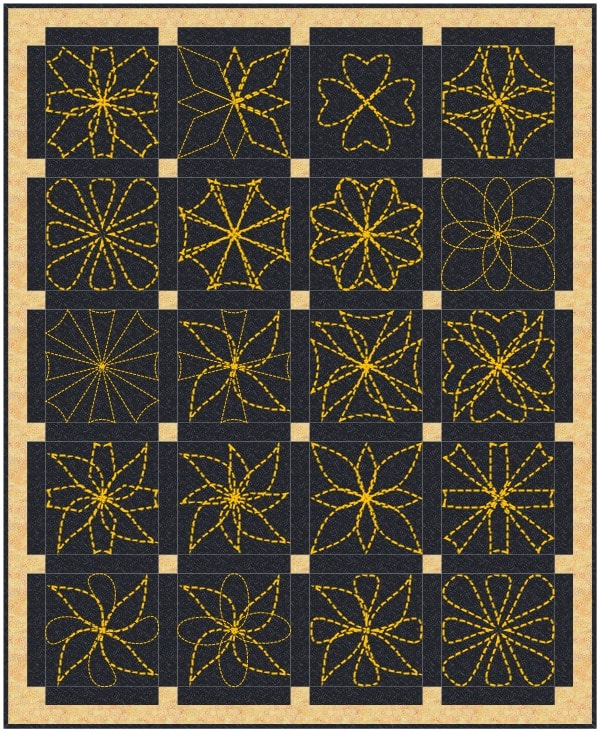
Current Tech Know Quilter members were challenged to apply what they learned at the end of their September class.  As you can see, they learned a lot!
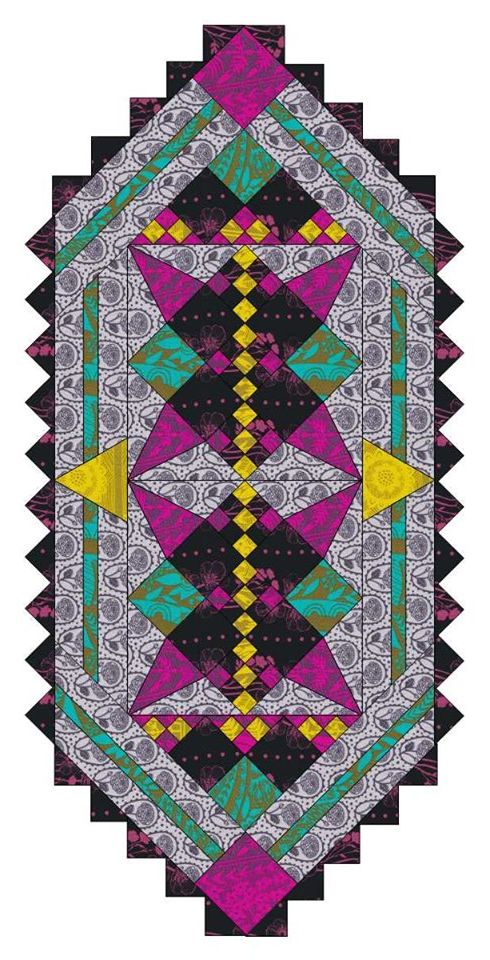
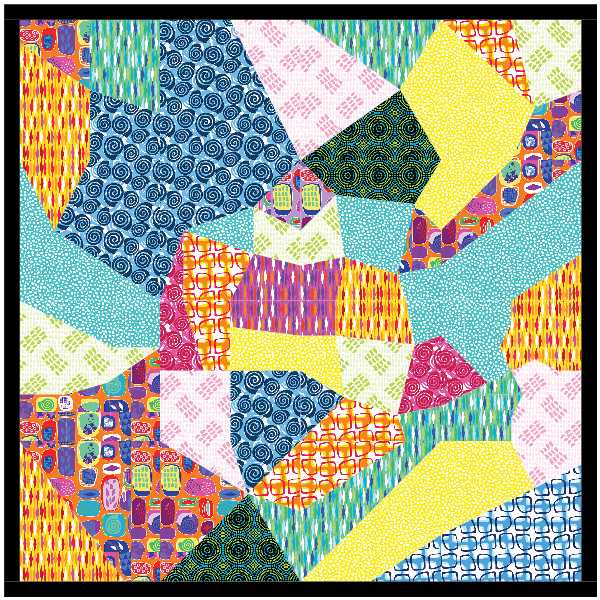
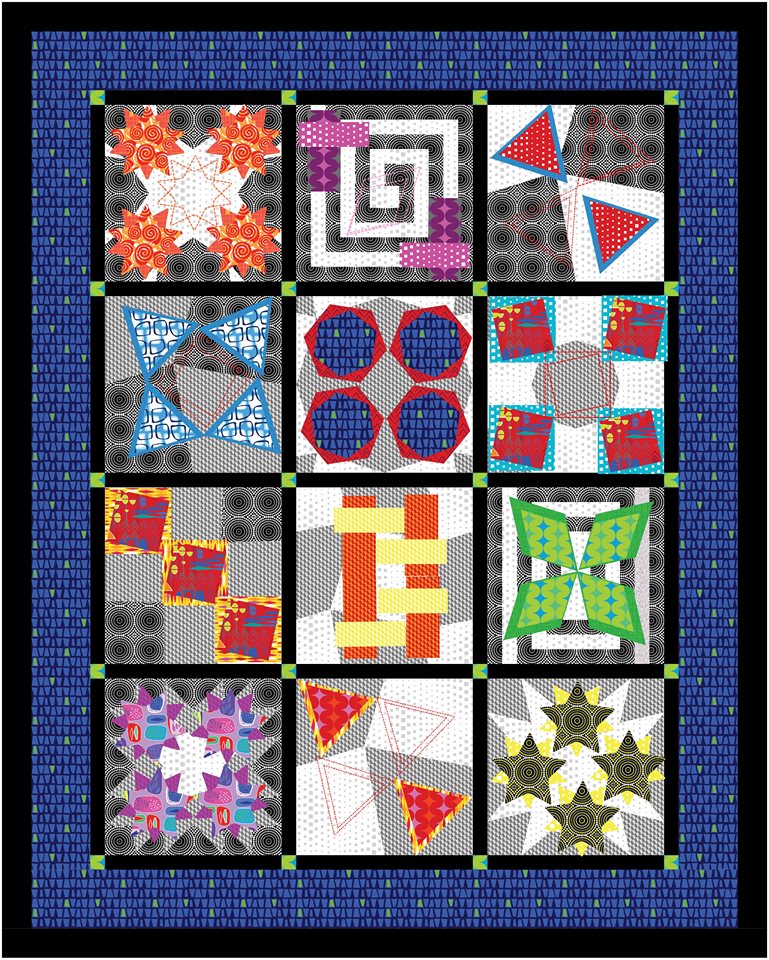
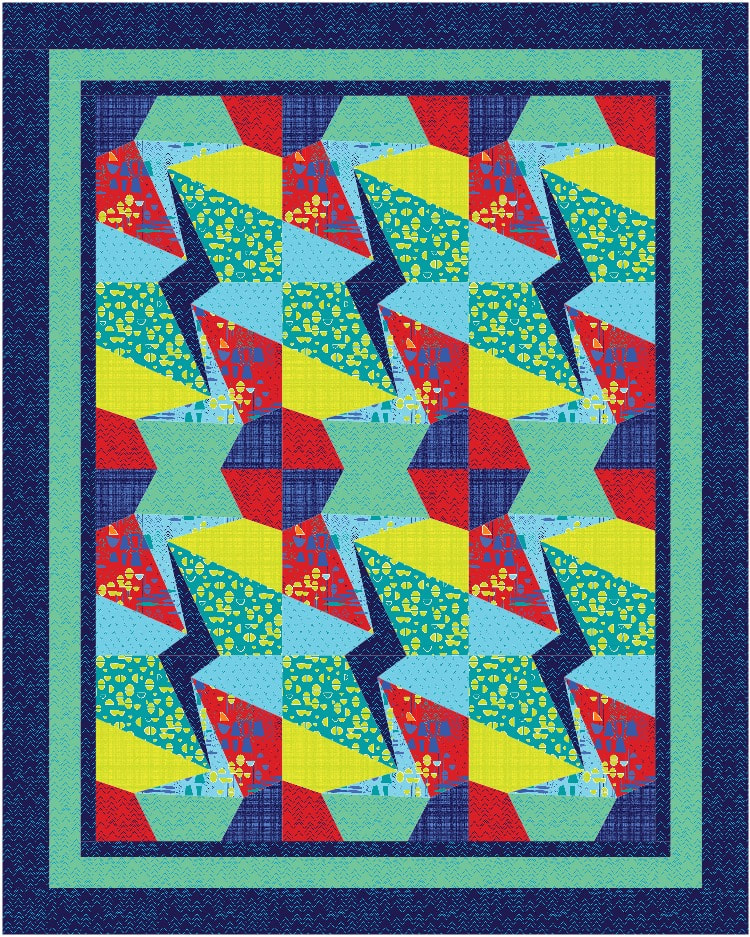
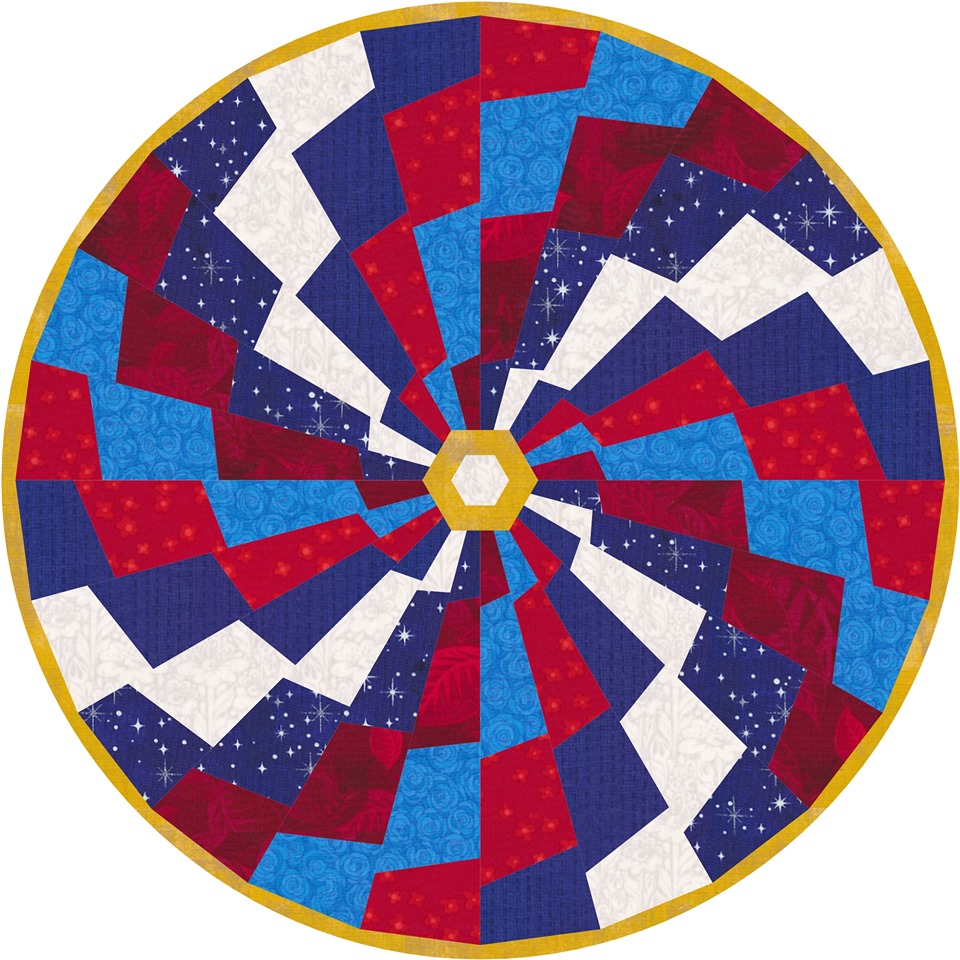
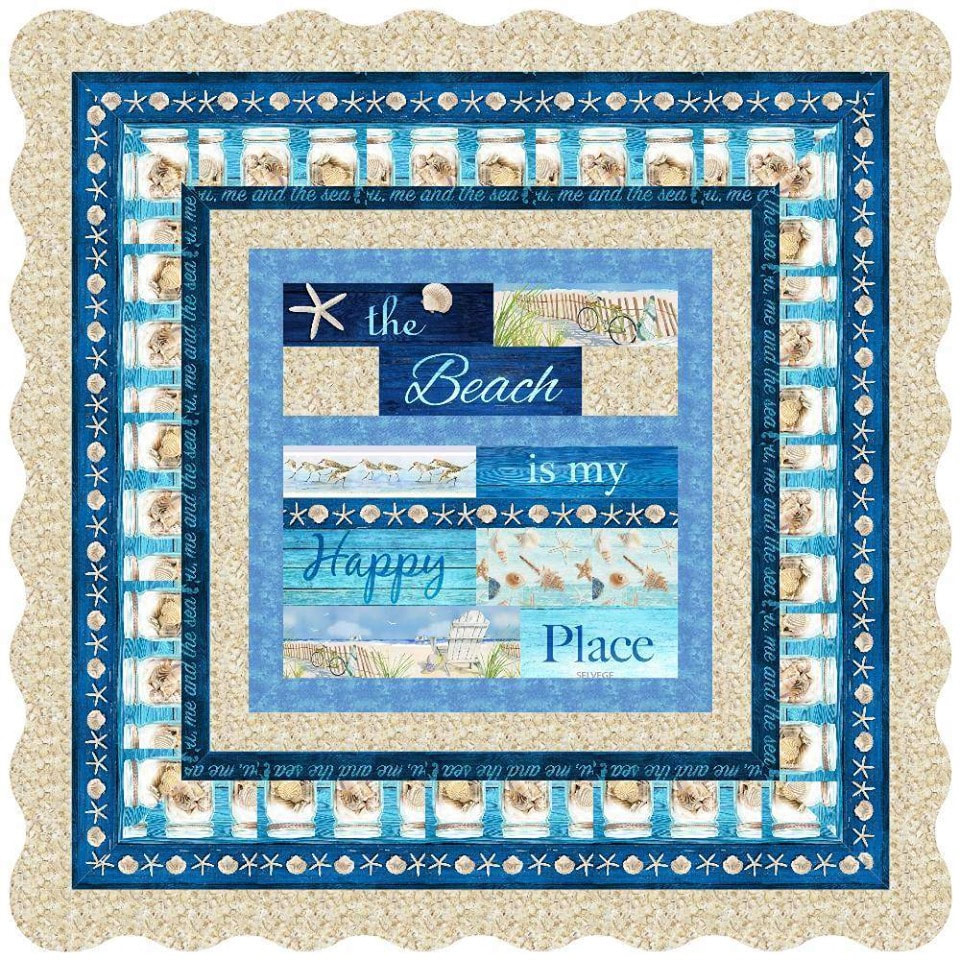
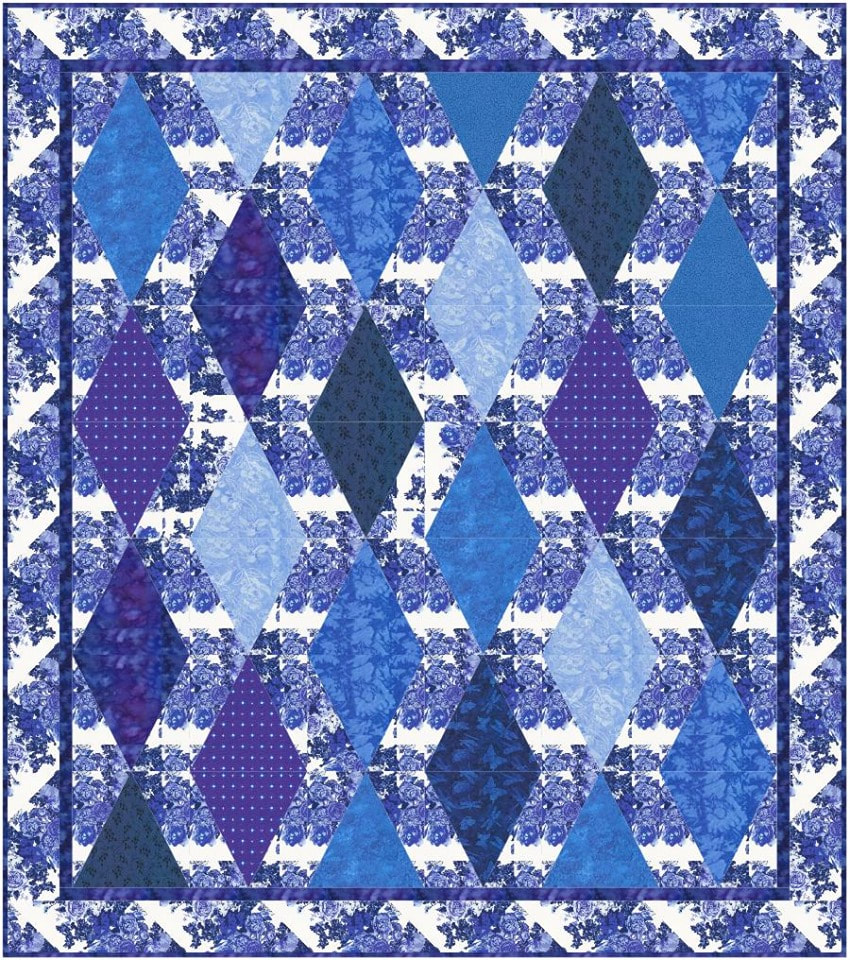
Picture
Nancy Messuri I have been playing with PolyDraw, and for the challenge I decided to combine the the Star grid, which I have yet a lot to learn about, and the Circle grid. I have really enjoyed the TKQ Introduction to PolyDraw class and would love to have an advanced course on this.
Picture
Nancy Messuri Playing with the Arc tool.
Picture
Roseanne Nelson I was inspired to create a pattern and then sew it using up a fat quarter bundle that I received. I was able to share a pattern with fabric requirements and templates as well (no charge) on my post which is what I'd like to do more of. https://homesewnbyus.com/september-rainbow-ripples-omg-complete/
Picture
Linda Carlson I finished the Advanced Border Design class in September. Here is the table runner.
Picture
Linda Sutley I was in the Introduction to EasyDraw in September. I especially enjoyed the lesson on drafting log cabin blocks.
Picture
Lida Sutley -- Log Cabin Block
Picture
Kristy Goodin Soard As soon as I saw the class reveal using wedge rulers, I knew that I would be using one for my challenge quilt. I designed my quilt to be able to utilize Creative Grids 45-degree wedge ruler. I created several variations, and am submitting the blocks set in a horizontal layout as well as a diagonal set layout.
Picture
Kristy Goodin Soard On Point Layout.
Picture
Carole Fox With my “PolyGarden” quilt on point , I wanted to use all the different grids in Polydraw. For the basket block I even used 2 grids : the Circle grid for the upper part and the Octagon grid for the lower part. The flowers were done with the Arc grid and the leaves with the Kaleidoscope grid. I had to create the “partial blocks” with the unused grey color for the red star blocks on the side and the corners. It was a very interesting work where I could include all what I learned in the Polydraw lessons but also in the previous ones.
Picture
Linda Carlson This is my variation of the Scalloped Border quilt created during the Advanced Border Design class in September.
Picture
Nancy Messuri I woke up with this quilt design idea this morning and couldn't stop 'til I got it right. This program is so addicting!
Picture
Irene Clements
Picture
Micheline Herzan Feathered Star block quilt. I can visualize this in Tula Pink Fabrics.
Picture
Micheline Herzan block
Picture
Micheline Herzan -- I incorporated two of my favorite blocks -- a feather star and flying geese.
Picture
Suzanne Golden Just finished Modern Quilts. I enjoyed the process and learning a different way to create blocks.

Gees Bend Challenge

Tech Know Quilters in Modern Quilts class, were challenged to create a modern quilt inspired by the Gees Bend quilts.  You can read more about Gees Bend quilts here.
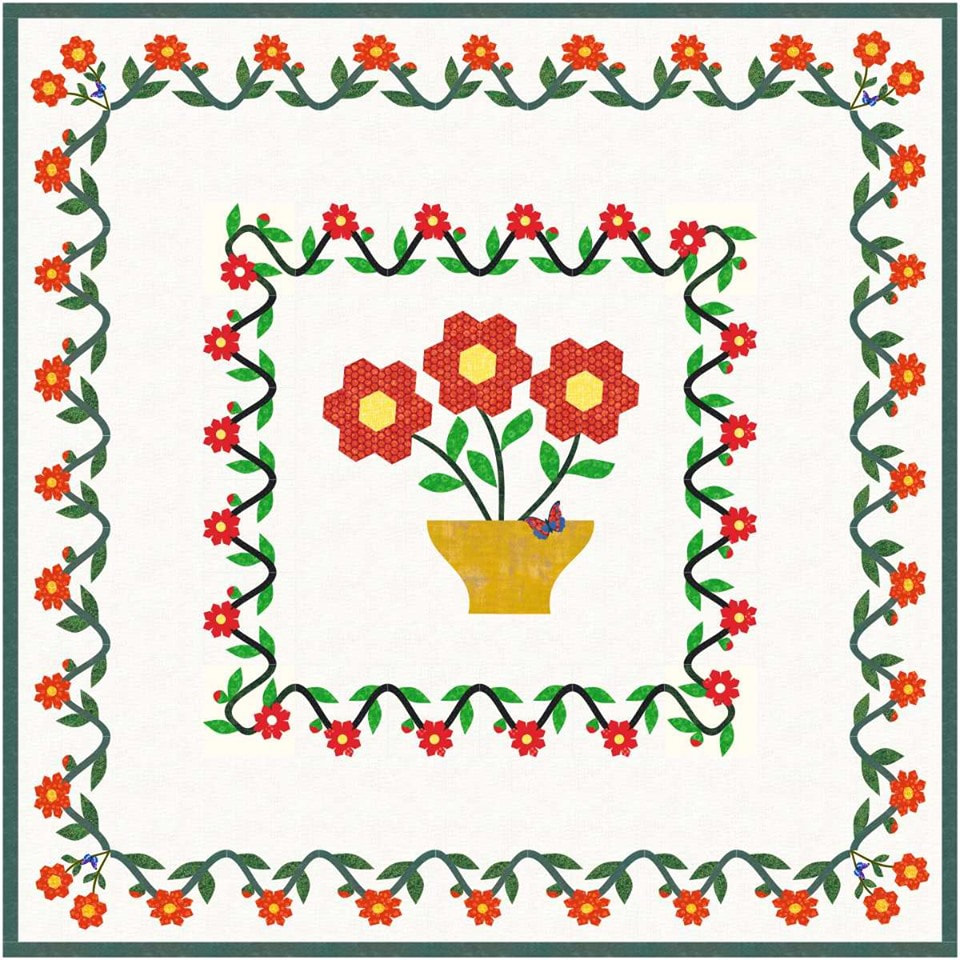
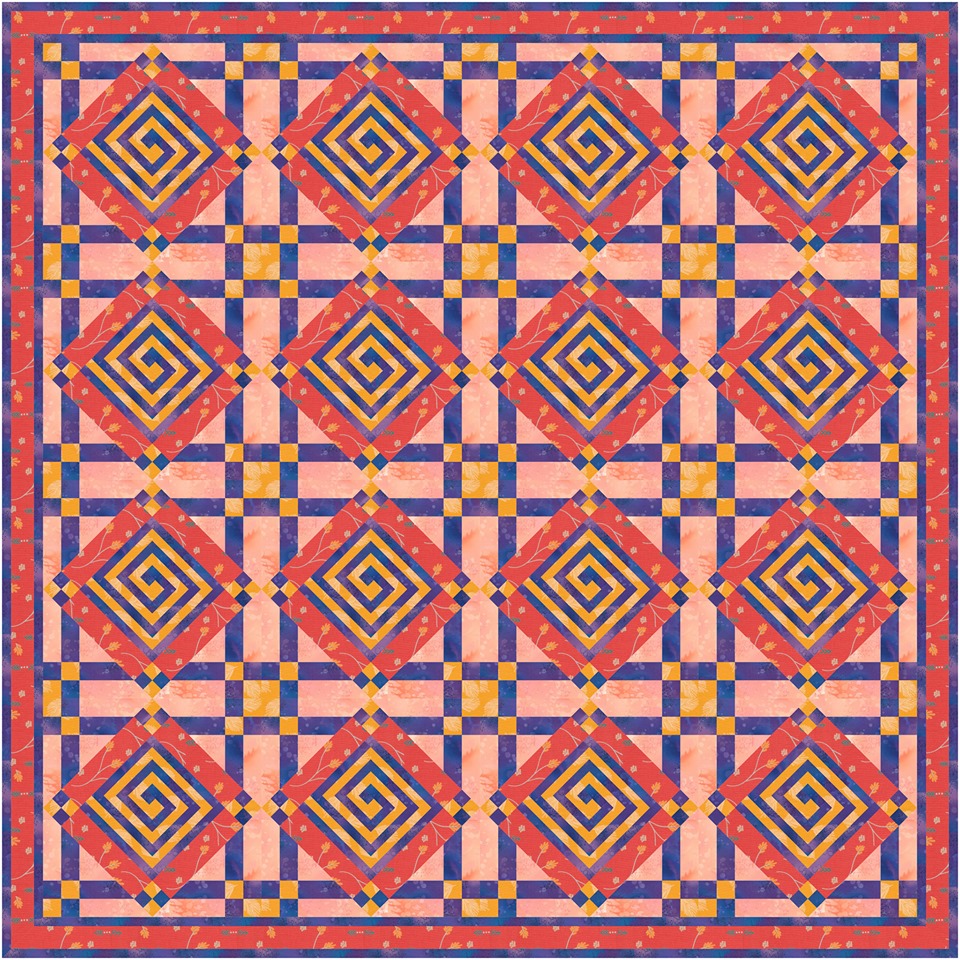
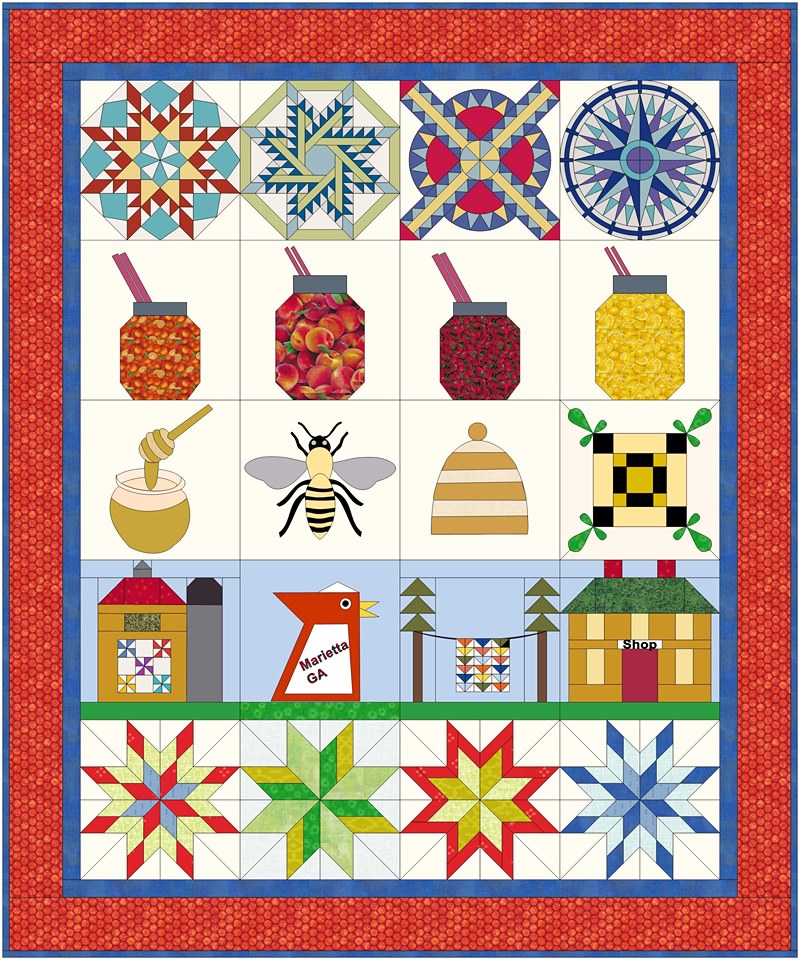
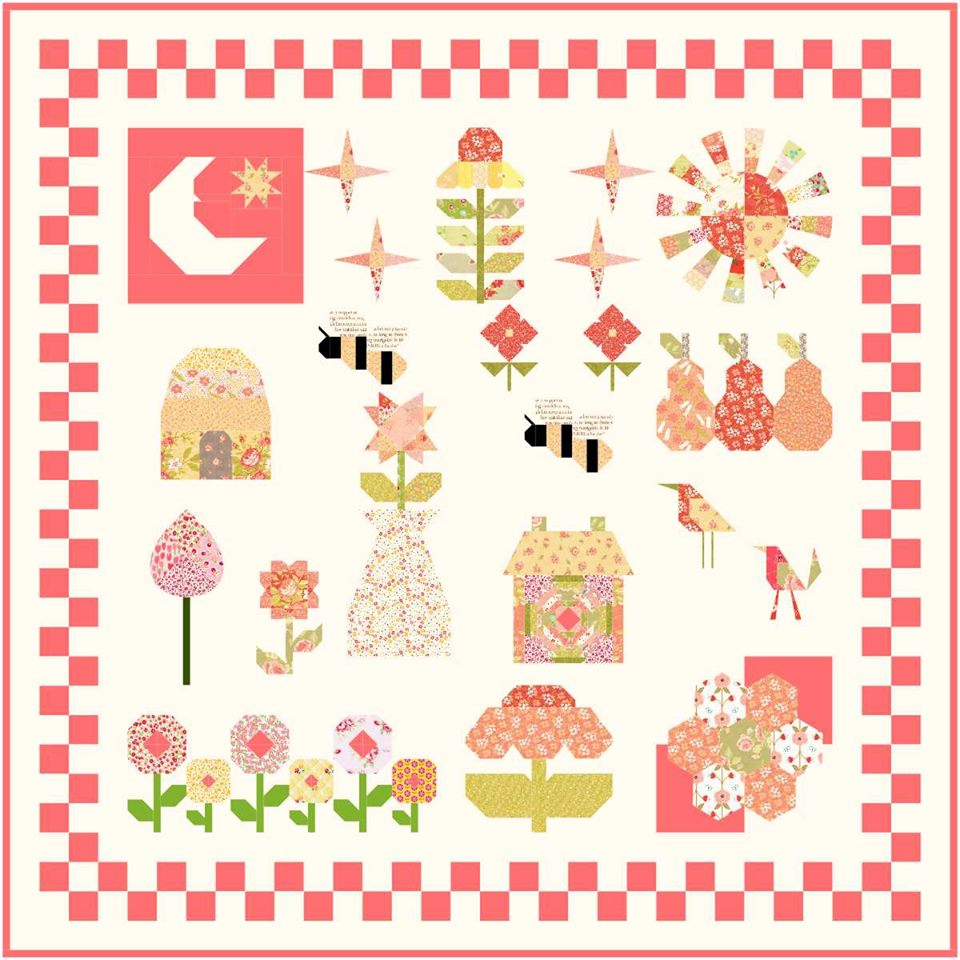
Picture
Carole Fox -- Gees Bend Challenge Quilt I used blocks from the library, edited them and put them together to make continuous patches.
Picture
Carol Mallozzi
Picture
Joan Sews
Picture
Joan Sews
Picture
Nancy Messuri What a fascinating and rich history. I loved these quilts and all the different styles. I drafted a couple of my own designs with whatever inspiration came to me after viewing all the quilts on the website you shared. The first...
Picture
Nancy Messuri #2
Picture
Curryanne Hostetler
Picture
Curryanne Hostetler

Other Projects

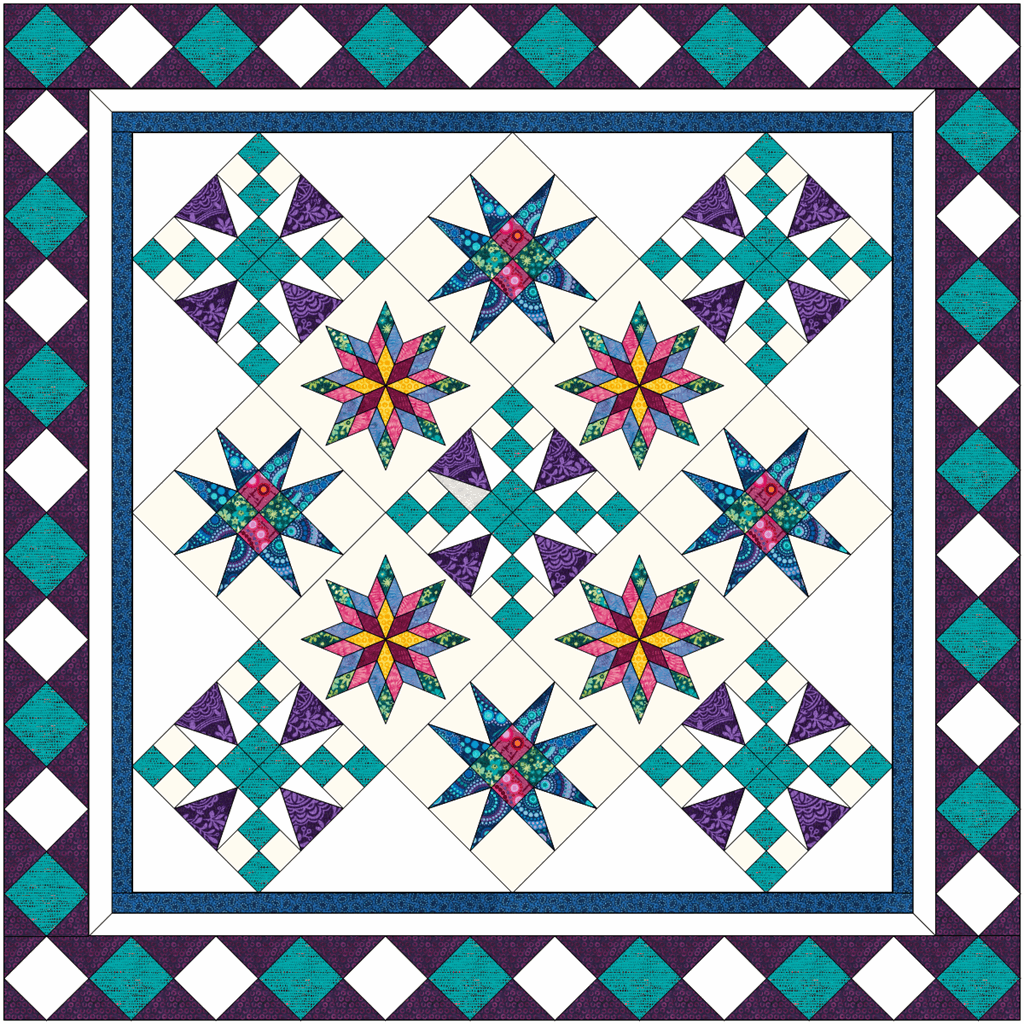
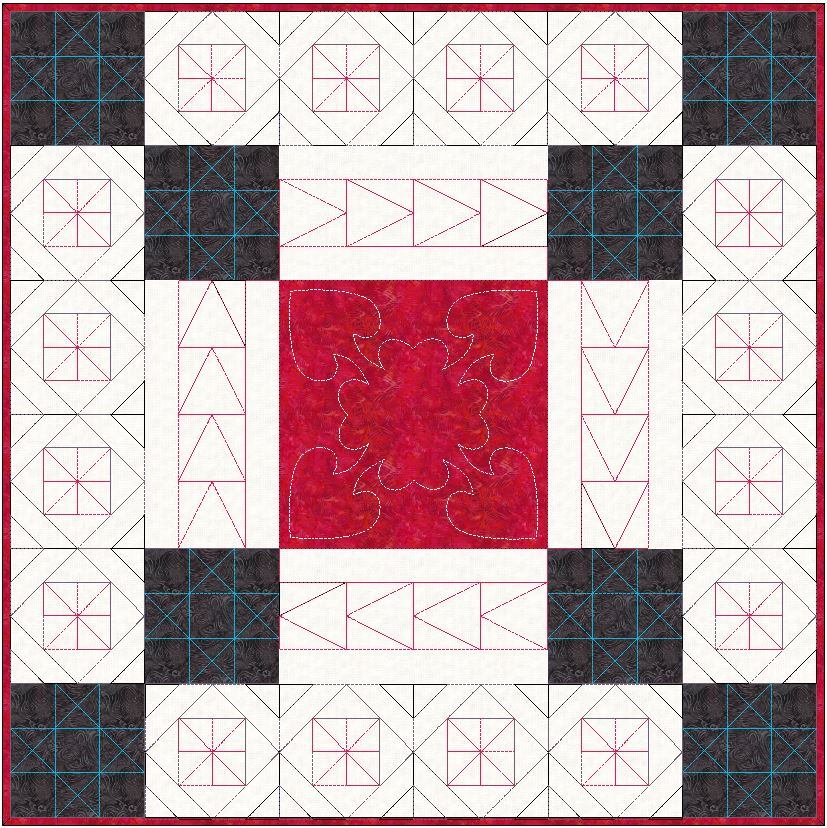
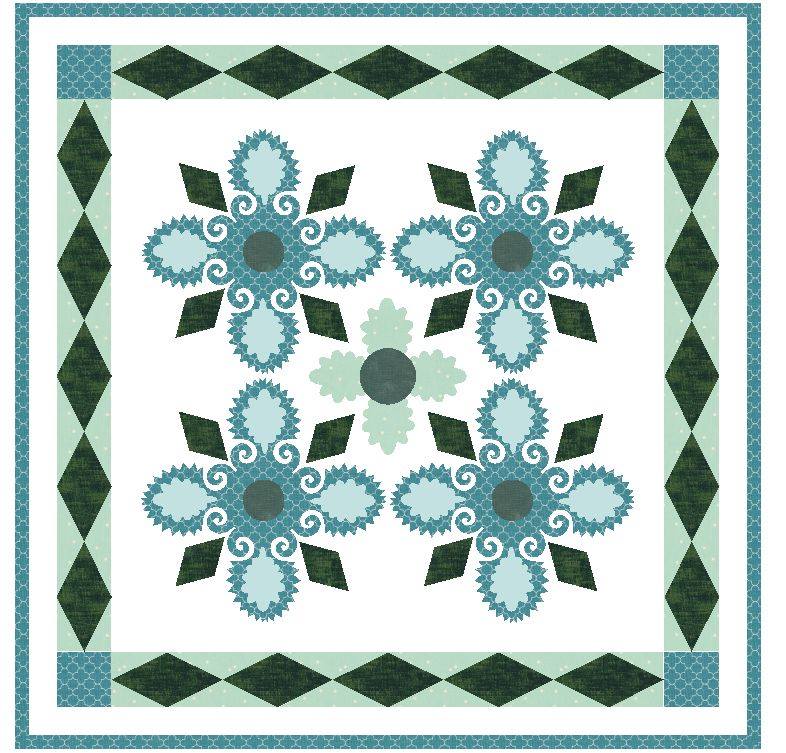
Here are some additional designs that were shared in the Tech Know Quilter's private Facebook group.
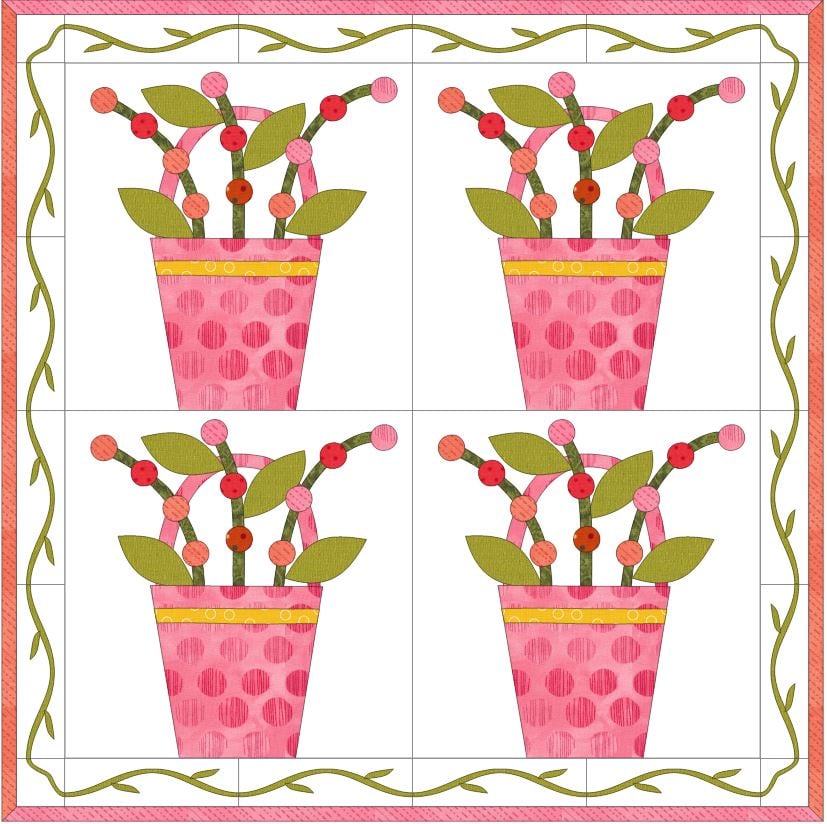
Picture
Linda Lechliter
Picture
Nancy Messuri
Picture
Curryanne Hostetler
Picture
Suzanne Golden
Picture
Curryanne Hostetler
Picture
Carol Mallozzi
Picture
Dotty Smalley
Picture
Holly Wilson
Picture
Nancy Messuri
Picture
Barbara O'Brien
Picture
Jan Beckert
Picture
JoAnna Rogers
Picture
Kristy Goodin Soard
Picture
Cat Beckstead
Picture
Nancy Messuri
Picture
Joy Hegglund
Picture
Suzanne Golden
Picture
Charlotte Smith (recreation of a free pattern from QTfabrics.com)
Picture
Kathleen McCormick
Picture
Pam Varner
Picture
Dotty Smalley
Picture
Daleena Lanier
Picture
JoAnn Hoffman
Picture
Cat Beckstead
Picture
Riettte Dolezal
Picture
Sandra Roybal
Picture
Kate Robinson
Picture
Julie Pedersen
Picture
Janet Inglis
Picture
Picture
Deborah Doucett (from Shoot for the Stars)
I absolutely love viewing the creations by this incredibly talented group.  Although enrollment to Tech Know Quilter's is current closed, click here to be put on a wait list.  You will be the first to know when enrollment is open to new members.

Picture
Happy quilting.

​Kari

​Sign up for my newsletter to stay current on what's happening in my studio and learn more quilting tips.  As a thank you, I'll send you a FREE pattern for this small maple leaf quilt.
Picture

Collecting Grunge

10/19/2019

 
Picture
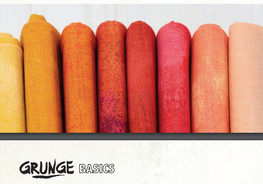
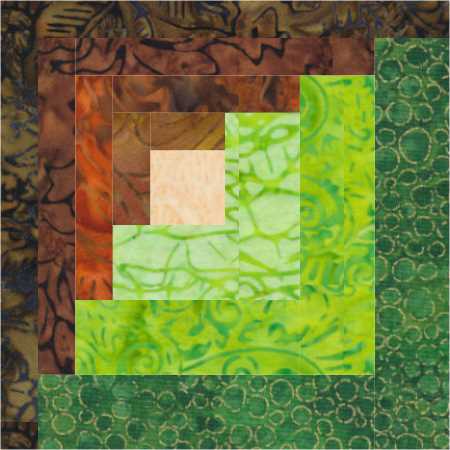
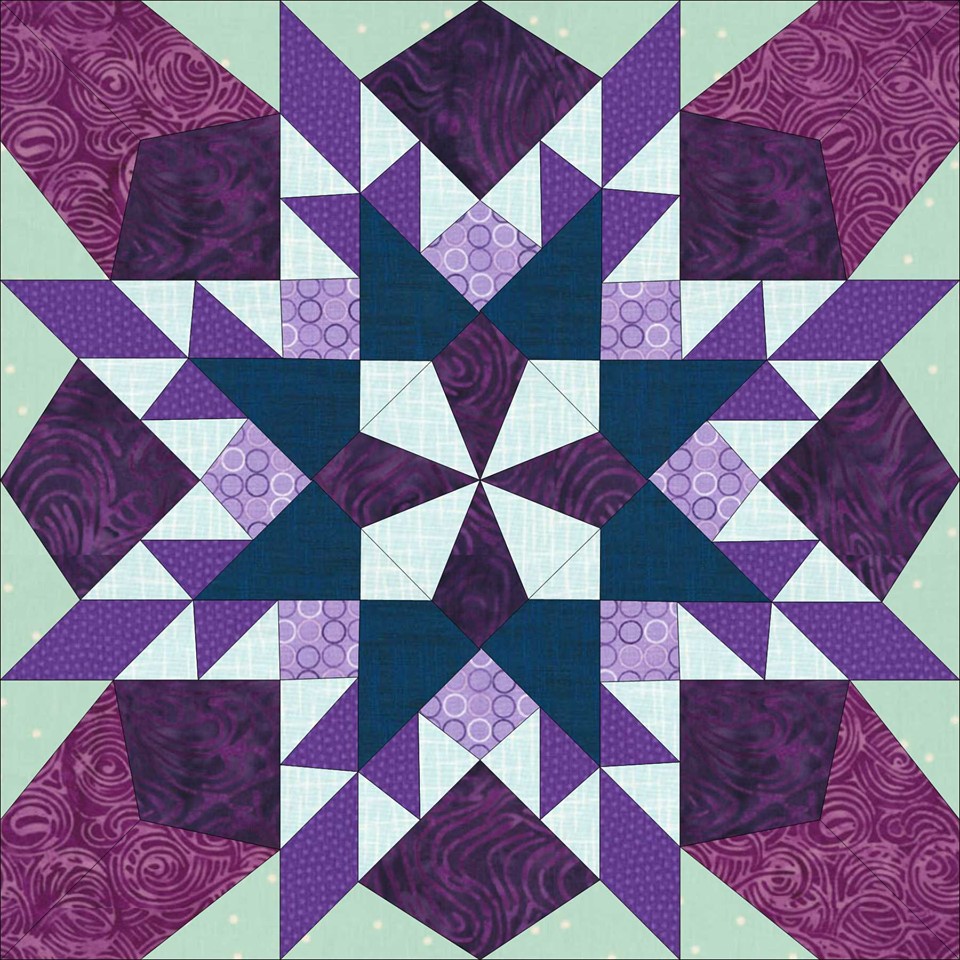
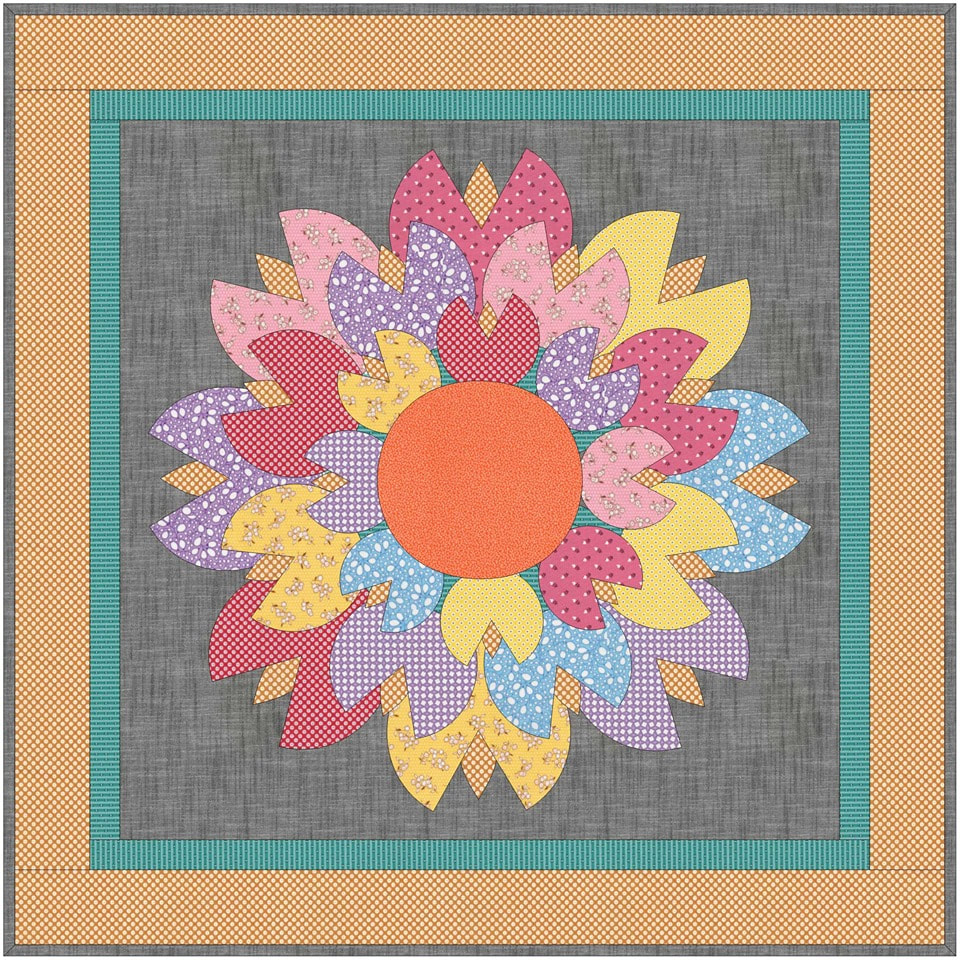
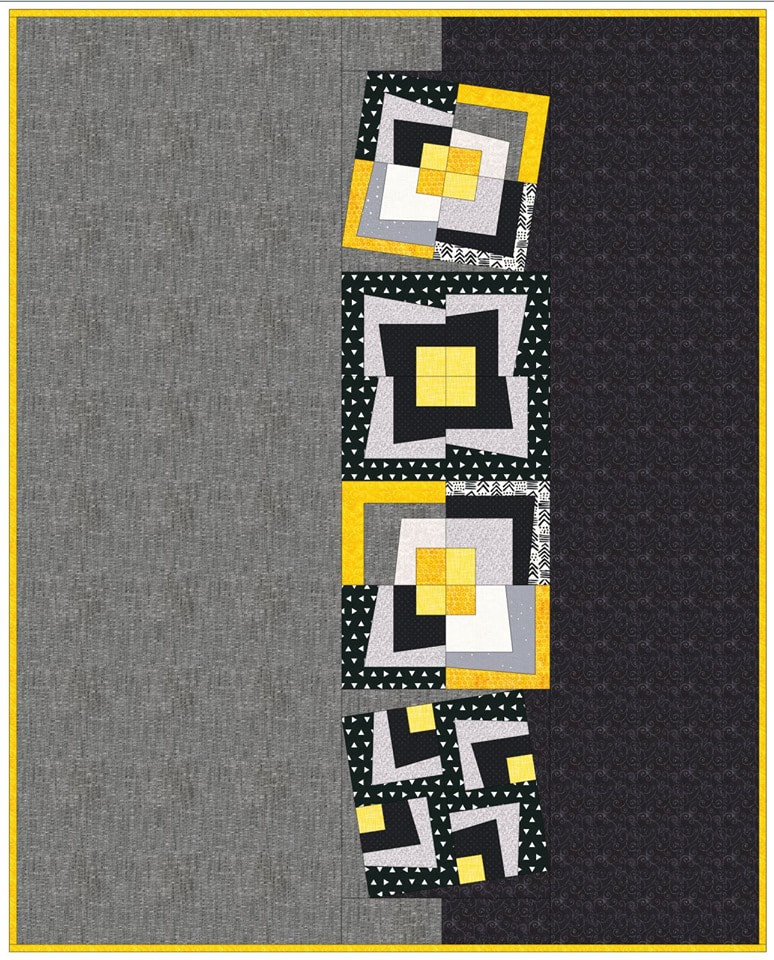
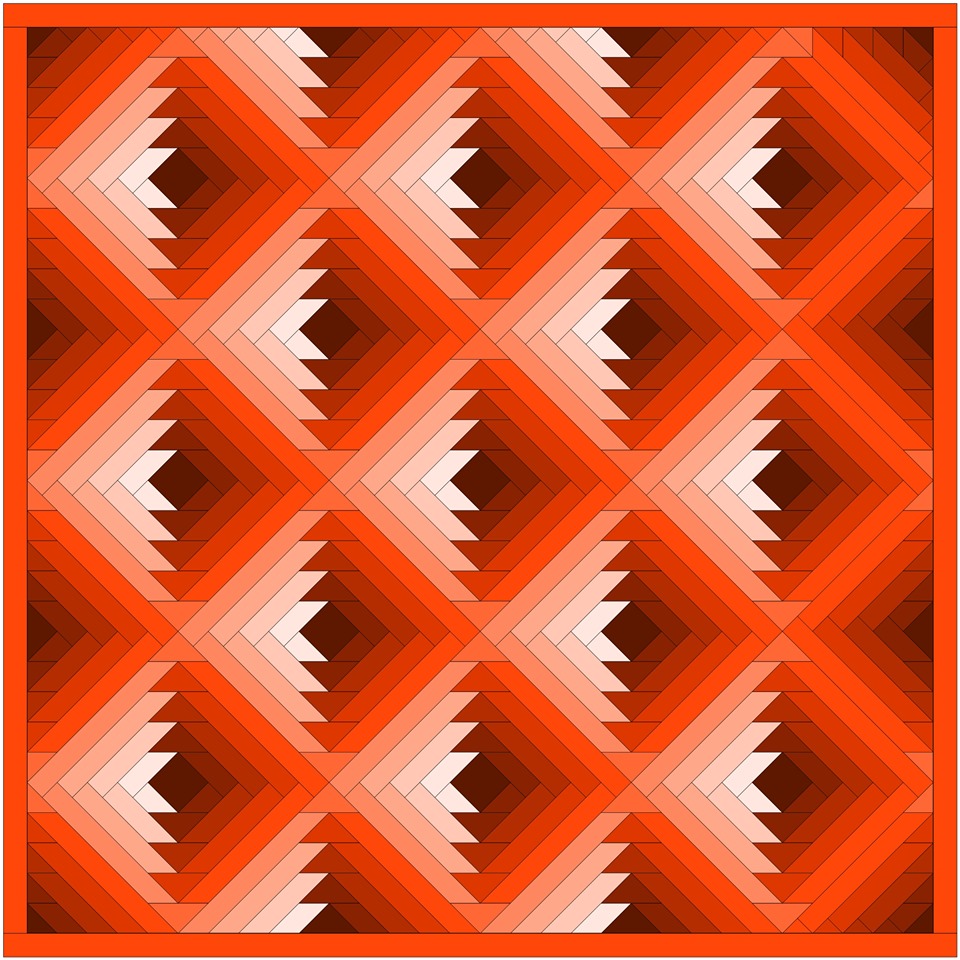
I am working on a quilt for an upcoming class at the MN Quilt Show and purchased a number of Moda Grunge fabrics for my quilt. 

I thought it would be super easy to color my quilt in EQ -- since Grunge is one of the Manufacturing Basics collections.  However, I found that only a fraction of the Grunge fabrics are included in the EQ Collection under Manufacturing Basics. 

​I decided I really needed all of the Grunge fabrics at my design disposal.  Do you ever get obsessed with things like this?

While pulling in the collection I encountered a problem with some of the downloaded swatches which required some additional editing in EQ.

My free tutorial for this week will take you through the entire process of gathering, importing and editing the fabrics to create a complete grunge library in EQ8.
Here is the link for the Moda fabric downloads.  Just enter Grunge in the keyword search box.
After completing the video, I went back and added the additional Grunge styles and imported the additional grunge fabric collections from the Moda website.  So now I have a complete collection of grunge fabric images -- at least until Moda adds more Grunge fabrics.

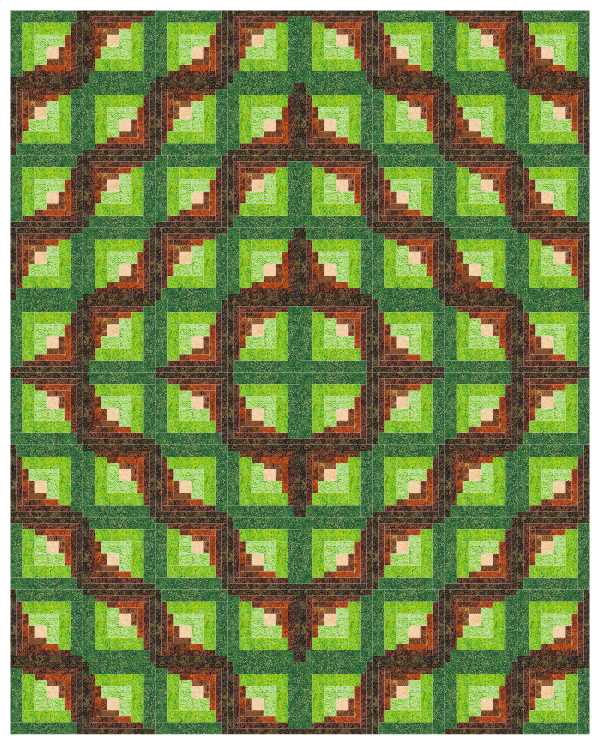
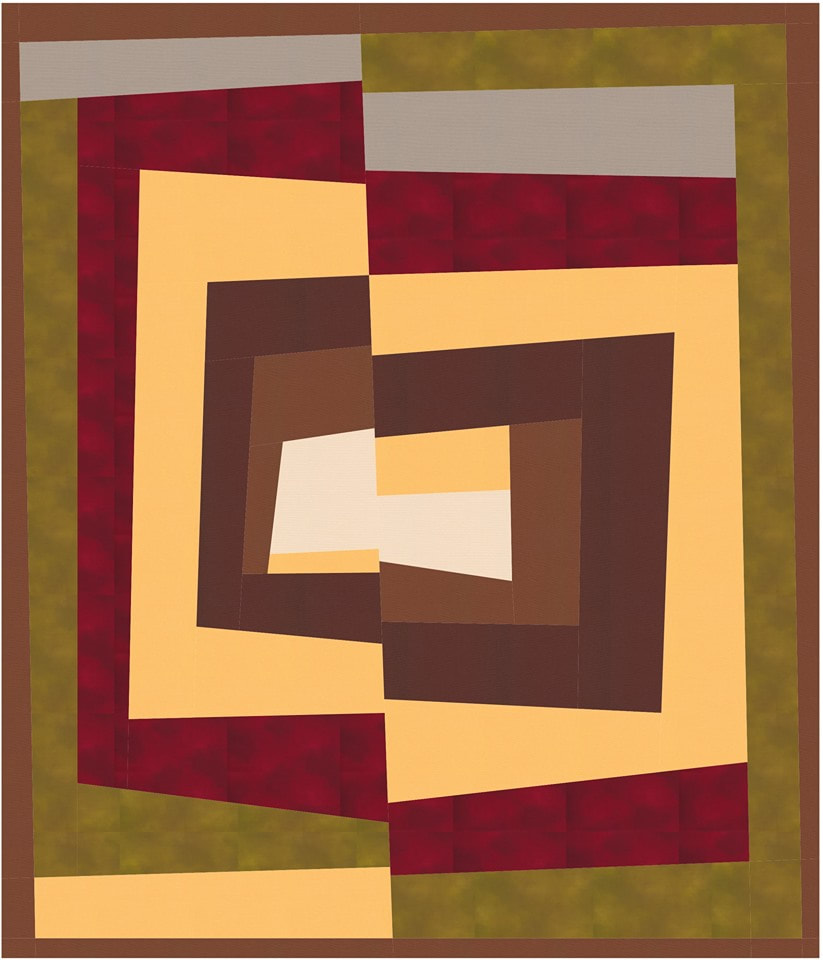
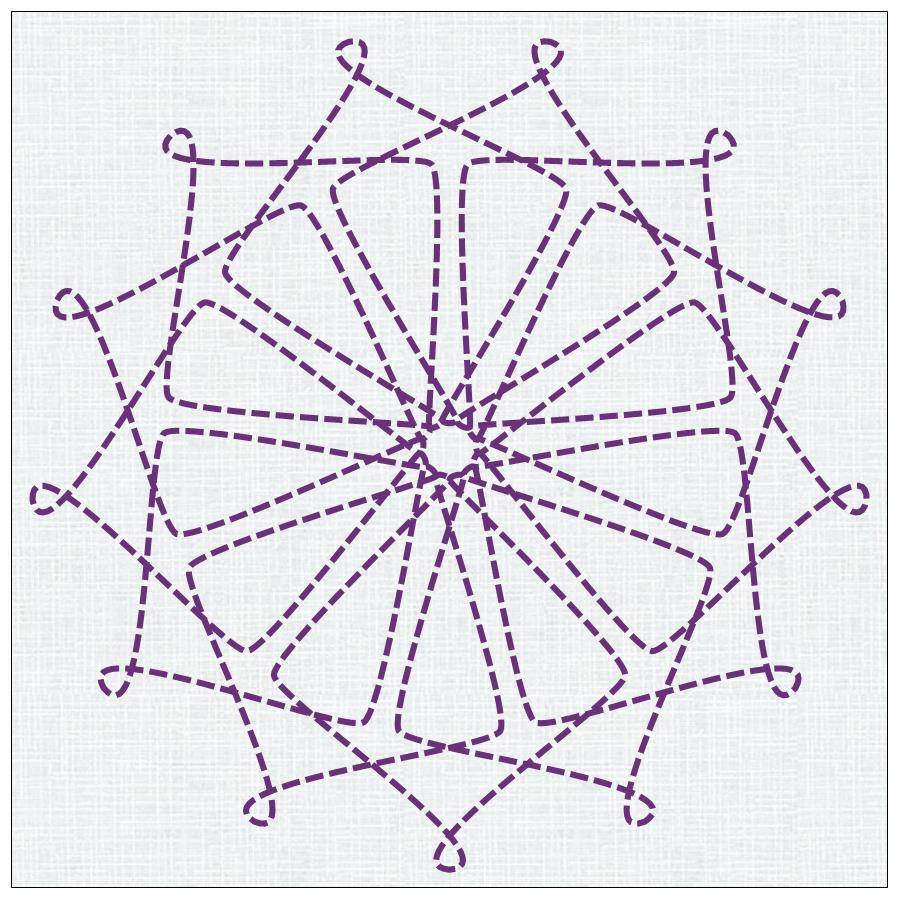
Here is one of my blocks from my upcoming class.  Can you spot the Grunge fabrics in this block?
Picture
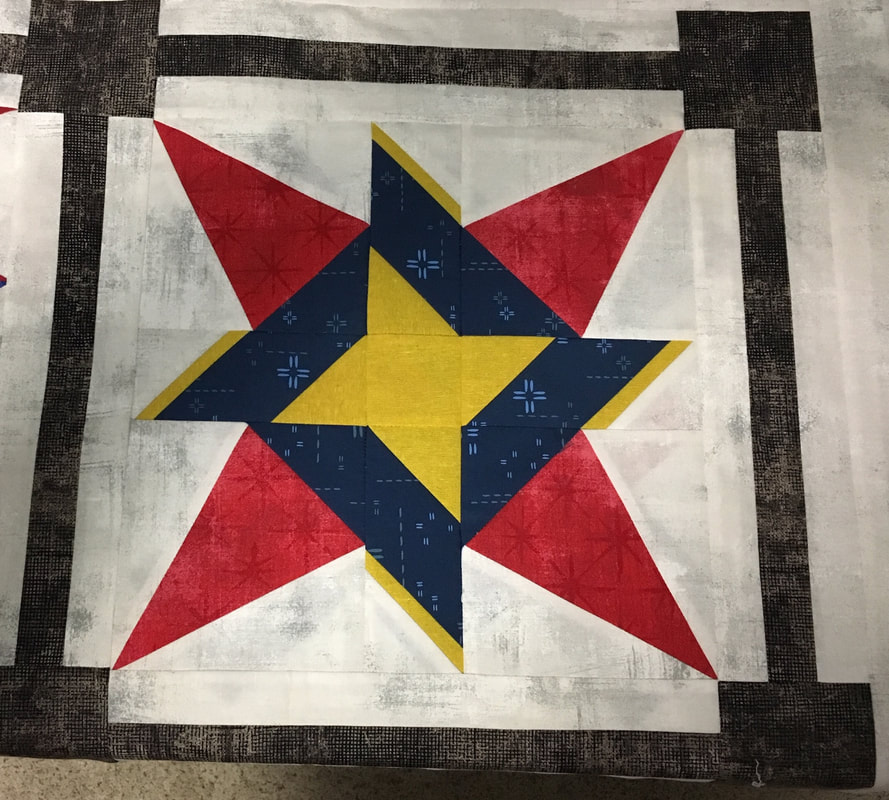
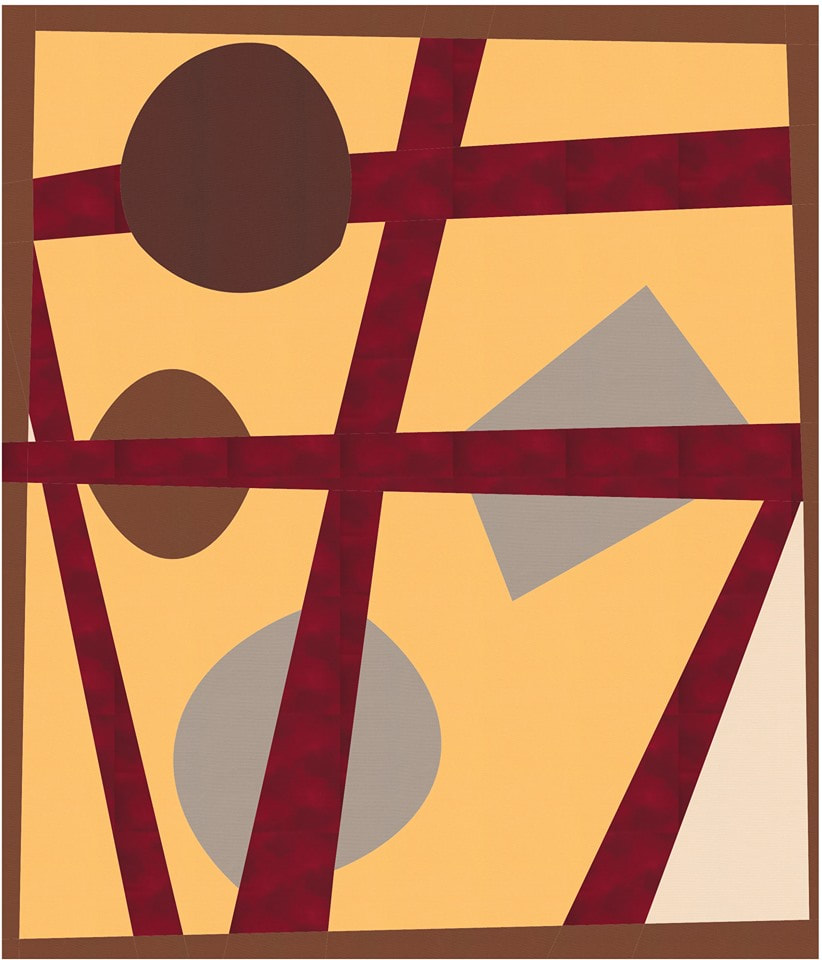
Studio 180 Design Ruler Class -- one of Kari's Blocks

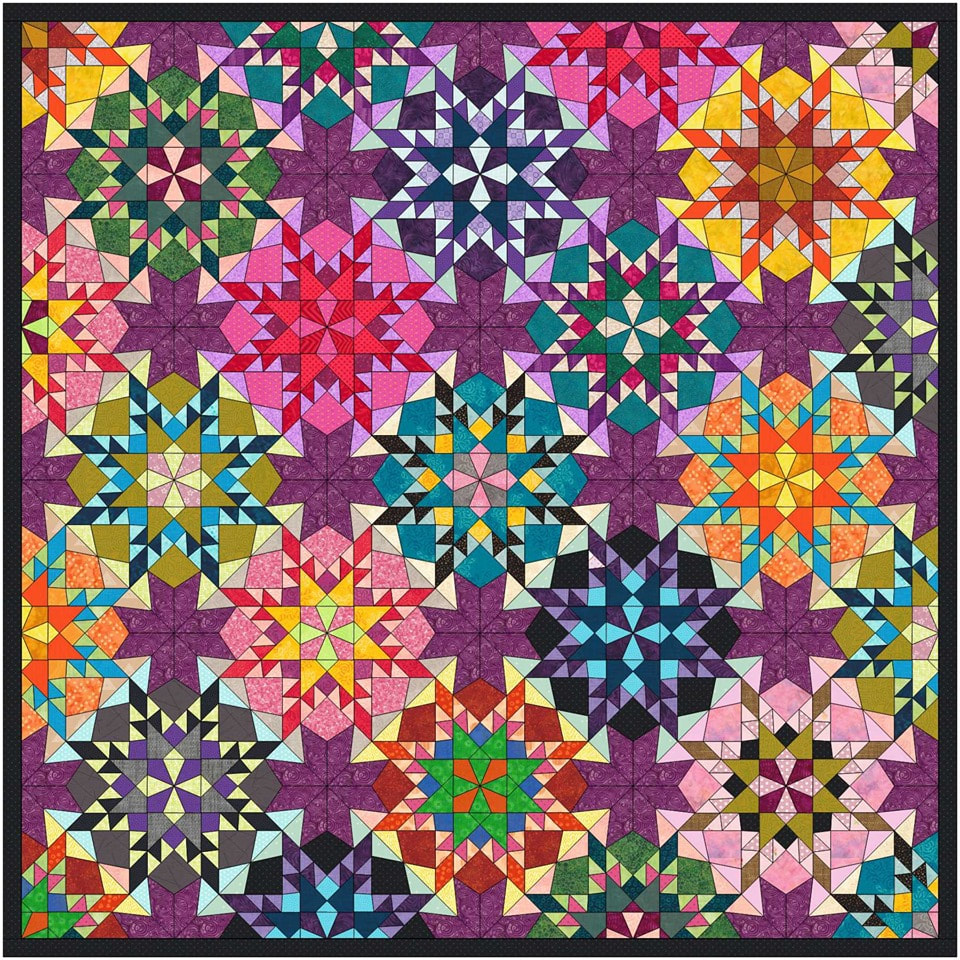
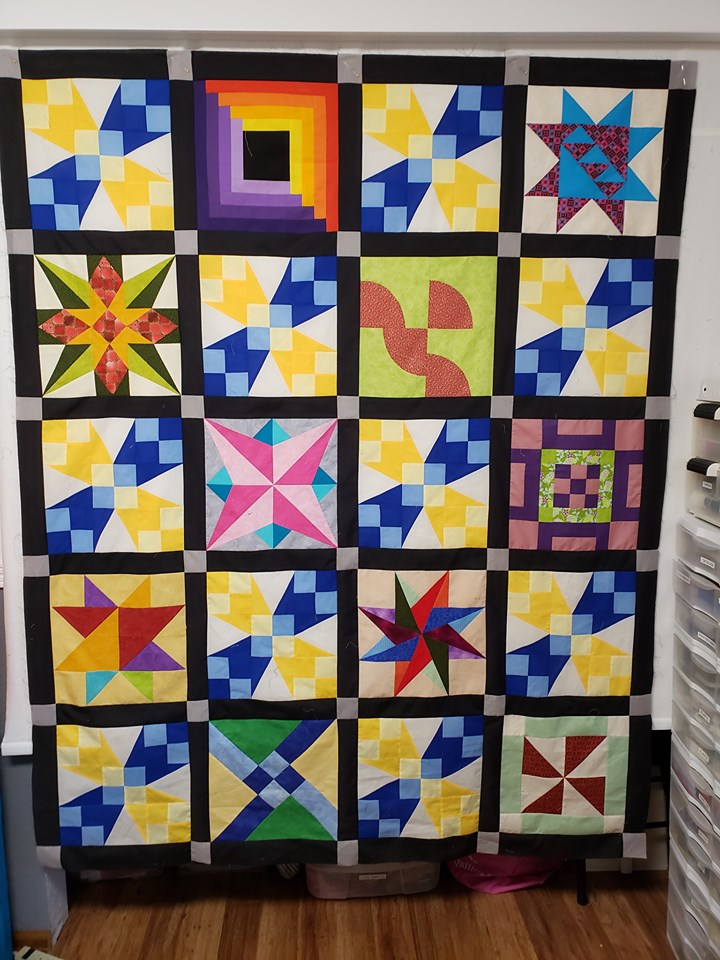
Tech Know Quilter Masters Showcase

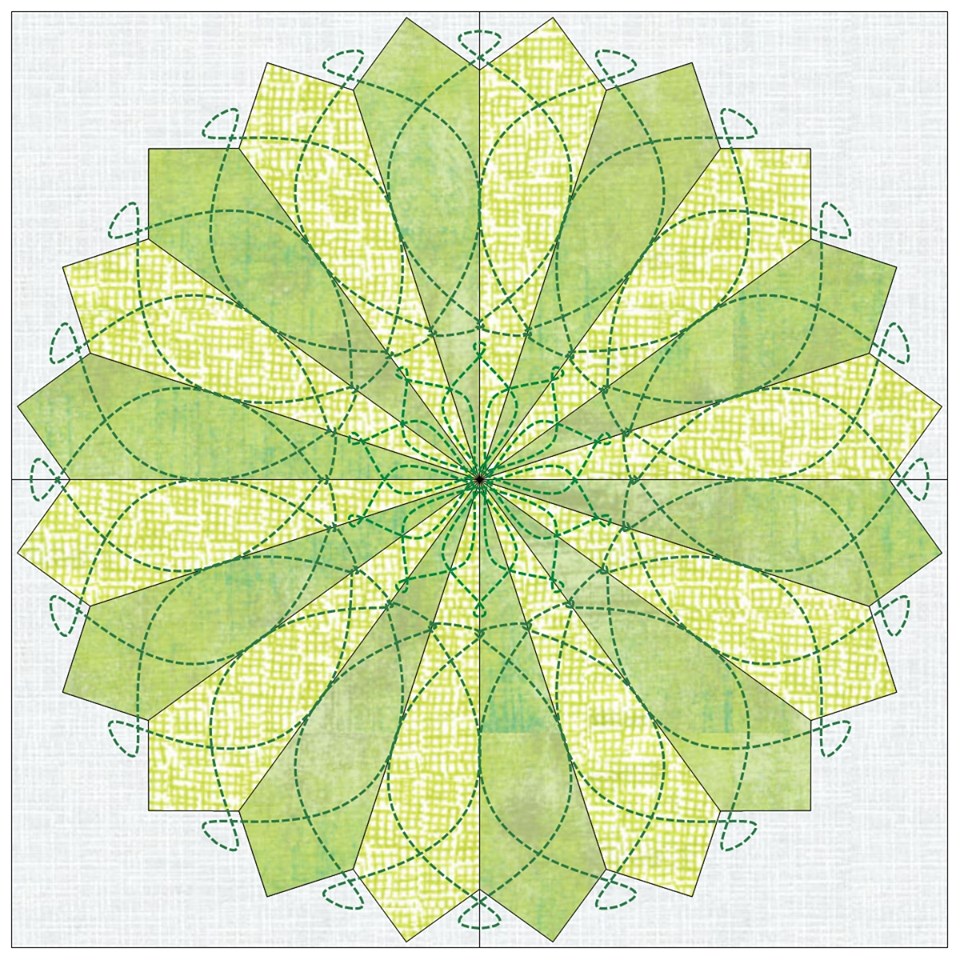
See what some of the more advanced Tech Know Quilter members accomplished in September.

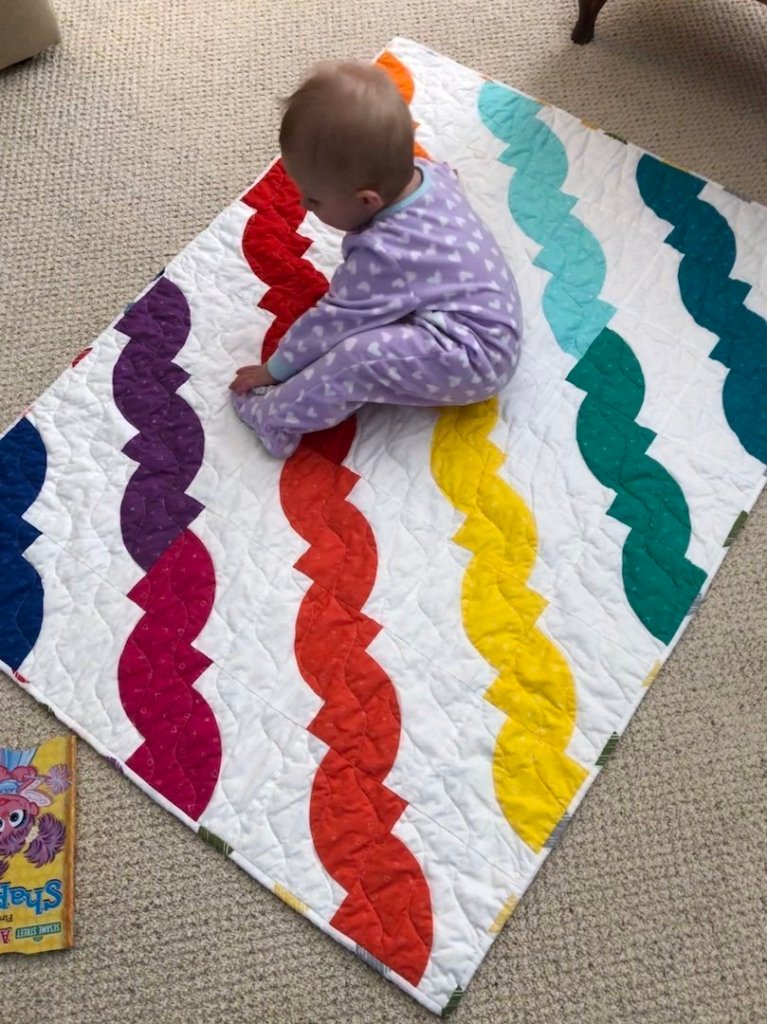
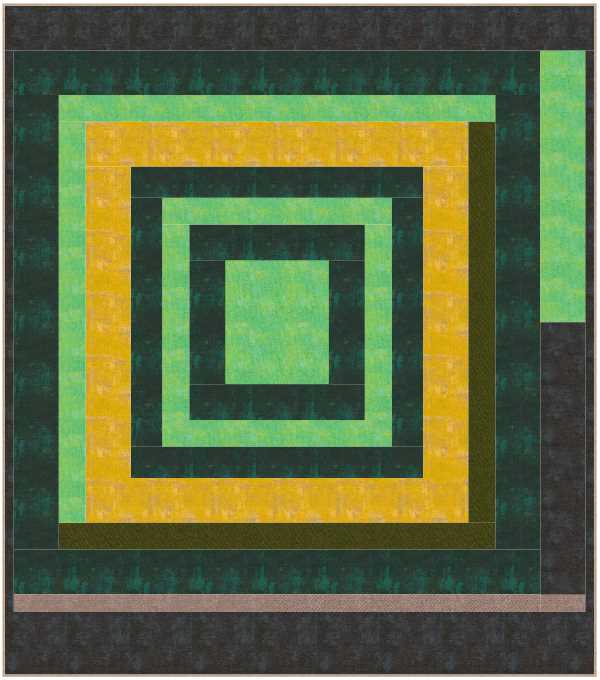
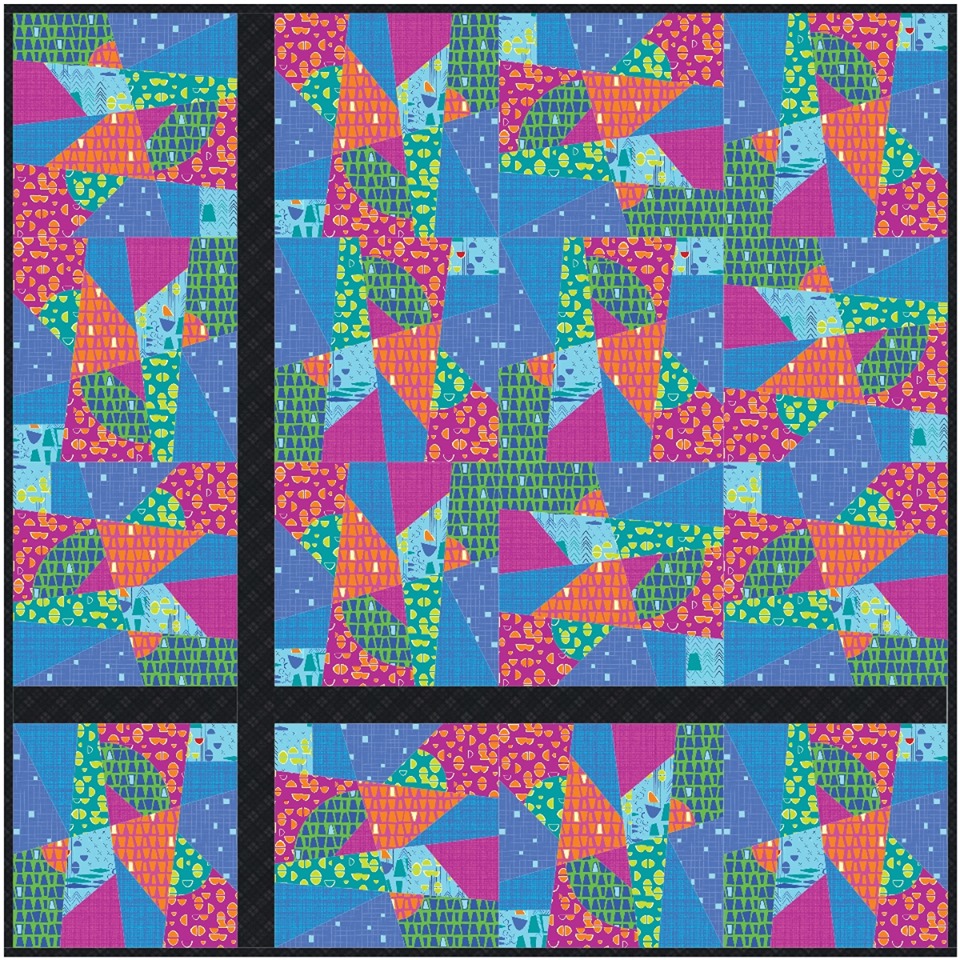
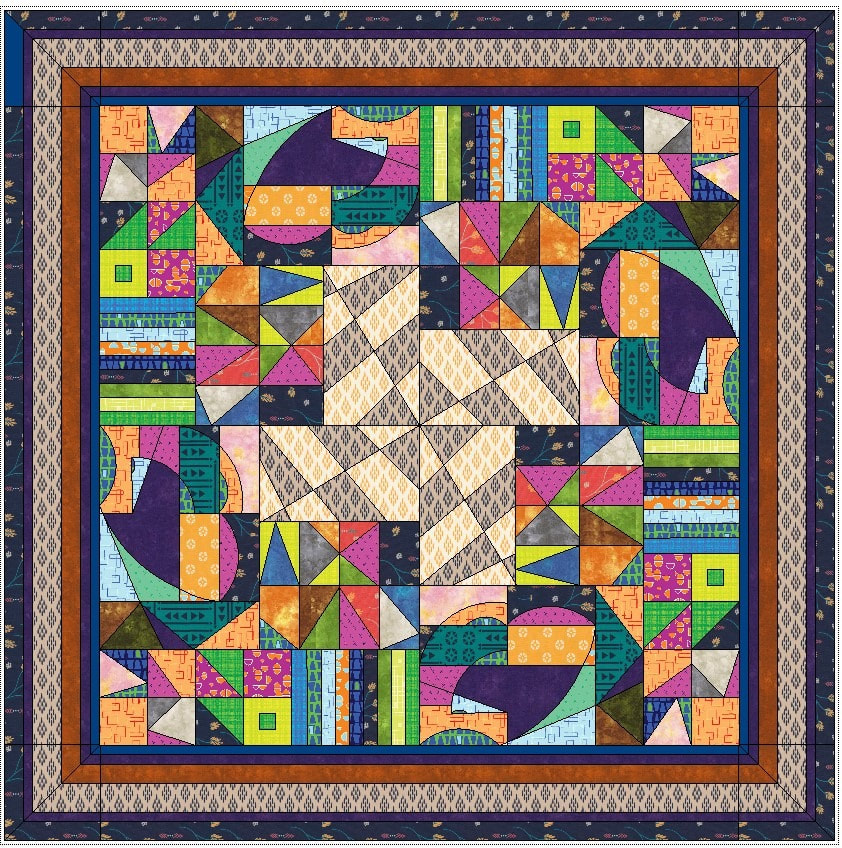
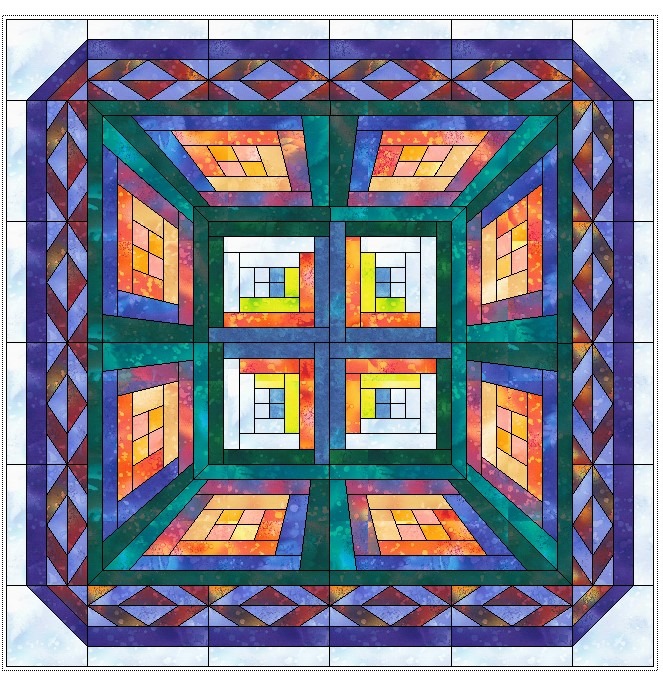
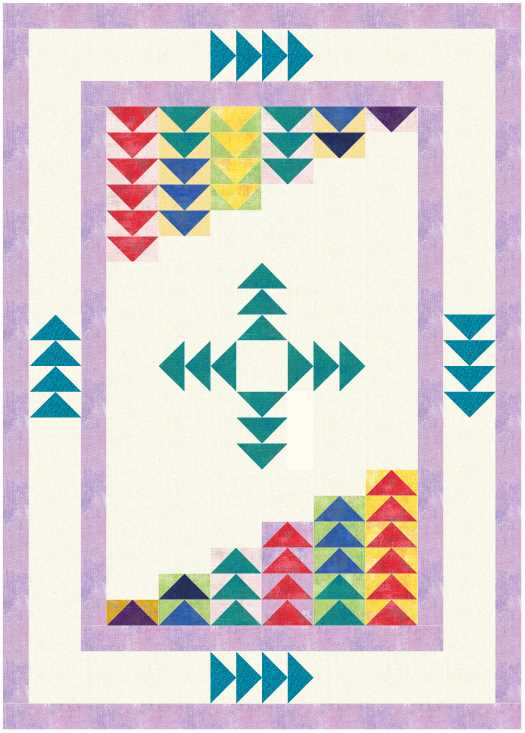
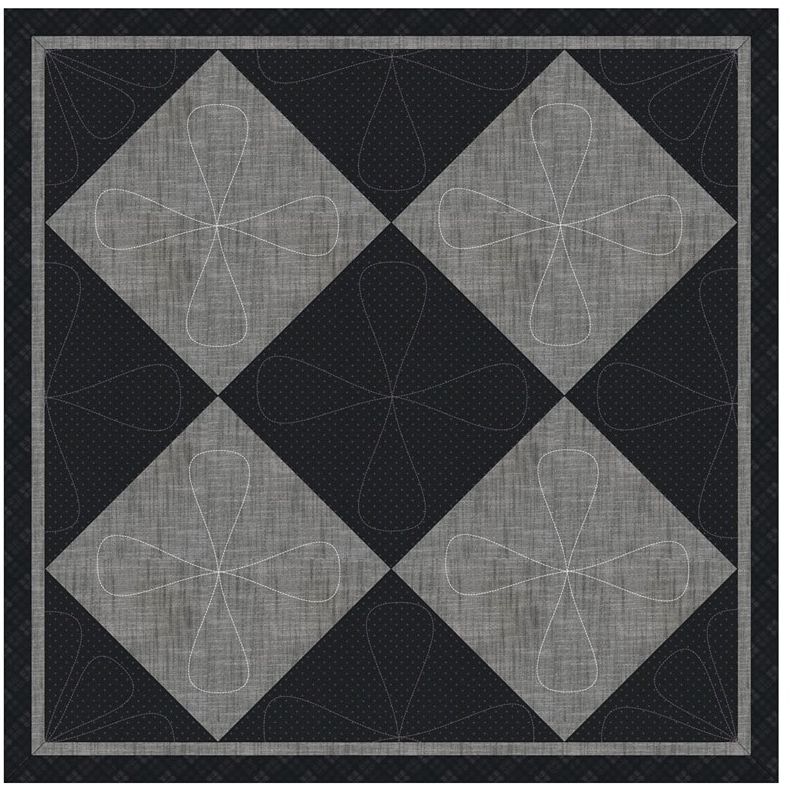
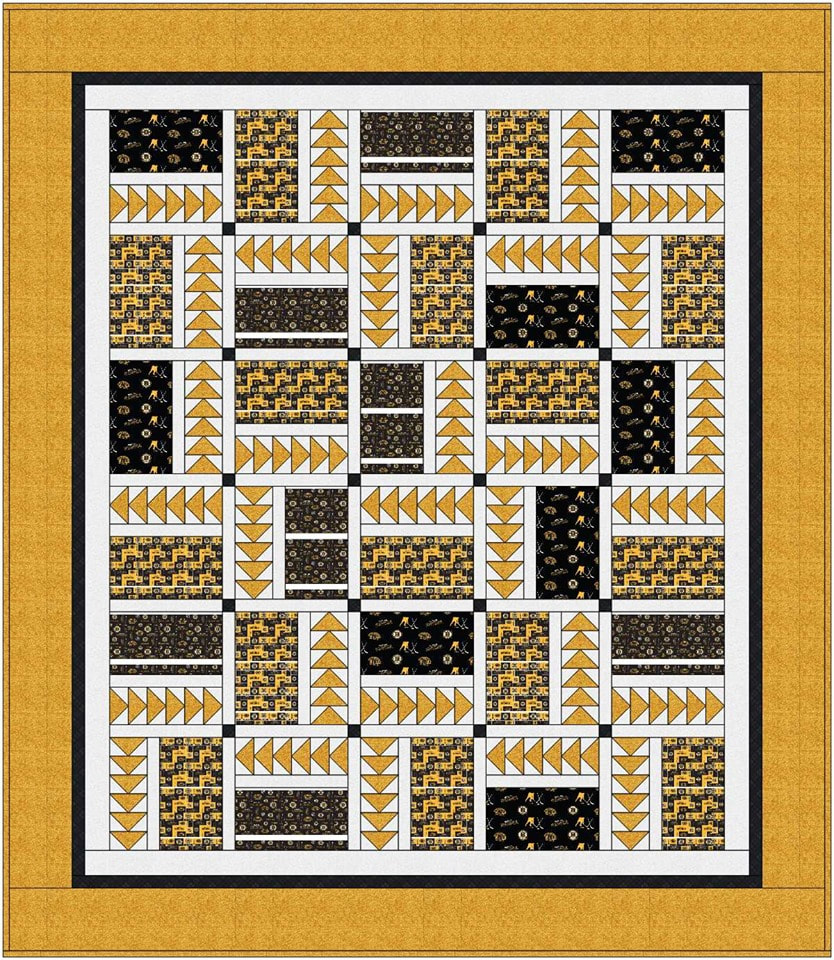
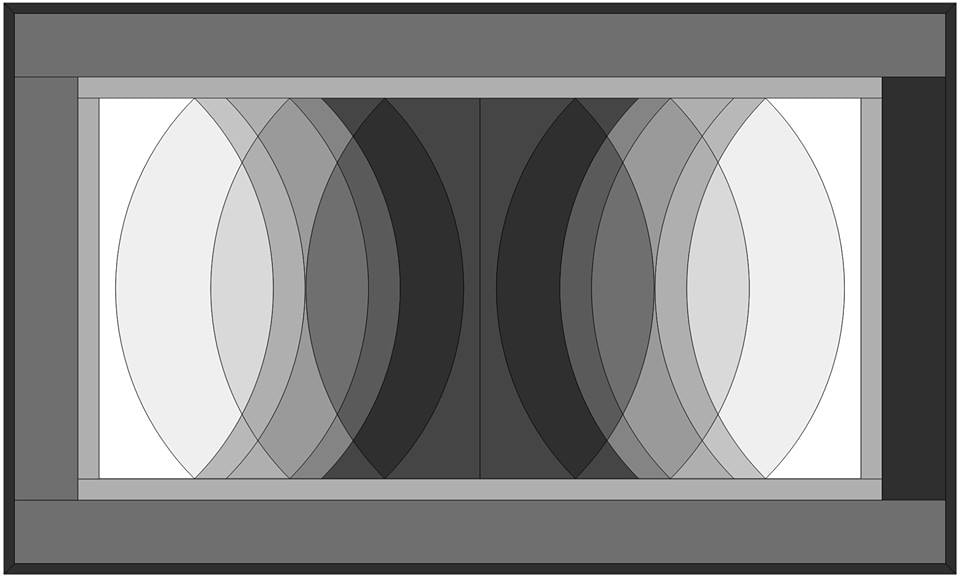
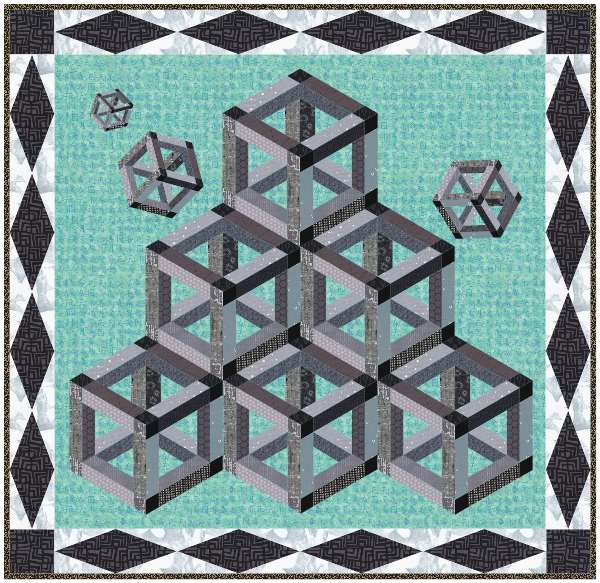
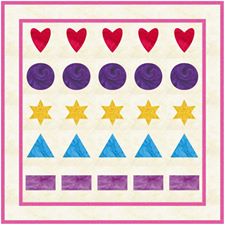
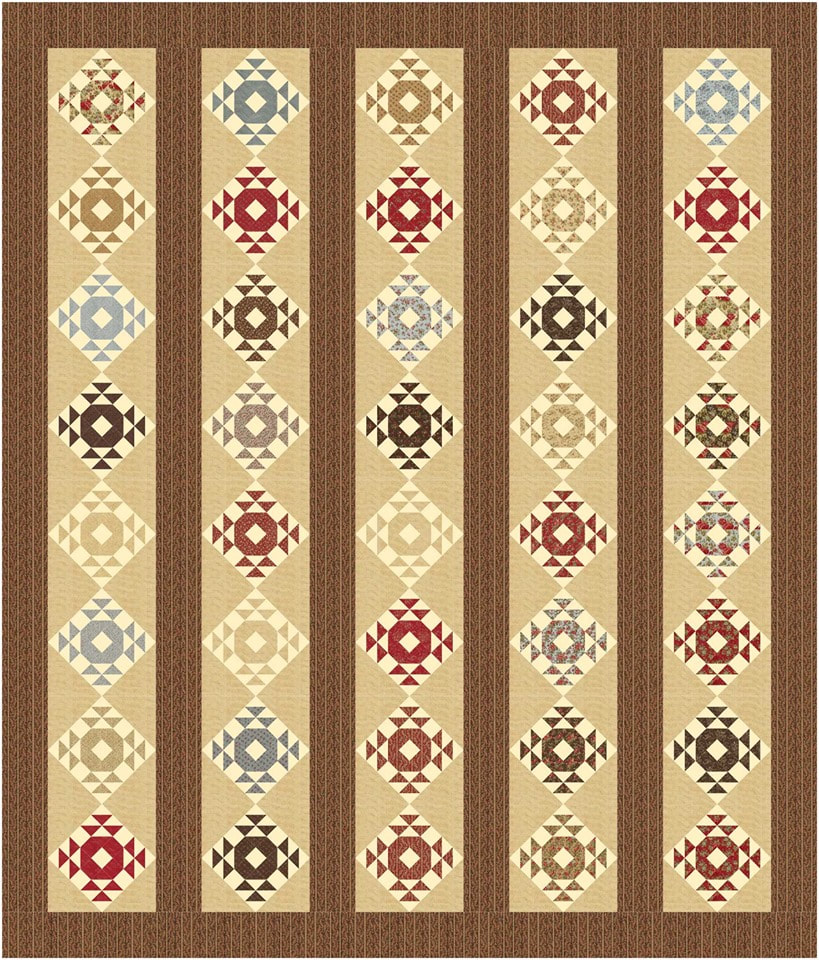
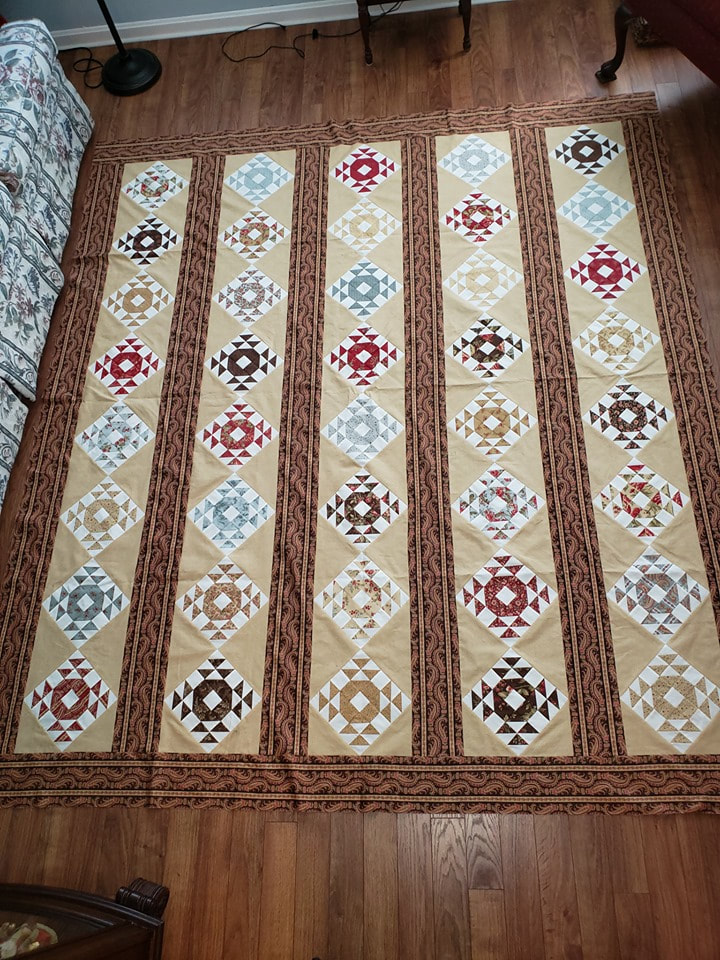
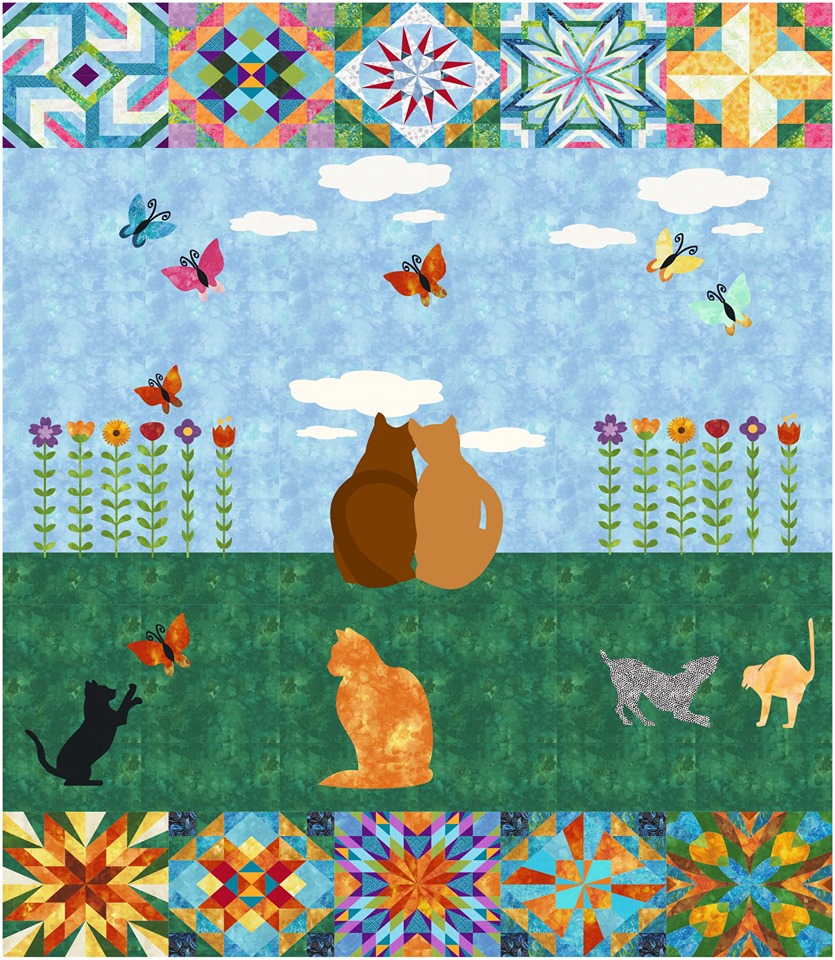
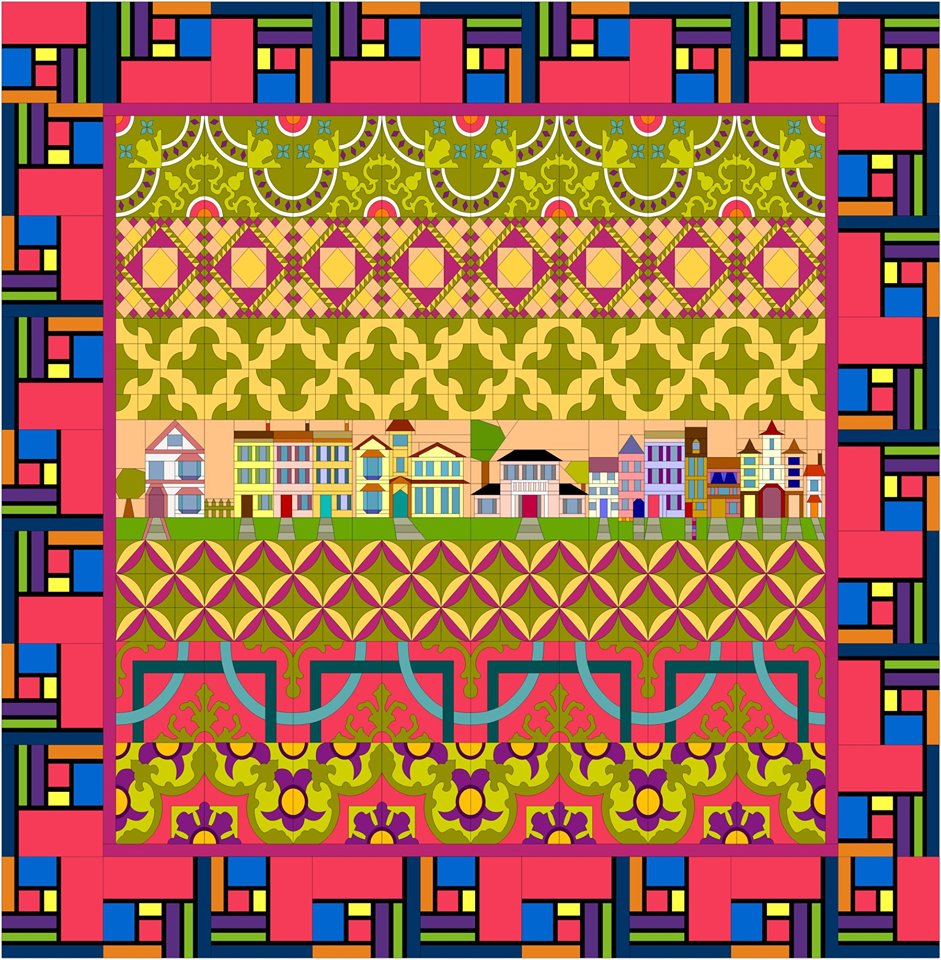
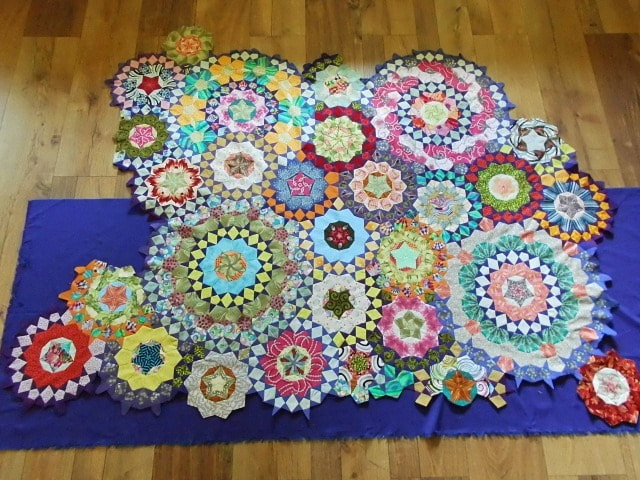
Masters Row Quilt Challenge

Those in Tech Know Quilter's Masters are encouraged to work on their own projects and designs.  Each month they are provided a challenge to allow them to explore their design skills.  In September they were challenged to design a row quilt.
Picture
Holly Wilson My Row by Row came to me in a dream as I was struggling with coming up with an idea. Was dreaming about teaching kids shapes.
Picture
Kathy Delaney Still trying my hand at a "modern" look. The block is one I designed for Lesson 1 of Designing for Specialty Rulers and Dies. This was a stretch for me!
Picture
Diane Coble I designed in back in May to use a layer cake. Each block is made from one 10 inch square + background fabric. And then I ACTUALLY made the quilt □. It is just waiting to be quilted.
Picture
Diane Coble Pieced Quilt
Picture
Julie Pedersen I decided to use techniques that I have learned from previous classes in this Row by Row. I used techniques that from the applique classes, landscapes classes and kaleidoscope blocks from my personal Masters class challenge from this month. I love the techniques used.
Picture
Debbi Treusch The quilt is for my contractor and his wife, for their beach house in Florida. The quilt is a row quilt with a number of borders. The horizontal rows are made of 2 different beach panels, My Happy Place by Timeless Treasures and Coastal Paradise by Henry Glass. Fabrics from both collections and some fabrics from the Solid-ish collection by Kimberly Einmo are use in the quilt.
Picture
Wanda Hizer I decided to use some of the elements that I designed for some of the row by row quilts that I designed for our local quilt shop. The remaining blocks were from our recent lessons.
Picture
Kristy Goodin Soard For my Row by Row Master’s challenge quilt, I am submitting my pastel sampler quilt. I am actually making this quilt. My friend comes to my home and we have sewing days, when our busy schedules allow. It has been a slow process, but we are enjoying it. I have used EQ8 to create all the blocks. We have sewn eight of the blocks thus far. I won’t divulge my actual layout other then a horizontal strip quilt, just in case you want to figure it out.
Picture
Micheline Herzan All the blocks are from the EQ8 Library. They have been rotated and/or flipped, and recoloured. I wanted a modern feel for my quilt.
Picture
Joy Hegglund This is the quilt I am slowly piecing for a Hospice donation.

Progress toward Goals

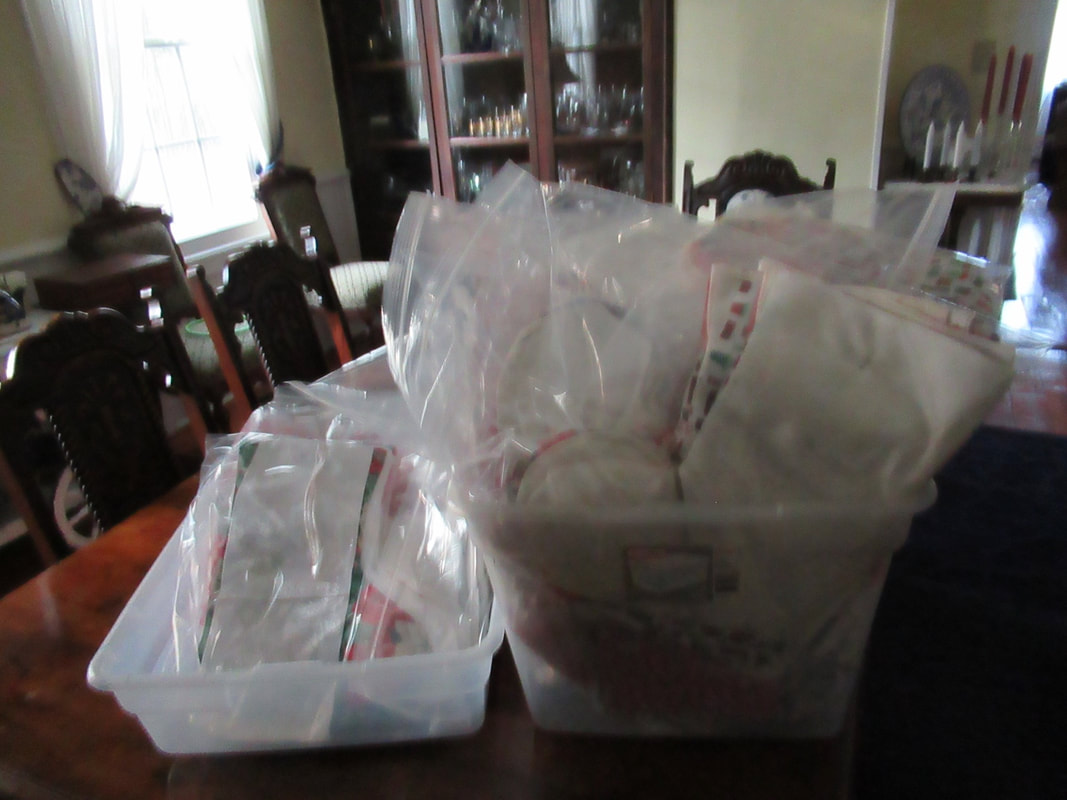
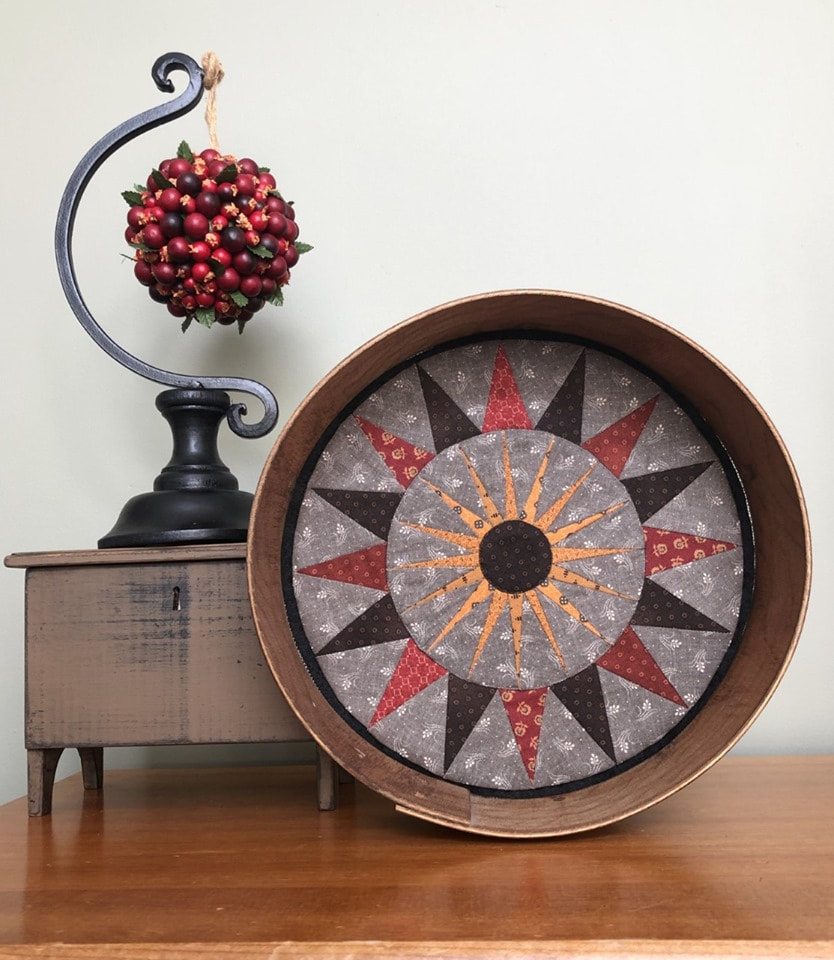
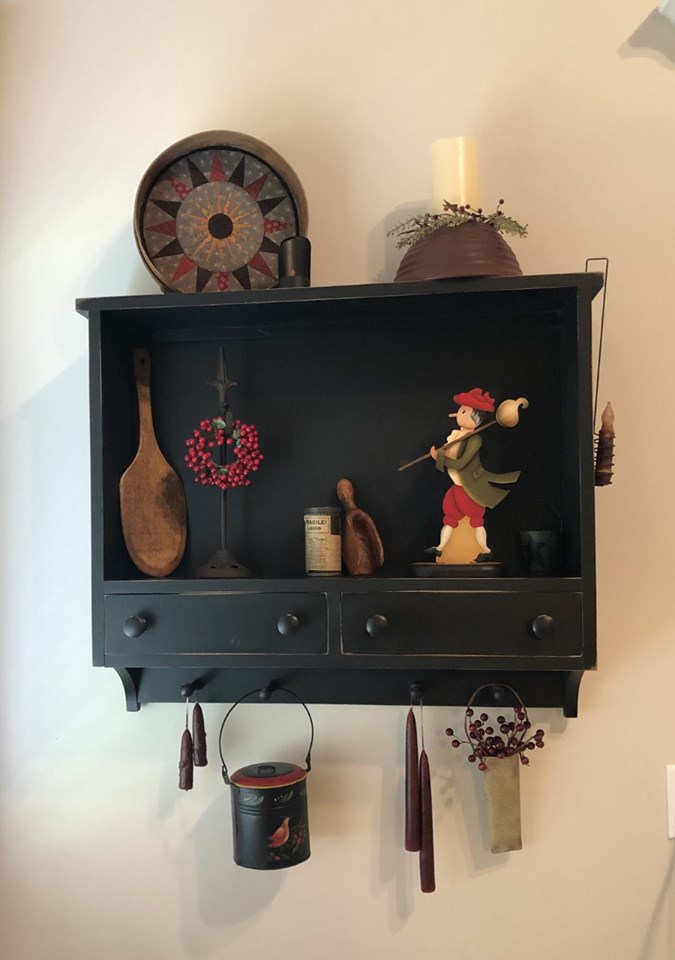
In Masters, members are encouraged to set goals for themselves.  They are not necessarily EQ specific.  Here are some pictures on the progress they made (or are making) toward their goals.   
Picture
Shirley Rowls will be teaching a Block of the Month next year. This is her EQ design.
Picture
Shirley Rowls BOM quilt in process.
Picture
Kristy Goodin Soard I designed the Thanksgiving/Fall piece with a tongue border. I haven't chosen fabrics yet, so just used fabrics/colors to represent my thoughts. The turkey was inspired by a photo on Pinterest.
Picture
Holly Wilson finished 120 Christmas stocking kits for her guild to sew.
Picture
Kristy Goodin Soard Mariners Compass
Picture
Kristy Goodin Soards Mariner Compass on display.
Picture
Dorothee Ilgner I finished the top of my Passacaglia. Now for the borders! I am determined to have it done by Christmas.
Picture
Sharon Osborne
Tech Know Quilter's opens for enrollment only a few times a year.  Sign up for the wait list to be informed the next time it opens.  
Picture
Happy quilting.

​Kari

​Sign up for my newsletter to stay current on what's happening in my studio and learn more quilting tips.  As a thank you, I'll send you a FREE pattern for this small maple leaf quilt.
Picture

Fall is in the Air Quilt

10/12/2019

 
Do you decorate with quilts for fall?  I love working with fall fabrics and using quilts is my decoration of choice.  I just created a new fall quilt that could easily be stitched up before the snow starts to fall.  (Or since an early snow is in the forecast, maybe before the snow stays on the ground until spring).

Fall is in the Air Quilt

Picture
Last week I shared how to take a number of applique motifs from the EQ8 library and combine them to make a wreath.  If you missed the tutorial you can catch it here.   

​In addition to sharing how to create the wreath, I also discussed how to convert the file to an svg format -- which is usable with Silhouette Cameo, Brother Scan n Cut and Cricut Maker cutting systems.  So it would be super easy to make this 20 inch wreath.

This week I will share with you how to create a simple setting and some easy to piece blocks for a fun new fall quilt.
The maple leaf block is 3" finished and easy to rotary cut and the large 20" finished block would be conducive to foundation piecing -- or adding 5-1/2" and 3-1/2" squares for folded corners.
Picture
Wreath Background Instructions by Kari Schell
Picture
Maple Leaf Instructions by Kari Schell
Additional Cutting Information for Borders
  • Border 1 is cut from 2 inch strips of Dark Gold..
  • Border 2 is cut from 1-1/2 inch strips of Background.
  • Border 3 is pieced with Maple Leaf block and spacers.  Spacers are cut  4-1/2" x 3-1/2".
  • Border 4 is cut from 1-1/2 inch strips of Background.
  • Border 5 is cut from 2 inch strips of Dark Gold.
  • Border 6 is cut from 4-1/2 inch strips of Leaf Print.
Quilt will finish 44" x 44" (without binding).
Picture

​Shoot for the Stars with EQ8

Picture
Are you just getting started with Electric Quilt 8 and need some help? 

Shoot for the Stars is designed to get you started with Electric Quilt 8 through training delivered straight to your inbox.  This series includes 14 short (i.e.. 5-10 minute) videos delivered over the course of a month allowing you to learn the basics of this complex program in bite size increments.

​The class is currently on sale for $35 (regular $50).  Join now.
Purchase Shoot for the Stars with EQ8

Picture
Happy quilting.

​Kari

​Sign up for my newsletter to stay current on what's happening in my studio and learn more quilting tips.  As a thank you, I'll send you a FREE pattern for this small maple leaf quilt.
Picture

Fall is in the Air Wreath

10/5/2019


New Fall Wreath using Electric Quilt 8

Picture
Fall is in the Air Wreath by Kari Schell using EQ8
This week the temps began dropping and leaves are starting to change colors in Minnesota.  Fall is my favorite time of year and I decided to create a fall wreath using the leaf motifs in Electric Quilt 8.
Learn how to create your own fall wreath using Electric Quilt 8. 

Learn how to combine motifs from multiple blocks into one block along with rotating and resizing the elements to draft the wreath.

From EQ8 to Your Cutting System

Once the wreath was drafted, I knew I didn't want to cut out all those applique shapes by hand.  So I decided to use my electronic cutting system (a Silhouette Cameo) to cut out the leaves.  

There were two challenges to overcome with my drawing.  First, the block is 20 inches x 20 inches -- super big which means lots of tiled pages when I go to do a print out.  And the applique patches are overlapping -- and I want to be able to layer the shapes.  So I didn't want to use the trace feature for this block.

After a bit of experimenting, I found the solution was to print the block to a pdf writer that would allow me to set the paper size to 24 x 24.  No -- I don't have that big of a printer.  

But this allows me to work with all the elements in a single file in Inkscape.  Inscape is a vector graphics program that is free.  There are versions for both MAC and PC.  And it allows me to convert a pdf document into a svg file.   You can read more about Inkscape and download a version here. 

SVG files can be used by all the major cutting systems including Silhouette Cameo, Cricut Mater, and Brother Scan n Cut.  This means if I have any of those systems, I will be able to cut out my Electric Quilt applique fabric patches!  No scissors required.
You are welcome to download my svg file if you wish to test the file with your cutting system of choice.  

To download the file, right click on the photo and  save the zip file which contains the svg document on your computer.  Do not attempt to open the file in your browser.  It will not work.  Once the file is on your computer, use your computer software to unzip the file.  Each operating system has a slightly different approach for this.  If you have questions google "unzip with your operating system".  
Picture
Then bring the file into the software for your cutting system.  You will want to weld images before applying the cut feature.  Every system works a bit differently.  Some of the nuances are shared in the Tech Know Quilter class -- Specialty Rulers and Dies.

You can learn more about Tech Know Quilters here and sign up for the wait list for the next open enrollment period.

Next Week

Next week I plan to share with you a quilt that you can make that features the 20 inch Fall is in the Air wreath.

Shoot for the Stars with EQ8

Picture
Are you just getting started with Electric Quilt 8 and need some help? 

Shoot for the Stars is designed to get you started with Electric Quilt 8 through training delivered straight to your inbox.  This series includes 14 short (i.e.. 5-10 minute) videos delivered over the course of a month allowing you to learn the basics of this complex program in bite size increments.

​The class is currently on sale for $35 (regular $50).  Join now.
Purchase Shoot for the Stars with EQ8

Picture
Happy quilting.

​Kari

​Sign up for my newsletter to stay current on what's happening in my studio and learn more quilting tips.  As a thank you, I'll send you a FREE pattern for this small maple leaf quilt.
Picture
    Picture
    Picture
    Picture
    Free guide available for newsletter subscribers
    Picture
    Picture
    Picture

    Kari Schell

    Electric Quilt Expert and Educator and Pattern Designer.

    Categories

    All
    Art And Stitch
    Cricut Maker
    Dear Jane
    Electric Quilt 7
    Electric Quilt 8
    Goose Goose Duck Challenge
    Longarm Quilting
    Patterns
    Silhouette Cameo
    Summer Games
    Tips And Techniques
    Tools And Rulers

    Archives

    January 2021
    December 2020
    November 2020
    October 2020
    September 2020
    August 2020
    July 2020
    June 2020
    May 2020
    April 2020
    March 2020
    February 2020
    January 2020
    December 2019
    November 2019
    October 2019
    September 2019
    August 2019
    July 2019
    June 2019
    May 2019
    April 2019
    March 2019
    February 2019
    January 2019
    December 2018
    November 2018
    October 2018
    September 2018
    August 2018
    July 2018
    June 2018
    May 2018
    April 2018
    March 2018
    February 2018
    January 2018
    December 2017
    November 2017
    October 2017
    September 2017
    August 2017
    July 2017
    June 2017
    May 2017
    April 2017
    March 2017
    February 2017
    January 2017
    December 2016
    November 2016
    October 2016
    September 2016
    August 2016
    July 2016
    June 2016
    May 2016
    April 2016
    March 2016
    February 2016
    January 2016
    December 2015
    November 2015
    October 2015
    September 2015
    August 2015
    July 2015
    June 2015
    May 2015
    April 2015
    March 2015
    February 2015
    January 2015
    December 2014
    November 2014
    October 2014
    September 2014
    July 2014
    June 2014
    May 2014
    April 2014
    March 2014
    February 2014
    January 2014
    December 2013
    November 2013
    October 2013
    September 2013
    August 2013

    RSS Feed

Contact:
On Point Quilter
e-mail:  onpointquilter@comcast.net
phone:  763-566-6536

GET MY NEWSLETTER FOR REGULAR EQ AWESOMENESS!

* indicates required
  • Blog
  • About
  • EQ Training
    • Tech Know Quilters Electric Quilt 8 Membership Training
    • Shoot for the Stars with EQ8
    • Electric Quilt 8 Sneak Peek
    • Scheduling a Workshop or Lecture
  • Store
  • Contact
  • Free Stuff
    • Other Video Tutorials