• Blog
  • About
  • EQ Training
    • Tech Know Quilters Electric Quilt 8 Membership Training
    • Shoot for the Stars with EQ8
    • Electric Quilt 8 Sneak Peek
    • Scheduling a Workshop or Lecture
  • Store
  • Card Making
  • Contact
  • Free Stuff
    • Other Video Tutorials
Picture

Antique Tulip Applique Quilt

2/26/2022

 
Picture
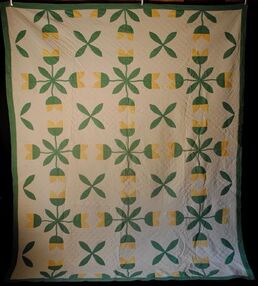
Back in 2015, I came across this image of a tulip antique quilt (circa 1900) on the internet.  I suspect I saw it on either Pinterest or Ebay.  At the time I drafted the quilt in Electric Quilt 7.  However, I would actually draft it much differently today. 

​I will share the new and improved drafting of this quilt in today's video.

In the video, I will share:
  • how to rotate portions of a quilt image to aid in tracing
  • Using the brush stroke
  • Using the ellipse tool
  • Using a leaf shape
​Seriously -- the drafting of all these elements is super simple with the powerful tools in the applique worktable.
Here are the blocks and quilt from the video.
Picture
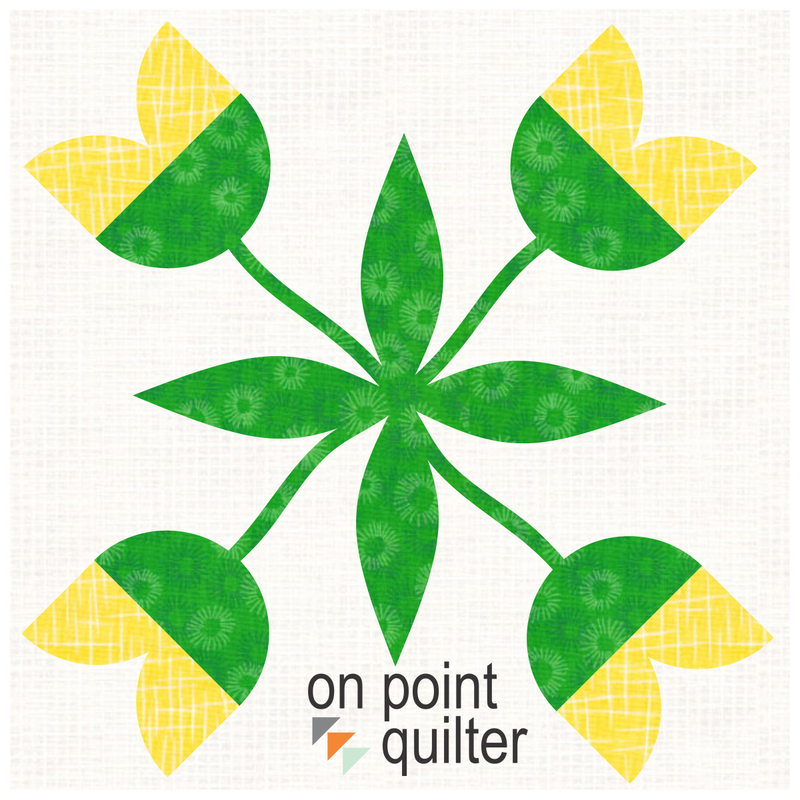
Tulip Block Drawn with Brush Stroke and Ellipse tool in EQ8
Picture
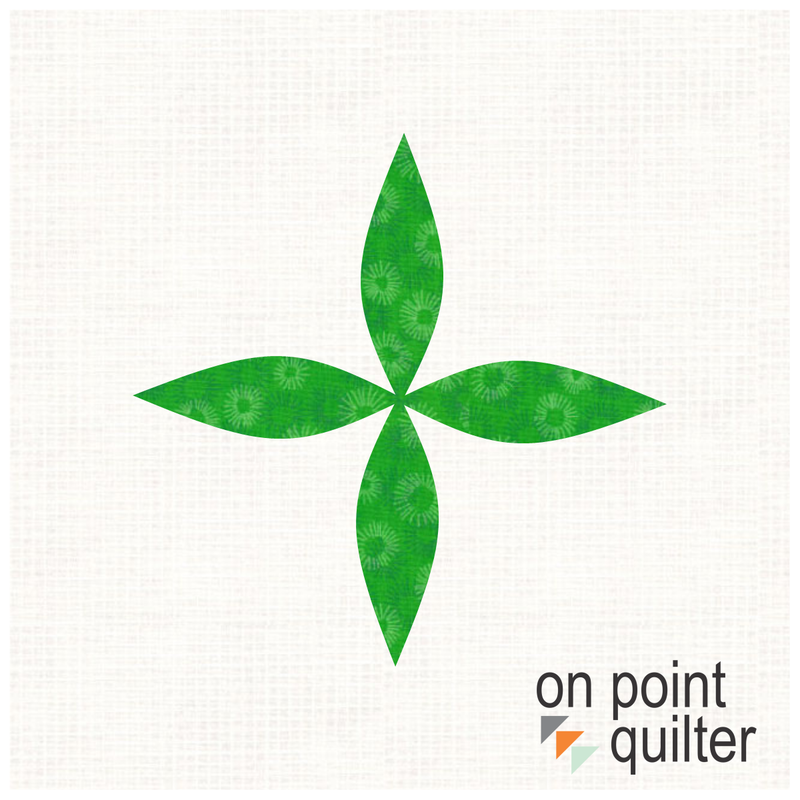
Leaf Block Drawn with Shapes tool in EQ8
Picture
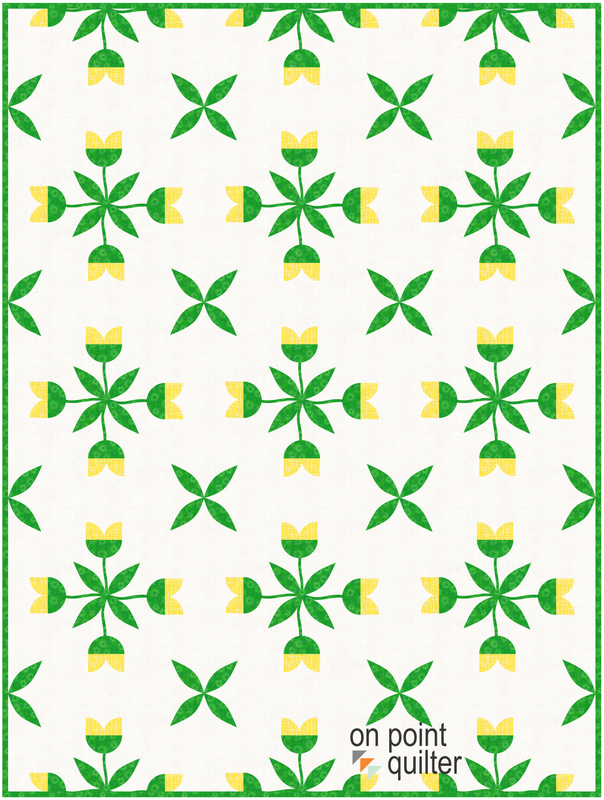
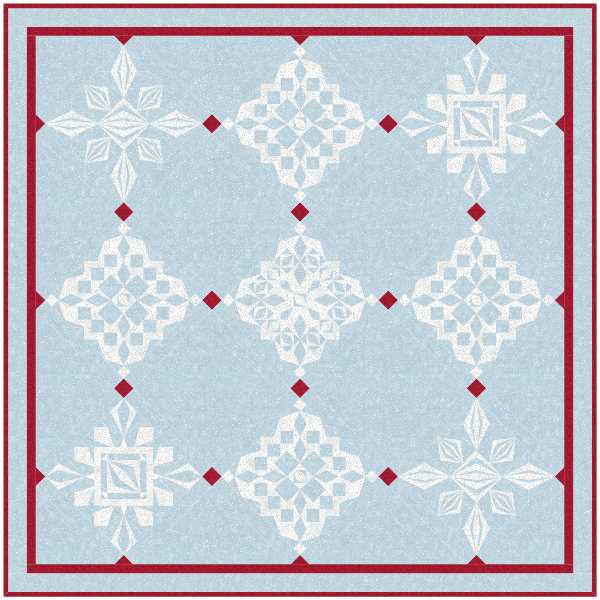
Redrafted Antique Tulip Quilt in EQ8.
And if you wish to see the brush stroke taken to an entirely different level, check out Dorothee Ilgner's  project posted in the Tech Know Quilter group this month.
Picture
Dorothee Ilgner

Tech Know Quilters January Showcase

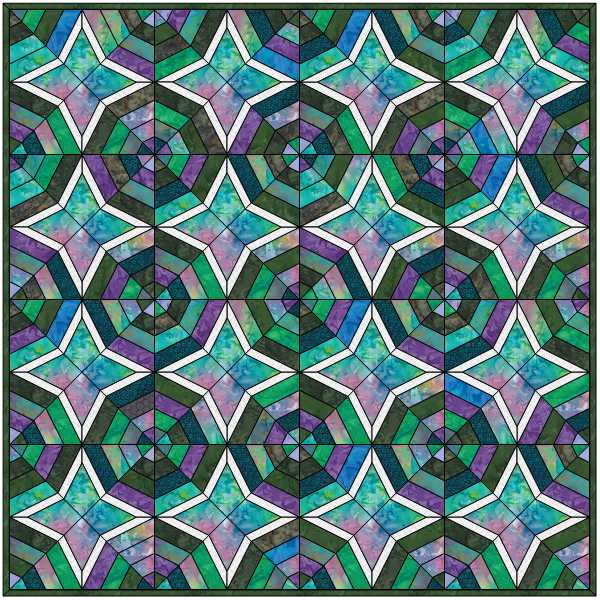
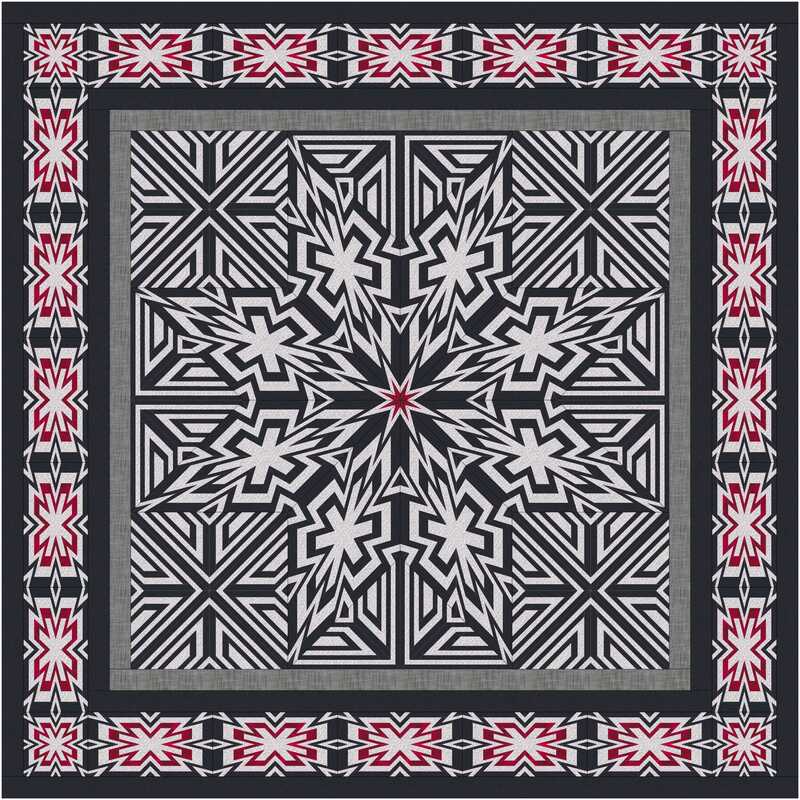
One thing I hear over and over again is -- I didn't know you could do "that" using Electric Quilt 8.  One thing that holds us back from truly using Electric Quilt 8 is just not understanding that this versatile software can help you create any type of quilt.  I think you will be inspired by the quilts created by Tech Know Quilter members using Electric Quilt 8.​
Tech Know Quilters is a membership program focused on mastery of Electric Quilt 8.  We have members at all stages of their Electric Quilt journey.

If you would like to join this amazing group of quilters, you can sign up for the wait list here.
Picture
Lynne Maramieri I saw a photo of a quilt similar to this and using techniques learned in the Reproduction Quilt classes I designed this quilt.
Picture
Carol Mayhew Inspired by Modern Quilts class
Picture
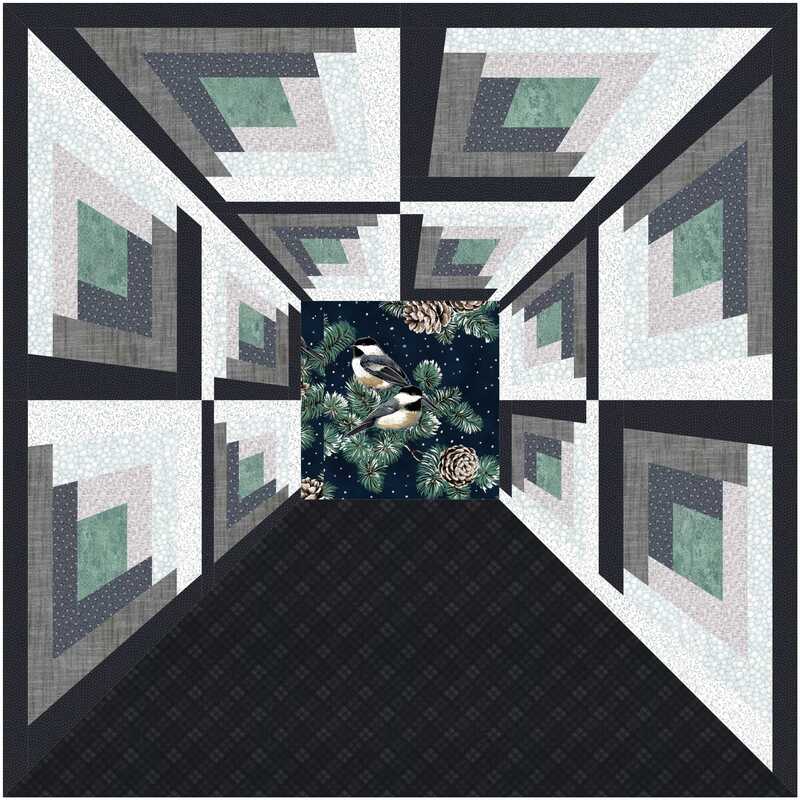
Carol Mayhew Inspired by Optical Illusion class
Picture
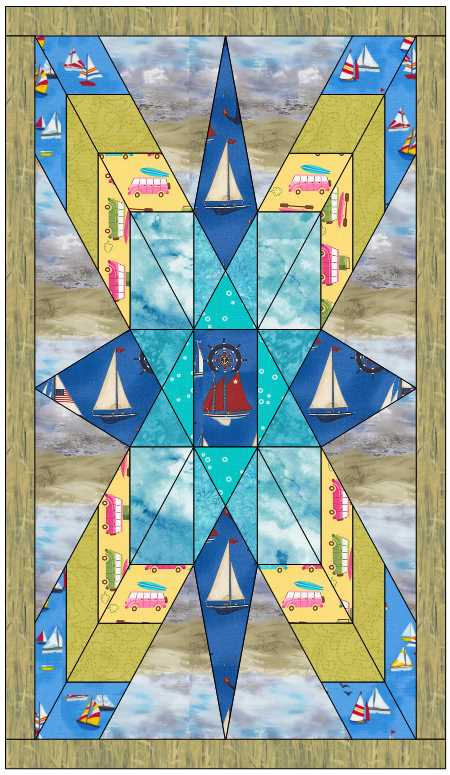
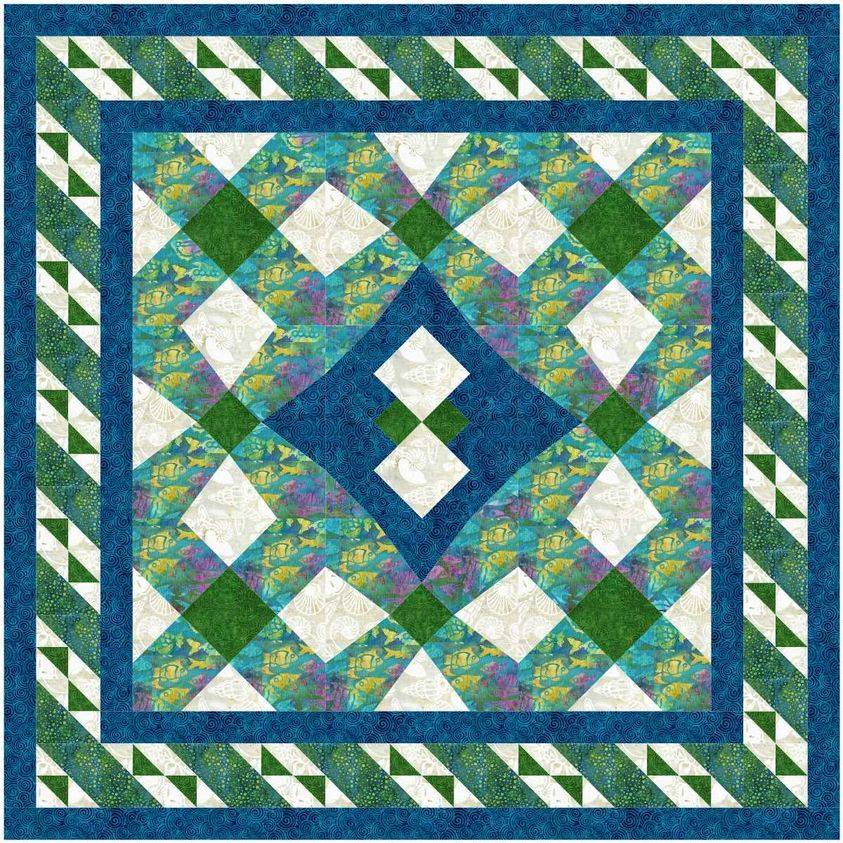
Lorraine McMahon I changed the size and added sea themed fabrics for a table topper using the Mix and Medallion Centers.
Picture
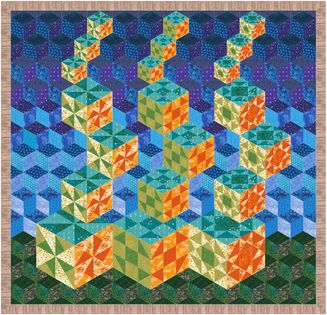
Brigitte Lee I worked on lesson 7 of optical illusion and looking at Vasarely's painting I design the quilt below.
Picture
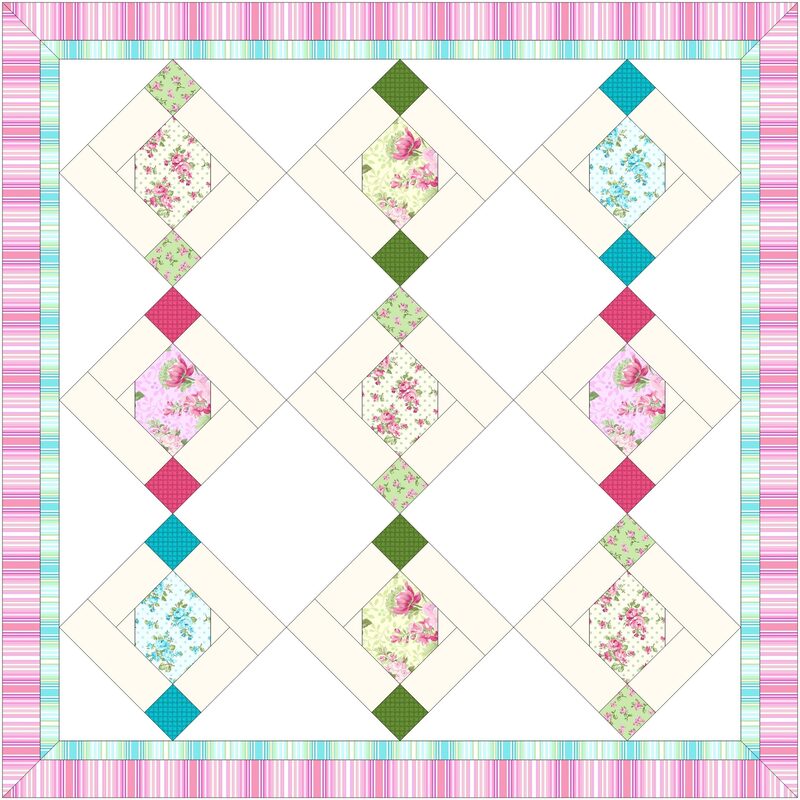
Sherri Cook My quilt is similar to the Beads quilt or the Chandelier quilt patterns. I drew the block, rotated the fabrics and used different floral color schemes for my little quilt.
Picture
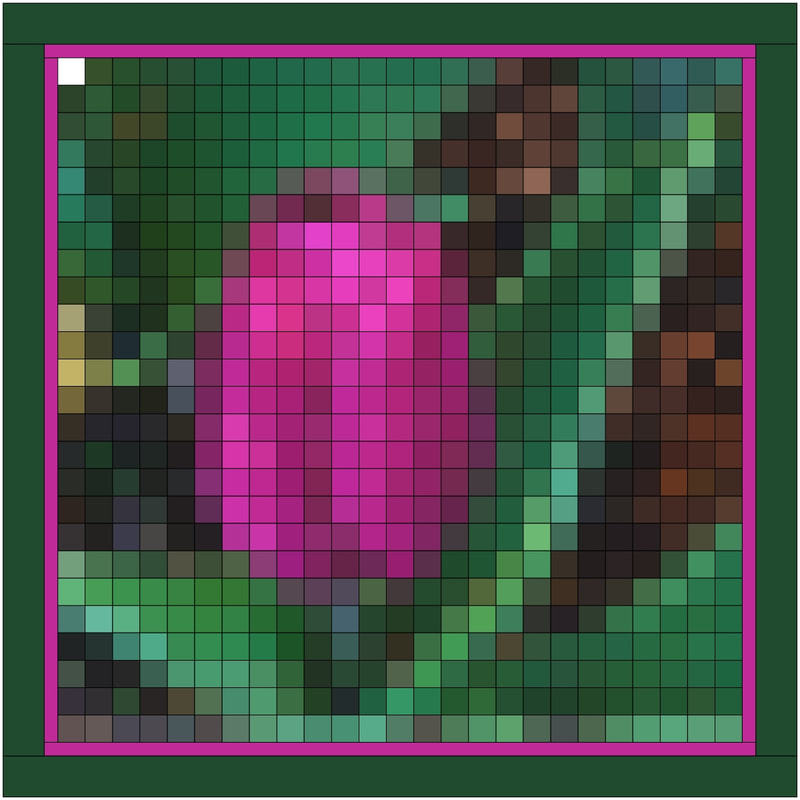
Roxanna Khoury Here's my example of Pixelated Quilt from Quilt Layout Lessons.
Picture
Melissa Grote I created a quilt using several of the things we learned from Working with Fabric Images. I found 2 blocks that fit together, and another for the border. I imported fabric from a manufacturer's website and colored the quilt.
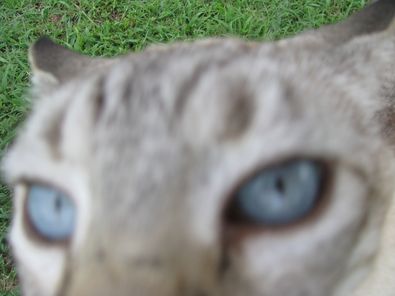
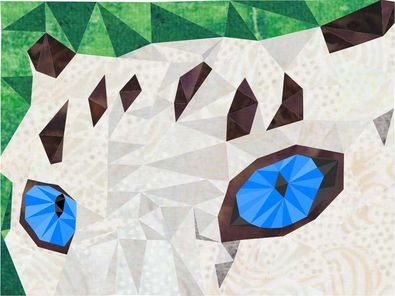
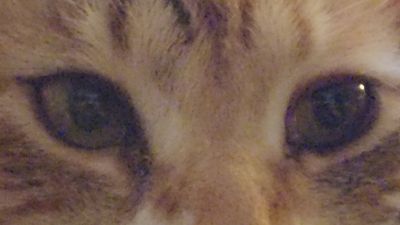
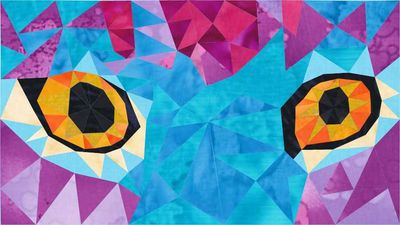
Julie Pedersen  I took the 1 block quilts and we created a block using a picture and straight edge shapes. Then we took those shapes and changed to to multiple triangles. For the class, I did Reno, one of our cats. Then for this challenge, I did Mia, another of our cats. (I think I have a thing for cats' eyes.) 
Picture
Reno Inspirational Photo
Picture
Reno One Block Quilt
Picture
Mia Inspirational Photo
Picture
Mia One Block Quilt
Picture
Zdenka Nemethova In January I took Foundation Blocks Class. Learned a lot again and enjoyed every lesson ❤
Picture
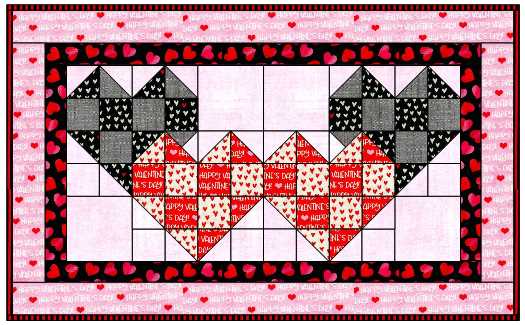
Zdenka Nemethova Kari´s Shadow Hearts tutorial inspired me to do this small quilt, will try to sew it now.
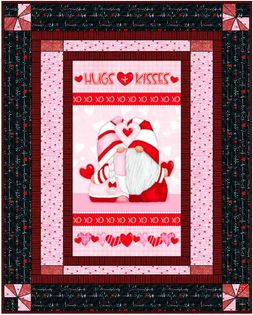
Zdenka Nemethova  I also managed to finish this Valentine quilt - I drew it in EQ first. I put a heart block from EQ block library in the corners (paper-pieced). Only with the skills I gained during the Kari´s classes I was able to do it. Cannot imagine I could do this a year ago. Thank you, Kari 
Picture
Picture
Picture
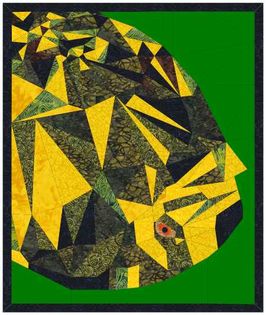
Pat Olivier I took the Masters Series 1 block quilts. We created a block tracing a picture with straight edge shapes. Then we took those shapes and changed them to multiple triangles. For this challenge I have used the Painted Tortoise. I tried to angle the triangles so that my shading would match the photo.
Picture
Gloria Worthen Jacobs There is so much scope in just adjusting little things such as colour. This is my result from playing around with the foundation blocks.
Picture
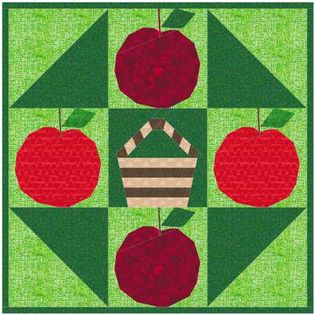
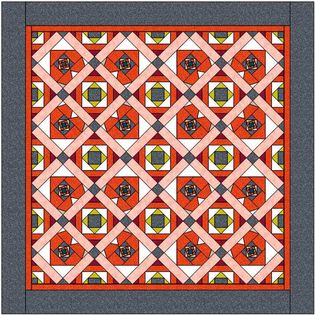
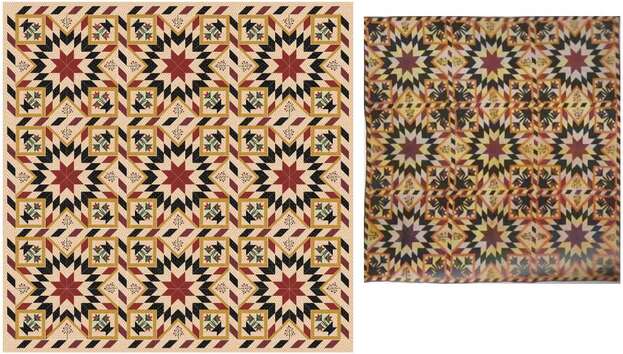
Edith Craig My class this month was Reproduction Quilts. I decided to adapt Painted Star with North Carolina Lily Baskets (ca. 1880) which is part of the North Carolina Quilts Project through the North Carolina Arts Council. I used various techniques that I have learned through this last year, including importing images, Easy Draw, and Applique, and set the resulting blocks into a quilt that closely resembles the historic one. It was quite a challenge, but I am pleased with the result. The photo of the historic one is included with my version.
Picture
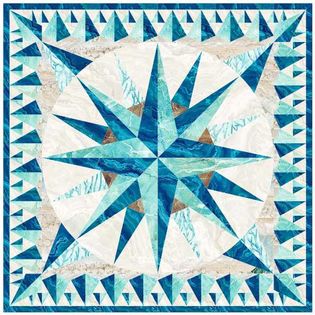
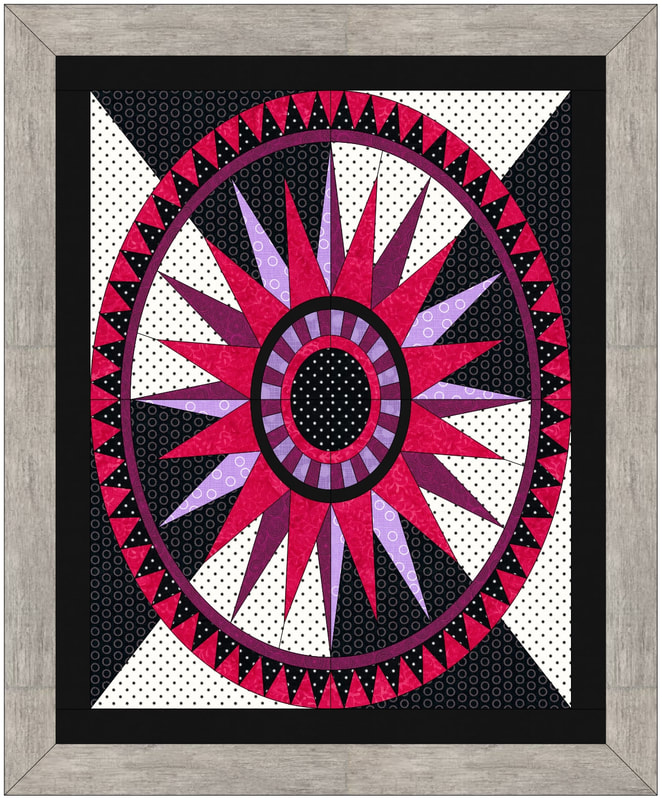
Diana Nelson Knight I'm in the Mix & Match Medallions lessons. I've always liked Compass blocks and designs - so recolored and added a pieced border to one of the Compass blocks we worked on together.
Picture
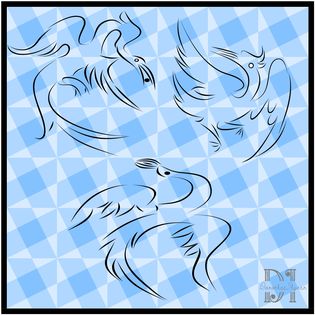
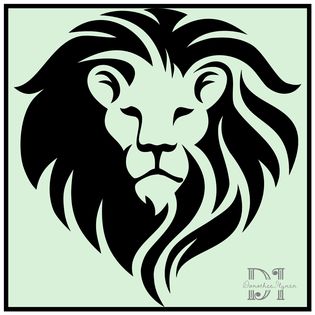
Dorothee Ilgner In January I was in the Masters 'One Block Quilts' Class. It was great to see how the same design can be drawn either in easy draw or as applique. The use of the brush stroke in applique solved a long time design challenge for me. These birds are based on a work from the spanish architect Josep Jujol. Before the class I never got the applique shapes right. They always looked somewhat clumsy.
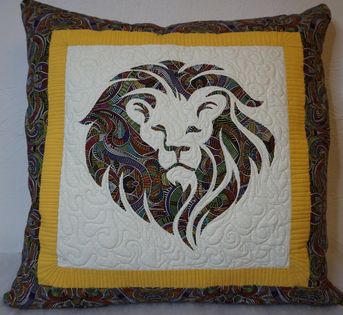
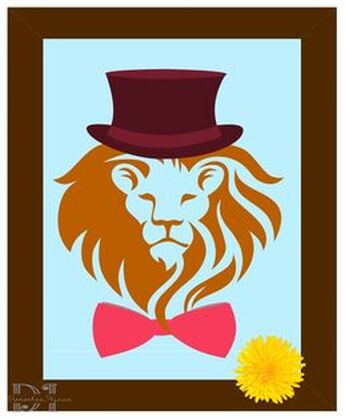
Dorothee Ilgner  An applique block plus the finished pillow using the design.  Also check out the Dandy Lion!  I love to play with words.  Here is my furry gentleman.  
Picture
Picture
Picture
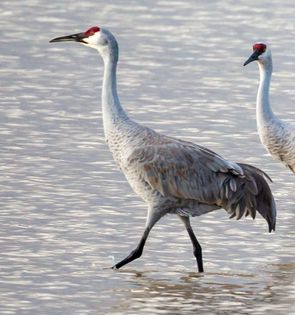
Patricia Hansen  Here is a foundation block I made after doing the loon in class.  Plus the quilt I made from it.  The original photo was taken in New Mexico in December while on a photo trip. These birds are quite large, but very graceful and beautiful fliers. 
Picture
Picture
Picture
Picture
Kathryn Womble I did a lot of fussy cutting and rotating! Fabrics from imported Best of Morris by Barbara Brackman
Picture
Renae Frank Butler
Candy Huddleston Favorite projects from Introduction to PolyDraw classes.
Picture
Picture
Picture
Picture
Picture
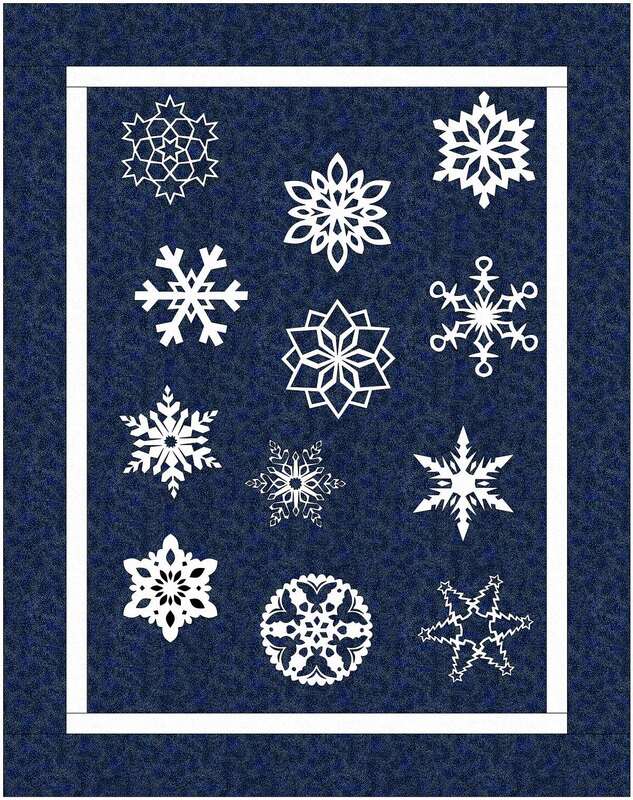
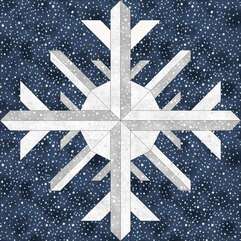
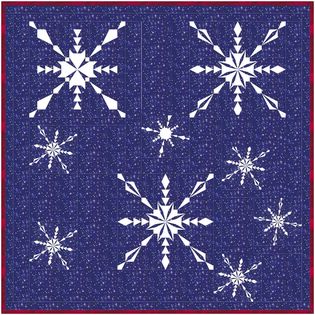
Edith Craig After recreating the snowflake blocks and quilt from the webinar, I decided to work on converting some of them to foundation patterns.
Picture
Picture
Julie Pedersen Snowflake Quilt
Learn More About Joining Tech Know Quilters

Picture
Happy quilting.

​Kari

Join the On Point Quilter weekly newsletter and receive regular tips and inspiration on using Electric Quilt 8 along with the  Free 12 Top
Tips for EQ8 video guide.
Picture

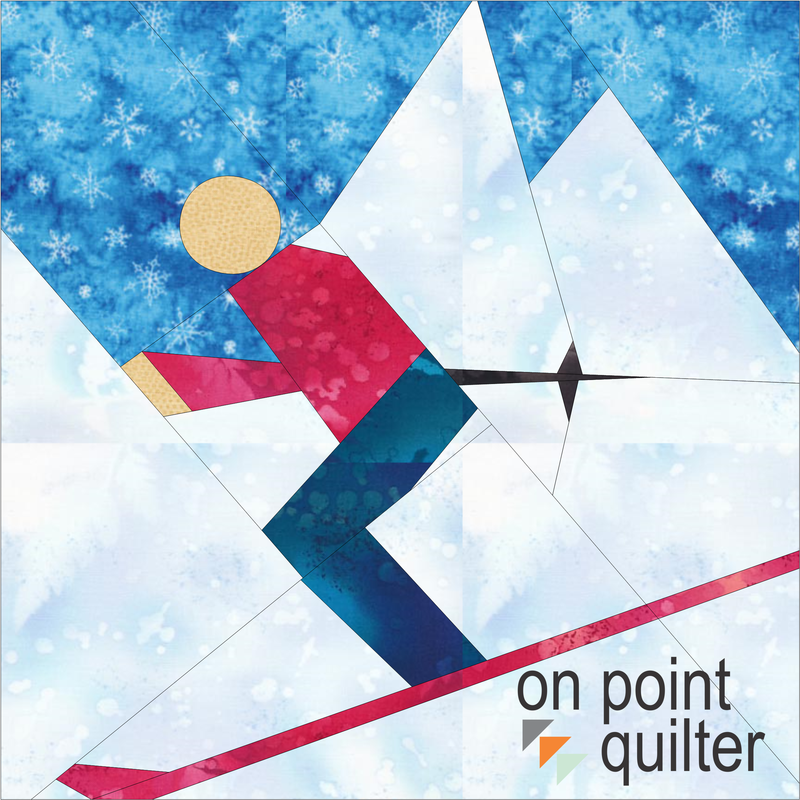
Foundation Friendly Skier Quilt Block

2/19/2022

 
During the Olympics I have been cheering for Jessie  Diggins.  Jessie is a cross country skier and the granddaughter of a former client of mine.  Jessie has been representing Team US on the cross-country team at the Olympics this year.  You can read more about Jessie here.
There are actually a number of different skiing events that this block could represents.  Pick you favorite when you name your block.

Here is the image I found on the internet (copyright free) that served as the inspiration for my block. 

​See how to draft the block in this weeks video tutorial. ​
Picture
Feel free to import my block for tracing your own skier foundation pattern.
Picture
Skier Foundation Pattern designed by Kari Schell using EQ8
I would love to see pictures of your block.  Please feel free to post on the Learning EQ Facebook group.
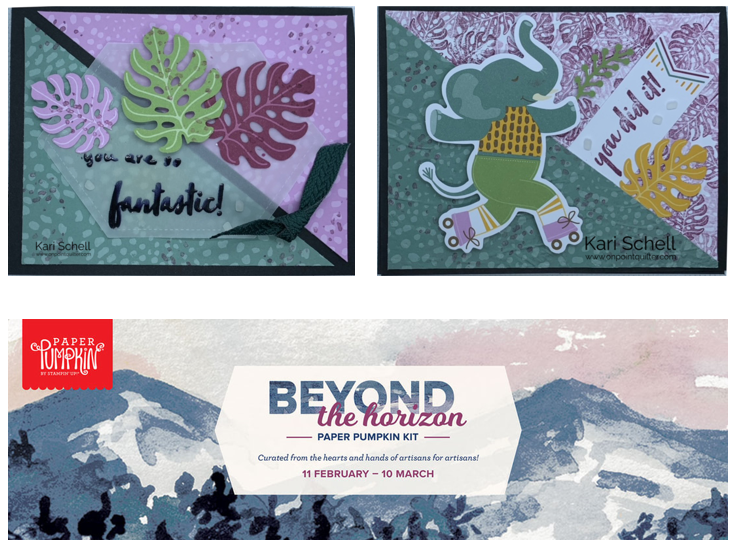
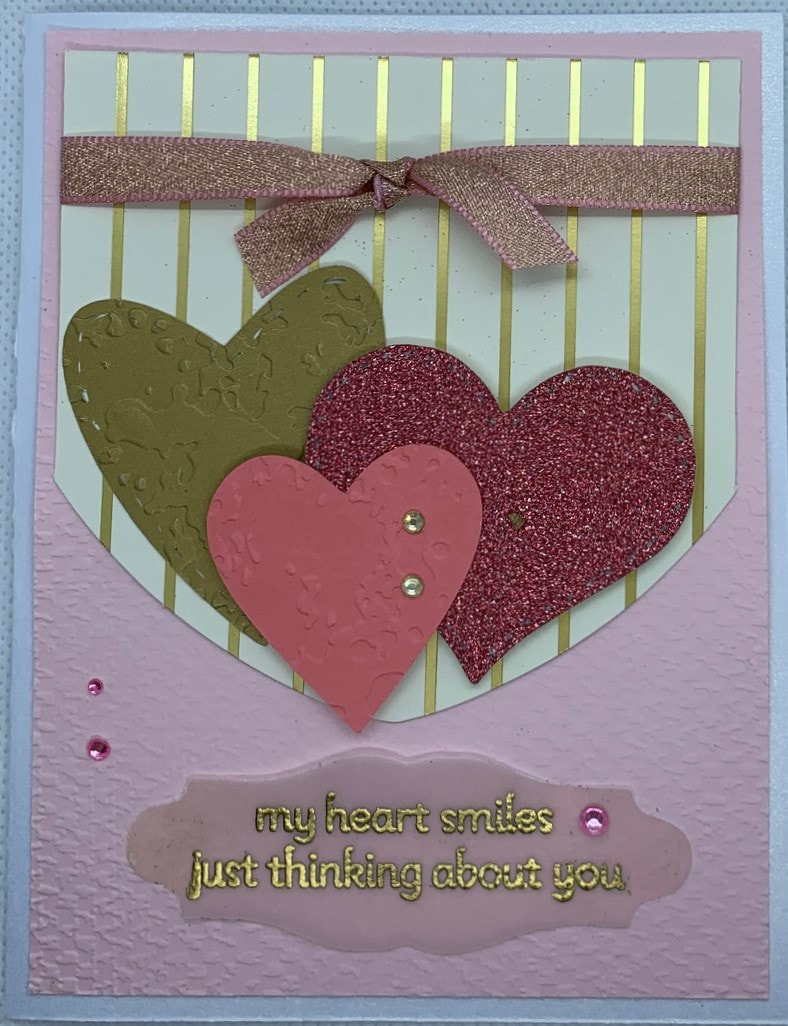
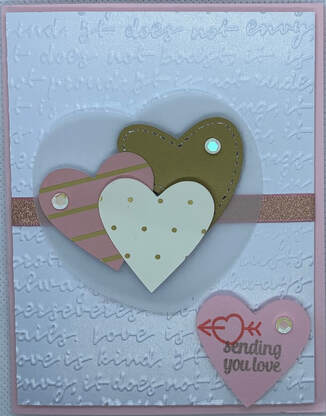
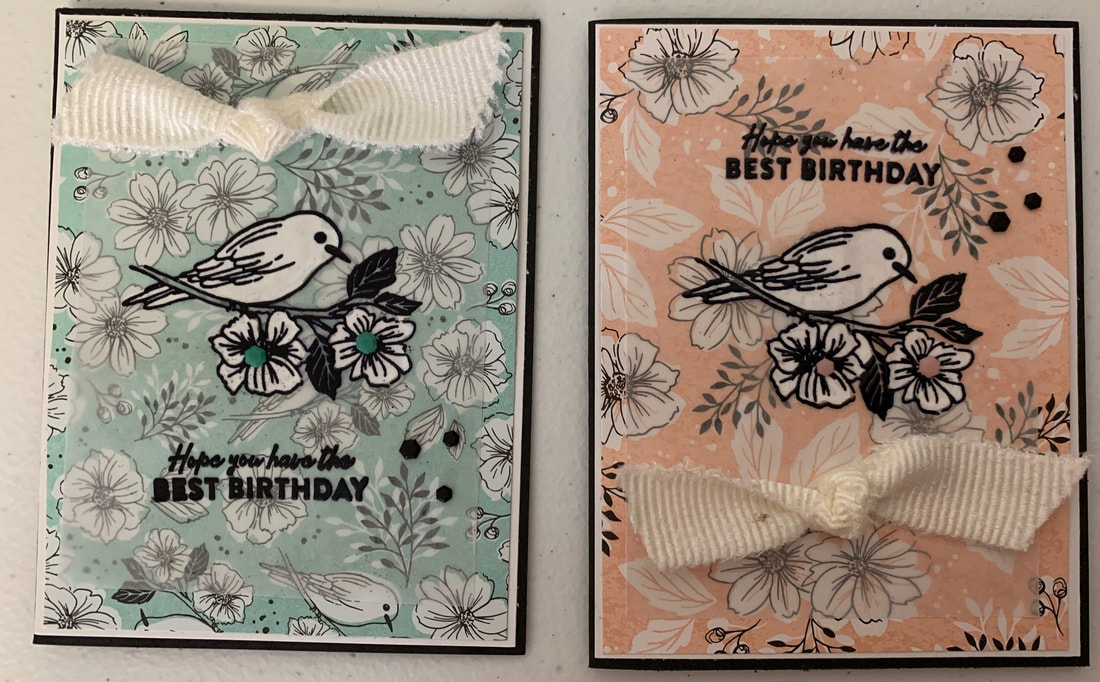
Are you interested in making your own cards?  Check out my blog post where I share how I created these two cards and how you can purchase the kit for next month.
Picture

Picture
Happy quilting.

​Kari

Join the On Point Quilter weekly newsletter and receive regular tips and inspiration on using Electric Quilt 8 along with the  Free 12 Top
Tips for EQ8 video guide.
Picture

Beyond the Horizon Card Kit

2/18/2022

 
Picture
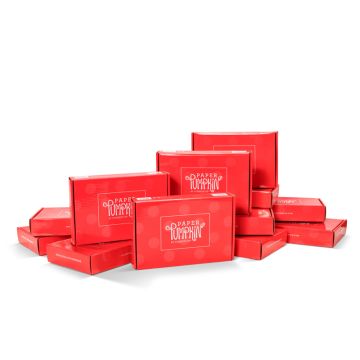
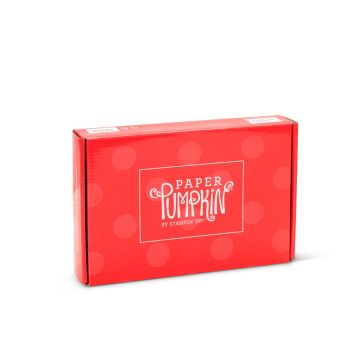
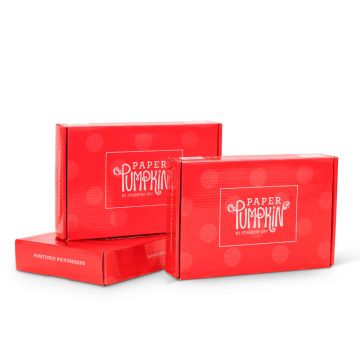
Stampin' Up has announced that the next Paper Pumpkin will be Beyond the Horizon.  Check out how the designs were created for the kit.
  • This month’s kit contains enough elements to create 9 cards—3 each of 3 designs—and 9 coordinating envelopes. This all-inclusive kit includes printed card bases, die-cut paper pieces, embellishments, adhesive, and more!
  • The Beyond the Horizon Paper Pumpkin Kit includes a Misty Moonlight Classic Stampin’ Spot!
  • This kit’s stamp set is perfect for any occasion. With sentiments that say “thanks”, “hello”, “thinking of you,” and so many more, you’ll be able to use this stamp set year round.
  • And if you thought one stamp set was great just wait--t his month’s kit comes with a BONUS stamp set for FREE!  That’s two stamp sets in one kit! It’s our way of saying THANK YOU to you our Paper Pumpkin subscribers.
  • That’s not all! This kit perfectly coordinates with the New Horizons Suite Collection in our January–June 2022 Mini Catalog Which means even more exclusive elegant watercolor designs curated by our in-house artists just for you!  (I've ordered both the stamp set and the paper.)
  • Card size: 4-1/4" x 5-1/2" (10.8 x 14 cm)
  • Envelope size: 4-1/2" x 5-3/4" (11.4 x 14.6 cm)
  • Coordinating colors: Bumblebee, Calypso Coral, Evening Evergreen, Misty Moonlight, Night of Navy, Old Olive, Pale Papaya
Two Ways to Purchase
Purchase a Monthly Subscription Here for $23.50 (including shipping)
Picture
There is less than ten days to lock in on free Sale-A-Bration product.
Picture
Picture
1 Month Prepaid Subscription for $21
Picture
Prepaid 3-Month Paper Pumpkin Subscription for $63 (earn 1 FREE Sale-A-Bration Item)
Earn 1 free $50 Sale-A-Bration item
Picture
Prepaid 6-Month Paper Pumpkin Subscription for $114
Earn 2 free $50 Sale-A-Bration items or 1 free $100 Sale-A-Bration item
Picture
Prepaid 12-month Paper Pumpkin Subscription for $220
Earn 4 free $50 Sale-A-Bration items or 2 free $100 Sale-A-Bration item
Picture
Picture
Picture
Picture
You may also make any other purchases of Stampin Up products while you are on the Stampin' Up website.  If you purchase Stampin Up product (including Paper Pumpkin subscriptions) using my host code during February 2022, you are eligible for a special thank you gift from me, plus purchasing bonuses from Stampin Up.
Picture
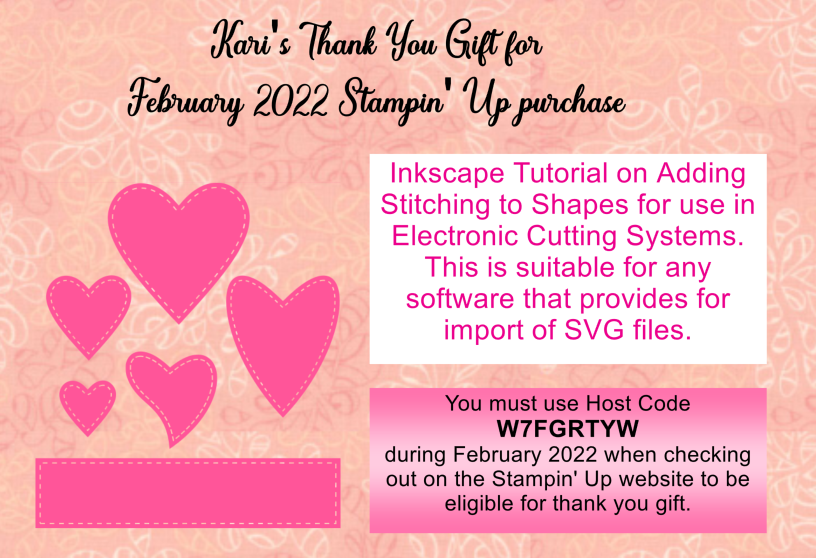
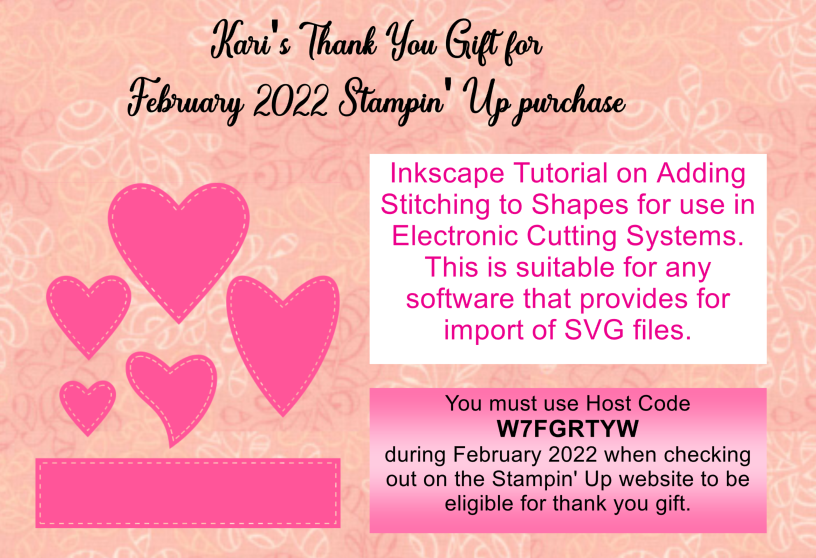
Being a quilter, I really love the look of stitched lines around a shape.  It could be one of the heart shapes from today's tutorial.  Or a square, rectangle or even oval shape for stamping a sentiment.  Learn my process for adding those stitched lines to your shapes with an exclusive tutorial for those purchasing with Host Code  W7FGRTYW.  You must use the host code when checking out with Stampin' Up to be eligible for the bonus. 

Safari Celebration Kit

Safari Celebration was the kit for February.  I just received it in the mail today.  Here is a quick video on the projects designed by Stampin' Up.
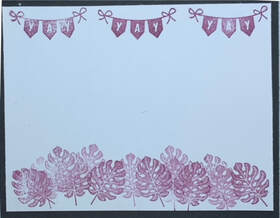
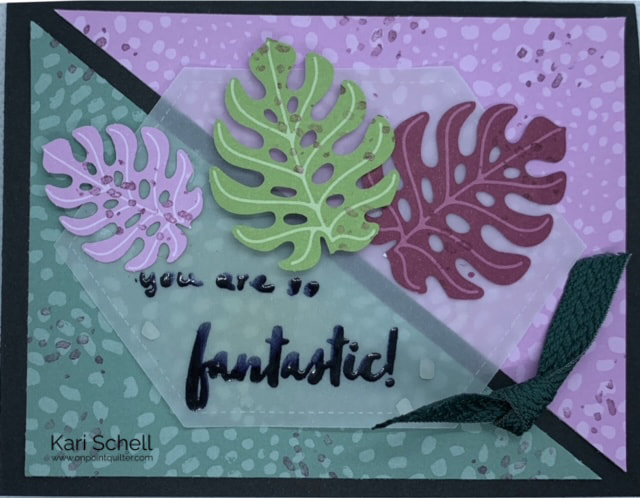
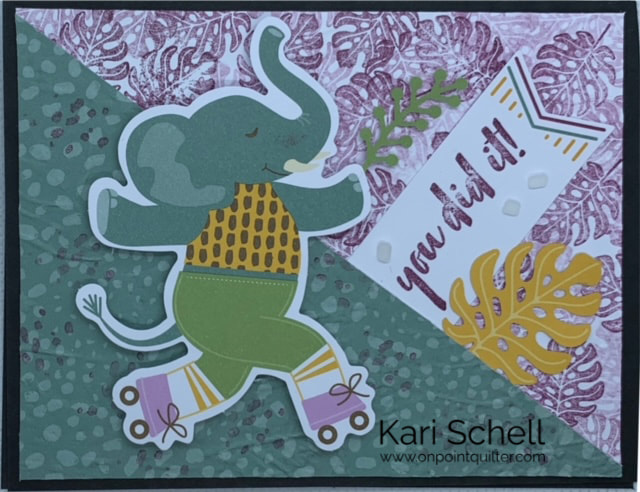
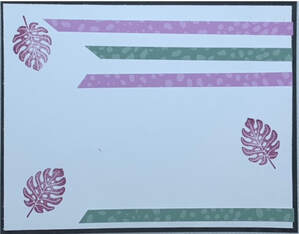
Here are a couple alternative cards I created from the Safari Celebration kit.  I was excited to be able to create an "adult friendly" card from the kit.
Picture
PictureInside of card.
Instructions:
  1. Cut card bases from the kit in half. 
  2. Then cut one piece on the diagonal.  Trim 1/4 inch off the horizontal and vertical edges.  Save these for the inside of the card.
  3. Cut black cardstock  5-1/2" x 8-1/2".  Fold in half.
  4. Cut white cardstock  5-1/4" x 4" for inside panel.
  5. Use Versamark to stamp "You are Fantastic!" on vellum piece from the kit.  Heat emboss with black embossing powder.
  6. Add Vellum and smaller leaves with glue dots.  Add larger leaf with dimensionals.
  7. All other stamping done with Rich Razzleberry ink from the kit.
  8. Add green ribbon (not in kit) to card front.  Add pebbles from kit.

Picture
PictureInside of card.
Instructions:
  1. Cut 5-1/2" x 8-1/2" black for card base.  Fold in half.
  2. Cut 2 pieces white cardstock 5-1/4" x 4".
  3. Stamp leaf using Rich Razzleberry on one piece of white cardstock.  Some at full strength and some stamps offs.  By stamping a second time you are able to create a lighter image for additional texture in your card.
  4. Adhere diagonal cut (from previous card) to white cardstock.
  5. For additional texture, use an embossing folder.
  6. Stamp "you did it!" on tag from kit.  Trim and fit under diagonal cut piece.  
  7. All stamping was done with Rich Razzleberry ink from the kit.
  8. Glue on leaves and add elephant with dimensionals.
  9. Add pebbles from kit. 

Picture
Happy quilting.

​Kari

Join the On Point Quilter weekly newsletter and receive regular tips and inspiration on using Electric Quilt 8 along with the  Free 12 Top
Tips for EQ8 video guide.
Picture

Drafting Foundation Friendly Figure Skating Blocks

2/12/2022


Ice Dance Foundation Block using EQ8

My all-time favorite Olympic sport is Ice Dancing.  I love the intricacies of the step sequences and how in sync the partners must be at all times.  I was mesmerized to see Zachary Donohue and Madison Hubbell perform in the rhythm dance portion of the team event.  And then Madison Chock and Evan Bates in the free dance.

​I took up figure skating in my mid-40s and am a member of a social ice dance club -- so I can appreciate how hard this sport is.  Even the patterned dances I am working on are a challenge to stay on time and in sync with a partner.  Full disclosure -- there are no twizzles, lifts or throws in social ice dance.  But there are a lot of three turns and mohawks.

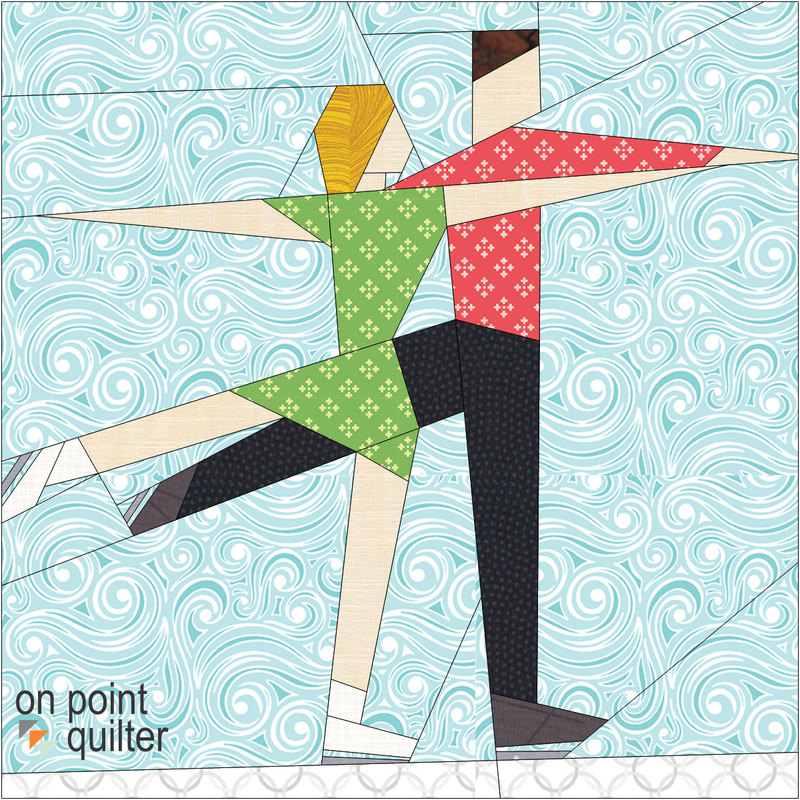
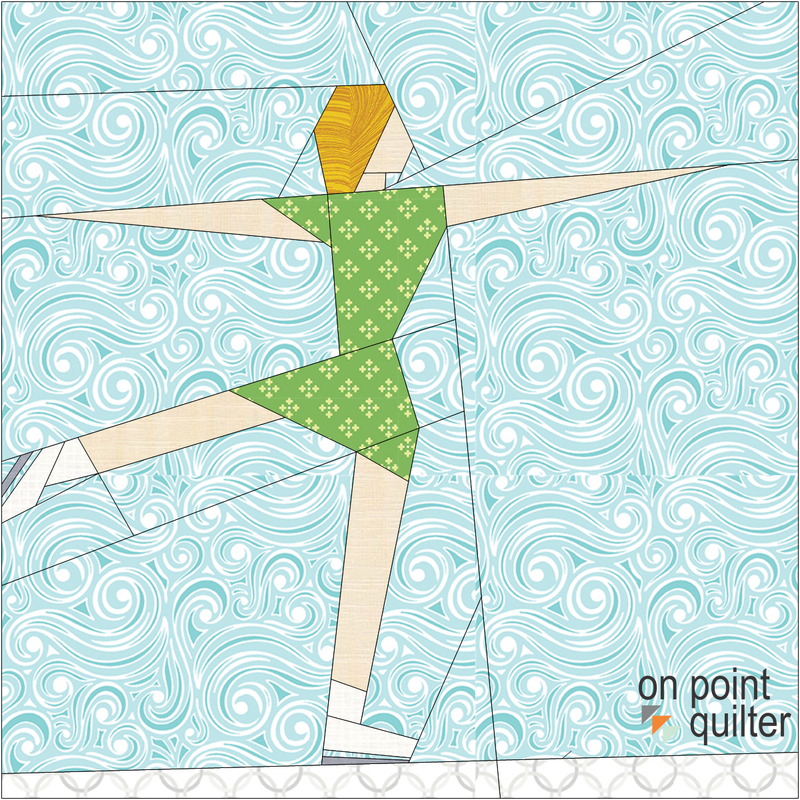
​I drafted two figure skating blocks using Electric Quilt 8.  The first is an ice dance couple.  And then, I found that by eliminating the guy, I was able to create a female figure skater block as well.

​Feel free to trace my blocks to create your own figure skating foundation patterns.
Picture
Ice Dance Foundation Block by Kari Schell created in EQ8
Picture
Figure Skater Foundation Block created by Kari Schell in EQ8
My video tutorial will share with you how to draft the ice dance block.  You will note that the biggest challenge in creating your own foundations is figuring out efficient sectioning.  My blocks frequently go through a fair number of iterations, until I find something I am satisfied with.
Feel free to share your blocks in the Learning EQ Facebook post.

Tech Know Quilters Showcase

Each month I challenge those in Tech Know Quilters to apply what they learned during the last month.  They can share a project from a lesson or an original design applying the concepts they have been learning in Tech Know Quilters. 

Tech Know Quilters is a membership program focused on mastery of Electric Quilt 8.  We have members at all stages of their Electric Quilt journey.

If you would like to join this amazing group of quilters, you can sign up for the wait list here.

Here are some favorite projects created from classes taken in December.
Picture
Zdenka Nemethova I found a nice winter block in EQ8 block library, colored with Hoffmann fabrics that I bought for X-mas projects.
Picture
Zdenka Nemethova Another option.
Picture
Zdenka Nemethova I took Hexagon Blocks & Settings Class in December. I learned a lot as hexies are something new to me.
Picture
Edith Craig In December I took the T shirt and Panel. This quilt was designed from a panel, the borders and lettering were added. This was a great class to learn how to use both panels and T shirts in a project and then add additional borders and sashing to complete the project.
Picture
Carol Kendra I really got a lot out of my class using Poly Draw. I learned so much about drafting parts of blocks and then using copy and paste. I think I used the magnifying glass more than ever before to be sure my nodes were joined up perfectly. I learned about making things fit too!! I no longer need to settle on a size, but I can figure out spacer borders to get the size I want. I especially enjoyed making the Compass using the arc tool. A very tricky block, but so beautiful when done!
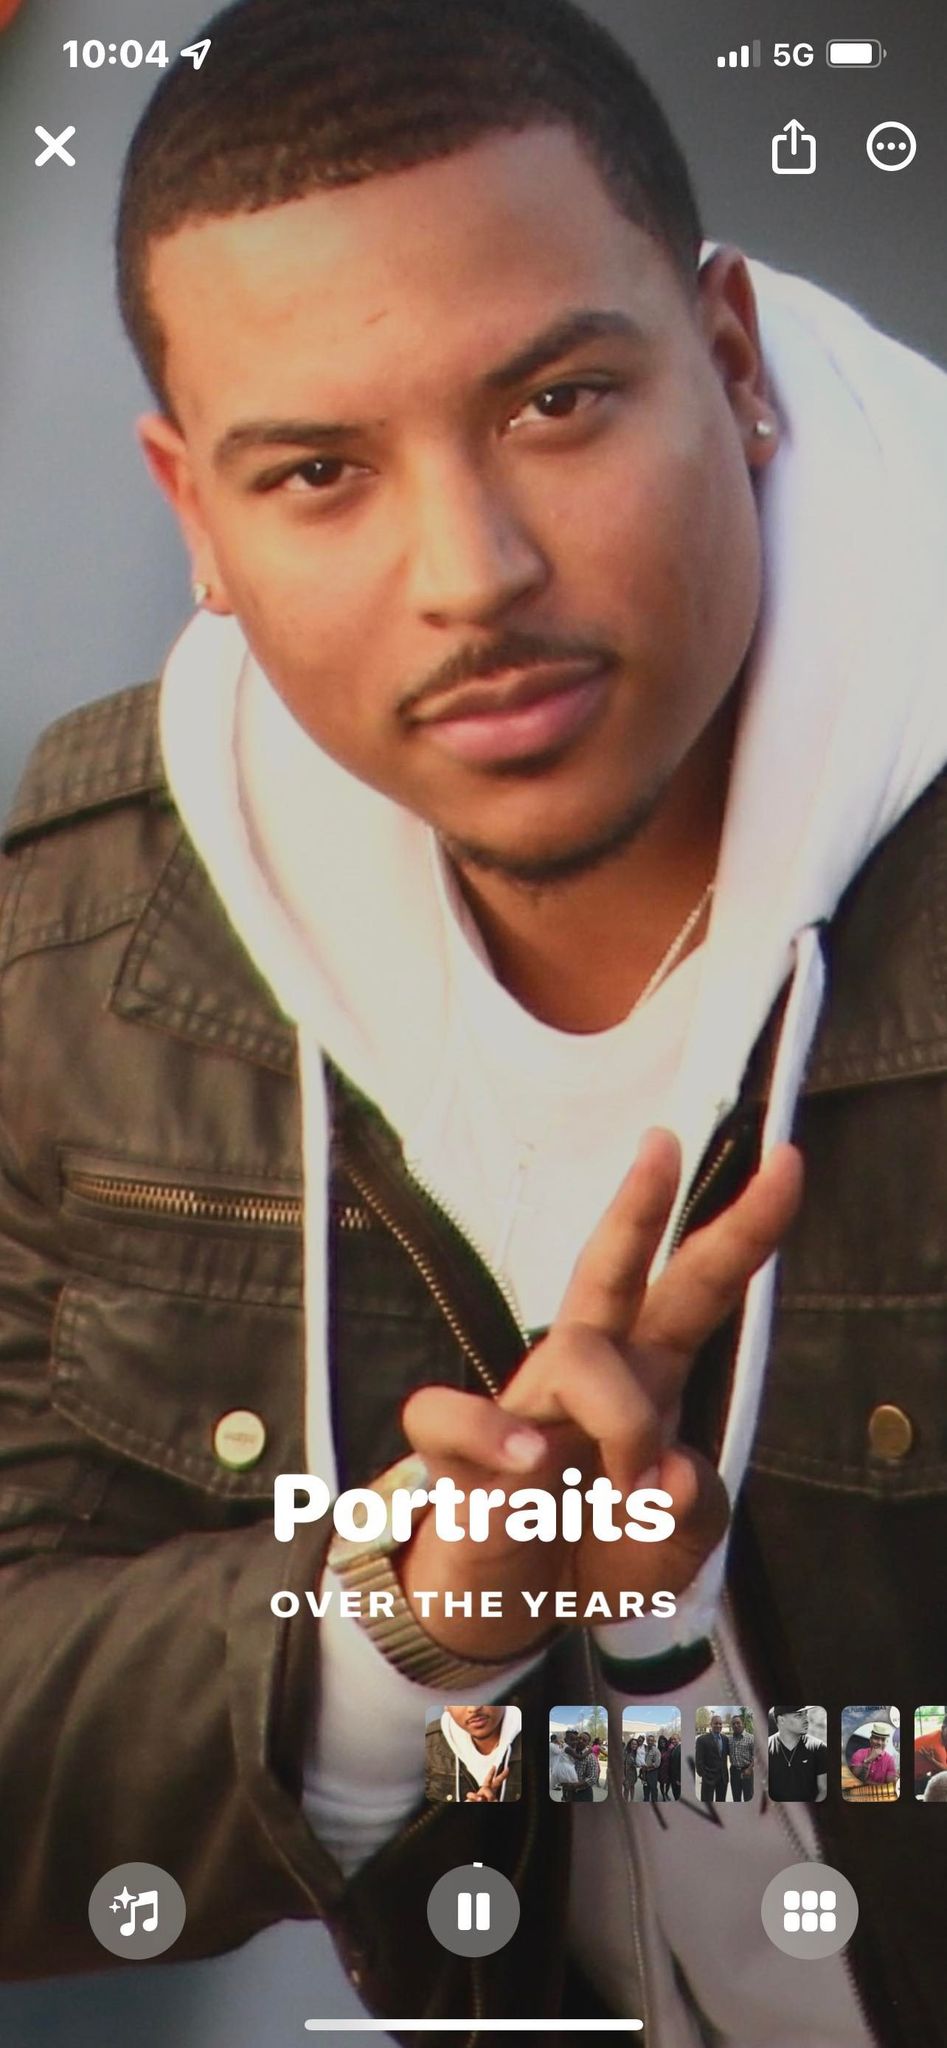
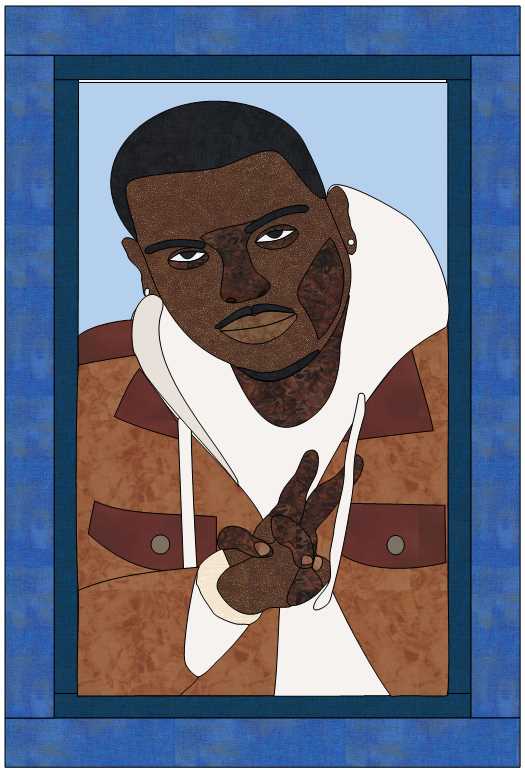
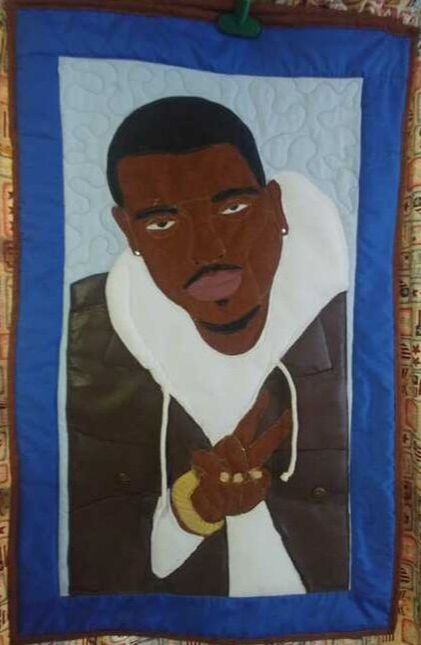
Julie Pedersen  This month I applied what I have learned in Kari's classes for since she started TKQ. I took a photo that a co-worker had posted on Facebook of her son who passed away last March. I used techniques from previous classes as well as this month. For the quilt, I used various mediums/fabrics to create it....faux leather, fleece, gold lame, buttons, cording and even rhinestones. People at school were amazed at it.

Check out the photo, EQ drawing and final quilt.
Picture
Picture
Picture
Picture
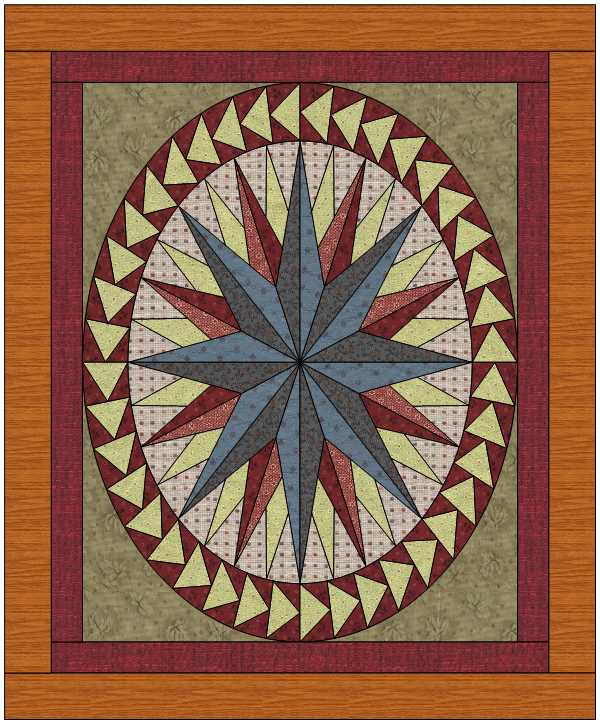
Candy Huddleston November & December were a most informative two months in learning Medallion Centers & Borders. Quilt #1 is a combination of Lesson 11 (Medallion 29 - Rectangular Medallions) of the Mix & Match Medallion Centers & Lesson 12 of the Compass Quilt Interlocking Spikey Border classes. I used your flying geese Bonus border exercise for the outer border with a 4-wedge variation of the spikey border that I drew for this one.
Picture
Candy Huddleston Quilt #2 goes back to Lesson 8 of the M&M Medallion Centers using Medallion 17 for the center setting (Rotating Blocks with Your Own Corners). I used a variation of Block 19 (Compass Point) designed by Brigitte Heitland for 2020's Moda Blockheads 3 to put in that center. These Moda blocks were ones that I played with in Lesson 4 of the Serendipity Kaleidoscope/Merge lesson back in November. I really like how all these blocks & borders can REALLY be mixed & matched! Thank you for a wonder set of lessons.
Picture
Renae Frank Butler Design for a friend.
Picture
Renae Frank Butler Design for a Friend
Picture
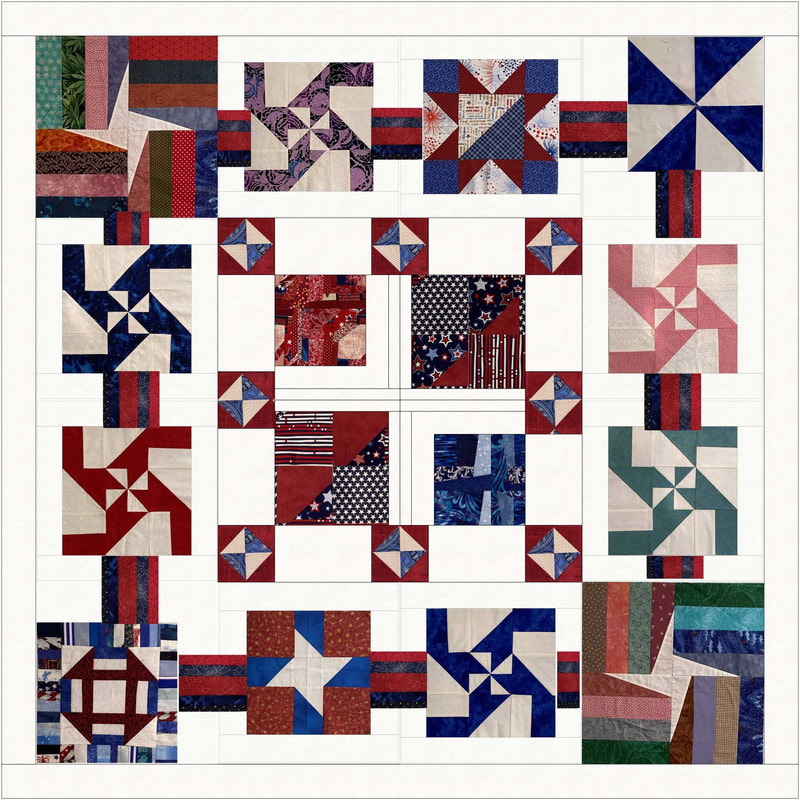
Renae Frank Butler This is an orphan block quilt that I am working on for Quilts of Valor. I used multiple techniques from the last classes. The striped connector blocks are scrappy. (Notice that the design includes photos of the completed blocks.)
Picture
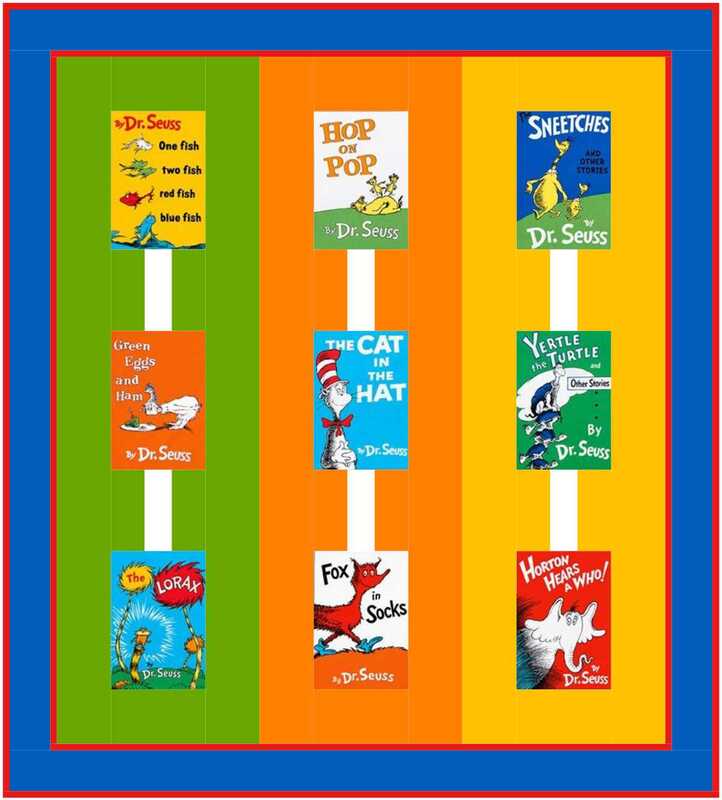
Betty Kotoriy Dr. Seuss book panels.
Picture
Rhonda Goss Reproductions class. Took a quilt from the quilt index and reproduced with some modifications.
Picture
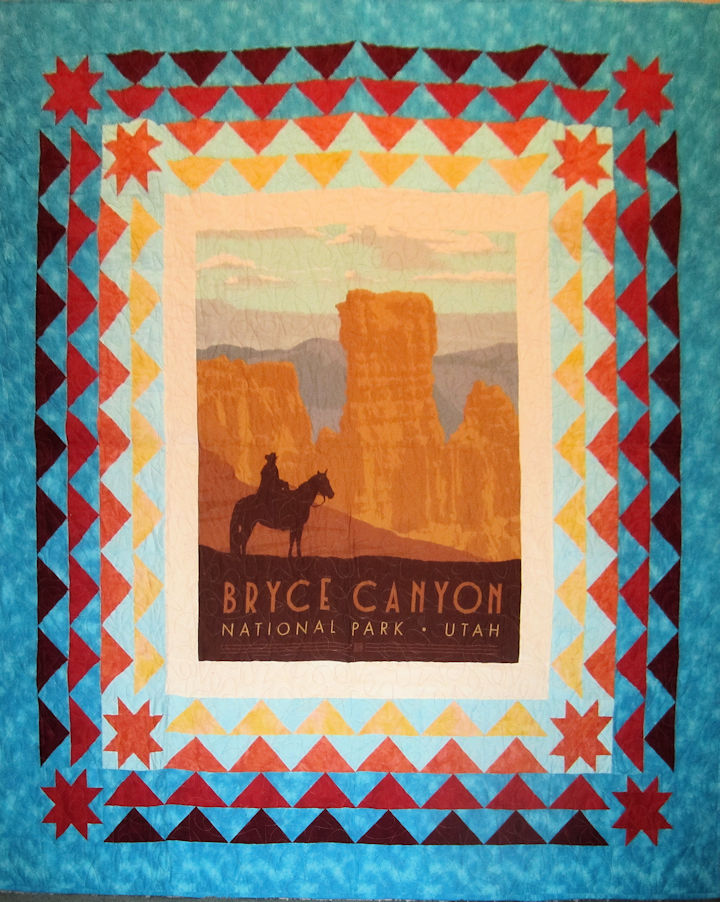
Dotty Smalley I designed the borders for three panels in EQ8 thanks to Kari. Here is one that was gifted at Christmas. The panel is by Riley Blake.
Picture
Julie Pedersen Masters Challenge for December. The challenge was to design a weather themed quilt.
Picture

Picture
Happy quilting.

​Kari

Join the On Point Quilter weekly newsletter and receive regular tips and inspiration on using Electric Quilt 8 along with the  Free 12 Top
Tips for EQ8 video guide.
Picture

Card Making Using Electric Quilt 8

2/5/2022

 
I love quilting and enjoy spending a great deal of time every day creating virtual quilts using Electric Quilt. However, I decided I needed to spend a little bit of time away from quilting to explore expressing my creativity in a new medium.

So, this last year I have taken up card making.  I am finding that card making allows me to play with different colors and textures.  Some of the same things I love about quilting.

I have become hooked on Stampin Up and have watched a ton of You Tube videos where demonstrators share various techniques to create works of art in their cards.  I've purchased a fair number of stamps and the entire collection of current ink pads (because who wants to be missing a crucial color in the midst of card design).  

I was so excited when I discovered that Stampin Up offers kits -- which they call Paper Pumpkin.

What is Paper Pumpkin?
Picture
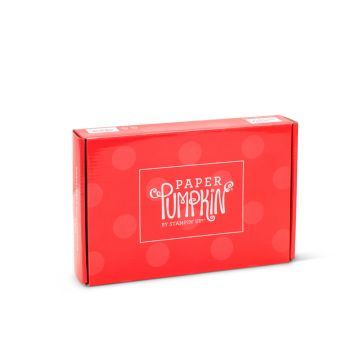
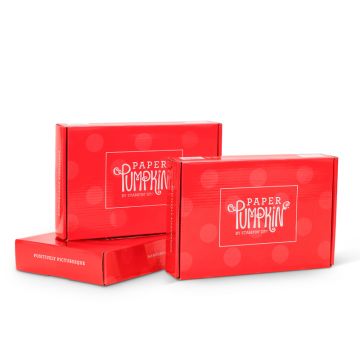
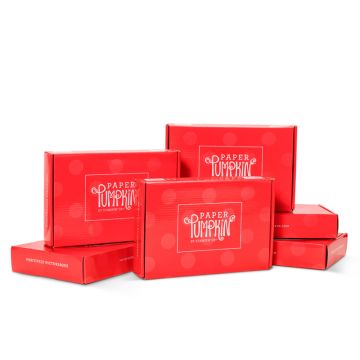
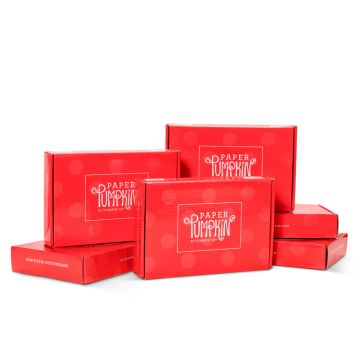
Paper Pumpkin is a monthly kit that includes all the supplies necessary to create a series of cards around a different theme each month. 

​Just like in quilting I found it easy to feel overwhelmed by some of the projects I found on YouTube.  Paper Pumpkin solved that overwhelm, because 
everything you need for your project is included in your monthly art box. All you have to do is open it up and get started. You’ll be able to make cards, treat bags, and so much more from this monthly subscription.  It even includes the envelopes for mailing your cards.

Among the items in each Paper Pumpkin monthly craft kit is a set of reusable rubber stamps. So after you’re done creating your monthly craft, you’ll have a valuable stamp to add to your collection. You even get a free clear stamping block with your first craft box. Plus, you get a different color small ink pad every month as well.

January 2022 Kit - Kisses and Hugs
Picture
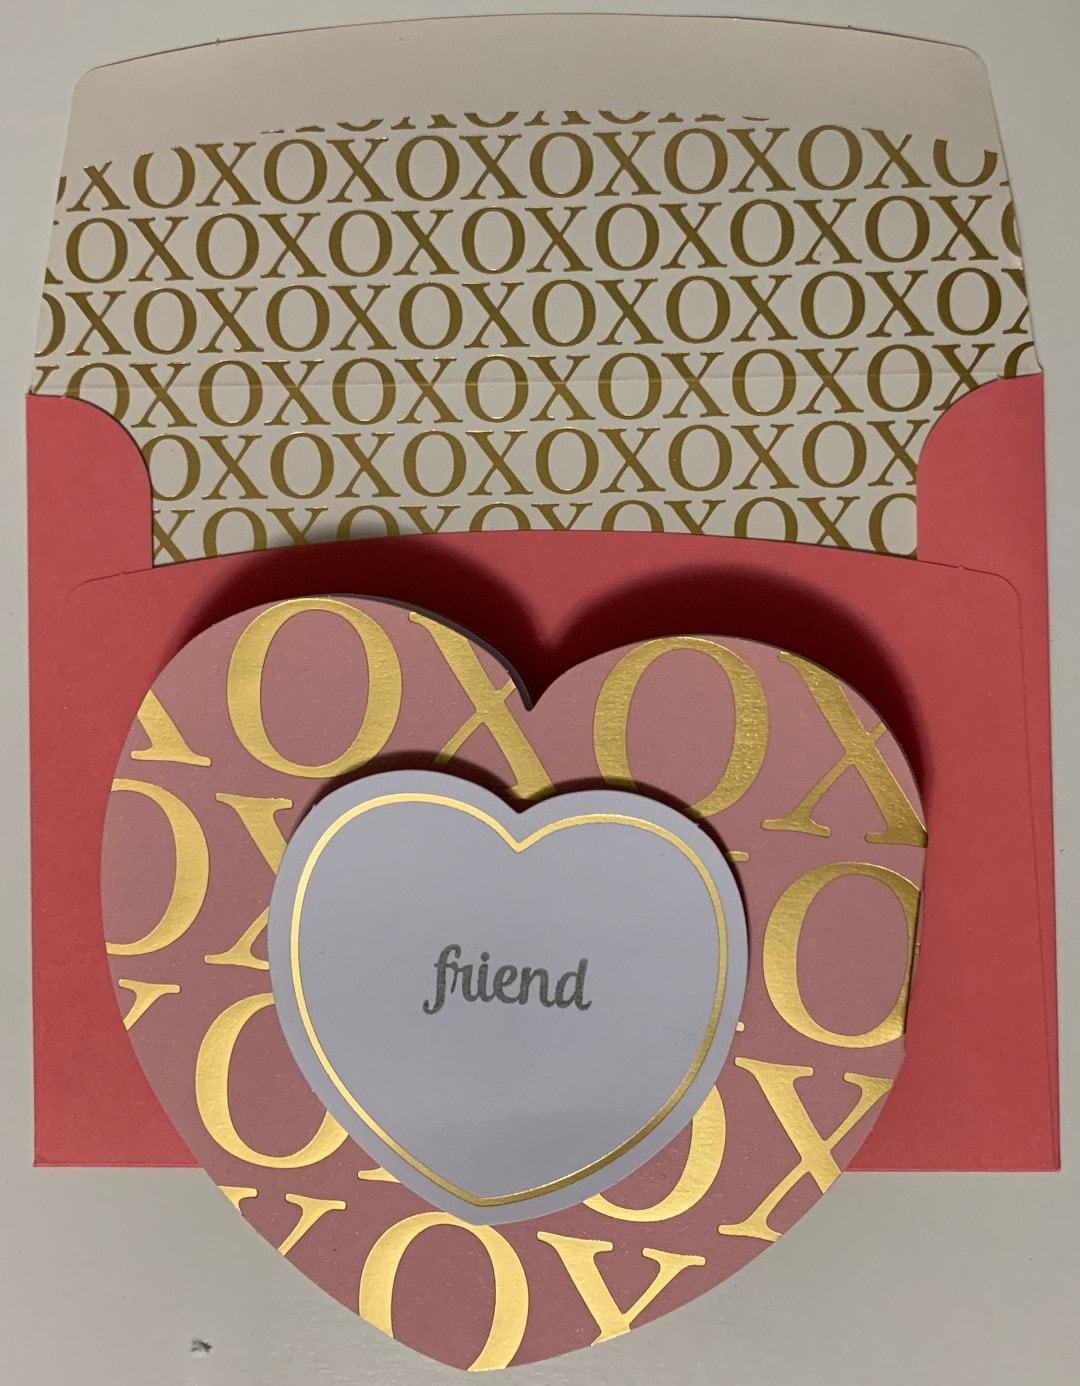
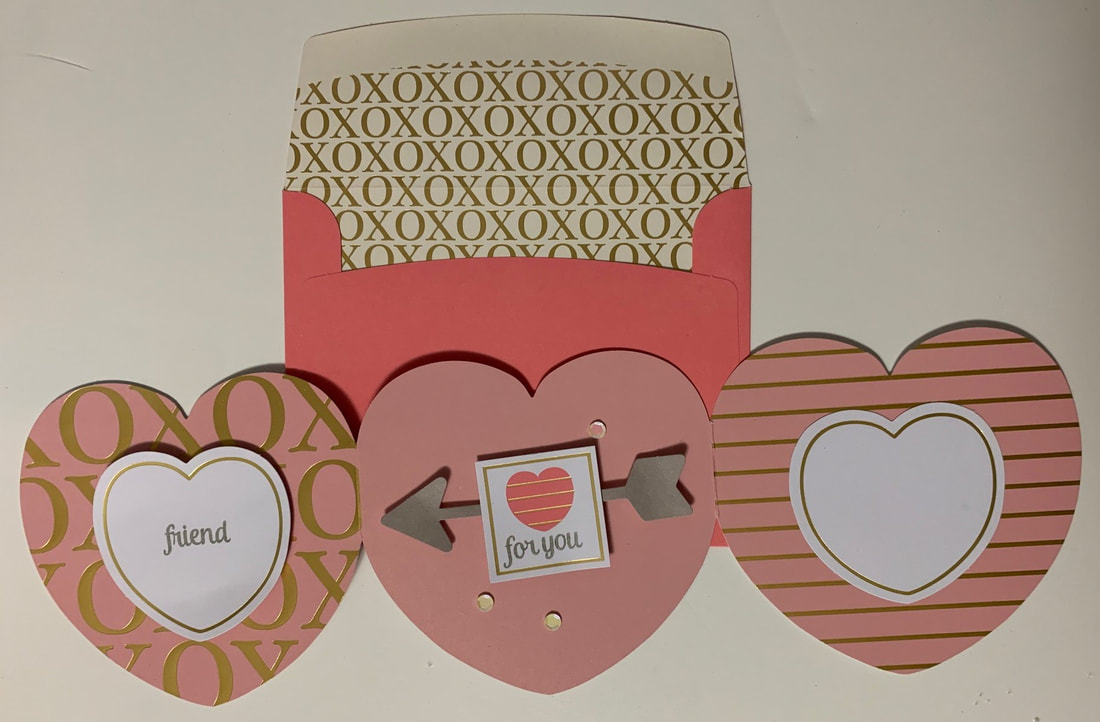
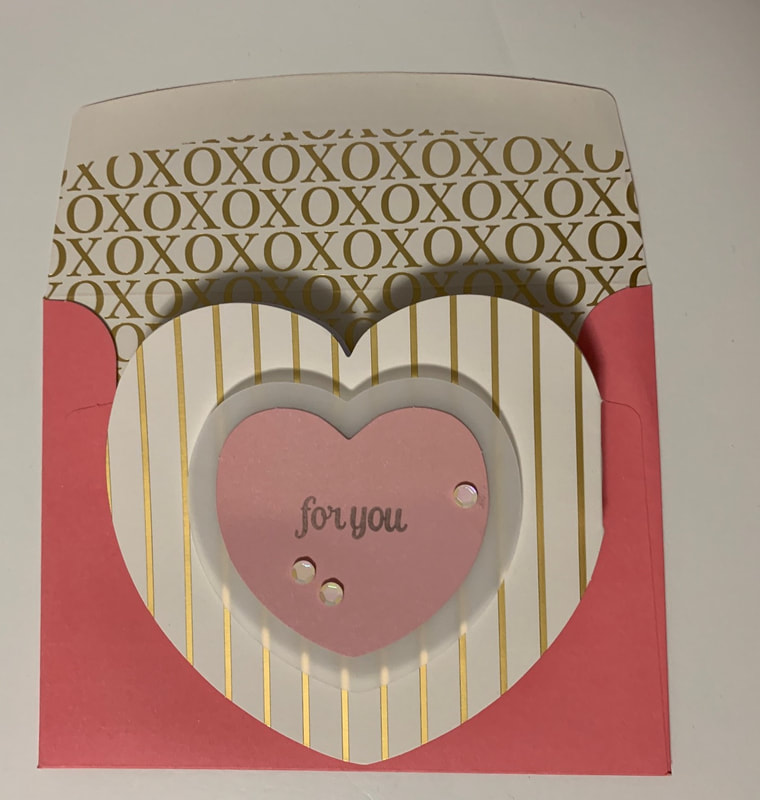
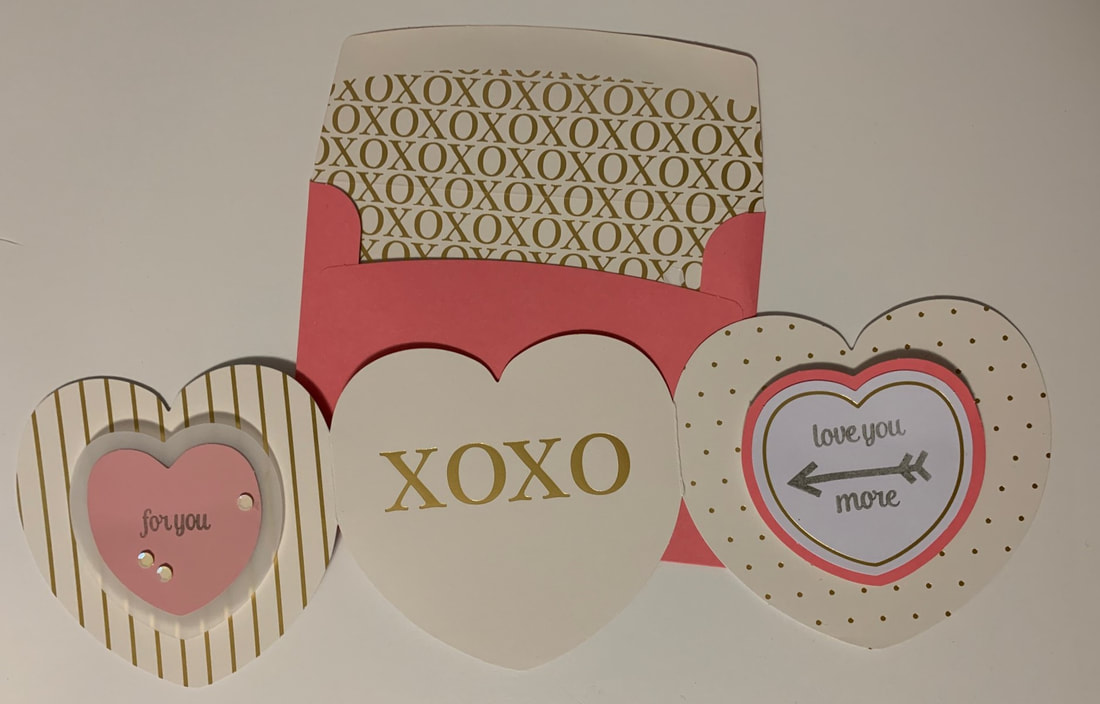
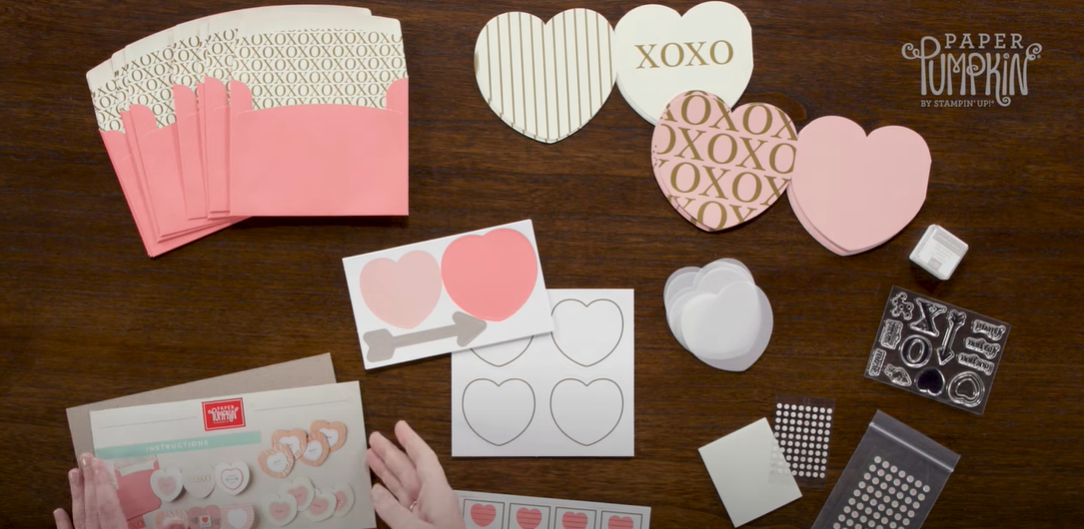
The January kit was Kisses and Hugs.  The Kisses & Hugs Paper Pumpkin Kit contained trifold heart-shaped cards.  The printed gold foil designs added a timeless touch to these cards that you could use year-round as this kit isn’t bound to just Valentine’s Day—it works for all love occasions like anniversaries, weddings, birthdays, or those “just because” days.

I made one of each of the cards following the instructions in the kit.  (There were enough supplies to make 5 of each.)

Picture
Option 1: Card Front with Envelope
Picture
Option 1: Opened Card
Picture
Option2 Card front with envelope
Picture
Option 2: Opened Card
These were beautiful, but I really wanted to see what else I could design with the remaining supplies from the kit. 

To add to the kit, I decided to draft a series of hearts in Electric Quilt 8.  And then transferred the designs to Cricut Design Space to save time cutting everything out.  My free video this week will take you through the process of drafting a group of hearts using Electric Quilt 8 along with the transfer process.  Bonus --  there are two options for transferring the designs.
 No Electronic Cutting System:  If you don't have an electronic cutting system (Cricut, Silhouette, or Brother Scan and Cut), you could still print out your hearts created in Electric Quilt on cardstock.  Just color everything white in Electric Quilt 8 before printing.  And you will want to turn on outline patches.  Then use your favorite paper snips to cut the designs (never use those fabric scissors for this). :)​

Inkscape

The extra piece of software I used for creating the SVGs is Inkscape.  Inkscape is a professional vector graphics editor for Windows, Mac OS X and Linux. It's free and open source. 

Inkscape can seem overwhelming to use when you open it for the first time. However you only need to use a couple of tools within Inkscape -- so this really is a piece of cake. You can download Inkscape here.

Inkscape will allow you to create an SVG file which may be used in any electronic cutting system (Cricut Design Space, Silhouette Studio, or Brother Canvas Workspace).

So what is an SVG file?  An SVG file is a graphics file that uses a two-dimensional vector graphic format.  Unlike raster formats such as JPG, GIF, and PNG, an SVG image remains crisp and clear at any resolution or size.

My Paper Pumpkin Alternative Cards

The first two alternatives primarily used supplies from the kit.  The only items added were card stock and ribbon.
Picture
Picture
The background paper came from the wrong side of the included envelope.
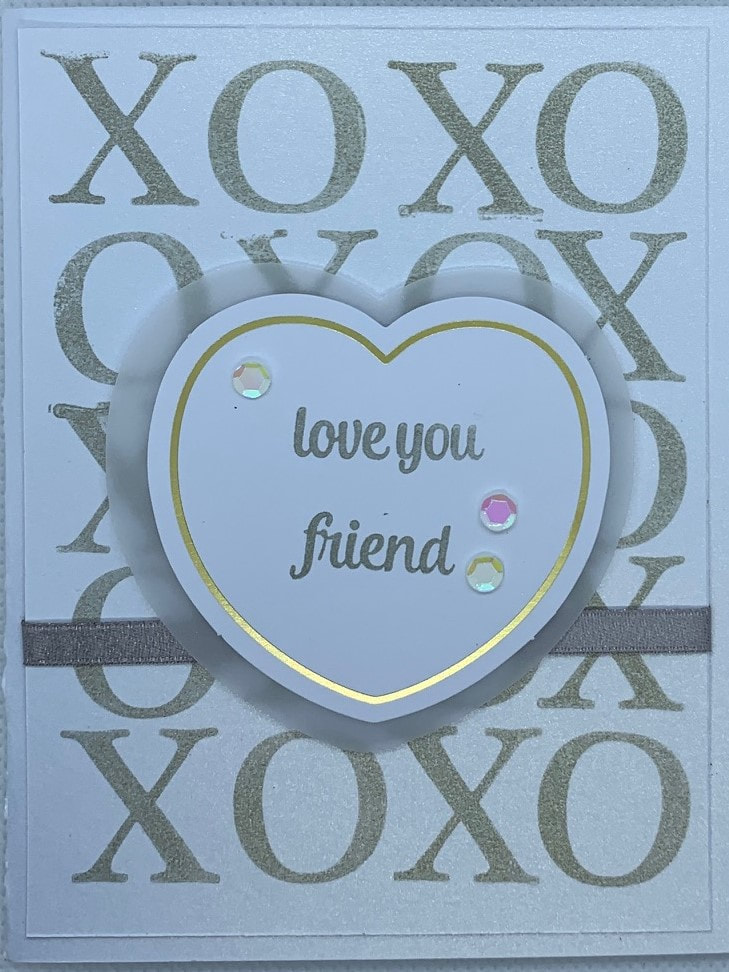
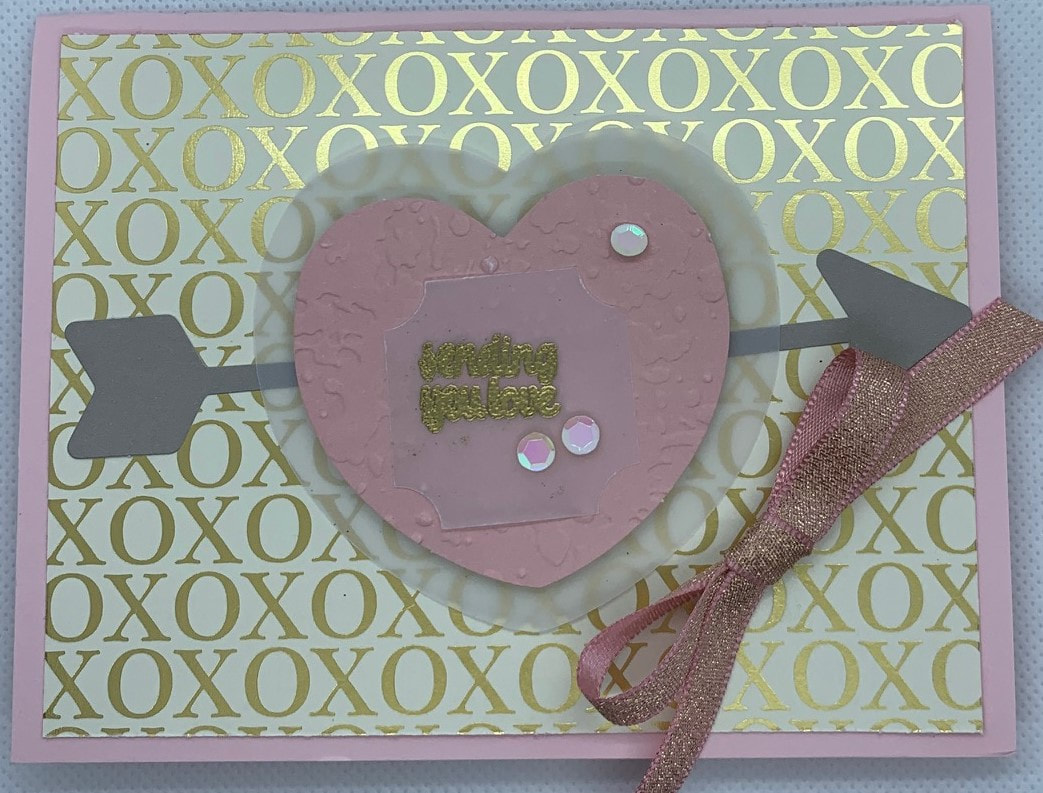
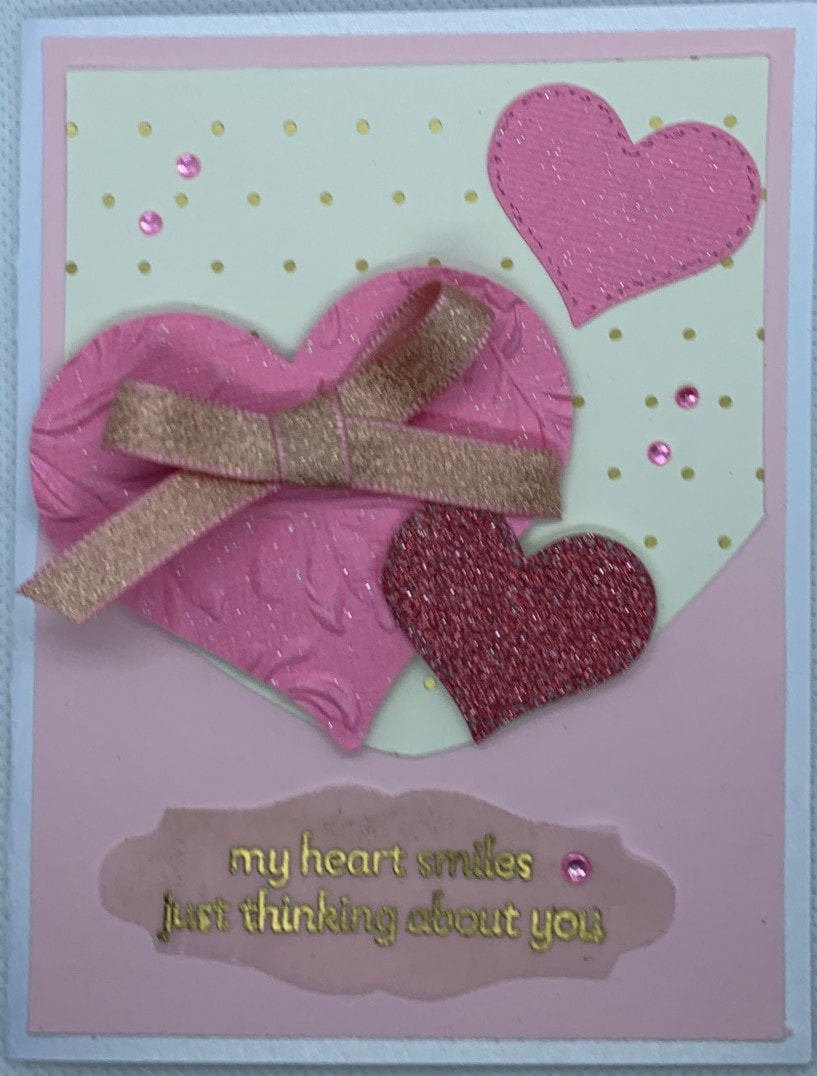
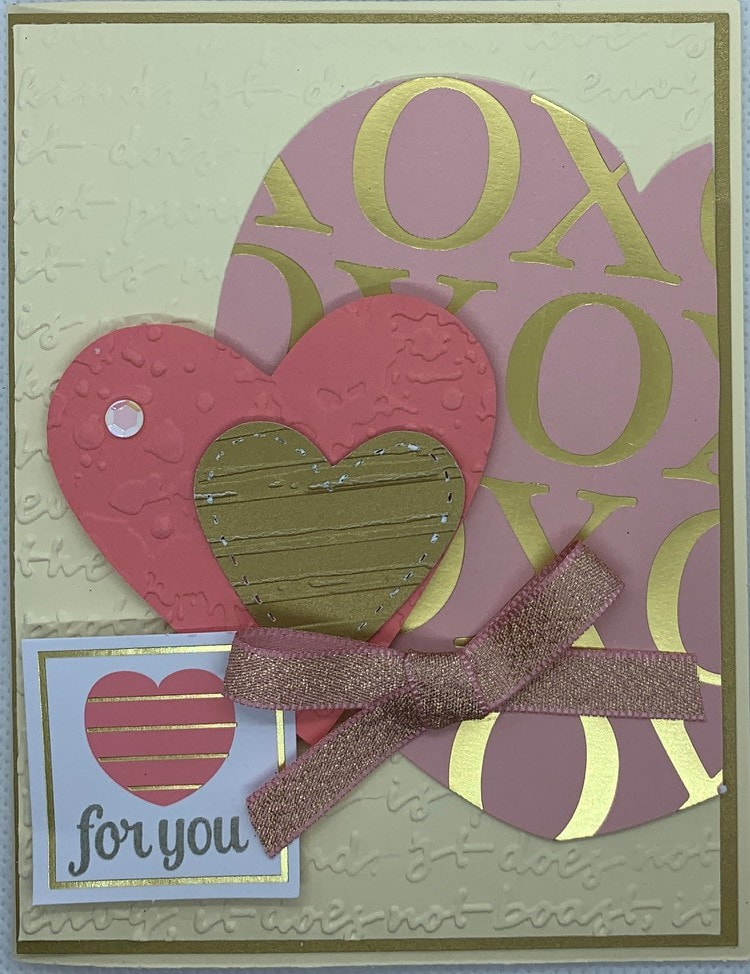
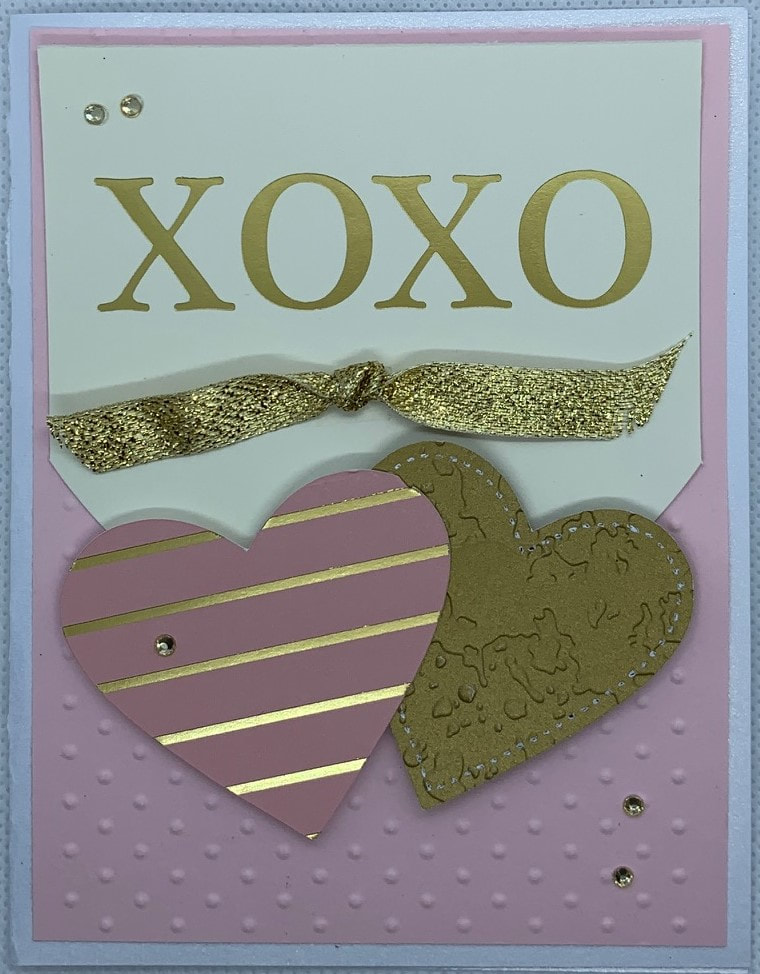
The remaining cards used some pieces from the kit -- but I added some of the Electric Quilt designed hearts (cut out in a variety of cardstock).  I also had some fun with both heat embossing (the sentiments) and dry embossing (the added texture to the paper).  Notice that I even cut some of the EQ hearts from some of the card stock in the kit.
Picture
Picture
Picture
Picture
Picture
I still have a lot of extra supplies from the January kit.  I will be doing some additional playing this week before mailing off my Valentine day cards.

Paper Pumpkin

If you would like to start card making, I suggest starting with Paper Pumpkin.   You don't need to think through a huge list of supply options to figure out what you need first.  Everything you need to get started will be in your box.  Subscribe by the 10th of any month to receive that month's kit.  The first box will even include a mounting block that will work with all the stamps.  

Stampin' Up offers both monthly subscriptions and prepaid subscriptions.  In both situations, you can pick the months you want to participate.  It is super easy to opt out of a month that doesn't interest you.

Stampin' Up prices for Paper Pumpkin will be going up on March 1st.  As a result the prepaid subscription is a great value.  Essentially you are pre-buying a number of boxes at the current price.  Then you can decide which months to apply them to.   Click on the links below to purchase any prepaid subscription.  The prepaid subscriptions are non-renewing unless you elect to renew.
Picture
1 Month Prepaid Subscription for $21
Picture
Prepaid 3-Month Paper Pumpkin Subscription for $63
Picture
Prepaid 6-Month Paper Pumpkin Subscription for $114
Picture
Prepaid 12-month Paper Pumpkin Subscription for $220
You may also make any other purchases of Stampin Up products while you are on the Stampin' Up website.  If you purchase Stampin Up product using my host code during February 2022, you are eligible for a special thank you gift from me, plus purchasing bonuses from Stampin Up.

Kari's Thank You Gift

Picture
Being a quilter, I really love the look of stitched lines around a shape.  It could be one of the heart shapes from today's tutorial.  Or a square, rectangle or even oval shape for stamping a sentiment.  Learn my process for adding those stitched lines to your shapes with an exclusive tutorial for those purchasing with Host Code  W7FGRTYW.  You must use the host code when checking out with Stampin' Up to be eligible for the bonus. 

Tutorial will be sent to you the first week in March.

Bonuses from Stampin' Up
As an added bonus, Stampin' Up is in the midst of Sale-a-bration.  Sale-a-bration allows you to earn free product for every $50 spent.   This includes the purchases of any of the prepaid subscriptions referred to above.

After placing your order, you will be prompted to select an item (or items) from their Sale-a-bration catalogue.
Picture
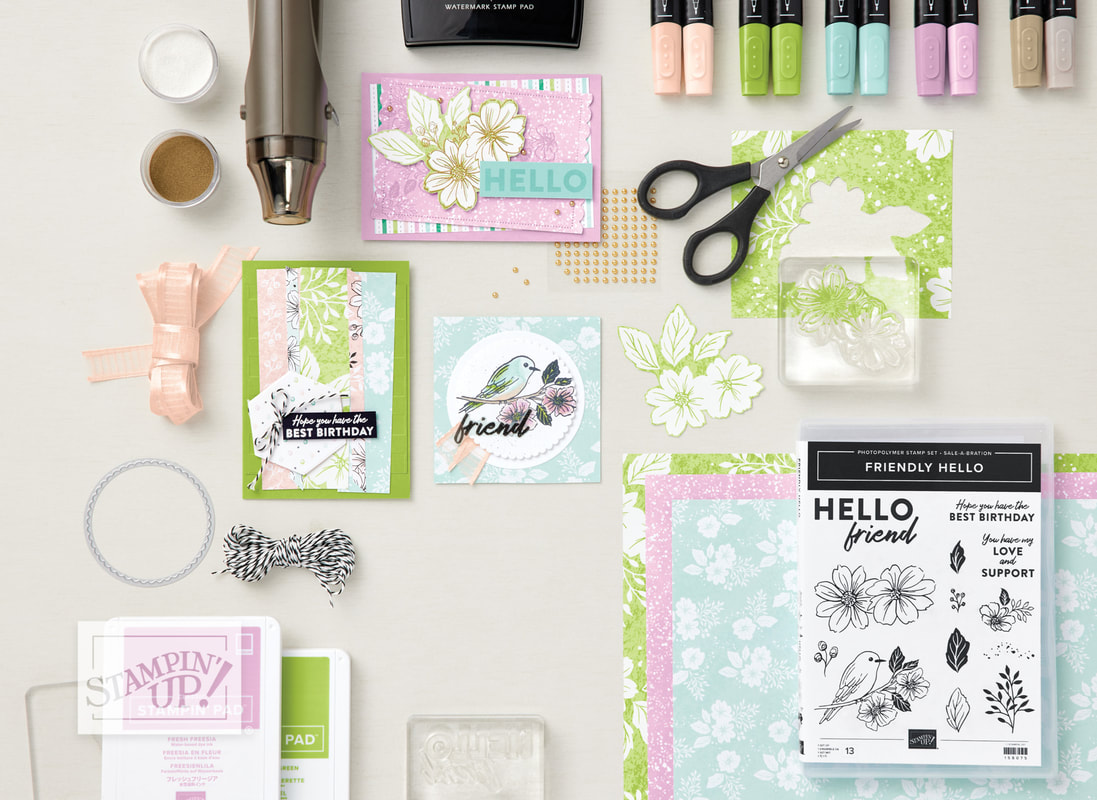
​My favorite Sale a-bration freebie is the Friendly Hello stamp set and  paper combo -- available for orders of $100 or more.

You can see a few of my cards from this set below.
Picture
Sale-a-bration Friendly Hello Stamps and Paper
Picture
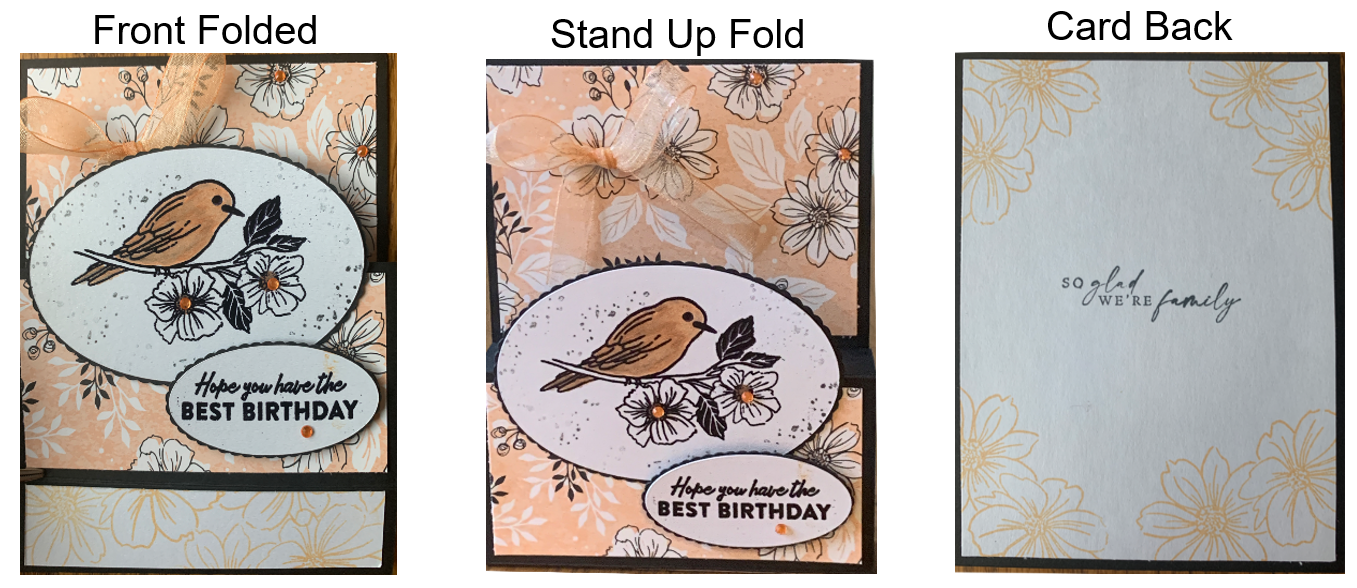
My first card from this set was a "fun fold". It folds up to 5-1/2 x 4-1/4 (standard card size). The bottom section folds down, which means the card can stand up for display purposes. The bird was colored with alcohol markers. The personal sentiment goes on the back. Inspiration was a tutorial by Cindy Brumbaugh.
Picture
These cards were stamped on vellum and heat embossed with black embossing powder. The stamped bird and flower were painted with Whisper White craft ink on the back side of the vellum. Inspiration was a tutorial by Cheri Stojkovich.

'Stampin' Up Check Out Process

This quick video will walk you through the check out process.  Make sure to enter the host cost ​W7FGRTYW when checking out.  This will ensure you are eligible for the free Inkscape tutorial on adding stitching lines.  This will also explain how to add your Sale-a-bration rewards to your order.
Please feel free to send me an email with any questions on your Stampin' Up order.  I can be reached at Kari.Schell@onpointquilter.com

If you use Electric Quilt to design either the hearts (or another image) for cardmaking, I would love to see your designs or cards.  Feel free to post in the Learning EQ Facebook group using this link.
Picture
Happy quilting.

​Kari

Join the On Point Quilter weekly newsletter and receive regular tips and inspiration on using Electric Quilt 8 along with the  Free 12 Top
Tips for EQ8 video guide.
Picture
    Picture
    Picture
    Picture
    Free guide available for newsletter subscribers
    Picture
    Picture
    Picture

    Kari Schell

    Electric Quilt Expert and Educator and Pattern Designer.

    Categories

    All
    Art And Stitch
    Cricut Maker
    Dear Jane
    Electric Quilt 7
    Electric Quilt 8
    Goose Goose Duck Challenge
    Inkscape
    Longarm Quilting
    Patterns
    Silhouette Cameo
    Stampin Up
    Summer Games
    Tips And Techniques
    Tools And Rulers

    Archives

    March 2023
    February 2023
    January 2023
    December 2022
    November 2022
    October 2022
    September 2022
    August 2022
    July 2022
    June 2022
    May 2022
    April 2022
    March 2022
    February 2022
    January 2022
    December 2021
    November 2021
    October 2021
    September 2021
    August 2021
    July 2021
    June 2021
    May 2021
    April 2021
    March 2021
    February 2021
    January 2021
    December 2020
    November 2020
    October 2020
    September 2020
    August 2020
    July 2020
    June 2020
    May 2020
    April 2020
    March 2020
    February 2020
    January 2020
    December 2019
    November 2019
    October 2019
    September 2019
    August 2019
    July 2019
    June 2019
    May 2019
    April 2019
    March 2019
    February 2019
    January 2019
    December 2018
    November 2018
    October 2018
    September 2018
    August 2018
    July 2018
    June 2018
    May 2018
    April 2018
    March 2018
    February 2018
    January 2018
    December 2017
    November 2017
    October 2017
    September 2017
    August 2017
    July 2017
    June 2017
    May 2017
    April 2017
    March 2017
    February 2017
    January 2017
    December 2016
    November 2016
    October 2016
    September 2016
    August 2016
    July 2016
    June 2016
    May 2016
    April 2016
    March 2016
    February 2016
    January 2016
    December 2015
    November 2015
    October 2015
    September 2015
    August 2015
    July 2015
    June 2015
    May 2015
    April 2015
    March 2015
    February 2015
    January 2015
    December 2014
    November 2014
    October 2014
    September 2014
    July 2014
    June 2014
    May 2014
    April 2014
    March 2014
    February 2014
    January 2014
    December 2013
    November 2013
    October 2013
    September 2013
    August 2013

    RSS Feed

Contact:
On Point Quilter
e-mail:  onpointquilter@comcast.net
phone:  763-566-6536

GET MY NEWSLETTER FOR REGULAR EQ AWESOMENESS!

* indicates required
  • Blog
  • About
  • EQ Training
    • Tech Know Quilters Electric Quilt 8 Membership Training
    • Shoot for the Stars with EQ8
    • Electric Quilt 8 Sneak Peek
    • Scheduling a Workshop or Lecture
  • Store
  • Card Making
  • Contact
  • Free Stuff
    • Other Video Tutorials