|
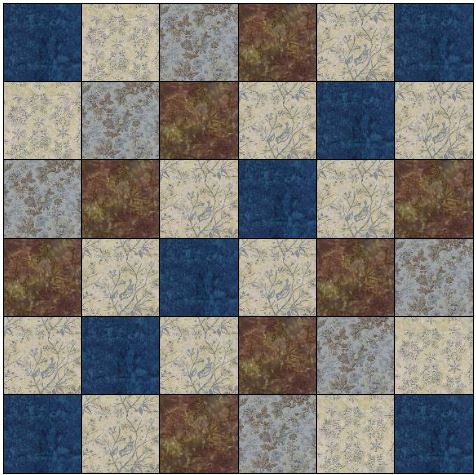
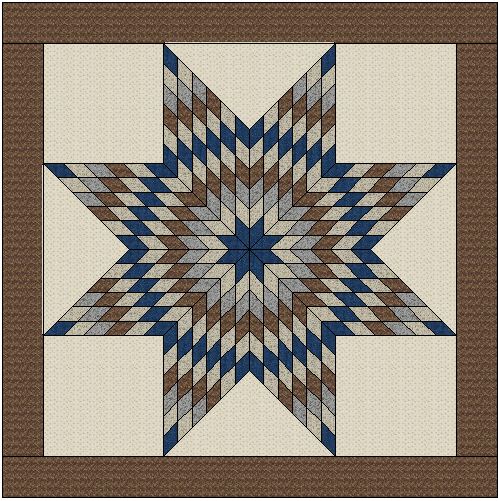
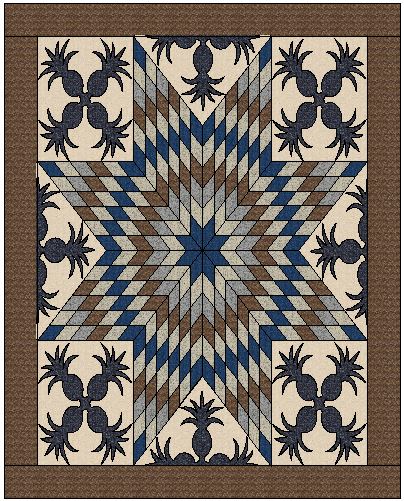
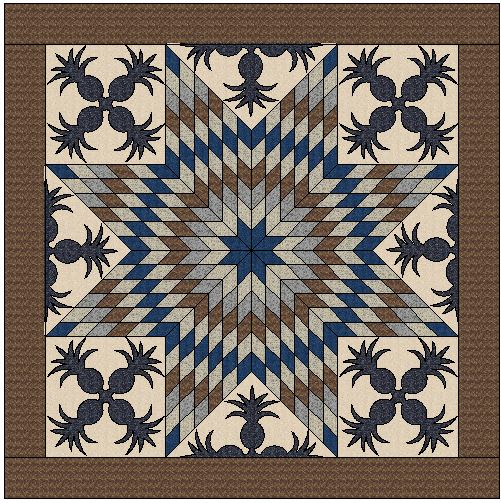
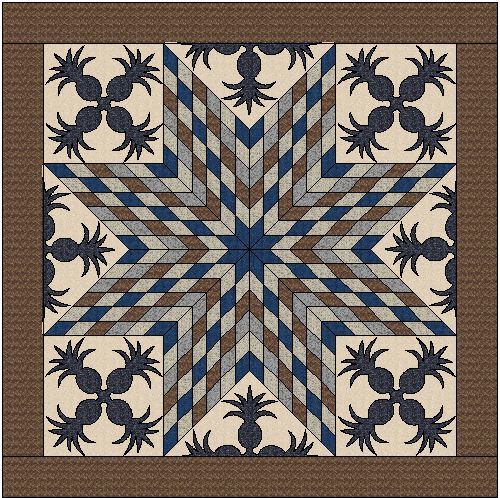
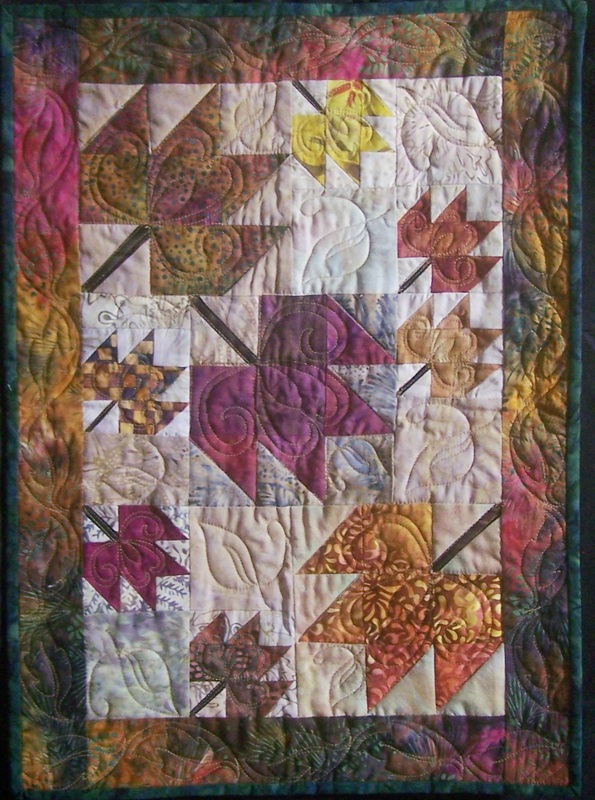
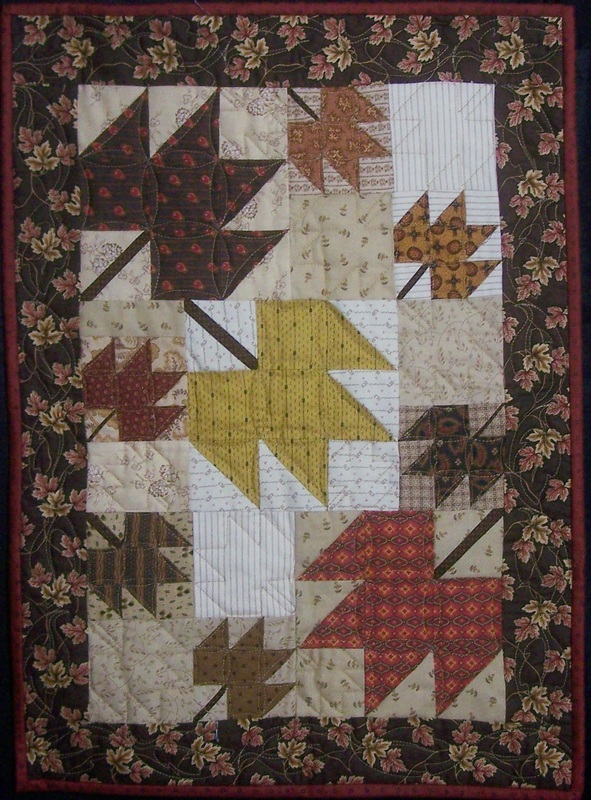
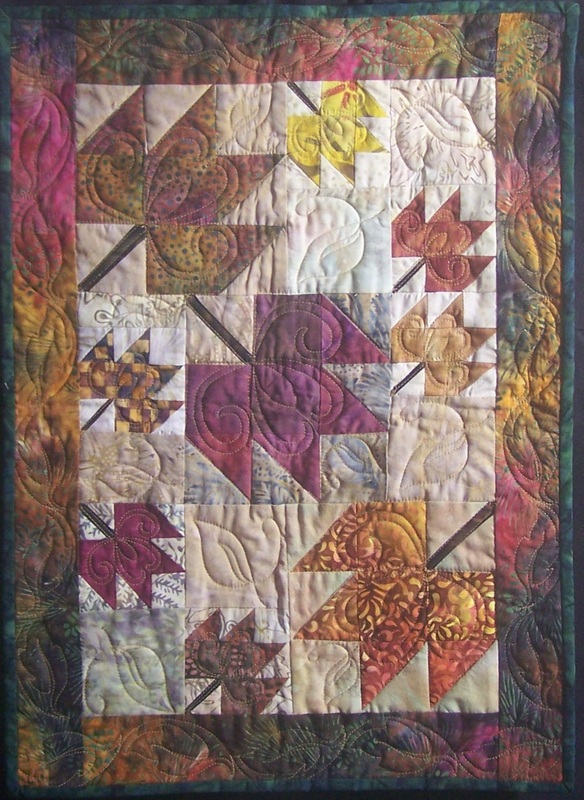
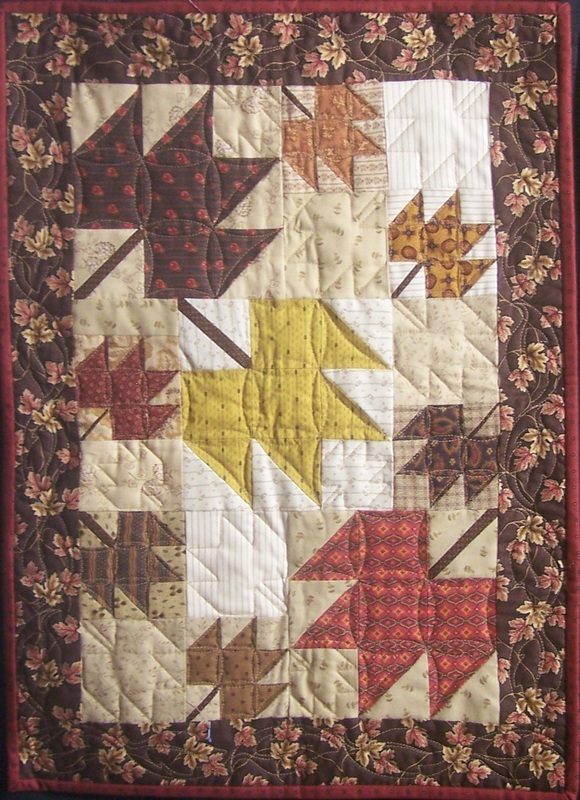
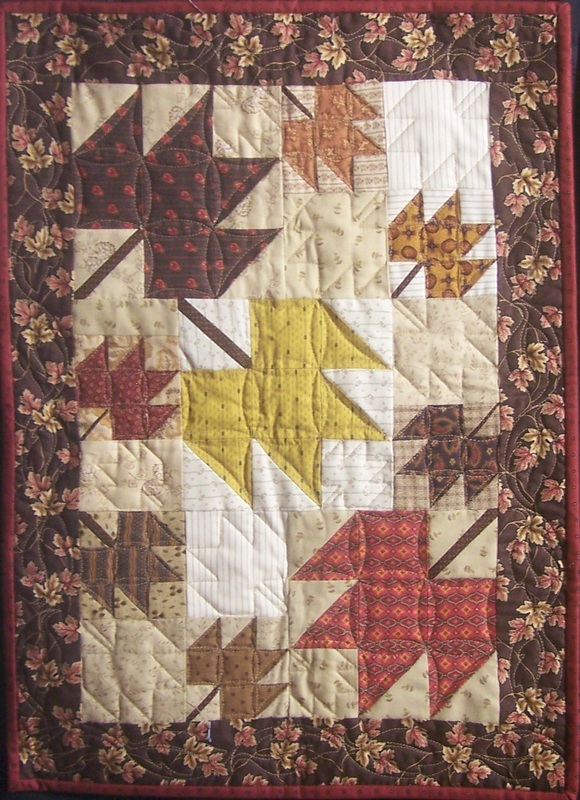
This last week I have been immersed in preparing for the Minnesota Quilt Show. It is two weeks away and I've been updating my handouts and files that I share with my students. As I was doing so, I started playing with one of the layout options in the Electric Quilt library. Using this layout and a simple 6 x 6 block I was able to create a very quick lonestar quilt. This would be very easy to modify for any size grid. It just depends on how many rings you want in your lonestar. The fabrics are a new line from Moda called Snowbirds. They were designed by Laundry Basket Quilts. I'm not sure if they are even in the quilt stores yet -- but it looks like a fabulous collection. Here are the design options I came up with -- all using the same 6 x 6 block. For the applique I decided to use a block I am teaching in my Patch Draw class in St. Cloud. Do you want to know how I drafted all of this in eight minutes? Check out the video tutorial below. Sign up for my newsletter to stay current on what's happening in my studio and learn more quilting tips. As a thank you, I'll send you a FREE pattern for this small maple leaf quilt.
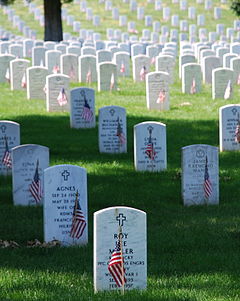
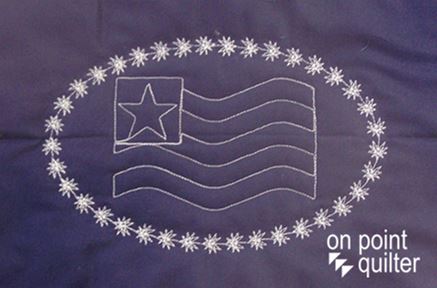
Memorial Day is a US federal holiday to remember the men and women who died while serving in the Armed Forces. When I was growing up, we always would walk over to the cemetery where we would observe the annual ceremony. There were always flowers and flags adorning many of the grave sites. In later years, I would often pick my Uncle up and travel with him to Minot. We would typically stop at my Grandparent's home town where we would put flowers on their graves. How do you remember observing Memorial Day? This year I am staying put. I need to get my handouts and class outlines cemented for the MN Quilt show. I am excited to be teaching four full days of classes -- and I want to make sure I am fully prepared. I decided I still needed to do something to honor Memorial Day. So I decided I would do a flag quilting design. Here is my stitched out version. Click on the photo for a pdf of the pattern. For those that use Art and Stitch, i also have a video tutorial on how I drafted the pattern. You can also see how the pattern can be stitched out with only two starts and stops. I have a new piecing pattern in the works and hope to be releasing it soon. A couple of members of my quilting guild have offered to pattern test it for me this weekend -- so stay tuned. Happy Memorial Day and Happy Quilting. Kari Sign up for my newsletter to stay current on what's happening in my studio and learn more quilting tips. As a thank you, I'll send you a FREE pattern for this small maple leaf quilt.
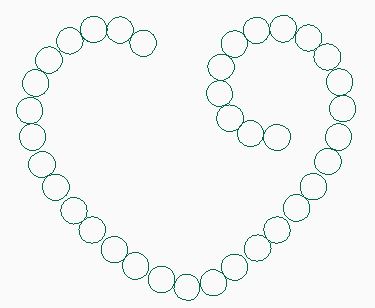
Have you been seeing some of those quilting designs that incorporate a strand of pearls? I think it adds a bit of elegance to your quilting project. Here is one wreath I designed with Art and Stitch and Intelliquilter. The key in creating the pearls (whether you are doing on your domestic machine or using a computerized system) is going around each circle 1-1/2 times. (Thanks to Helen Baczynski for sharing this tip with the Intelliquilter goup.) Check out my video on how I did this in Art and Stitch. Would you like a pdf of my heart strand design? Happy quilting. Kari Sign up for my newsletter to stay current on what's happening in my studio and learn more quilting tips. As a thank you, I'll send you a FREE pattern for this small maple leaf quilt.
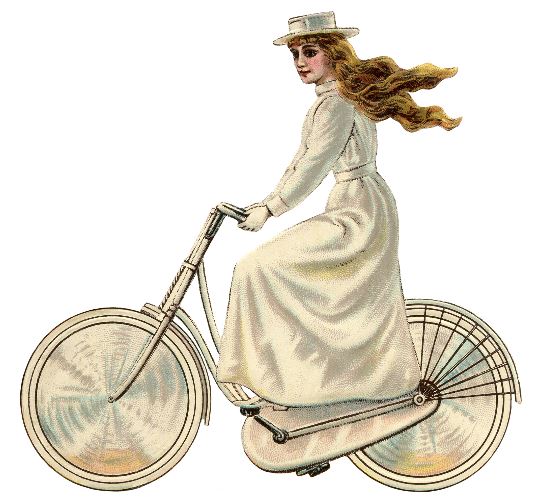
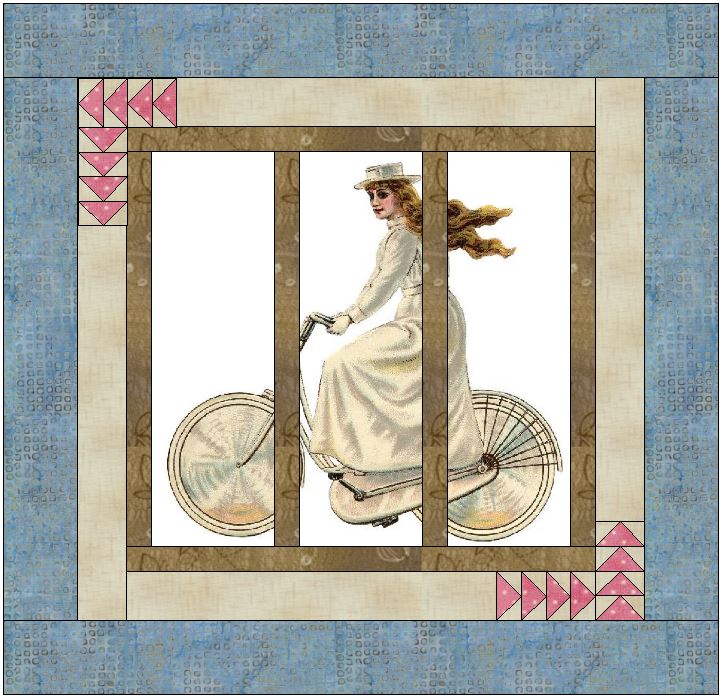
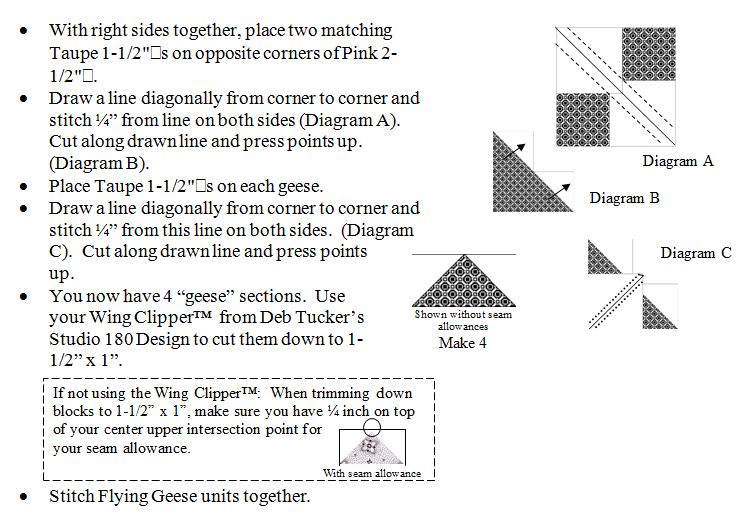
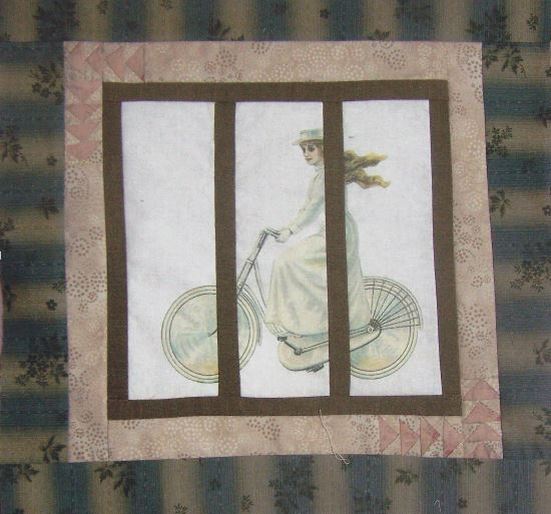
Last week I shared a few photos of quilts that my friend Tana pieced that included a graphic that was printed on fabric. She mentioned to me that she finds many of her graphics at "The Graphics Fairy". So I decided to check it out. Now that we finally have a hint of spring, I've been able to get outside and use my bicycle. Since bicycling was on my brain, I decided it needed to be the subject for my next mini-quilt. A search of "bicycle" revealed this wonderful vintage print. I knew I wanted to incorporate this into a project. So I started by printing this on an 8-1/2" x 11" piece of fabric. I also saved a copy of the image on my computer. The image is actually larger than that, but I just shrunk it so it fit on one sheet of paper. (If you need some help on how to print on fabric you can check out my video -- Secrets to Successfully Printing Words on Fabric). Here is my Electric Quilt Design. Do you want to know how I got this image incorporated into Electric Quilt? Check on this video tutorial. I've also included information on how I drafted the rest of the quilt as well. This is a simple quilt to piece.
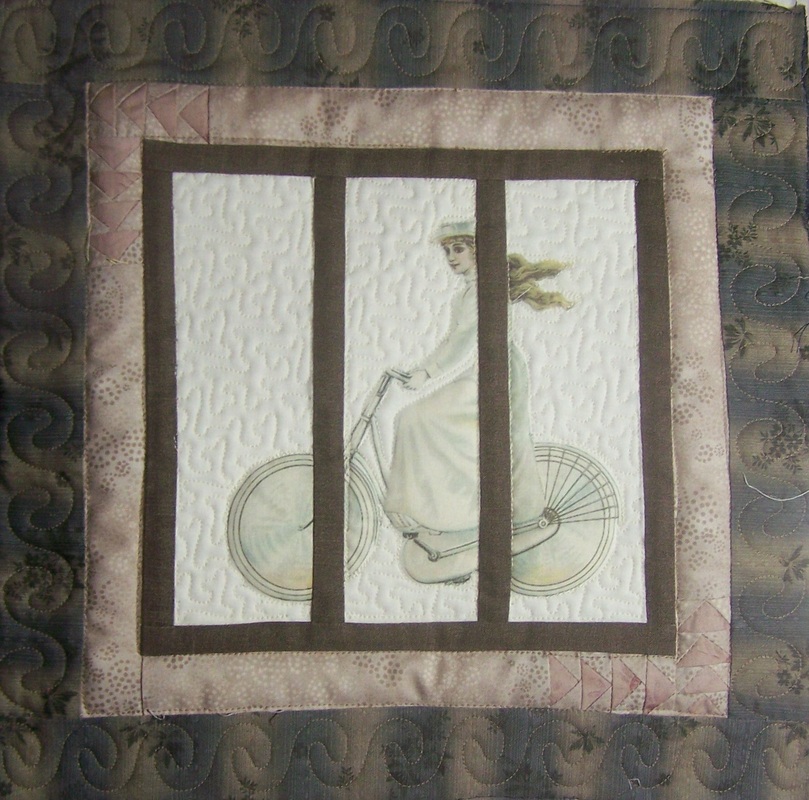
To quilt I did swirls around the outside of the quilt. I stitched in the ditch around the graphic and I filled the background space with "Fracture Fill" -- a pattern within Art and Stitch's Creative Fill library. With my Intelliquilter, I used both No Sew Zones and Clipping blocks for this part. I still need to add binding. Happy Mother's Day -- and Happy Quilting. Kari Sign up for my newsletter to stay current on what's happening in my studio and learn more quilting tips. As a thank you, I'll send you a FREE pattern for this small maple leaf quilt.
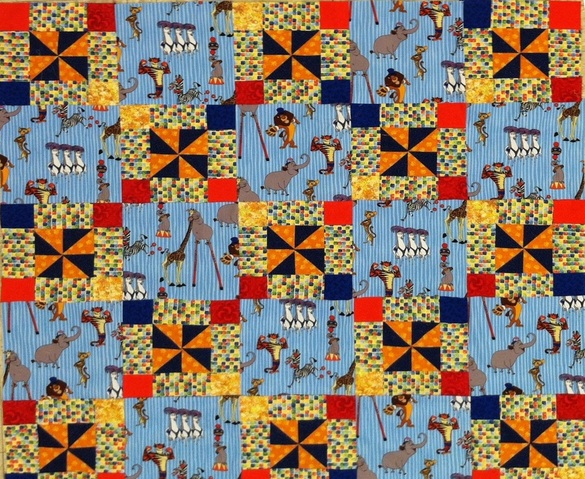
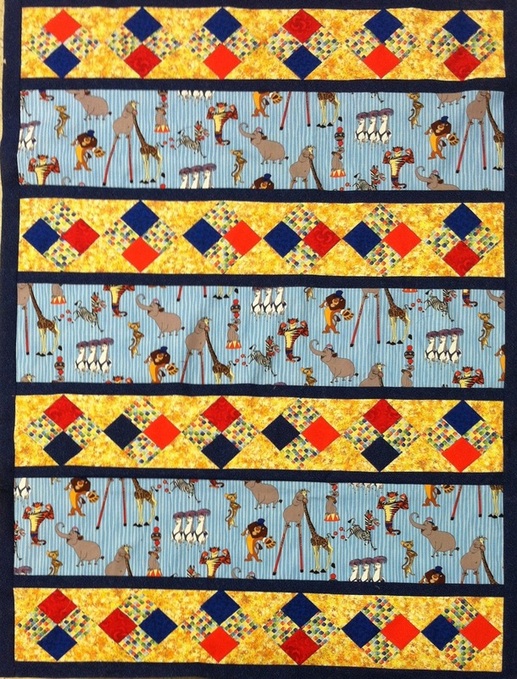
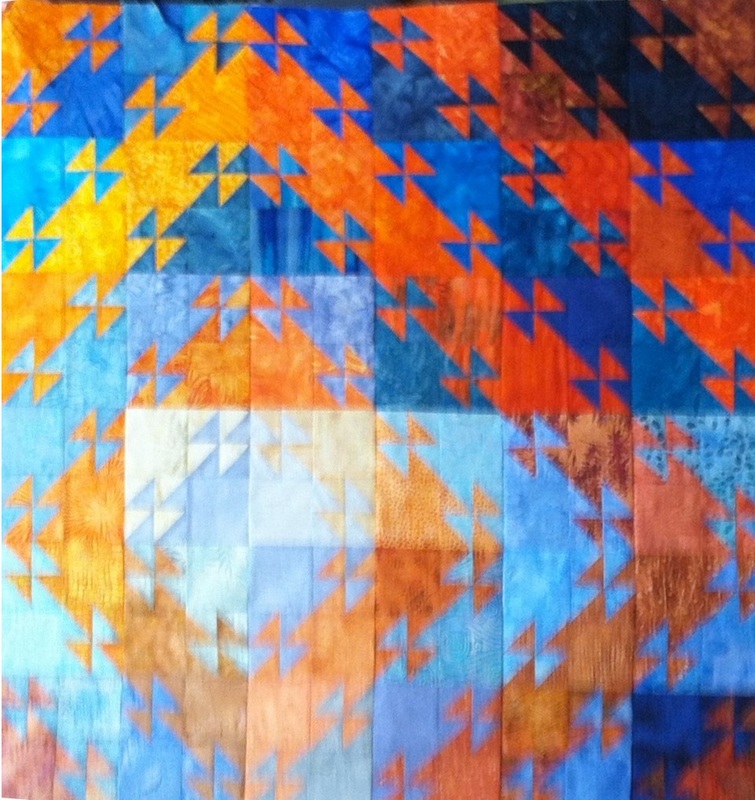
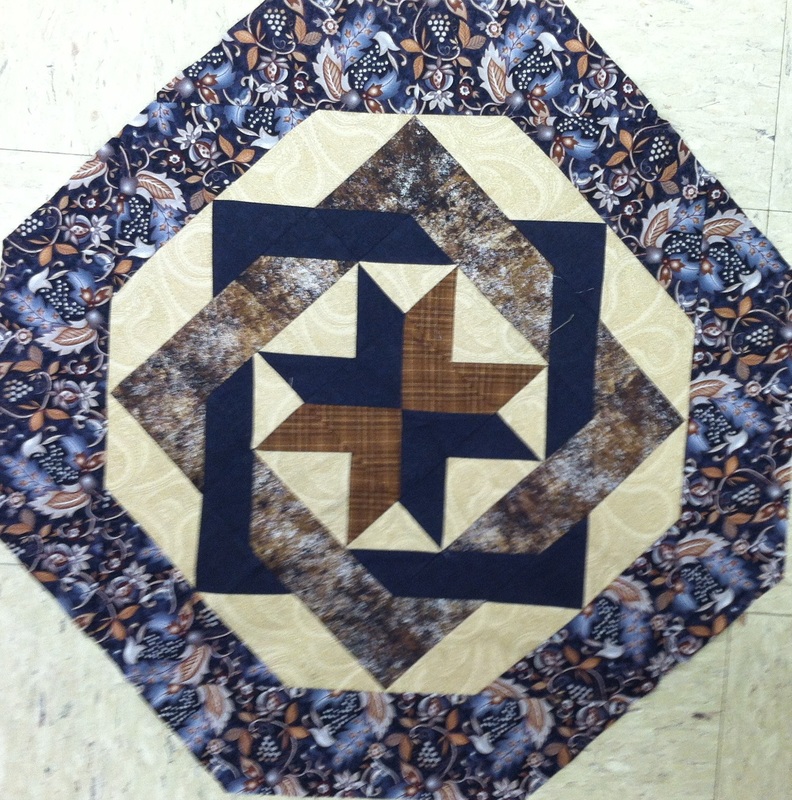
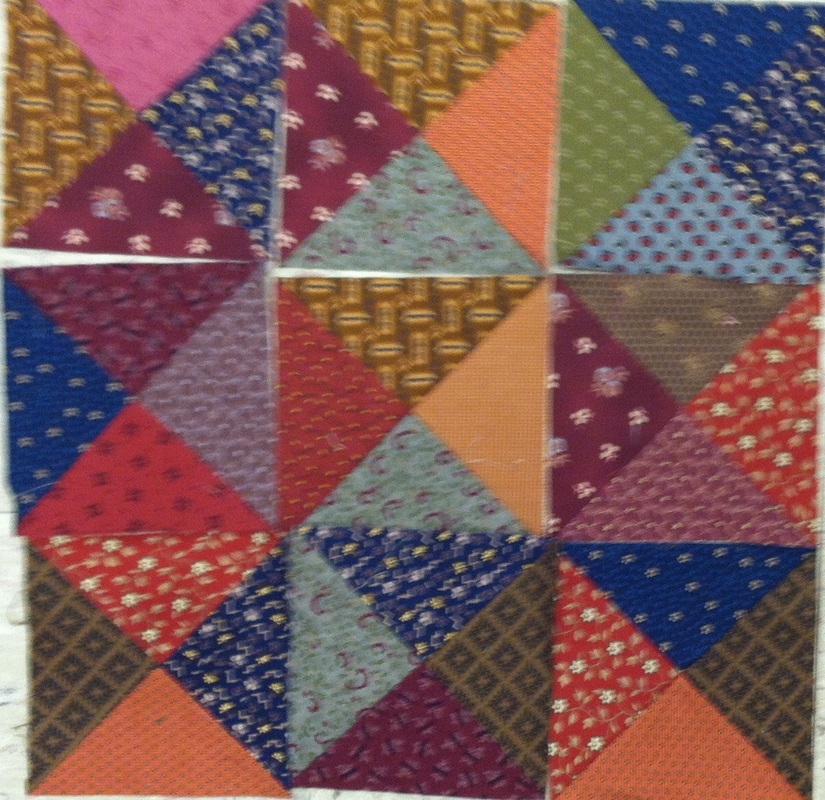
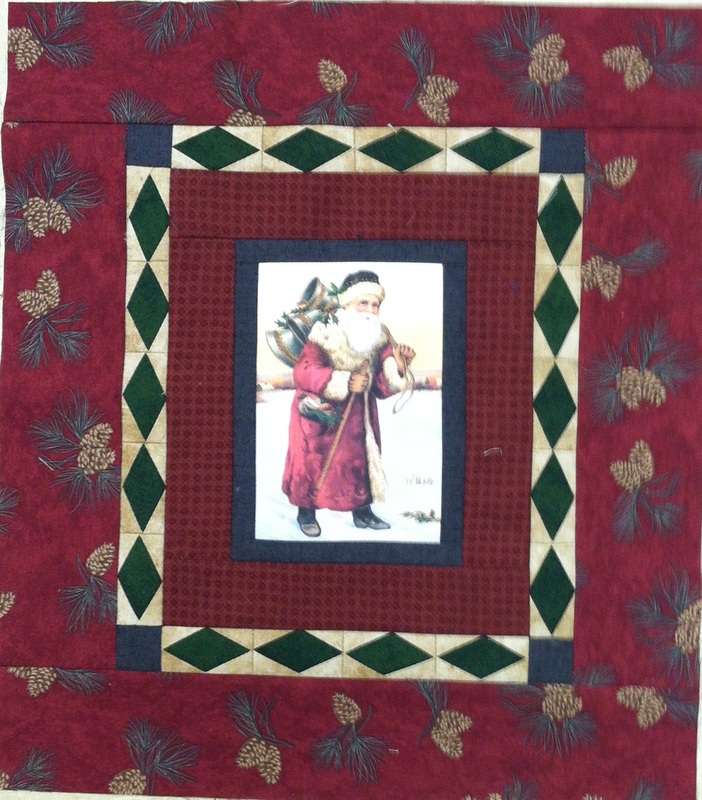
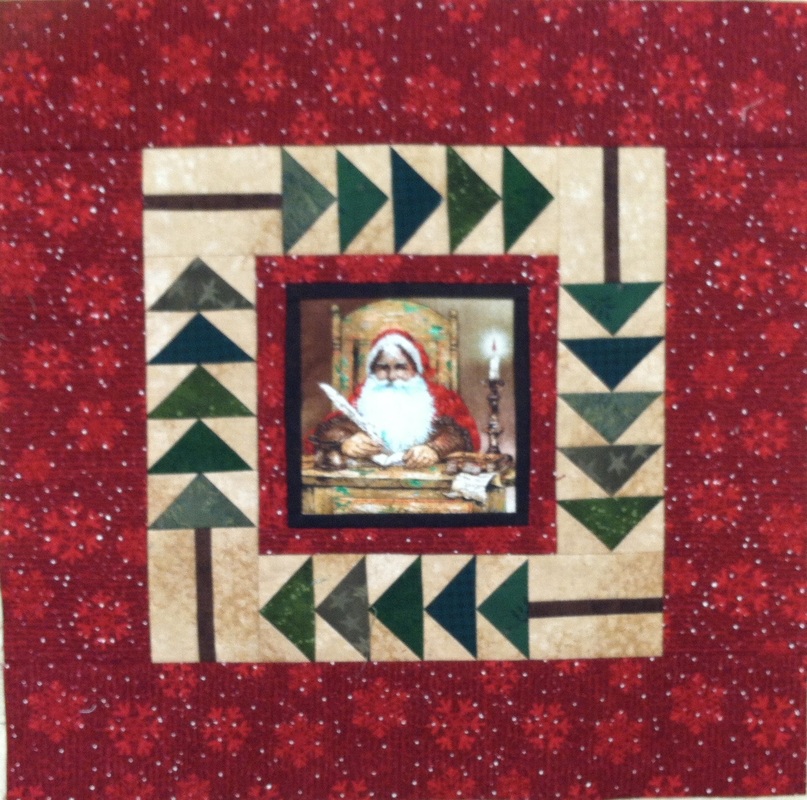
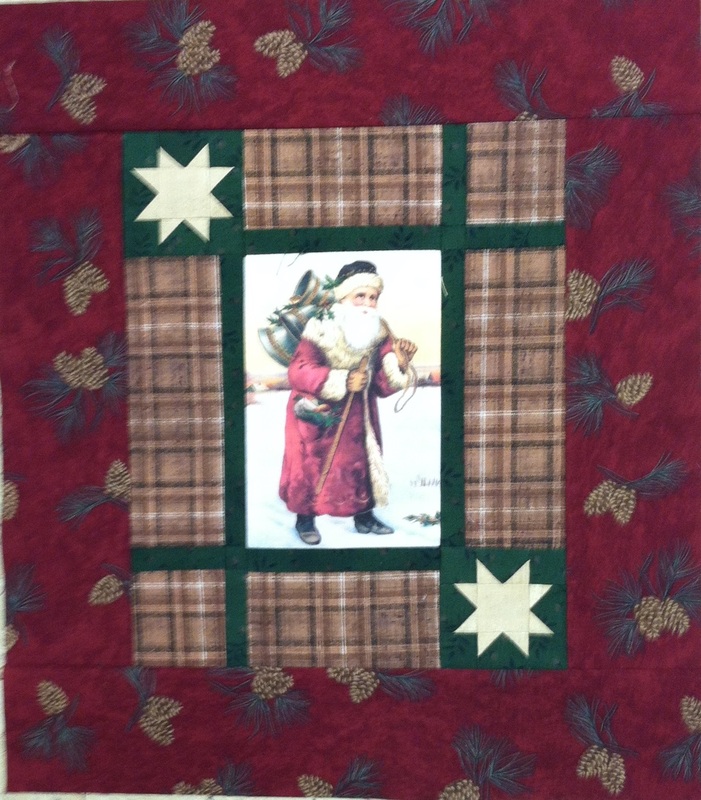
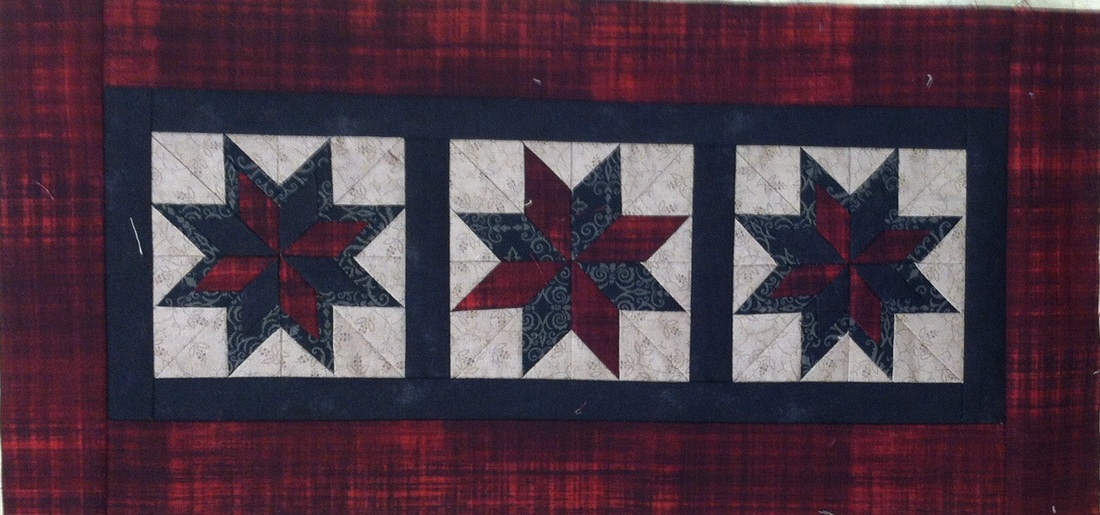
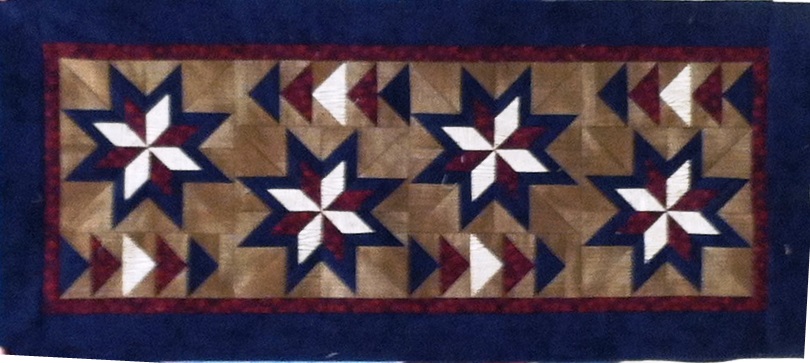
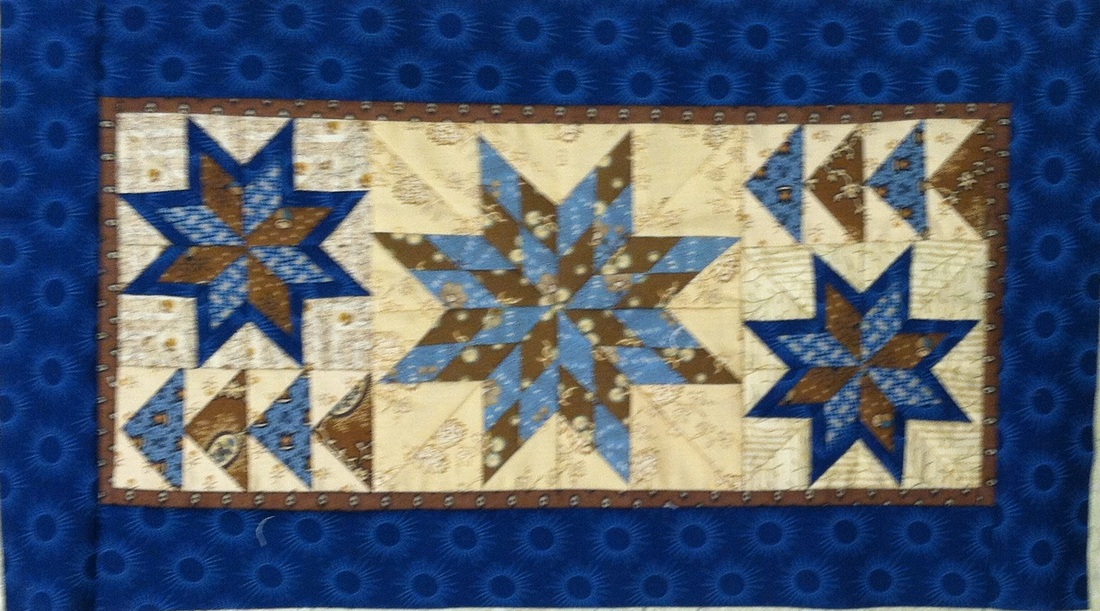
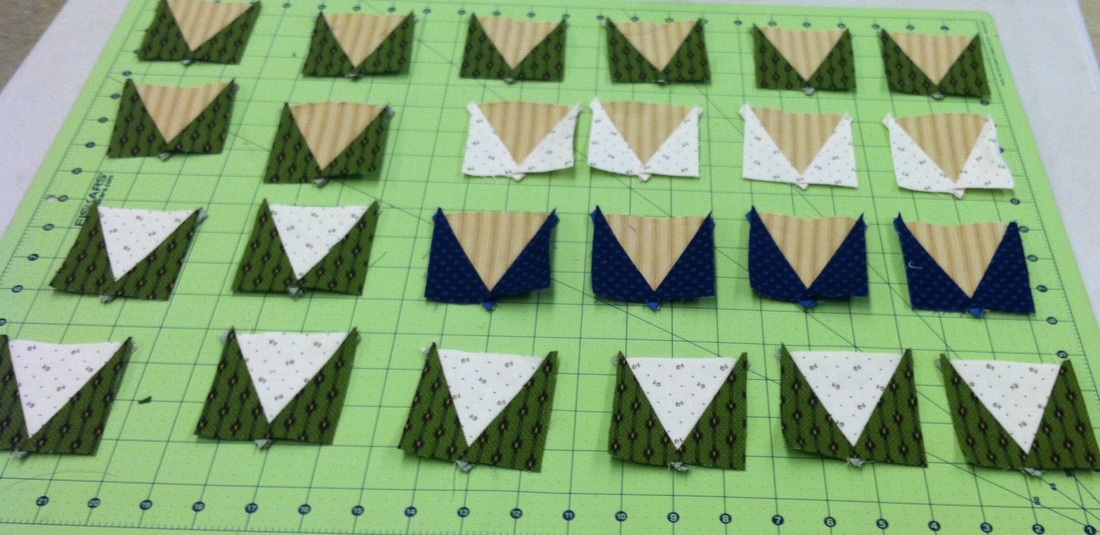
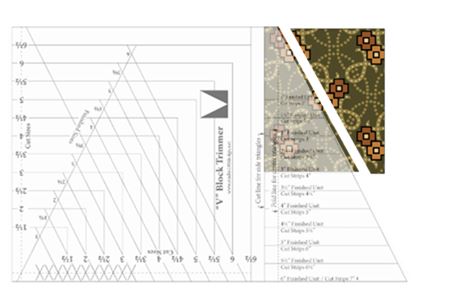
I just got back from a fabulous getaway weekend with a few of my quilting friends. Our normal retreat center had a conflict, so at the last minute we moved to Brainerd. My friend Tana opened her house to us and we were able to use the town hall for quilting. Lots of tables, good lighting and a nice kitchen made for a great gathering place. One thing I realized was that we are always looking for more efficient and more accurate ways to get the "job" accomplished. Many of the group has purchased the Deb Tucker's Studio 180 Design rulers and were using them this weekend. So I thought I would share each of quilts and have a little quiz on what ruler was used in the construction of the project. Answers are at the bottom of this post. Hint -- some of the answers are none. #1 - Nancy's Circus Quilt #2 - Leftovers from the Circus Quilt. Nancy does not believe in letting any fabric go to waste. So the leftovers from the first quilt, made a very nice second one. #3 - Barb's Sunset on the Water. This pattern was from McCall's Quilting magazine April/May 2013. #4 - Joyce's Table Runner #5 - Joyce's Interlocking Table Topper #6 - Joyce's blocks using a pack of charm squares. She made significantly more blocks than included in this photo. After deciding she didn't like the light fabrics in the center of the quilt, she elected to wait until she got home to find a few more fabrics to add to the quilt. The lights will probably be used for a border. Since I am partial to Civil War prints, I know I will love the ending project. #7 Joyce's Work in Process (minus two borders) #8 - Tana's Santa Wall Hanging - The diamonds in this block measure 1 x 2 (so the entire quilt is only 9 inches wide). Tana has been playing with printing images on fabrics and will be selling many of her wall quilts at a local boutique. #9 - Tana's 2nd Santa Quilt #10 - Tana's 3rd Santa Quilt #11 - Tana's LeMoyne Stars #12 - Tana's Starry Night - The pattern was from "Through the Winter Woods" by Doug Leko. #13 - My LeMoyne Sampler - This would qualify as a miniature quilt. The star in the center measures 6 inches and the banded stars 4 inches. #14 - My Work in Process - I'm not sharing photos of the actual quilt as pattern instructions are currently being written. However I will note that each block has 24 of these units. This project will useDeb Tucker's V Block™ ruler. I found a couple of tricks to speed up constructions.
Quiz Answers
I hope you enjoyed show and tell from our retreat. Despite the rain and snow, I did manage one walk to enjoy the outdoors. Happy quilting. Kari Sign up for my newsletter to stay current on what's happening in my studio and learn more quilting tips. As a thank you, I'll send you a FREE pattern for this small maple leaf quilt.
|
Kari SchellElectric Quilt Expert and Educator and Pattern Designer. Categories
All
Archives
July 2024
|





 RSS Feed