
|
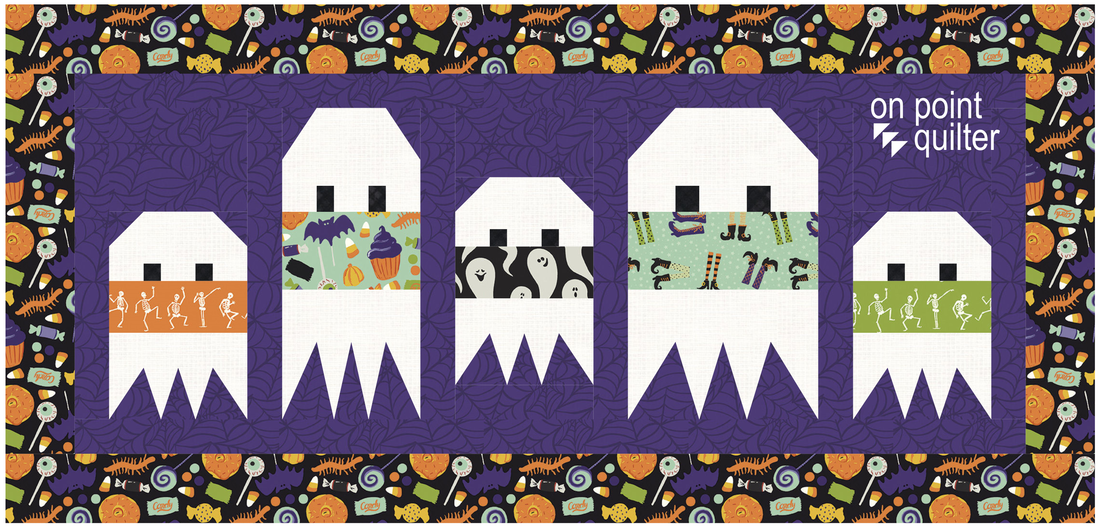
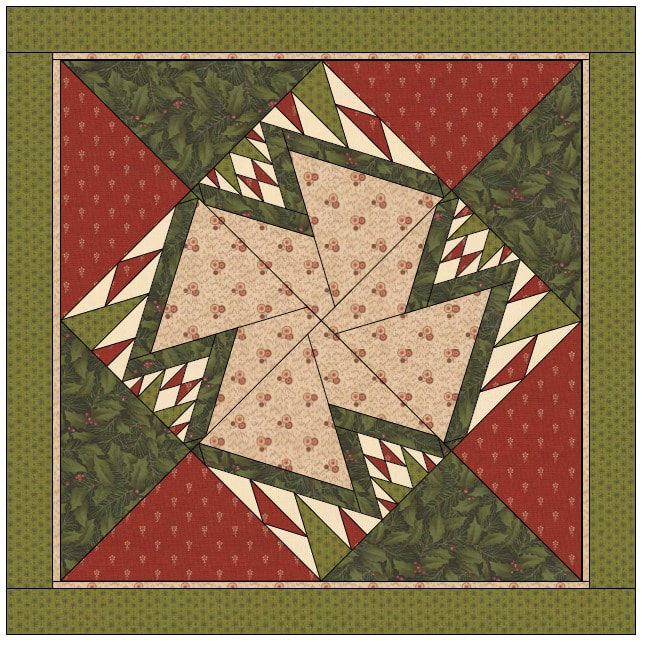
I am not sure how many trick-or-treaters will be out and about tonight. But my group of ghosts from the the Ghost Parade blog post on October 26, 2018 decided they needed to wear masks to protect both themselves and the houses they plan to visit.
Here is the original Ghost Parade tutorial. It covers drafting a foundation friendly ghost block and placing and resizing the basic ghost block for a custom set quilt using Electric Quilt 8. Thank you to Nancy Witte, who provided me the inspiration for this quilt.
Here are instructions to modify the block to add a mask. The updated quilt was colored with the Hocus Pocus fabric from Robert Blake.
Here is the quilt from the 2nd video.
Tech Know Quilters Virtual Quilt Show
Tech Know Quilters is a membership of Electric Quilt 8 owners who are mastering Electric Quilt through online training. At the end of their September class, they were encouraged to apply what they learned during the month of September.
Tech Know Quilters is open to new members only a few times a year. You can sign up for the wait list here and we will notify you of the next open enrollment period.. I love having people at different stages of the EQ journey submitting designs. I am so proud of this group of quilt designers.
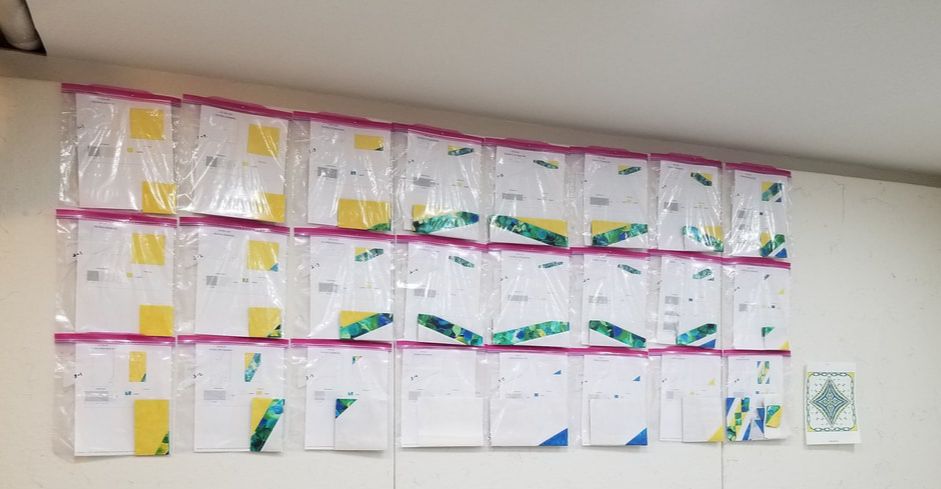
Debbi Treusch I took the Design to Production class this month. I picked some paper piecing tips that I applied to a quilt in progress. The quilt is 4 identical 8 X 8 quadrants and almost all blocks are paper pieced. I'm doing paper piecing in sets of 4 blocks. Each bag has 4 blocks with foundation templates and rotary cutting for each patch. The tips I picked up for calculating the number and size of the patches are really helping this to go along faster and with less cutting/piecing mistakes, especially on those really odd angles. Great class!!
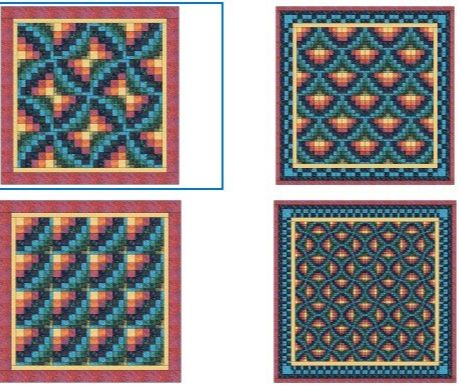
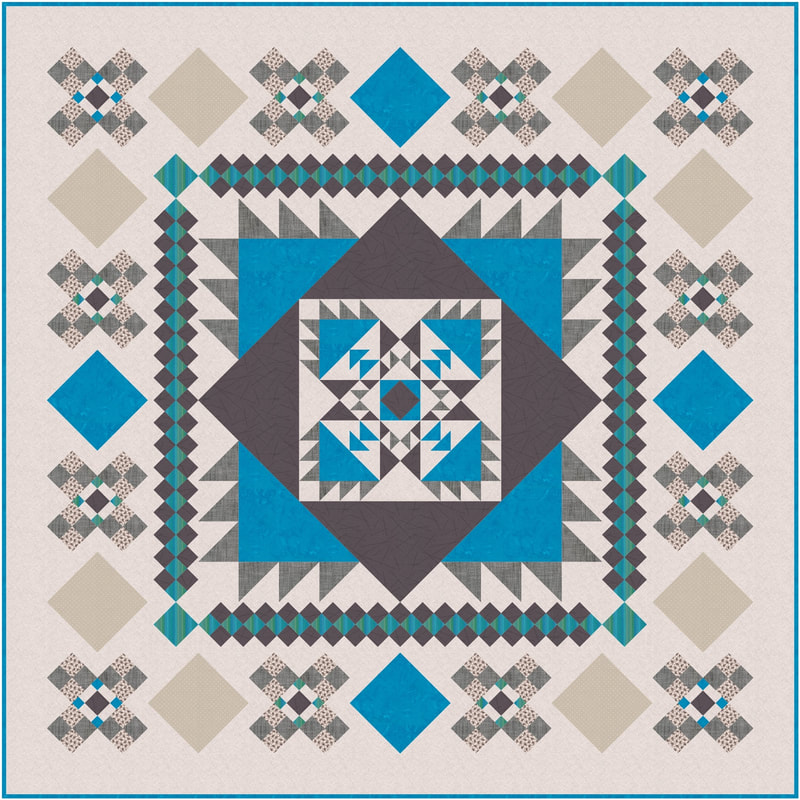
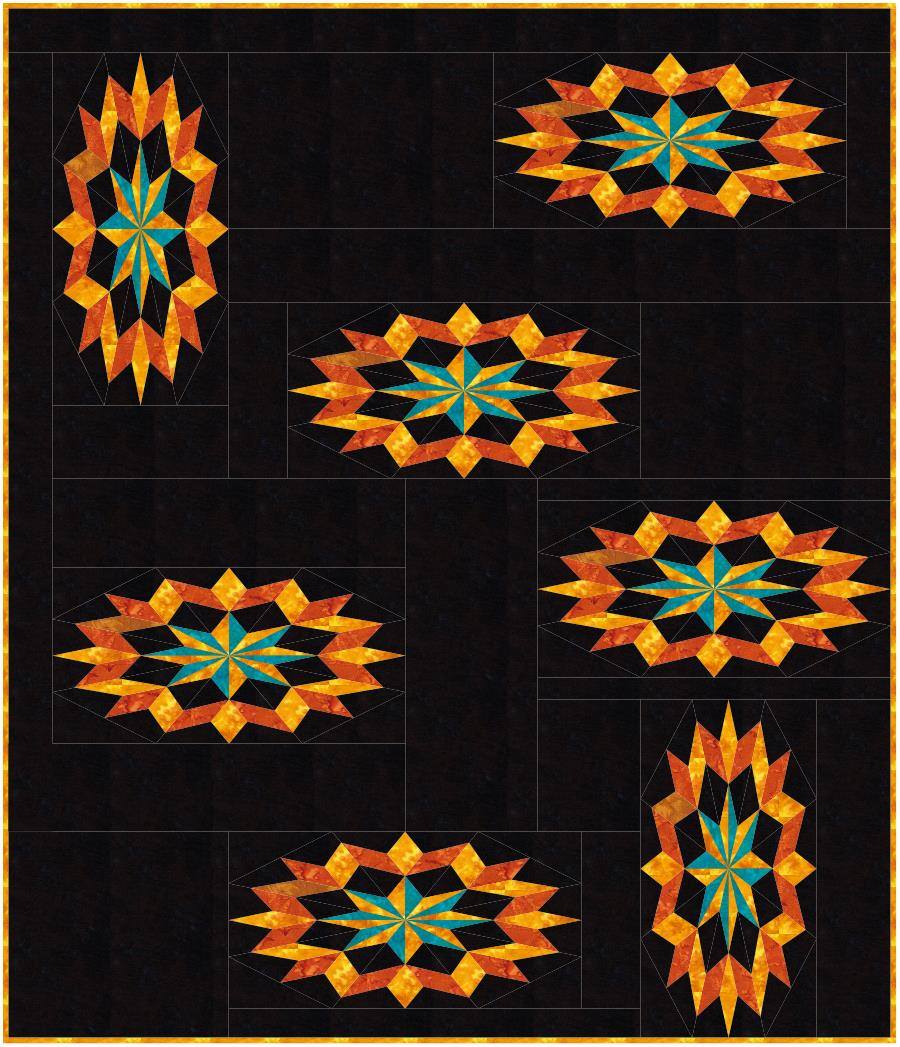
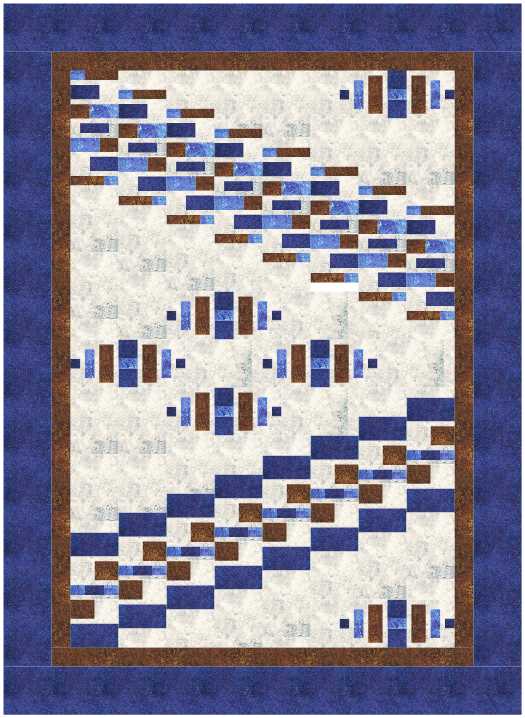
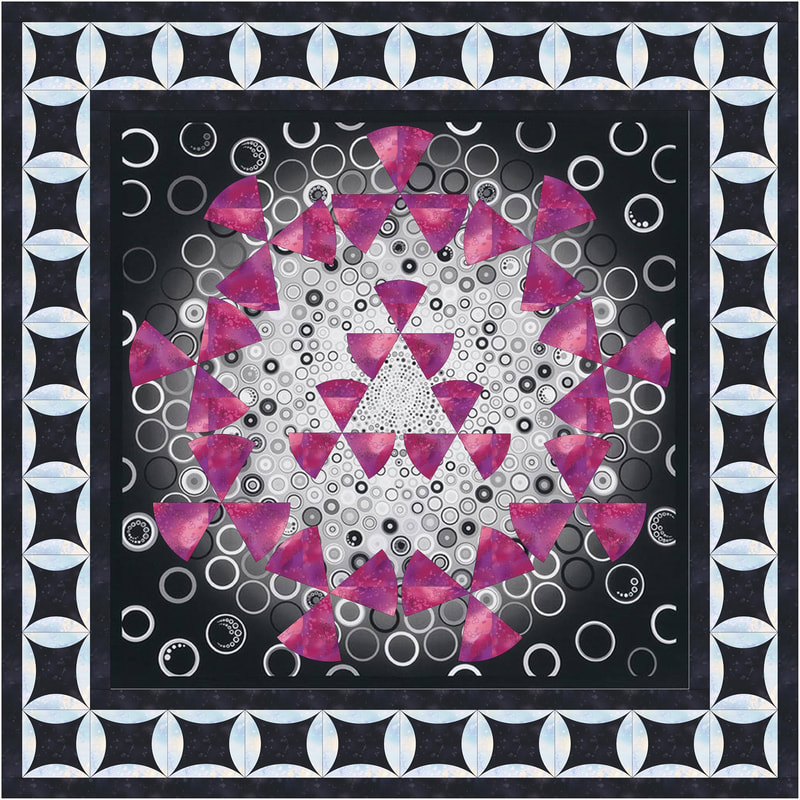
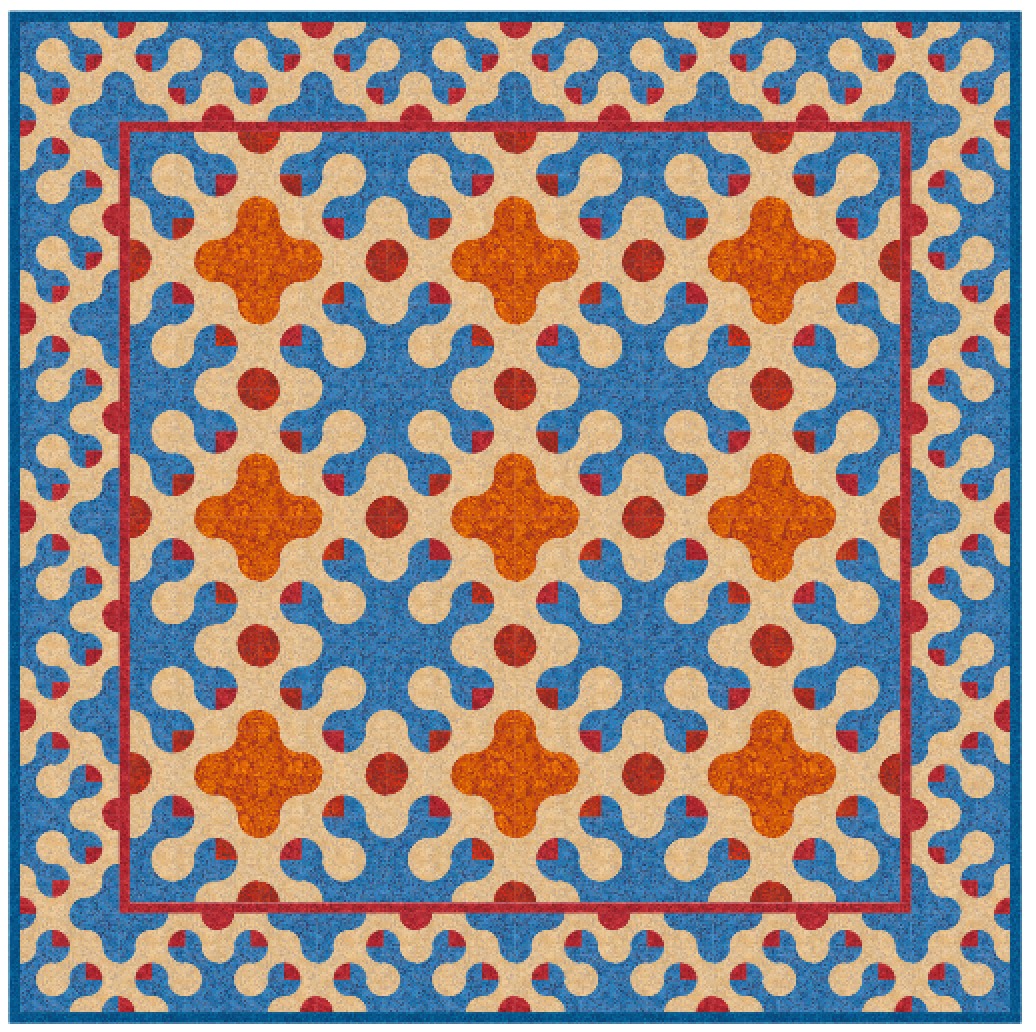
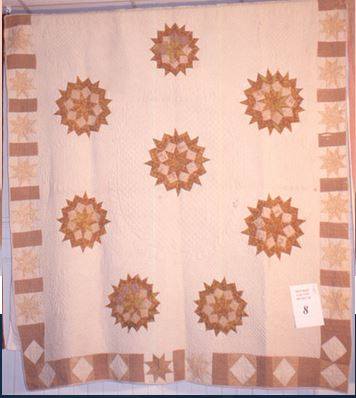
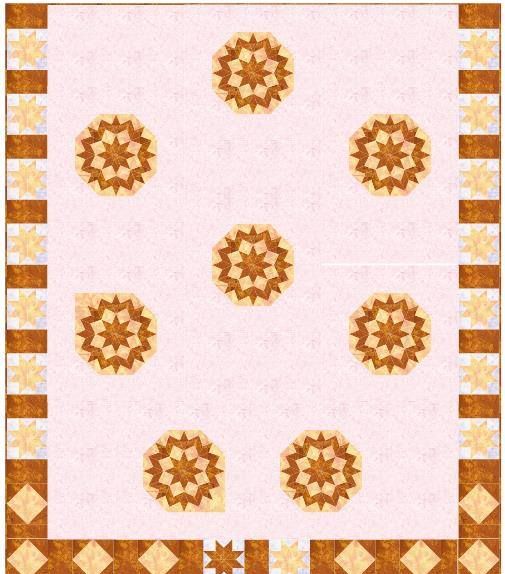
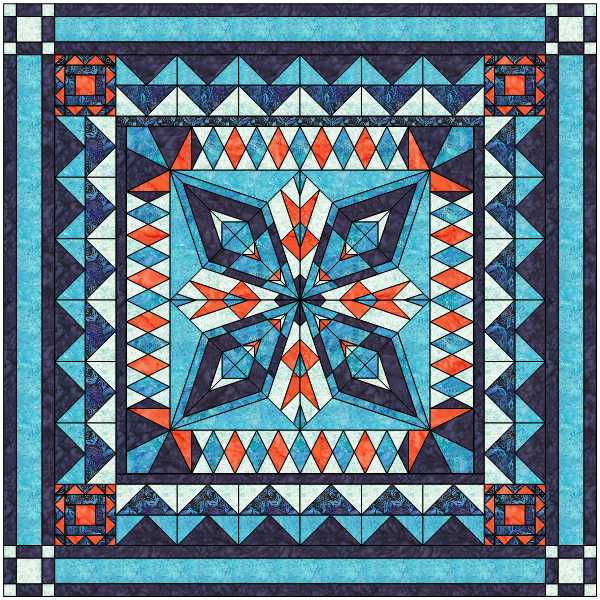
Lisa Ward Quilt Options 1-4
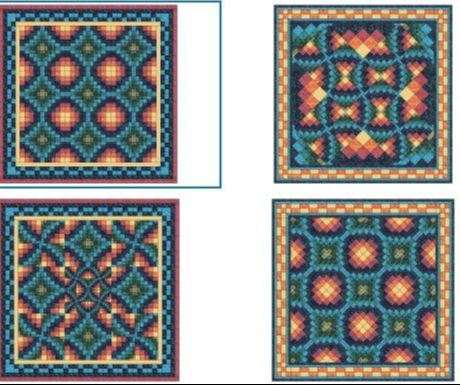
Lisa Ward Quilt Options 5-8
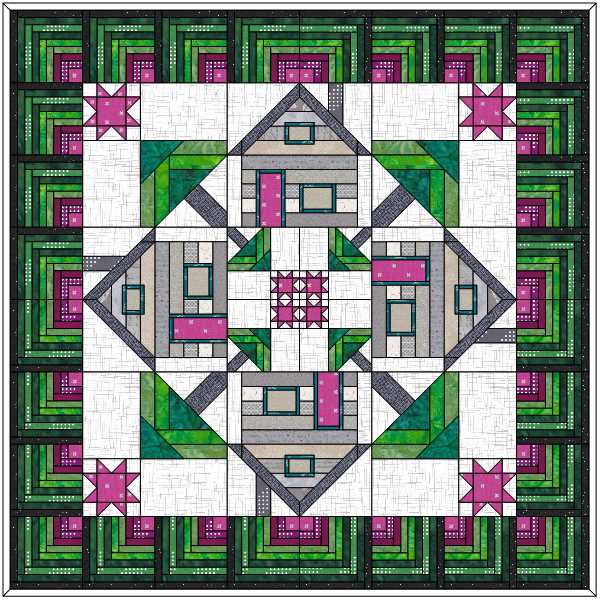
TKQ Masters Create an Original Quilt Inspired by Another Quilt Challenge
In September Tech Know Quilter's Masters members were challenged to find a quilt they liked and use it as inspiration to design their own original quilt.
Tech Know Quilter Masters members have completed at least 12 months of classes in Tech Know Quilters and are some of the more advanced members in the group.
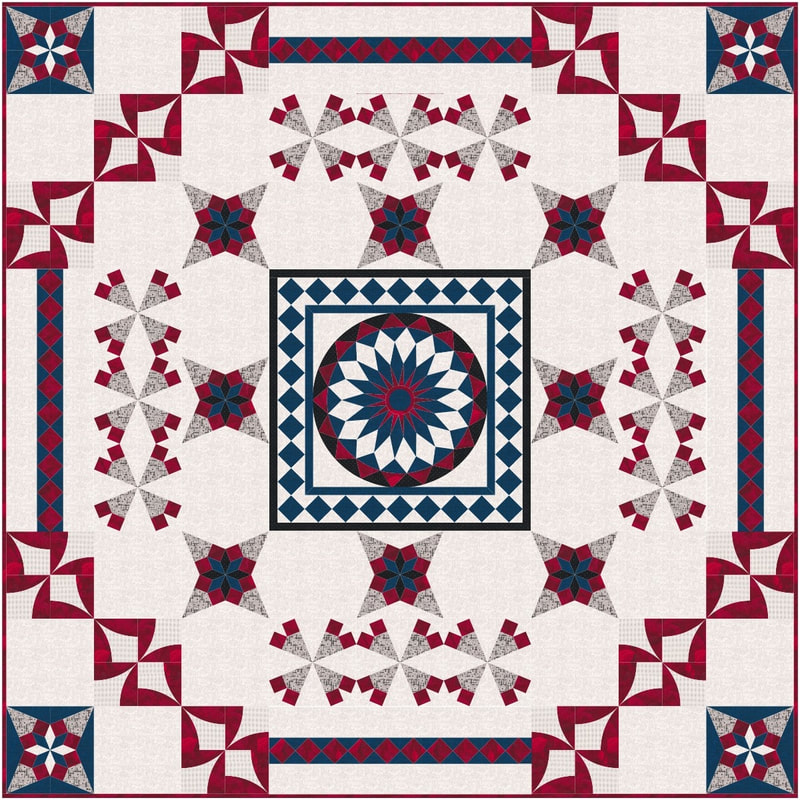
Julie Pedersen Design - Oma's Centennial Squares
Joy Hegglund final quilt
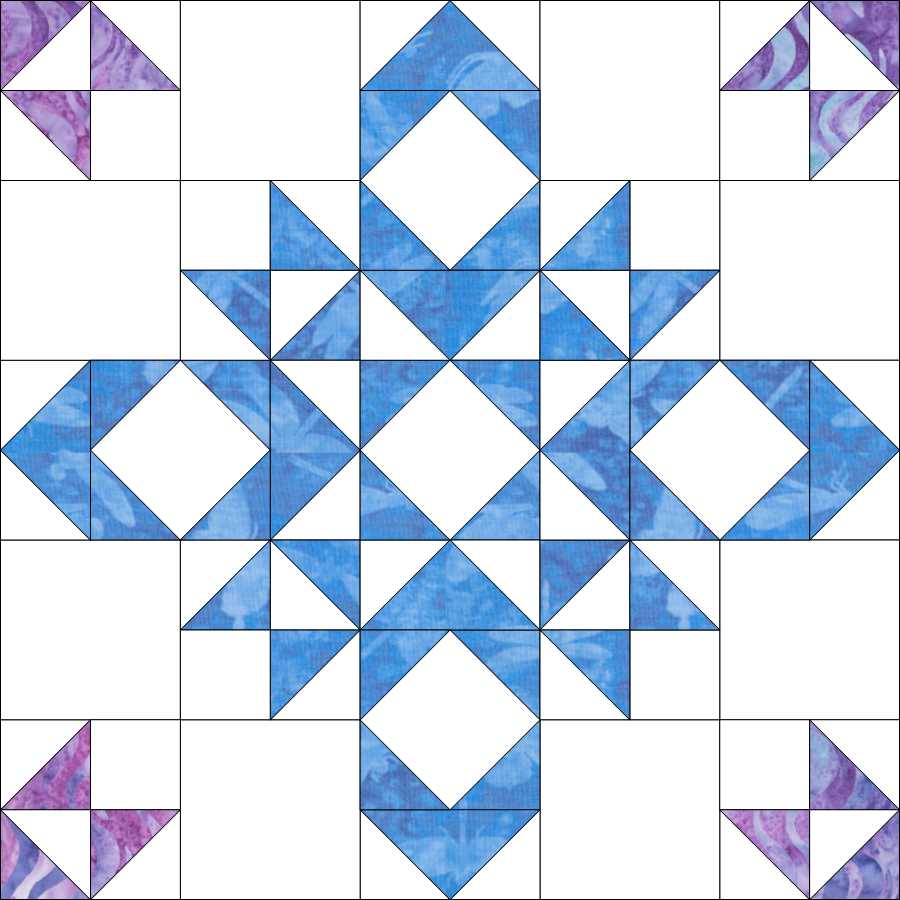
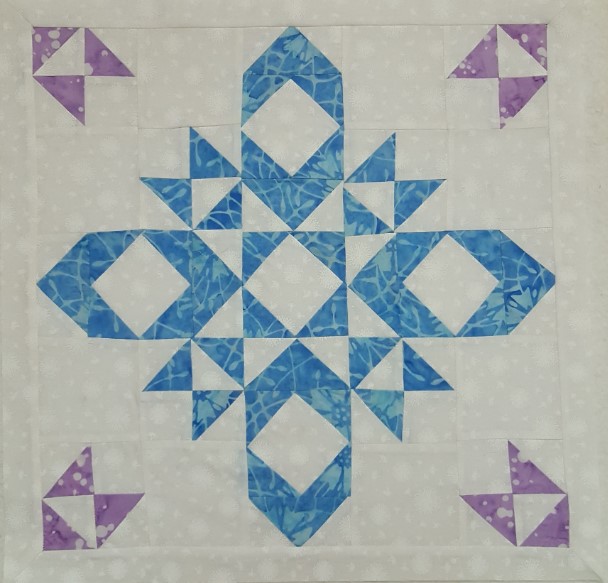
Nancy Haddad Lacey One of my favoite patterns is snowball and 9 -Patch. I wanted to see what it would look like if I used some curved piecing.
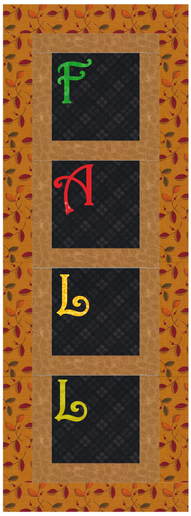
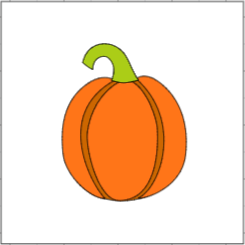
Today I will finish up the F is for Fall quilt by drafting two new applique motifs -- a leaf and a pumpkin. You will have an opportunity to use the Bezier Curve, Freehand and Brush Stroke in drafting these blocks.
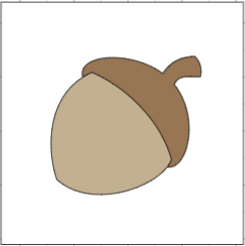
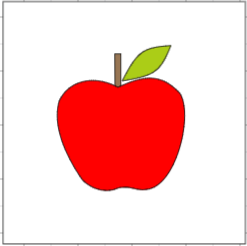
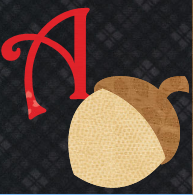
If you missed the first tutorial on creating the layout along with adding the text, you can catch it here. If you missed the second tutorial on importing clip art for tracing and drafting an acorn and apple block, you can catch it here.
Here are the blocks and quilt from this weeks video.
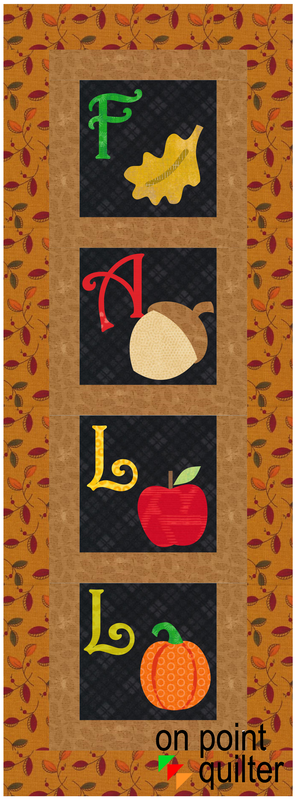
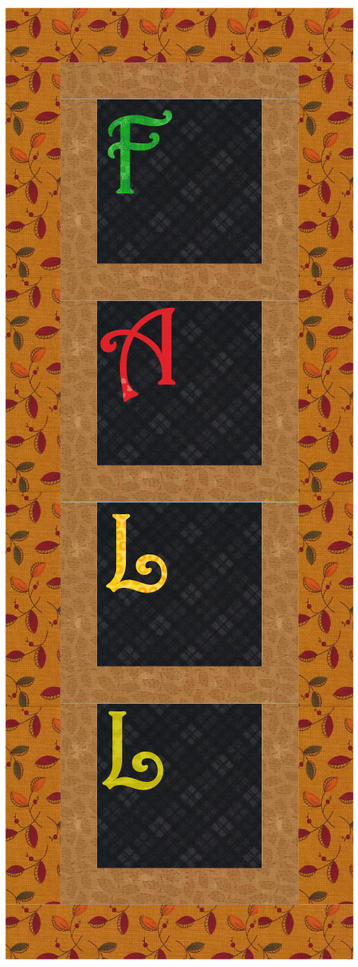
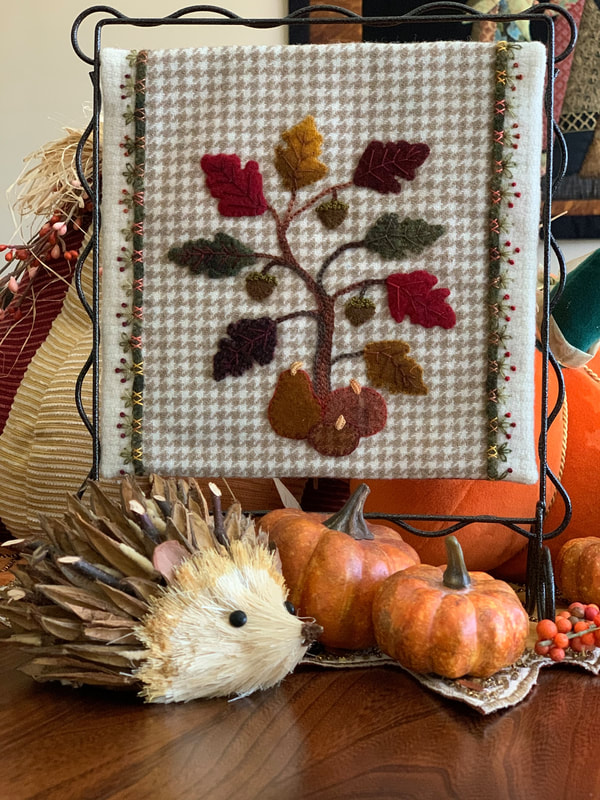
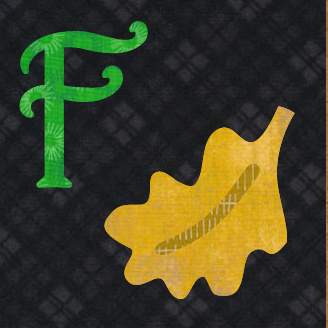
F is for Fall Applique Quilt by Kari Schell
This was a simple quilt to piece. I recently was at a mini-retreat with four friends. It was so much fun catching up with my friends and having some actual sewing time. And I just finished the binding, so I could share a picture with you.
I used my Cricut Maker to cut the letters and applique motifs. I absolutely love using the rotary cutting blade with the cuter for perfect shapes. I used a blanket stitch on my sewing machine to sew around all the applique shapes. 
F is for Fall Quilt using a variety of batik fabrics by Kari Schell
F is for Fall Applique Quilt Continues
When learning to use the applique tools in Electric Quilt, it is useful to trace other drawings. I created a series of clip art images with fall images that you can use for this exercise.
Download each of the four clip art images below and import them to your My EQ8 folder. If you like to work with sub-folders, set up a sup-folder and label it F is for Fall and place the clip art in this folder. To copy the images, right click on each image. Select either "save picture as" or save image as" -- this will vary depending on your browser. Navigate to My EQ8>Images folder. Type in a name and save each image.
Watch the video to get my tips on using the Bezier tool -- one of the applique tools when creating applique motifs. I recommend using this tool when starting to create your own applique shapes, as you control the nodes by clicking and holding at the start of each arc segment and releasing at the end of each arc segment. This will give you nodes just at the start and stop points. You can always add more nodes by double clicking on the arc segment. You can edit the arc segments by moving the arcs or moving the handles for each segment.
Having an image for tracing gives you a guideline when cleaning up placement of each of the arc segments.
Here are the completed blocks from the video.
The original plan was to cover all the applique shapes in one video -- but the video ended up super long. So the remaining blocks will be covered next week. If you would like to get a head start in drafting them, go ahead and use the same principles from this video tutorial to trace the images shared above.
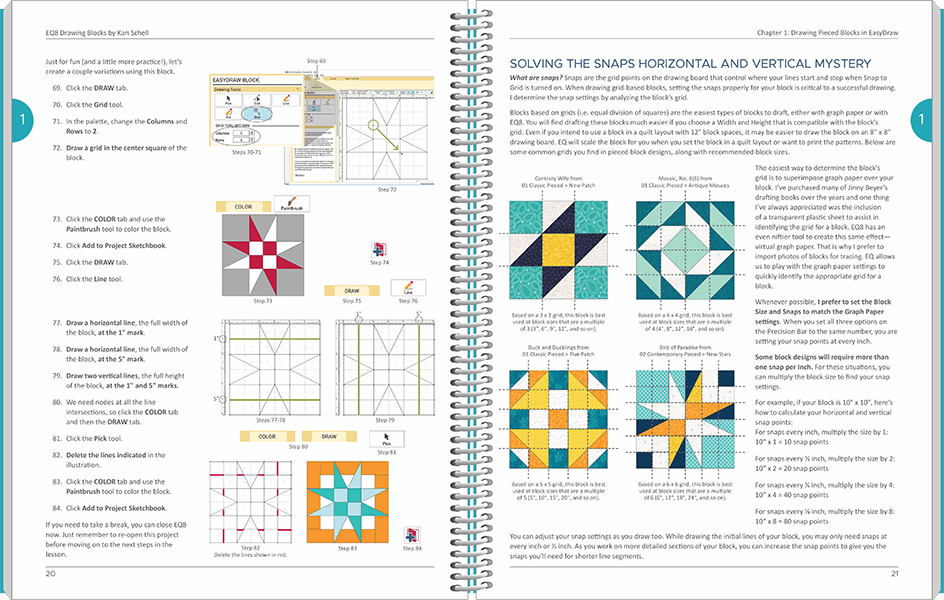
EQ8 Drawing Blocks Book
In the EQ8 Drawing Blocks book, I go into using the applique tools in much more detail. And we include step by step instructions for using all of the tools.
Applique Blocks from EQ8 Drawing Blocks
There is an entire chapter devoted to applique. Learn to use the Draw and Shapes tools to create unique applique patches, use WreathMaker to make beautiful designs, modify a block from the library to make it your own, trace an antique quilt block, and more!
You may purchase directly from me (with the option of a signed copy) or from Electric Quilt. Book is currently on sale for $27.95.
I only ship within the US.
A little over three years ago, I created an embroidery quilt entitled F is for Fall. The quilt was completed in EQ Stitch and used embroidery for all the blocks. I decided to rework the quilt and replace the embroidery with applique.
This week I will share the layout design (plus adding the text). Next week, I will share creating the fall motifs. My plans are to use my Cricut Maker to cut out the applique (including the text) for a quick fall project.
Here is the quilt from the video. All ready for my fall-related applique motifs.
F is for Fall Quilt Layout by Kari Schell
Tech Know Quilters Highlights for the Week
Here are a few designs shared on the Tech Know Quilter's private Facebook page this week. Each of these quilters moved beyond what was presented in a lesson to showcase their creativity.
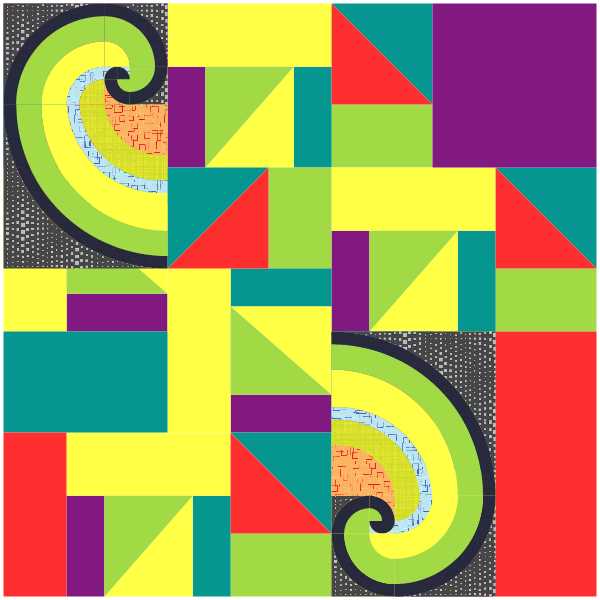
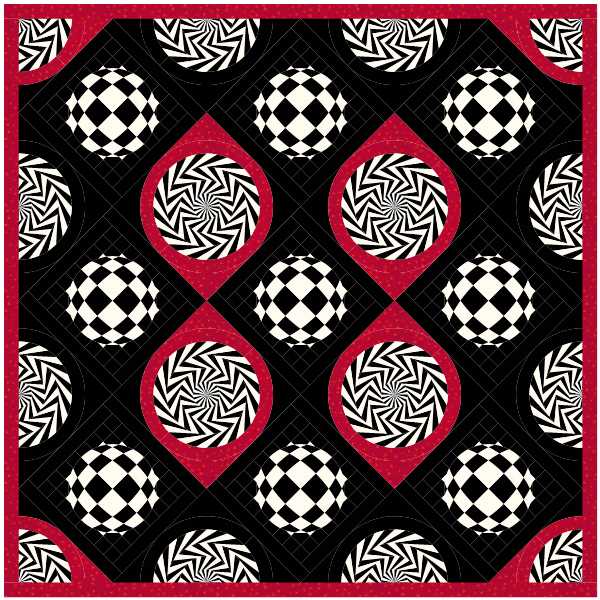
Carmen Sidlaruk noted "So many possibilities. I couldn't quit playing with this lesson. I even explored what happens if you do a click and flip of a click and flip block. Fun." These were just a couple of her shared designs.
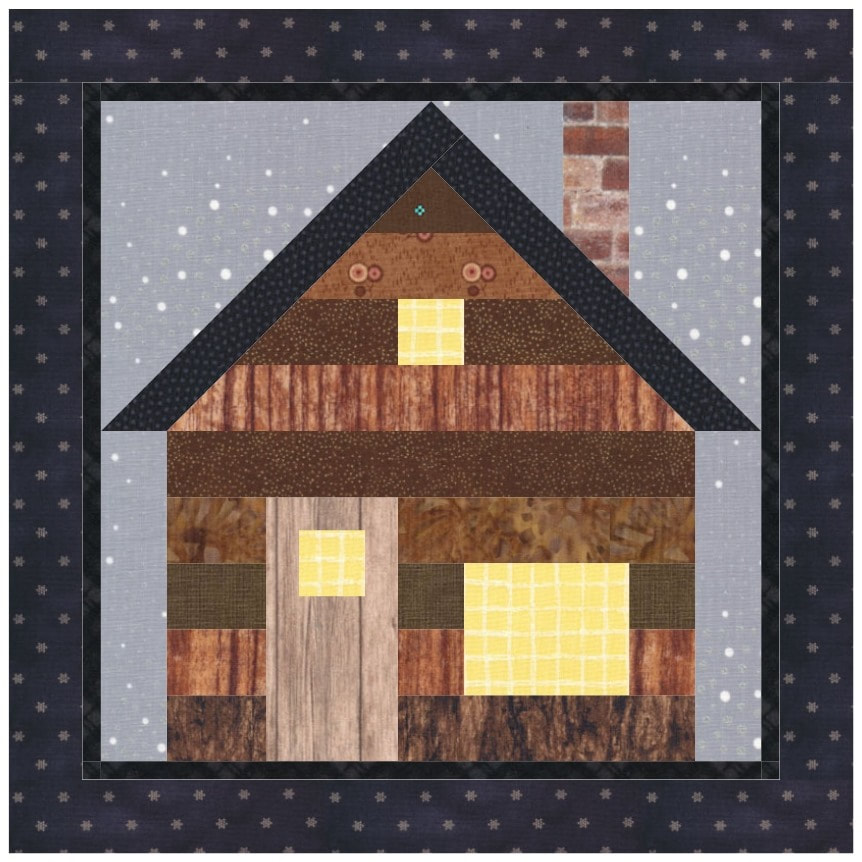
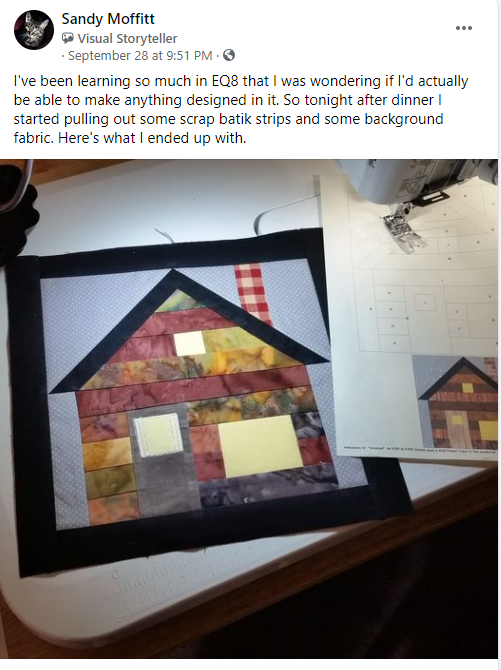
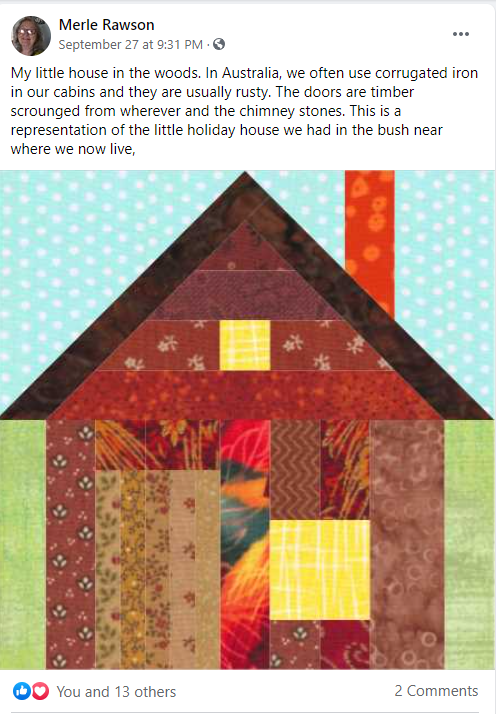
After watching the video from last week, a number of people shared their blocks and quilts with me on social media.
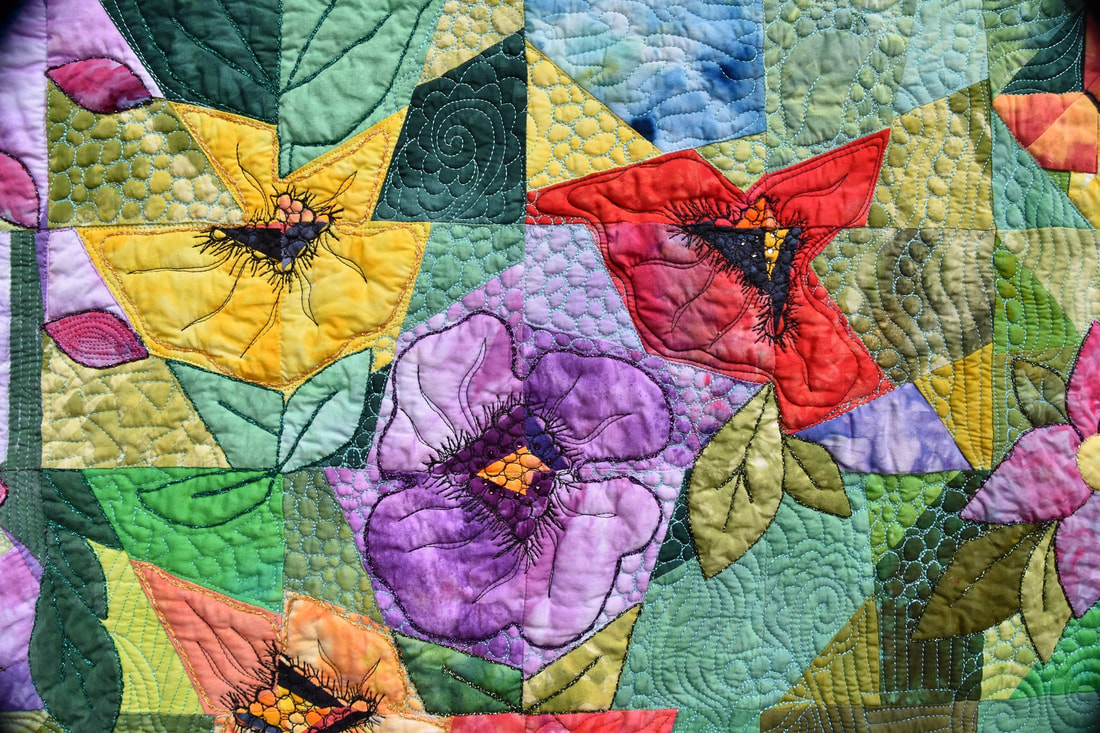
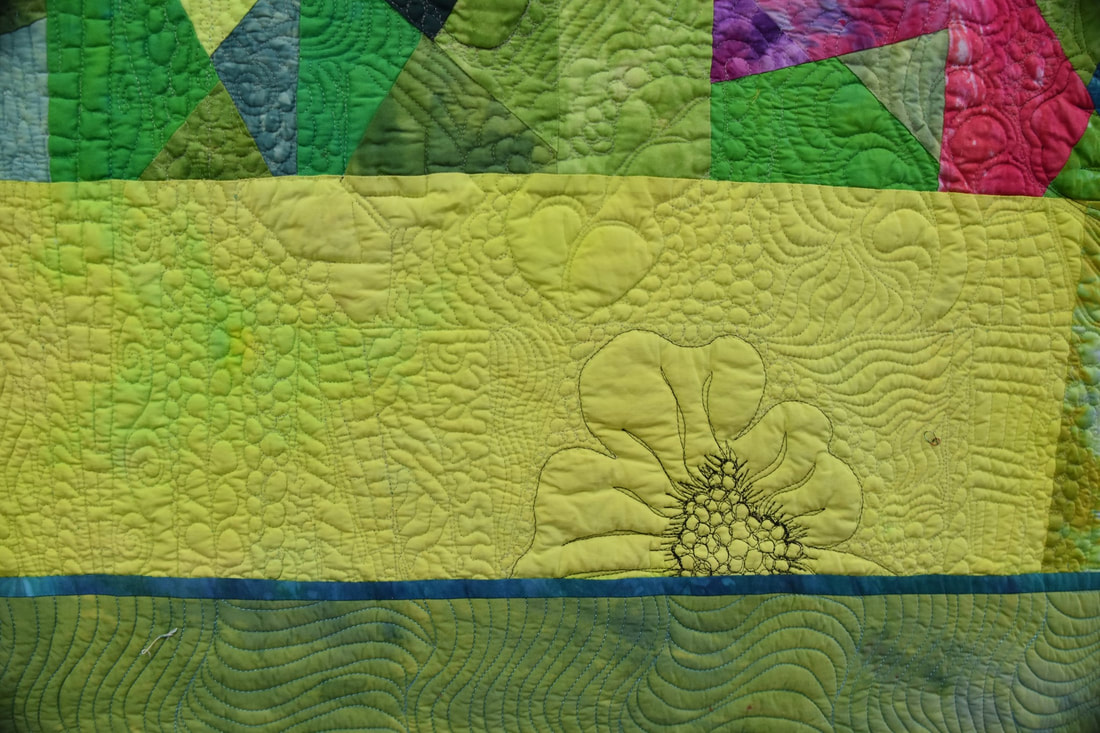
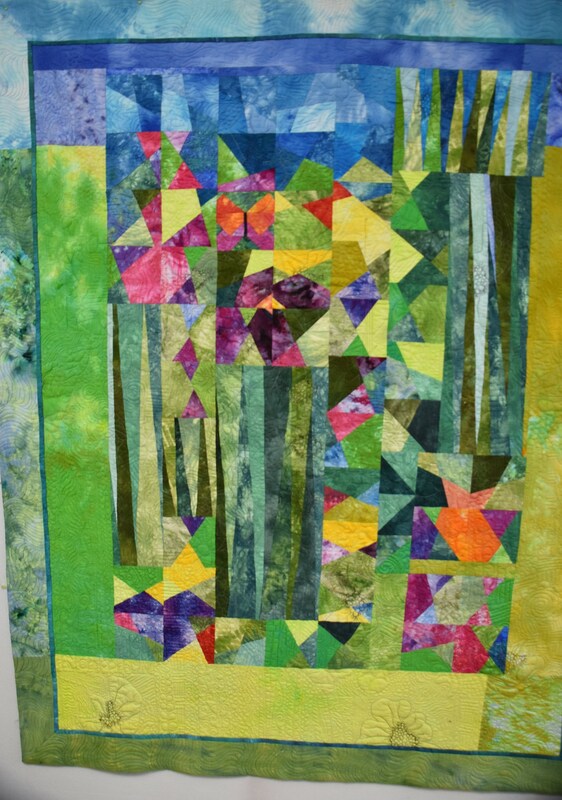
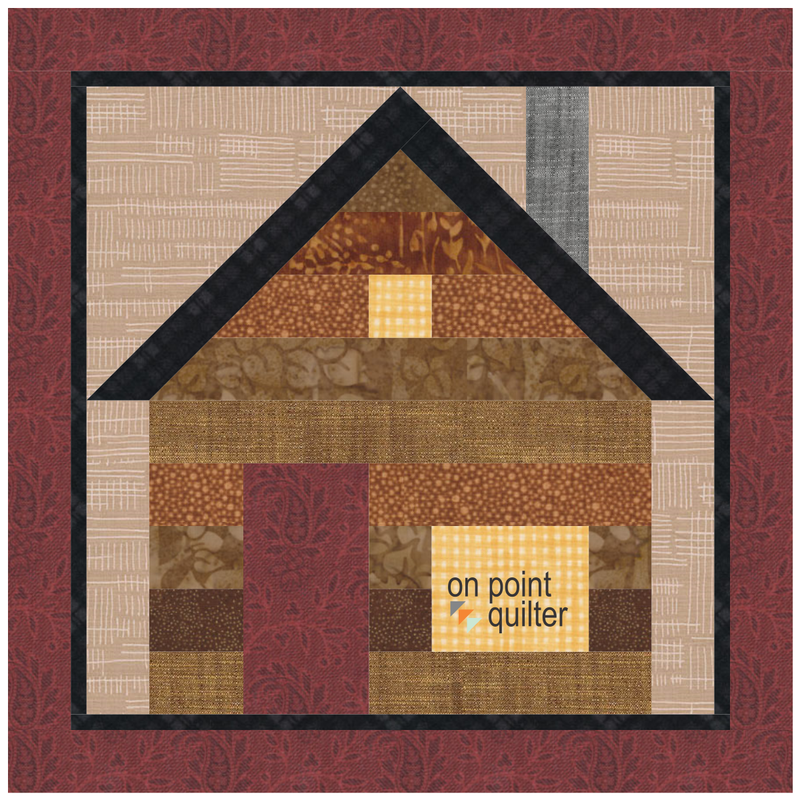
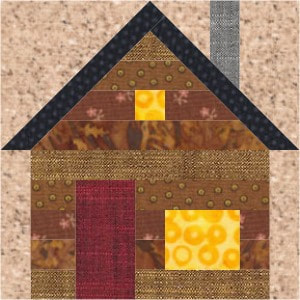
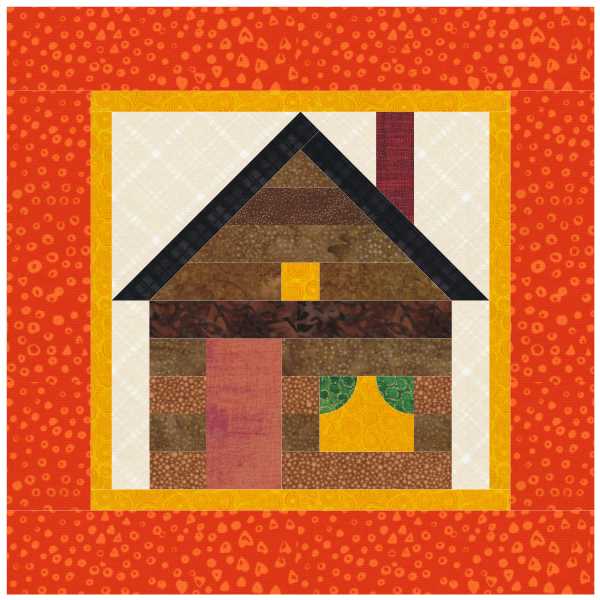
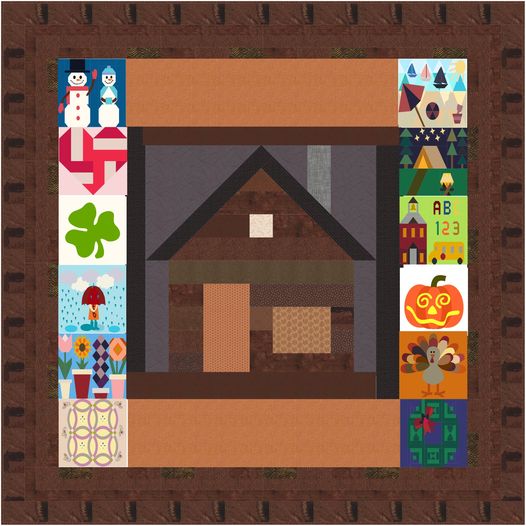
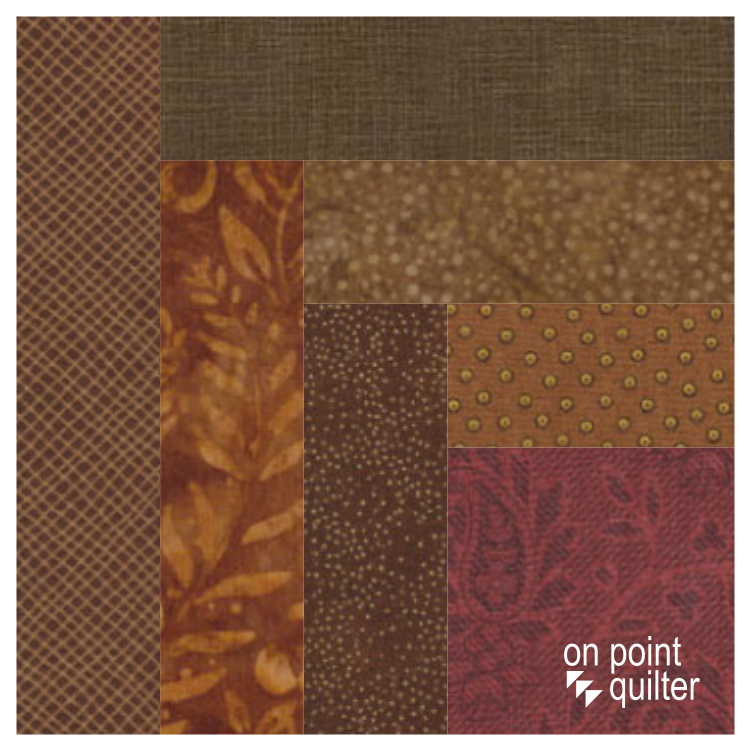
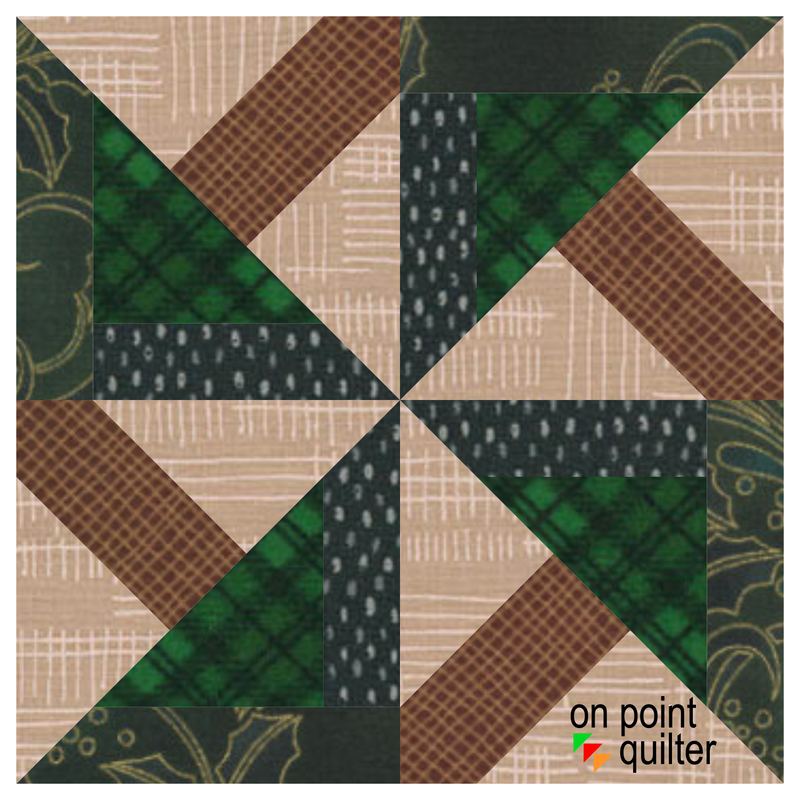
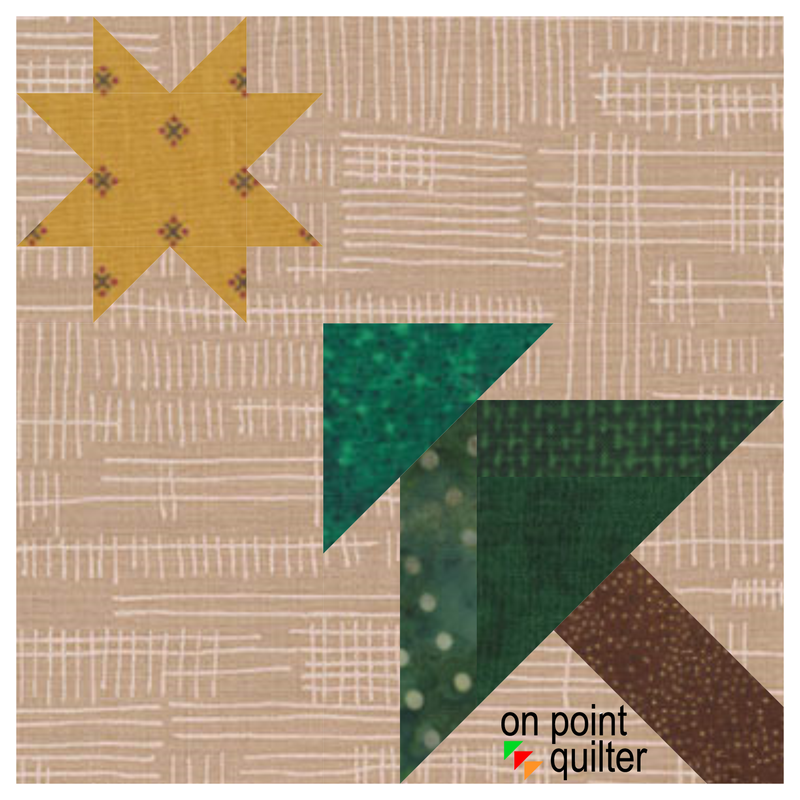
Finishing the Cabin in the Woods Quilt
This week I added three more blocks for my Cabin in the Woods quilt.
Here is the Cabin in the Woods final quilt designed in EQ8. The quilt would be fun to scrap piece. I am still trying to decide if I want to to pull in some fall colors for the trees or stick with the greens.
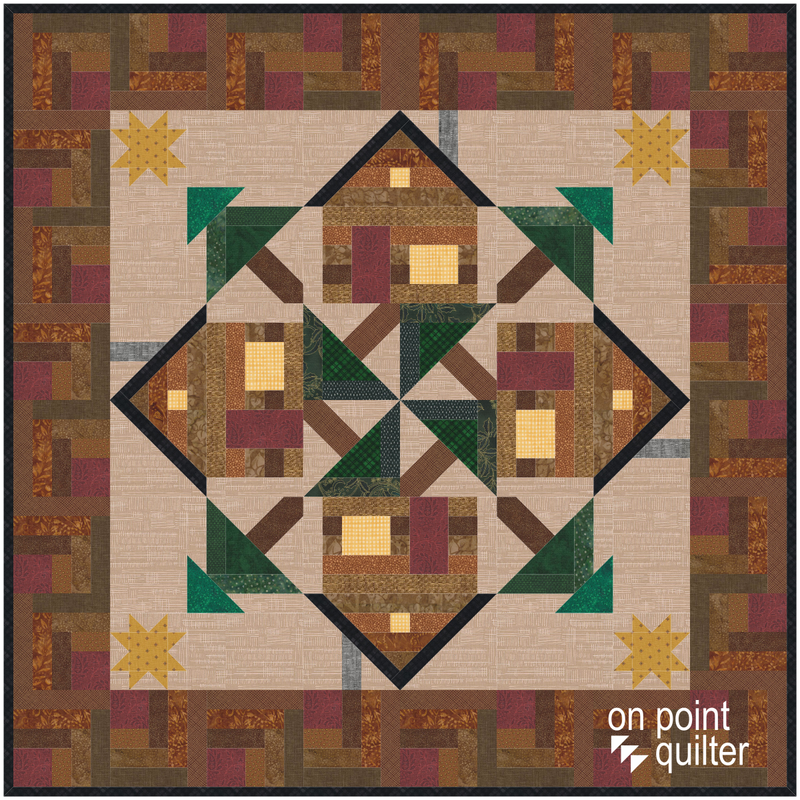
See how to draft the remainder of the blocks along with the layout for the Cabin in the Woods quilt in this video tutorial.
|


Free guide available for newsletter subscribers


Kari SchellElectric Quilt Expert and Educator and Pattern Designer. Categories
All
Archives
July 2024
|


 RSS Feed