|
I was recently made aware of sublimation. Sublimation is a process that mixes specialized ink within the fabric fibers. Think of it as a variation of printing and/or using vinyl on fabric. However both of these other examples put the material on top of the product. With the sublimation the product is infused into the material.
I am doing a deeper dive into the process in the TKQ Masters class this month. However I though I would share a simplified process in this post.
In the video, I decided to decorate a 9 x 7 cosmetic bag. I had purchased some cosmetic bag blanks from Cricut that I used for this project. Since I own a Cricut Maker and am most familiar with Cricut Design Space, I will include information at the end of the tutorial on my process for transferring the design from EQ to Design Space along with the process for cutting out the design and using an EasyPress 2 heat press from Cricut for the actual sublimation.
The one area that did not work super well for me was the actual transfer of ink from the transfer sheet to the the bag. In hindsight, I should not have included the zipper the pressing area. That caused heat to escape and I ended up needing multiple transfers to finally get the ink infused on the bag.
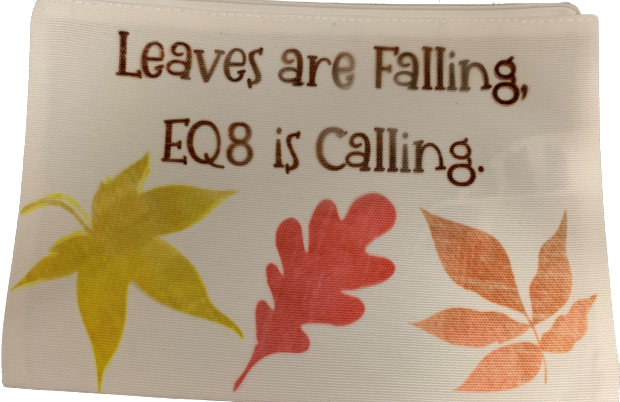
Here is my infused cosmetic bag.
Do you have experience working with infusible ink or infusible transfer sheets? I would love to hear your thoughts and recommendations on the process.
If you chose to create a sublimation friendly design in EQ8, please fee free to share in the dedicated post in the Learning EQ Facebook Group.
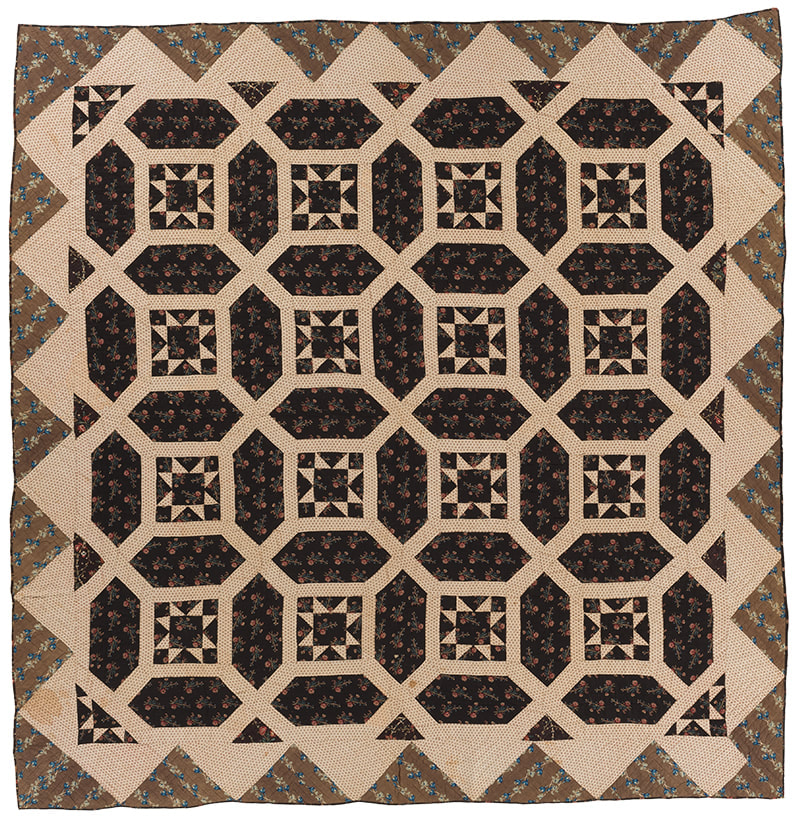
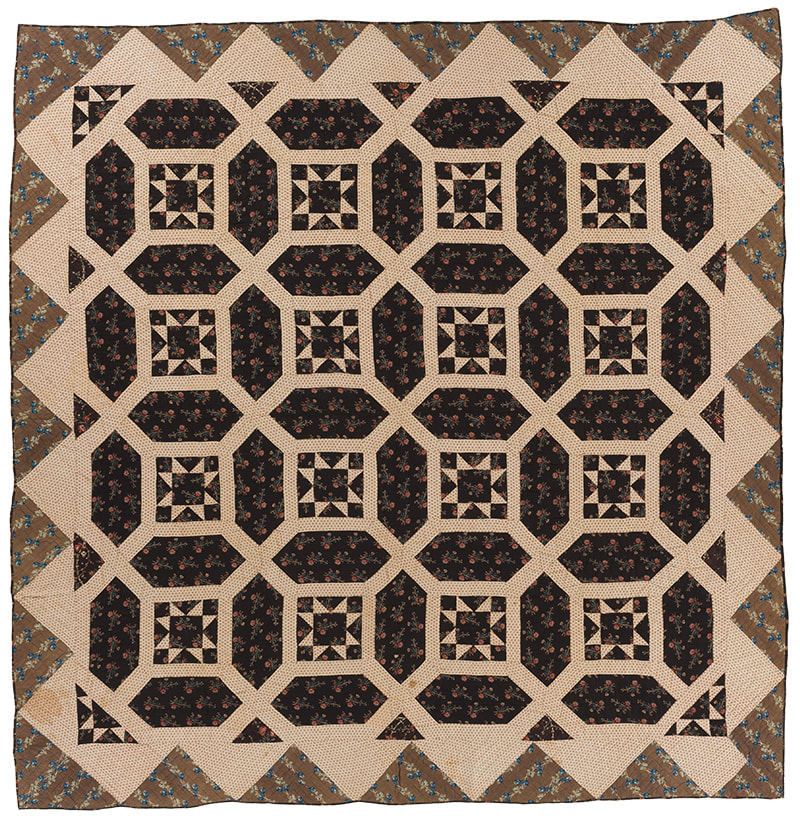
In a previous blog post I shared my techniques for redrafting an antique quilt.
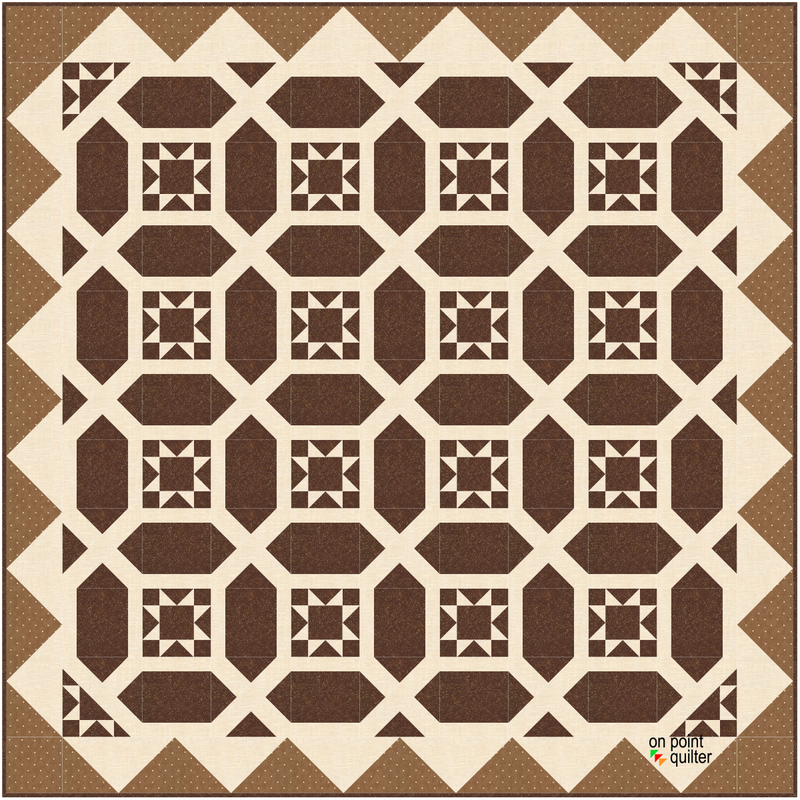
Here is the inspiration quilt along with my EQ8 rendition.
One of the things I really love about using EQ8 is that you don't need to stop there. Once you have the basic quilt drafted, you can start thinking about how you would like to personalize a design and make it your own.
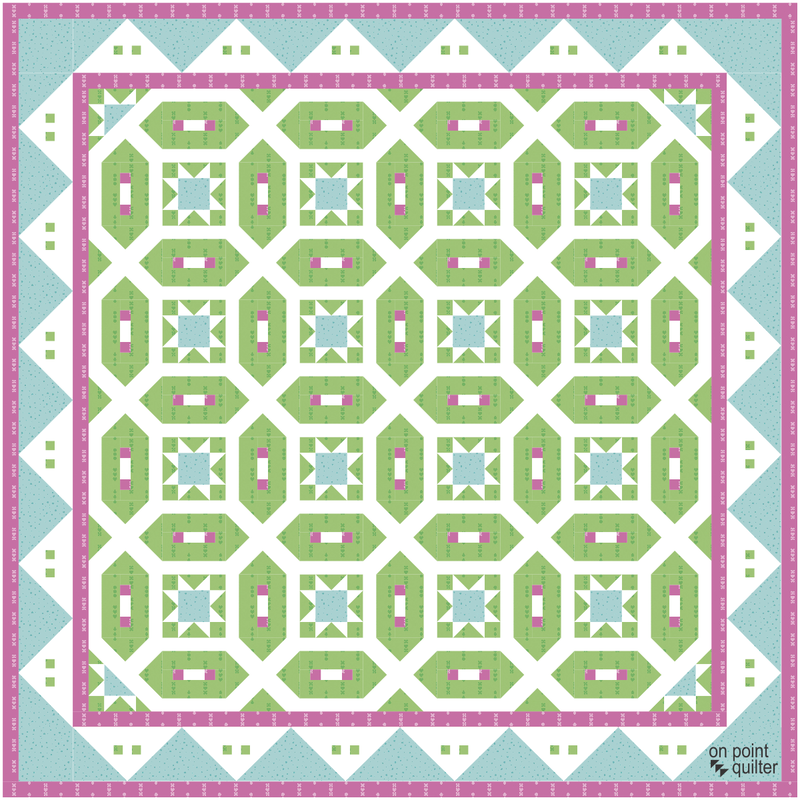
I decided to play with creating a more modern version of the quilt. As you will see in the video, this really is so easy -- and so much fun. The updated quilt requires:
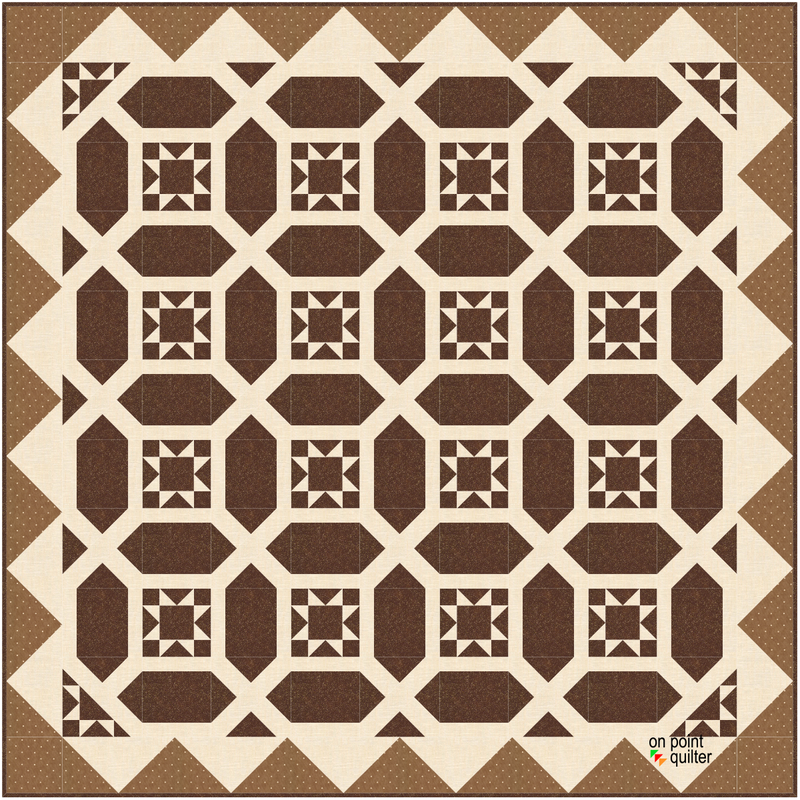
Here is the updated quilt.
I look forward to seeing how you will update this classic quilt. Feel free to share you pictures on the Learning EQ Facebook page.
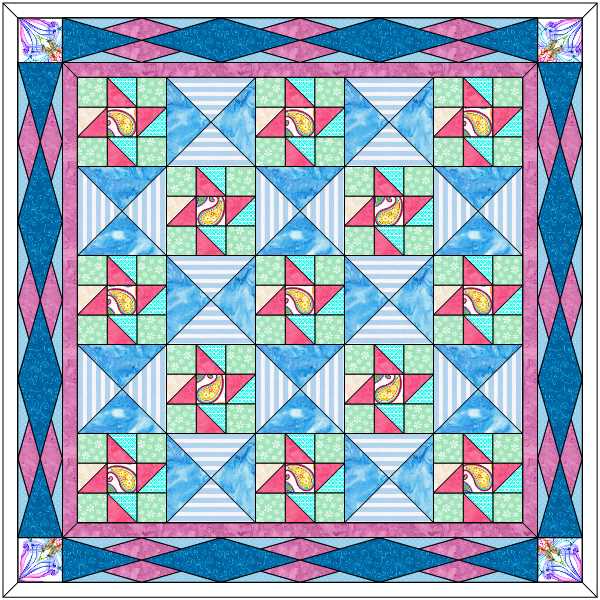
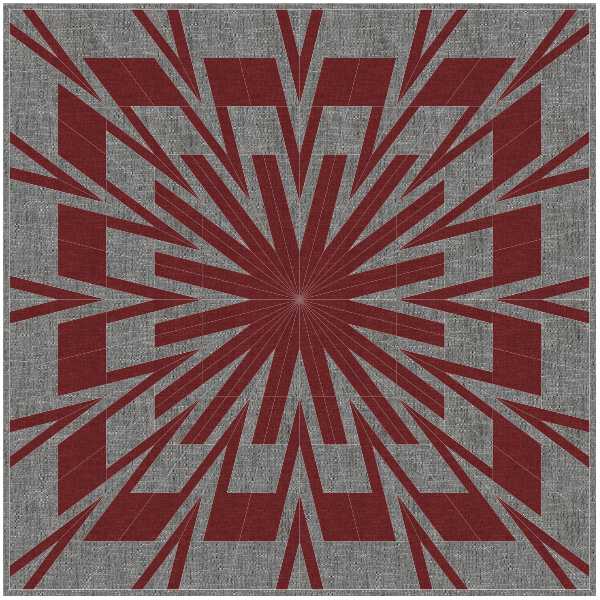
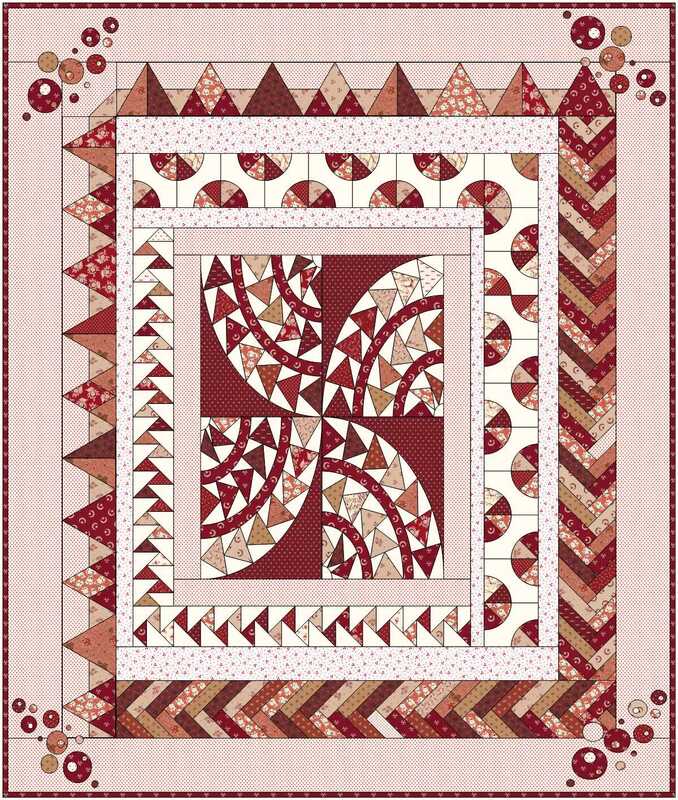
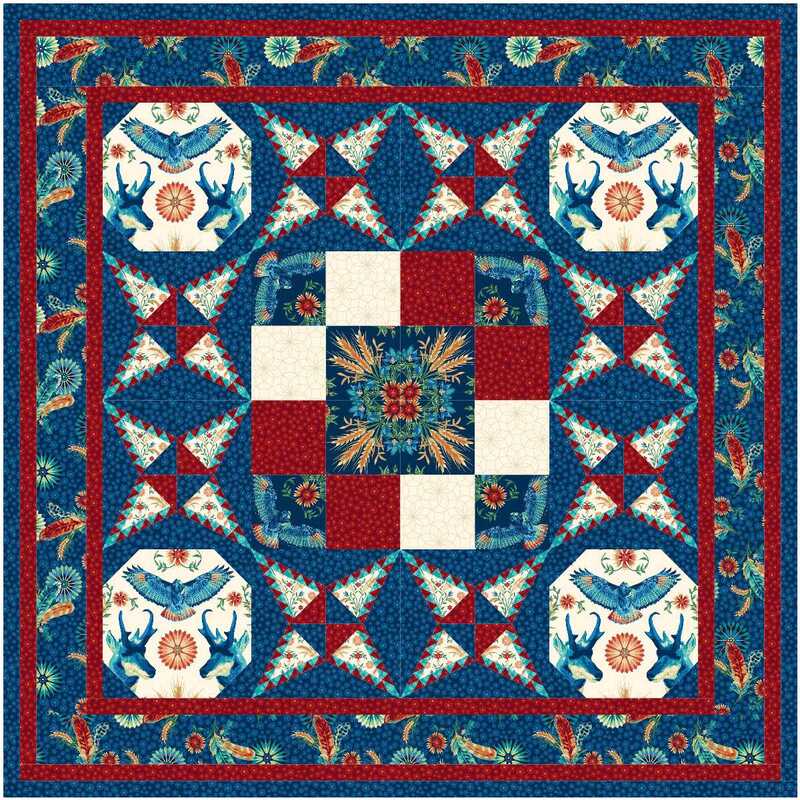
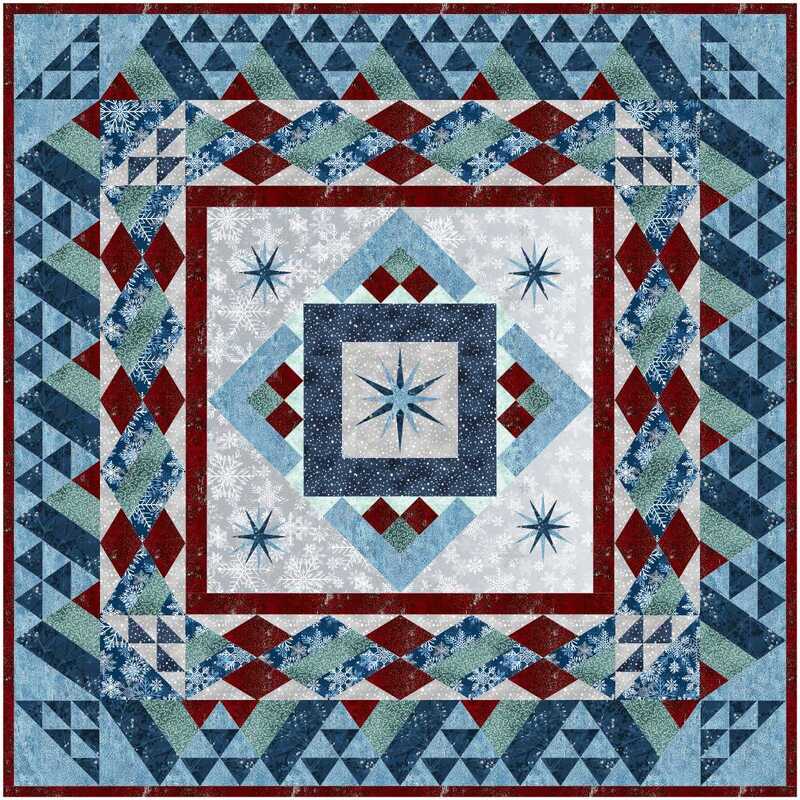
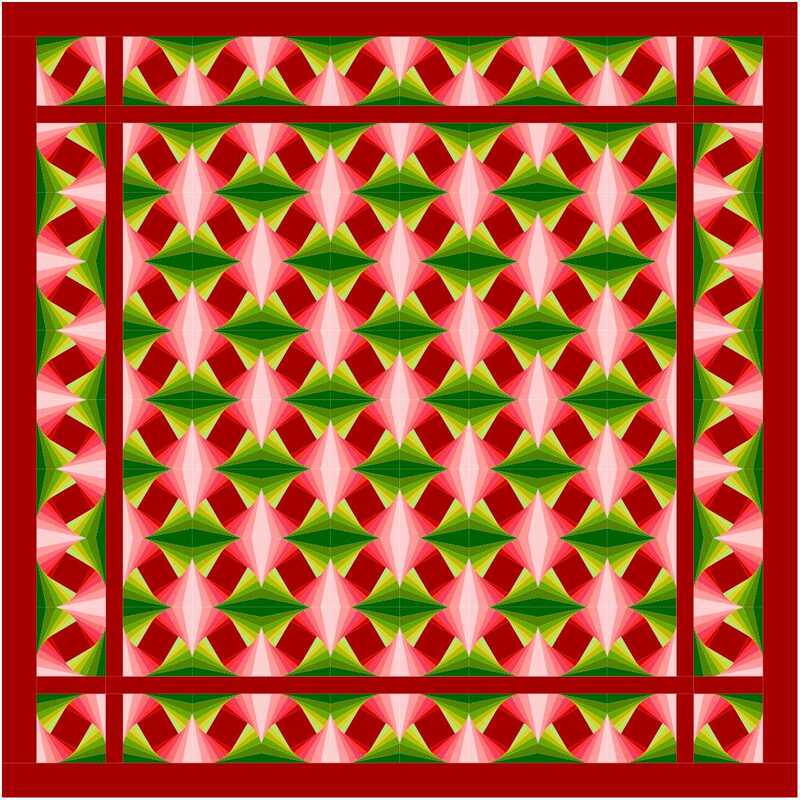
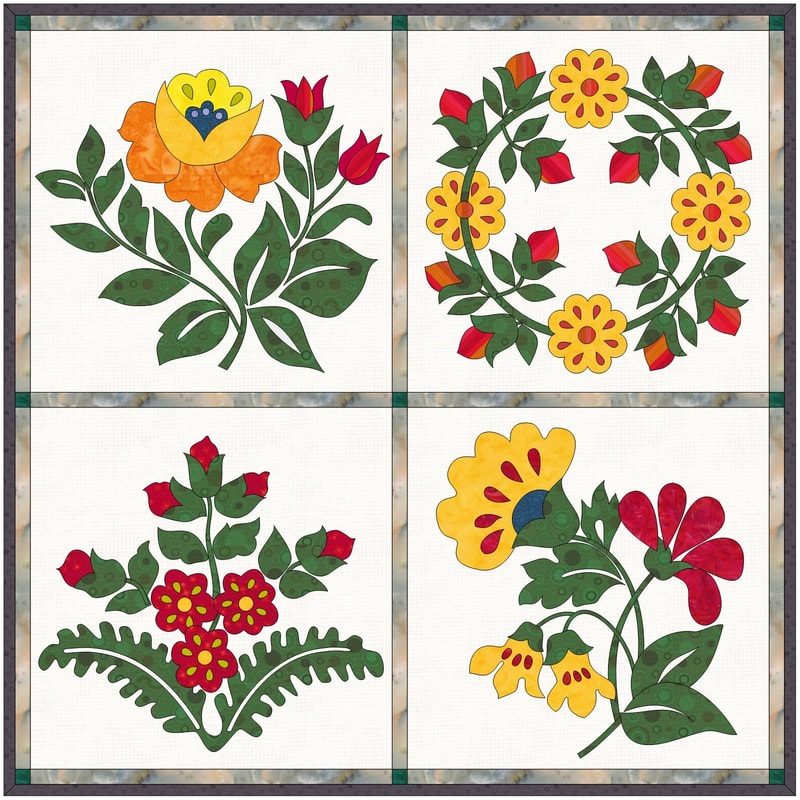
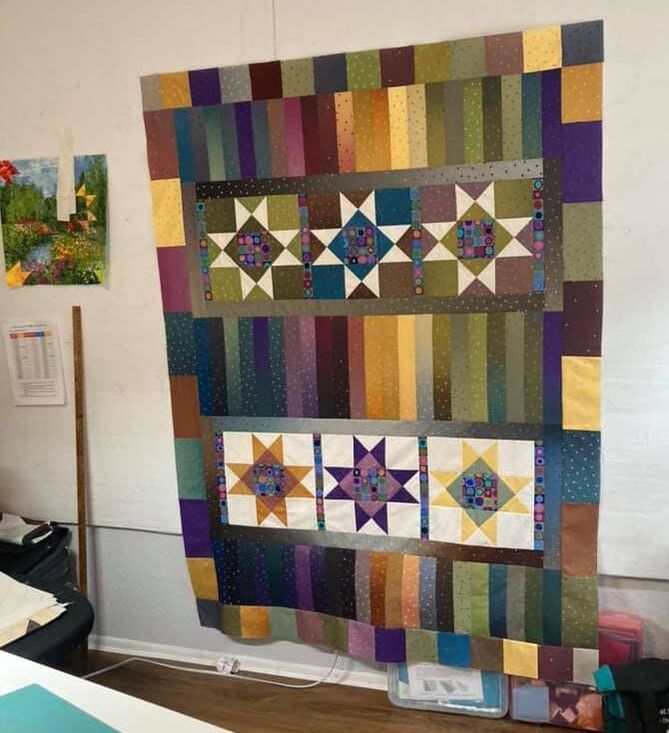
I am so thankful to have a job which allows me to work closely with a super talented group of quilters. As I pull together these showcases, I love being able to look at each quilt and see the creativity of the quilter. Maybe you are like Mary who was felt constrained by tradition. After the More Optical Illusions class she is experiencing an expansion of her freedom to try things and see what happens. Or Sue who received a bundle of fat quarters from a girlfriend for her birthday. After the first set of lessons she was able to download the fabrics and audition them in a quilt. Dotty was inspired by a favorite quilt book. She learned that she can make her own designs and experiment with ideas with a new freedom. Karen had been struggling with drafting a particular block for ages. She had an ah-ha moment after a lesson in Advanced EasyDraw and now has a path forward. See their current quilt designs (and much more below). And consider joining Tech Know Quilters during the next flash sale. To make sure you get notification of the sales, sign up for the Tech Know Quilter's wait list here. 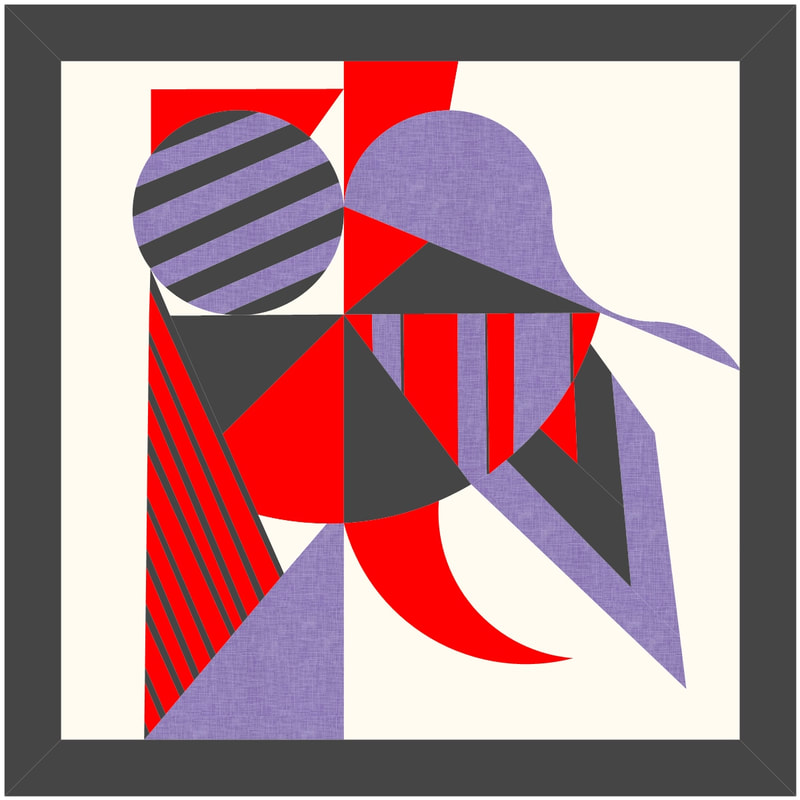 Mary Groesbeck Here's my favorite from More Optical Illusions...I'm "piecing" it now. I decided to piece all the striped pieces and then reverse applique them into the circles/triangles. I have beautiful grunges in these colors and am very excited about it. It will be 24" and I will stretch it on a canvas for a wall hanging. The most important thing I got from the class was an expansion of my freedom to just try things and see what happens. This is what I did here--just put things in and if I like them they stayed. It gave me more freedom to just express myself without the restraints of things like reality (the impossible designs from the classes). I've always been willing to color outside the lines, but when designing quilts I felt a little constrained by tradition and what I had seen in the past. I've set myself free with Kari's guidance. 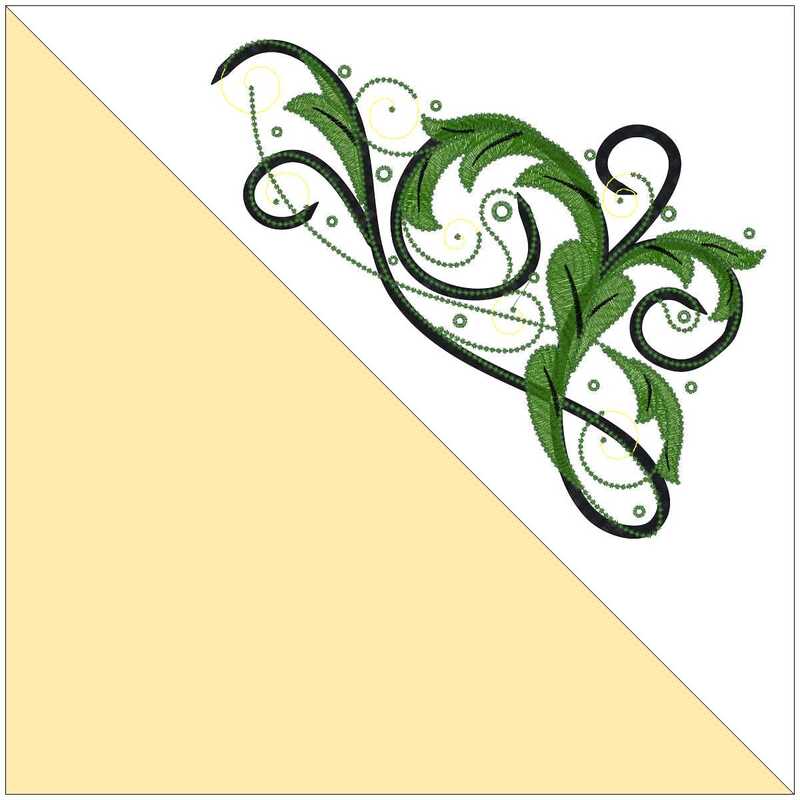 Debbi Treusch This class and challenge is great timing. I have a quilt on my longarm with 19 inch triangles in each corner. I used skills I learned from the Encyclopedia of Applique class to create a quilting stencil from an embroidery design. The green is the embroidery design I used and the black swirls are the stencil. I'll print this "quilt" at full size on normal printer paper, then stabilize it with freezer paper for marking on my quilt. Thanks Kari for a great class!! I am much more comfortable now with editing applique patches. 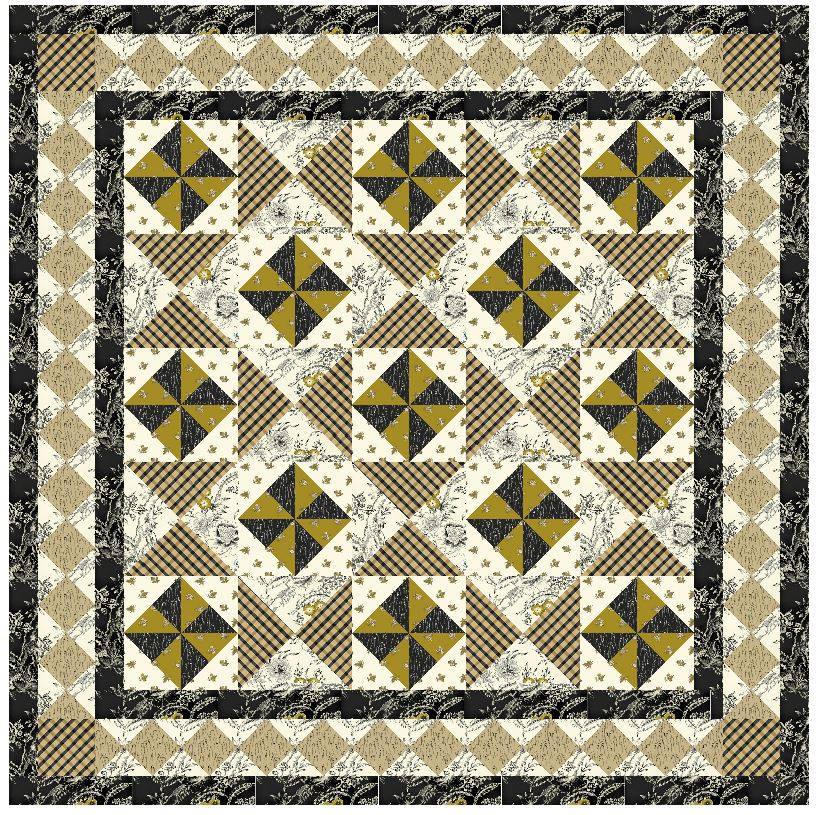 Sue Tapp I had just received a wonderful bundle of fat quarters from my girlfriend for my birthday. I had to put them in this quilt. I was so cool to be able to go to the website and download the fabrics. Actually, I had to use the snipping tool and there is no way I would have known how to do that without these wonderful lessons. I had fun doing some fussy cutting with the plaid material and also "testing" out the different colors in the fabric line until I came up with what was pleasing to me. Thanks so much Kari, you and your classes are top notch! I'm so looking forward to this months classes. 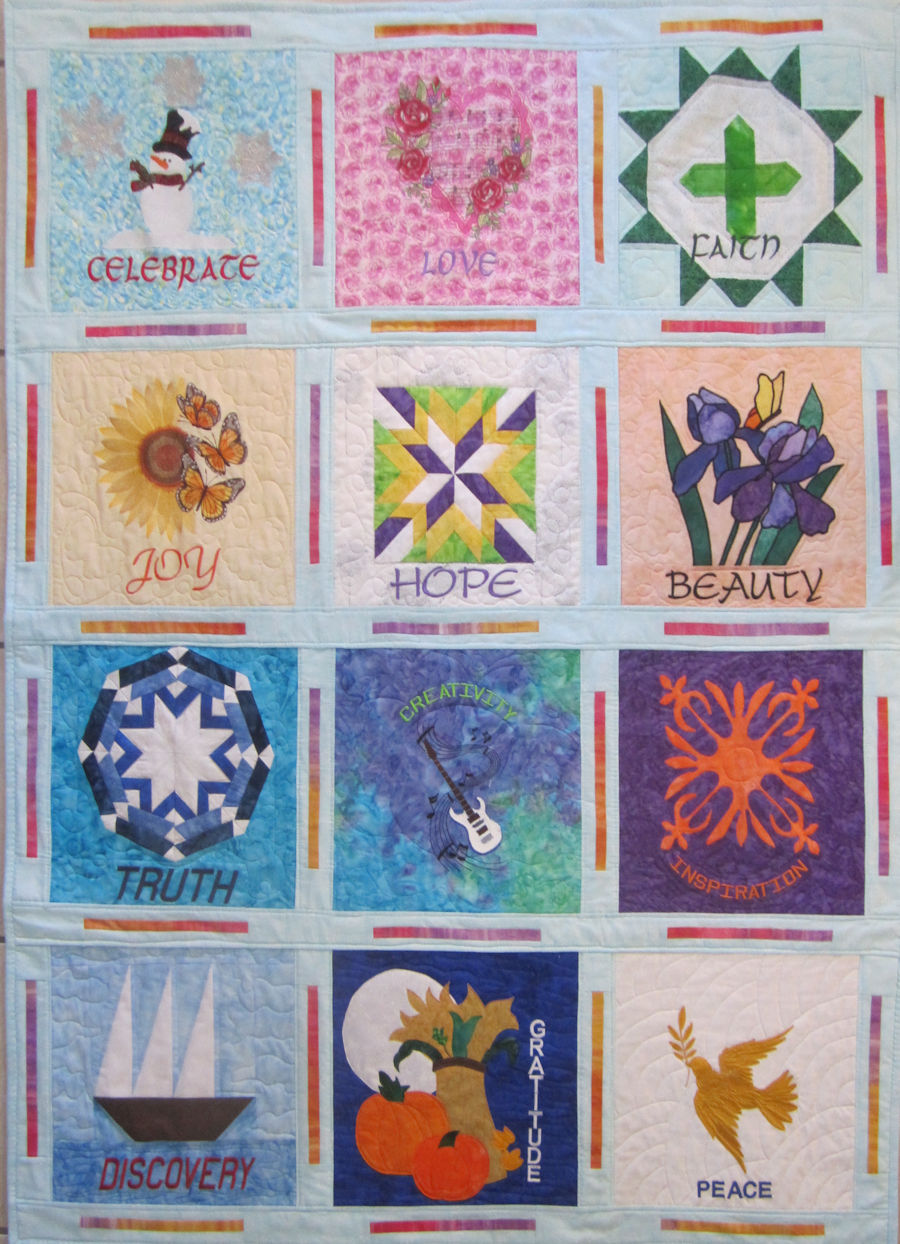 Dotty Smalley I designed this quilt in EQ8 which was inspired by Nancy Halvorsen's "Imagine" quilt and book. I used my own words and blocks from a variety of sources including some from the EQ library of blocks. It took about 3 months to make because I was working on other projects as well. I have learned so much in all of Kari's classes that it is difficult to enumerate every thing. Perhaps the most important thing I have learned is that I can make my own designs and experiment with ideas with a new freedom. I am currently in the "Masters Encyclopedia of Applique" class and each class has taught me to have fun. 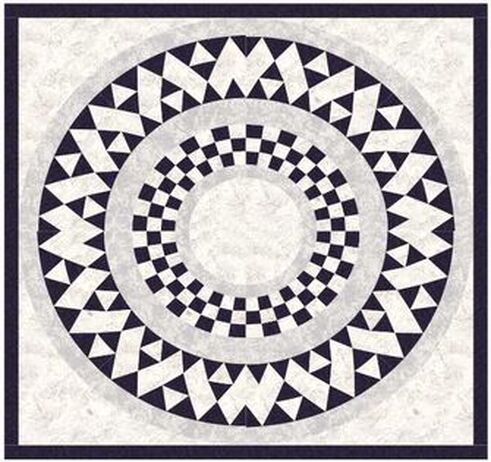 Karen Humphrey I have been working on a quilt block for ages and it is what inspired me to take the TKQ classes. Working on this advanced EasyDraw lesson last night gave me an ah-ha moment and I was able to create the closest block to date. I was so please...btw I stayed up until the wee hours of the morning to work on it. The repeat isn't perfect but that's ok, I have a path forward. I can't wait to finished this module as it's been super helpful in my quest.
During the video this week, I will share the entire drafting process. Even my trick for figuring out the correct proportions of the main blocks versus the sashing.
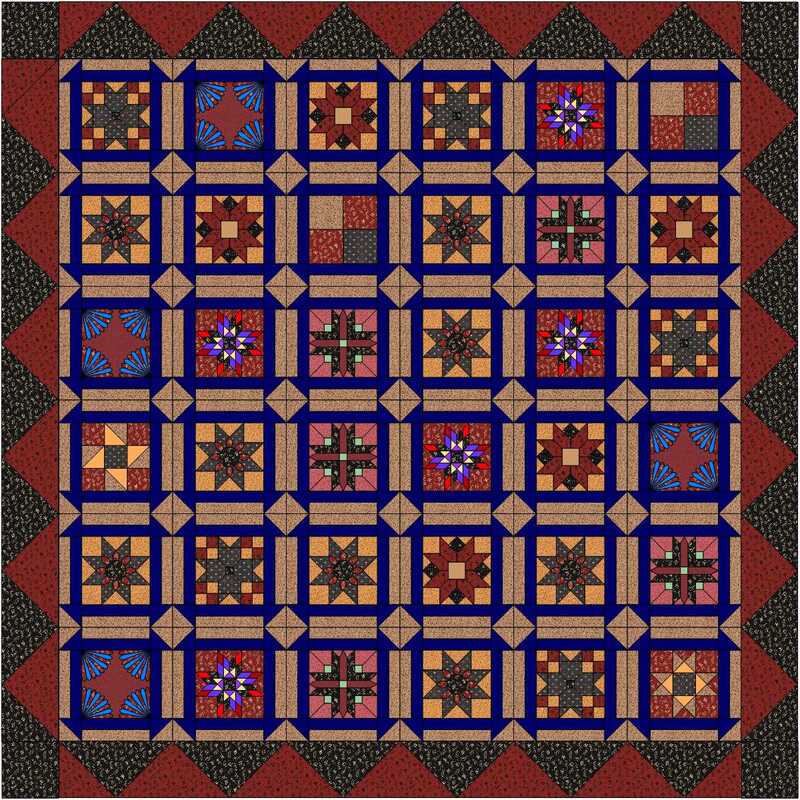
I did take some design license and cleaned up the on point borders so there were the same number (and the same spacing) on all four sides. I am sure the quilter would have done this if she had owned EQ.
Here is the quilt from the video. Now that I have done the "antique" version of the quilt, I am thinking about a modern variation of the quilt as well. But I will save that for a future post.
Would you like to share your quilt? I've set up a post in the Learning EQ Facebook group.
|
Kari SchellElectric Quilt Expert and Educator and Pattern Designer. Categories
All
Archives
July 2024
|







 RSS Feed