|
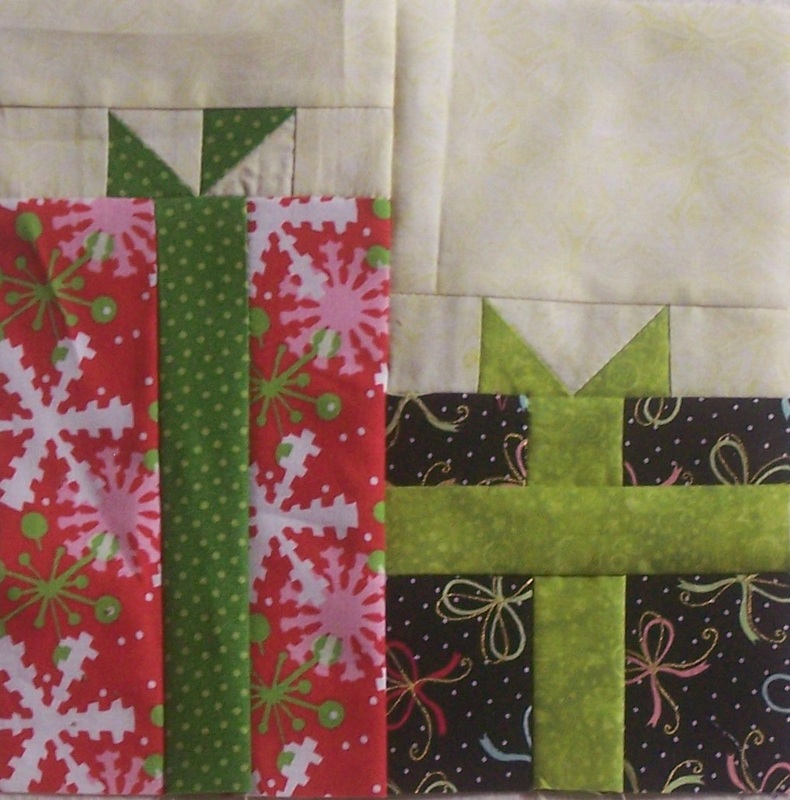
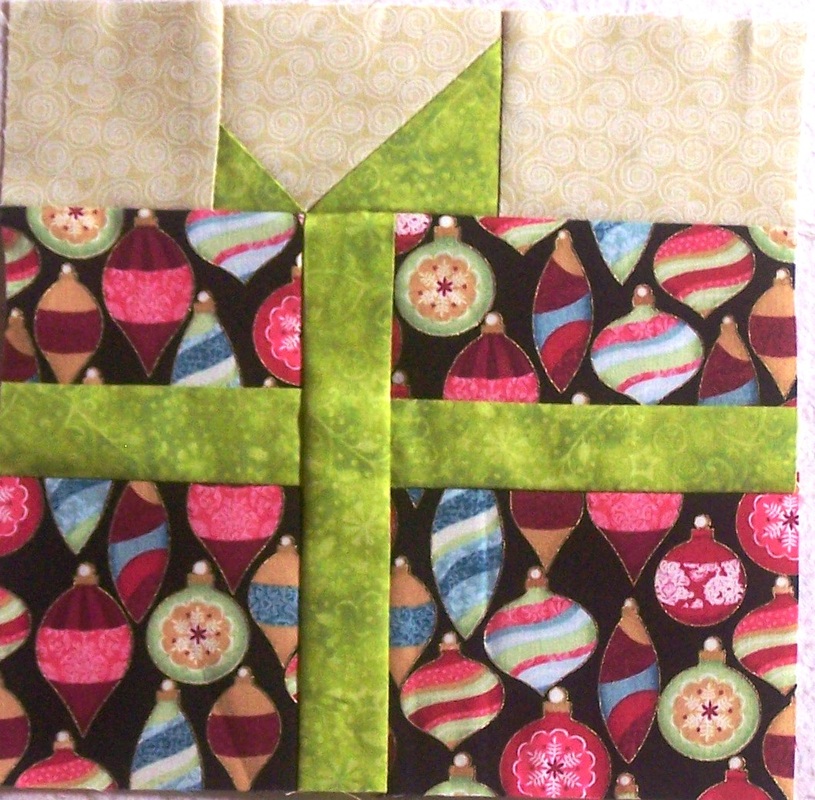
I hope you had a great Thanksgiving. Did you get any quilting done? It is now officially time to focus on Christmas. I'm hoping you are ready to work on Block 3. This block has two presents in it -- a large and a small package for under the tree. The block will measure 8-1/2" x 8-1/2". Instructions for the block are here. As a reminder, the free instructions will only by available until the end of the year. 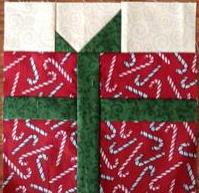 Christmas Presents Block 1 created by Sherry Perry Christmas Presents Block 1 created by Sherry Perry Sherry Perry posted her Christmas Block 1 on Facebook. I love the fabrics she used. 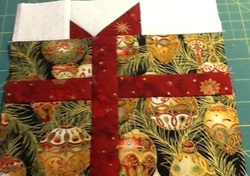 Diane R. Christmas Block 1 Diane R. Christmas Block 1 Diane Rose shared her Block 1 with me. Fun! 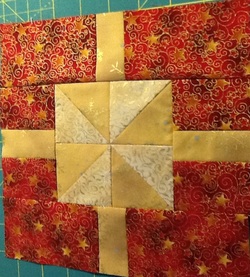 Diane Rose Christmas Presents 2 Diane Rose Christmas Presents 2 Diane also got her second block done. Thanks for sharing. Happy Quilting
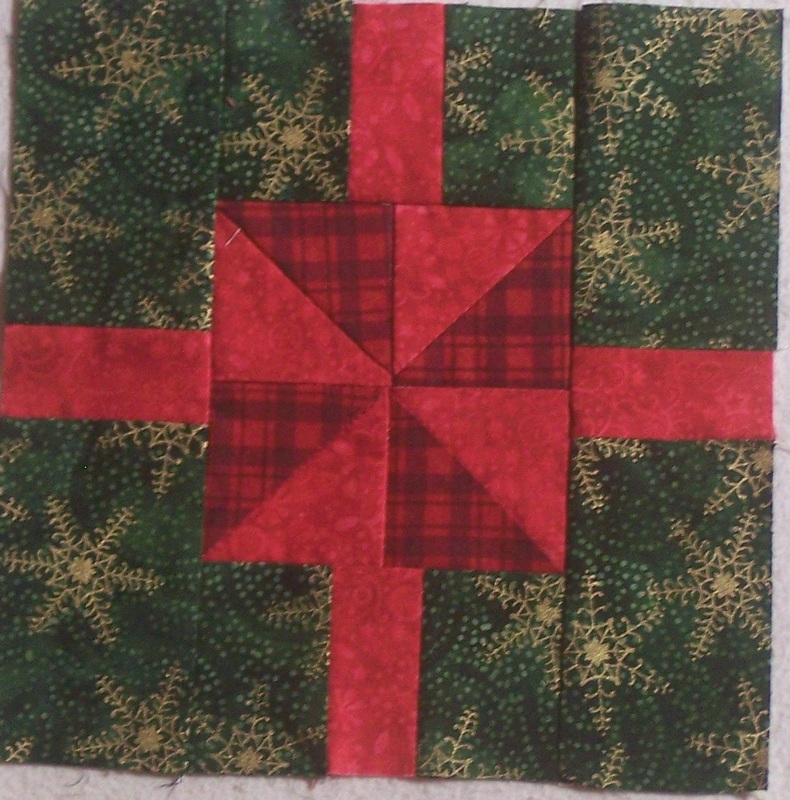
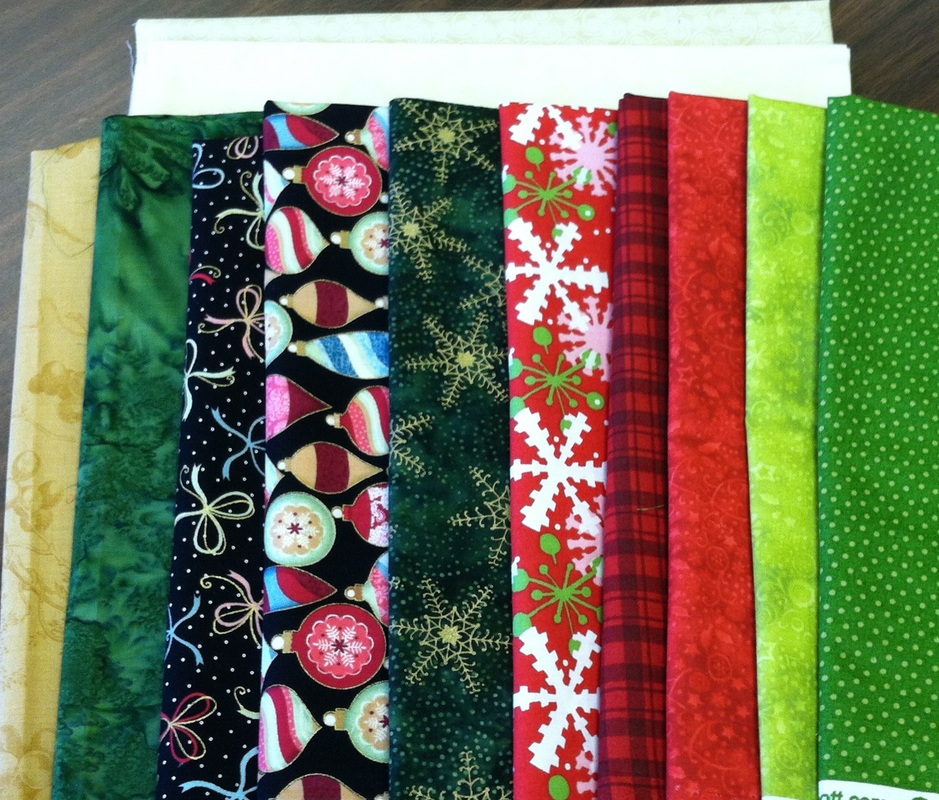
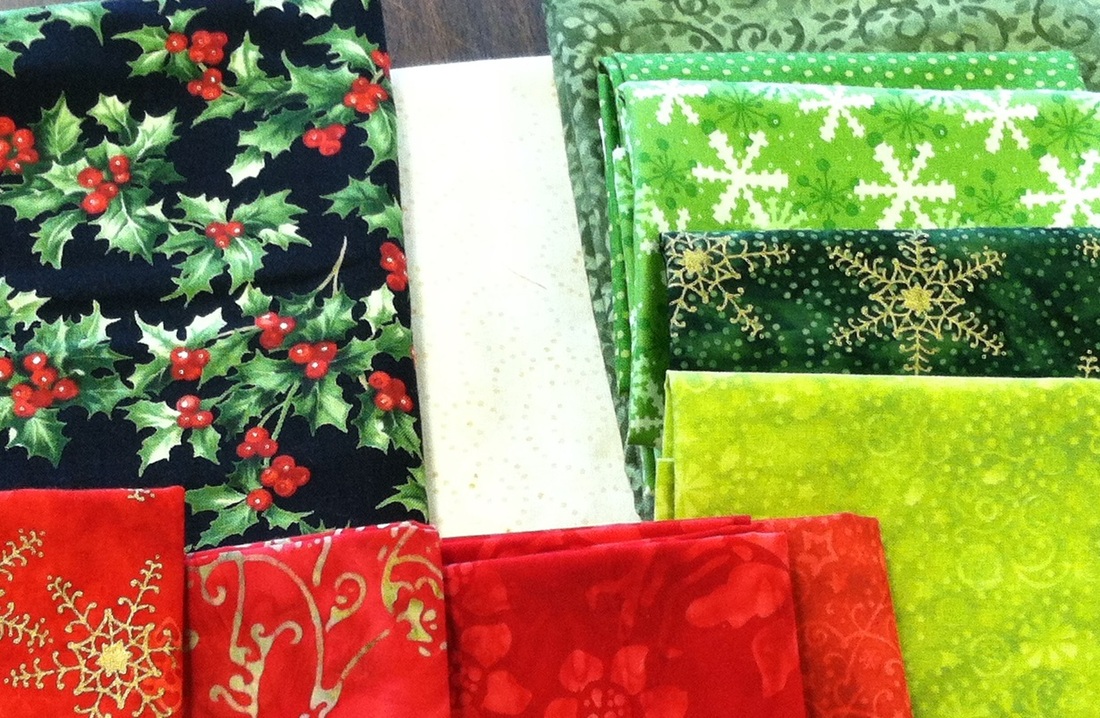
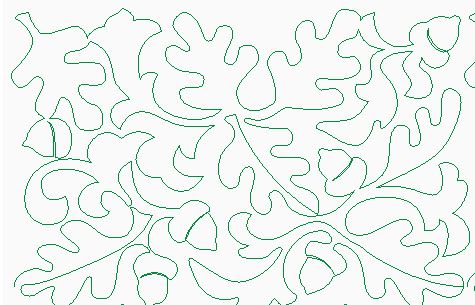
Kari Schell On Point Quilter I hope everyone enjoyed sewing block #1. As a reminder these instructions will only be available until the end of the year. This week I am sharing instructions for block #2. There are two fabrics for the bow (creating a pinwheel bow in the center), along with a fabric for the wrapping paper. If you are still puzzled about fabrics, I've taken a photo of the fabrics used in this project. Here are the fabrics my friend Kim is using. I really like the holly print she is planning to use for the border. Machine Quilting SaleTo celebrate the end of fall, 25% off machine quilting orders with "Old Oaky" pantograph design. Offer good on orders placed through end of November. This design works very nicely on quilts for a favorite guy in your life. Contact me if interested in a quote. Wishing each of you a fabulous Thanksgiving.
Happy quilting. Kari This time of the year I start thinking about Christmas presents. Like many of you, I love to make small quilted items as gifts for friends and family. Last night I spent some time on Electric Quilt 7 playing with a number of options for a small wall-hanging/table runner that could be used to decorate your house or given away. I thought it would be fun to share the instructions for the blocks with you over the next few weeks (three weeks for blocks and one week for setting instructions). This will give you plenty of time to get the project completed in time for Christmas. I will provide you the secret link for the block instructions each week. The instructions will remain posted until the end of the year. So please either print them off or save them prior to that time if you are interested in a copy. Information to get you started. There will be two setting options. One will finish 30" long by 14" tall. The other will 32" tall by 14" long. I am piecing the second one and will share photos of my finished blocks each week. It will make a great wall-hanging for a door. Fabric requirements:
I used the Perfect Corner Ruler™. However instructions are given if you do not have the ruler. The Perfect Corner Method™ and Ruler™ were both developed by Ruthanna Grihalva, Forever In Stitches, LLC. Additional instructions on using the Perfect Corner Ruler are provided in my 11/9 blog posting. Here is block #1. Please post a comment if you have any questions on the instructions or construction method.
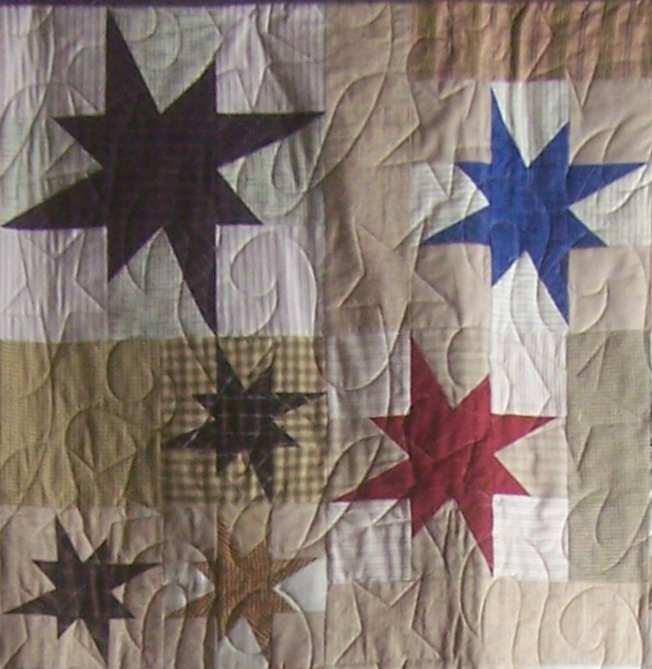
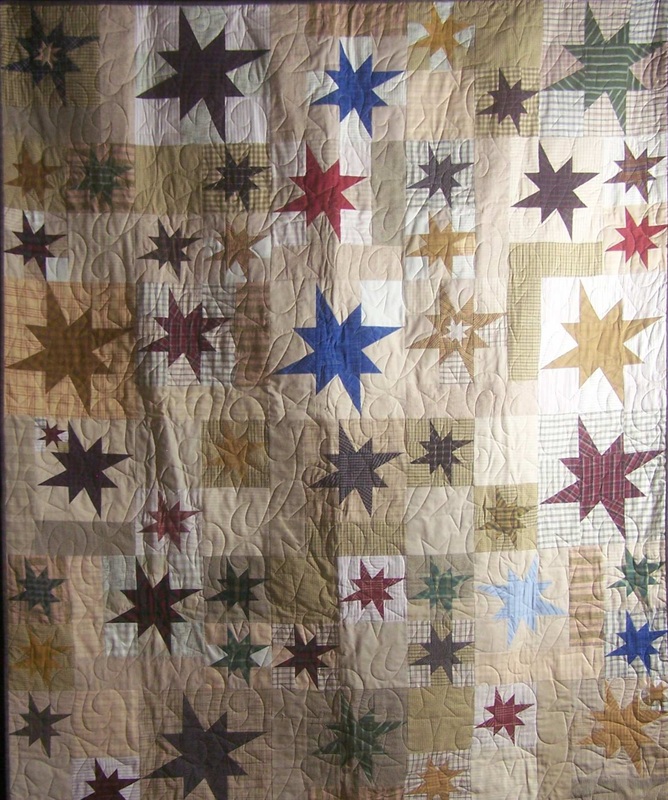
Happy quilting. Kari Honoring Veterans in our LivesAs I was reflecting on Veterans Day, I realized that many of us have relationships with Veterans that we would like to honor. Give one of those a call today and let them know you appreciate them. I personally plan to call my Uncle who served in the Korean war. Honor them with a QuiltThere are a number of awesome free patterns on the internet that can be used for a quilt to honor a veteran. Obviously anything with a star theme works well. Also any quilts in patriotic colors. Let me share a couple of them. 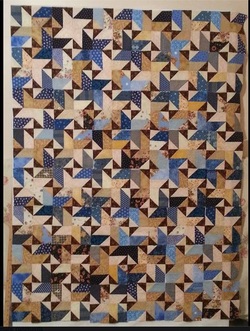 Stark Struck by Terri Karash Stark Struck by Terri Karash Star Struck by Terri Karash. The design is by Quiltville and is offered as a free pattern on Quiltville's website. 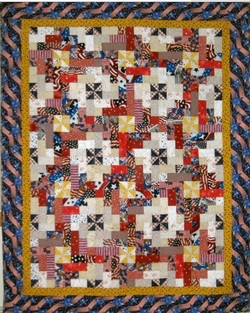 Pinwheel Plus by Lisa Feor Pinwheel Plus by Lisa Feor Pinwheel Plus offered on the Quilts of Valor Foundation website. If you are not familiar with Quilts of Valor, check out their mission and how to participate. Favorite Quilting Patterns for a Veteran's Quilt20% Discount - Veterans Day OfferIf you are interested in me quilting your Veteran's quilt, I will offer you a 20% discount for any bookings using these edge to edge designs during the month of November. Just mention this post. (Note that you do not need to send me the quilt in November -- just complete the booking at this time.) Information and standard rates on my machine quilting services are available on my website, or just send me a note to schedule an appointment to discuss. Here is the full-size picture of the quilt I did with Star Dance quilting. Happy quilting.
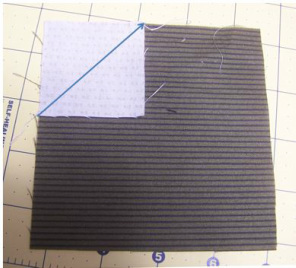
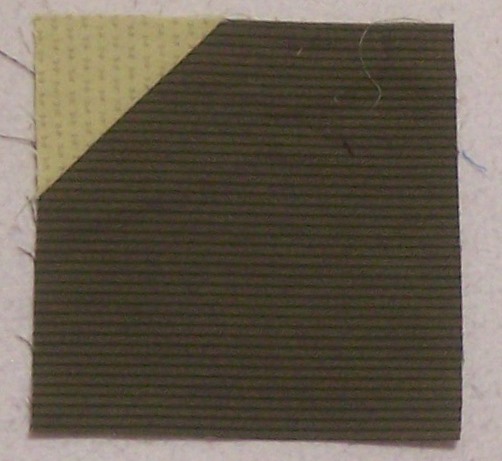
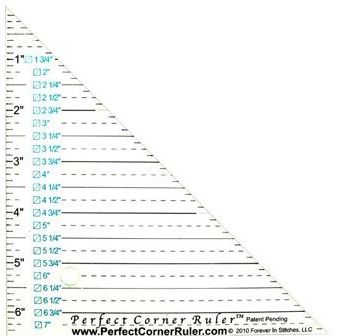
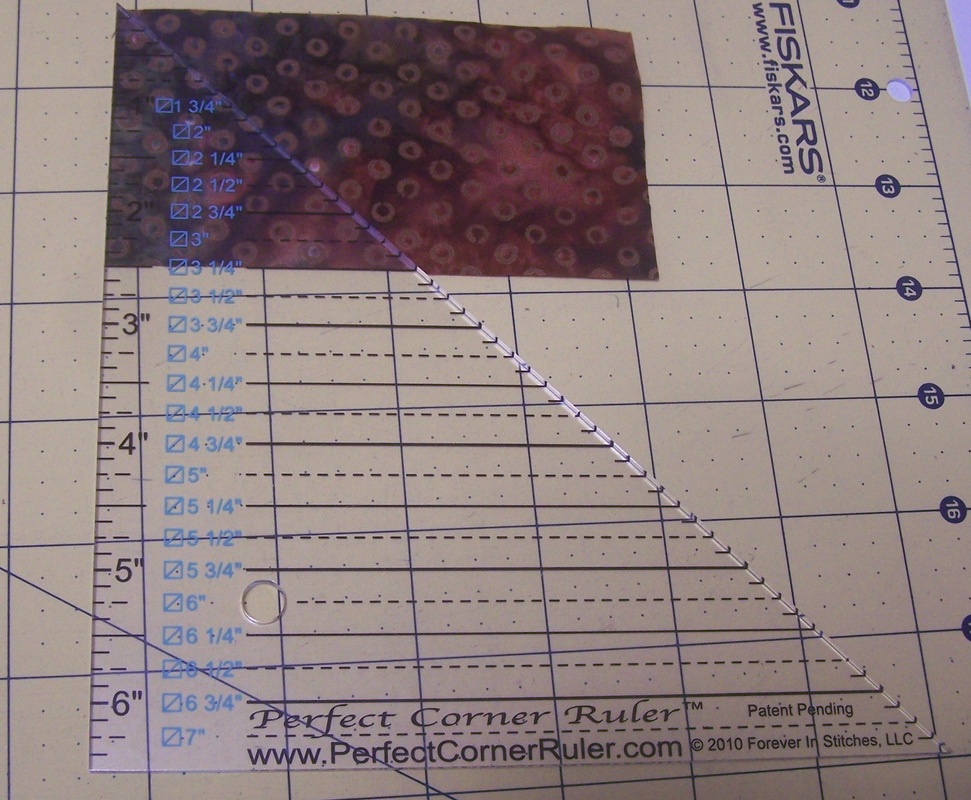
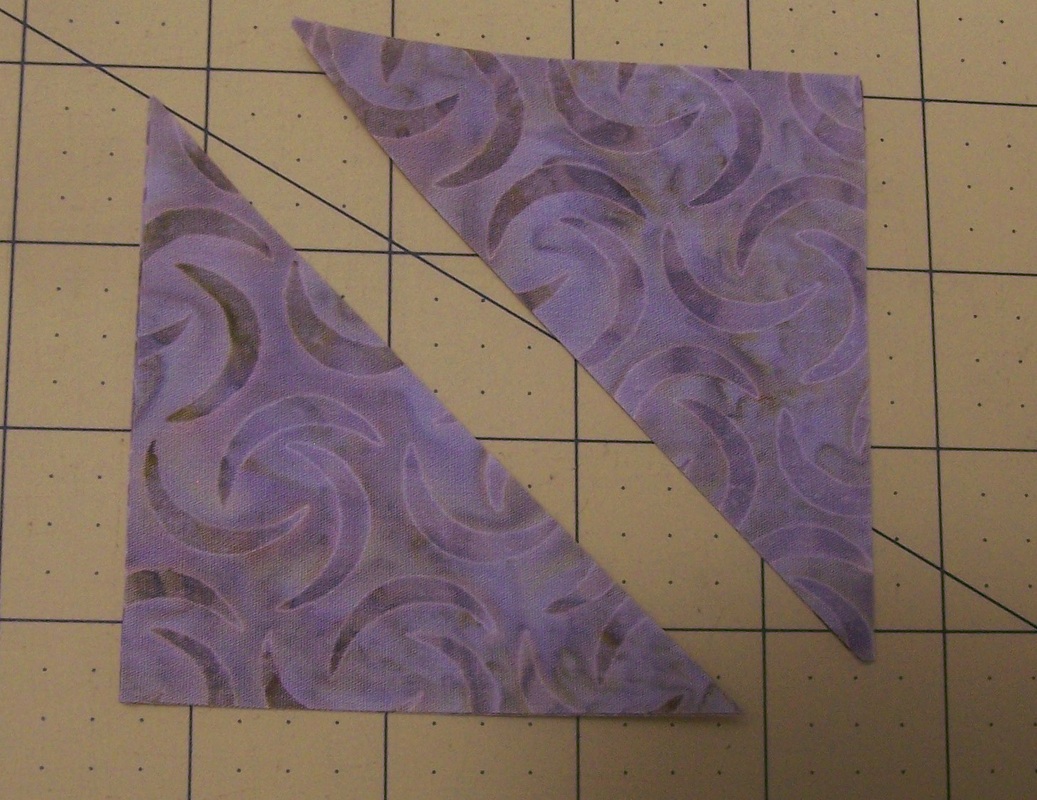
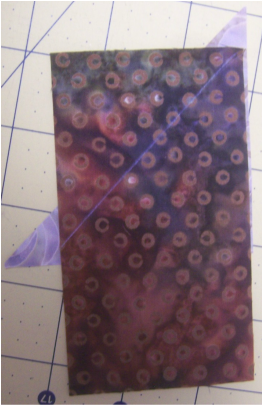
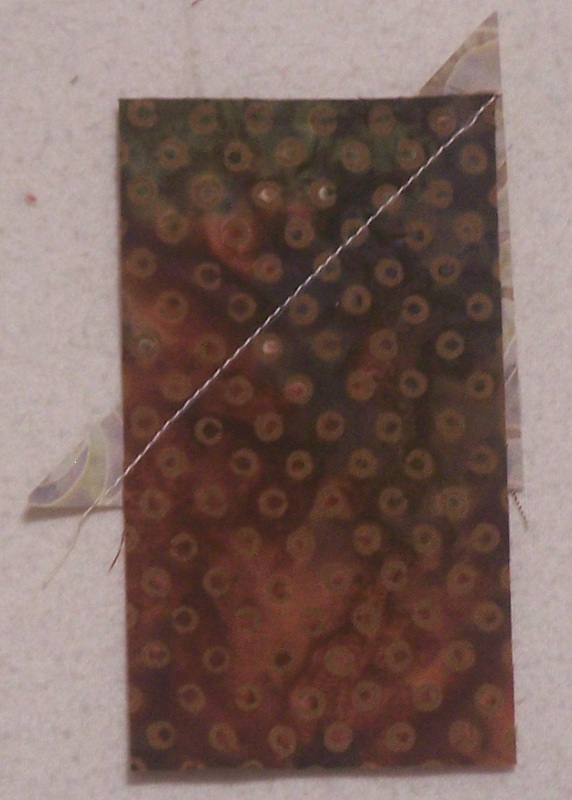
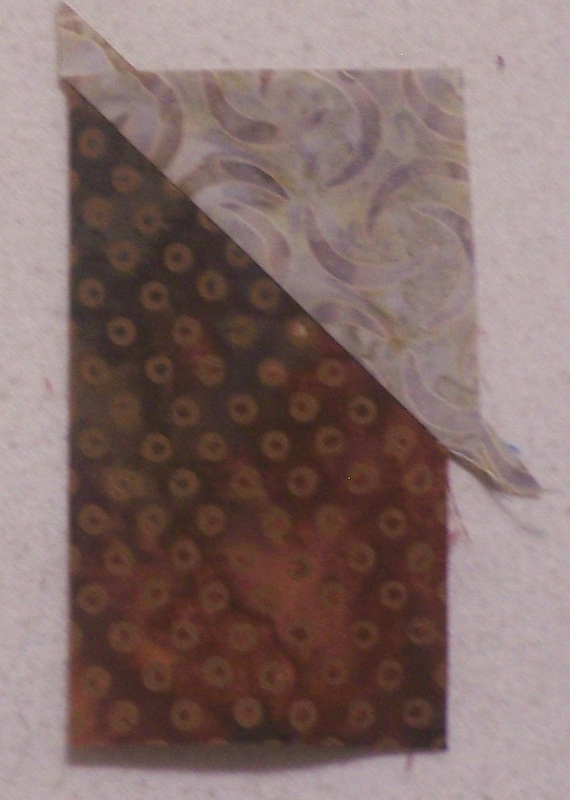
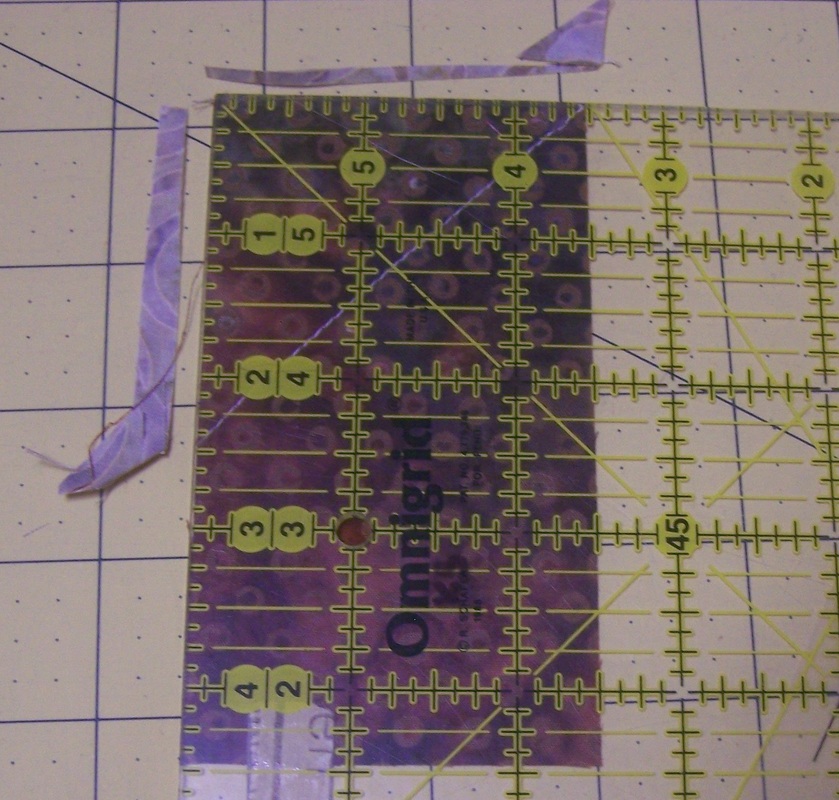
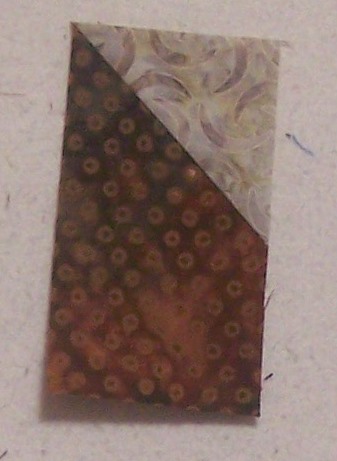
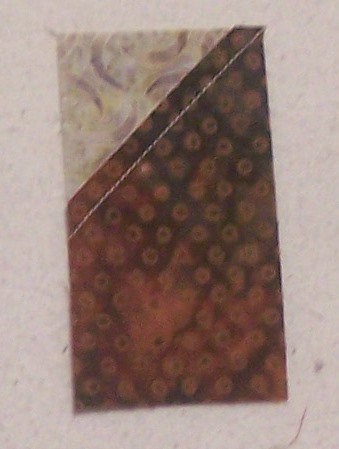
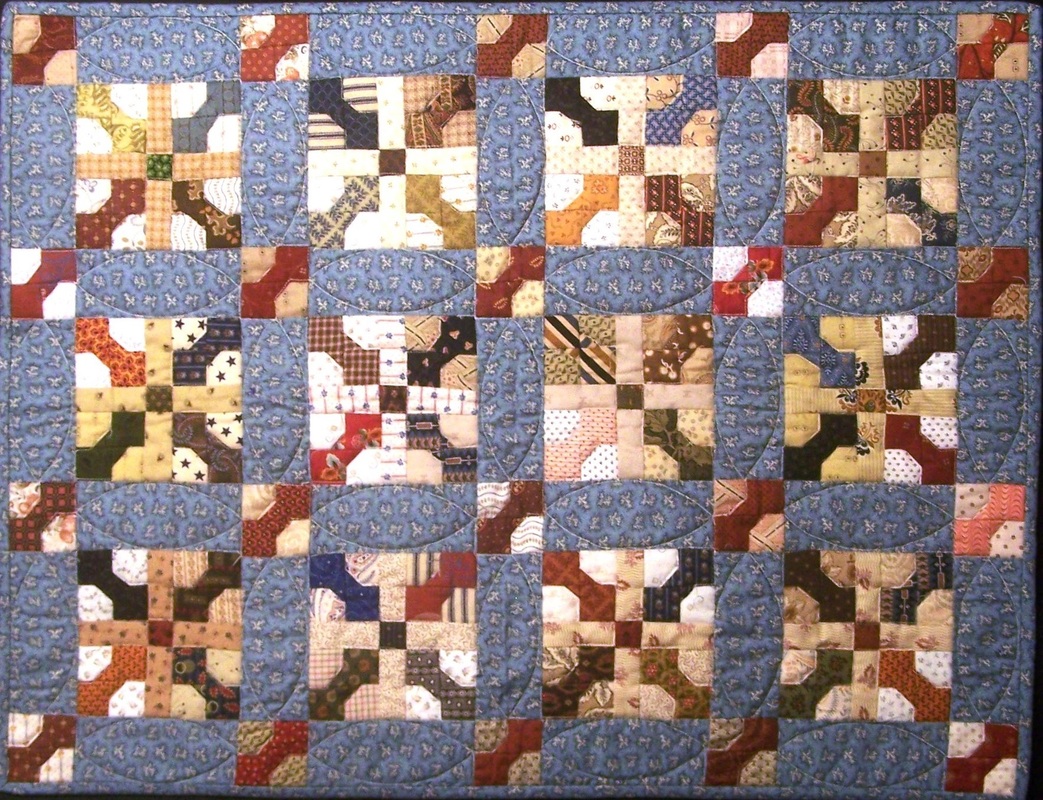
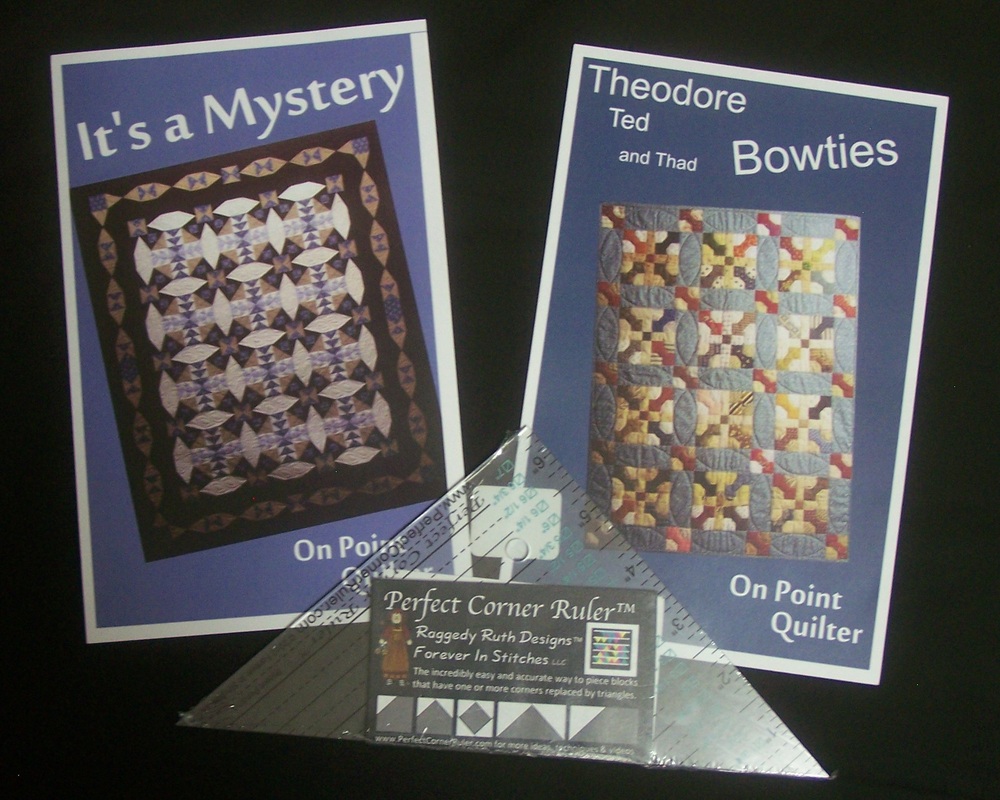
I was going to label this post -- are you a cheater? Then remembering this is the internet and thought I needed to tone it down a bit. Back when I started quilting, I had a book from Mary Ellen Hopkins entitled "It's OK if you Sit on My Quilt Book". In this book she introduced the quilting world to connector corners. I think this may have been one of the techniques that revolutionized modern day quilting. Over the years I have heard a number of names for the technique including "cheater corner" and "folded corner". The technique refers to a method of adding triangles to a quilt block. It is frequently the suggested method for creating snowball blocks, square within a square units and flying geese units. Although I've used the technique over the years, I found that I would have some fabric slippage or I would stretch the fabric in the pressing process -- resulting in less than perfect results. A couple of months ago my friend Karen S. introduced me to the Perfect Corner Ruler™. It is built off the Folded Corner concept. However the variation on the technique gets rid of some of the challenges with the folded corners. The Perfect Corner Method™ and Ruler™ were both developed by Ruthanna Grihalva, Forever In Stitches, LLC. How to Use the Perfect Corner RulerUsing the ruler, draw a diagonal line on the wrong side of the base piece of fabric (this is the piece the corner will be added to). The measurement to use for this line is exactly the same as your folded corner measurement. Cut corners. The square these corners are cut from will be 3/4" greater than the drawn line square. (The ruler will tell you what that measurement is. And when I incorporate these instructions in a pattern I do the same.) Place one of the Corner Triangles underneath the Base unit (right sides together). You will want to make sure that about 1/4" of Corner Triangle extends beyond the sewing line. The sew directly on the line. Fold the Corner Triangle into position. An added benefit is that the seam allowance can be pressed either away from or towards the corner. Here is the MAGIC! Align a square ruler to the original size of the Base Unit and trim off the excess Corner Triangle fabric. Finish by folding the Corner Triangle down out of the way and trimming the excess base unit fabric. I have found that I am more accurate when I use this technique. It can be done without the "official" ruler -- but I can't resist adding another tool to my quilting supplies. And I think the ruler makes the process go a little bit faster. I've incorporated the technique in my latest pattern - Theodore, Ted and Tad Bowties. Take a look if you are interested in a fun "guy quilt". On Point Quilter Goes SocialI officially launched my Facebook page this week. To celebrate I will be doing a drawing for all my Facebook fans. The winner will receive copies of my two latest quilt patterns (It’s a Mystery and Theodore, Ted and Tad Bowties) along with the Perfect Corner ruler which can be used in the bowtie quilt. Like my page by November 17th to be eligible. Happy Quilting.
|
Kari SchellElectric Quilt Expert and Educator and Pattern Designer. Categories
All
Archives
July 2024
|





 RSS Feed