
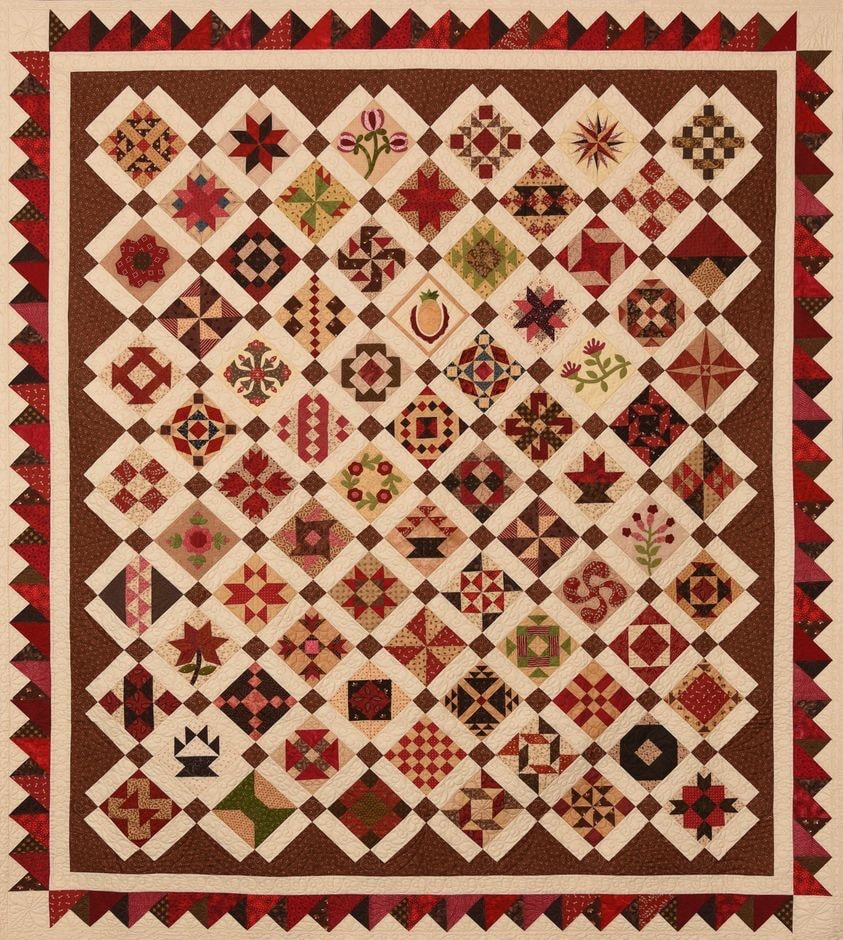
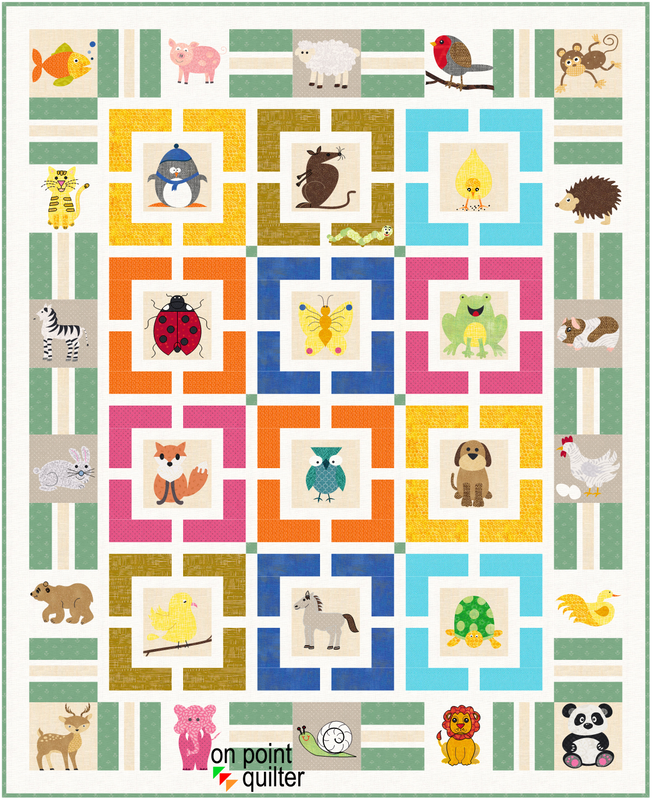
 Critters Quilt by Kari Schell Critters Quilt by Kari Schell
Update on the Critters Quilt
The motors came back from IQ and I was able to finish quilting (using the designs auditioned during last weeks blog post). If you missed the post you can see how to audition images in an EQ design -- without redrafting them in Electric Quilt here. If you live in Minneapolis, you can still catch the quilt in person at the Maple Grove Quilt Show at the Maple Grove Community Center. Show end at 4 pm today (April 29). Calculating Yardage for Binding
I've been quilting for a long time. And I will admit that I typically calculate the number of binding strips manually and multiply the number times the size of strip I like to work with. I personally create my best bindings with strips cut 2-1/4" that are folded together. I sew on the top side of the quilt and fold over to the back. Then either blind hem stitch -- or when I am in a hurry tack down by machine.
For those of your that like the math, here is my formula.
(1) Add width and length of quilt (2) Multiply x 2 (3) Divide by usable fabric per strip (4) Round up to next whole number (this is the number of strips you need) (5) When purchasing fabric, I will add 1 to the number (just to be safe) (6) Multiply number of strips times the size of the strip.
Here is my manual binding calculation for an 80 x 90 quilt.
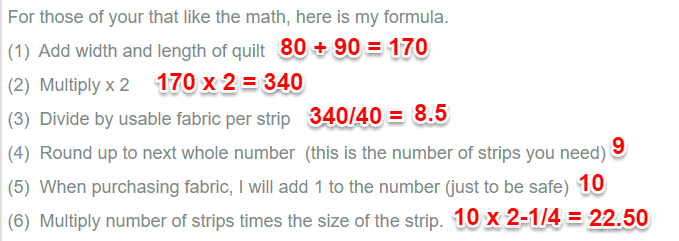
Note that 22.5 inches is the equivalent of 5/8 of a yard.
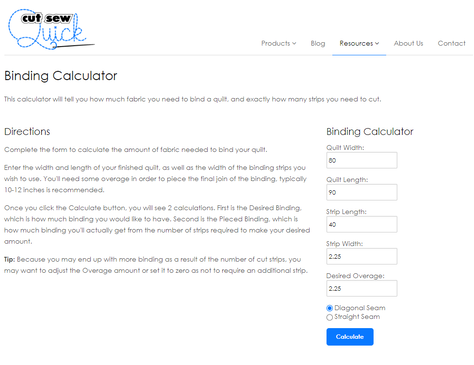
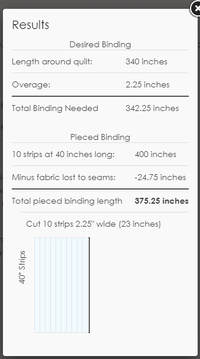
On Line Calculators
There are a number of websites that offer calculators for us that essentially go through this calculation process without needing to do the math. Here are a couple of examples.
Omni Binding Calculator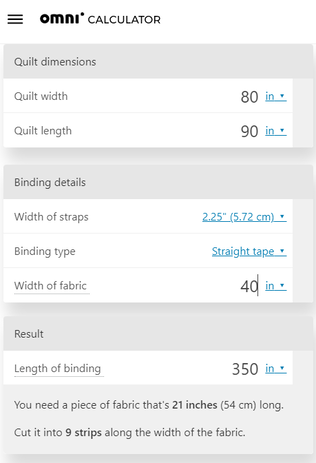
If you own Electric Quilt 8, you have the option of creating your own binding calculator. No need to rely on an online version -- or go through the math.
Why is creating a separate binding calculator necessary? When creating my quilt projects, I typically will set the binding size at .375 - which is 3/8". This mirrors what the front of my quilt looks like after the binding is finished. However it doesn't result in accurate yardage as Electric Quilt will assume that the strips will be cut .875 (7/8 of an inch). Essentially it will add the seam allowances to the "finished" size as shown in the designed quilt. They have no clue that I am doubling the fabric and folding it over to the back side of the quilt for the finishing touches. So I need to be able to tell EQ the size of my strips in order for the program to work its magic and tell me the correct amount of fabric needed for my yardage. Create Your Own Binding Calculator
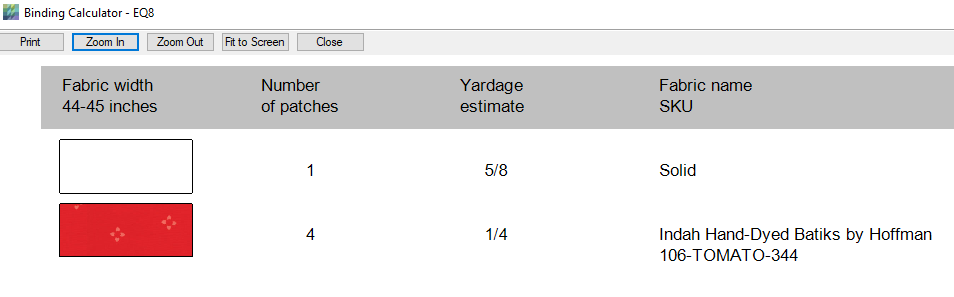
See how to create your own binding fabric calculator project in this short tutorial. You will be amazed at how easy it is to set up. And once it is set up all you need to do is open the project and insert the size of your finished quilt. EQ does everything else.
The first example in the video shows that for the 80 x 90 inch quilt we will need 5/8 of a yard. Notice that it matches my manual calculation above.
To test the EQ8 Binding Calculator, I decided to manually calculate the yardage for the 2nd quilt in the video. This was a smaller quilt (one that was 30 x 20). Here is the manual calculation which shows I need 9 inches (1/4 yard).
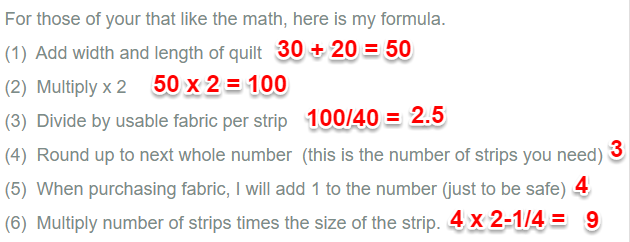
Exactly the same as the Electric Quilt 8 calculator.
Give the calculator a try and let me know what you think in the comments section.
Unfortunately I have not finished quilting the quilt. I have done minimal machine quilting in the last three years and when I put the quilt on my longarm, I found a problem with my computerized system. After some communication with Intelliquilter, they decided that I needed to upgrade my motors, which meant sending them off.
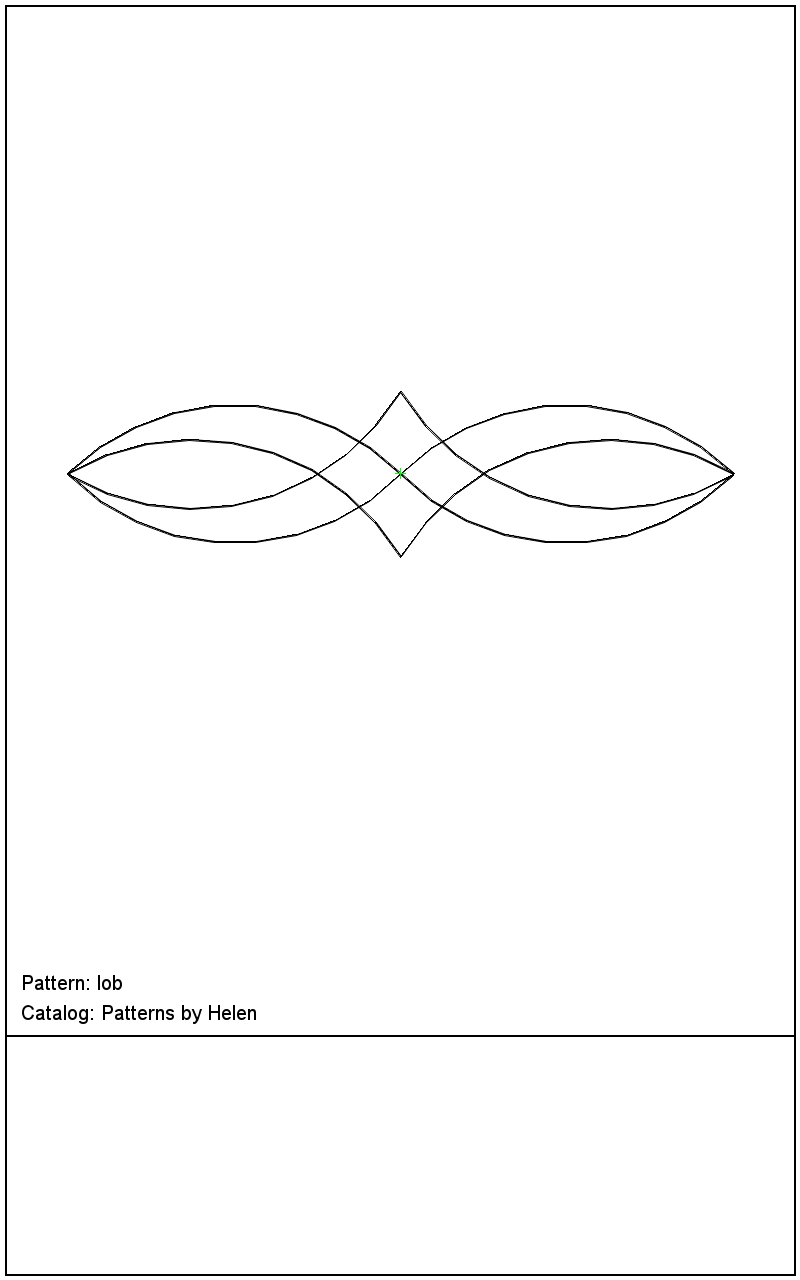
While waiting for their return, I decided that I could still select the quilting designs. I found some designs that were loaded on my Intelliquilter that looked like they would work for the corners for the center blocks and the large rectangles for the border blocks. However, the only thing I can download to my computer is a picture of the designs. Both designs were created by Helen Baczynski for Intelliquilter.
I could always trace the designs as applique motifs in Electric Quilt and set them on my quilt. But sometimes we don't always have time for that.
So I thought I would share a short-cut in my video this week. Rather that creating motifs we will use pictures of the quilting designs for auditioning the designs on the quilt. I won't be able to change the "color". But I will still be able to figure out size and whether it will look good in my quilt.
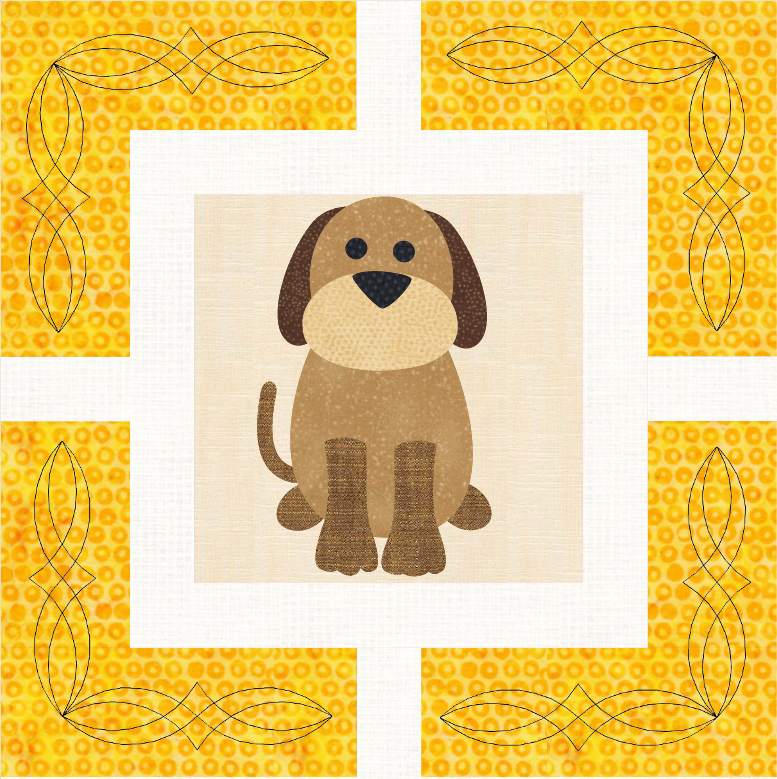
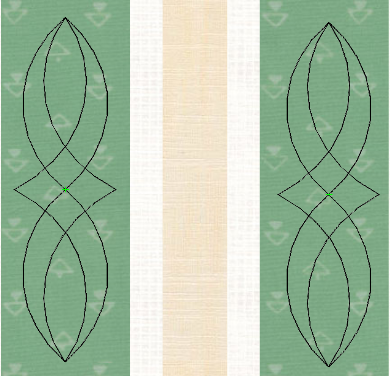
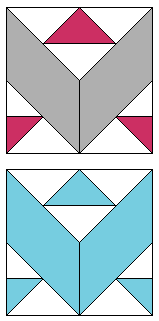
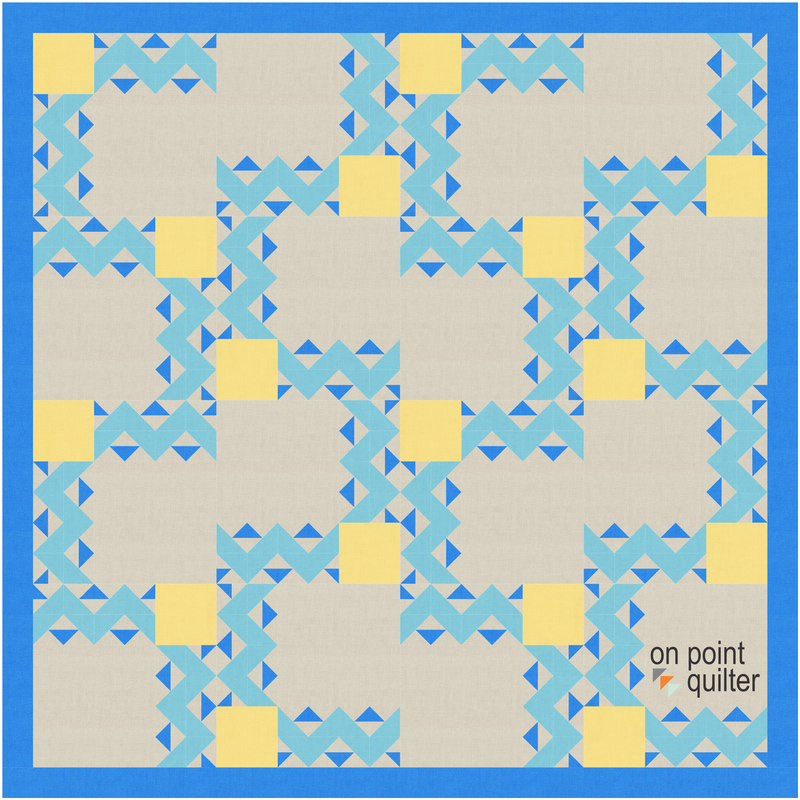
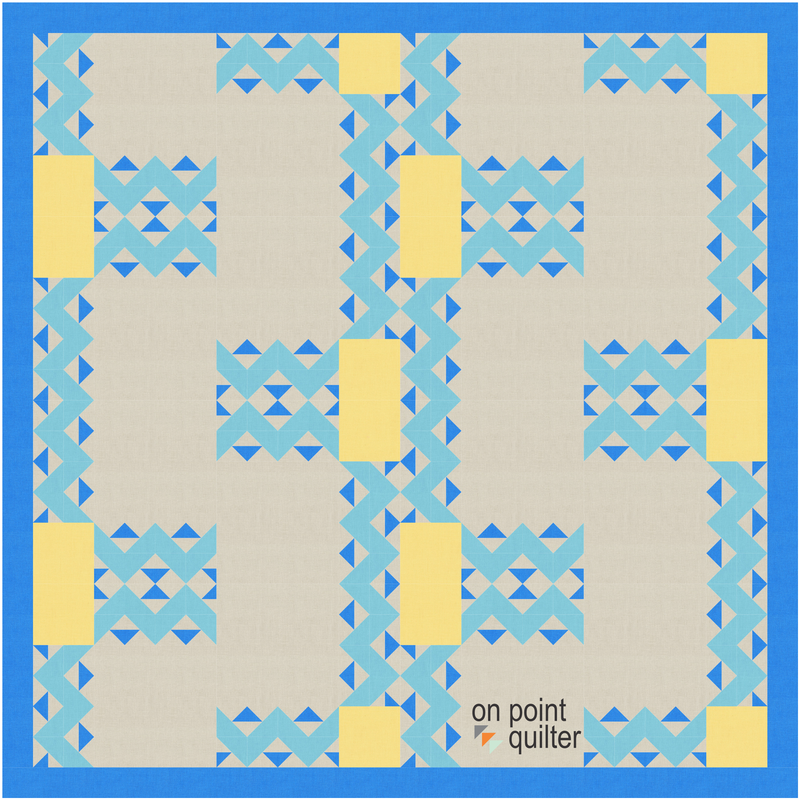
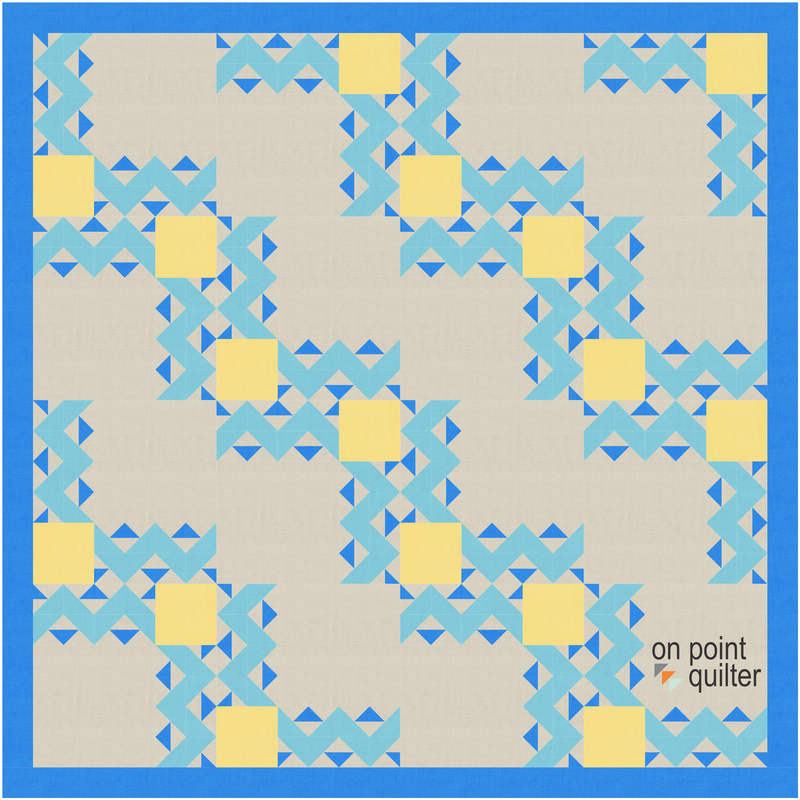
Here are the close-ups of my auditioning.
Yikes. "Only" 84 spaces to fill. Can I get this done in time for the show? If I do, I will post pictures on next weeks blog post.
Maple Grove Quilters 2022 Quilt Show
Maple Grove Quilters 2022 Raffle Quilt
And creating the piece allowed me to focus on the upcoming Easter celebration.
See how to create your own foundation friendly Easter landscape quilt in my video for the week.
Coloring the Quilt
In my initial rendition, I played with colors instead of fabrics. Using the colors in the inspirational photo, I added some gradations in EQ. Then I took a few of the colors from those gradations and did a search for fabrics in the library. I included all EQ libraries in my search, knowing that I wanted primarily batiks and tonal prints. To keep the video under 10 minutes, I did not include this process in the video. However for those in Tech Know Quilters, take a look at Lesson 12 in Working with Fabrics for a better understanding of grades and Lesson 13 Randomize for transitioning from colors to fabrics. 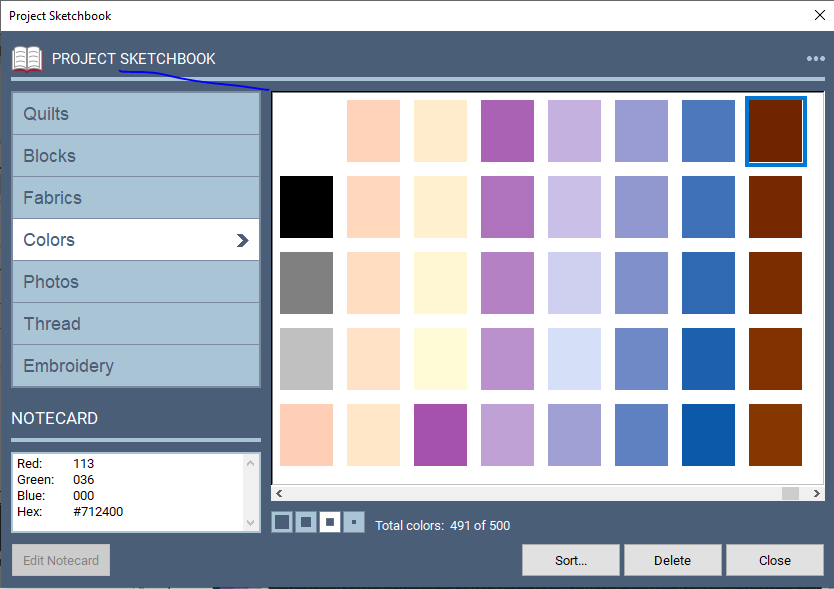
Added Gradations in the Project Sketchbook
Here are my final fabrics if you would like to look for something similar. I probably downloaded over 100 fabrics. Did randomize to convert the colors to fabrics and then then swapped out fabrics that I didn't like in the quilt. Once the quilt was done, I did a compress project file size to eliminate everything that wasn't in the quilt.

Fabrics Used in Easter Landscape Quilt
Foundation Patterns
Make sure to save your block before adding the applique. Once the applique is added, Electric Quilt will tell you that the block is too complex for EQ to automatically section and number. You always have the option to section and number yourself. But if you saved the version before the applique, it is already done for you. Here is the sectioned foundation from the video -- all done by Electric Quilt 8. 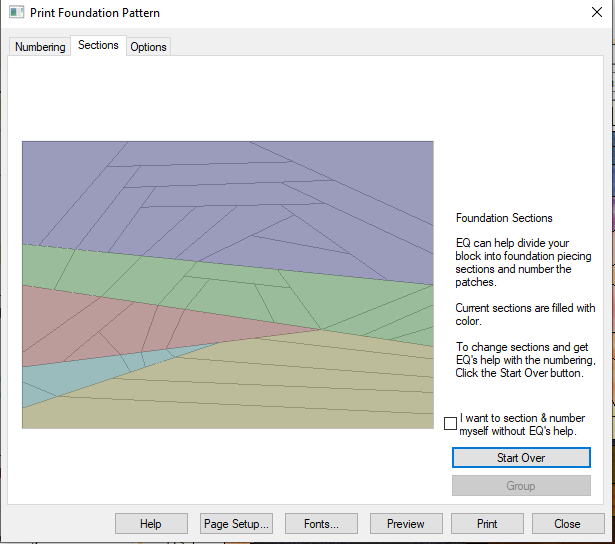
Foundation Sectioning for Easter Landscape Quilt
Here is the quilt from the video.

Do you have a favorite Easter quilt that you have designed in Electric Quilt? I would love to see pictures. (It doesn't need to be this one.) Please feel free to post in the Learning EQ Facebook group.
Happy Easter!
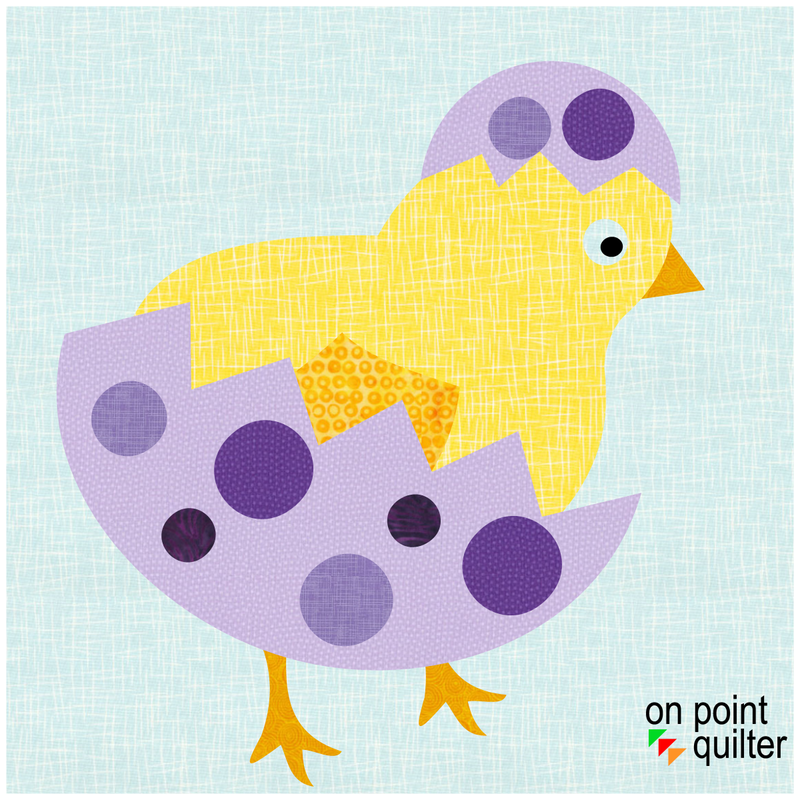
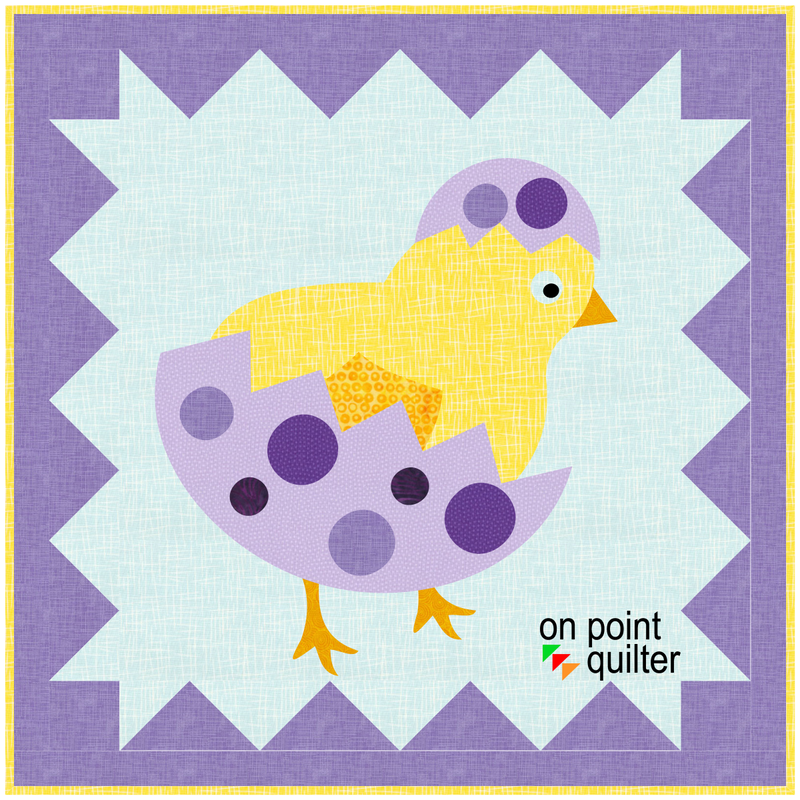
Sometimes those applique tools in EQ8 can be a bit scary to figure out. In my newest tutorial we will focus on three of them while creating a "new chick" block and quilts.
With a few more clicks in EQ, the quilt can be modified to add a second block. Giving me a choice of two different piecing options. I haven't decided which one I prefer. What do you think?
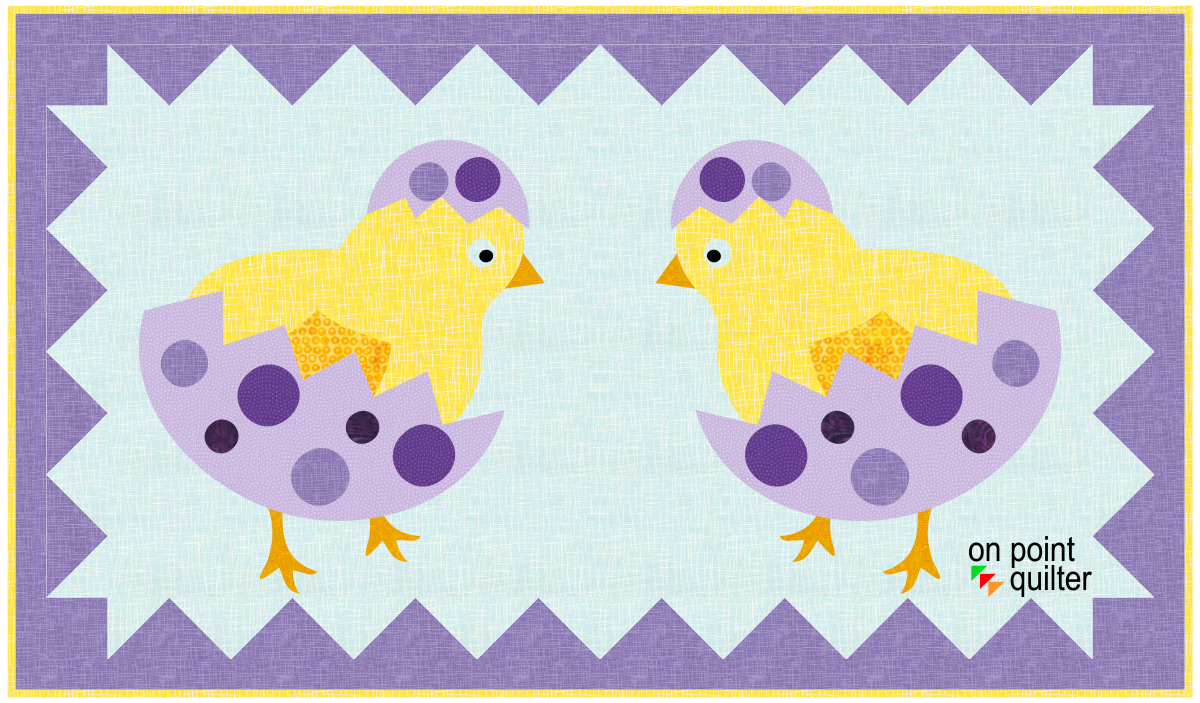
Enjoy the video.
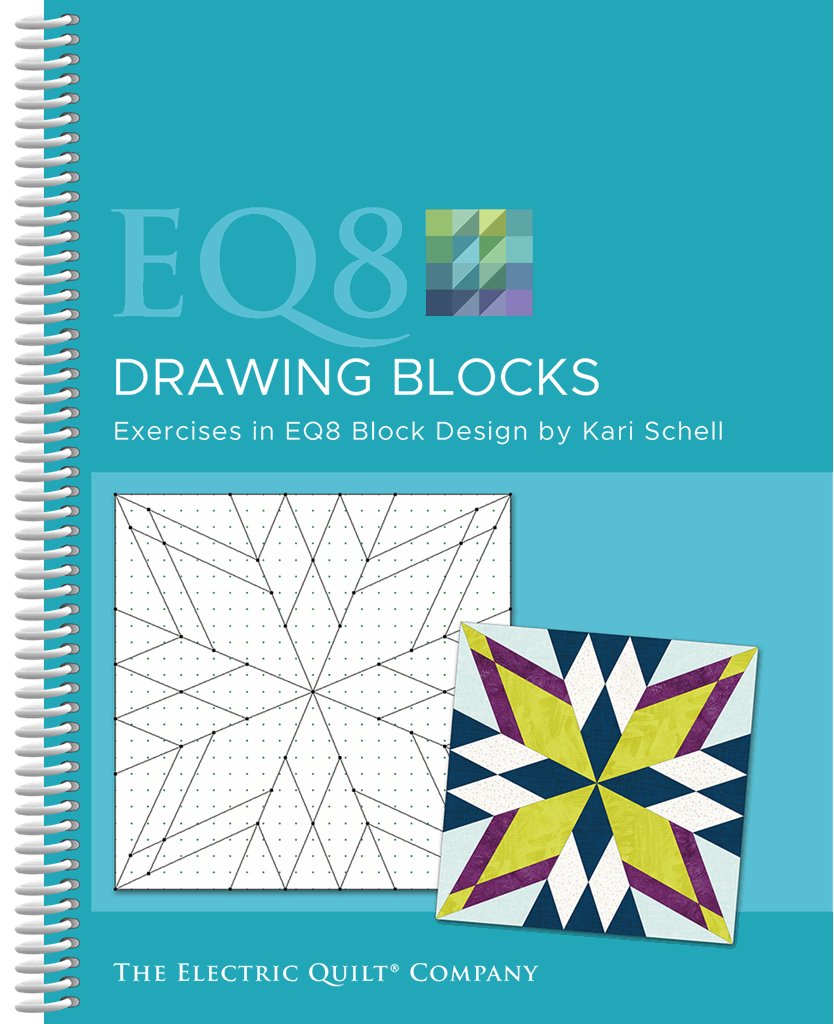
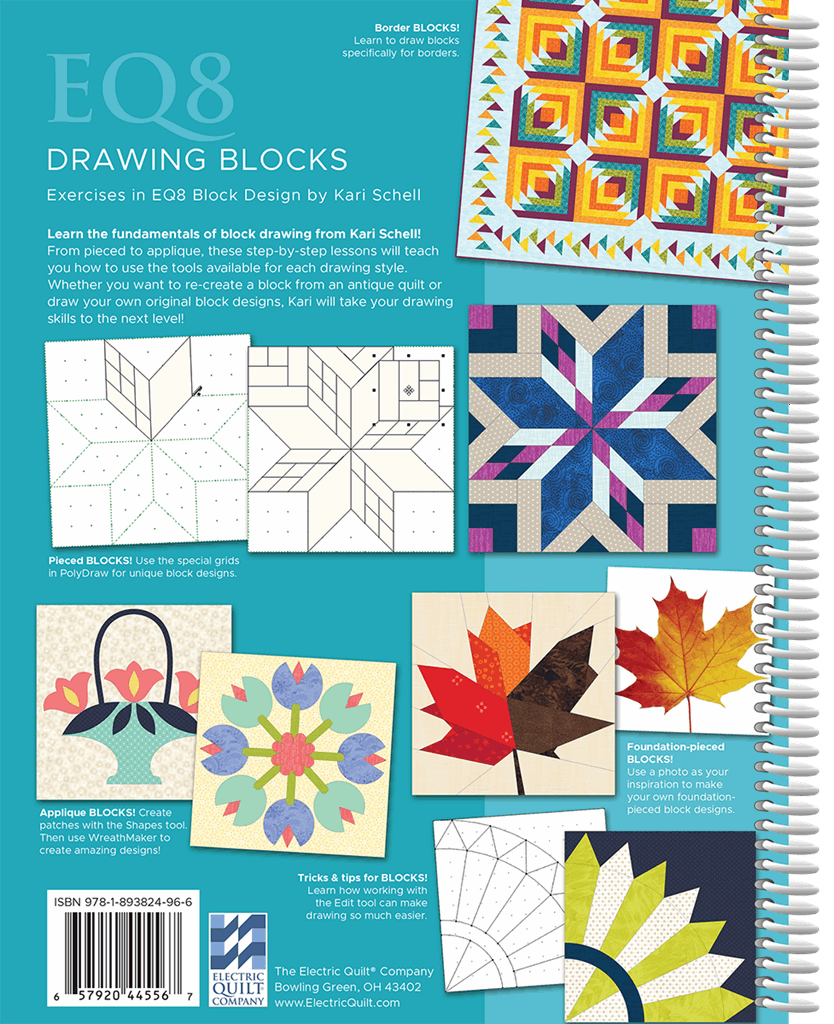
EQ8 Drawing Blocks
Would you like to learn the fundamentals of block drawing. Each chapter focuses on one of the EQ8 drawing styles. Learn how to draw the blocks below, plus many more!
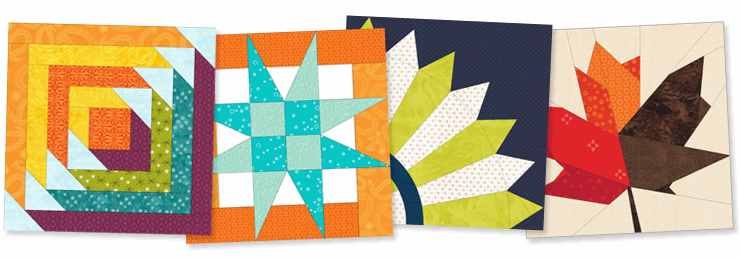
Chapter 1 Drawing Pieced Blocks in EasyDraw
Learn how to set up the Precision Bar for drawing success, determine the best size to draw a block by examining the block’s grid, trace a photograph to create a foundation-friendly block, and more! 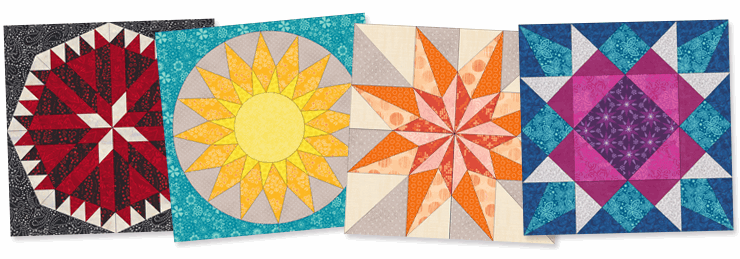
Chapter 2 Drawing Pieced Blocks in PolyDraw
Learn the difference between the EasyDraw and PolyDraw drawing styles, use the Clone and Rotate method for faster drawing, draw a block on each of the special grids, and more! 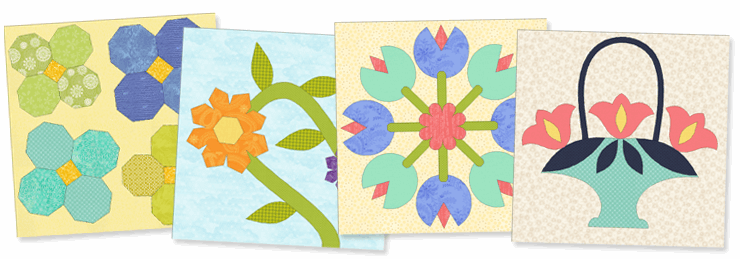
Chapter 3 Drawing Applique Designs
Learn to use the Draw and Shapes tools to create unique applique patches, use WreathMaker to make beautiful designs, modify a block from the library to make it your own, trace an antique quilt block, and more!
On sale through April 15, 2022. I only ship within the US.
If you prefer, I can sign your copy.
In looking back at some old project files, I found a quilt I drafted using the Ribbon Border block. According to my Notecard, the block came from Block Base (the original version) and was from the Needlecraft Supply catalogue in 1938.
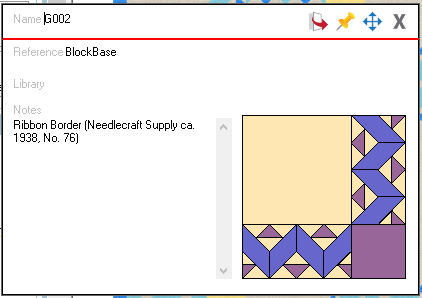
Fortunately the first block (from the original Block Base) is fairly easy to redraft using the tools in Electric Quilt 8. It also gave me an opportunity to modify the block to make it much more piecing friendly. I can now say "no thank you" to the "Y" seams in the original block.
In the video, see how to:
Here are a few of the Symmetry rotation options as shown in the video.
|


Free guide available for newsletter subscribers


Kari SchellElectric Quilt Expert and Educator and Pattern Designer. Categories
All
Archives
July 2024
|


 RSS Feed