
|
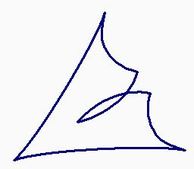
Last spring I had the opportunity to get to know Bunnie Cleland. Bunnie is a new quilt designer and had just released a series of patterns which utilize the 60 degree equilateral triangle. Her patterns (which at the time had just been picked up by Checker Distributions) are now on their best seller list. They may also be purchased here.
I've been keeping my eye out for appropriate fabric and found the following Jo Morton border print which I thought I would try. 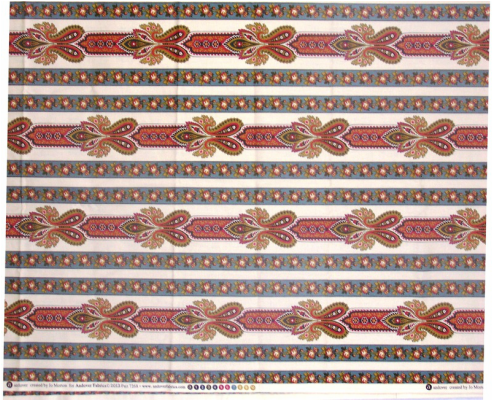
After spending some time analyzing the fabric, I couldn't decide if the fabric would actually work. And then of course the decision would be where to actually cut the strips.
So I made another trip to the quilt store. This time electing a safer border fabric (i.e. one with blurrier lines). I purchased two yards of the fabric, not sure exactly how much I would need. (My apologies for the blurry photo. The was taken with my iphone at a quilt retreat right before I cut up the fabric.) 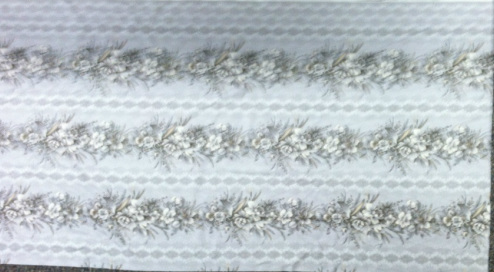
Gentle Flowers by Quilt Gate
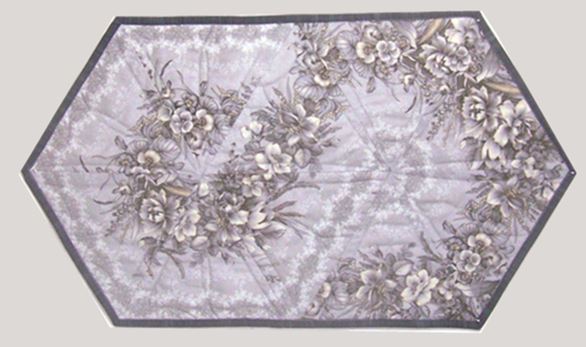
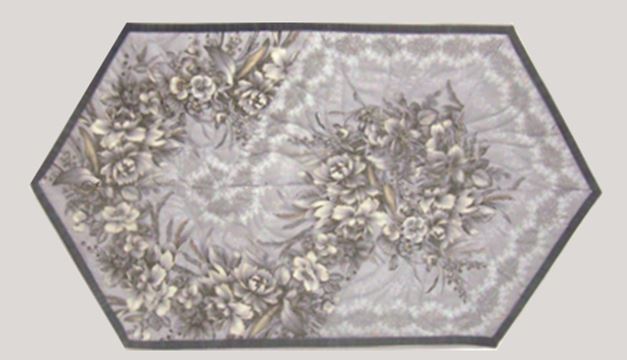
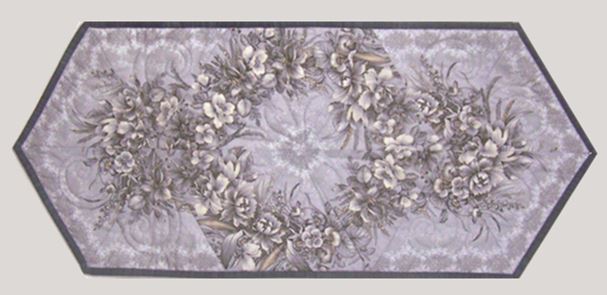
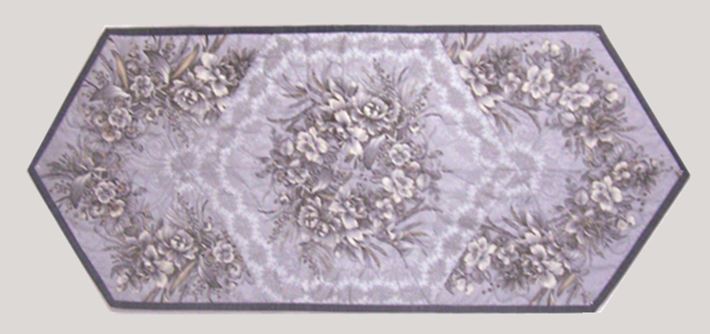
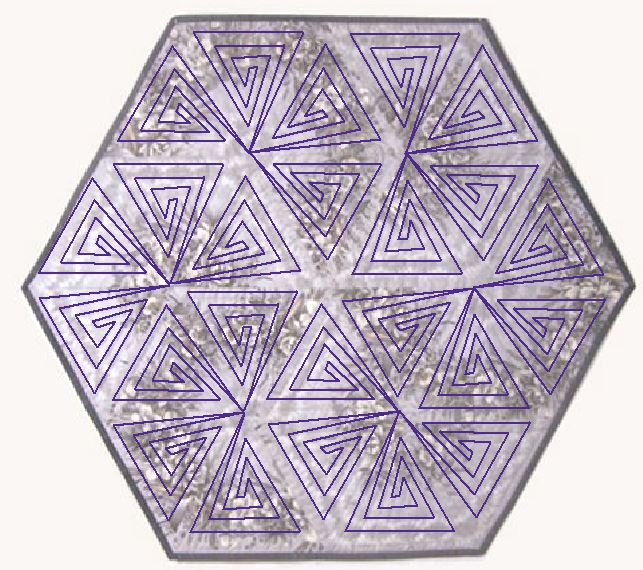
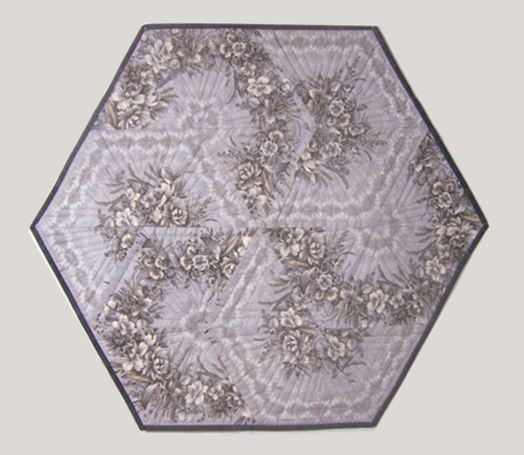
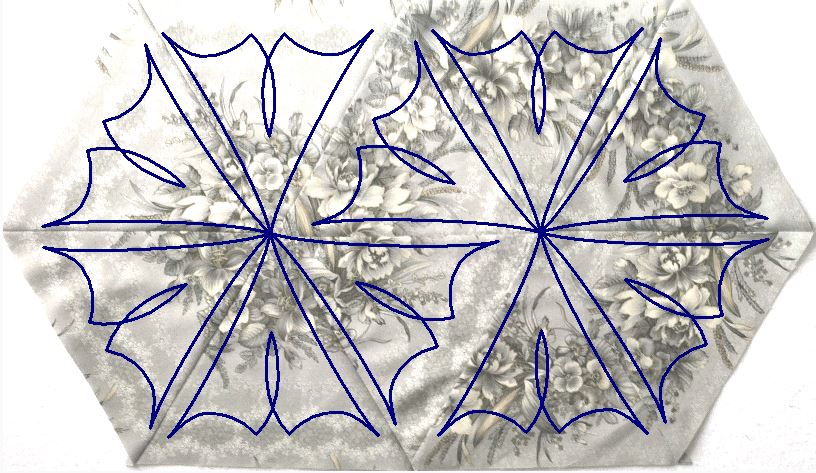
I was pleased to find that two yards went a very long way! From that I made the five quilts including the "Hexagon Table Topper", two of the "Triangle Frenzy Runner" and two of the "Triangle Frenzy Swirl".
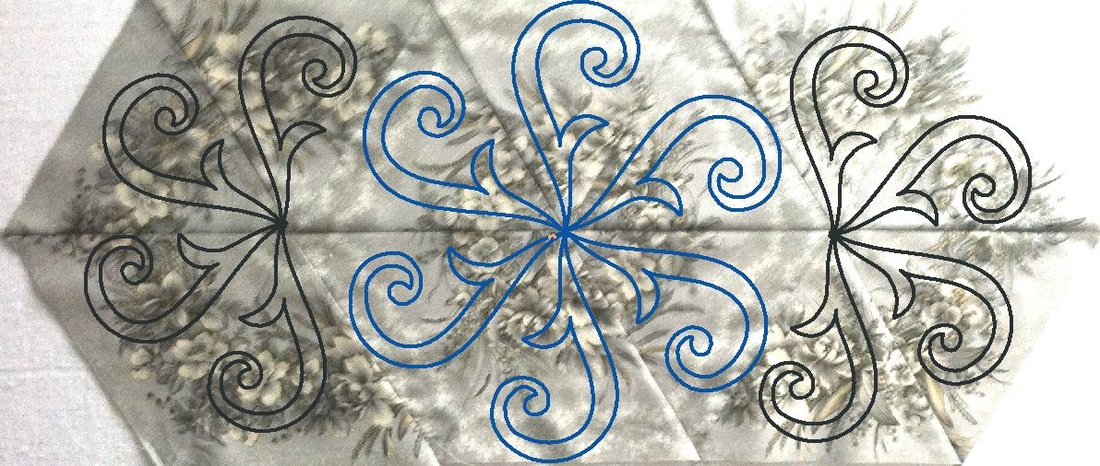
Quilting Triangle Frenzy Quilts
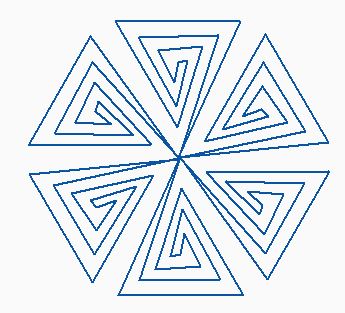
For the Hexagon Table Topper, I decided to quilt this with a simple triangle design. Using Art and Stitch I started by drafting a basic triangle design that would fit in one of the 60 degree triangle pieces. I then created a wreath using Magic Circle. From that I deleted two of the triangles.
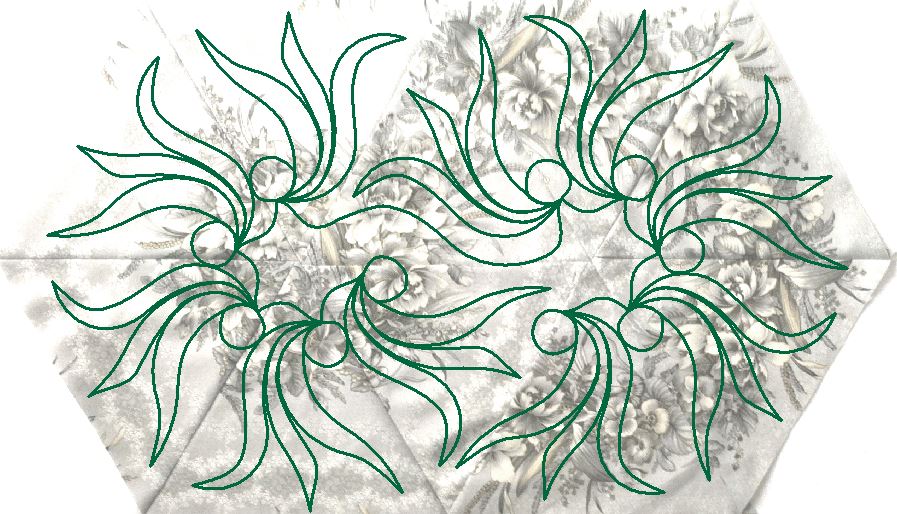
For the Triangle Frenzy Swirls, I first used another simple design rotated with Magic Circle.
Finished Triangle Frenzy Swirls by Kari Schell
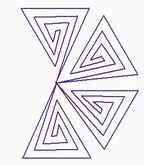
For the second swirls, I used a pattern from Sue Heinz "Drawn to Mastery" book. Her book is focused on free-handing the deigns, but I have found they are fun to work with in Art and Stitch. I just drafted one of the design elements and then had fun playing with it.
Finished Triangle Frenzy Swirls by Kari Schell
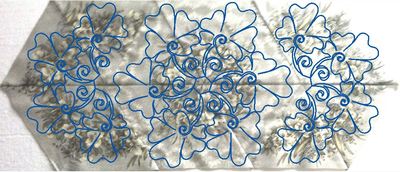
For the Triangle Frenzy Runner, I used another design by Sue Heniz.
Finished Triangle Frenzy Runner by Kari Schell
For the other runner I used a floral design that I had developed.
Finished Triangle Frenzy Runner by Kari Schell
Would you like to try using my quilting designs? I've included pdfs of the three motifs I developed. Click on the photo for the link to the pdf.
For those that use Art and Stitch, I am also offering a FREE Art and Stitch file for the floral design.
Stay tuned. Next week I will share how I solved my dilemma with the Jo Morton border.
Happy quilting. Kari
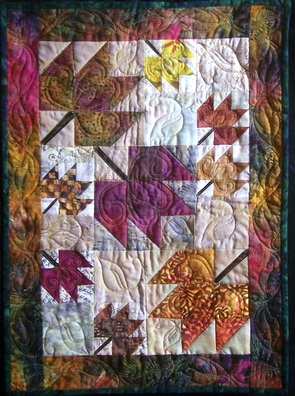
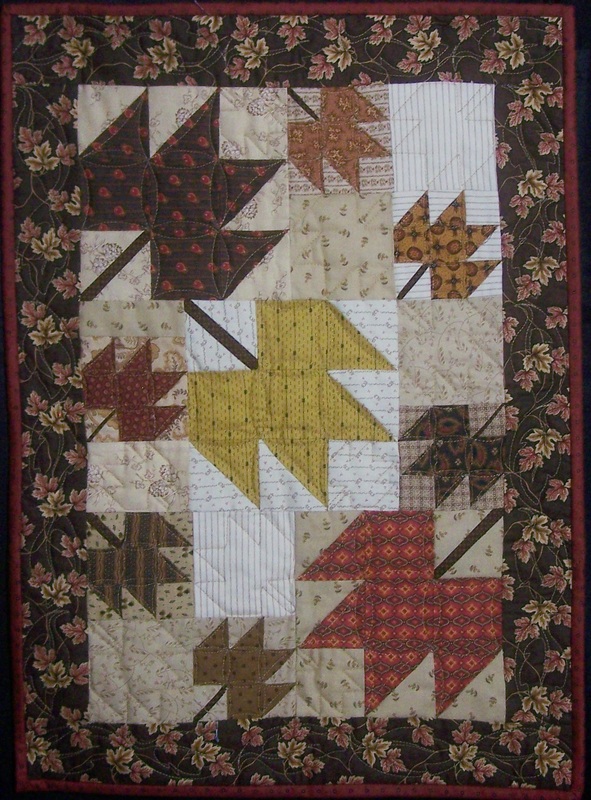
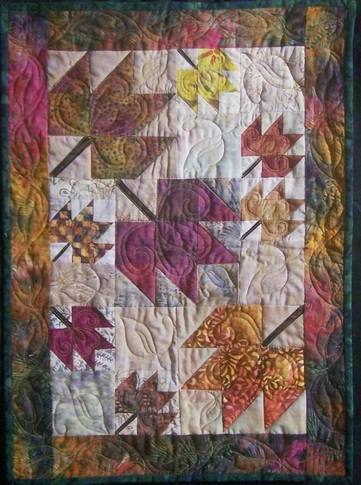
Sign up for my newsletter to stay current on what's happening in my studio and learn more quilting tips. As a thank you, I'll send you a FREE pattern for this small maple leaf quilt.
10 Comments
Welcome. This week I am excited to share two videos with you. There was so much to share that I decided to split the video into two parts. Here is the finished project. 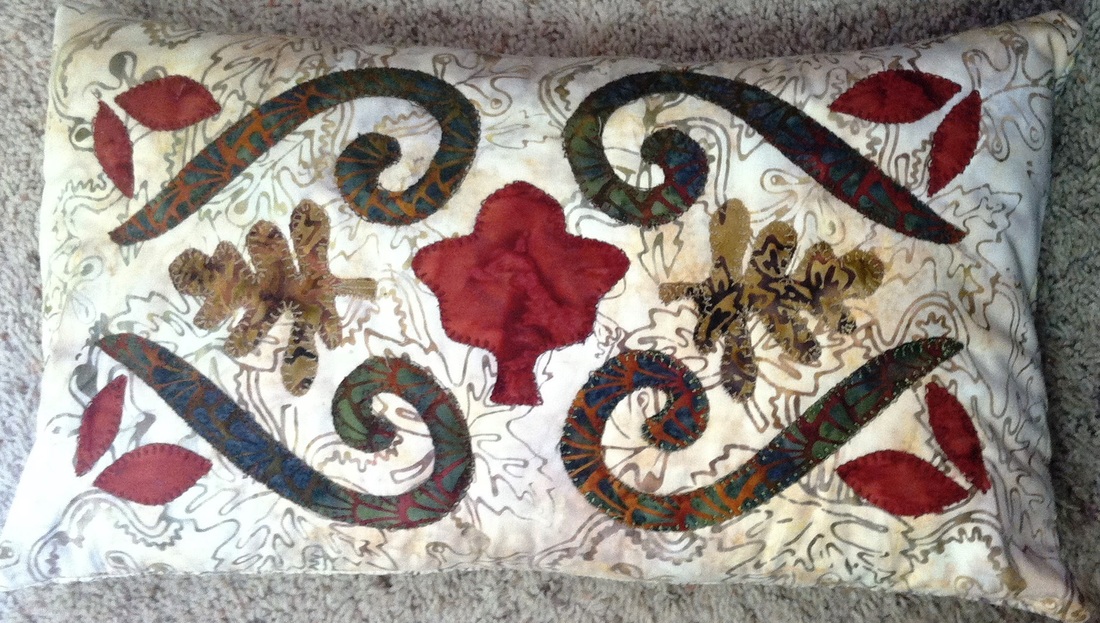 I want to do a special call-out to Anne Hurlburt. She is a certified Art and Stitch instructor and did her Addendum on doing Applique on her longarm. She has a ton of good information particularly for those using a Statler. My approach was a bit different than Anne's, but is built on her technique. I started with a design in Electric Quilt, transferred it to Art and Stitch (where I created my new master). From Art and Stitch I created the stitching for my longarm. I also took the shapes and cut them using my Silhouette Cameo. All of this is described in Part 1 of the Video. if you aren't using a Silhouette cutting machine, you can ignore the last section of Part 1. Just print out the patterns in Art and Stitch and trace them on your fusible interfacing. Postcript on 9/29/2014 - Loes Vanderheijden shared an even better way to transfer from EQ to Art and Stitch. Here are her instructions. In Electric Quilt (I used EQ7): ====================== 1. Open the desired block or stencil in your sketchbook and click on Edit to place it on the EQ Workspace. 2. Look at the rulers and make a note of the block dimensions. 3. Choose menu File > Export Metafile of Block 4. In the next dialog click on the button "Copy to Windows Clipboard". In Art and Stitch (version 3): ==================== 5. Start a new Design Page and choose menu Edit > Paste Special. This will place a copy of the EQ design on the Art and Stitch Design Page, as artwork. 6. While it's still selected, go to Properties panel, tab Transform and enter the dimensions you wrote down in step 2. Click on Apply. 7. To reduce the too many nodes, select all, right-click and choose Simplify Smoothen. Use the following settings: Curve Precision (%): 30 Angle Tolerance: 57 Distance tolerance: 20. Part 2 of the video shows the actual application and stitch out on my APQS Millennium with Intelliquilter. Regardless of your computerized system, I think you will find this useful. Part 2 was done using a small video camera and is a little choppy. I did some major editing to shorten the video which is much more noticeable when using a camera. Once I finished my piece, I added an "envelope" back and created a full fall pillow. I used lots of leftover batting pieces for stuffing the pillow form. Footnote: I heard from a couple of people that are using the Brother Scan-and-Cut system. Silhouette has also recently come out with PixScan technology. If you wanted to avoid tracing the jpeg Art and Stitch file, you could actually print out the filled shapes from Art and Stitch and scan directly into your system of choice. (I just received my PixScan mat this afternoon and was very impressed with the accuracy of the scan of my printed Art and Stitch file.) Happy quilting. Kari Sign up for my newsletter to stay current on what's happening in my studio and learn more quilting tips. As a thank you, I'll send you a FREE pattern for this small maple leaf quilt.
Last month I read through some of tutorials from the certified Art and Stitch instructors. I was particularly intrigued by Anne Hurlburt's tutorial on using Art and Stitch to do applique on a longarm and numerous tutorials by Marjorie Busby on the use of electronic cutting tools, Art and Stitch and embroidery machines. I decided that I really "needed" an electronic cutting tool and after reviewing some reviews (I believe also done by Marjorie), I decided on the Silhouette Cameo. 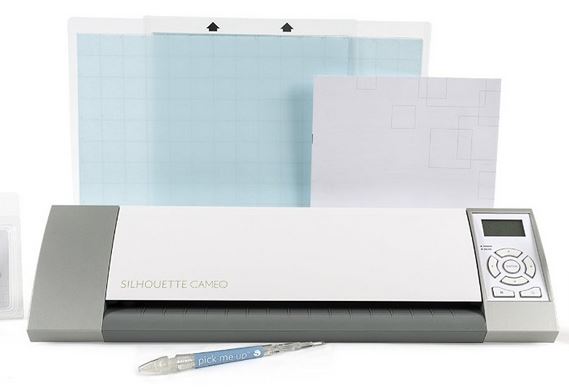 I ordered my Cameo, loaded their free software, and began immersing myself in You Tube videos on the software. Most of the videos are focused on card making and scrapbooking -- but as I watched them I could see the possibilities for quilting as well. So what can I do with my Silhouette?
I realized that I didn't need to start from scratch, but could take applique designs done in either Electric Quilt or Art and Stitch and transfer them to Silhouette. If I wanted to do applique on my longarm, I could go from Electric Quilt to Art and Stitch and then to Silhouette. Or just from Art and Stitch to Silhouette. Let me first share a video on transferring applique shapes from Electric Quilt to Silhouette Cameo. Have any of you used a Silhouette Cameo (or any or electronic cutting tool) for qpplique shapes? If so, I would love to hear your tips and recommendations. Feel free to post below. Next week I will share how I took an Electric Quilt design into Art and Stitch and then did the applique directly on my longarm machine. Happy quilting. Kari Sign up for my newsletter to stay current on what's happening in my studio and learn more quilting tips. As a thank you, I'll send you a FREE pattern for this small maple leaf quilt.
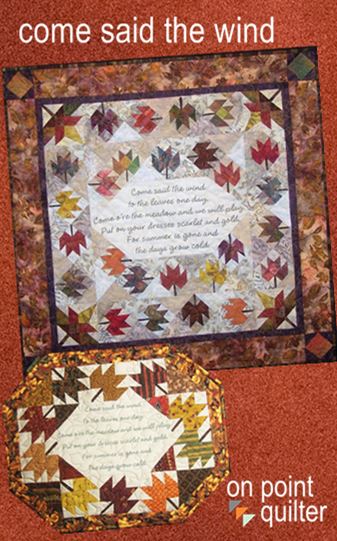
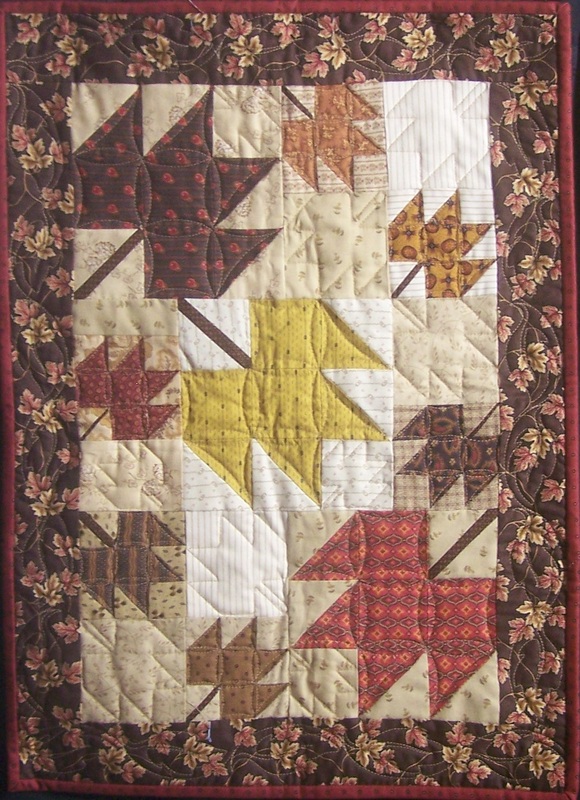
I am back!!!! Who would have thought that vestibular nueritis could take so long to heal. I particularly appreciated my physical therapists that specialize in balance/dizzyness issues. They not only had me working on basic balance and visual exercises, but gave me a number of items to work on to simulate some of my skating and ice dancing moves. Although I am not yet at 100%, I am functioning and am very thankful for that. Back to quilting. Fall is in the air and I am excited to promote my pattern "Come Said the Wind". The pattern is centered around a poem/old children's song. There are two sizes (both wall hangings). The smallest could also be used as a placemat. 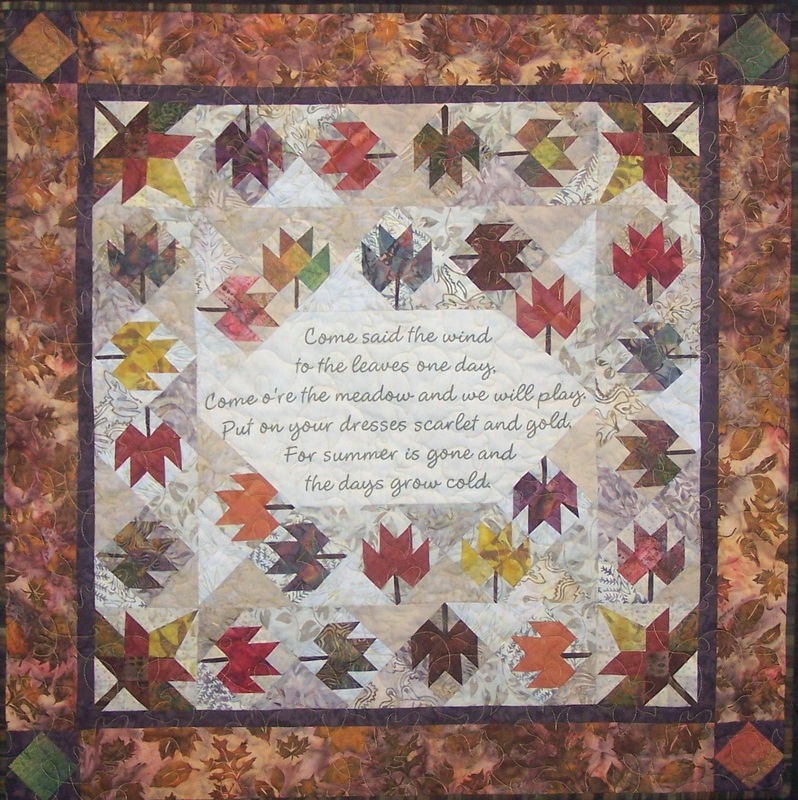
Come Said the Wind 33 x 33
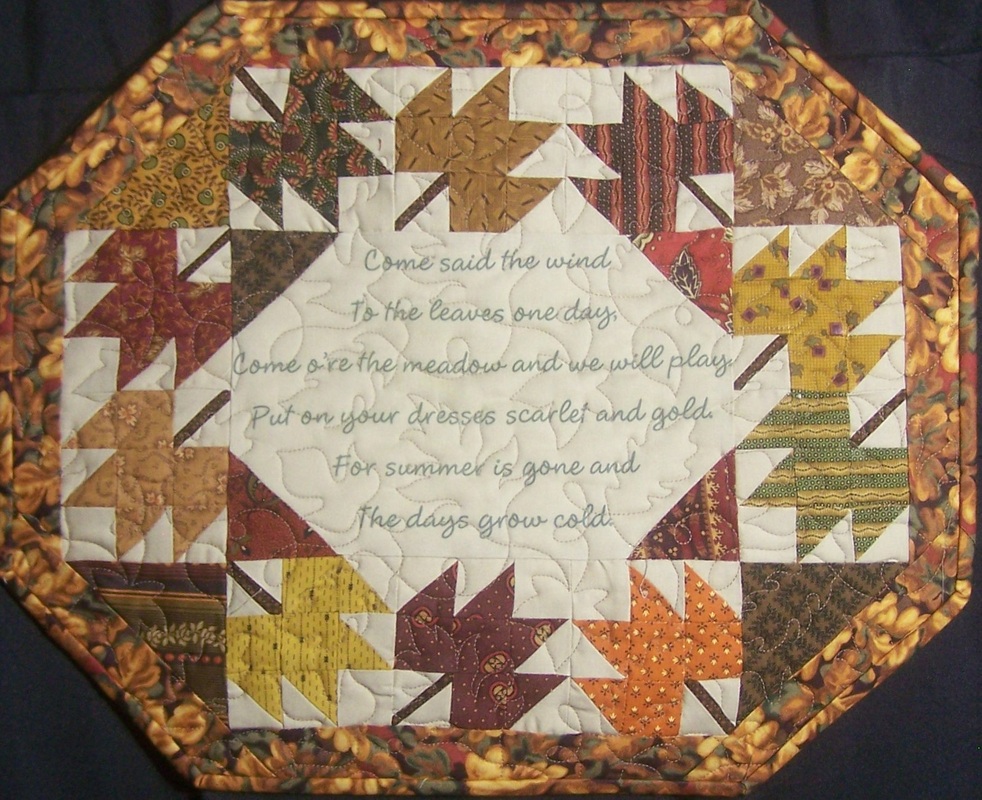
Come Said the Wind 15 x 12
Do you prefer batiks or civil war for fall quilts? I couldn't decide so I needed to do one of each. The blocks in the quilt are "small" --- but really cute. The maple leaf finishes to 3 inch and the Sycamore leaf to 4-1/4 inch. However, don't be intimidated by the size. There are lots of tips to ensure successful piecing of the project. I provide instructions for using a number of specialty rulers/tools. These tools are optional. Instructions are also included for the traditional rulers. Optional Specialty Rulers: A number of people asked me how I created the center panel (with the poem). Instructions are in the pattern -- but I also wanted to provide a video. I also have a free handout explaining the technique. These free pdf files of the verse are also available for Come Said the Wind pattern.
Happy quilting. Kari Sign up for my newsletter to stay current on what's happening in my studio and learn more quilting tips. As a thank you, I'll send you a FREE pattern for this small maple leaf quilt.
|


Free guide available for newsletter subscribers


Kari SchellElectric Quilt Expert and Educator and Pattern Designer. Categories
All
Archives
July 2024
|


 RSS Feed