

I've noticed that many of the television stations have marathons during major holiday weekends. It is a chance to catch up on episodes you may have missed or just a chance to revisit an old favorite.
Did you know you can plan your own quilt related movie marathon? I've uploaded all my videos to You Tube and have set up four separate playlists. Click on the description for a direct link to the playlist. So plan for a movie night (or day) of your own, grab some popcorn and enjoy. While you are there, please subscribe to my You Tube channel to have quick access to the videos anytime you wish to review a previous tutorial. Featured Product - Whim Wham Stars
Do you like gazing at twinkling stars on a clear fall night? You can now put those stars on your bed. The asymmetrical star used in the sashing will make it appear that the stars are dancing across the quilt. Quilt may be completed with seven fabrics or may be scrapped using fat quarters.
Available sizes include Small (52 x 68), Medium (68 x 84), Large (84 x 100) or XL (100 x 100). 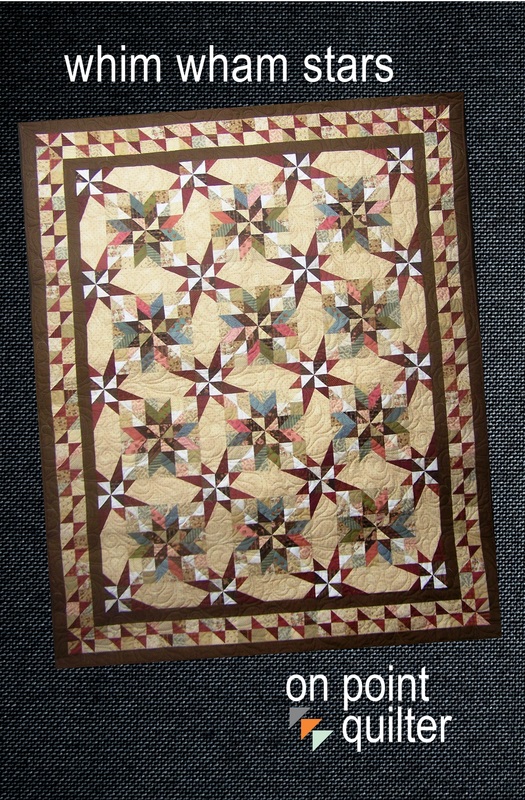
Pur/store/p17/Whim_Wham_Stars.htmlchase here.
Happy quilting.
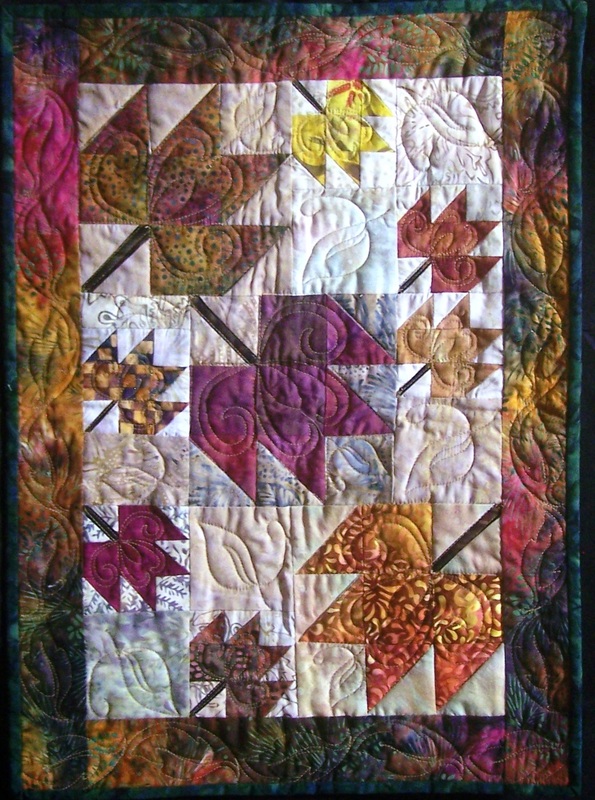
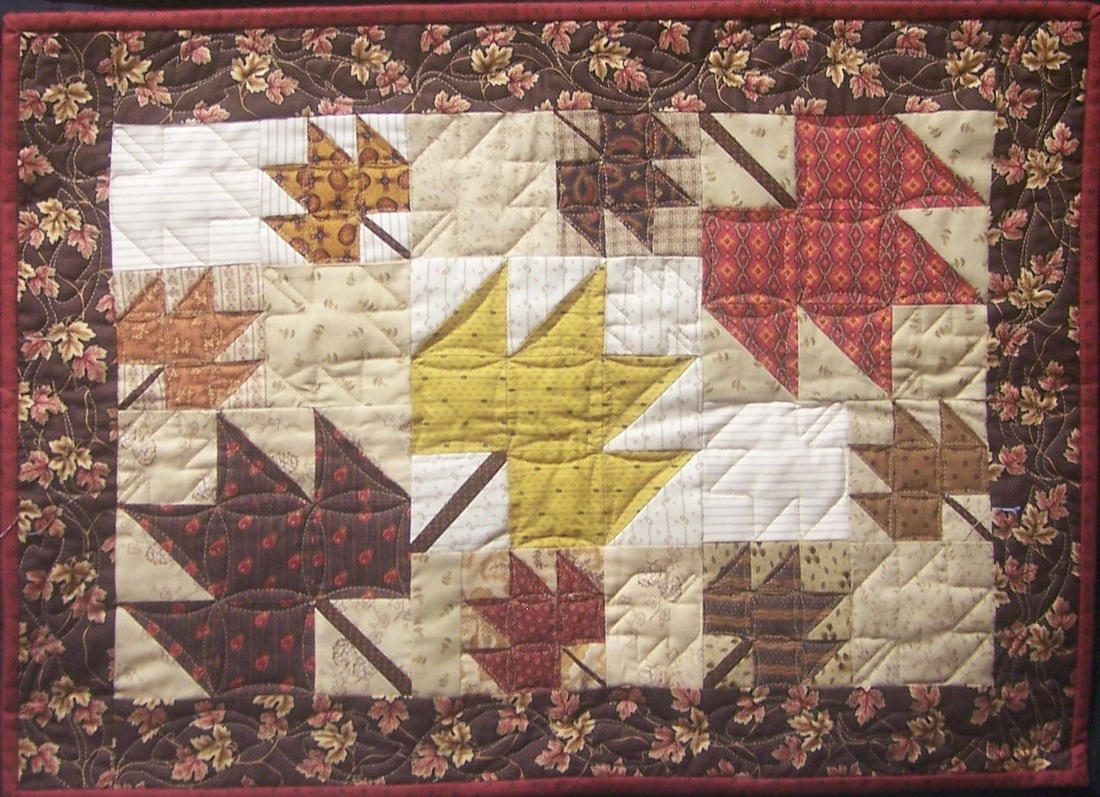
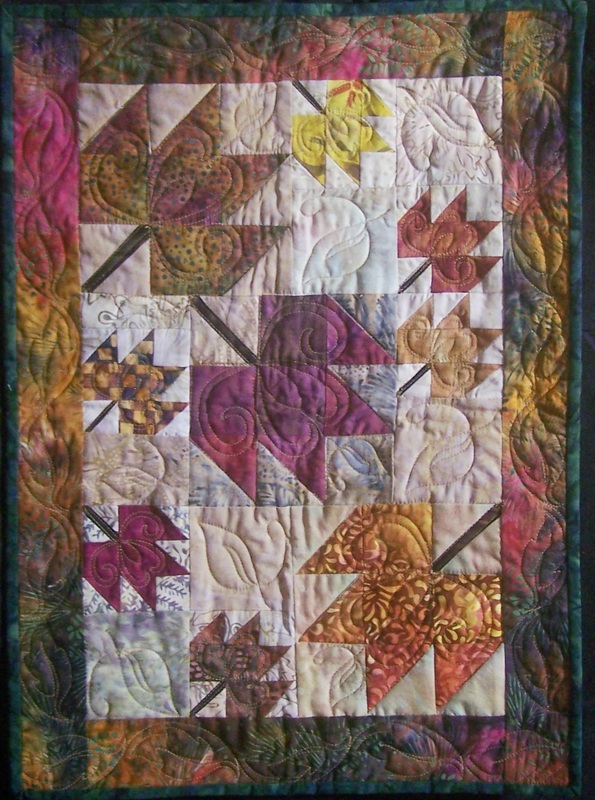
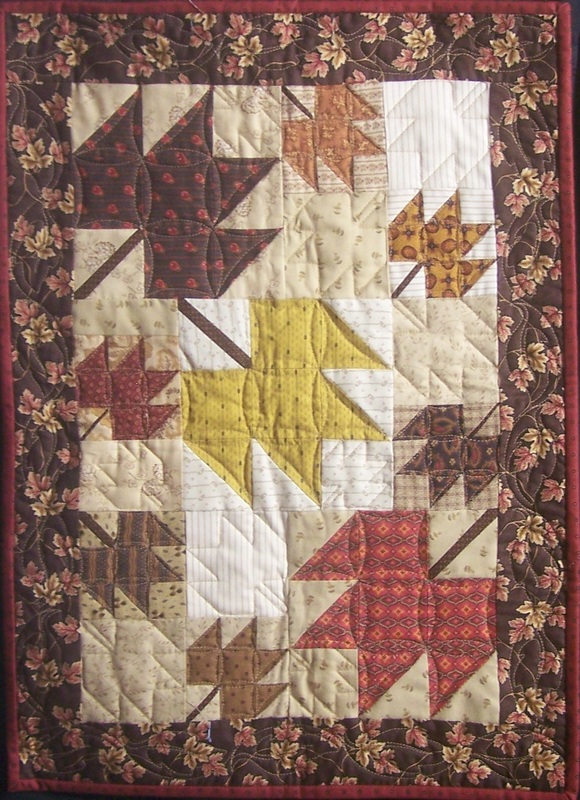
Kari Sign up for my newsletter to stay current on what's happening in my studio and learn more quilting tips. As a thank you, I'll send you a FREE pattern for this small maple leaf quilt.
Last week, I showed you how I straightened and edited an image of an antique quilt I found on the Quilt Index. This week I have been obsessed with redrafting this quilt and knew it needed to be my next Electric Quilt tutorial.  1880's Farmer's Delight is a quilt pattern specific to the Shenandoah Valley of Virginia. This fine example was made in the 1880's with a tremendous variety of late 19th century fabrics. It is very well quilted in a clamshell pattern. Measurements are 76" x 88". This quilt was exhibited at the New England Quilt Museum in Lowell, Massachusetts in 1994. 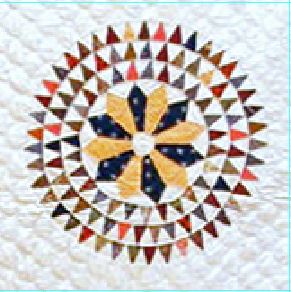 Farmer's Delight Block Close Up The biggest challenge in drafting this block is the number of triangles in each ring. The first ring has 27 colored triangles, the second 34 and the third 42. Patch Draw is limited with 60 spokes and Easy Draw partitioning is limited to 15. So I couldn't make it work. I finally decided I needed to adjust the number of triangles for the sake of sanity. If I make the number of triangles divisible by 4, both Easy Draw and Patch Draw will work a lot nicer. And my guess is that few would notice that I now have 28, 36 and 44 triangles per ring. See how I drew my slightly altered Farmer's Delight in my latest Electric Quilt tutorial. I used PatchDraw within Electric Quilt for drafting the block. Here is my drafted block from the Electric Quilt tutorial. 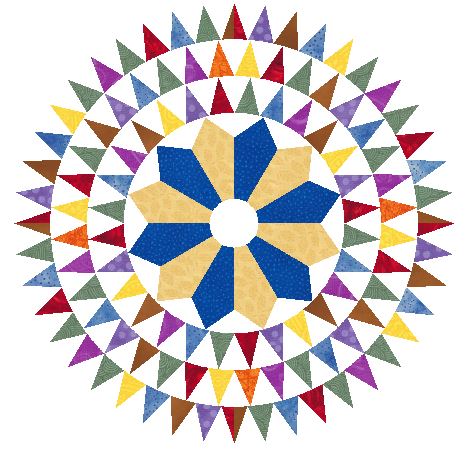 Farmer's Delight Block from Electric Quilt Tutorial Here is the full quilt. 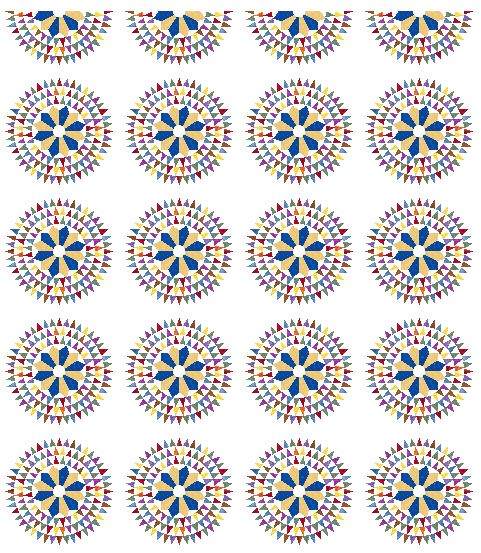 Farmer's Delight Full Quilt Layout from Electric Quilt Tutorial And for those who are wondering -- I am not planning to piece it. I was perfectly satisfied with recreating it in Electric Quilt. I will leave the piecing to another brave soul. Featured Product: Modern MazeDawn's Quilt Shop in Alexandria MN used my Modern Maze pattern for their feature quilt utilizing the Minnesota Shop Hop fabric. This quilt has a completely different look than my "solid background" sample. Stop by the shop to see the quilt in person and to purchase a pattern and the fabric. 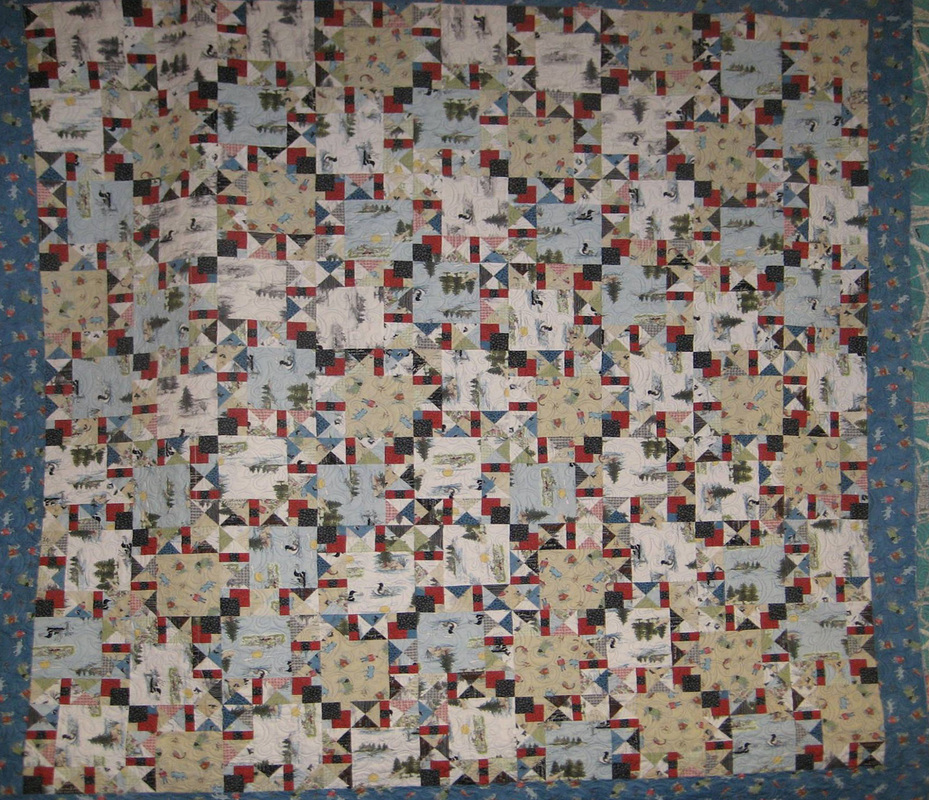 Dawn's Quilt Shop MN Shop Hop Quilt using Modern Maze pattern. 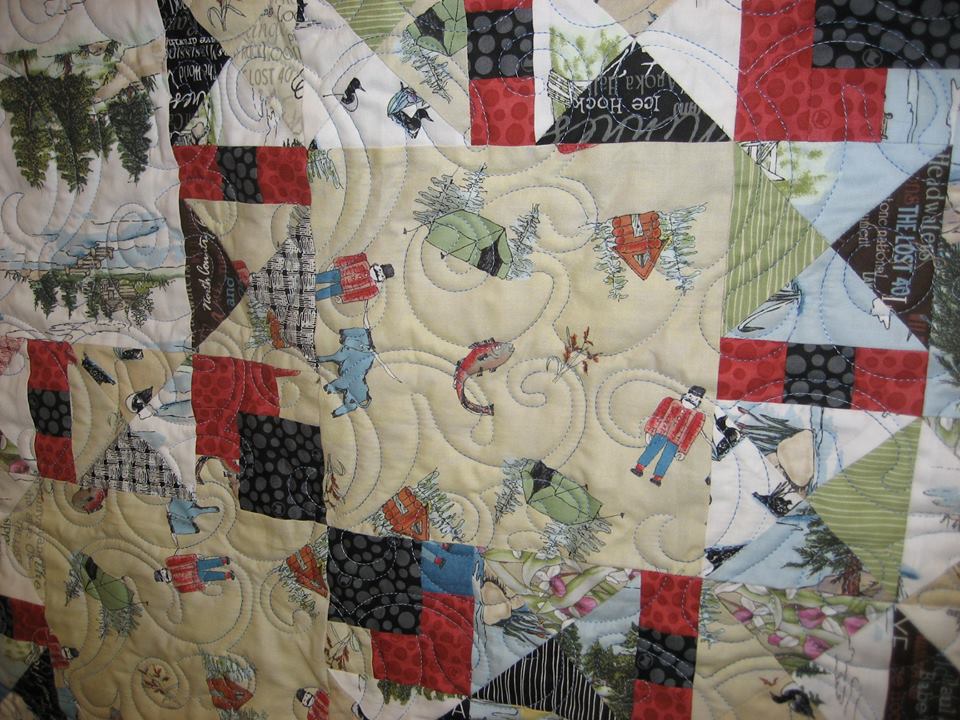 Dawn's Quilt Shop - Close-up of Modern Maze quilt. 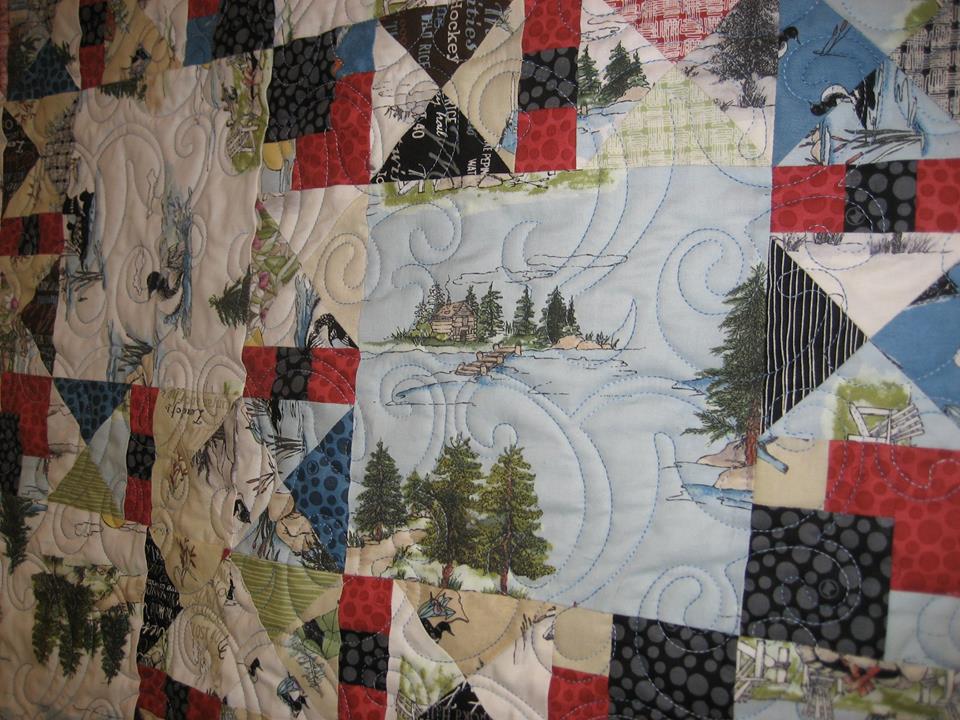 Dawn's Quilt Shop - Close Up of Modern Maze Quilt If you can't make it to her shop, you can purchase a pattern here. Happy quilting. Kari Sign up for my newsletter to stay current on what's happening in my studio and learn more quilting tips. As a thank you, I'll send you a FREE pattern for this small maple leaf quilt.
Are you a tracer or a drawer? When I teach Electric Quilt or Art and Stitch, I like to give "tracing" options to my students as it allows them to focus on learning the program. However, if I am going to "trace", I need a good picture to work with. Over the last year, I've been working a lot on my photography skills. However the reality is that it is hard getting the photos square on with no distortion. Most of the "free" software that is out there, will allow me to rotate, crop and do some overall color adjustments -- which works most of the time. My favorite software for this is Microsoft Office Picture manager -- which was included in my Microsoft Office Suite. However, sometimes my photos need more work. For many years, I was using a very old version of Corel's photo editing software. It worked, but it was cumbersome and I had frequent crashes with the software. When my computer died earlier this year, I thought it would be a good opportunity to update to something from this century. Since Adobe's Photoshop appears to be the new "norm", I purchased a copy. I decided I didn't necessarily need the newest version, but went on Amazon and found something at a reasonable price. (I ended up spending $70 for PhotoShop and Premiere version 12. Premiere is their movie editing software.) Opening any new software, can be a bit overwhelming and frustrating when you can't quickly find the one thing you really want to do. So I thought I would share with you, how I used the software to clean up a photo. This is a photo I found on Quilt Index. I loved this pattern and want to trace the block Using Electric Quilt. 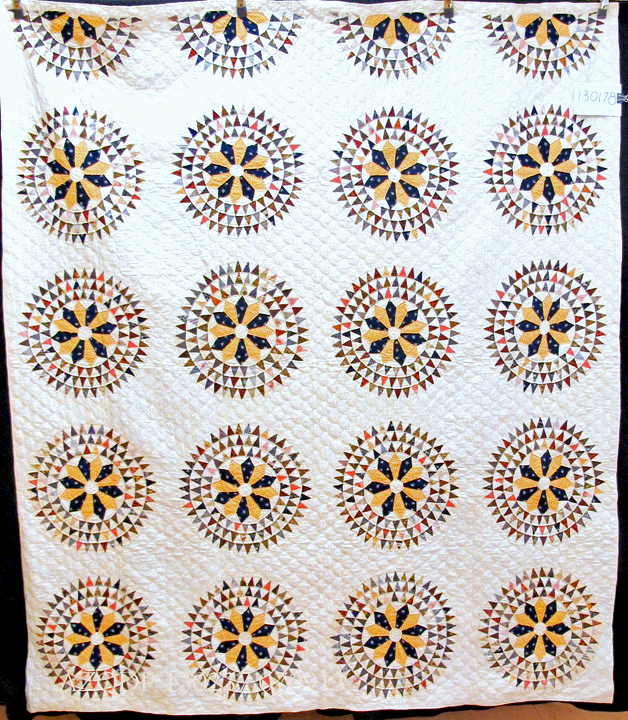 Quilt Photo Before using Photoshop Elements My video tutorial this week is on using Photoshop Elements for Quilters. The video covers a number of items including: 1 - Straightening a photo 2 - Taking a snapshot of one of the blocks. 3 - Filling in the "gaps". (See the block spaces at the top of the quilt.) 3 - Doing some minor color adjustments (i.e. painting small sections). Below is the photo-shopped image. Note that the original photograph had fairly poor resolution, so there was only so much that could be done to enhance the picture. 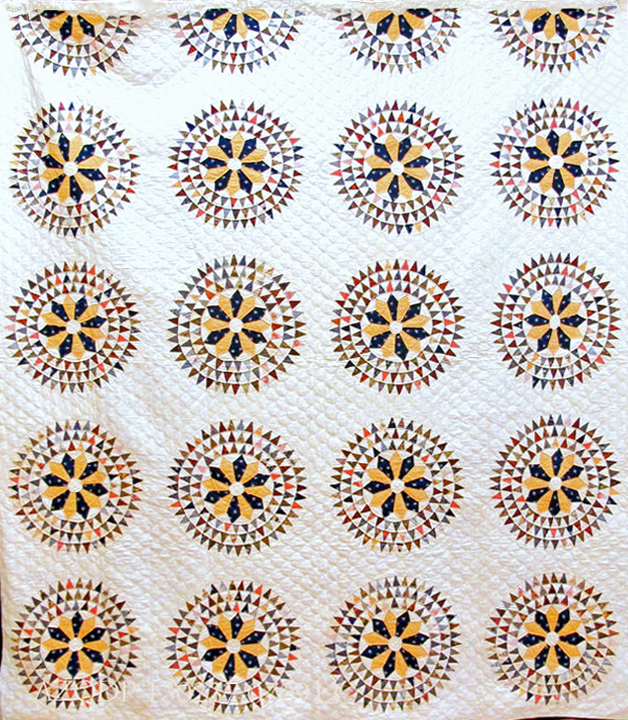 Quilt Photo after using Photoshop Elements When I did an internet search on "PhotoShop for Quilters", I found a site that teaching PhotoShop for fiber artists. Have any of you taken any of the classes from Pixeladies? I'm thinking I might need to check it out. Featured Product - Come Said the Wind Are you starting to think about an autumn quilt for your wall this fall. Now is the time to get started with Come Said the Wind. The pattern includes two sizes and the verse can be printed directly on fabric, traced or hand embroidered. You choose.  Purchase here. Happy quilting. Kari Sign up for my newsletter to stay current on what's happening in my studio and learn more quilting tips. As a thank you, I'll send you a FREE pattern for this small maple leaf quilt.
True confessions. A number of years ago I purchased a Bernina that had an embroidery unit. Having never done machine embroidery before, I was very challenged in using the embroidery features on the machine. After a couple of trips to the repair shop, I decided machine embroidery was not for me and eventually sold the machine. Now that I have Art and Stitch, I really wanted to give machine embroidery another try. This time I decided to go simpler. I purchased a used Brother PE 500 machine (which only does embroidery). I watched a number of You Tube videos on the machine. I also spent some time at a retreat last weekend, talking to a machine embroidery expert in the group (who was working on embroidery designs on her machine). I was ready to try again. I thought I would start with recreating a small quilt block using embroidery. I am a big Dear Jane fan and thought that one of the Jane Stickle blocks would be a good start. I selected the first block to get started. 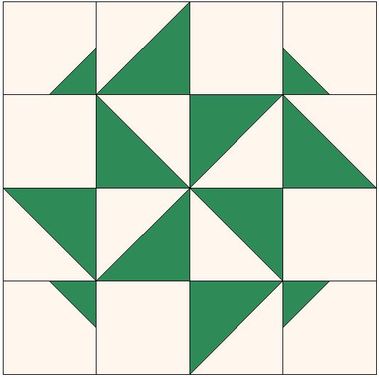 Jane A. Stickle Block (redrafted by Kari Schell) Here is the Art and Stitch video tutorial on how I created the embroidery design. Note that I do not have the "Embroidery module". This was all done with the Art and Stitch Base version! Here is my finished design stitched out on my Brother PE500. 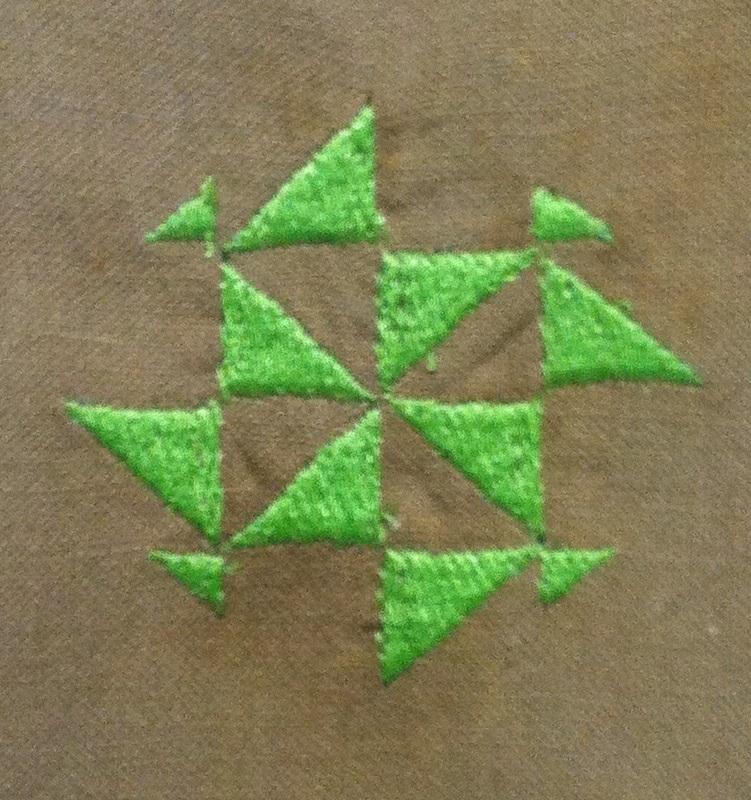 Jane A. Stickle Embroidered Block 2" x 2", created by Kari Schell The entire process was a lot less painful than I thought. I think I may try a few other blocks. Featured Product - Come Said the Wind Are you starting to think about an autumn quilt for your wall this fall. Now is the time to get started with Come Said the Wind. The pattern includes two sizes and the verse can be printed directly on fabric, traced or hand embroidered. You choose. 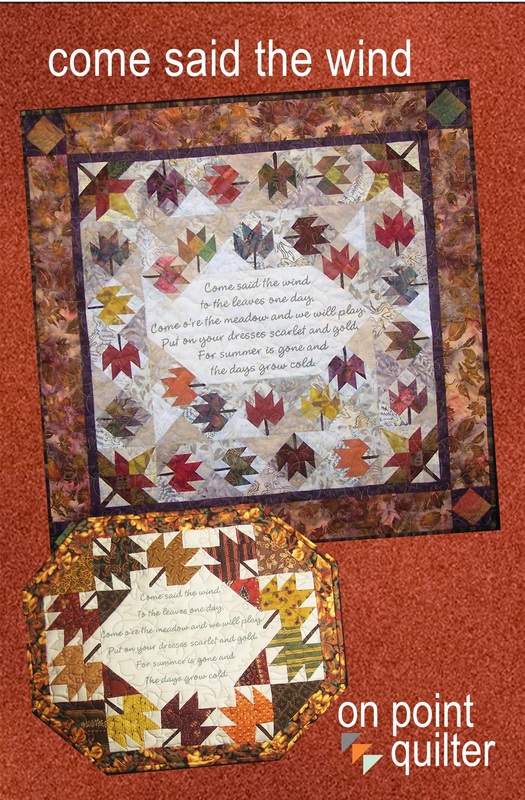 Purchase here. Happy quilting. Kari Sign up for my newsletter to stay current on what's happening in my studio and learn more quilting tips. As a thank you, I'll send you a FREE pattern for this small maple leaf quilt.
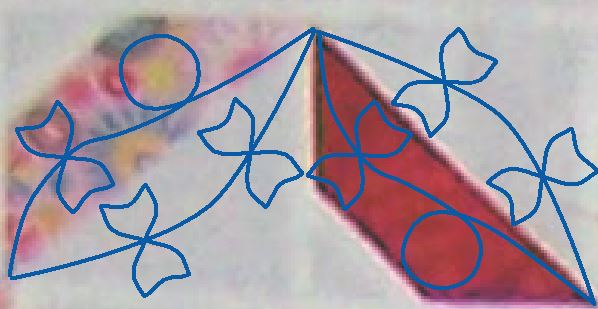
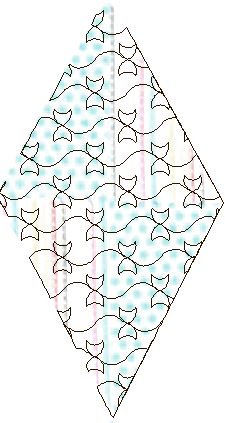
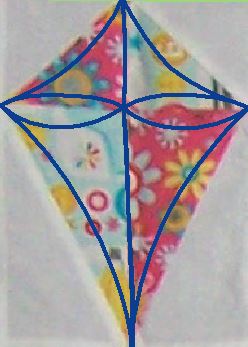
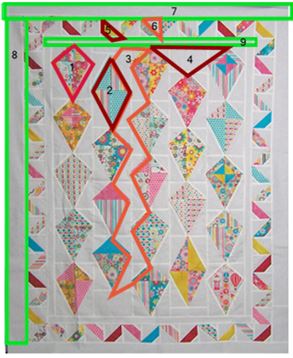 Let's Go Fly a Kite, marked with potential quilt spaces for custom quilting. I have a fair number of "interesting" spaces to fill on my kite quilt. So I thought I would play a bit with Kite Tails. My Art and Stitch video tutorial this week is about drafting a Kite Tail motif and then playing with it as a "motif fill" and on a curvy line as a motif stitch. This is super simple with a lot of "play" opportunities. 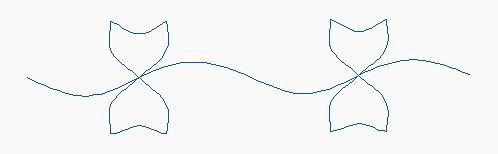 Kite Motif from Art and Stitch Video Tutorial Here are the designs from the video.
Here were a few additional designs for the quilt
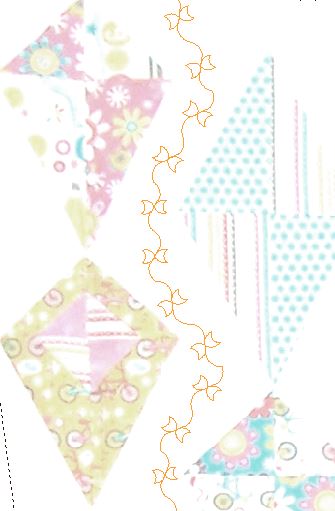
 The above two designs can be laid on the quilt as a point to point design. Within Art and Stitch, you can replicate it using the Power Copy EE.  Kite Border Using Art and Stitch Software
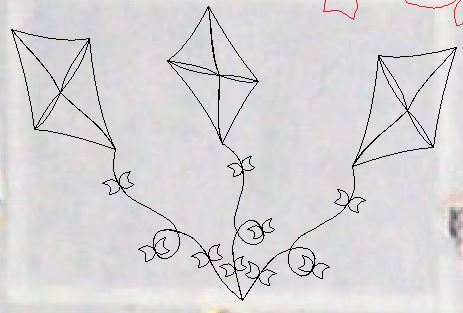 Three kites combined. This would work in a triangle block. I didn't get my top quilted -- so that will have to wait for a later blog. As you can see, I still have a few decisions to make on how I want to quilt it. Featured Quilting Pattern Are you interested in the Edge to Edge Kite design? This one is available for digital download in all the major quilting formats. There even is a pdf that can be used by those without digital systems. The pattern is on sale for half price for another week. Click here to purchase. 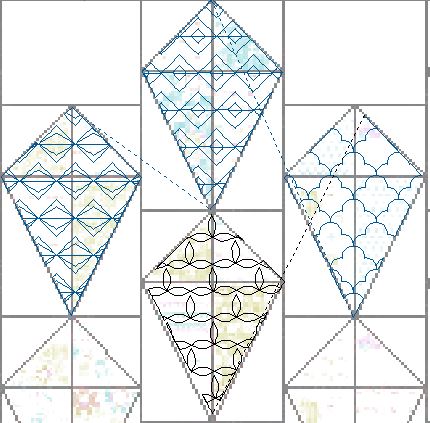 Other motif fills for the kites. Should I use a different one for each kite? 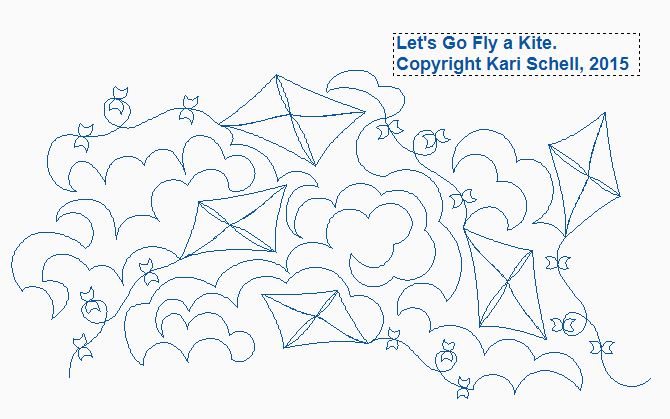 Note: Instructions for piecing the Kite quilt will be available until August 15th. Please make sure to print off anything you need by that time. Happy quilting. Kari Sign up for my newsletter to stay current on what's happening in my studio and learn more quilting tips. As a thank you, I'll send you a FREE pattern for this small maple leaf quilt.
|


Free guide available for newsletter subscribers


Kari SchellElectric Quilt Expert and Educator and Pattern Designer. Categories
All
Archives
July 2024
|


 RSS Feed