|
I've never been great at that final finishing step in creating a quilt -- attaching a label. Most of my quilts (if they survive that long) will have historians wondering "who made this" and "why". As I write this post, my guild's show starts tomorrow and I have a number of quilts entered (actually every quilt I've made since the last show two years ago). I am not sure there will be room to display them all -- but I want to be ready -- just in case. Our guild has very few guidelines, but one thing they do request is a label so they can make sure that tags are matched correctly with the quilts and they can make sure to return the quilts to their proper owners. 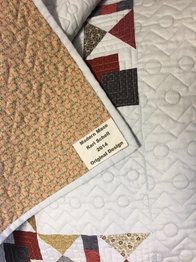
Two years ago, I ran out of time and printed a sheet with quilt name, my name and date with fusing on the back that was then ironed to the quilt. Definitely not a glorious way to finish my quilts.
I consider this a terrible "back problem".
This year I vowed to do better. After making a list of my quilts, I realized I had 18 labels to make. So I devoted a good chunk of my time yesterday to producing custom labels, printing them on EQ Printable fabric, and then actually sewing them on the backs of my quilts. No fusing for me this year.
Would you like to know my technique for creating these custom labels in Electric Quilt. Check out my video tutorial to see how I did this.
Stay tuned for part 2 where I will share how I used the Photo Layout feature in Electric Quilt to quickly insert my labels, arrange them and print.
Here is a slideshow of the completed labels.
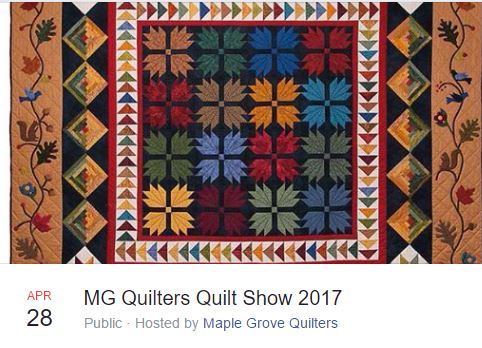
If you would like to see the actual quilts (and live in the Minneapolis area), our show is Friday and Saturday (April 28 and 29, 2017) at the Maple Grove Community Center in Maple Grove, MN. Hours are 10-4. I should be wandering the show most of the time -- so be sure to stop me and say hi.
And make sure to ask one of the white glove ladies to show you my backs. Then you can see the labels as well.
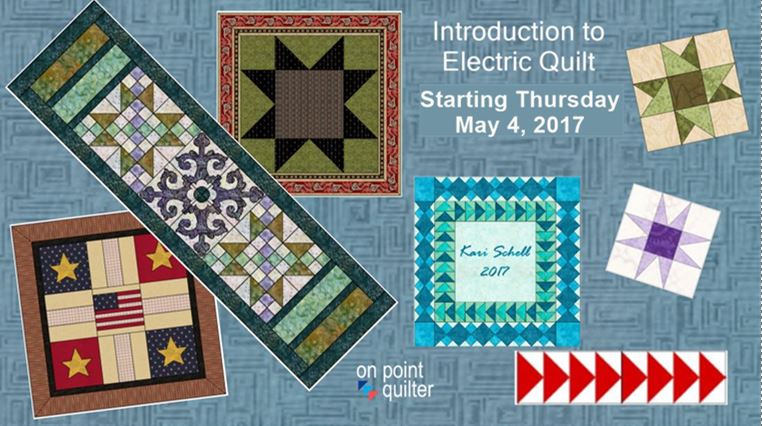
I also cover another method of creating labels in my Beginning Electric Quilt online class. The next session is scheduled to start on May 4th. Register now.
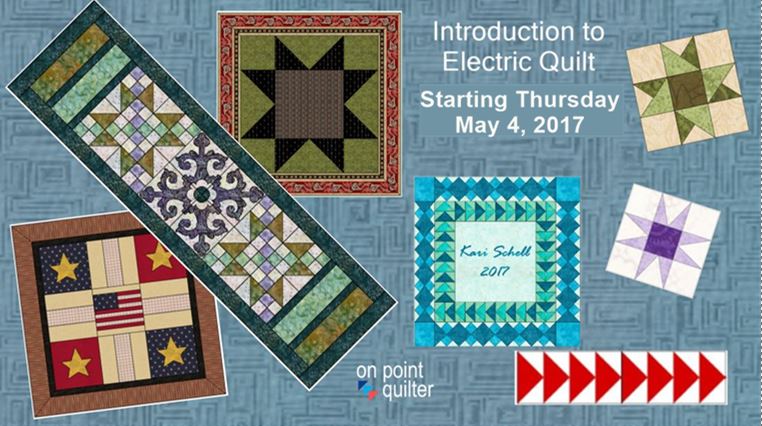
 This week is finding me at Electric Quilt Academy. I have been working with a wonderful group of women to do a deep dive into the block drawing tools. Imagine learning to draw Easy Draw, Pieced Patchdraw, Applique and Foundation Paper Piecing patterns all in the course of 3 days. I also got to hang out with Mary Ellen Kranz and Barb Vlack -- two premiere Electric Quilt instructors. Plus get to know both Penny McMorris and Dean Neumann, the founders of Electric Quilt. I also realized that their superior customer service runs throughout the entire company. Many of their staff spent time assisting in the classroom. They know the product inside and out and were incredibly helpful in assisting both me and my students. Easter Bunny Mini-Class UpdateMany of you had a taste of drafting applique blocks with my Easy Bunny mini-class. I was overwhelmed with the response and was honored to have so many of you in the class. Thanks so much for the positive feedback and validation of what I absolutely love to do - share my love of Electric Quilt and quilting. Are you ready to learn more? Electric Quilt Applique Class Starts April 24thThis is your last chance to sign up for the Electric Quilt Applique class that starts next Monday. This four week class is designed to bring your applique drawing skills to the next level. I would love to have a couple more of you join me in my first online version of this class. Read more here. Enroll here. Electric Quilt Self AssessmentMany of the people in the applique mini-class indicated they were a “beginner” at Electric Quilt and were probably wondering if the Introduction to Electric Quilt class would be a good next step. Here is a list of questions that can be used to assess your Electric Quilt skill set. Count how many of these "questions" you can relate to. 1.How do I find (…..)? 2.How can I create a basic quilt? 3.How can I use real fabrics currently on the market? 4.How can I bring in a scanned or photographed fabric from my stash and use it to color a quilt? 5.How can I draw a basic block of my own? 6.Is there a way to start with a preplanned quilt and make changes to it? 7.Can EQ help me with labels for my quilt? 8.What’s the difference between the library and the sketchbook? 9.How do I move things from the library to my current project? 10.I know I saved (….), but it has now disappeared. 11.What are the “layers” in a quilt and why do we need them? 12.How do I figure out fabric yardage? 13.How do I print (…)? Let me know how you did? Which areas are you struggling the most with? If you answered yes (or could relate) to five or more questions, a beginning Electric Quilt class may be for you. Or maybe it is just time for a refresher course. I have two upcoming opportunities to learn the basics: Introduction to Electric Quilt 7
Upcoming Maple Grove Quilt Show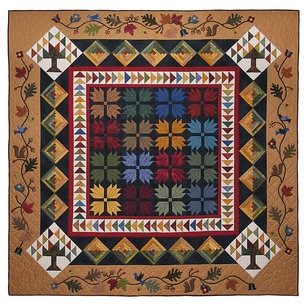 Next Friday and Saturday will find me at the Maple Grove Quilt show in Maple Grove MN. I have a number of my quilts that will be in the show along with with a couple of Electric Quilt mini-lectures. Please join me. Read more here. Happy Easter!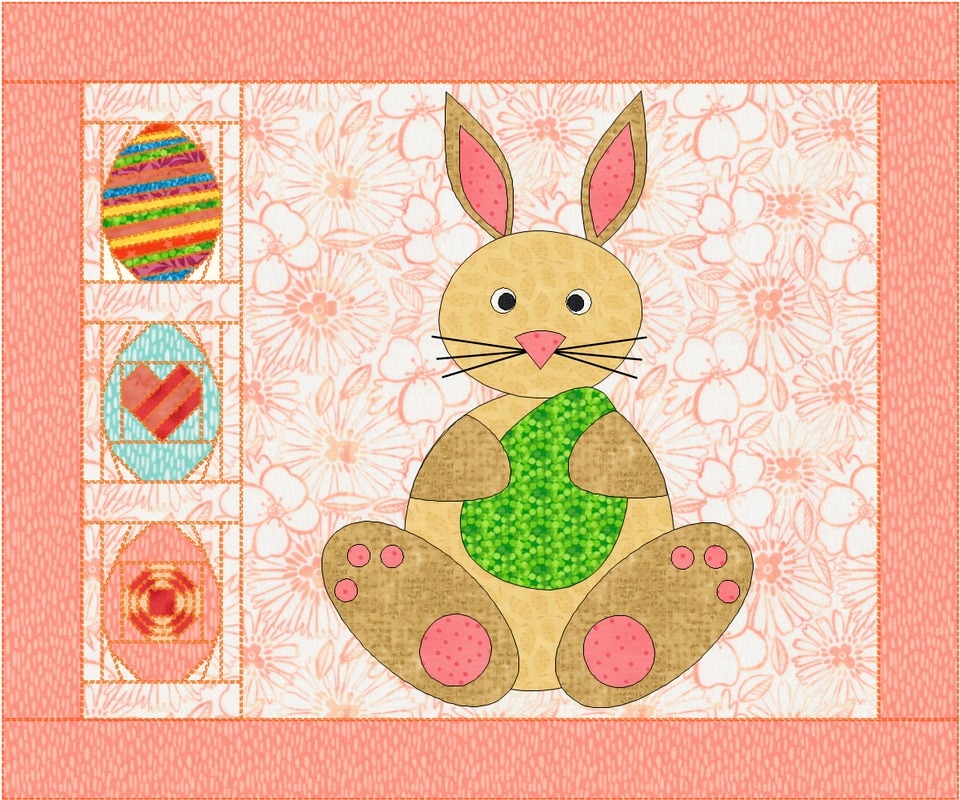 Special Delivery by the Easter Bunny by Kari Schell Special Delivery by the Easter Bunny by Kari Schell
I've been super busy this week finalizing everything for Electric Quilt Academy. It is hard to believe it is less than one week away.
Unfortunately I didn't get my Easter bunny video tutorial done. But I have a plan to still share it with you. Read more below. Electric Quilt Applique Class Starts April 24thFree EQ Applique Bunny Mini-Class
I know a number of you are wondering if an Electric Quilt applique class is for you.
Here is my offer. An opportunity to attend a free mini-class on drawing my latest Easter bunny in Electric Quilt. You will have a chance to check out how an online instructor led class works -- and at the same time you will learn how to draft this adorable bunny ready to share one of his prized eggs.
Class will be at 7:00 pm Central Daylight time on Monday, April 17, 2017. Please join by computer to watch the demonstration and to participate in Q&A.
You must pre-register. Please only sign up if you can attend the class. I am limited to 50 participants on my Zoom conferences -- and so I must limit sign-ups as well. Register here.
True confessions! I can't draw. At all! Never give me a blank sheet of paper and tell me to draw anything.
As a result, applique was one of the last disciplines for me to try in Electric Quilt. However -- it really wasn't as hard as I thought it would be. And I found that EQ gave me all these neat predefined shapes, so I didn't have to be a great drawer. If you are drawing challenged, this video tutorial is for you. You will be amazed at how easy it is to create a bunny to welcome spring.
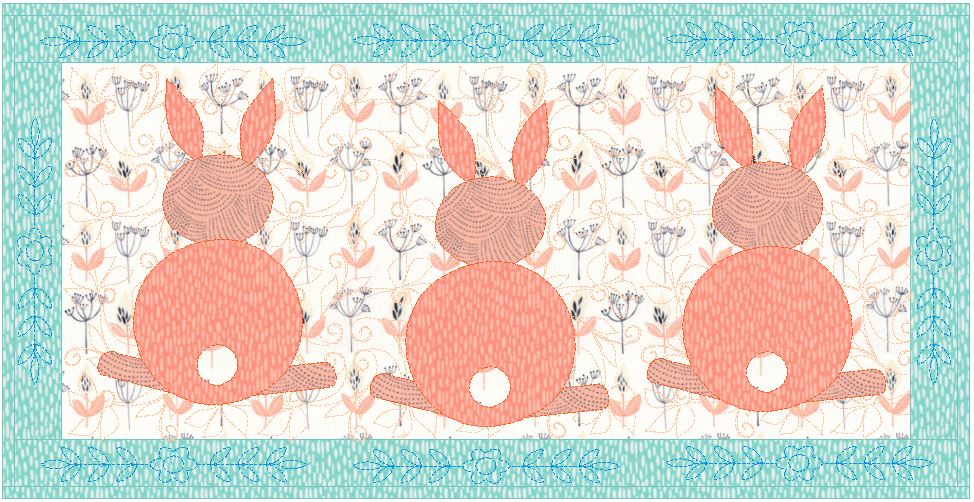
Would you like to create this quilt to celebrate spring?
You can download the bunny applique block here. As a reminder, the background and borders were cut as follows: Center Background: 18-1/2" x 8-1/2" Left and Right Borders: 1-1/2" x 8-1/2" Top and Bottom Borders: 20-1/2" x 1-1/2" Applique the bunny on the quilt. Add quilting. I used some of the designs from the Quiltmaker downloads. There were lots of options under flowers to complement the bunnies. The fabrics from this quilt were from the May 2016 Fabric of the Month Free Download on the Do You EQ website. The collection was Dear Stella Dessert Bloom.
Are you inspired and ready to take on more applique projects?
Take your Electric Quilt skills to the next level by learning to draft applique blocks using Electric Quilt with this brand new instructor led online class. Investment: $100 Learn more here. Purchase here.
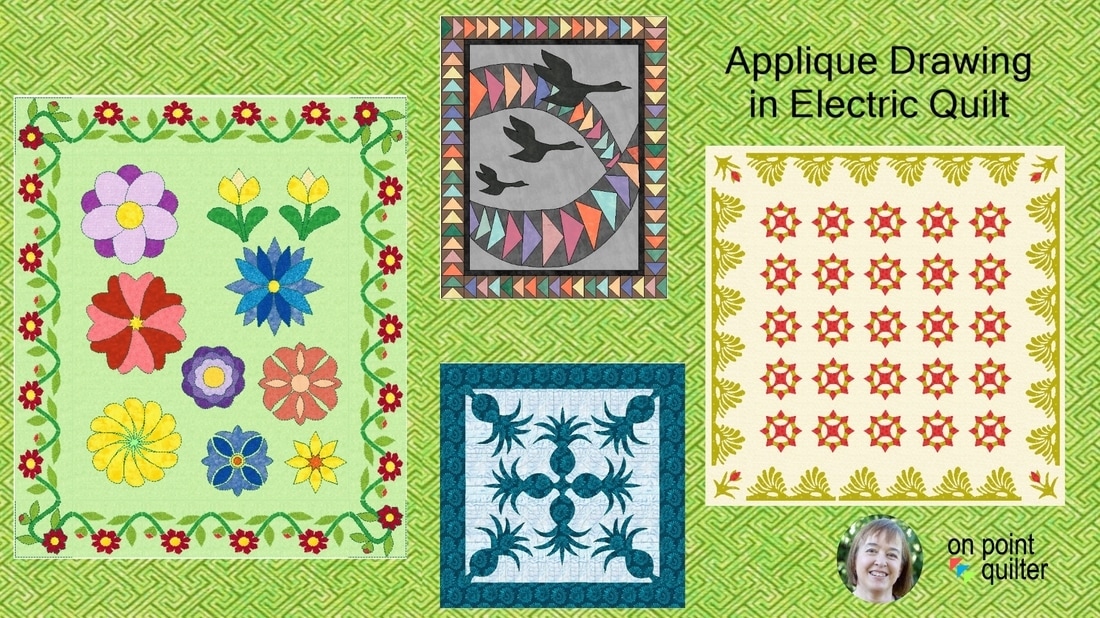
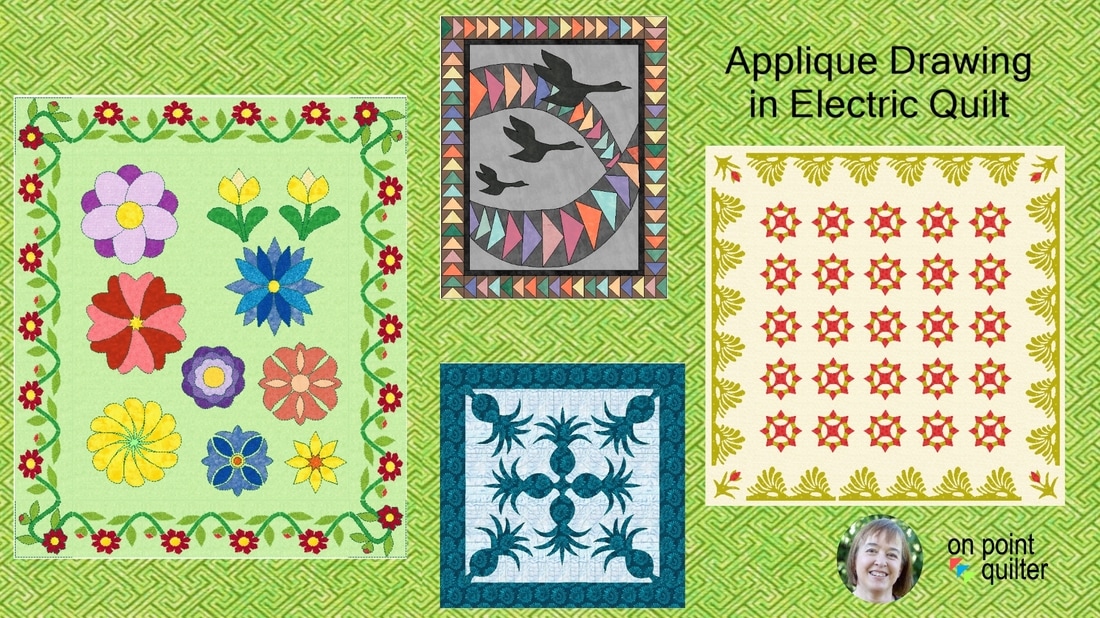
This week I am introducing a new instructor led online class - Applique Drawing Using Electric Quilt. Read more.
I am also sharing how to create a new pantograph in Art and Stitch. For those that prefer, there is also an option to purchase the pattern.
I am anxiously awaiting spring – with all its new growth including budding leaves on my trees. Since I live in Minnesota (and it still is March), my wait may not be a brief one. So I decided to content myself with a new quilting design. This one was super fun to do in Art and Stitch. Art and Stitch is digitizing software for embroidery and longarm quilting. 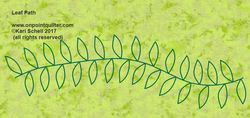
For this pantograph, just:
Check out my video tutorial for more information. Or ... Would you prefer to purchase the leaf path pantograph. This new pattern is on sale for 50% off (only $7.50) on my website. Purchase now.
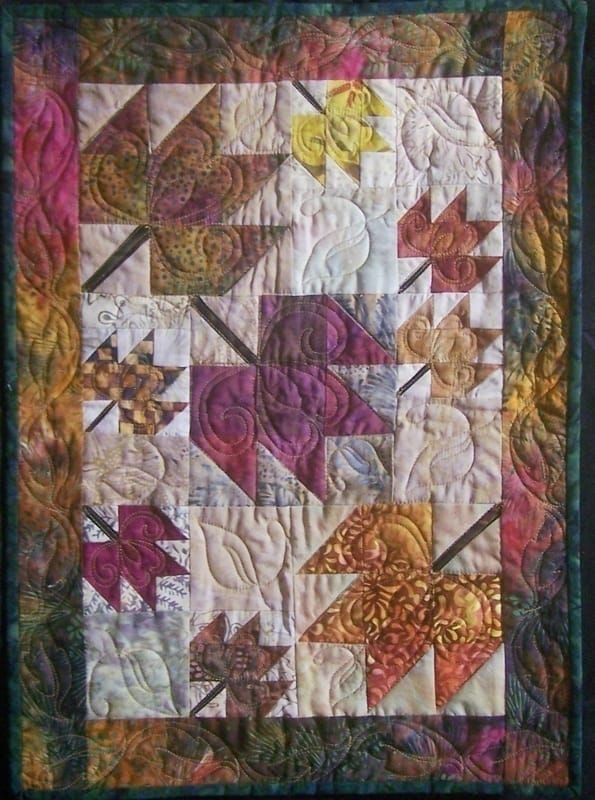
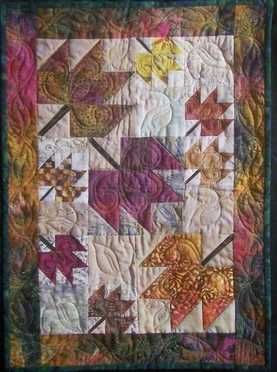
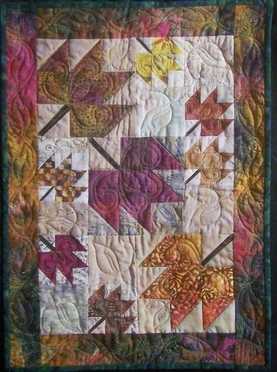
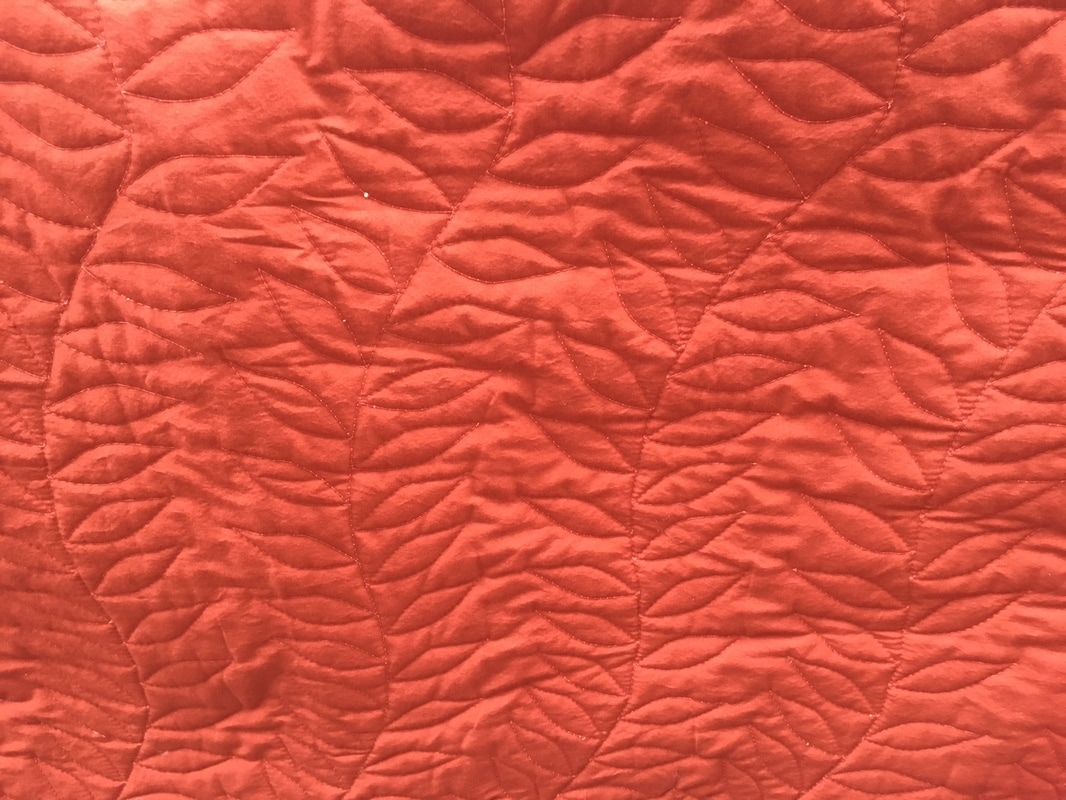
Do you want to see what the design looks like on a quilt? Here is my latest quilt-out of the design.
Would you like to learn more about Art and Stitch? I have a full day class on Art and Stitch at the Minnesota Quilt show in Duluth. You don’t even need to purchase the software to take the class. You can download a trial version from the Art and Stitch website. You won’t be able to save any of your work with the trial version – but you will have a chance to see what this program can do for you.
Art and Stitch - Thread Art Wednesday, June 7
Never be limited to purchased designs again. Art and Stitch will allow you to finally translate your creativity to beautiful designs. Learn how to use this powerful digitizing software by creating a series of string art designs that are suitable for both computerized long arm and embroidery machines.
Level: Beginner To learn more about any of my classes or the show in general, check out the Minnesota Quilt Show website. New Online Instructor Led Class - Applique Drawing Using Electric Quilt
Take your Electric Quilt skills to the next level by learning to draft applique blocks using Electric Quilt.
Investment: $100 Learn more here. |
Kari SchellElectric Quilt Expert and Educator and Pattern Designer. Categories
All
Archives
July 2024
|




 RSS Feed