|
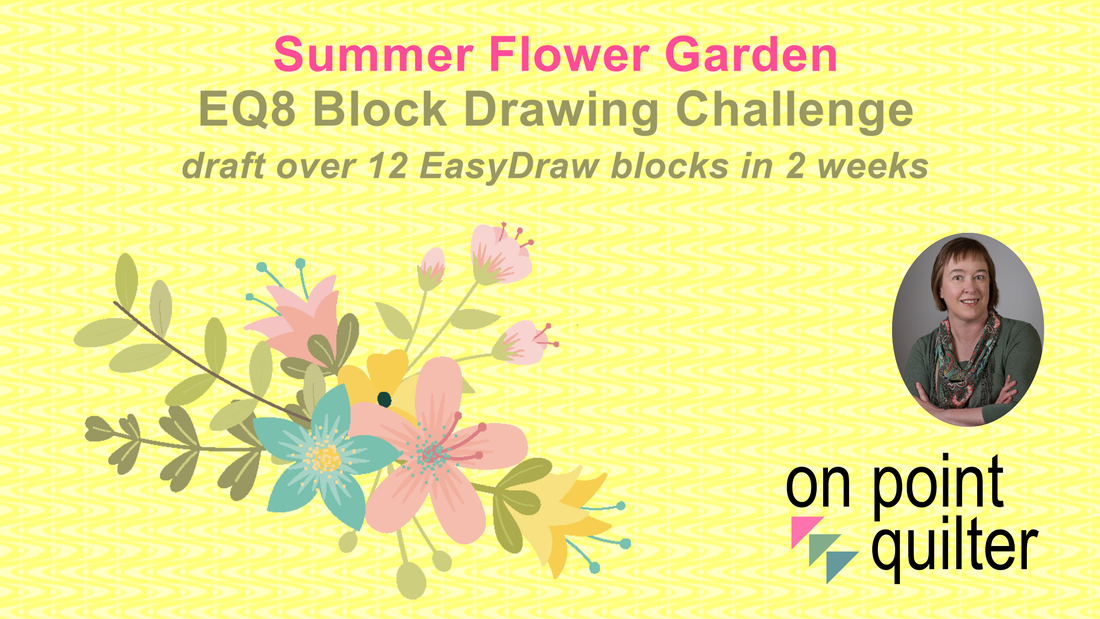
Join me for a brand new challenge to grow your Electric Quilt skills -- or rebuild your skills if you have fallen away from using the software.
The Challenge starts June 8th. Scroll down for some short videos to set yourself up for success during the challenge.
If one of you plans for this summer is to finally get comfortable using Electric Quilt 8, then this upcoming challenge is for you. Or maybe you have lost some of your motivation during the quarantine and are looking to get back into using EQ. If so this challenge is for you as well. The challenge starts Monday, June 8, 2020.
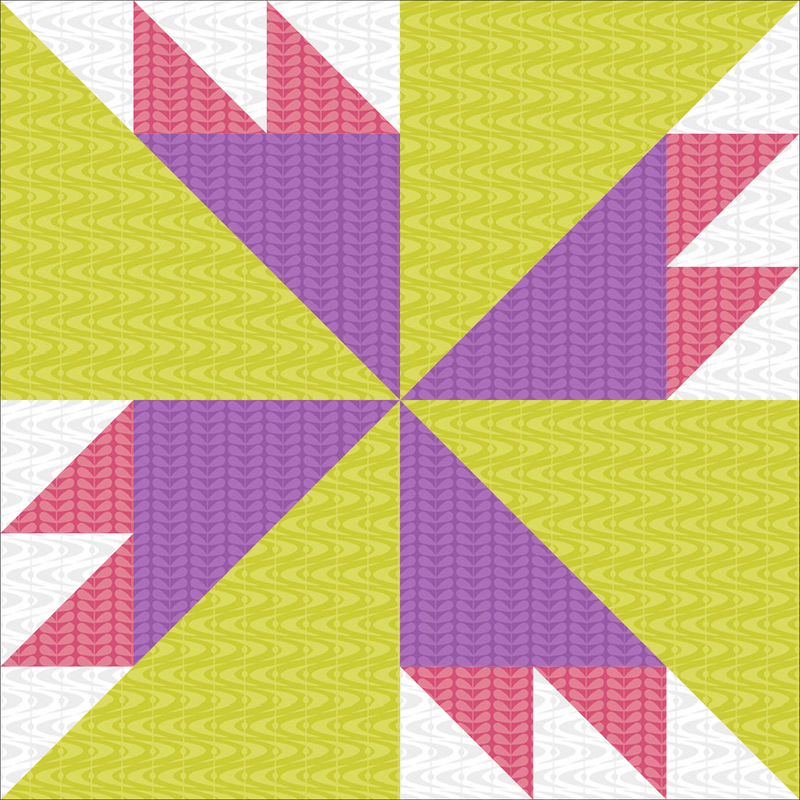
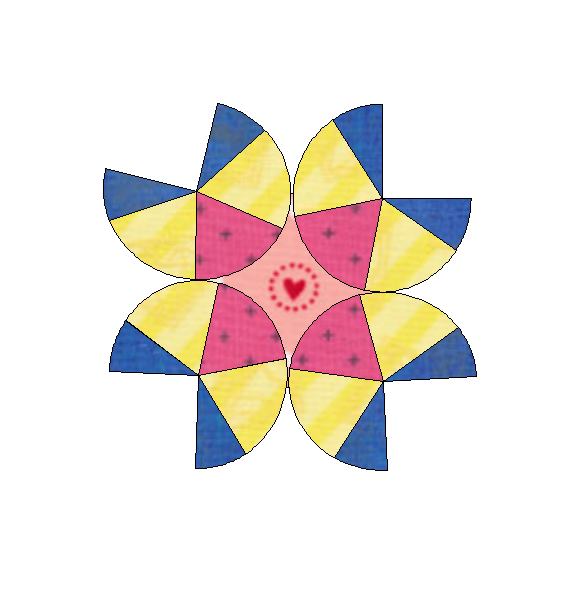
For two weeks I will be providing you over 12 videos on creating a series of flower blocks in EasyDraw. If you are new to drawing your own blocks, this will get you comfortable in using the EasyDraw to redraw your favorite blocks or create your own. For those who have been using Electric Quilt for a while, you will have an opportunity for some extra practice on figuring out the snaps horizontal and vertical in EasyDraw which will carry over into all you designing. There is a small fee ($12) that I am charging to handle the extra administrative expenses associated with the challenge. I also have found that enrollees are much more engaged when they pay to participate. And when they are engaged, their skills grow at a much higher rate. If you haven't signed up for the challenge, please make sure to do that today. Videos to Set You Up for Success for the Upcoming Challenge
I've put together three short videos to give you a head start for the challenge:
Video 1: Setting Up Your Project File and Adding Fabrics
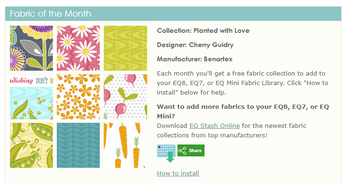
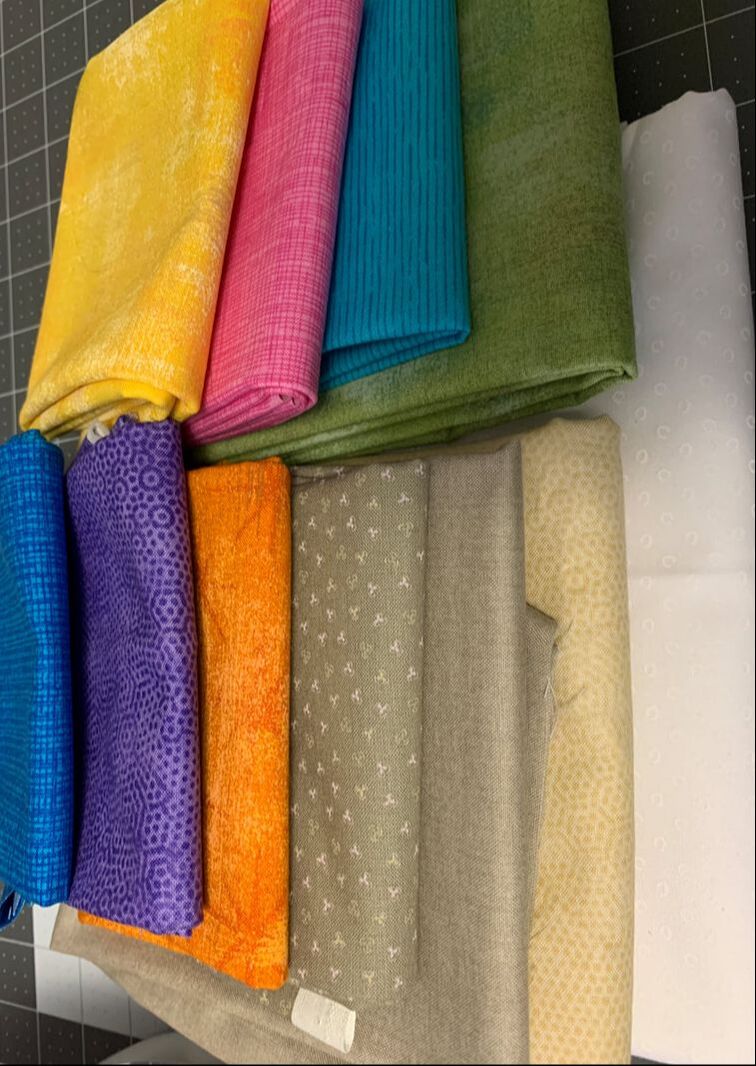
Do you enjoy the fabric and quilt inspiration on the Do You EQ website? Each month Electric Quilt gifts us with a free fabric download that contains a perfectly cropped and sized fabric library with one of the latest fabric collections.
In this tutorial, I will share with you how to download one of those free fabric collections and set up your project for the Summer Flower Garden Challenge.
Video 2: Exporting a Block Image for Facebook
When exporting a block for a post you wish to share on Social Media, there are the process can be different than sharing a quilt. In this tutorial, learn how to export an image of a block and then add it to a Facebook post.
Video 3: Importing an Image for Tracing
If you haven't enrolled in the challenge, now is the time. I look forward to working with you to become more comfortable in drafting your own blocks.
I've received a number of inquiries from those that have been waiting to join Tech Know Quilters. My plans are to open the doors to Tech Know Quilter at the end of the challenge..
I've been asked by those that are in one of my classes or receive my weekly newsletter if they are automatically enrolled in the challenge. The answer is NO. So please sign up using the link above if you would like to participate in the challenge.
For those currently in the Tech Know Quilter group, check your emails for your special option for the challenge. Design Your Own Star 60 Block
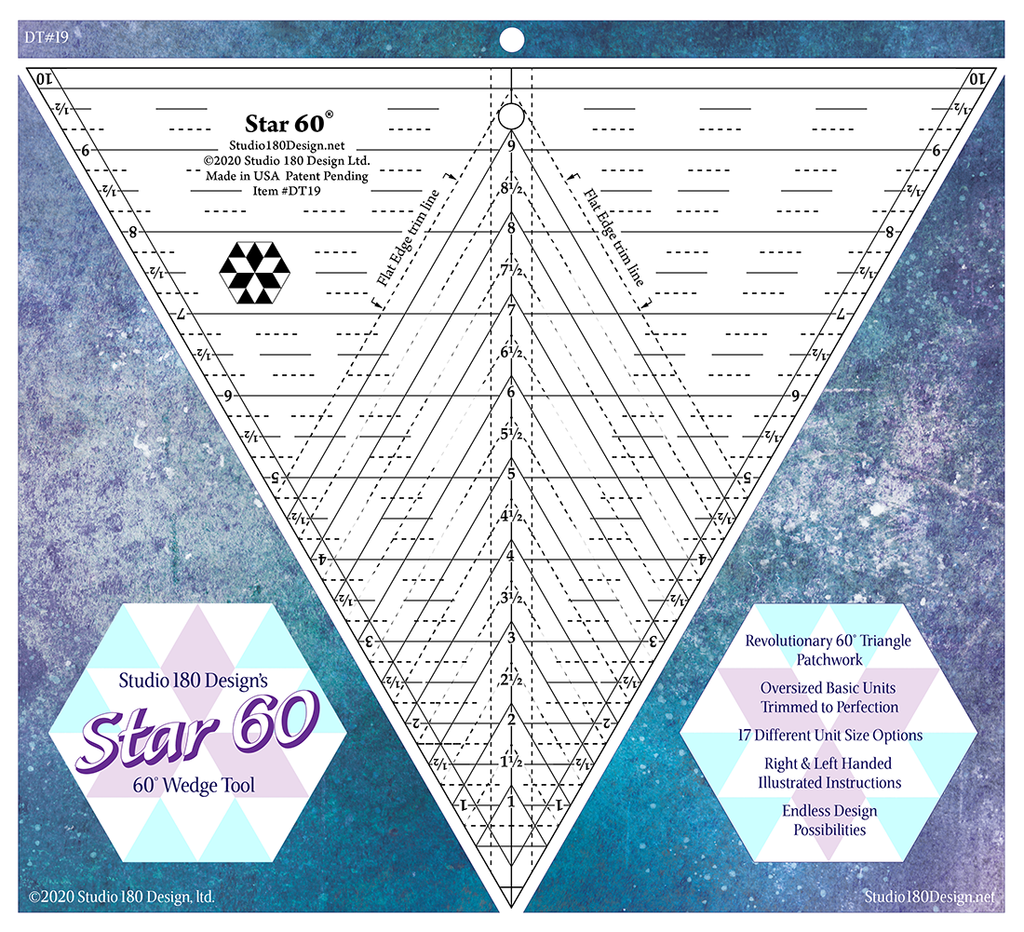
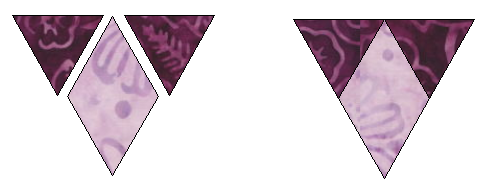
There are two basic shapes, that you can work with (1) an equilateral triangle and (2) a diamond. There are a ton of size options, but you essentially can create larger over-sized units by combining the diamond with two equilateral triangles. The pieced units are then trimmed down to the precise size needed.
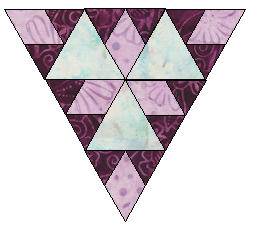
You can combine these units with larger equilateral triangles and diamonds to create even larger equilateral triangles. Here is one design I came up with.
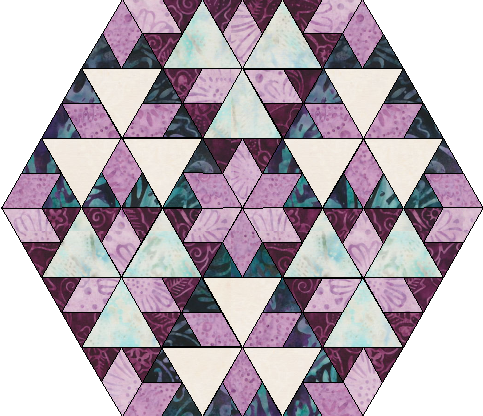
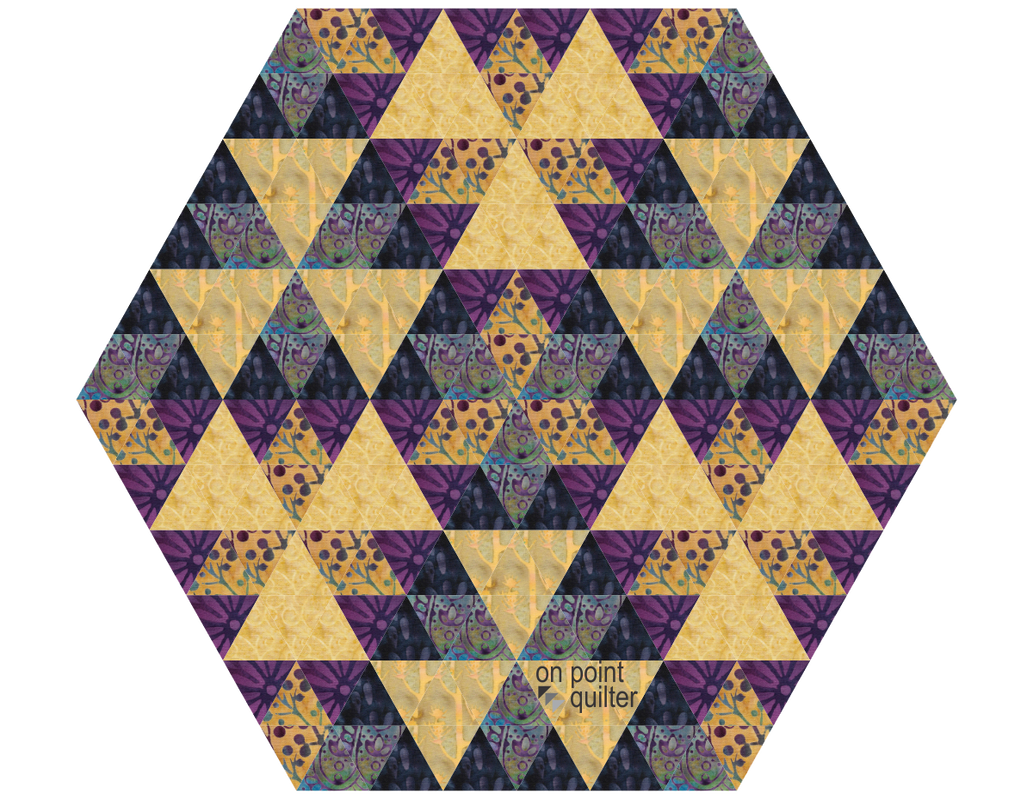
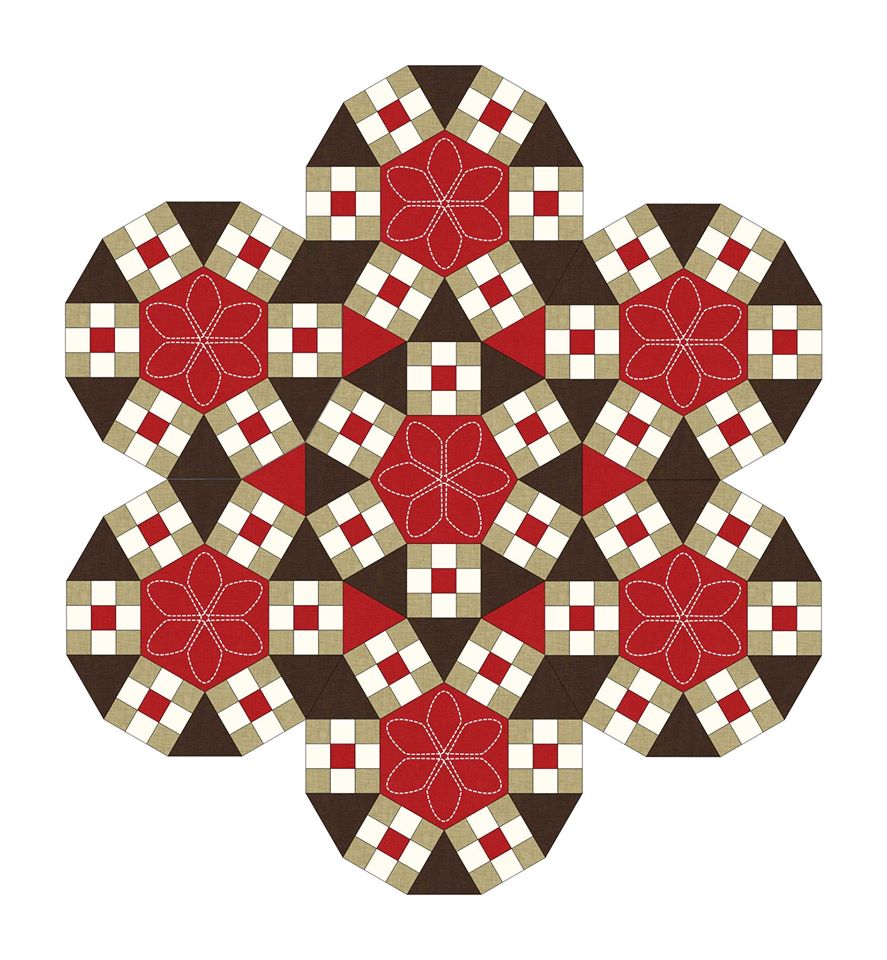
To play even more I combined six equilateral triangle units to create a hexagon block.
It did take a bit of effort to draft the hexagon block -- which was created as an applique motif block in Electric Quilt 8. I began to wonder about how I could more easily audition my designs to see if I liked them before drafting the actual block.
So I came up with a much easier solution using Electric Quilt 8 software. For this solution, I am not worried about "piecing" the block -- only about coloring to see if I could come up with a design that would be Star 60 friendly with fabrics I would like to work with.
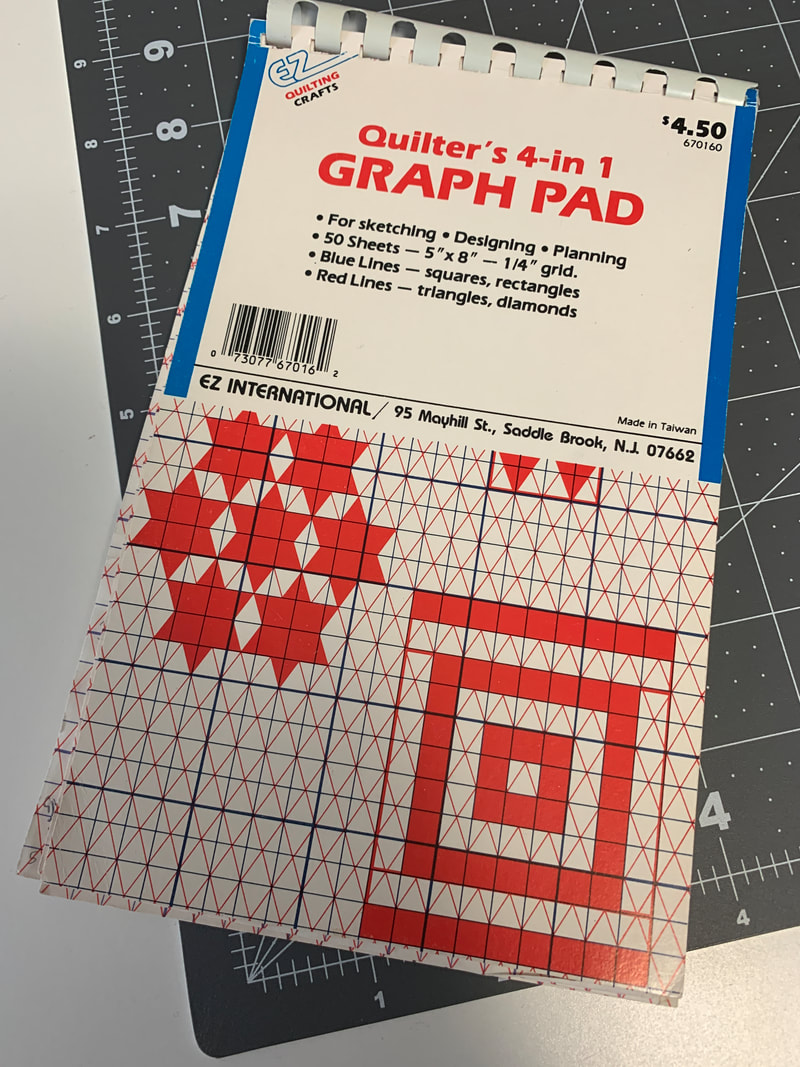
In my Electric Quilt tutorial, I will share with you how simple it is to create graph paper with guidelines to create your own equilateral triangle and hexagon block designs. I will also share some fast coloring techniques as well.
Here is the link to the equilateral triangle calculator referenced in the video.
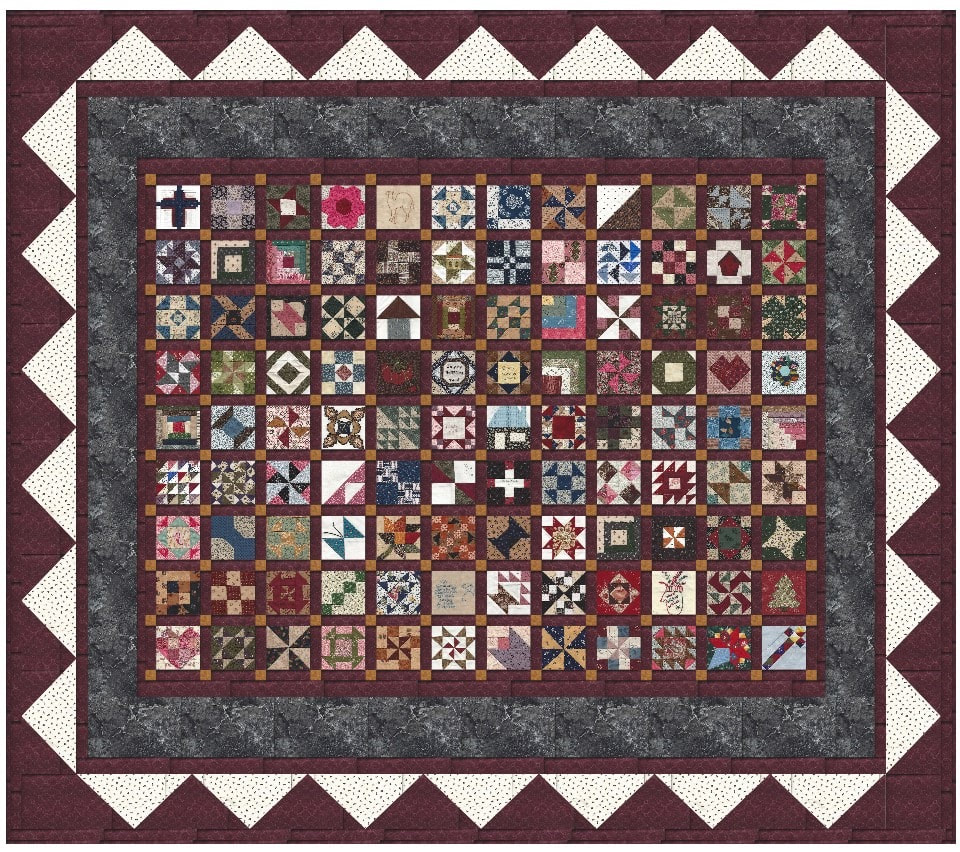
Here is the one patch quilt from the video.
My challenge to you. Create your own equilateral triangle unit/hexagon block in a favorite fabric collection. I would love to see what you come up with.
Apply What You Learned Challenge Quilts
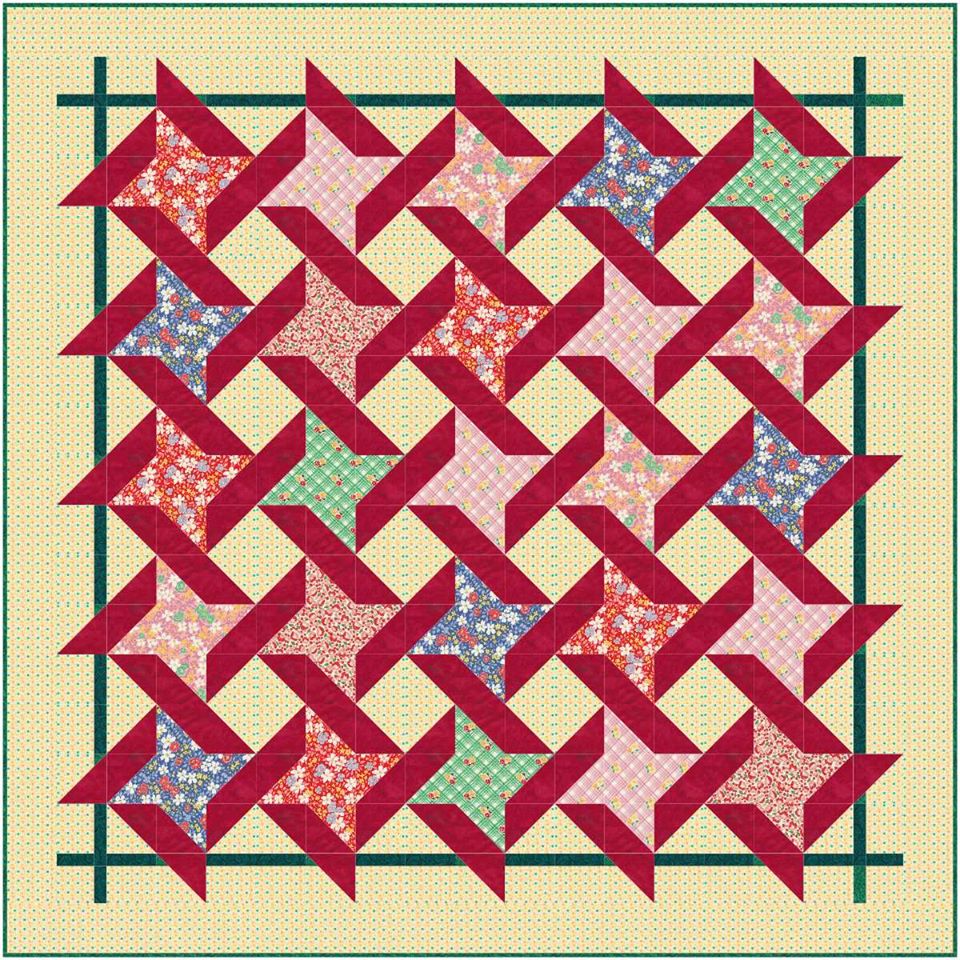
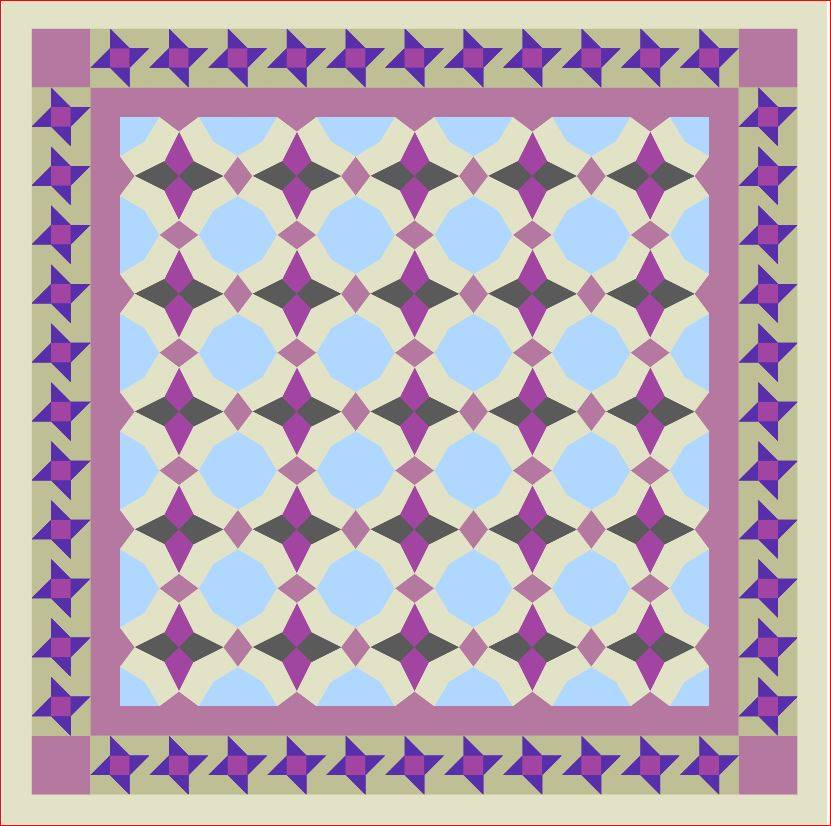
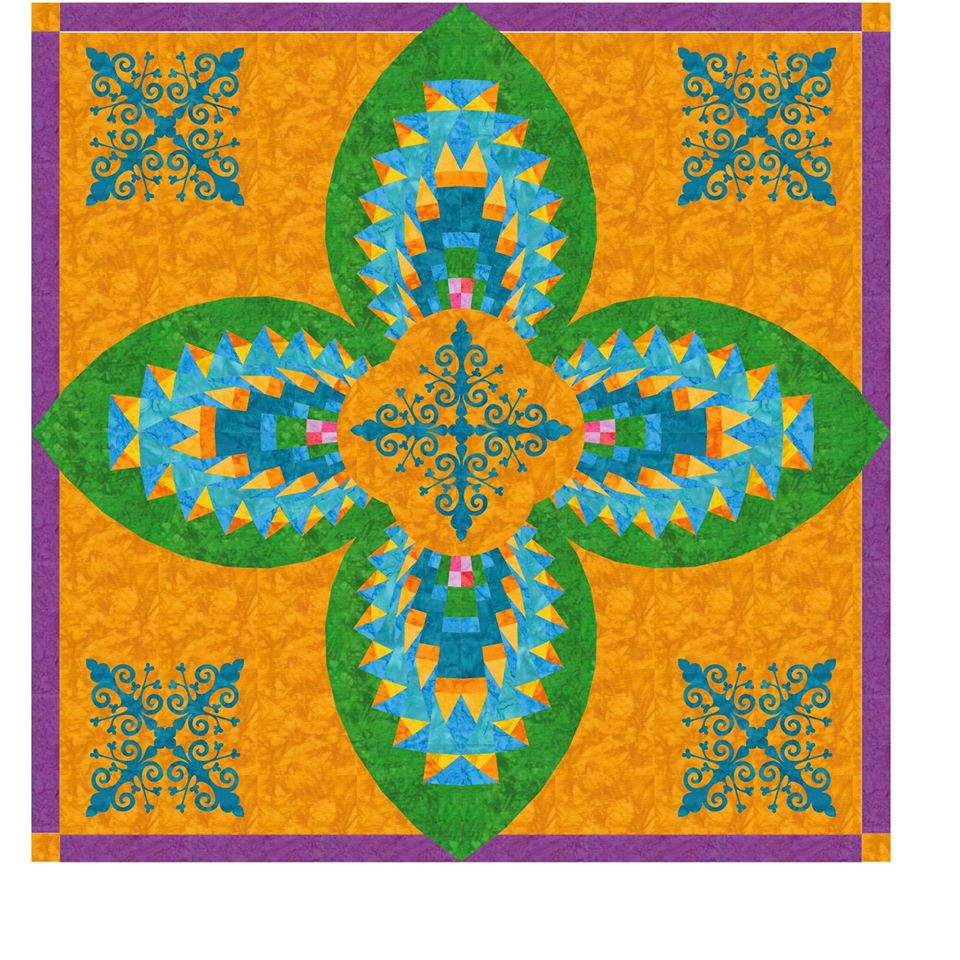
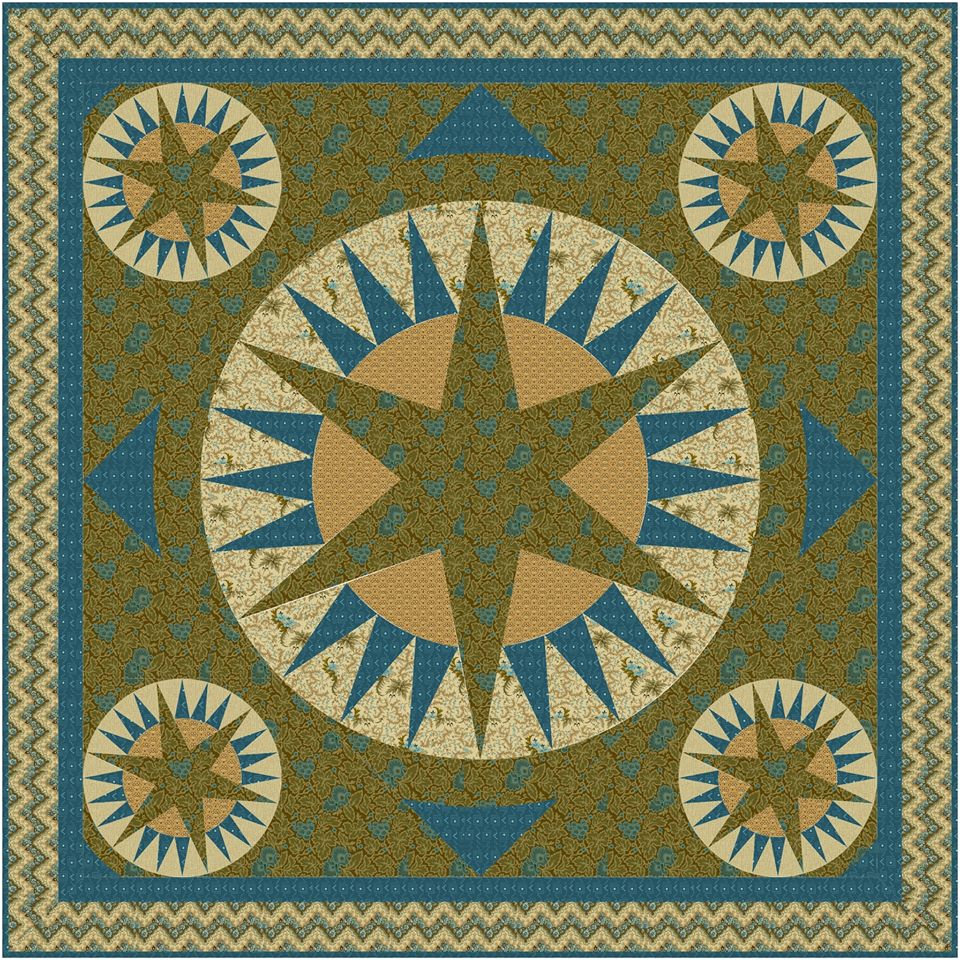
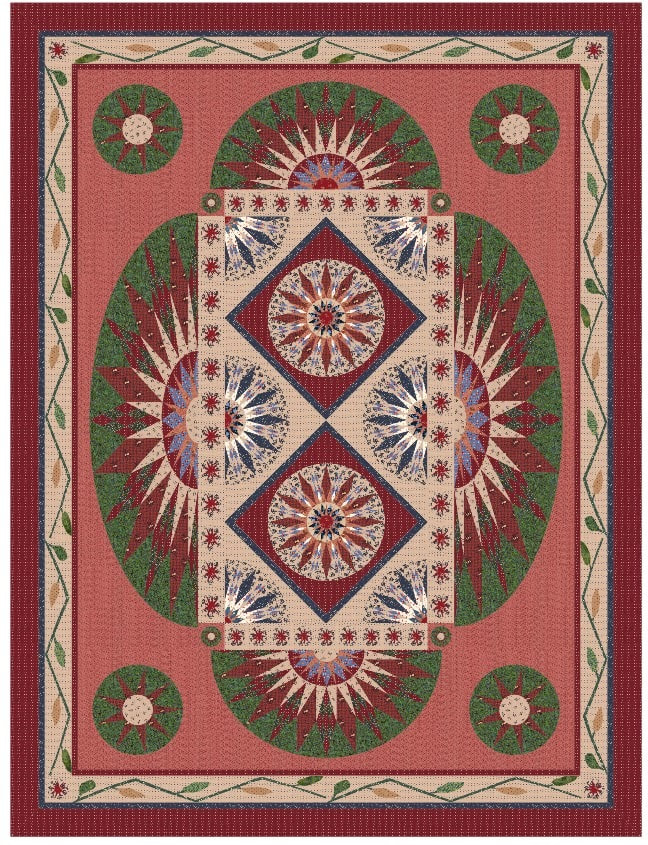
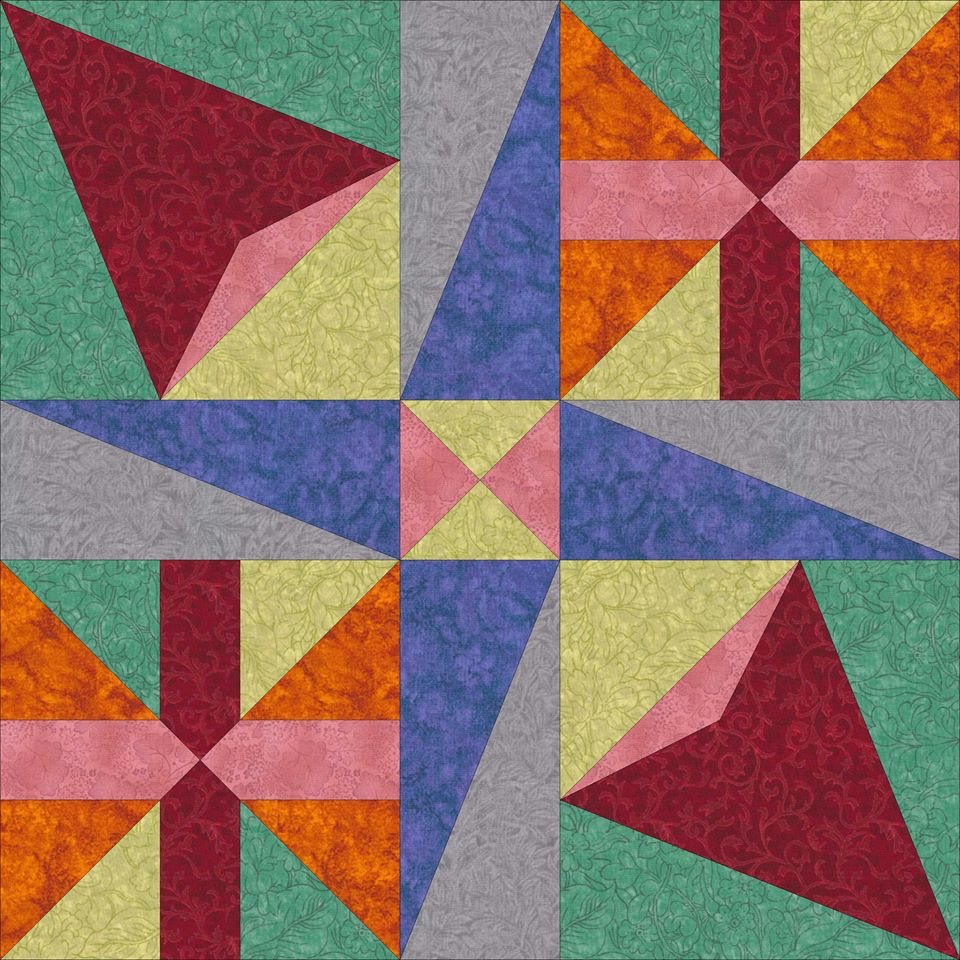
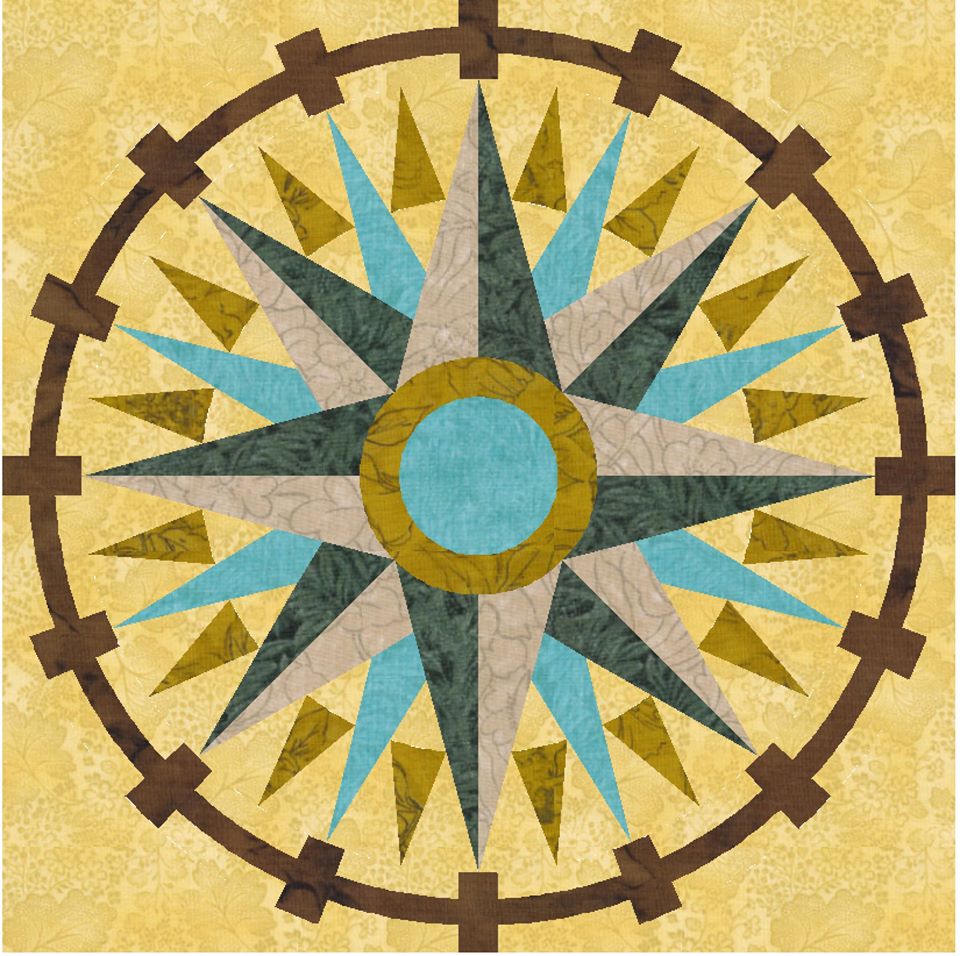
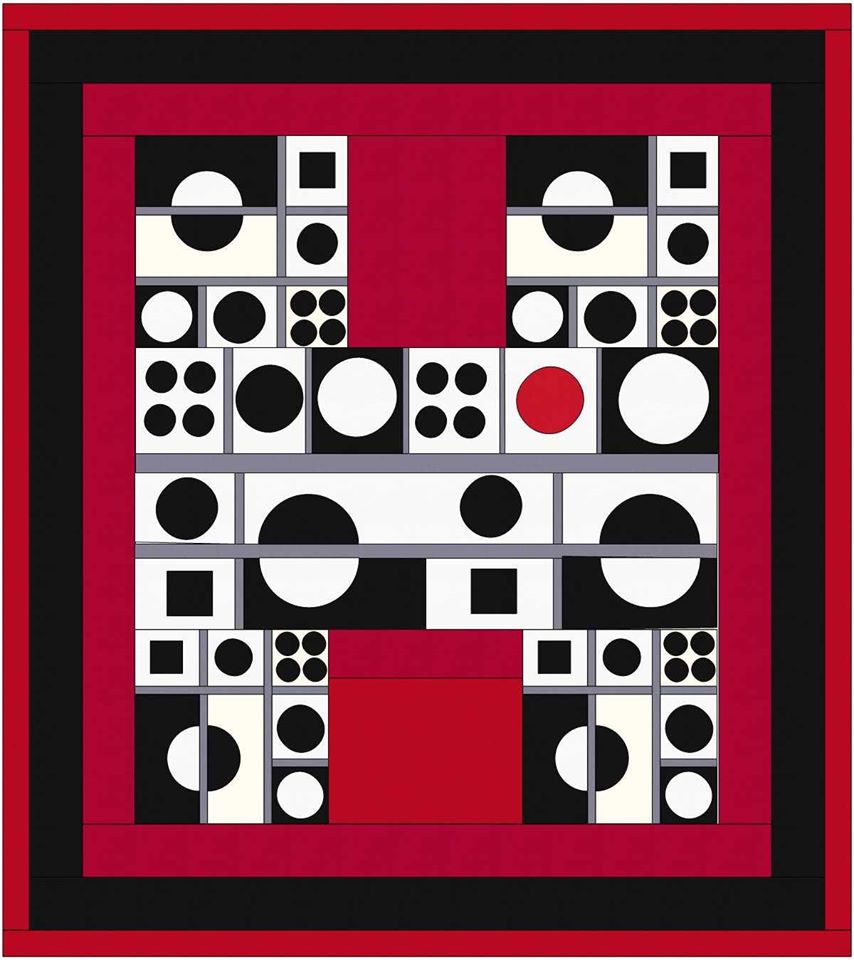
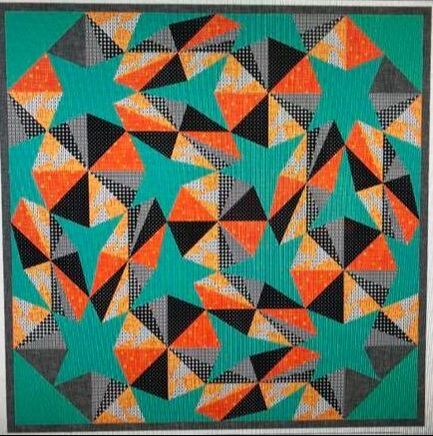
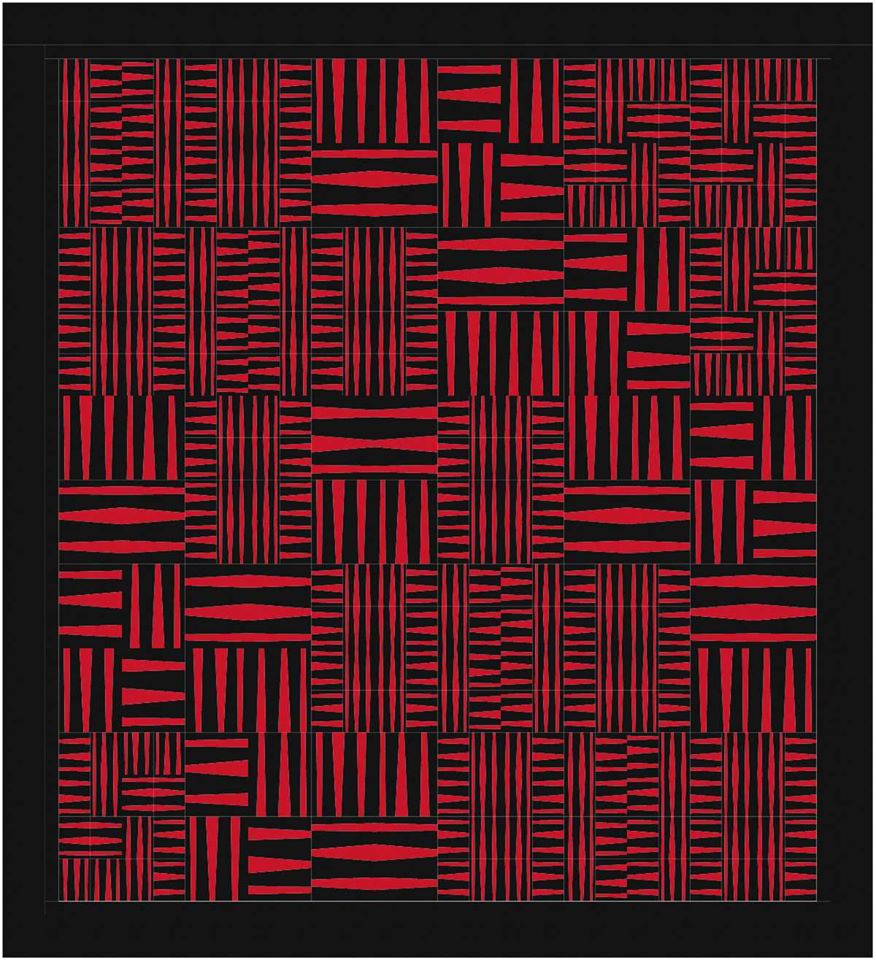
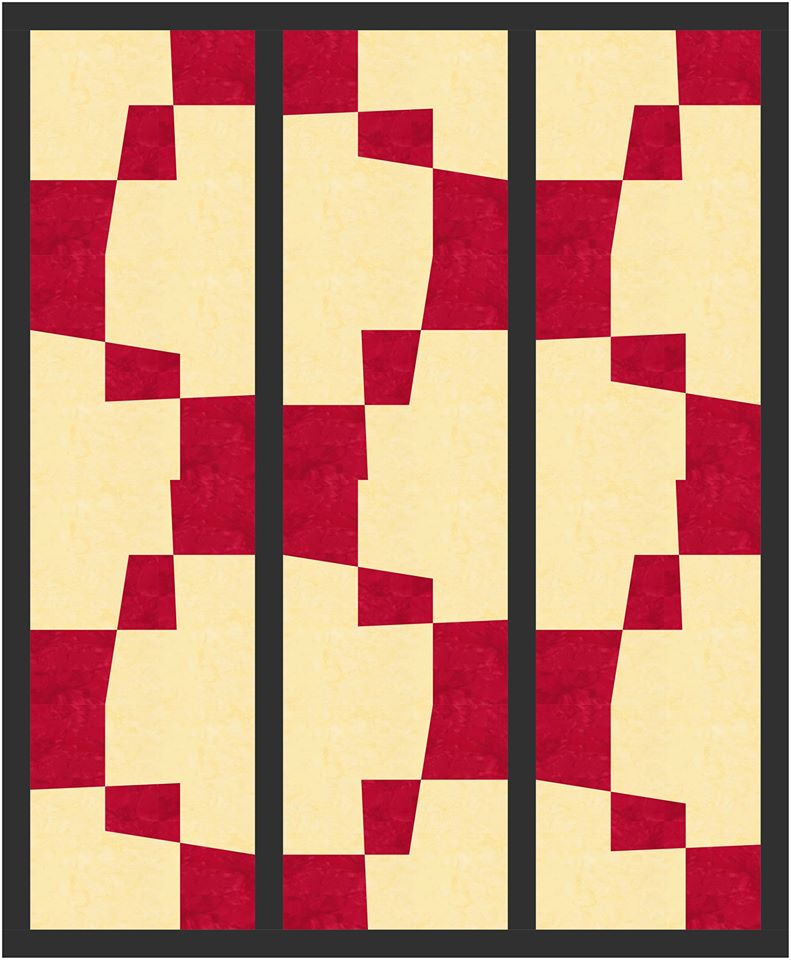
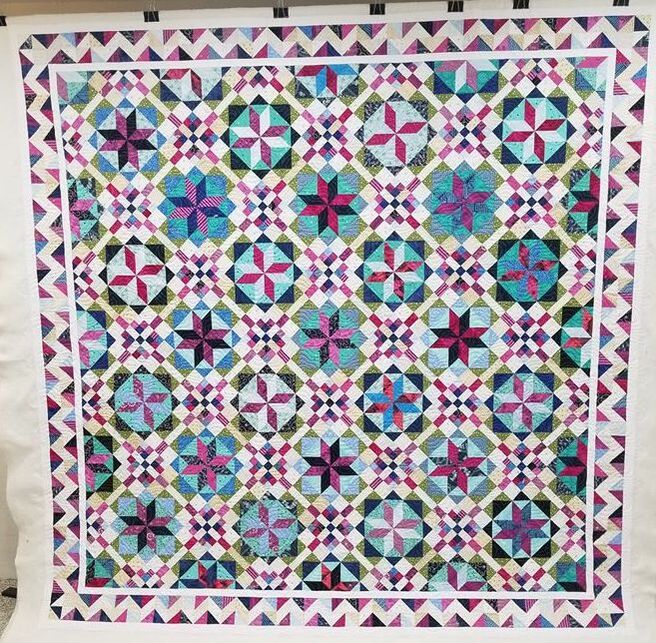
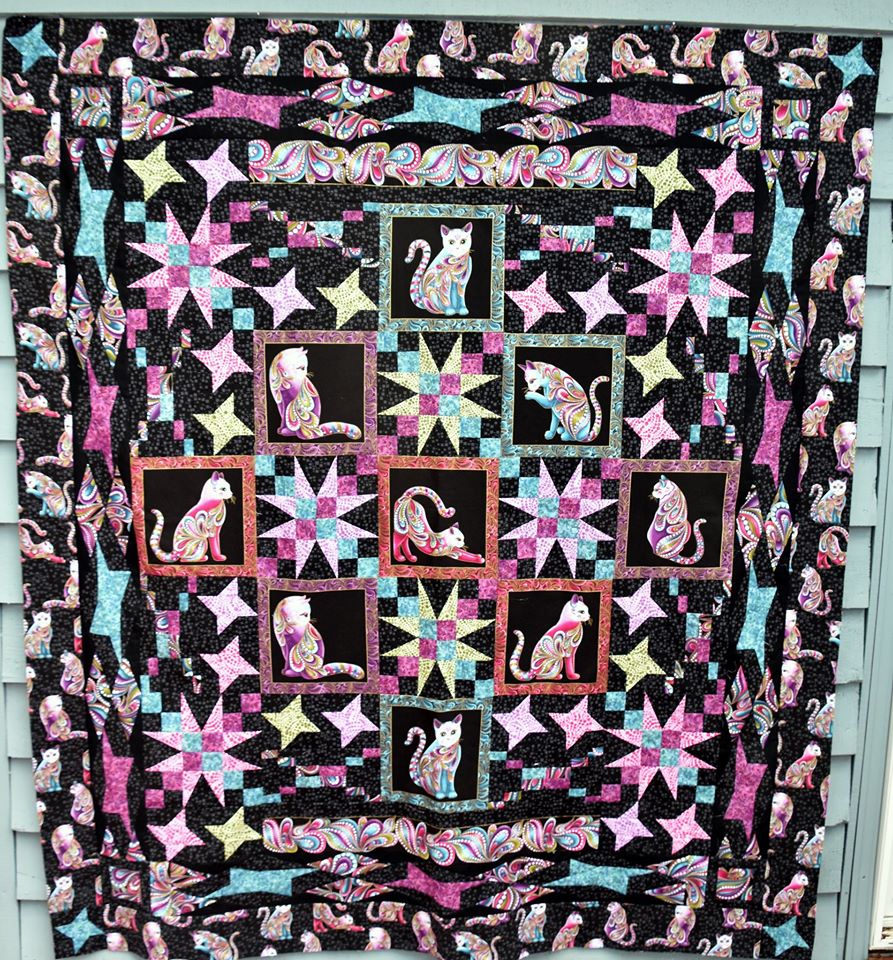
Tech Know Quilters is a membership of Electric Quilt 8 owners who are mastering Electric Quilt through online training. At the end of their April class, they were encouraged to apply what they learned during the month of April.
Tech Know Quilters is open to new members only a few times a year. You can sign up for the wait list here and we will notify you of the next open enrollment period..
Kessel Point - Just finished the Design to Production and it has been my favorite! Very organized and methodical approach which speaks to my soul,
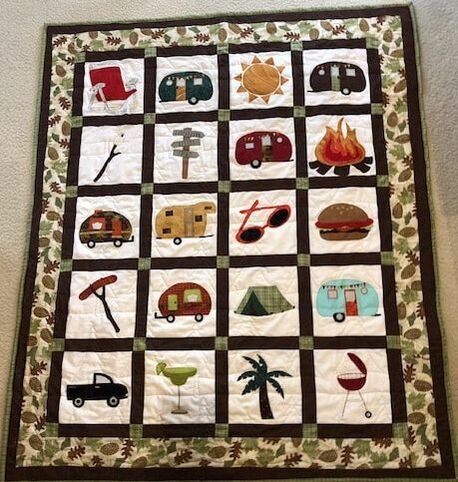
I’ve had this Dream Big panel for awhile and decided it will become a anniversary gift for my in-laws in September. Utilizing Kari’s cheat sheets, I was able to dissect block by block and lay out my plan of attack. Even better – I too have a new Cricut Maker and have attempted the EQ8 >Inkscape>Cricut path. Your tutorial to do so enabled me in easily creating the appliques for my Camping quilt Thanks for your efforts Kari – Your lessons are invaluable!
Kristy Goodin Soard I took the Masters Advanced PolyDraw class this month. I was reminded to use multiple rings and spokes settings in a single block. I found the block in my book by Edyta Sitar, but she created it with templates and I wanted to be able to execute with foundation piecing. I used a layout from the library to create one quilt, and designed the second on my own.
Other Projects
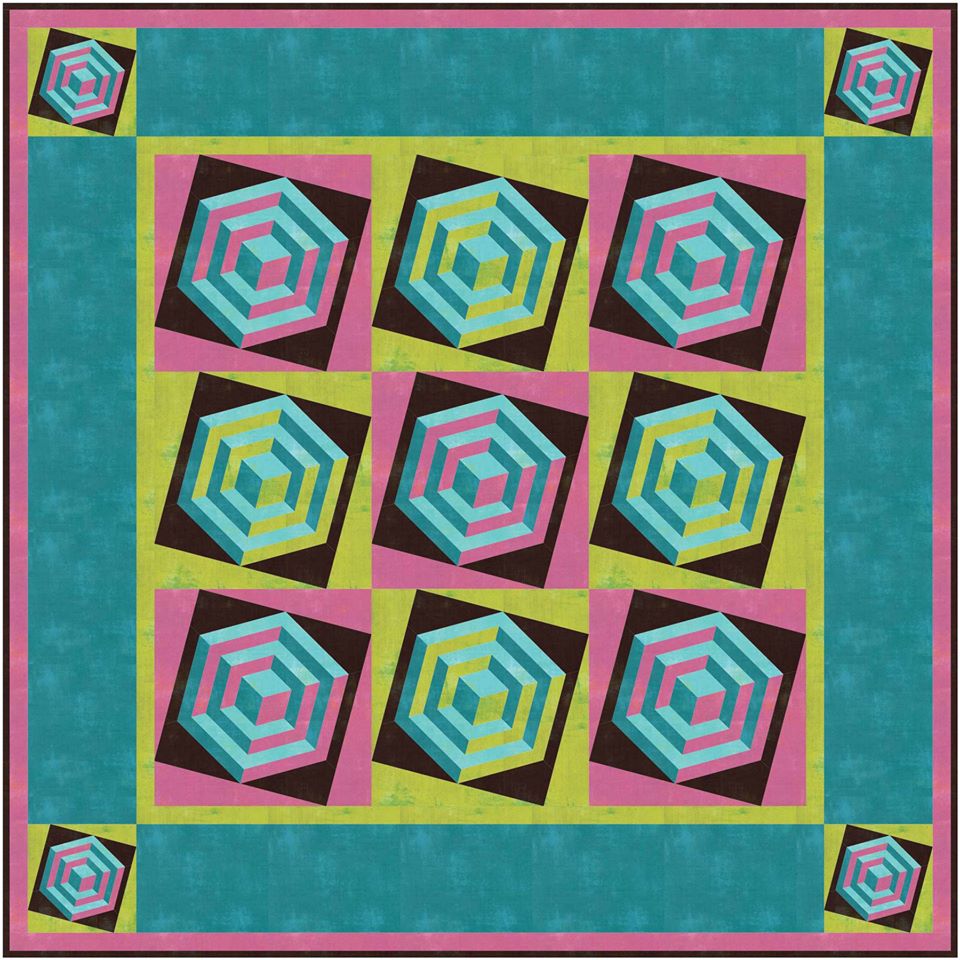
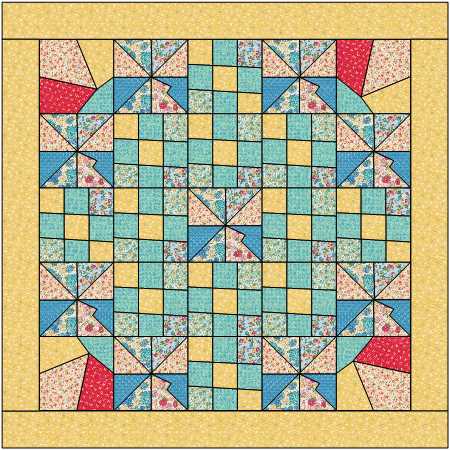
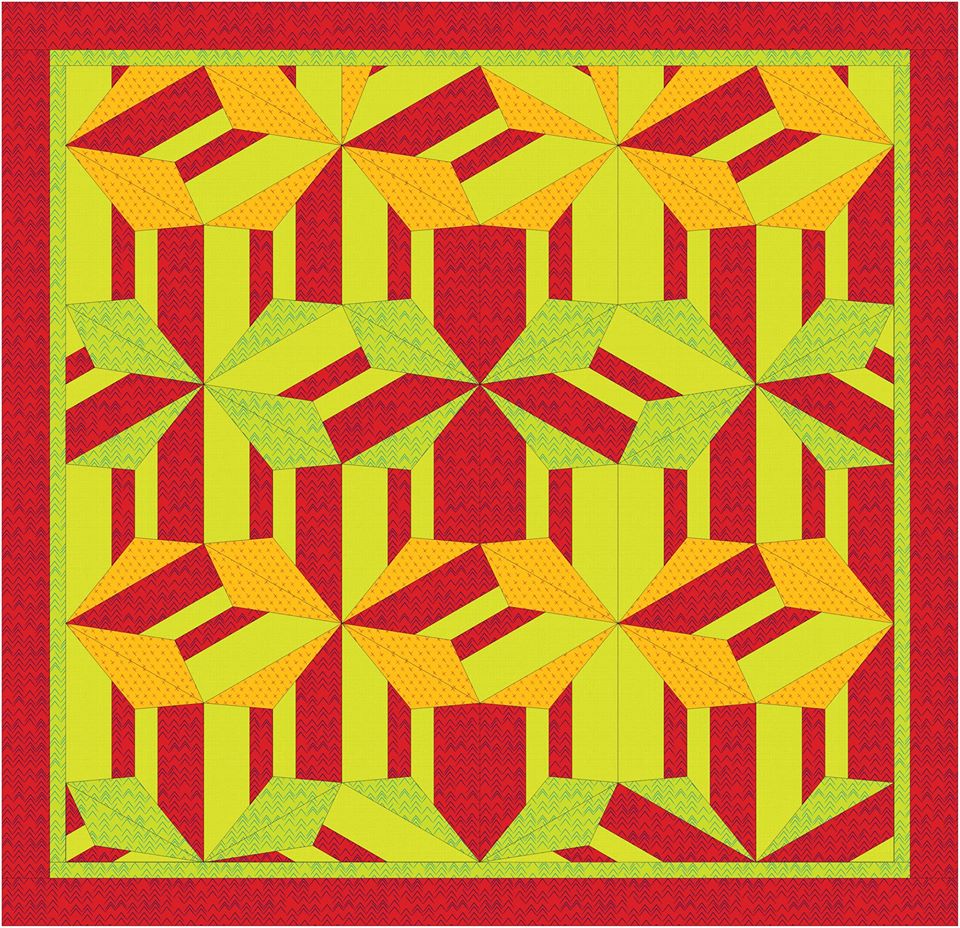
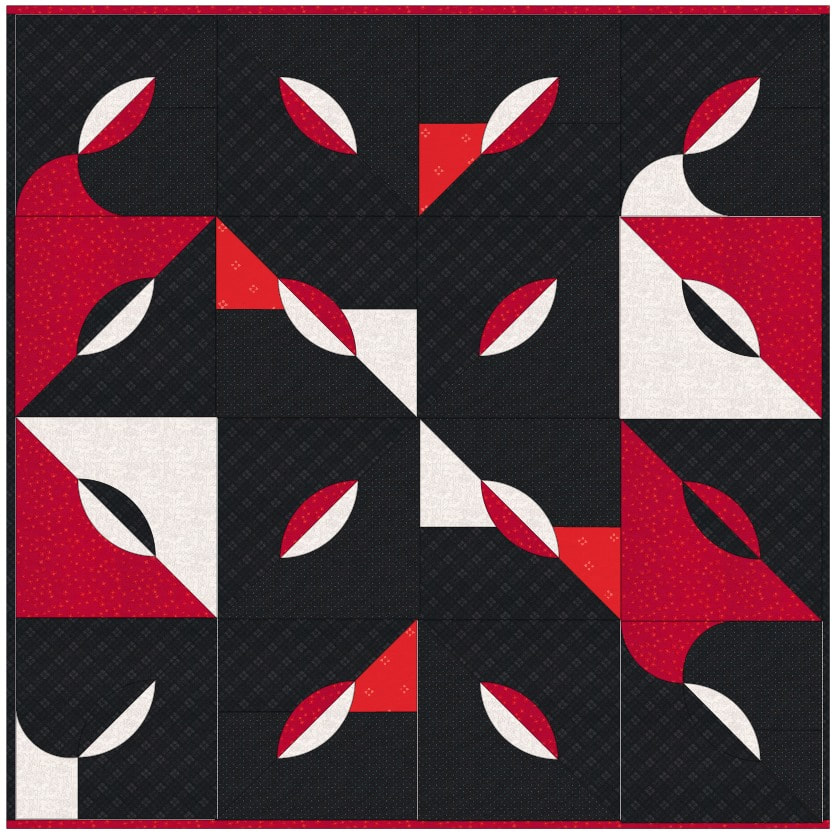
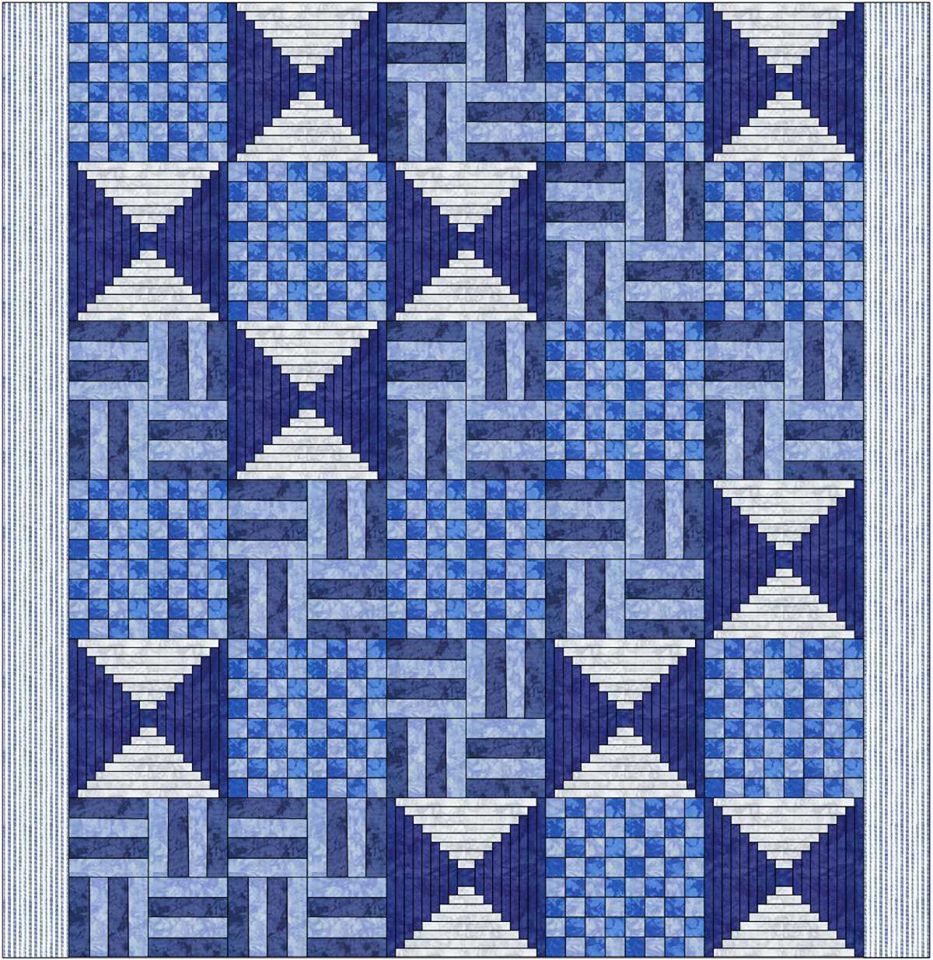
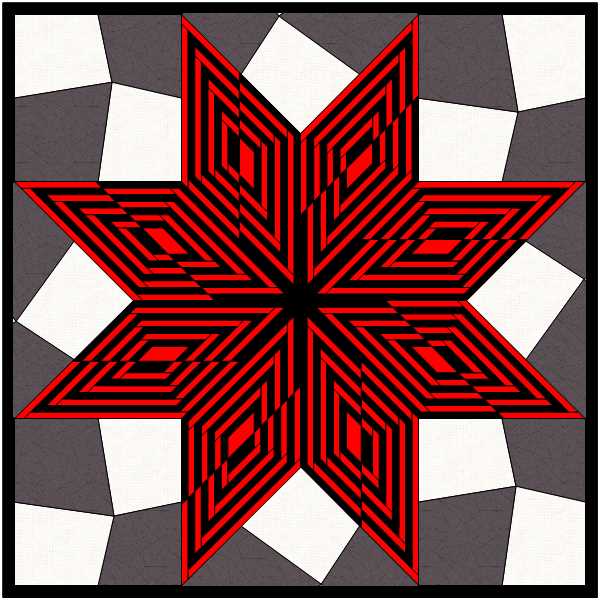
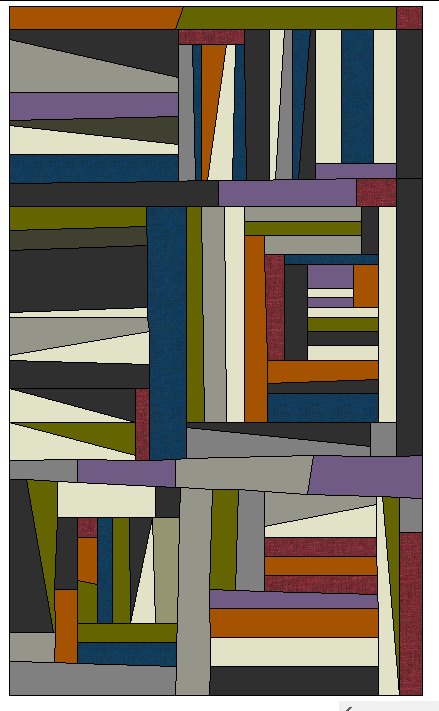
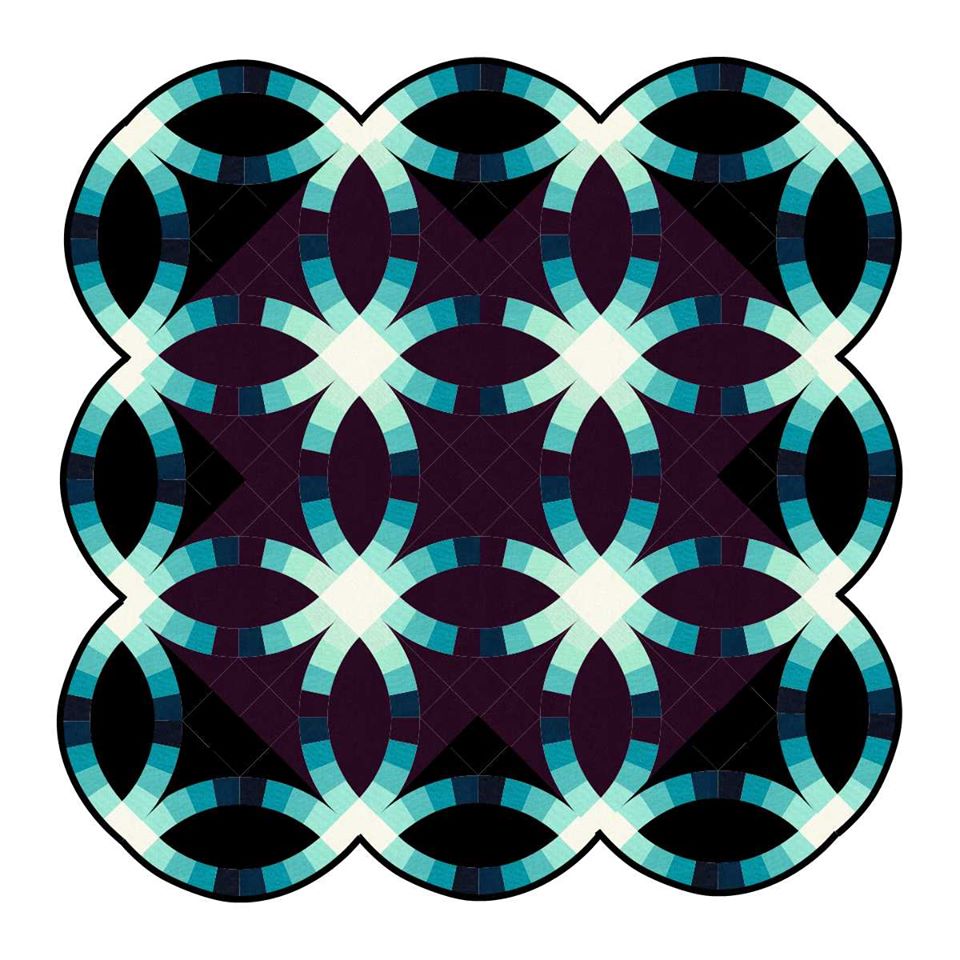
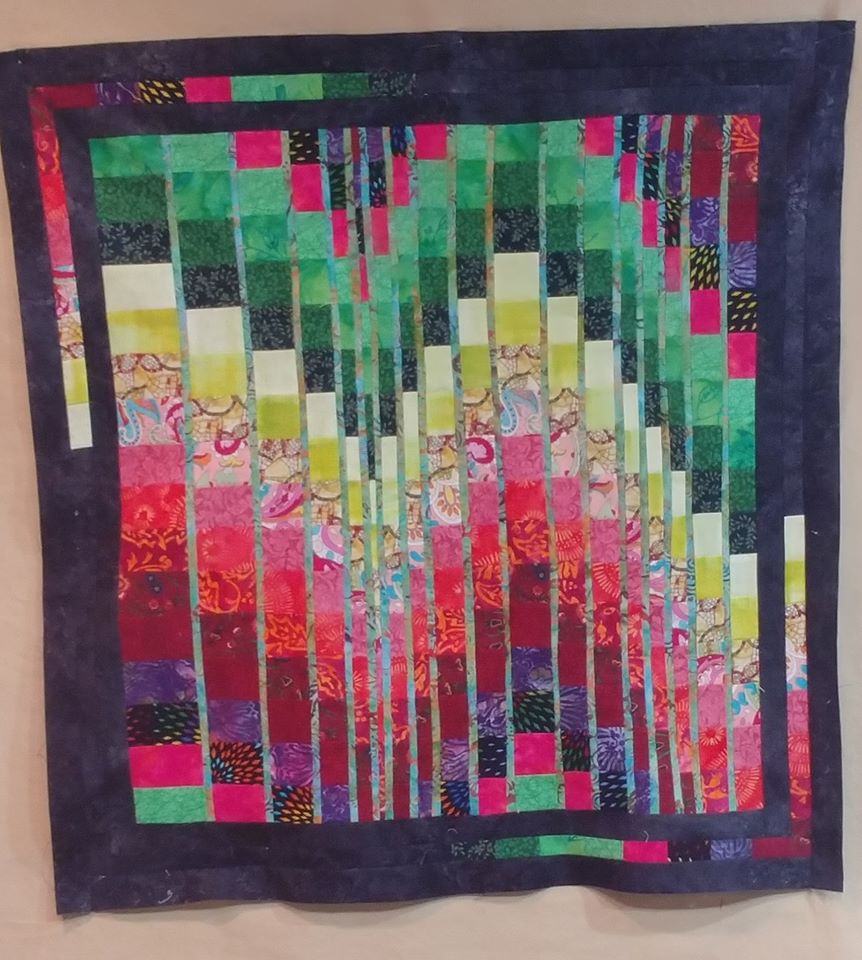
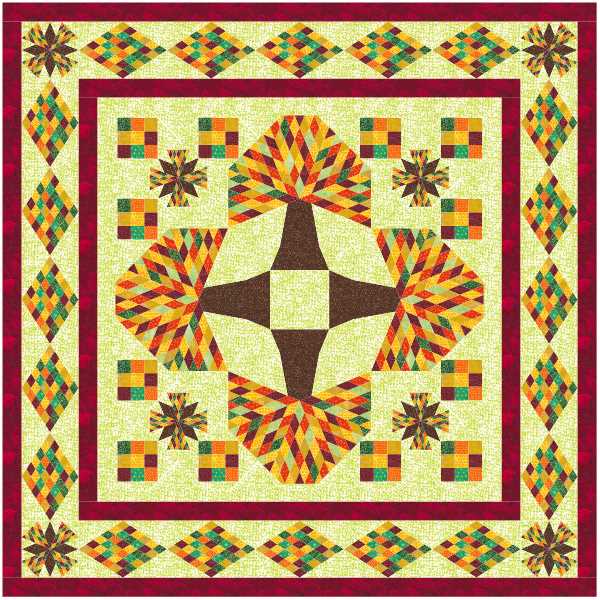
Here are some additional projects created by Tech Know Quilter members -- they are a very talented group who are doing amazing things with Electric Quilt 8.
TKQ Masters Projects
I am departing from my normal Electric Quilt post this week. My tutorial will focus on using Cricut Design Space to prepare and cut out my applique block that was created in Electric Quilt 8.
I am now ready to bring the SVG files into Cricut Design Space where I will cut all of my fabrics. I also decided to draw the embroidery lines on my fabric using a washout marker before doing the cut. Adding the embroidery lines made the process much more complex. But the video will show you how to work through issues when what is showing in Cricut Design Space isn't exactly what you thought you sent it.
I then will share actually cutting the pieces on my Cricut Maker. Before purchasing the Cricut Maker, I was google searching "how small can I cut fabric patches with the Cricut Maker". All the videos I could find on cutting fabric were doing mega large pieces. However, as a quilter, I wanted to be able to do really small pieces. I definitely put Cricut Maker to the test on figuring out how small was "acceptable". Watch the entire process (with some speed up sections) with my Cricut Maker in this video.
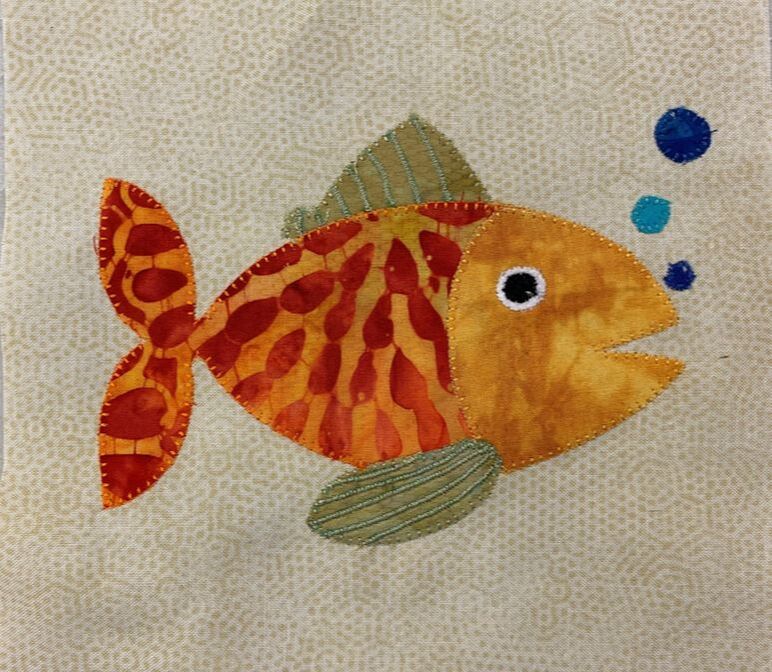
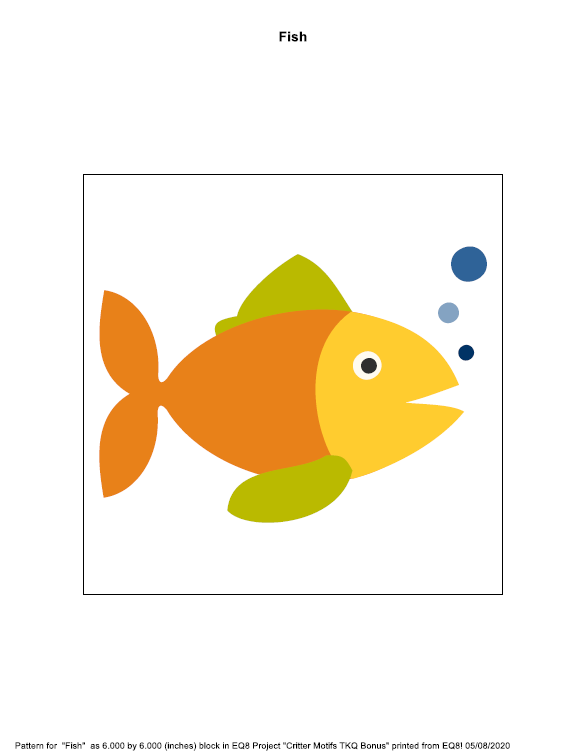
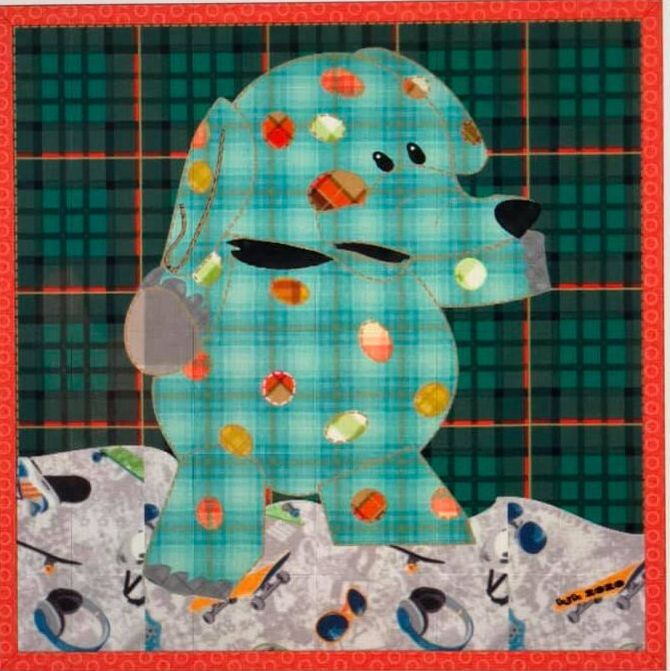
Here is my finished 6" fish motif block. I am heading off to a very small retreat this weekend, where I plan to get a lot of critter applique stitching complete.
And if you were wondering -- I am able to cut pieces as small as 1/4 inch with the Cricut Maker. I could even cut smaller pieces, but when I went to remove them from the mat, they disintegrated as they are only a few threads wide.
Scroll down for the free video tutorial on converting the EQ8 critter applique motif blocks to an SVG file.
Fabric Collection
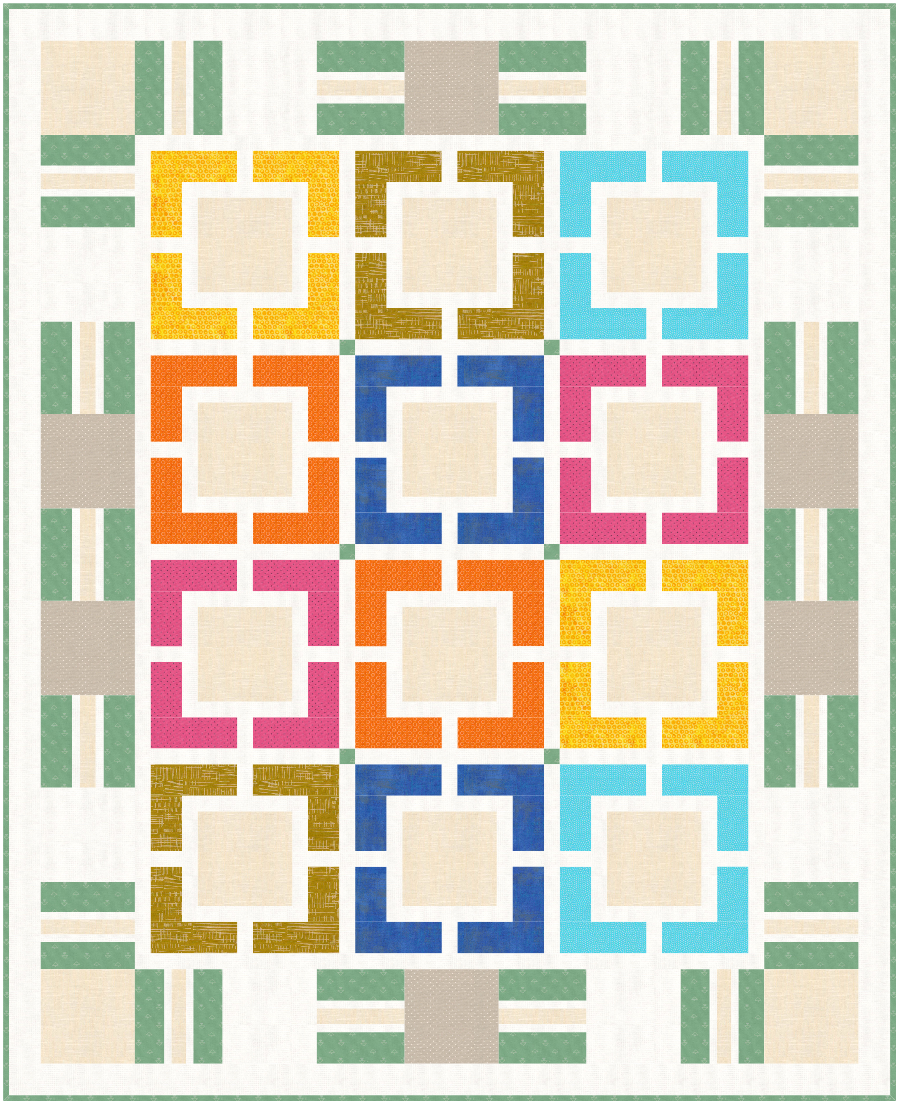
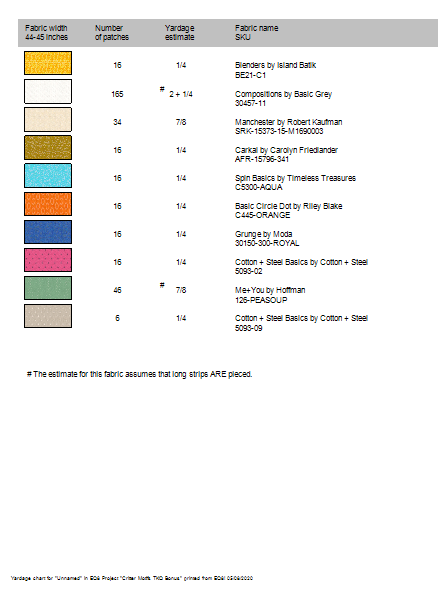
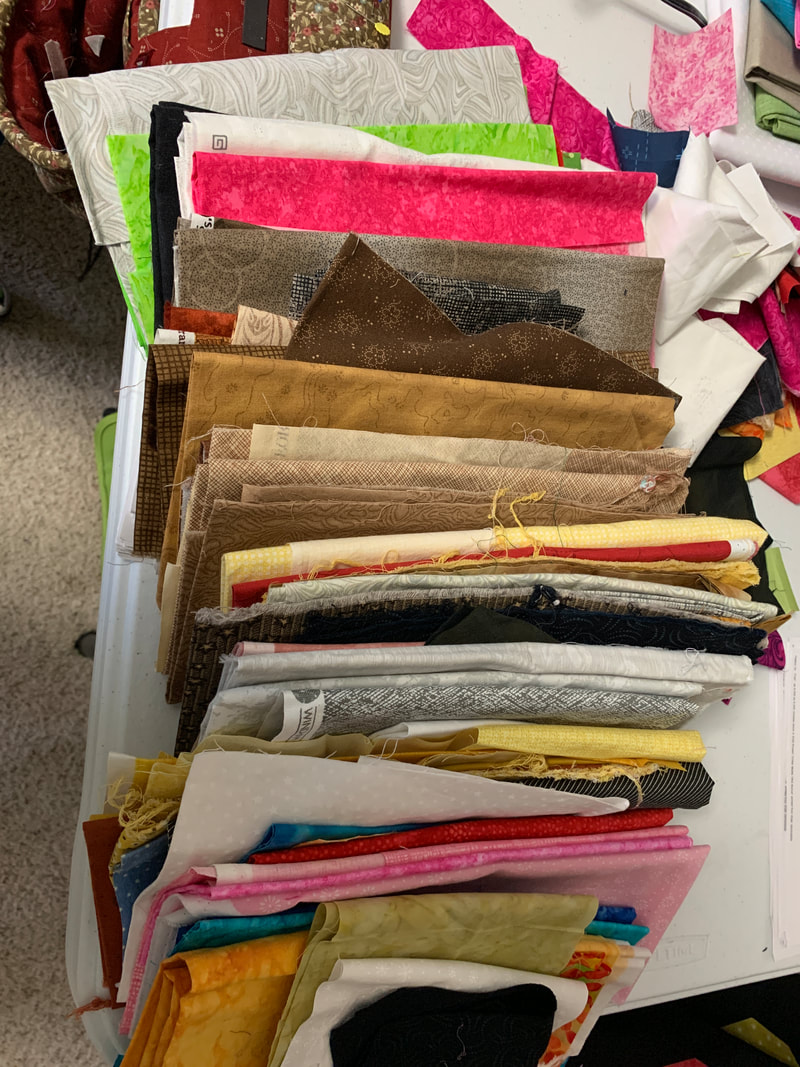
I'm pulling fabrics from my stash for each of the critter blocks. And I talked to a local quilt shop to arrange for fabric for the backgrounds and the pieced portions of the blocks. To come up with the required fabric yardages in EQ8, I deleted all the applique motifs (which is where I am using my stash) and re-pulled the yardage estimates from Print and Export.
I saw a post from a friend earlier this week who was asking about keeping small pieces of fabrics. If you plan to do 6" applique blocks -- the answer is yes. When doing a project like this, I can tell myself that it is good that I have that large collection of fabric.
Can you relate?
I am using my Cricut Maker to cut out all of the pieces for those 30+ 6" applique critter blocks. To prepare the blocks for the Cricut Maker, I needed to convert the applique blocks to SVG files. Electric Quilt does not have an export to SVG option.
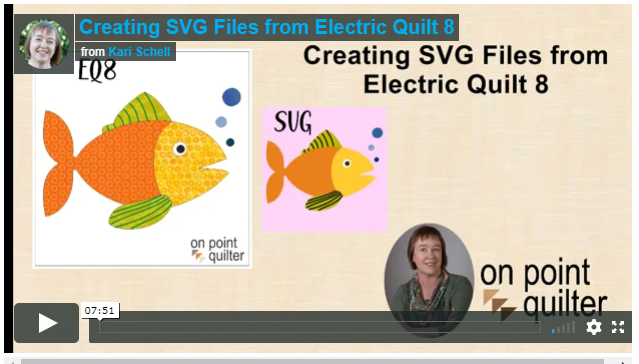
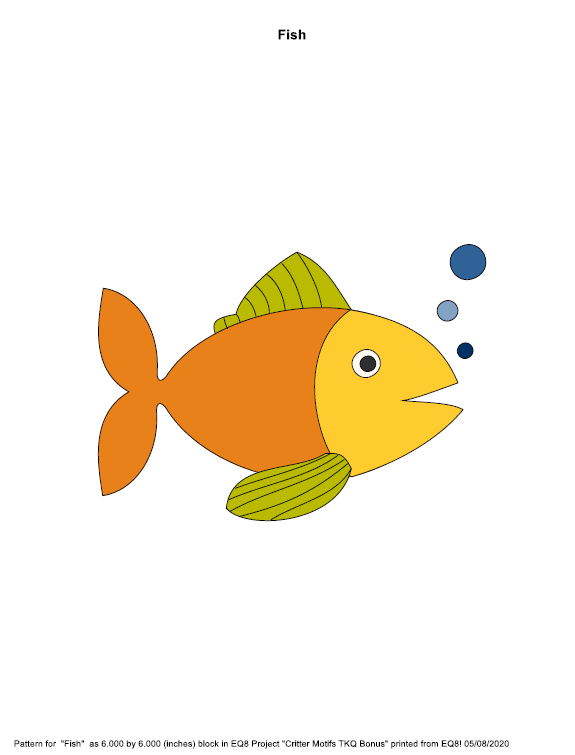
However it is easy to do the conversion if you use a program such as Inkscape which can easily convert pdfs to SVG files. Inkscape is a professional vector graphics editor for Windows, Mac OS X and Linux. It's free and open source. Inkscape can seem overwhelming to use when you open it for the first time. However you only need to use a couple of tools within Inkscape -- so this really is a piece of cake. You can download Inkscape here. Inkscape will allow you to create an SVG file which may be used in any electronic cutting system (Cricut Design Space, Silhouette Studio, or Brother Canvas Workspace). So what is an SVG file? An SVG file is a graphics file that uses a two-dimensional vector graphic format. Unlike raster formats such as JPG, GIF, and PNG, an SVG image remains crisp and clear at any resolution or size. There are a few tricks I have learned to make the process go smoothly. I also decided to experiment with also adding in some of the embroidery lines in the file so I could draw them on my fabric when processing the fabric in Cricut Maker and not have to manually trace them later. (Note that drawing on fabric is different then print and cut.) If you aren't worried about adding those embroidery lines, you can plan for less than 5 minutes to convert a file from EQ to SVG once you've got the process down. Learn my process for converting Electric Quilt 8 designs to an SVG file in this free video tutorial as I transfer my fish block from EQ to an SVG file.
If you would like to try this for yourself, feel free to use the two pdf files from the video. Just click on the image to access the pdf file which can be downloaded to your computer.
Next week I will share my process in Cricut Design Space (including cutting out all the pieces) for the fish block.
Drafting an Quilt featuring Applique Blocks
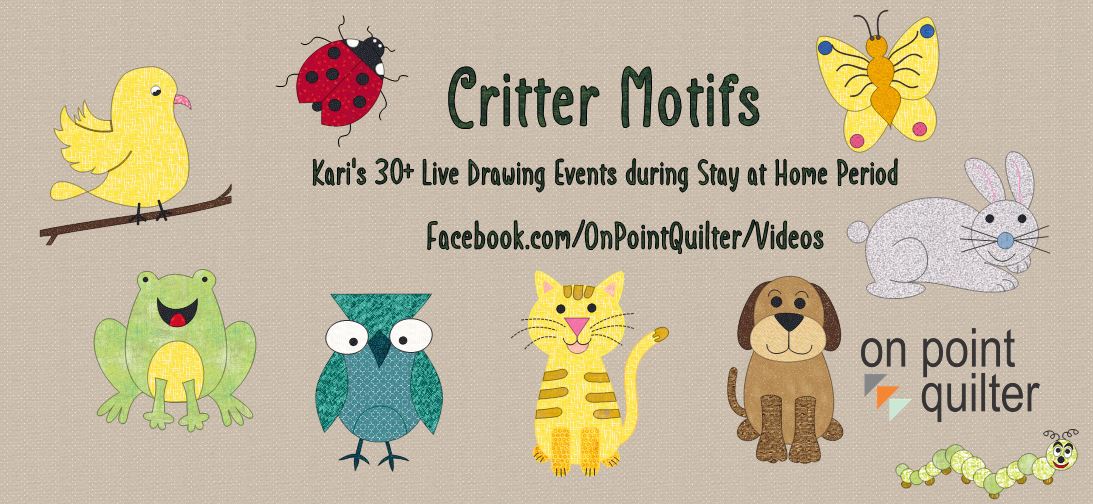
During the Stay at Home order, I challenged myself to improve my drawing skills. Who would have guessed that all you need to do is Google "how to draw a XXX" and there are lots of tutorials on how to draw just about anything. Rather than using pencil and paper, I chose to do my drawing in Electric Quilt 8.
I did my drawing as live events, which allowed me to get immediate feedback on my drawings and make suggested changes. For those that chose to join my live events on Zoom -- thank you for being there with me. I loved interacting with you and so appreciated your encouragement and feedback.
If you would like to watch any live event replays, they are posted on my Facebook page, under videos. They are a bit long and messy (i.e no editing) so they won't like like any of my lessons or my blog posts tutorials.
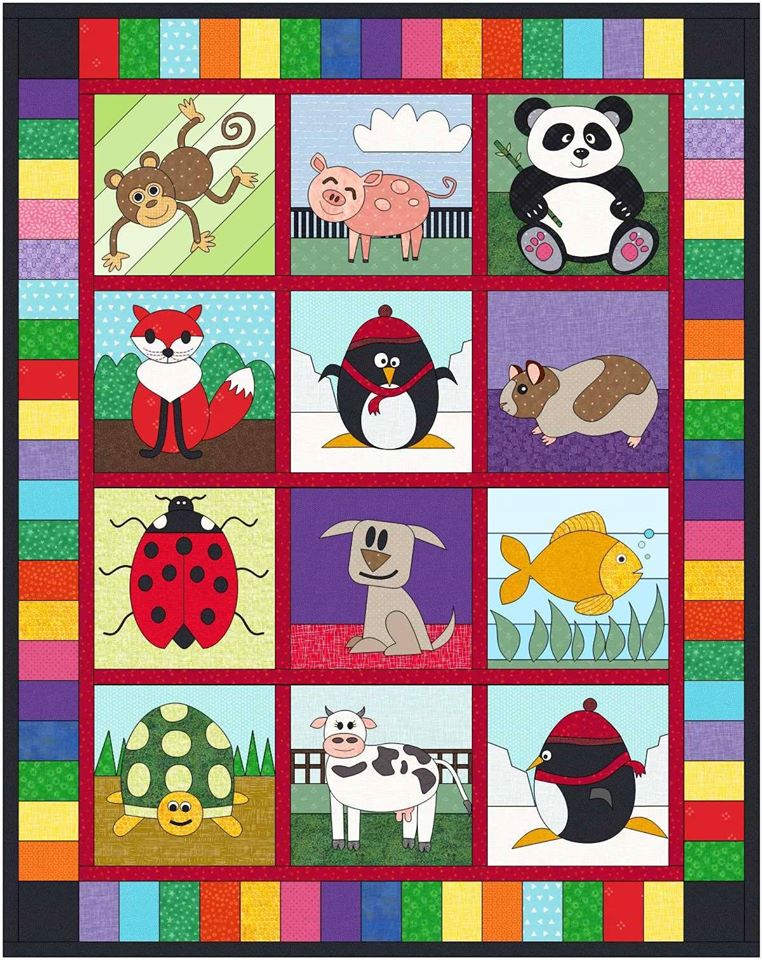
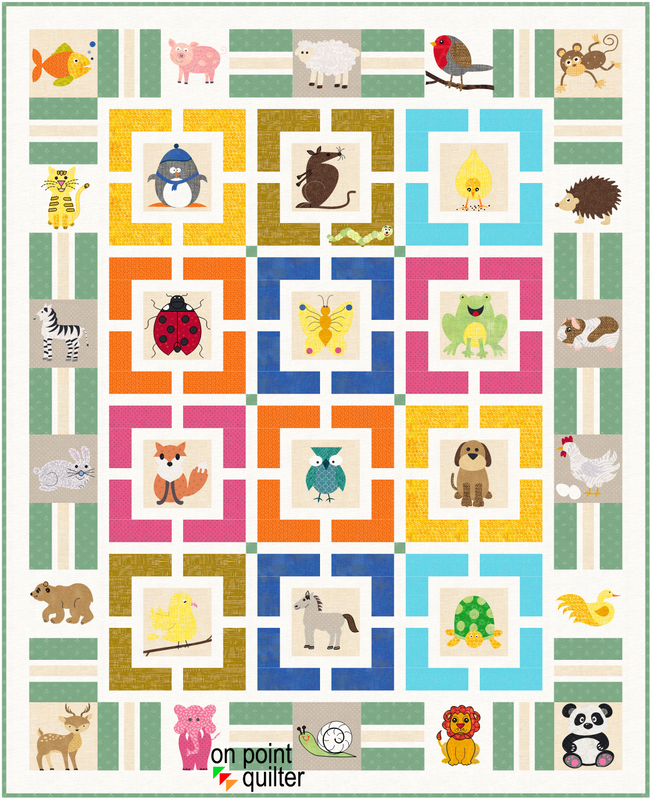
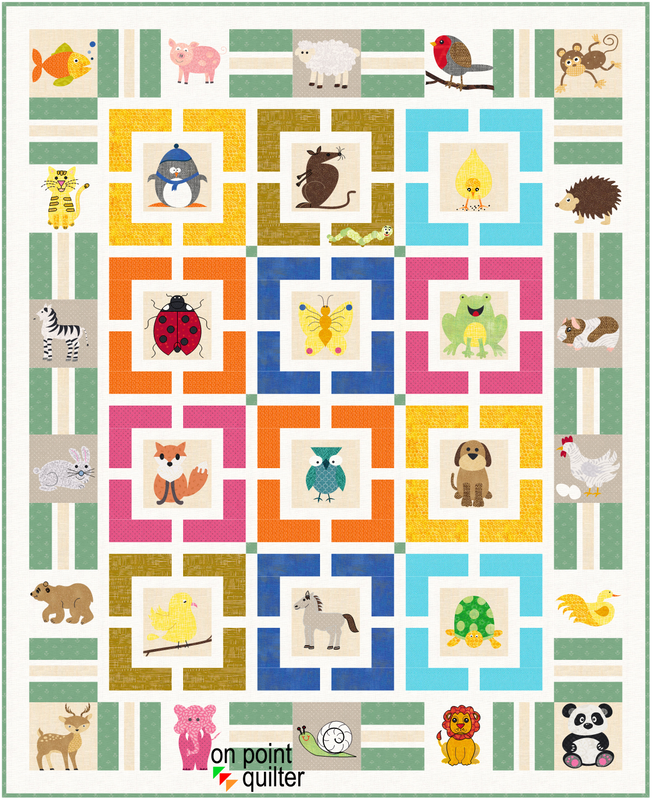
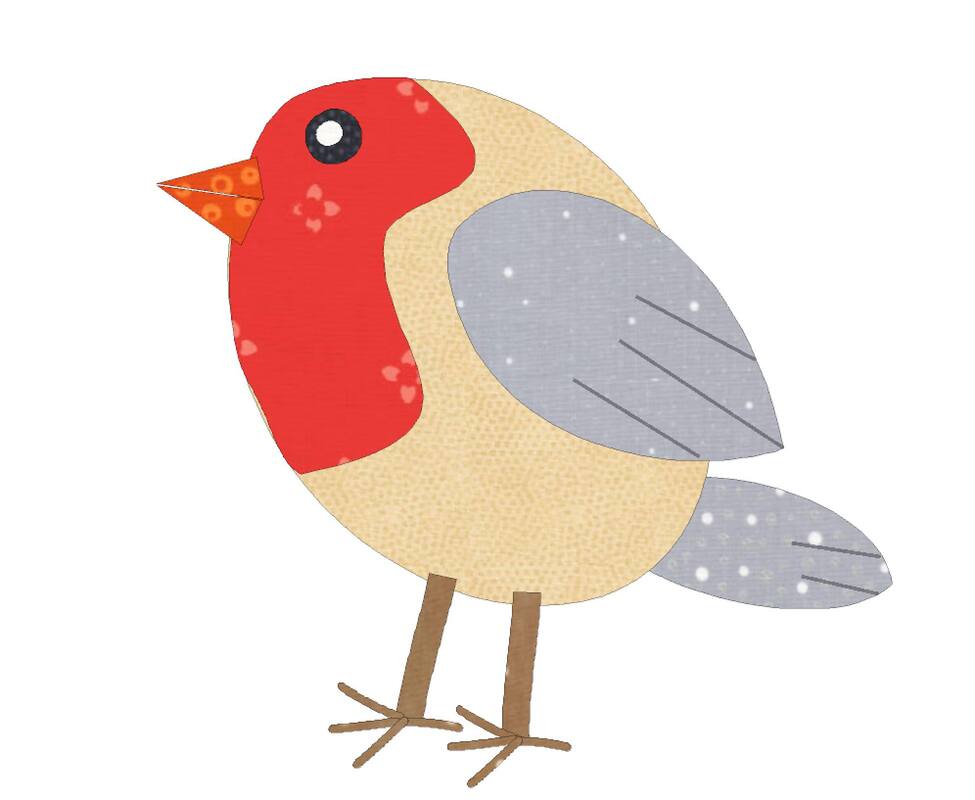
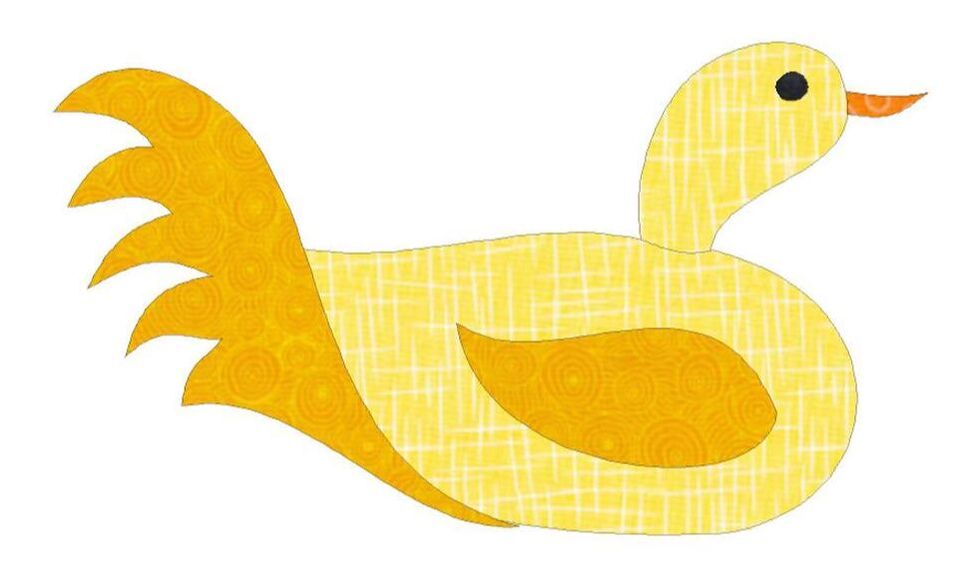
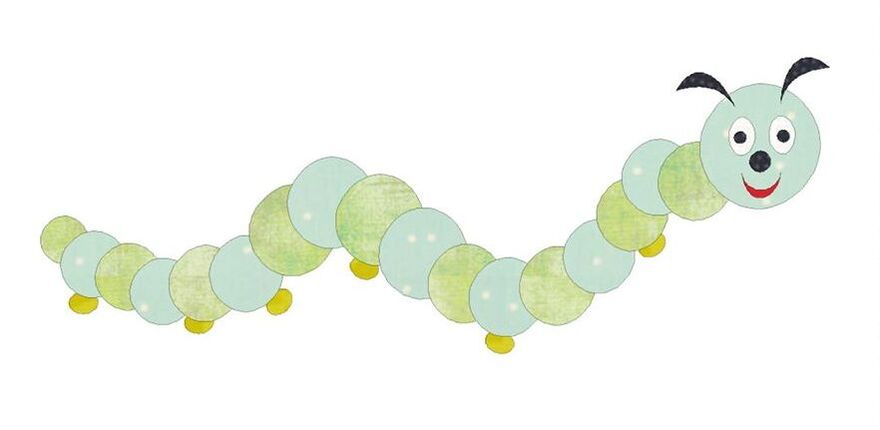
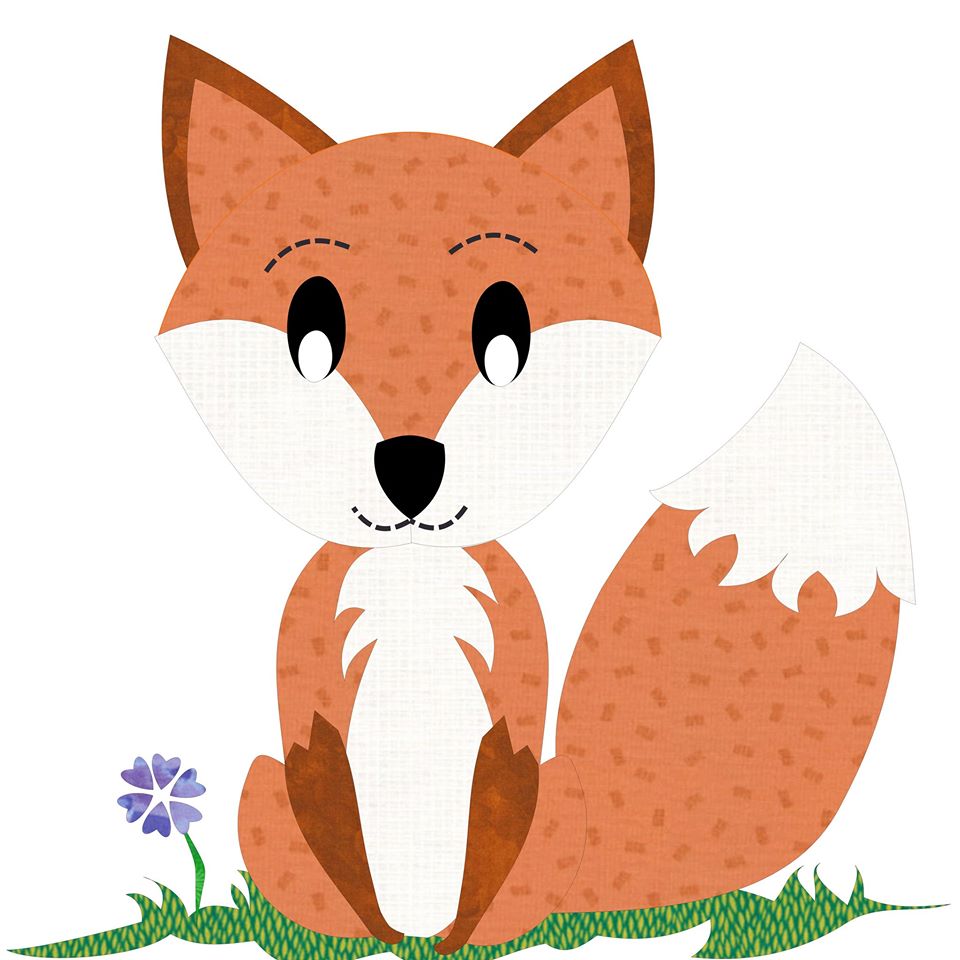
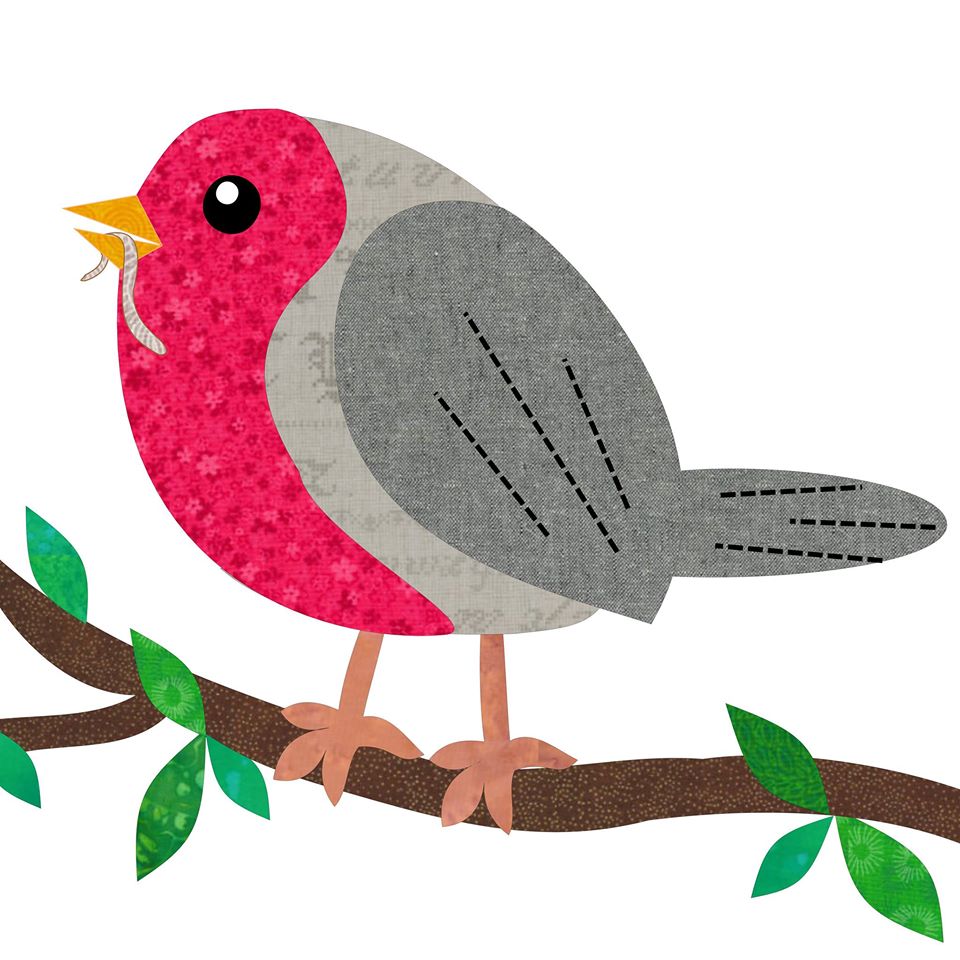
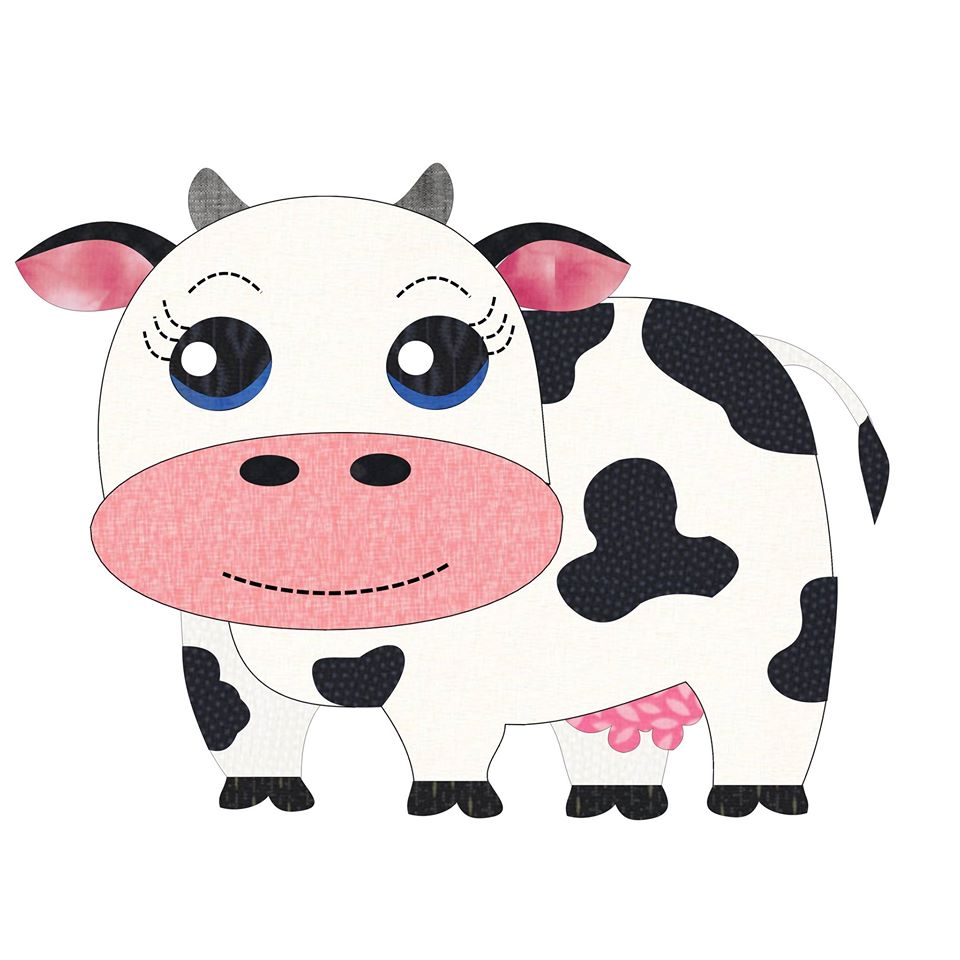
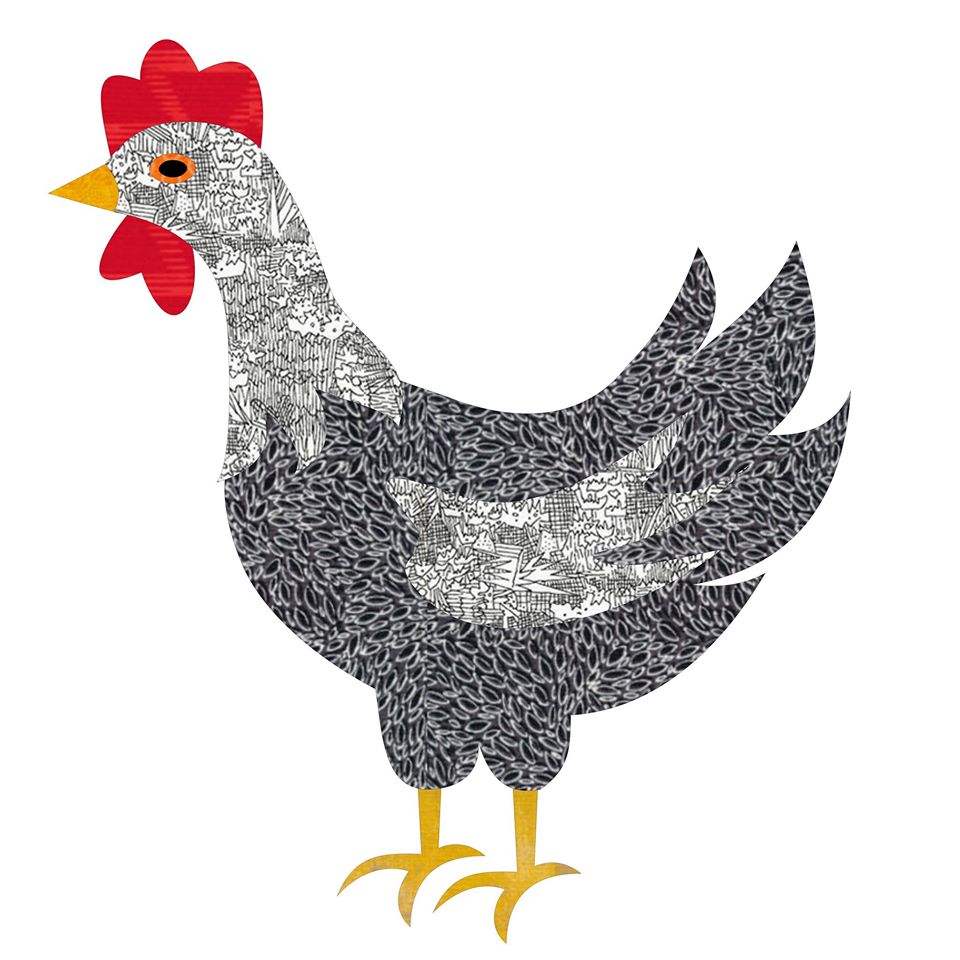
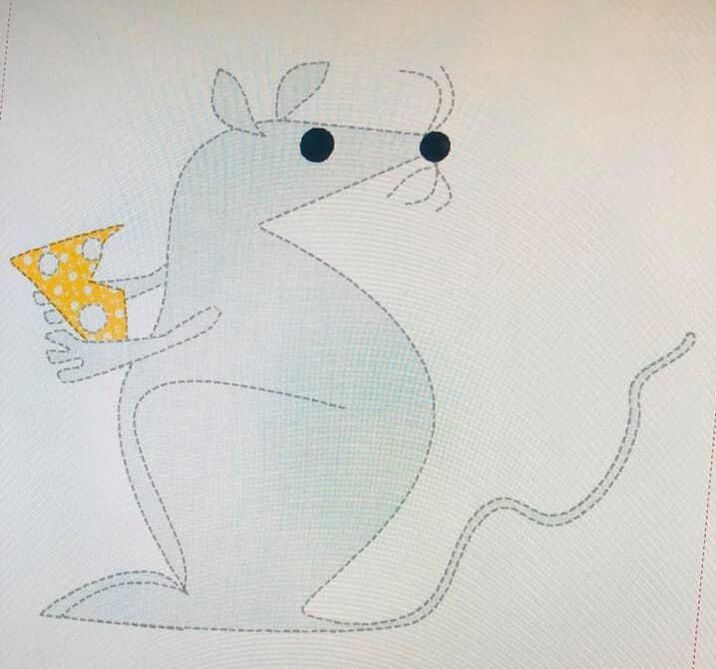
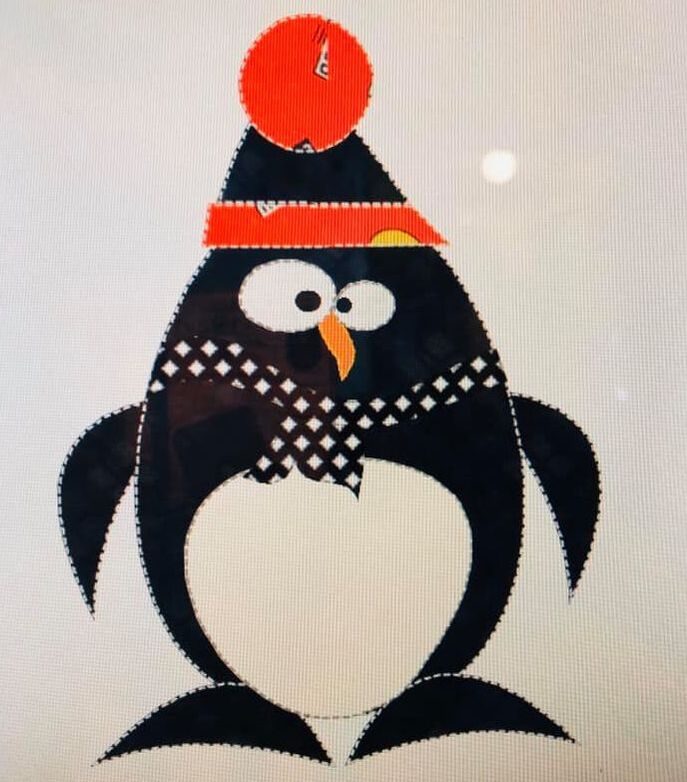
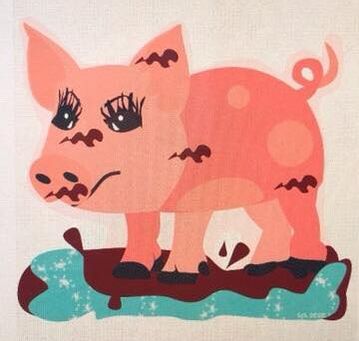
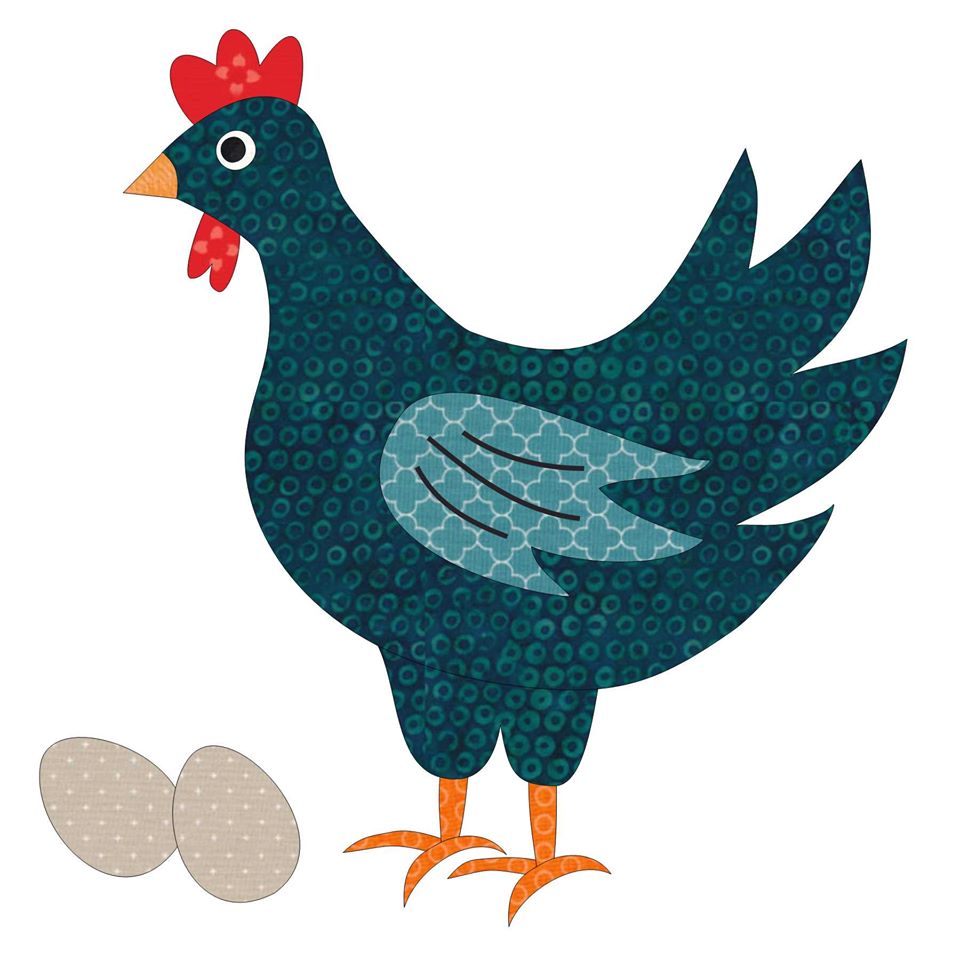
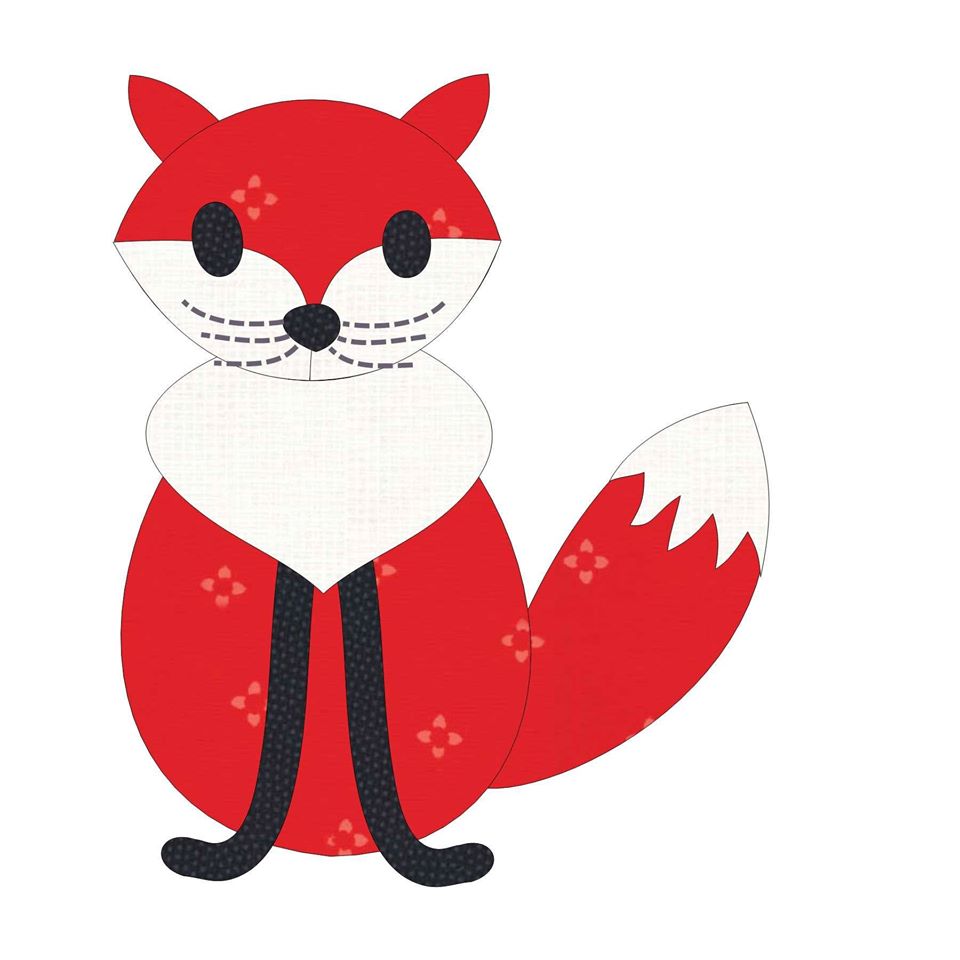
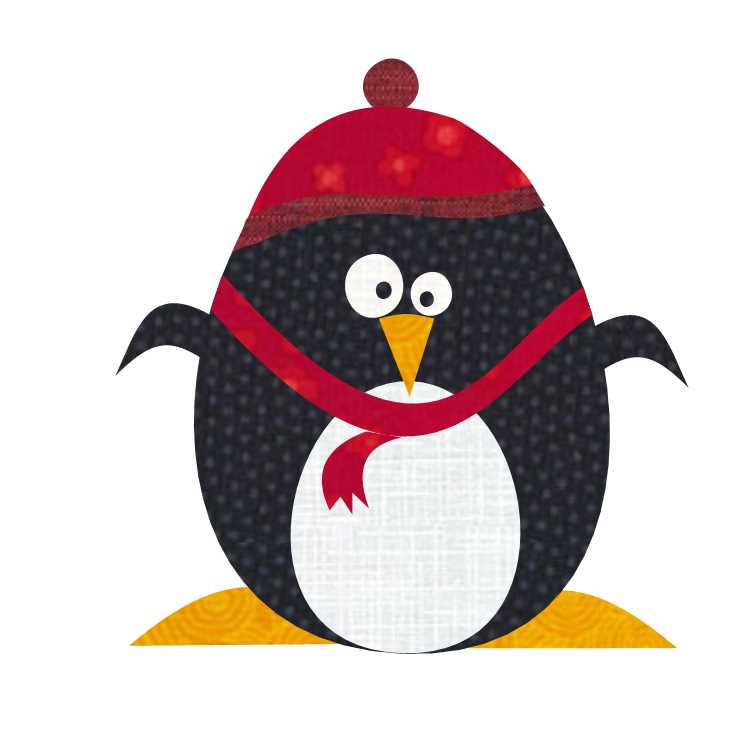
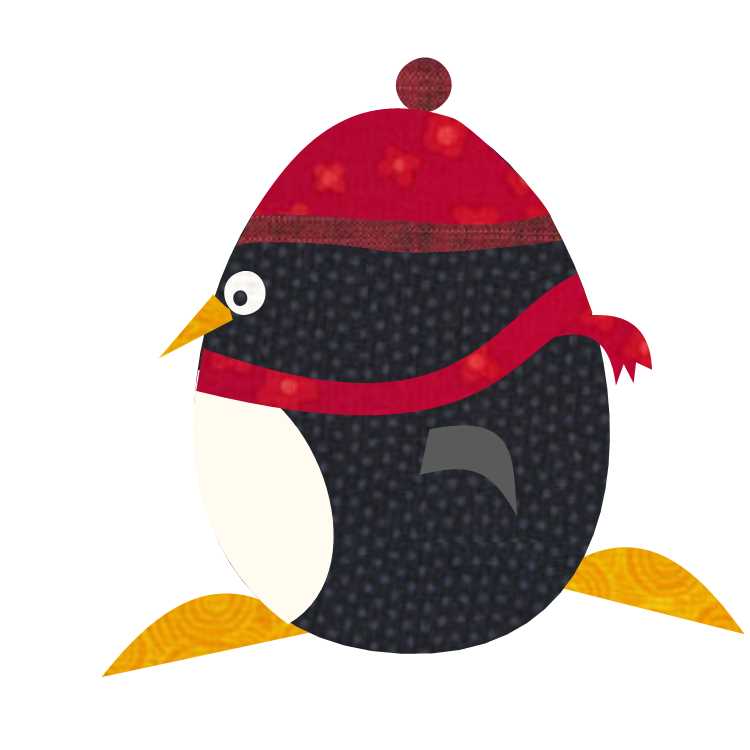
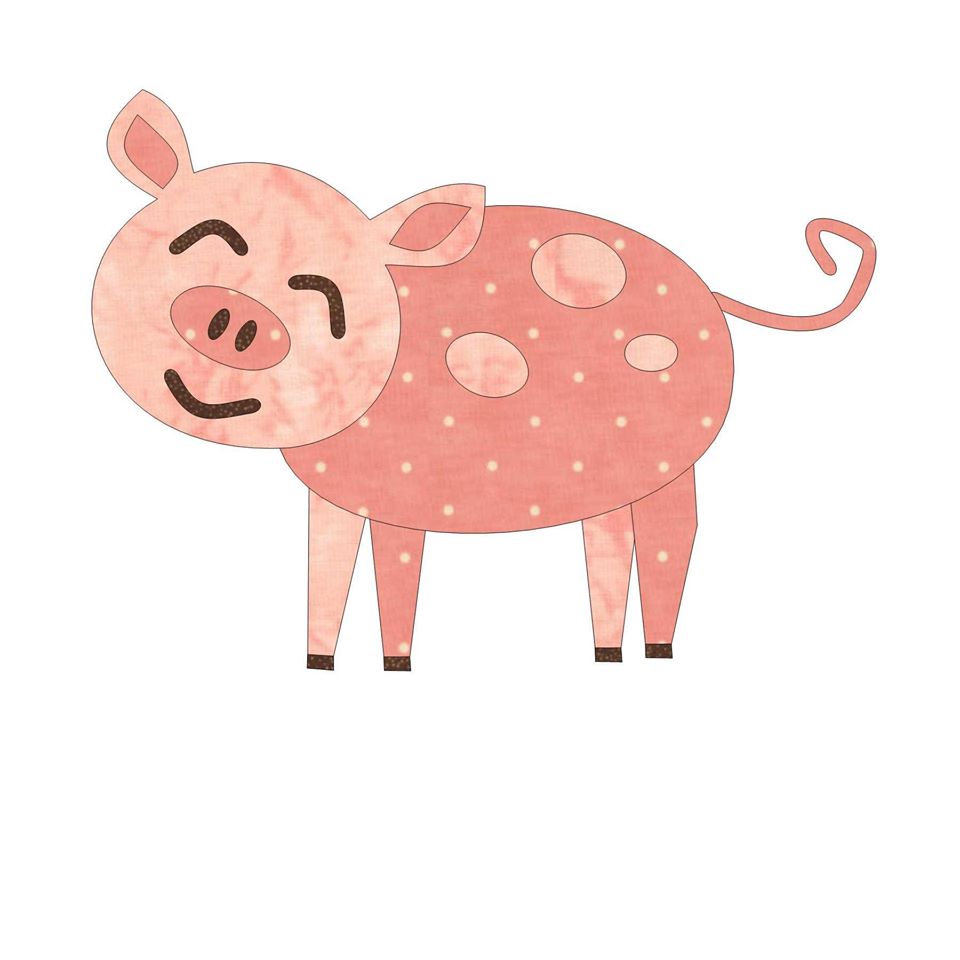
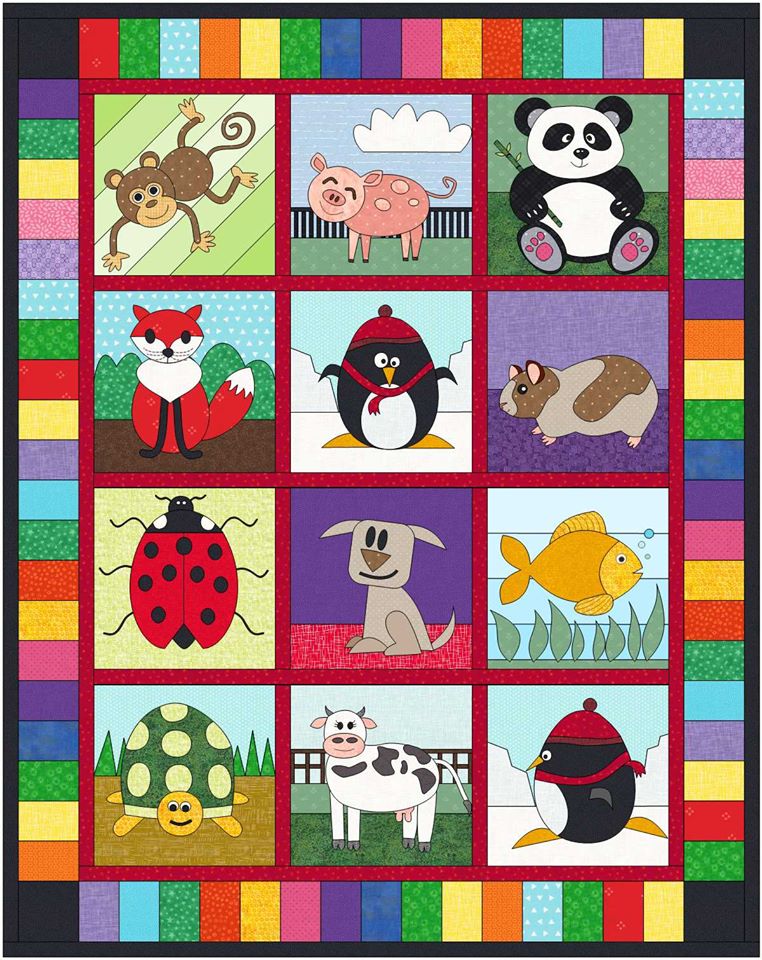
I ended up with a total of 36 different critter motifs. Definitely enough to draft a quilt. For today's tutorial, I will share with you the quilt I designed to feature the majority of these critters. Even if you don't have a collection of critters, you could swap my critters out with a favorite collection from the EQ library. Or use each critter two times so your favorite young person can play a matching game.
Here is the quilt from the video. I am hoping to start cutting out critters on my Cricut Maker this weekend. I am a little nervous about this process as some of the pieces are really small. I will let you know how it goes.
Other Critter Creations
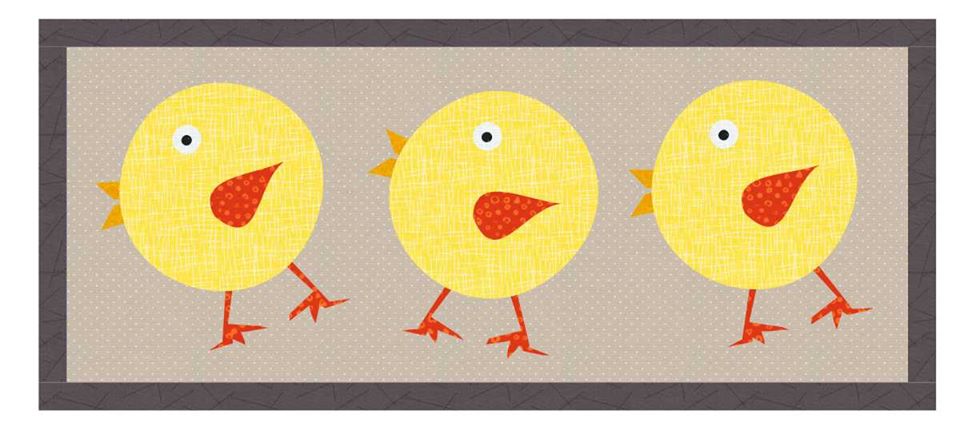
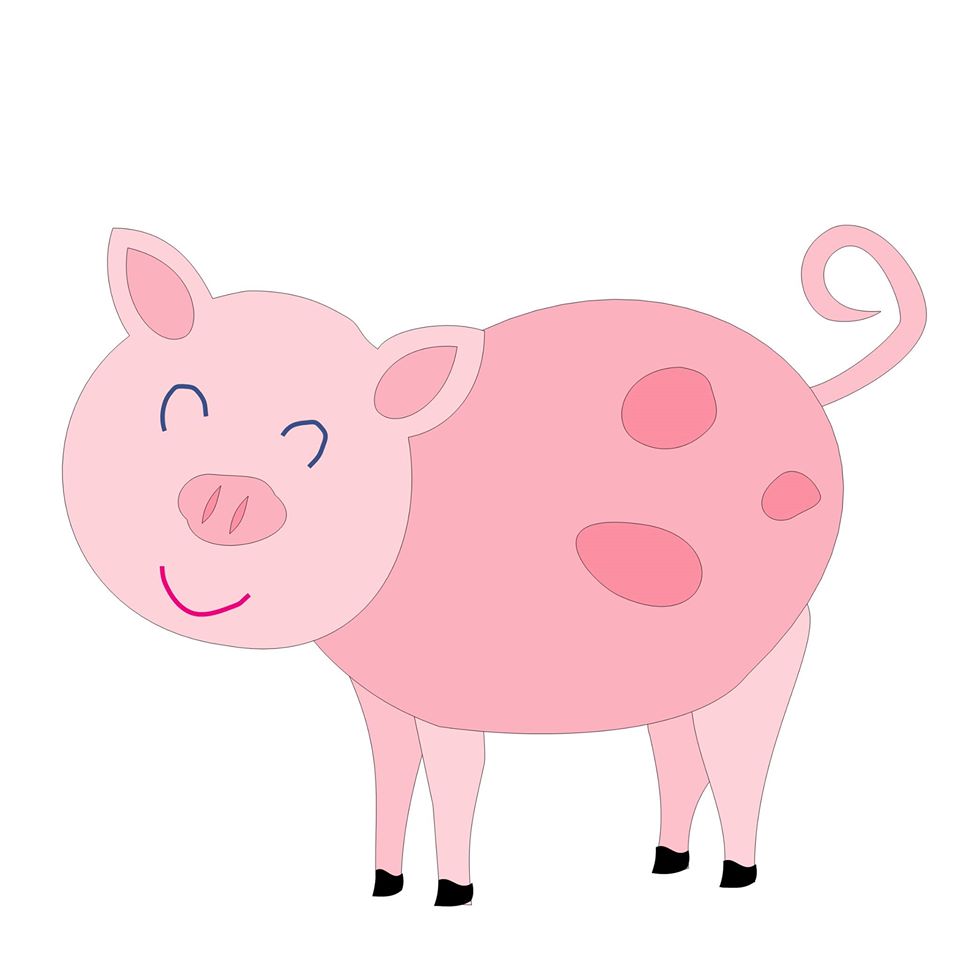
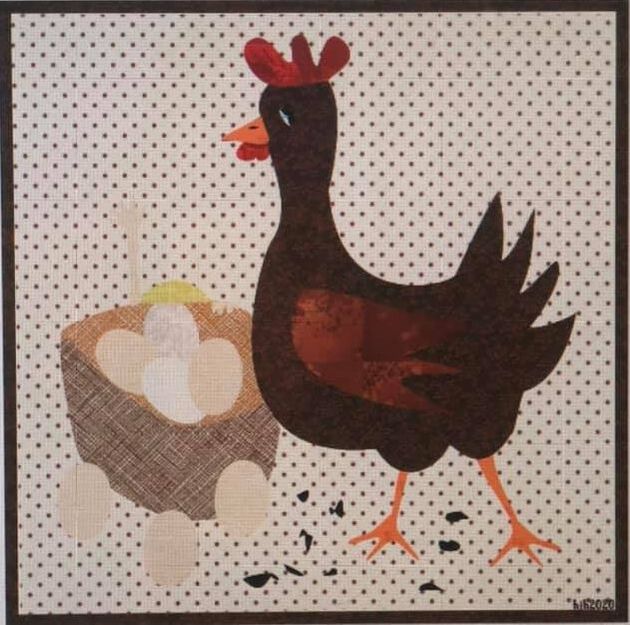
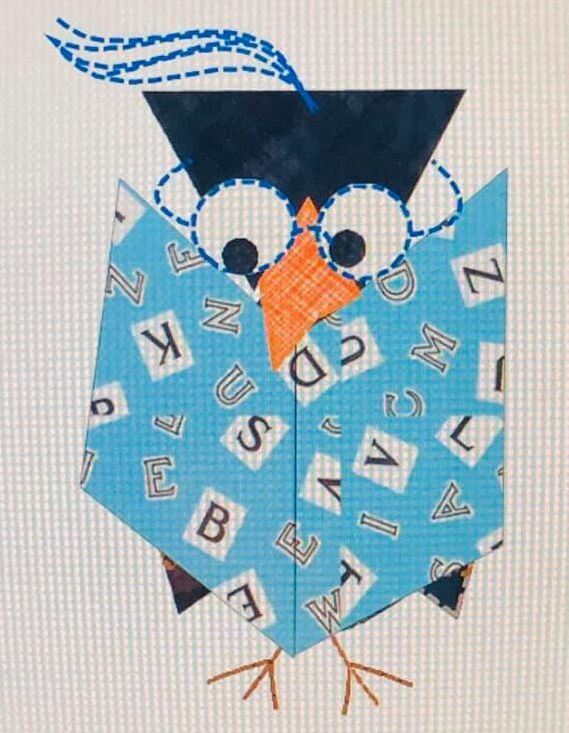
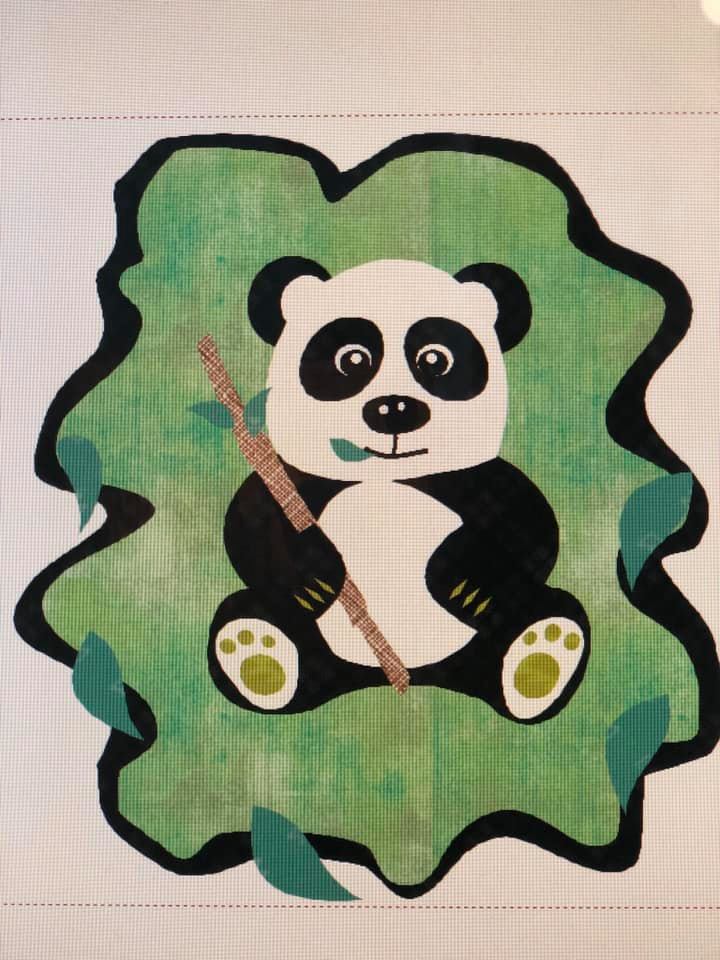
Here is a collection of critters from others that joined in the fun and posted their images in a Facebook group. It was so fun seeing where they chose to take their drawings.
The following were designed by Tammy Dunn.
The following were designed by Kay Jennerwein
The following were designed by Helen Hicks
Camille Lechleiter's critters, plus her full quilt design
I hope these will inspire you to create your own critters in EQ8.
Flash Sale -- Shoot for the Stars with EQ8
Are you just getting started with Electric Quilt 8 and need some help?
Shoot for the Stars is designed to get you started with Electric Quilt 8 through training delivered straight to your inbox. This series includes 14 short (i.e.. 5-10 minute) videos delivered over the course of a month allowing you to learn the basics of this complex program in bite size increments. The class is currently on sale for $30 (regular $49). Join now. (Sale ends May 8, 2020.) |
Kari SchellElectric Quilt Expert and Educator and Pattern Designer. Categories
All
Archives
July 2024
|












 RSS Feed