|
Do you have left-over turkey? (Maybe it is the turkey from last weeks blog post.)
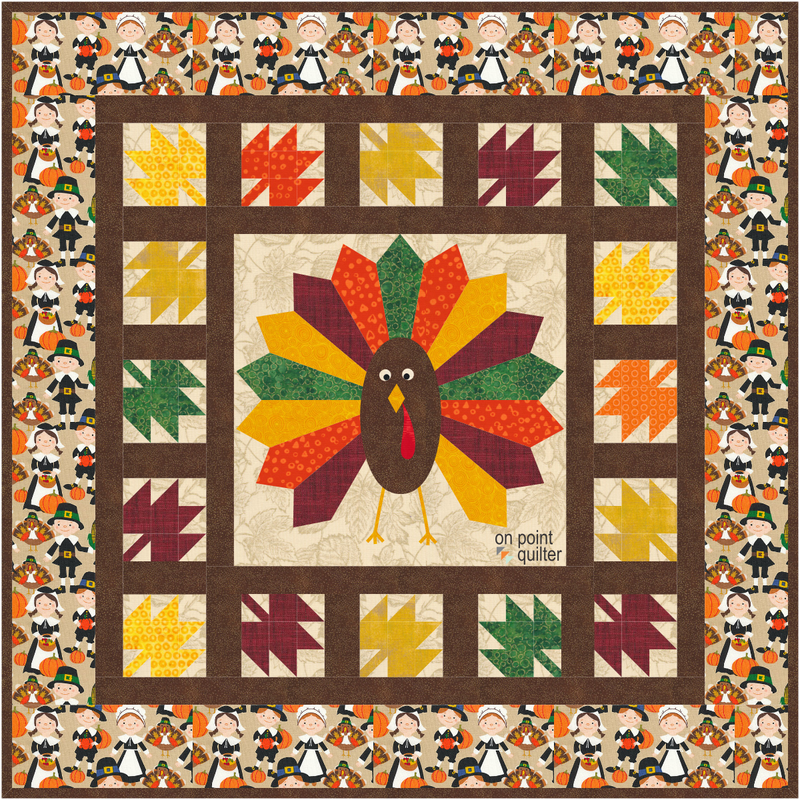
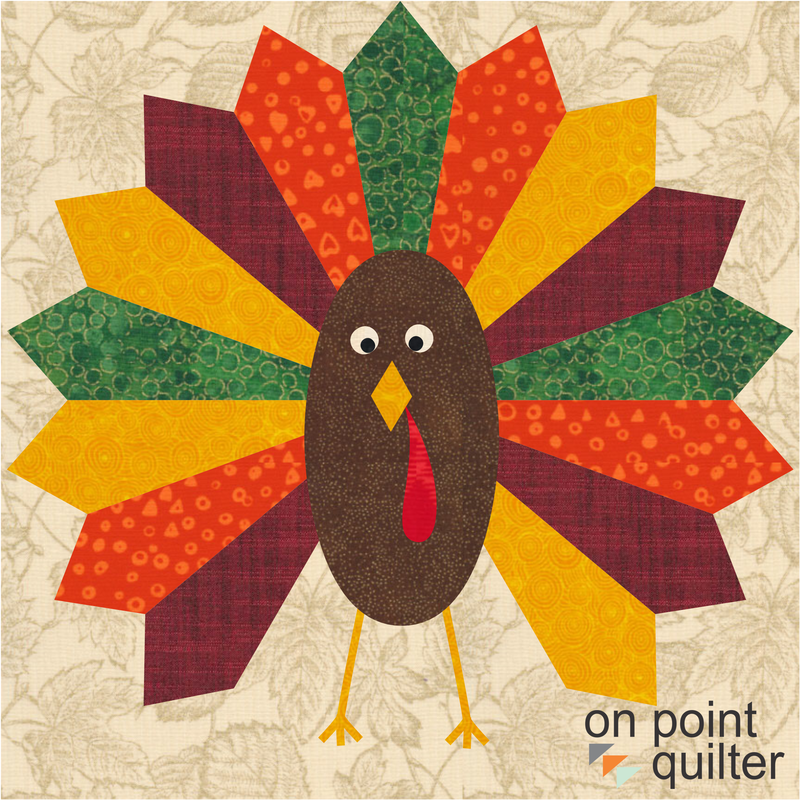
Or -- what about an orphan block? You know -- the one that took hours (or maybe days to put together). In your heart you know you won't make another one. This tutorial provides an idea for a layout focused on highlighting a single block. The video shows how I used the Tommy the Turkey block from last week. But using this basic layout you could highlight any featured block.
During this free video tutorial. I will share with you a quilt that was designed to feature Tommy Turkey. This is a great project for beginners to EQ8. This would also be an easy project to piece.
Here is the quilt from the video.
Let me know of a setting you used for a theme block. it doesn't need to be Tommy the Turkey. Share your design in the Learning EQ Facebook group.
I am hoping you had a great Thanksgiving. I am taking a break for a few days and visiting my sister and her family in Kansas City.
Tech Know Quilters Virtual Quilt Show
Each month I challenge those in Tech Know Quilters to apply what they learned during the last month. They can share a project from a lesson or an original design applying the concepts they have been learning in Tech Know Quilters. Tech Know Quilters is a membership program focused on mastery of Electric Quilt 8. We have members at all stages of their Electric Quilt journey. If you would like to join this amazing group of quilters, you can sign up for the wait list here. Here are their projects for October. 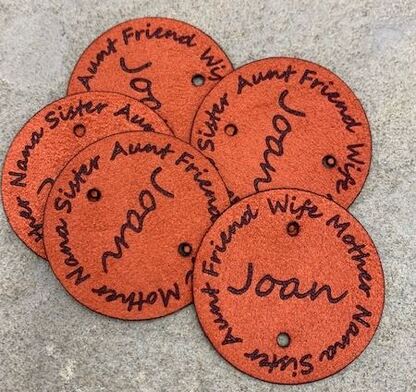 Karen Humphrey Karen Humphrey
The TKQ Masters Creating Labels class has been surprisingly one of the most useful classes. In addition to the labels I made for a craft my family made, my sister and I are making travel jewelry bags and box pouches for family and friends this Christmas from a piece of clothing fabric that belong to my mother who passed away in December. Referencing class 5, Adding Curved Text, I designed the labels to go on the pouches and bags, and a local company printed them up for me at a very reasonable rate. The labels are circular printed on ultra suede. I am so excited as they look so awesome and will make these gifts even more special. Great class Kari!!!
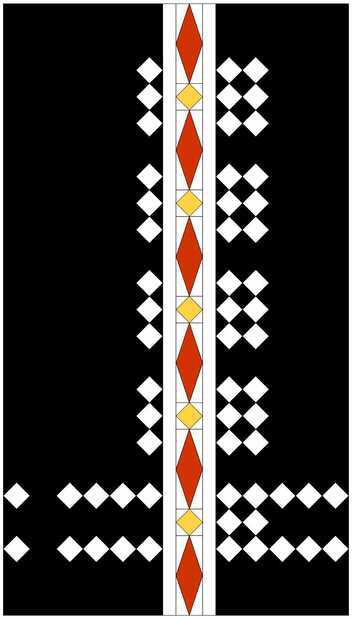 Kathryn Barton Kathryn Barton
I actually designed this (based on a picture of an antique Cherokee woven cloth panel) during the Introduction to Easy Draw section. Our local Guild quilt show is coming up and the easiest category to win a ribbon is Miniatures because there are so few entries. This measures 13" X 23". I drafted the whole thing as a block and then set it in a quilt of the same dimensions. Can't wait to learn how to add quilting/embroidery lines to a quilt because I think this really needs something else.
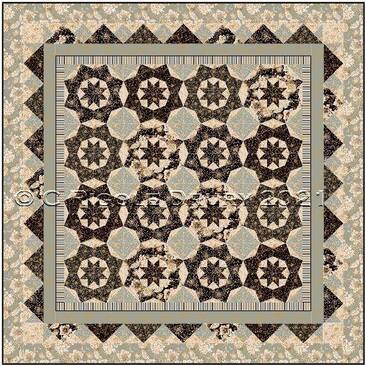 Cheri Drury Cheri Drury
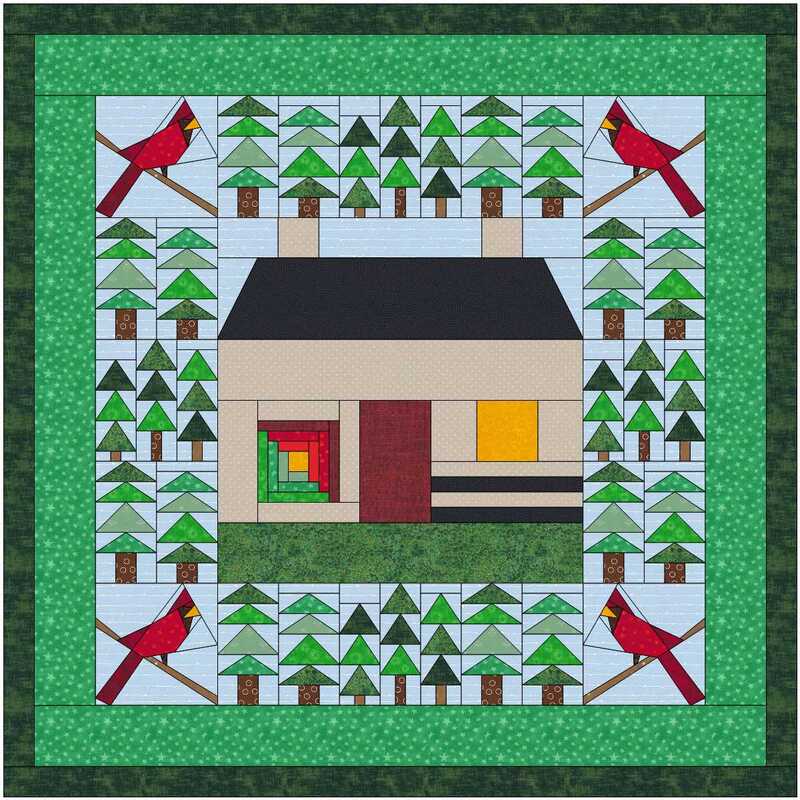
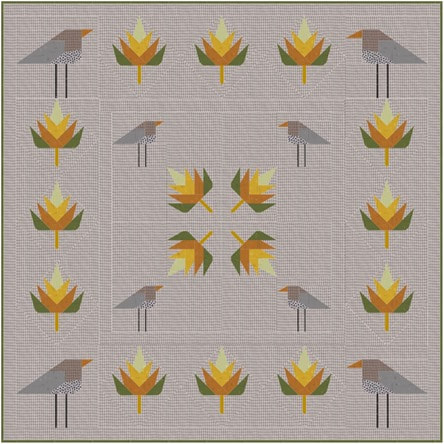
I've been working on this quilt for a while. I love this fabric collection; Northcott's Kensington Park 2020. The prints don't show up very well here but I love the tans, aquas and black. I saw a quilt in an old quilting magazine so I searched EQ for the block and the closest one was Western Spy. I edited it using the Pick tool until I had what I liked. I added a border of large and small points out. I had to adjust the spacer border to make it fit. The very narrow black border is actually meant to be a Faux piping between the borders for accent. It finishes at 91x91". I love learning more about EQ and am happy to design my quilts the way I want them to be. Looking forward to Applique because I have a special quilt in mind for me.
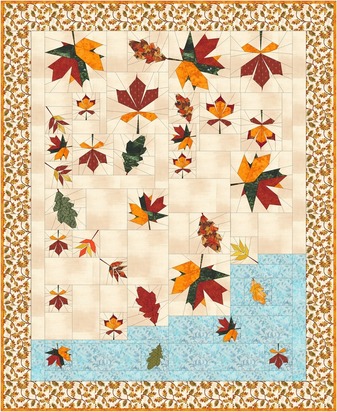
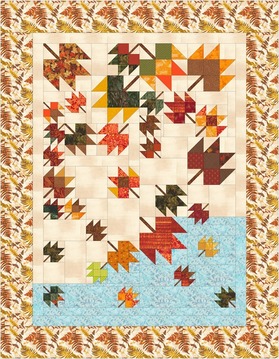
Brigitte Lee Leaf Quilts I have been doing the Foundation Class this month. On the left a quilt I redid using the leaves of the foundation class. On the right is the quilt, I did many years ago (26) using half-square triangles. 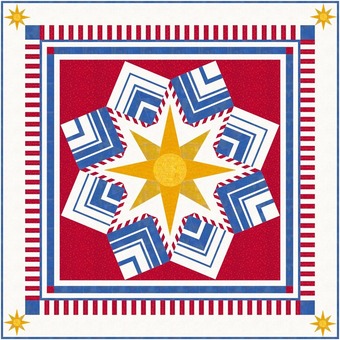 Joyce Drenth Joyce Drenth
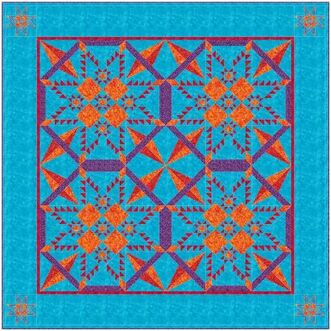
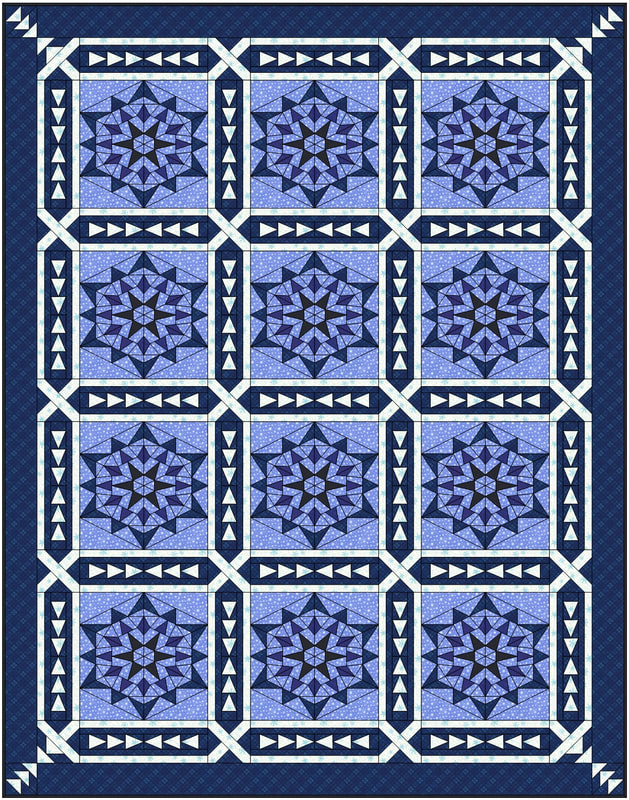
In October, I took Kari's Master's Advanced Feathered Star class. In it I learned new strategies to create feathered stars with less triangular points and rotating the block in a quilt. Setting new blocks into the outer units of the quilt block opened up new avenues of designing. I decided to go in a totally different manner to subdivide the star and create a patriotic version.
 Gloria Worthen Jacobs Gloria Worthen Jacobs
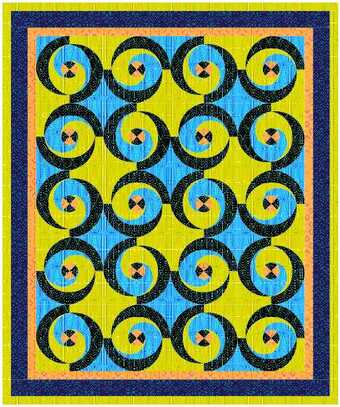
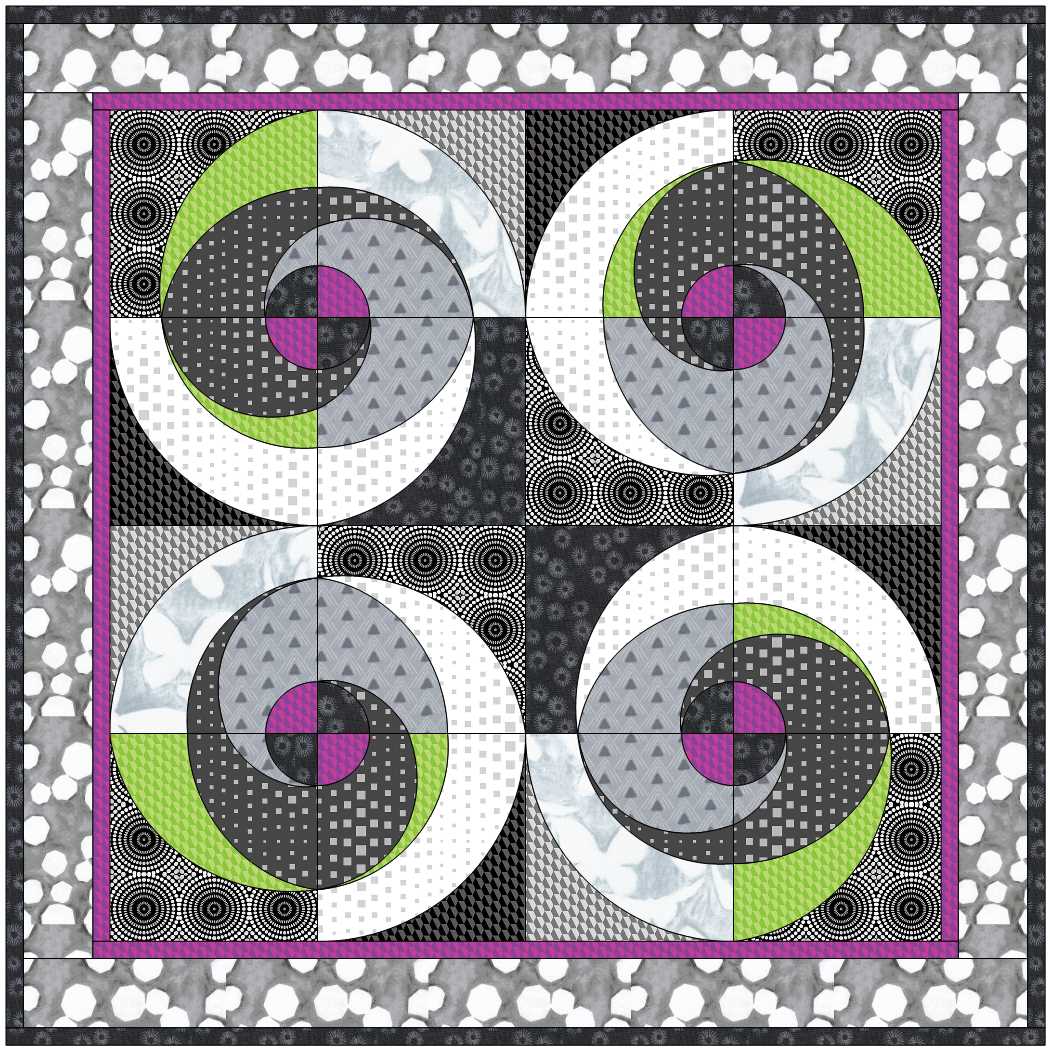
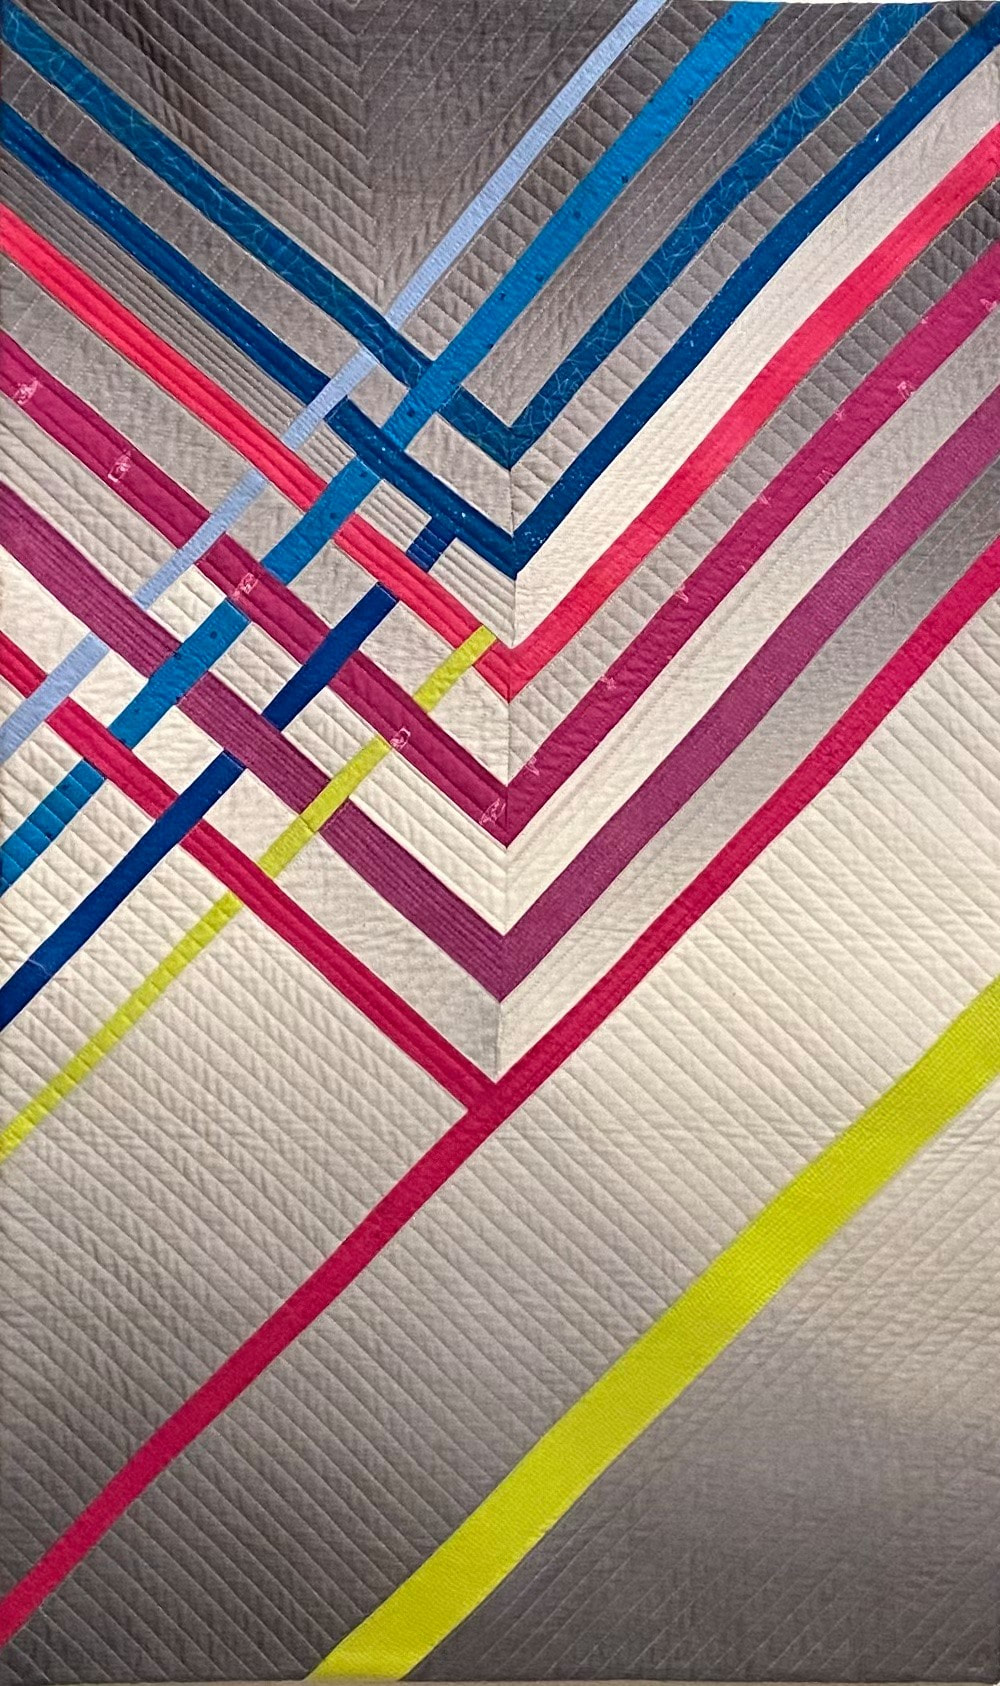
I took the Modern Quilts Class but have never really appreciated this genre. I have come away with a greater appreciation and might even try a few experiments in a real quilt! This is a simplification of our spiral class.
 Carol Kendra Carol Kendra
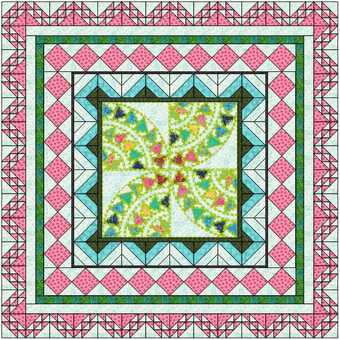
Spent the month doing Mix and Match medallion centers and borders. Played with Serendipity and borders to fit which was a really hard challenge to me, and using more options in the layout and border tables. Had a lot of fun looking up fabric libraries, creating favorites and using things. It's fascinating how each lesson builds on the previous and make things easier to remember.
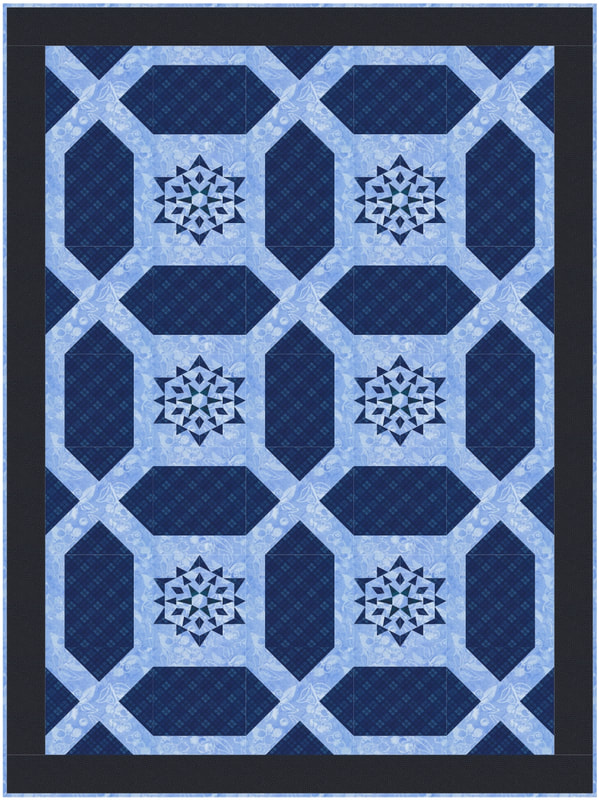
Candy Huddleston Snowflake Garden Maze
Inspired by the Kaleidoscopes classes. I used a snowflake block I came up with & decided to combine it with your Garden Maze setting from the September On Point email. I've always liked the Garden Maze setting & think this works well. I'm learning so much and really enjoyed both lessons.
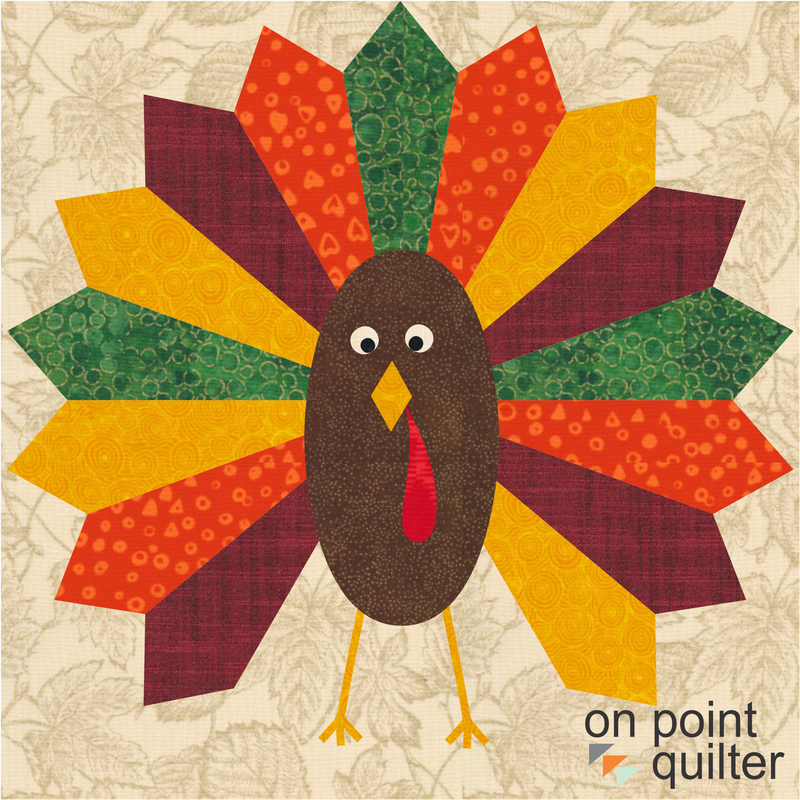
Since some of us will be focused on turkey this week, let's also think about creating a turkey block using Electric Quilt 8. This is a fun block that uses PolyDraw to complete the feathers along with some of the shape tools in applique. You will be amazed at how easy this block is to draft.
Do you have a Dresden ruler tool in your collection? If so, this would also be super easy to piece. Maybe I should try to piece him next week.
If you would like to piece him, click on the image below to download templates for a 12 inch block.
Feel free to share pictures of your turkey in the Learning EQ Facebook group. Here is a link to the post.
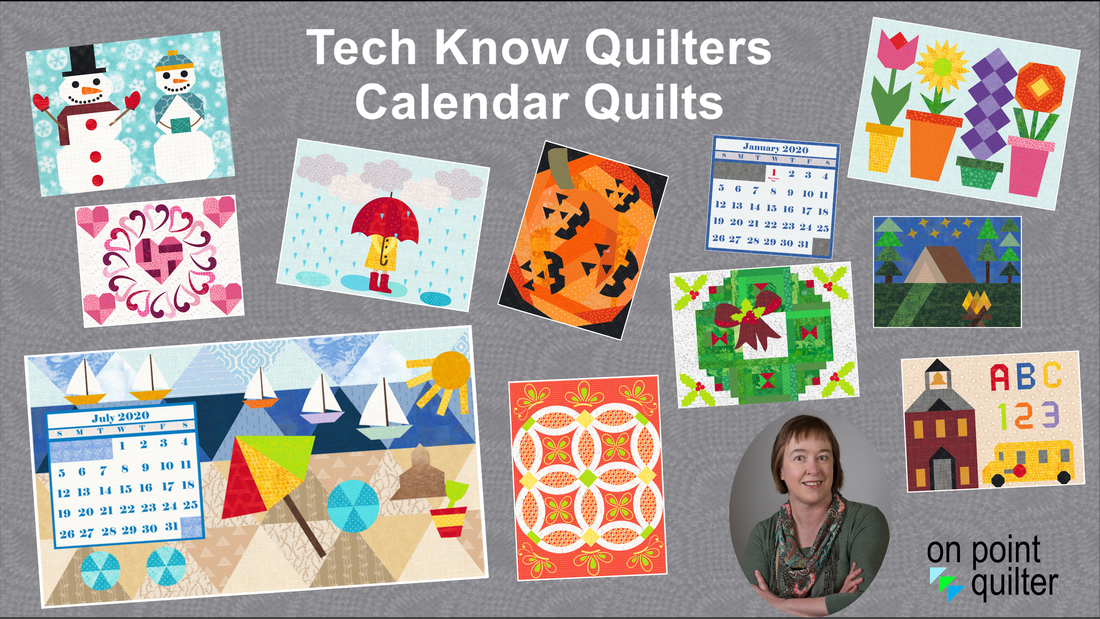
Tech Know Quilters Calendar Quilts
A variation of the Tommy the Turkey block was included in the Calendar Quilts class. Calendar Quilts will have you honing your drafting skills as you draw twelve 20" x 15" quilts - one for each month of the year. Plus there is even an option to create a monthly calendar. Combine the calendar quilt and the calendar for a perfect backdrop for your computer -- no quilting required.
The calendar quilt class is offered exclusively in Tech Know Quilters. Tech Know Quilters is a membership for Electric Quilt 8 users who are mastering their design and EQ8 skills. Sign up for the wait list to be informed on the next open enrollment period.
Current Tech Know Quilter members can let us know if they would like to swap their December class for one these options. Please note that this is a more advanced class.
I don't know about you. But I have a fair number of 2-1/2" fabric squares. Some are leftovers from other projects. And I have also been known to buy some of those mini-charm packs at quilt shows.
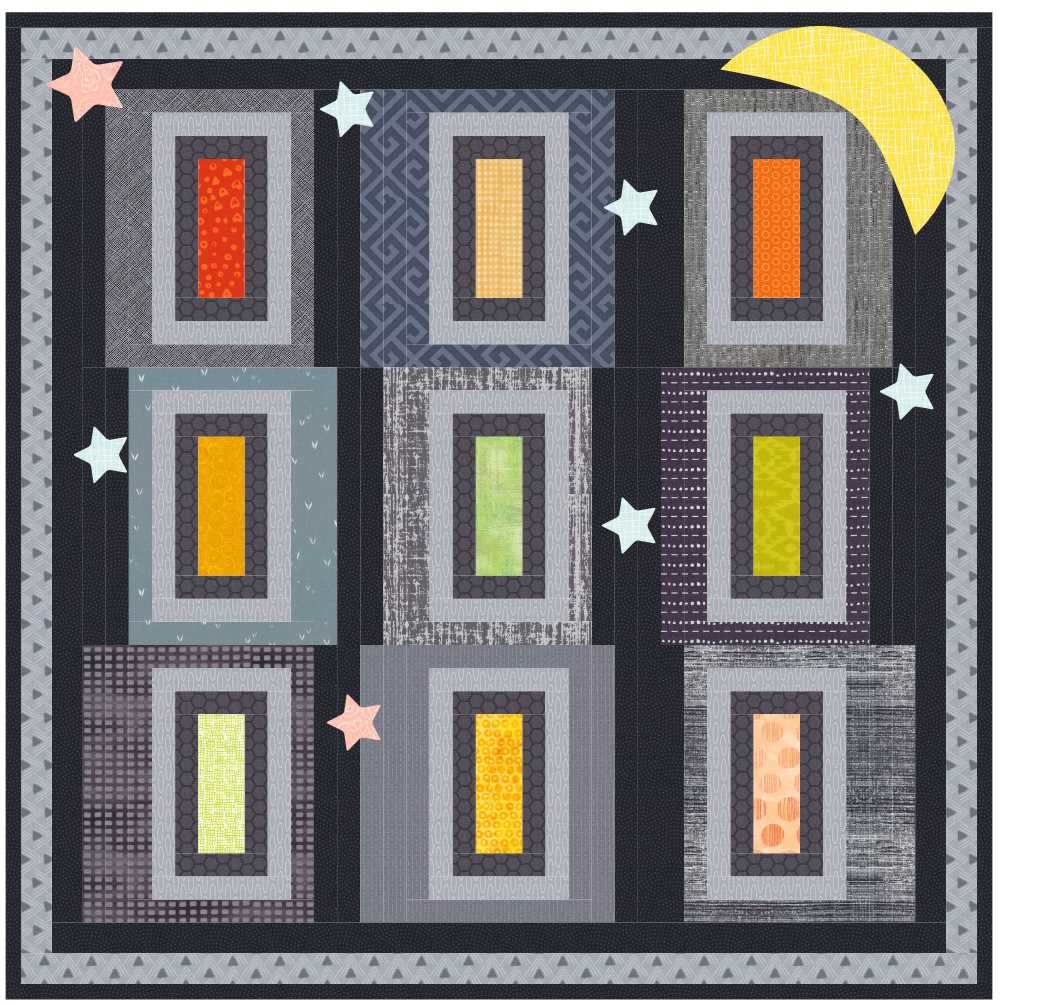
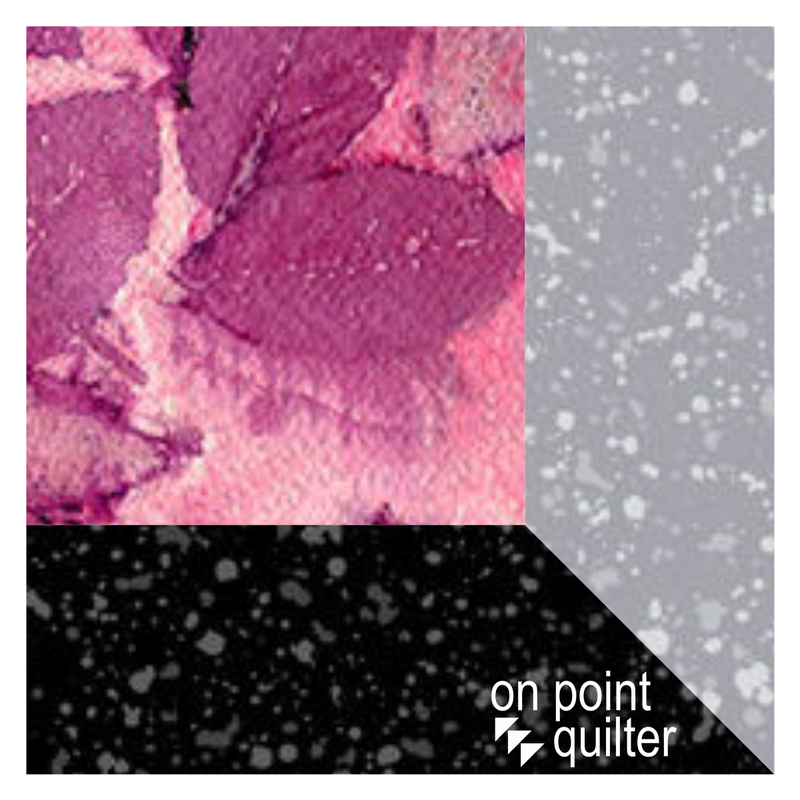
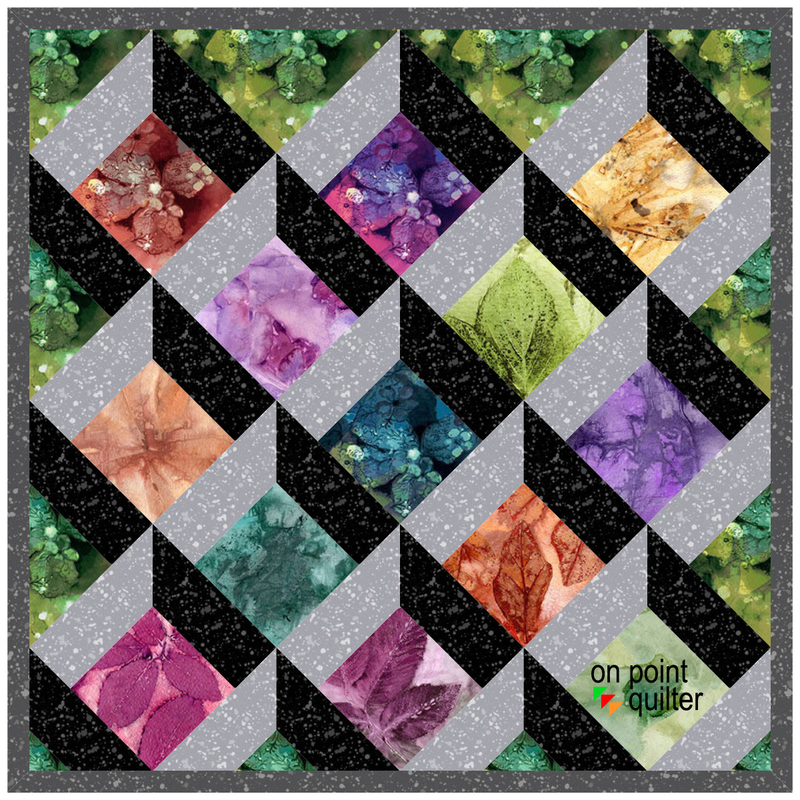
But I don't always tend to use them and they end up taking up space in my fabric collection -- which is way too large. In this post, I decided to tackle the problem. I designed a quilt that allows those 2-1/2 inch squares to be the star of the quilt.
The fabrics used in this quilt came from the EQ Stash Collection (Download 2). (If you would like to purchase the collection from them, make sure to use the discount code for their 25 Days of Christmas sale.) The leaf fabrics were from Into the Woods by Katrinka for Free Spirit. The frames used Speckles 24/7 by Hoffman.
The real magic happens when you set the block in an on point layout. Check out the optical illusion that is created.
I would love to see pictures of your quilt. Consider posting pictures on the Learning EQ Facebook groups post.
Extra tip: This block is so versatile. Let say rather than 2-1/2" squares, you have a collection of charms (5" squares). You could draft an attic window block start with a 4-1/2" square in the center.
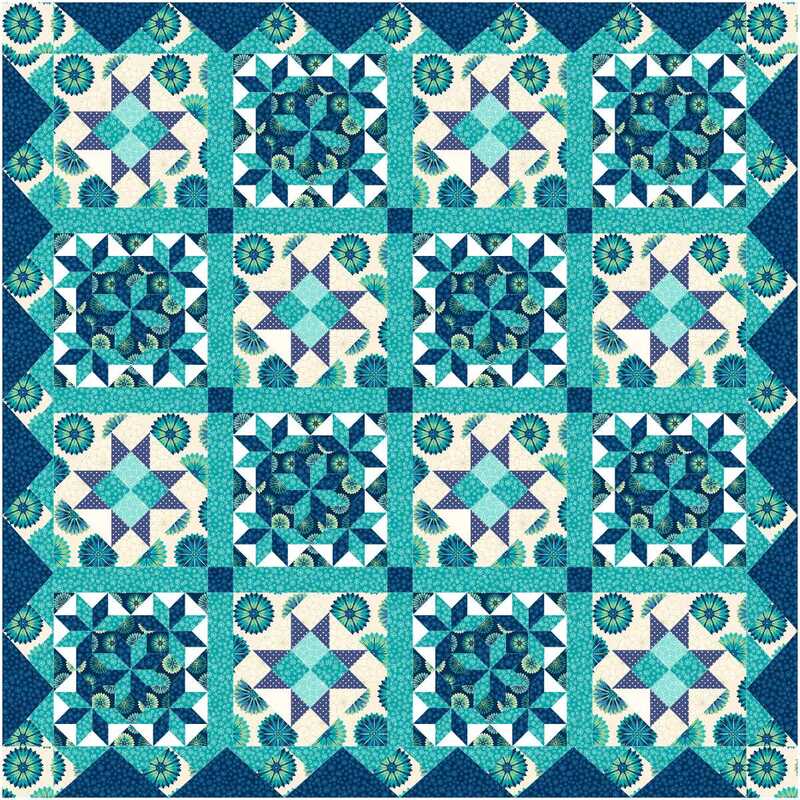
Did you know that in Tech Know Quilters, there are two full classes for designing optical illusion quilts? Tech Know Quilters is a membership for Electric Quilt 8 users who are mastering their design and EQ8 skills.
Sign up for the wait list to be informed on the next open enrollment period.
Current Tech Know Quilter members can let us know if they would like to swap their December class for one these options. Please note that these are more advanced classes.
Do you like working with specific rulers or dies? You know -- the ones that will end up giving you a very specific block (or maybe even parts of a block).
Some of my favorite are the tools from Deb Tucker's Studio 180 Design, If I have specific pieces that I want to work with, I love using Electric Quilt to design blocks around those pieces. It is so much fun having my own blocks, versus ones that look like everyone else.
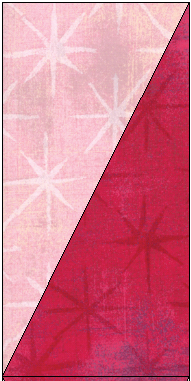
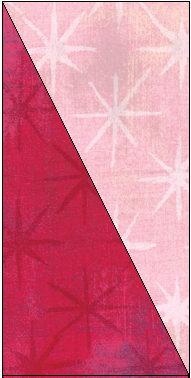
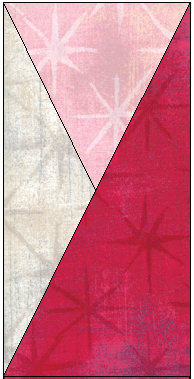
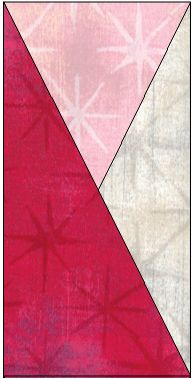
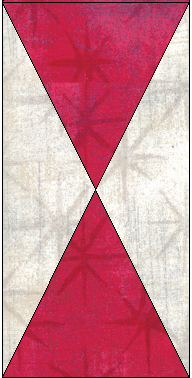
Deb Tucker has created a Split Rects tool. The Split Rects tool allows us to cut pieces and trim down triangle units where the finished height is twice the width. They can be produced in sizes from 1/2" x 1" to 4" x 8".
Here are examples of Split Rects units.
There is a technique sheet that Studio 180 Design sells that gives more information for creating Split Rects Bonus units. You will definitely want to watch this video in the link to see how you can use the tool to piece your own Split Rects bonus units.
There are three options for Split Rects bonus units.
In the Electric Quilt 8 tutorial, I will take you through my process in designing blocks that use those units. It is a bit like putting together a jigsaw puzzle.
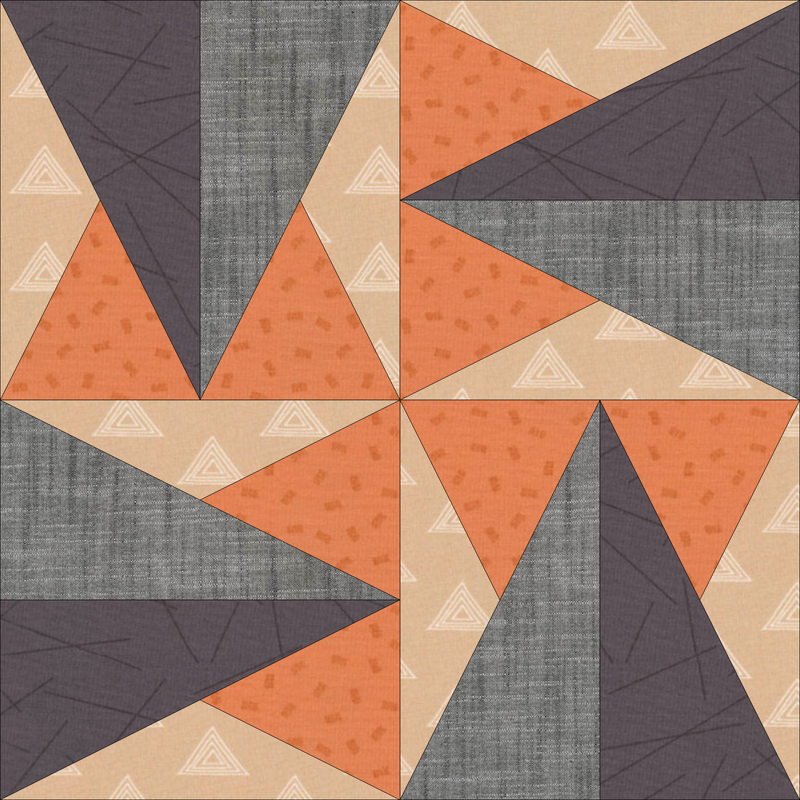
Here are the 12 inch blocks created in the video. Each of those blocks use 3" x 6" Split Rects bonus units.
I would love to see what blocks you end up creating using the Split Rects bonus units. And for an added challenge, create a quilt that uses one (or more) of the blocks.
Feel free to post on the Learning EQ Facebook group. |
Kari SchellElectric Quilt Expert and Educator and Pattern Designer. Categories
All
Archives
July 2024
|










 RSS Feed