
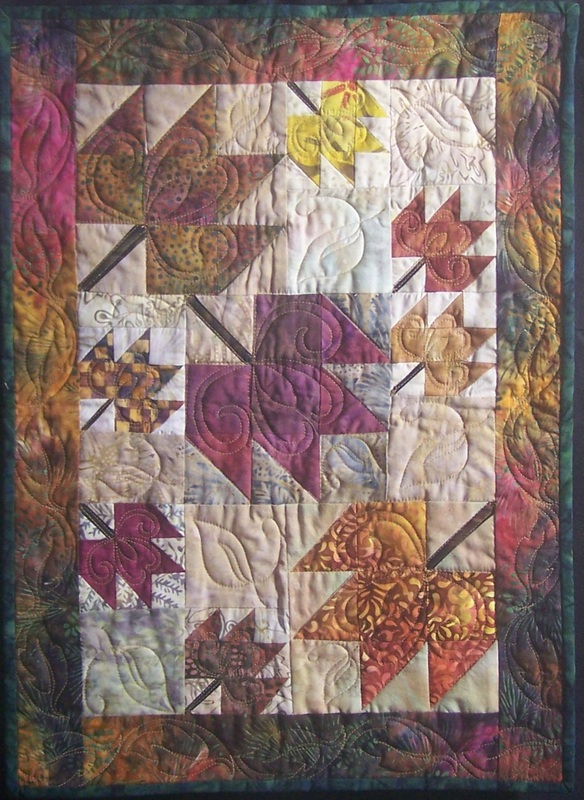
Antique Tulip Applique QuiltI was playing on my computer earlier this week and ran across this tulip applique quilt. It was bright, cheery and helps me dream about spring. I'm behind on quite a few things, so there is no time to make this quilt, but I decided I at least needed to draft it in Electric Quilt. Creating even a virtual quilt makes me happy! 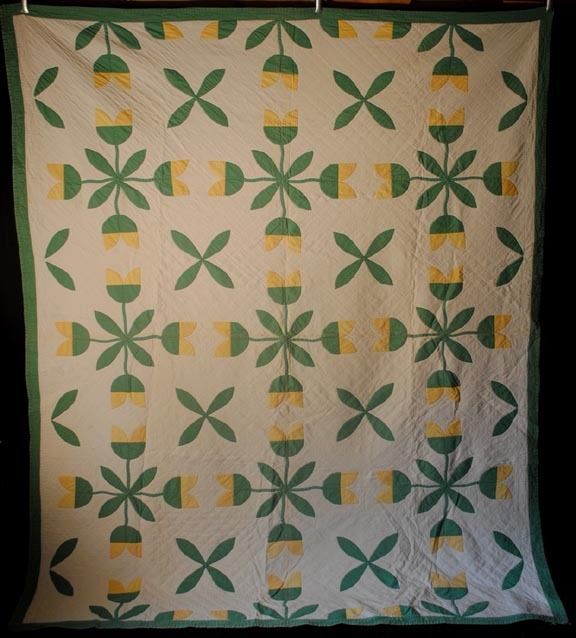 Would you like to follow along with me while I draft the block this week? This will take the fear out of drafting applique blocks in EQ -- I promise! I wasn't sure what size to make the blocks -- 12" blocks will make a finished quilt that is 42" x 51". A nice size for a lap quilt. Free patterns for your use: The layout for this quilt can be a bit tricky. I will cover drafting that using Electric Quilt next week. Featured Pattern - Smiling Irish Eyes
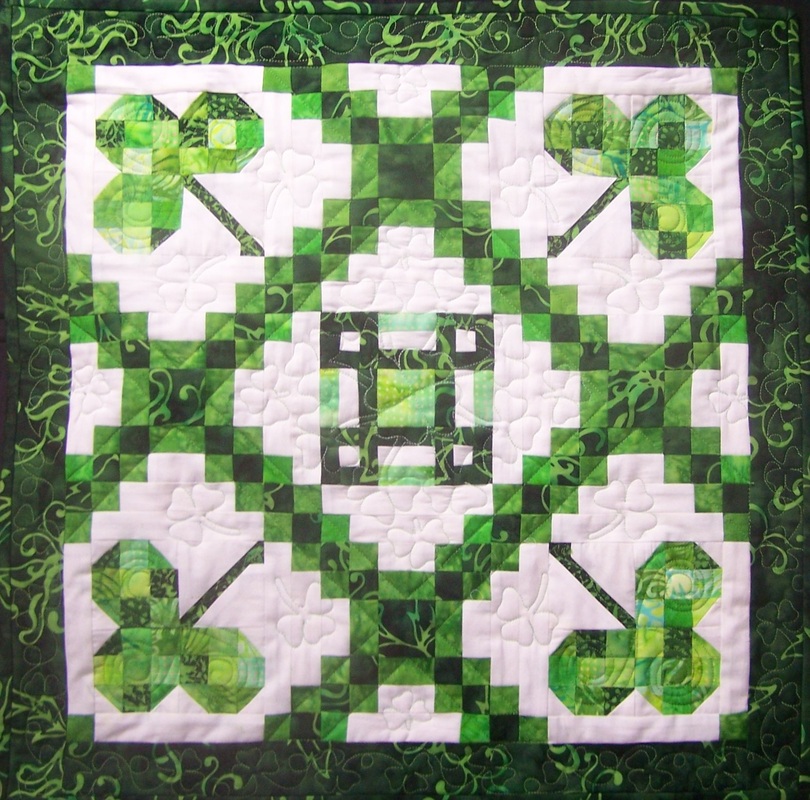
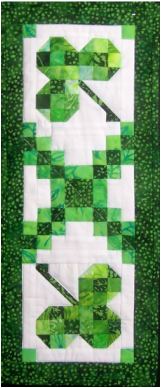
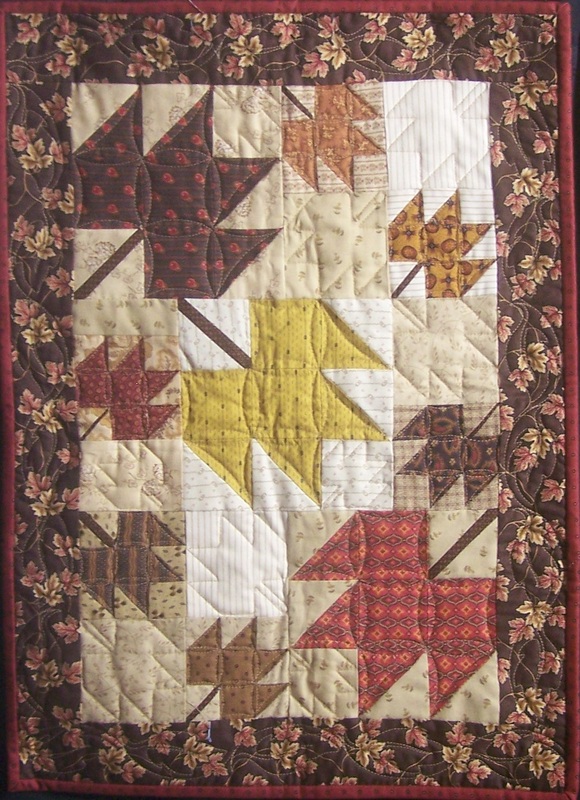
Are you looking for a quilt to adorn your table or wall for St. Patrick's Day. My Smiling Irish Eyes quilt can be purchased at your local quilt shop or directly from my website. These miniature quilts have an Irish theme – shamrocks, a Celtic quilt block and Irish chain blocks. Instructions provide for oversized units that are cut down with the use of the recommended rulers. This makes miniature quilts a breeze. The table topper finished 21" x 21" and the vertical wall quilt finished 8" x 20". Recommended optional tools include: Elsa and Anna Quilt UpdateThe quilt is on my machine and is almost done. I'm loving using the snowflakes from the exchange. Pictures will be shared next week. Happy quilting. Kari Sign up for my newsletter to stay current on what's happening in my studio and learn more quilting tips. As a thank you, I'll send you a FREE pattern for this small maple leaf quilt.
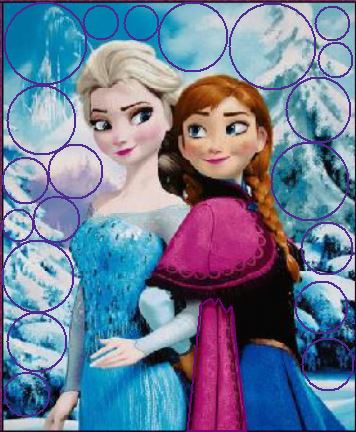
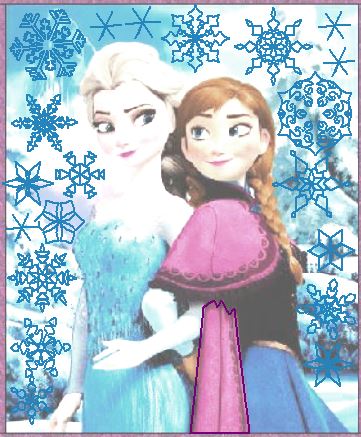
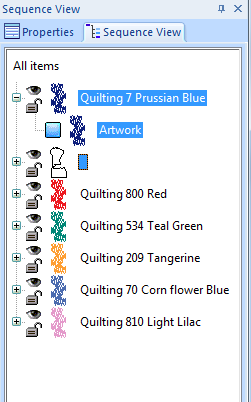
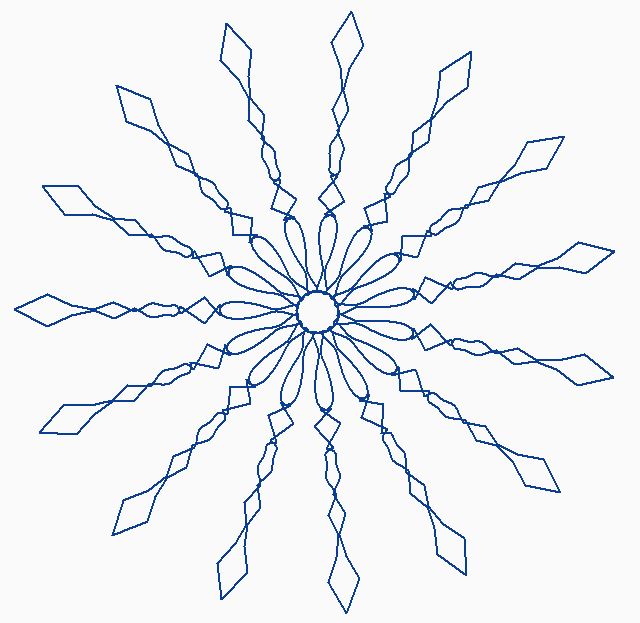
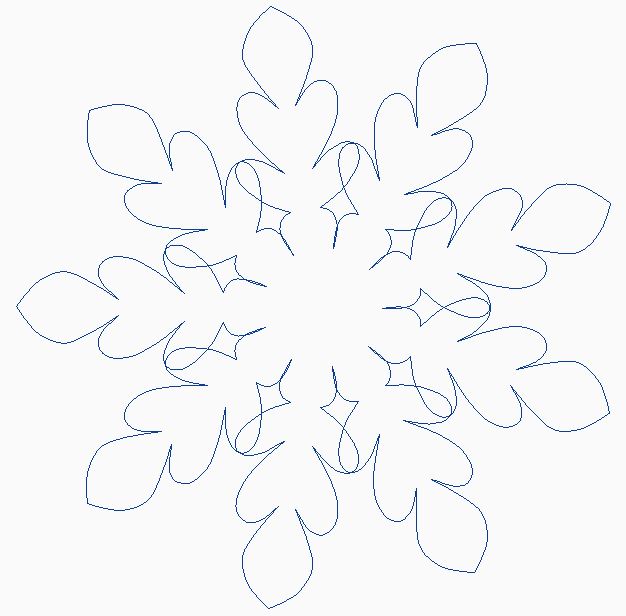
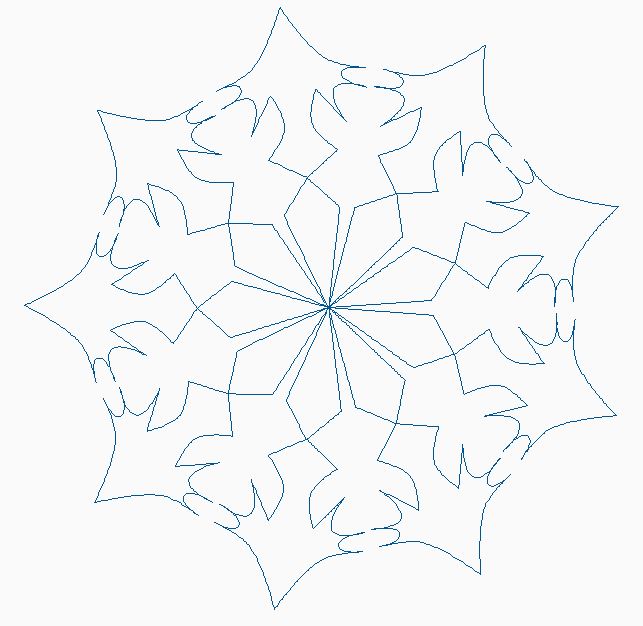
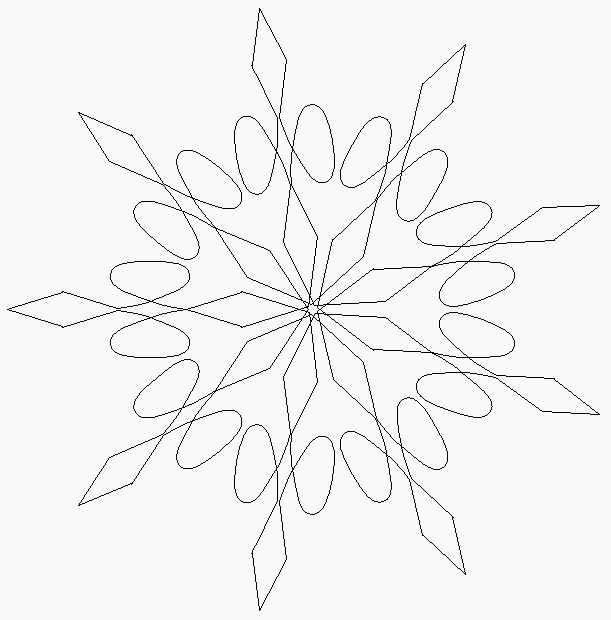
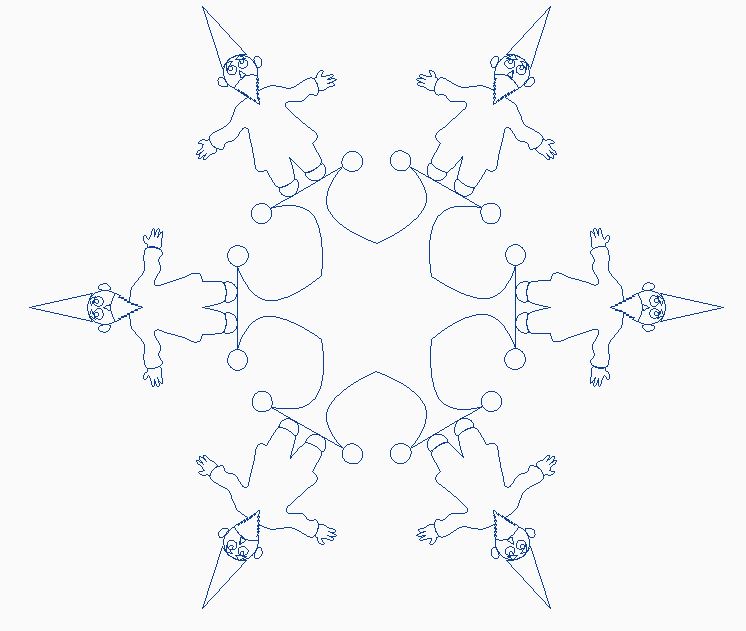
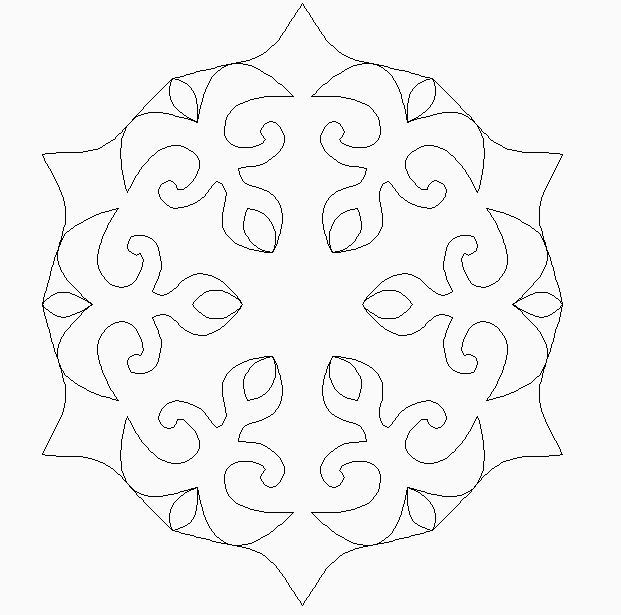
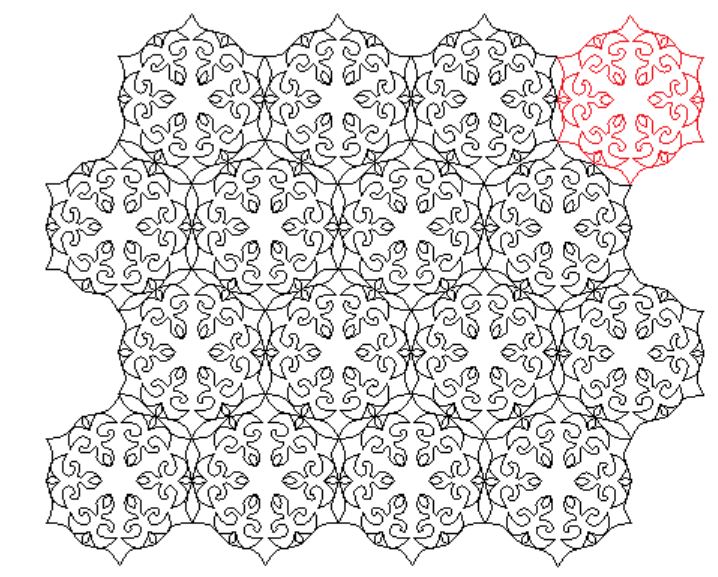
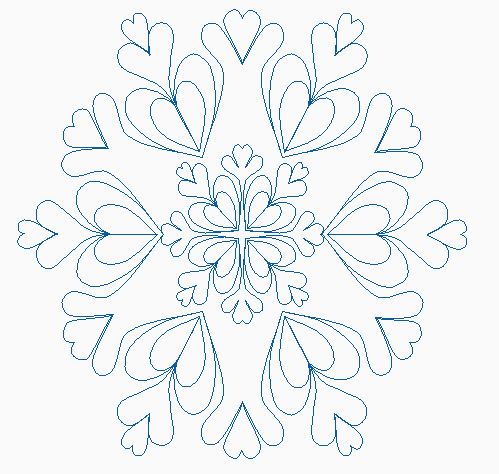
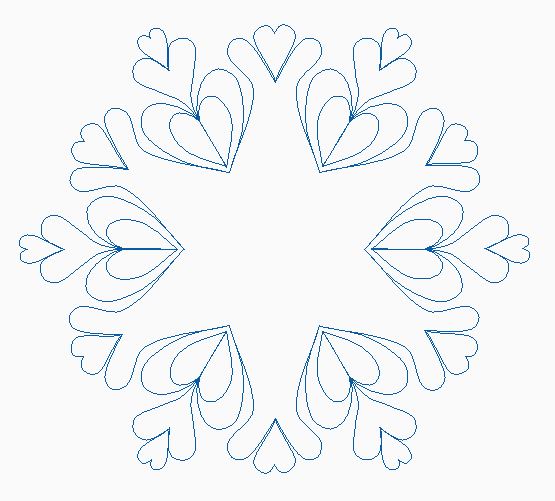
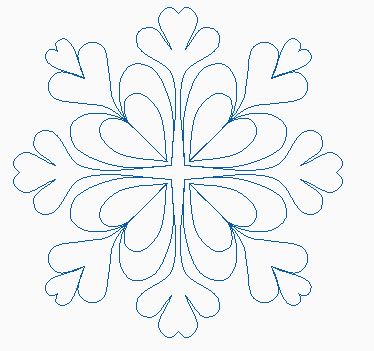
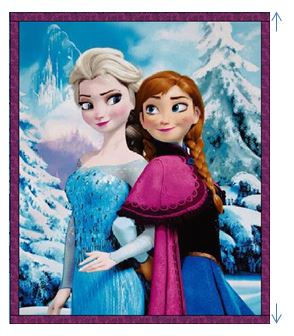
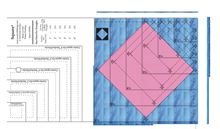
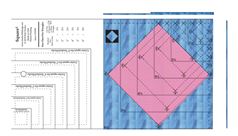
This week I will focus on "How Will I Quilt That ... Elsa and Anna Quilt". I decided I would create two options. One will be able to be used as a pantograph overall quilting pattern. This one could easily be freehanded on domestic machine. The second will be custom. I wanted to use some of those fabulous snowflakes from the exchange. Elsa and Anna Overall Snowflake MeanderI started by drafting a simple snowflake using diamonds.  Here are the snowflakes connected with Meander Anything. Snowflake Exchange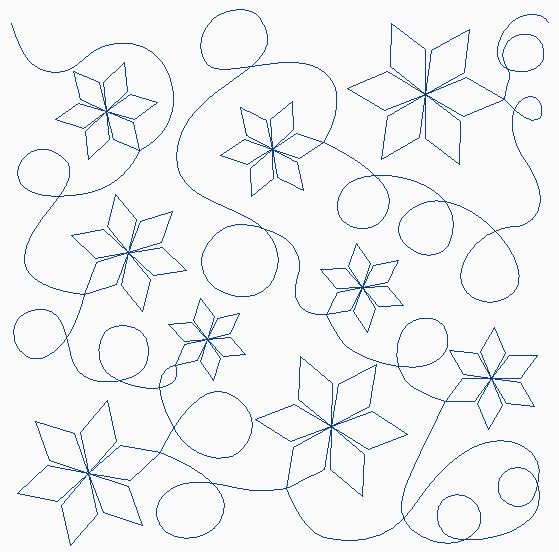 See how I did this using Art and Stitch software. (In reviewing the video this morning, Correction: In the video I mentioned using Snap to Grid to connect the snowflake ends when using Meander Anything. I should have said "Snap to Anchors". 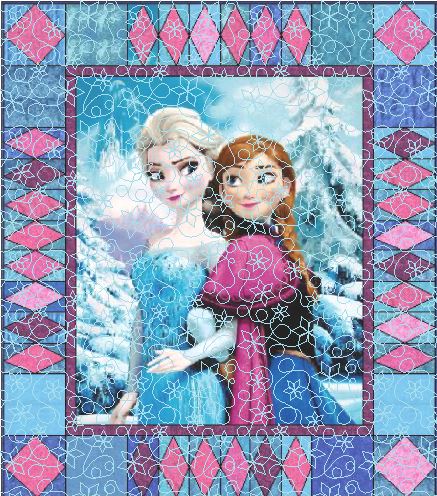 For a free copy of a pdf of the quilting design, click here. For a free copy of the Art and Stitch file, click here. Elsa and Anna Custom OptionFor the "custom" option, I decided I wanted to outline both Elsa and Anna. They are "huge". So their clothing would be a nice place to try a creative fill. I also wanted to put snowflakes in the un-pieced blocks and then over the background spaces in the panels. An then I thought I would like to use point to point designs in the pieced borders. Let's get started.
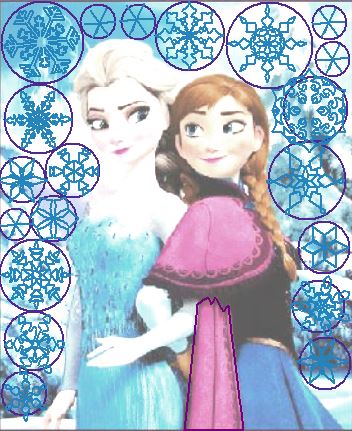
Once I figured out how many snowflakes I needed, I started to fill them in with snowflakes from the Art and Stitch exchange. I needed a few more simpler snowflakes, so I also added a few more created with the Magic Circle tool. After I filled in all the snowflakes, I could get ride of the circles as I won't actually quilt them.
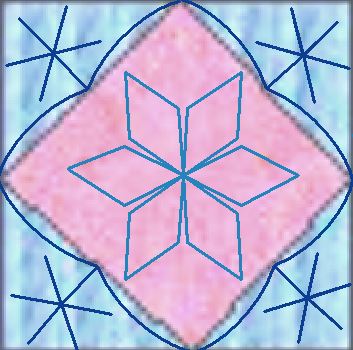
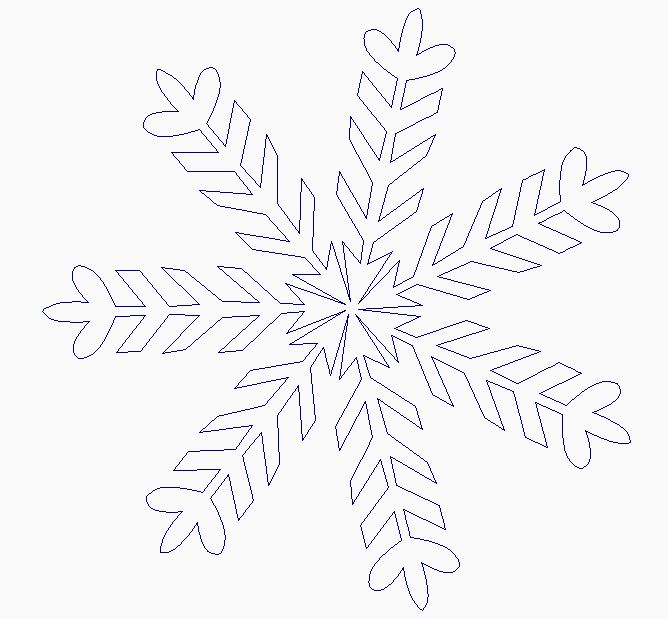
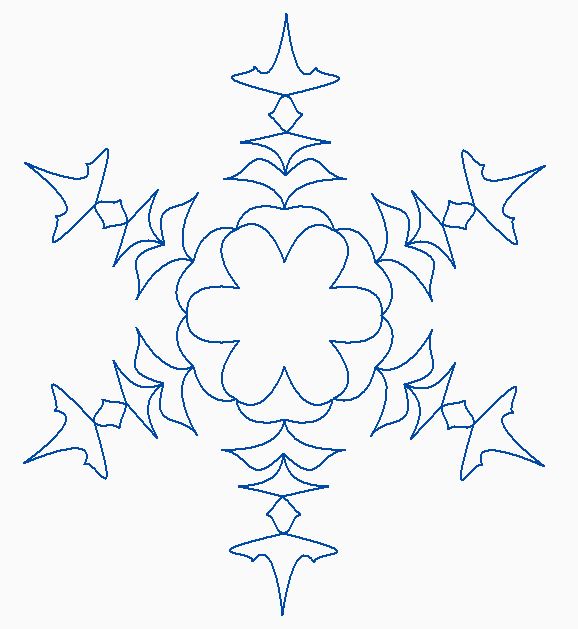
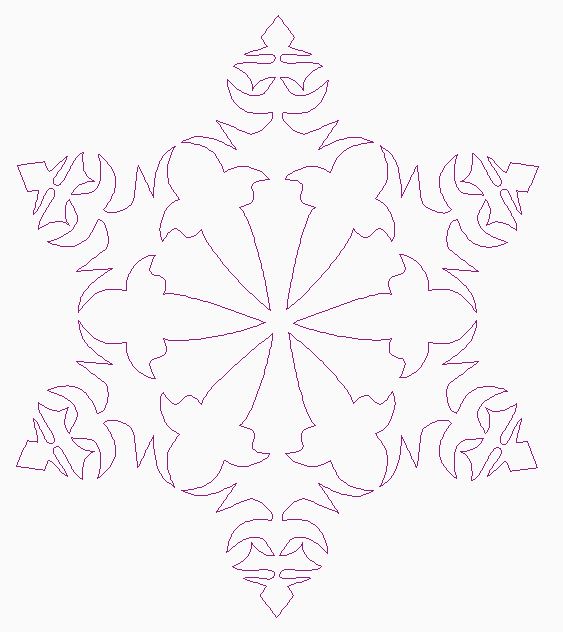
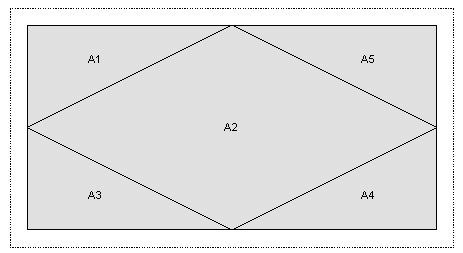
For the diamonds, I decided on some Point to Point Designs. I thought a variation on the snowflake block in the overall option would work for that and then I added a simple six pointed snowflake (now that I know snowflakes have six sides).
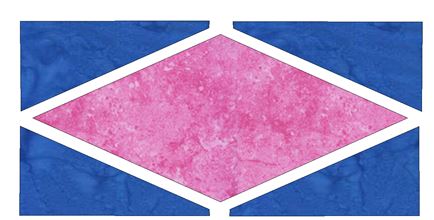
Here is what they will look like in the diamond section of the quilt. 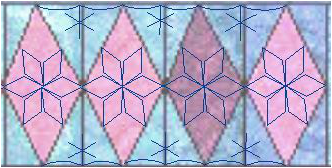
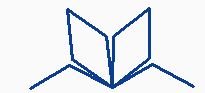
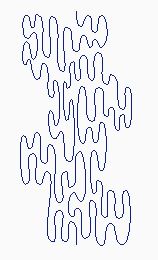
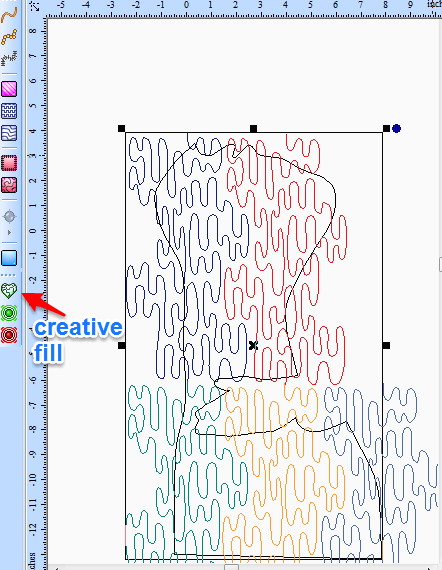
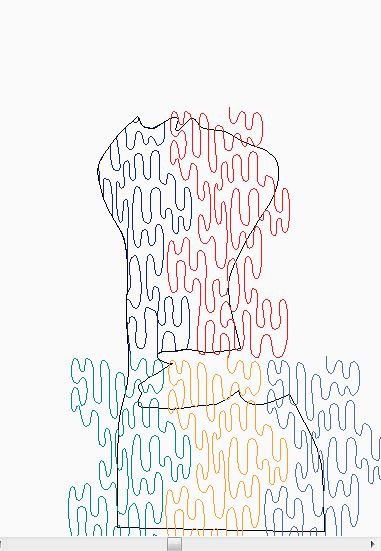
I drew outlines of the clothing using the Curve tool. When I want a sharp point, I use the Control key while adding a node. 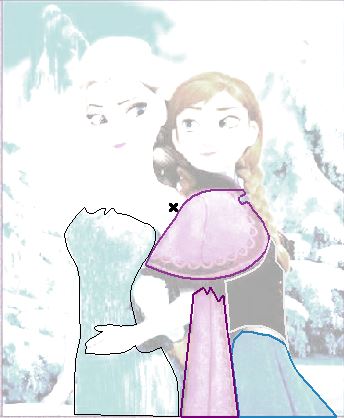 For Elsa's dress, I used a creative fill using River Run Meander by David Hudson. I rotated the design and didn't connect the segments to make it easier to quilt out on my machine. Each color is a separate segment in the second photo.
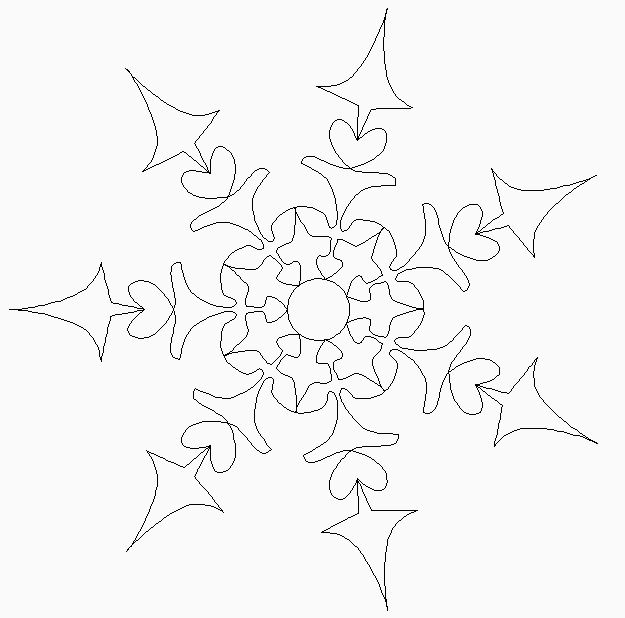
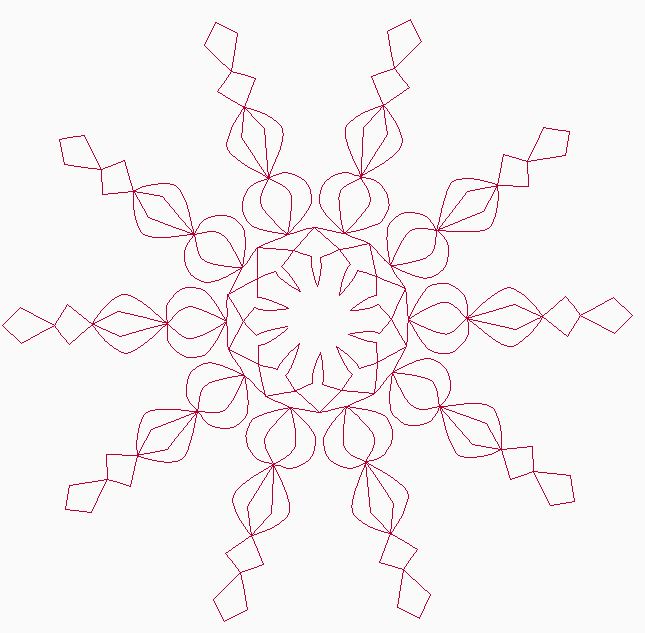
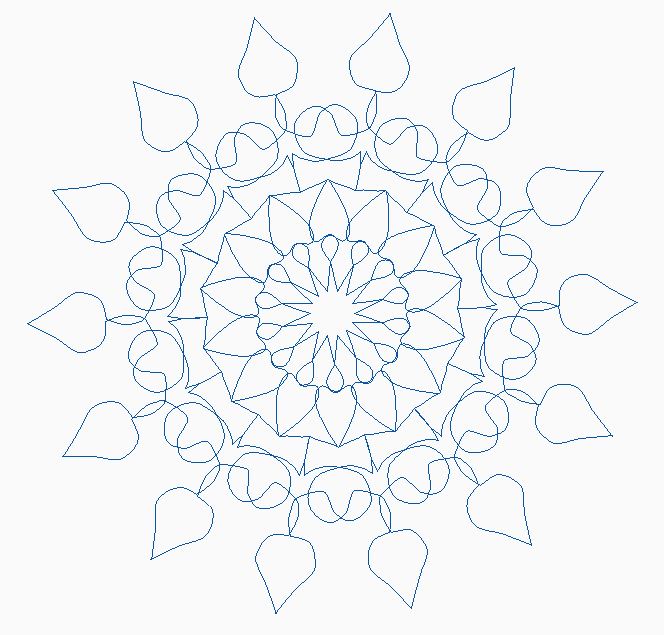
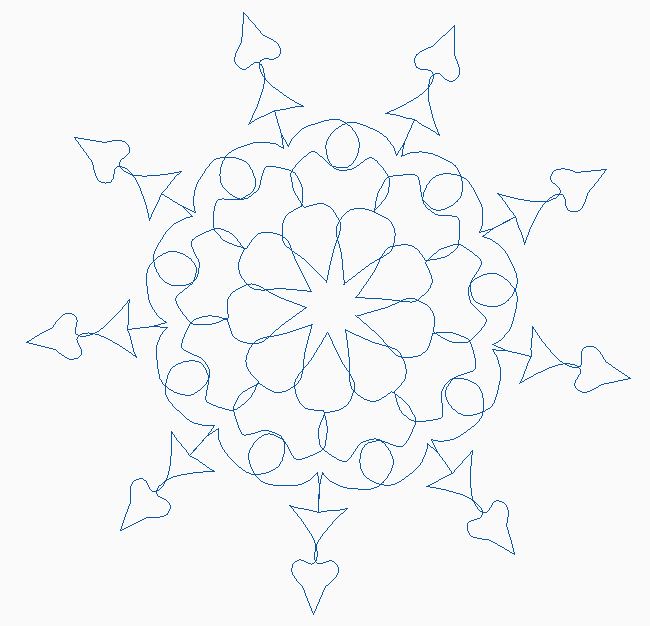
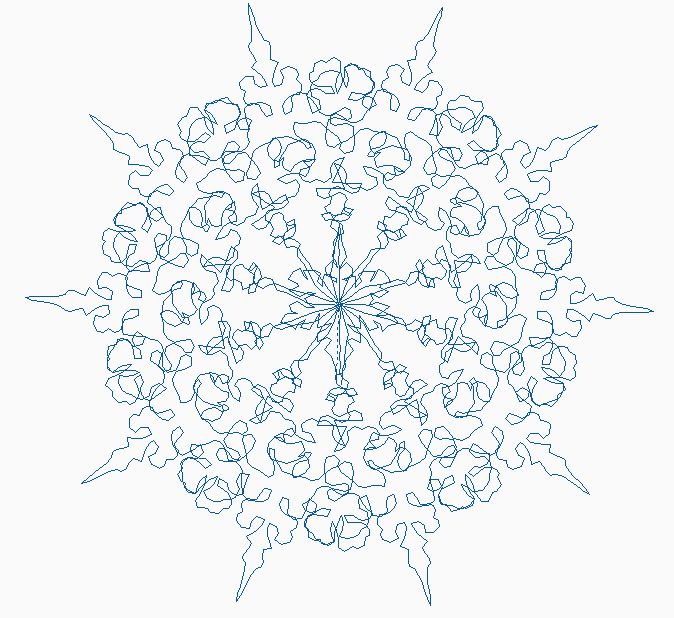
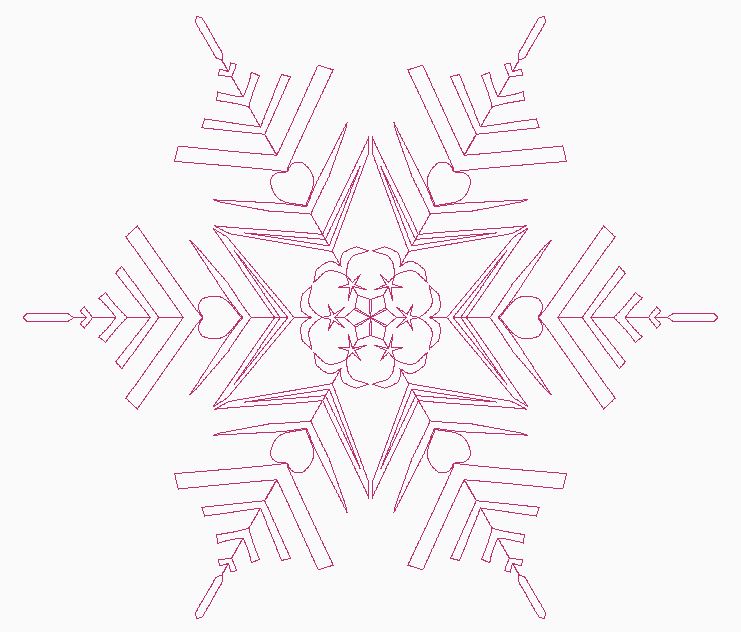
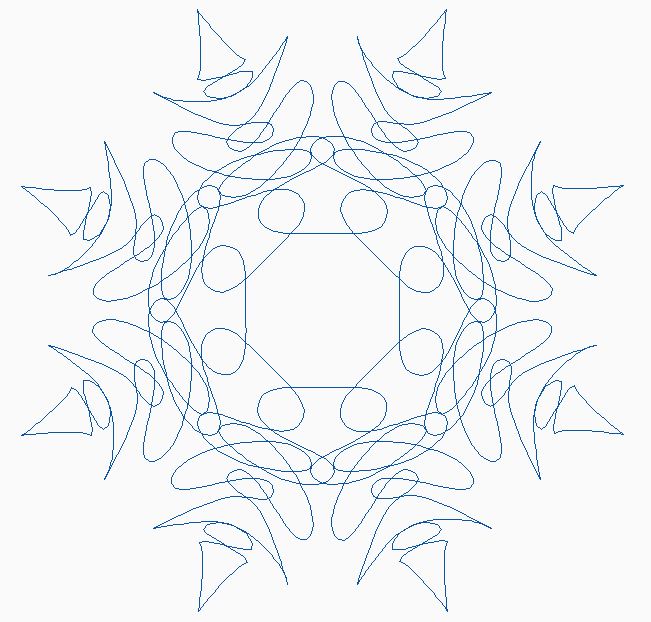
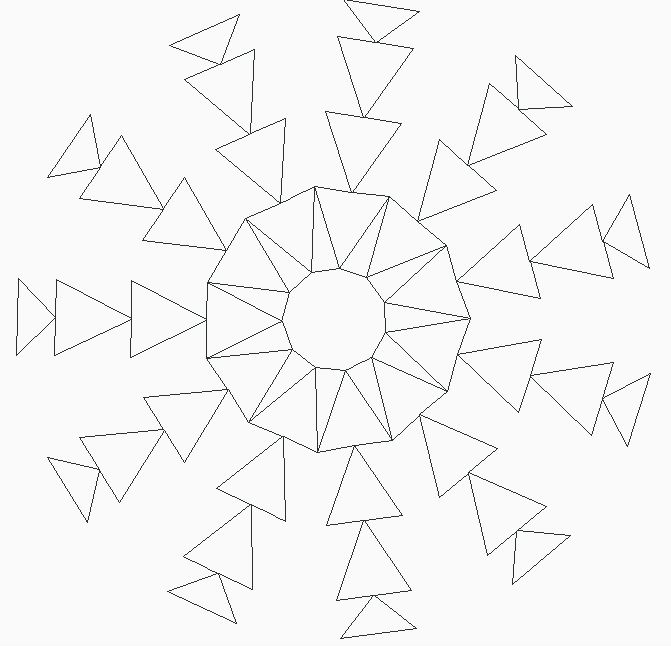
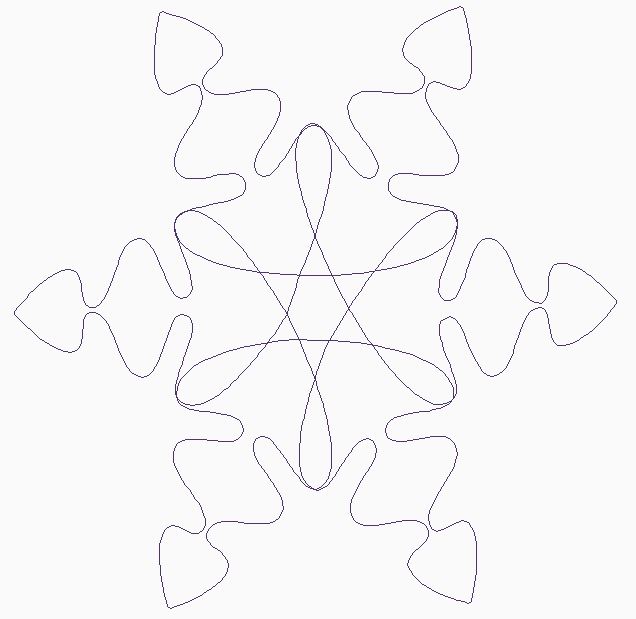
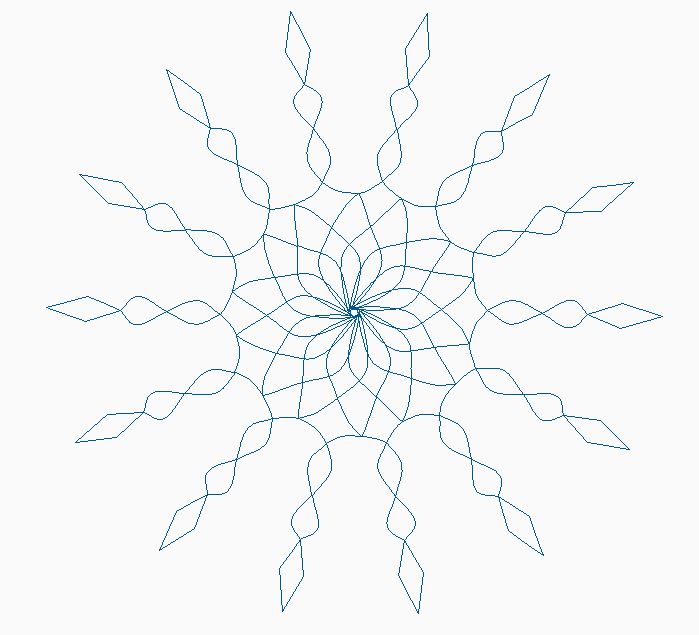
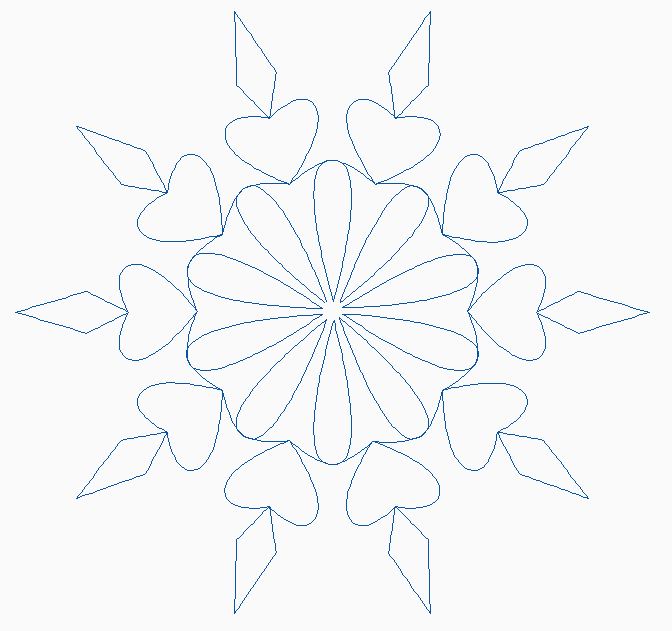
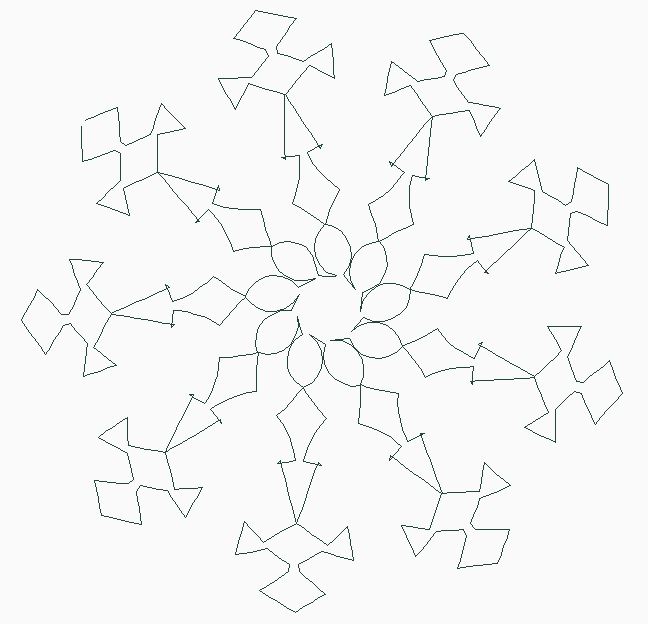
Move other segments above the dress shape and repeat the creative fill process. You should select only one "fill" and the dress shape at a time before applying the creative fill button. Apply a running stitch and double check your stitch out. 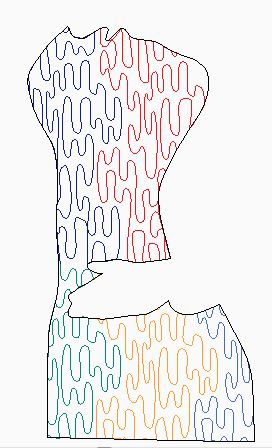 I will try some different creative fills for the other clothing. I was hoping to get my top quilted before this post -- but didn't make it. Hopefully I will have a final quilt to share with you next week. Snowflake ExchangeThere were 44 submissions (plus the 4 projects I shared with you a few weeks ago). Awesome work!!! Here are the designs. Those who submitted should have received a link to the private page and can obtain the actual Art and Stitch files. If you missed the link, please send me an e-mail. Whee! There was a lot to share this week. I hope you enjoyed the quilting ideas and the Elsa and Anna quilt series. Happy quilting. Kari Sign up for my newsletter to stay current on what's happening in my studio and learn more quilting tips. As a thank you, I'll send you a FREE pattern for this small maple leaf quilt.
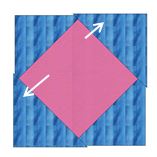
Now that the quilt is designed, we are ready to piece the Elsa and Anna quilt. As a reminder, this is the drafted quilt. 
Cut the panel to 28-1/2" x 34-1/2". When I went to cut I found the center was a little smaller than I had originally measured. If that is the case with your panel, you can adjust the inner borders and the plain block sizes to still make everything fit. Inner BorderCut two strips 1-1/2" x 34-1/2" for sides. Cut two strips 1-1/2" x 30-1/2" for top and bottom. Add side strips to quilt panel. Add top and bottom strips to previous piece.
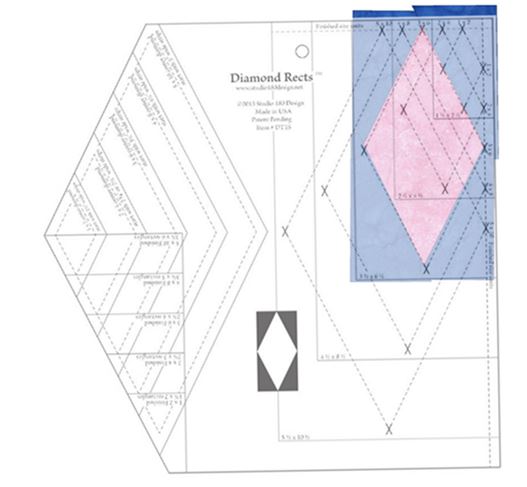
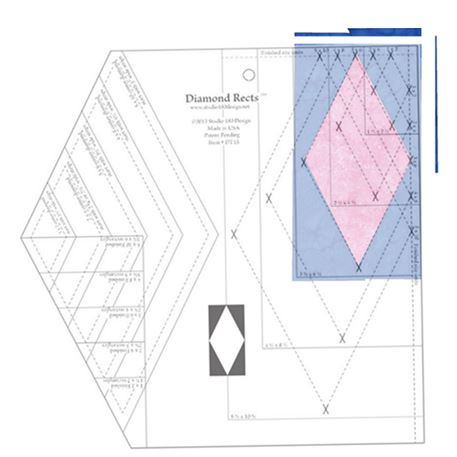
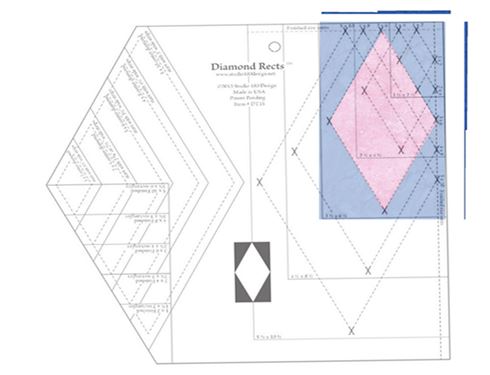
Section should measure 30-1/2" x 36-1/2". Ice Diamond Construction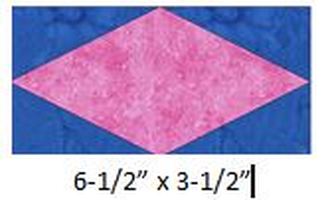
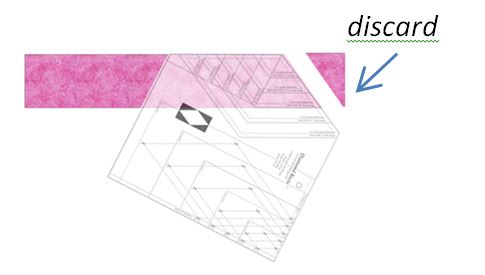
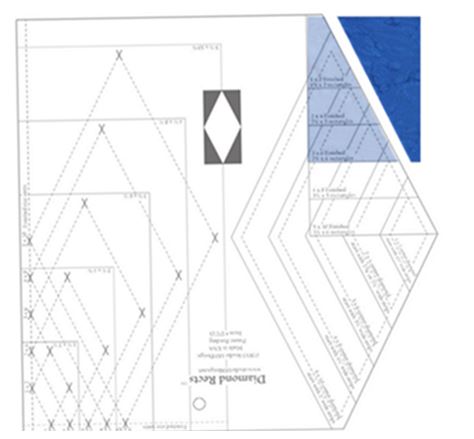
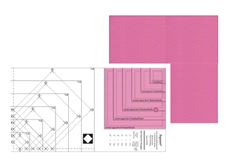
For the Ice Diamonds, I am using the Diamond Rects™ tool from Deb Tucker's Studio 180 Design. I like the tool as it allows for over-sized piecing which is subsequently trimmed down. Getting these blocks perfectly pieced is like magic as the last step in the process is trimming to the prescribed size! Here is a demo I originally did last July that shows the Diamond Rects tool. If you don't have the ruler, I will also provide a foundation pattern. Make a total of 28 units.
Ice Crystal Instructions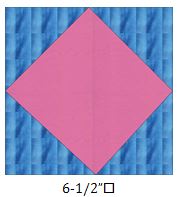
For these blocks I will be using the Square2™ tool from Deb Tucker's Studio 180 Design. This tool also allows for over-sized piecing which is subsequently trimmed down. If you don't have the ruler, I will also provide a foundation pattern. Make a total of 4 units.
Completing the TopCut eight 6-1/2" x 6-1/2" pieces from blue/teal fabrics. Piece Ice Diamonds and 6-1/2" x 6-1/2" pieces for side borders. If you need to adjust the length of the border, just trim from the squares on the end. Make 2. 
Piece Ice Diamonds, Ice Crystals and 6-1/2" x 6-1/2" pieces for top and bottom borders. If you need to adjust the width of the border, just trim from the plain squares before adding the Ice Crystal corners. Make 2. 
Add side borders to center. Add top and bottom borders. 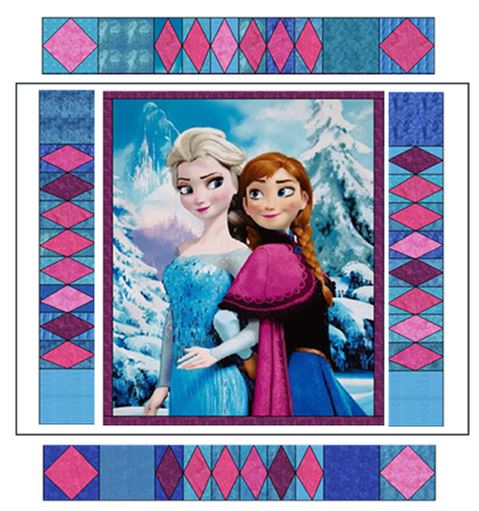
The top should now measure 42-1/2" x 48-1/2". Here is my pieced top -- just off the sewing machine. 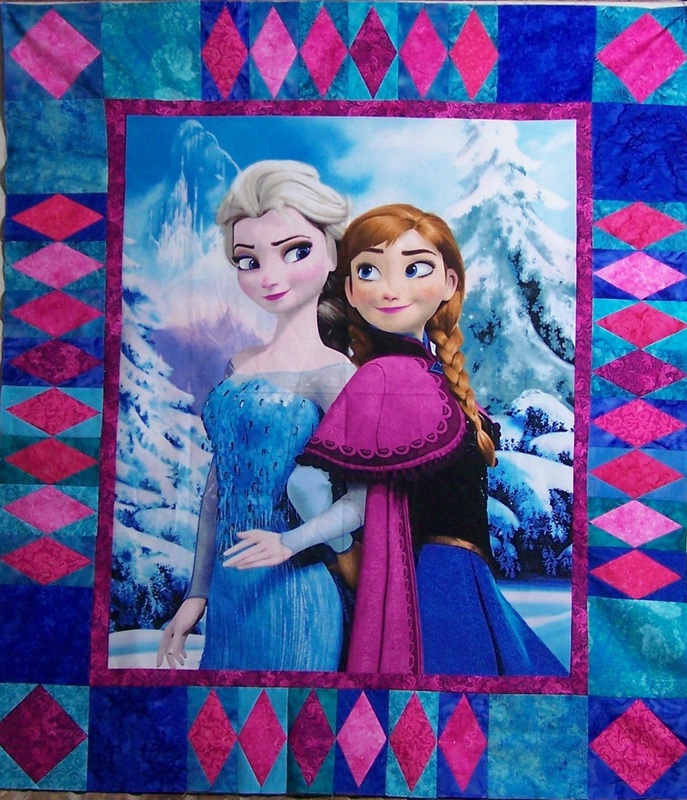
Next week, I will provide some suggestions for quilting. I will also be sharing photos of the submissions from the "Snowflake Exchange". Happy quilting. Kari Sign up for my newsletter to stay current on what's happening in my studio and learn more quilting tips. As a thank you, I'll send you a FREE pattern for this small maple leaf quilt.
My border fabrics have arrived and I am ready to start playing with the borders for my Elsa and Anna quilt. For this weeks video, I will demonstrate how I created the borders in Electric Quilt. I also will show how I drafted the blocks using Easy Draw. (If you missed last weeks video, and wish to catch up, please click here.) Do you like the finished design? If you created a different border for your quilt, I would love to see it and share it on my site (with credit to you). You can send it to me at [email protected]. 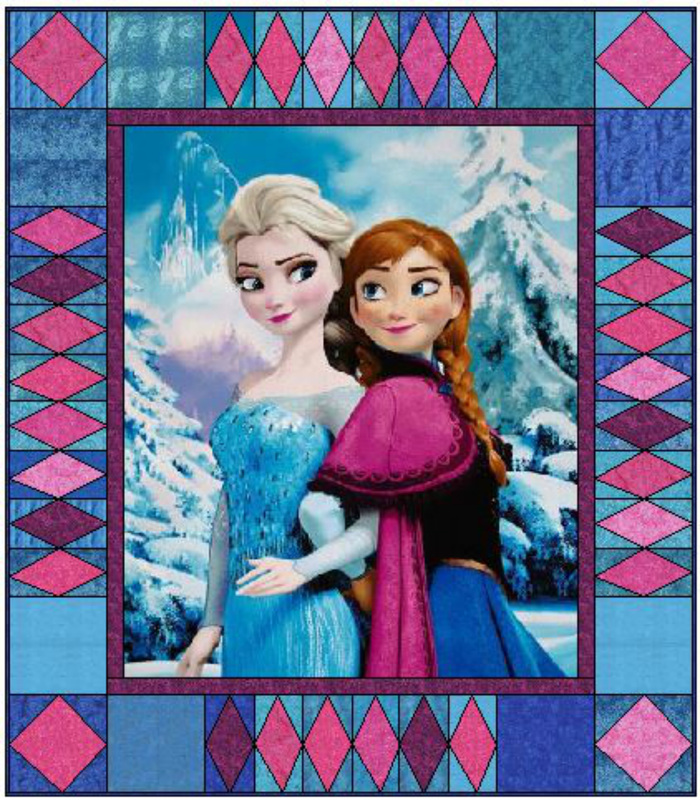 Elsa and Anna Quilt Designed by Kari Schell Next week I will show you how to piece the borders. Art and Stitch SnowflakeLast call for your Art and Stitch snowflakes. I will share drawings of the submitted designs on the February 21st post. To get copies of the files, you must participate in the exchange. More information on the exchange is available here. Be My ValentineAre you looking for a quick Valentine's day project? How about the "Be My Valentine" table runner? The pattern is now available in quilt shops across the country. If you cannot locate it at your favorite quilt shop, I am offering it for a limited time with free shipping for those in the US and Canada. To order click here. To enable "free shipping" select ECONOMY shipping during the checkout process. This subtracts $2 from your order. 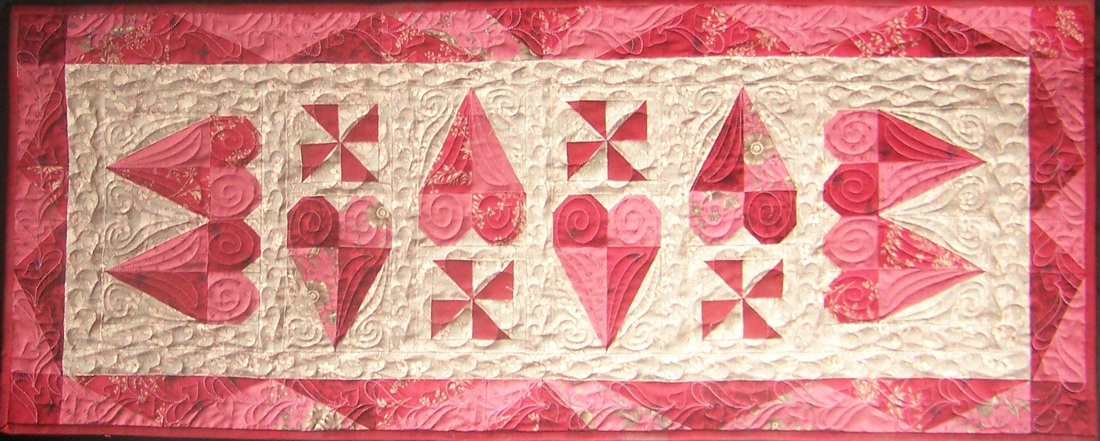 Be My Valentine by Kari Schell Happy quilting. Kari Sign up for my newsletter to stay current on what's happening in my studio and learn more quilting tips. As a thank you, I'll send you a FREE pattern for this small maple leaf quilt.
|


Free guide available for newsletter subscribers


Kari SchellElectric Quilt Expert and Educator and Pattern Designer. Categories
All
Archives
July 2024
|


 RSS Feed