|
Have you gone through the trouble of coloring a block. And then found that when you put it in an On Point layout, the fabric is not positioned correctly. This could also happen if you color the quilt directly in the on point layout.
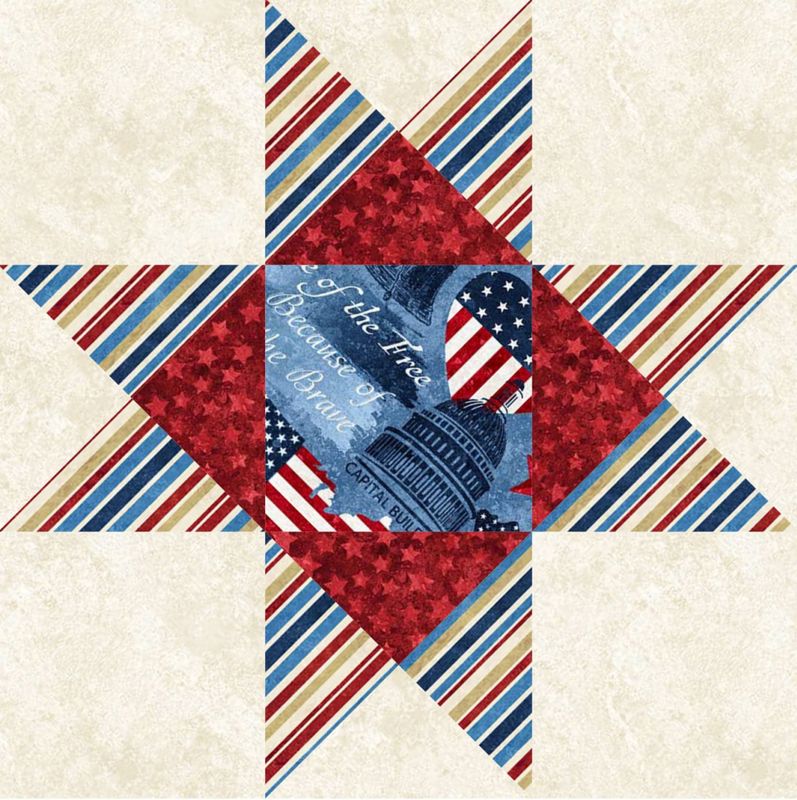
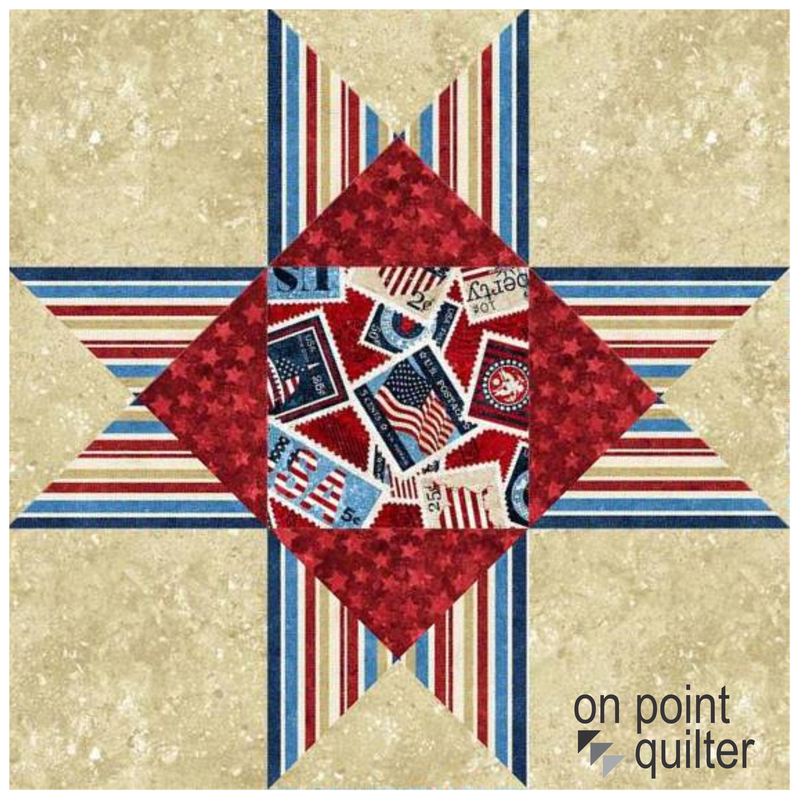
Electric Quilt positions the fabric so it looks rotated in the on point blocks. Since most of us prefer piecing blocks so the outside edges do not have bias, the EQ coloration does not match our planned piecing of the blocks. Check out these before and after photos. In particular look at the placement of fabrics in the quarter-square triangle units.
FYI -- I also swapped out a couple of fabrics in the final block.
In the video tutorial, I will take you through my tricks for correcting the fabric placement. I will even walk through the process of creating perfect fabric placement for mitered borders. It is much easier to do this in EQ than to actually piece those mitered corners (in my opinion). :)
Fabric Used in the Quilt
Each month Electric Quilt provides us with a free fabric collection. In November of 2022, the collection was Stars and Stripes 10th Anniversary. The collection was designed by Linda Ludovico and Deborah Edwards and was manufactured by Northcott.
You can still download this free collection of fabric images from the Do You EQ website. It contains a number of striped fabrics, which are perfect for use in the quilt in the video.
For those doing a bit of shopping this weekend, there is a 25% off sale on all products (other than classes) on the EQ website. A perfect time to buy Electric Quilt 8 -- or one of their many downloads. I will be purchasing the EQ Stash - Download 01 for 2023.
Click on the above image to be taken to their site. If you use this link I will receive a small commission on the sale. My commission does not affect your price in any way. Make sure to use the coupon code BIGSALE.
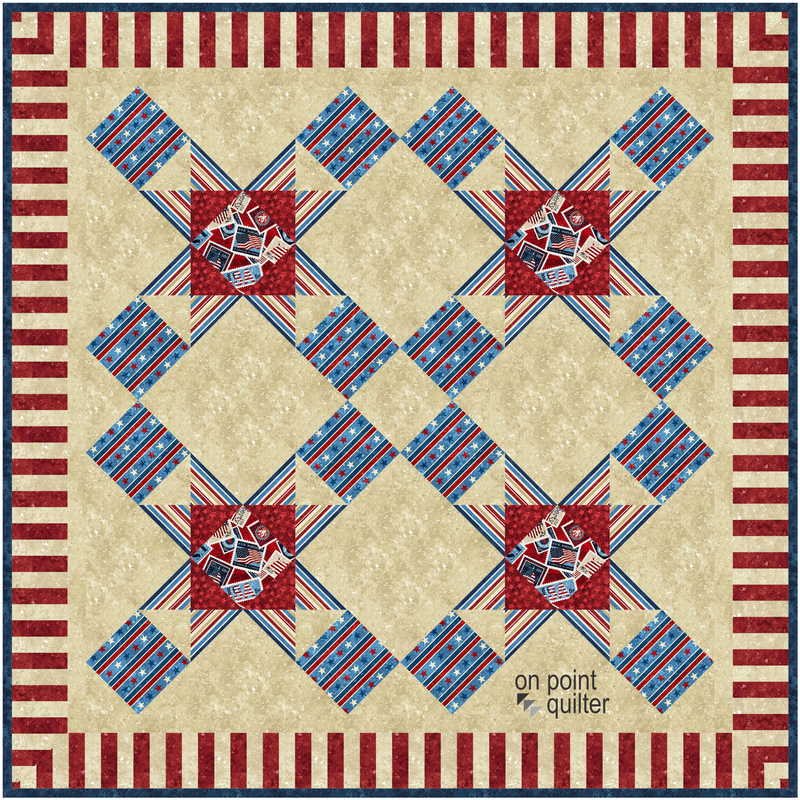
Here is my final quilt from the video.
Rotary Cutting for On Point Blocks
The Rotary Cutting Chart (while accurate), can sometimes be confusing for on point blocks in EQ.
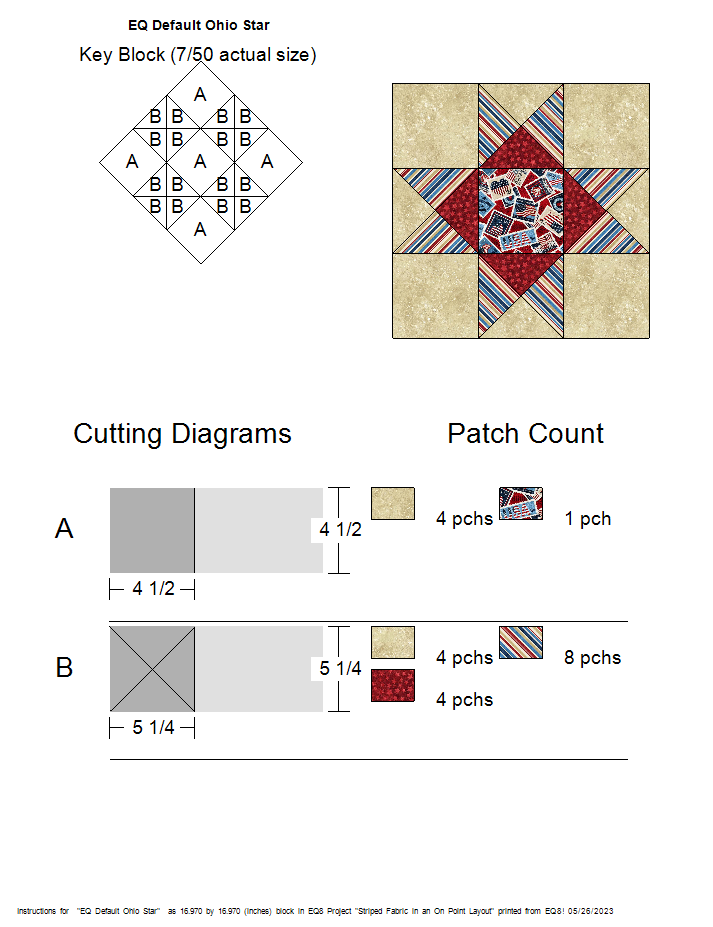
Select Print and Export, and select the Ohio Star block from the quilt and select Rotary Cutting. Note that EQ does give you the rotary cutting assuming you plan to piece the block in a traditional manner. However it will show the size of block as 16.97" x 16.97" -- which is the size from corner to corner (not the size of the edge of the block).
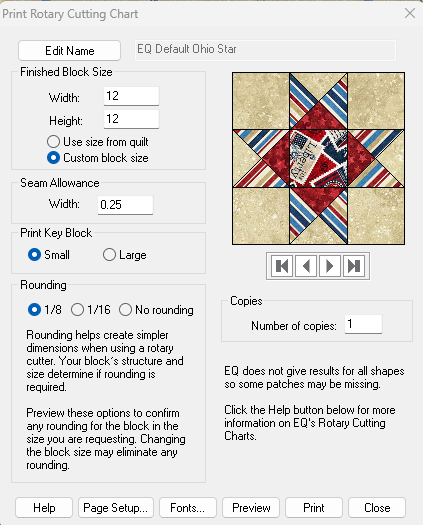
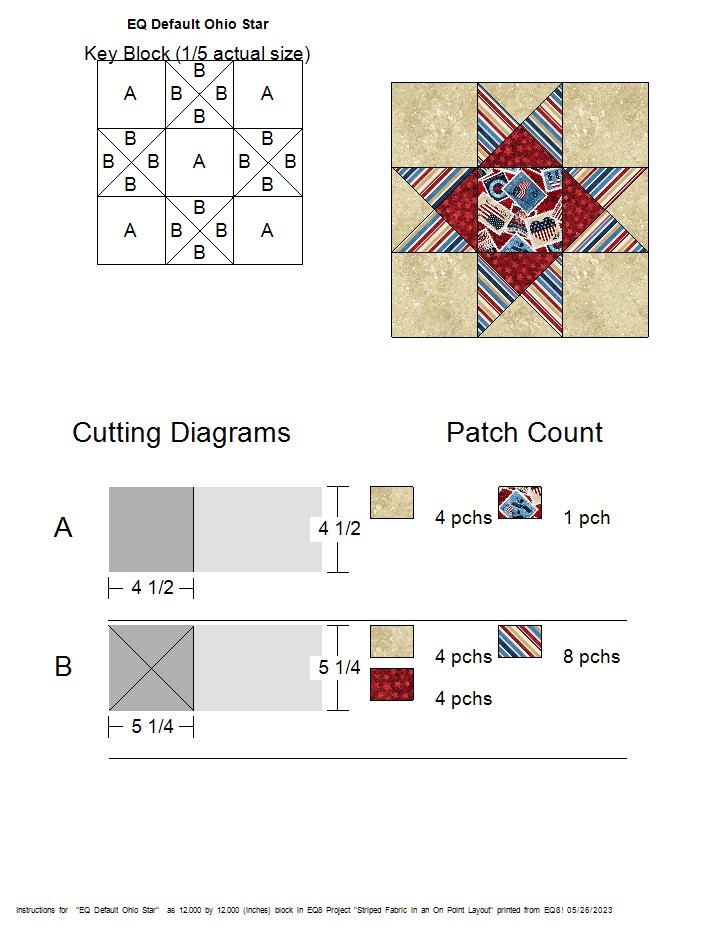
As an alternative, in the dialogue box for Rotary Cutting, you can select the option to change from "Use size from quilt" to "Custom block size" and set the finished block size (without seam allowances) to 12 x 12. As you can see the rotary cutting chart gives the exact same measurements as the first rotary cutting chart -- the only change being the block size.
Now It Is Your Turn
Experiment with using striped fabrics in an on point layout -- either the free fabric images I used from the Do You EQ website, or another collection. I would love to see your quilts. Feel free to post pictures in the Learning EQ Facebook group. I have set up a dedicated post for these images.
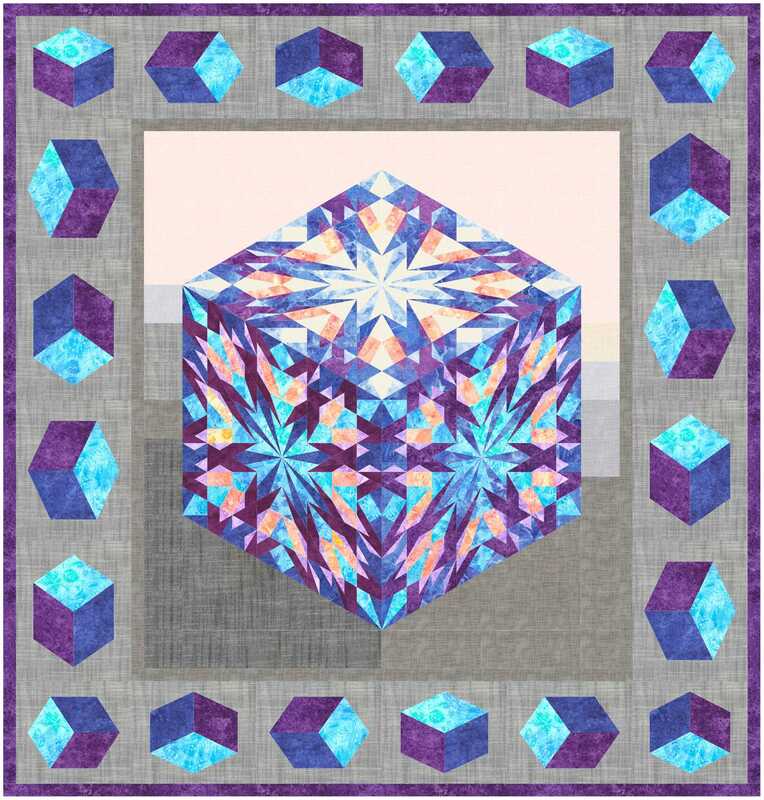
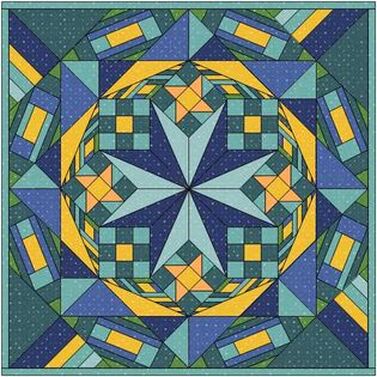
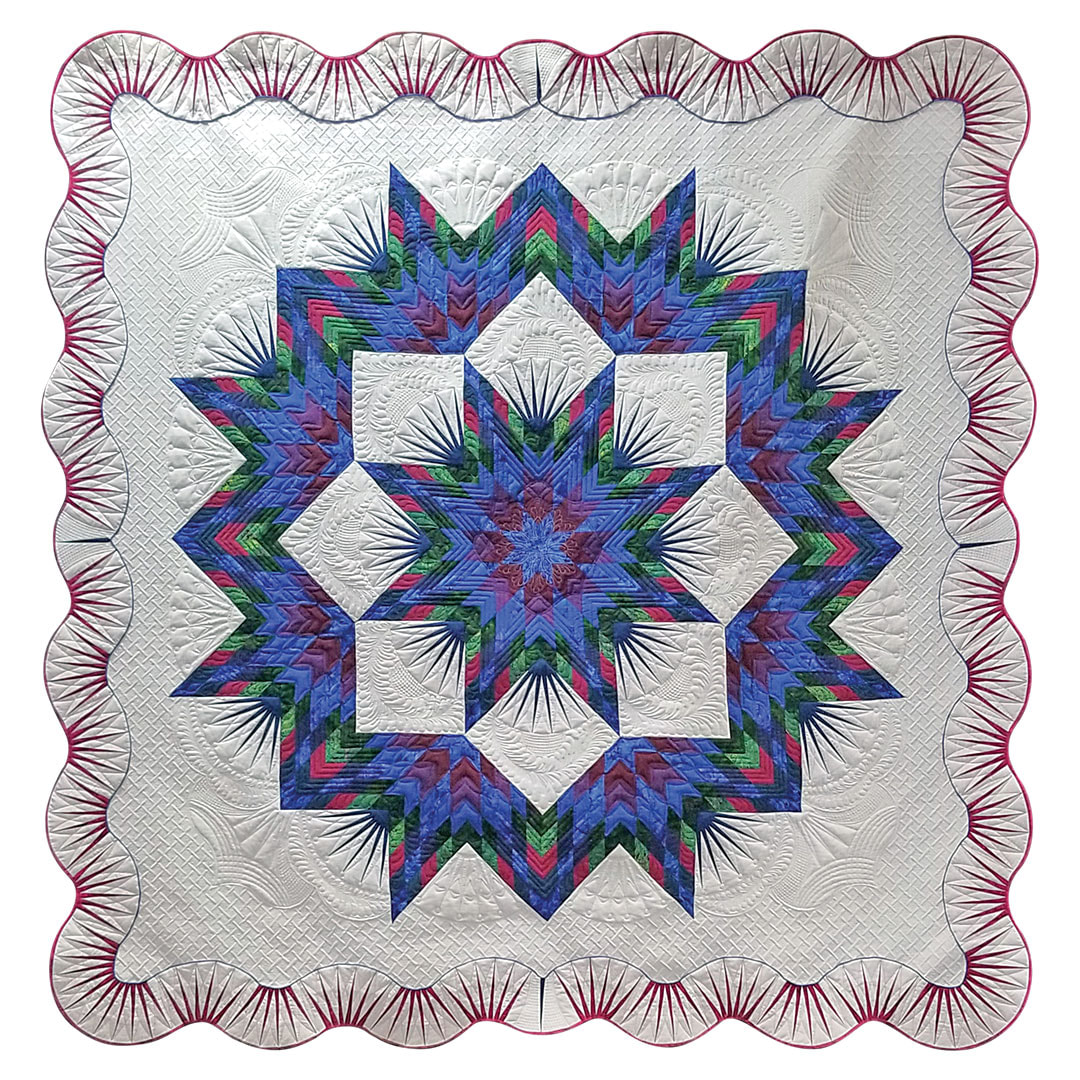
After seeing an AQS award winning quilt by Kathy Bradbury, I realized that the quilt is drafting friendly when using a layout from the Electric Quilt 8 layout library. Scroll down to see the quilt and learn how to draft it yourself.
I also am excited to feature some amazing designs from Tech Know Quilter members who have been super busy designing (and in some cases making) quilts. Tech Know Quilters Showcase
Current Tech Know Quilter members have been sharing their class projects along with their original designs in the membership's private Facebook group. Enjoy this show of some of their recent creations.
You can learn more about the Tech Know Quilters membership program and sign up for the wait list for the next open enrollment period here. Broken Star Quilt using EQ8
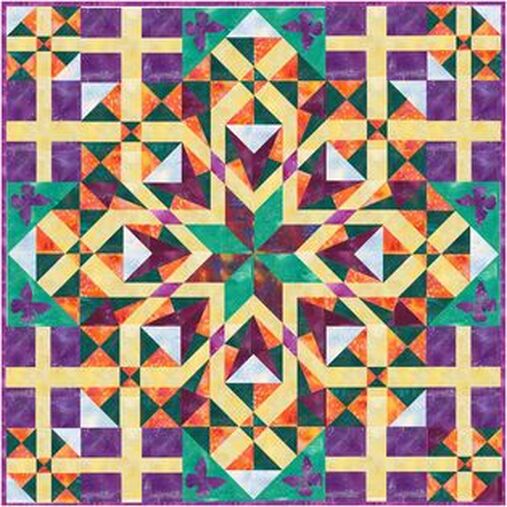
In the collection of quilt designs from the Tech Know Quilter's showcase, you may have noticed that a number of them were designs that started with one of the Star layouts in the Electric Quilt layout library. The layout library includes a large number of ready-made custom set layouts. In the Tech Know Quilter's class, we covered modifying the layouts to personalize a design and then playing with their own blocks in those layouts.
Let me share my thoughts on using Electric Quilt 8 to design the center of this quilt. (And yes -- the border could be designed in EQ as well -- but that is beyond the scope of a blog post.)
Blocks for the Quilt
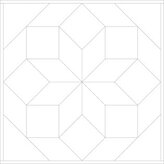
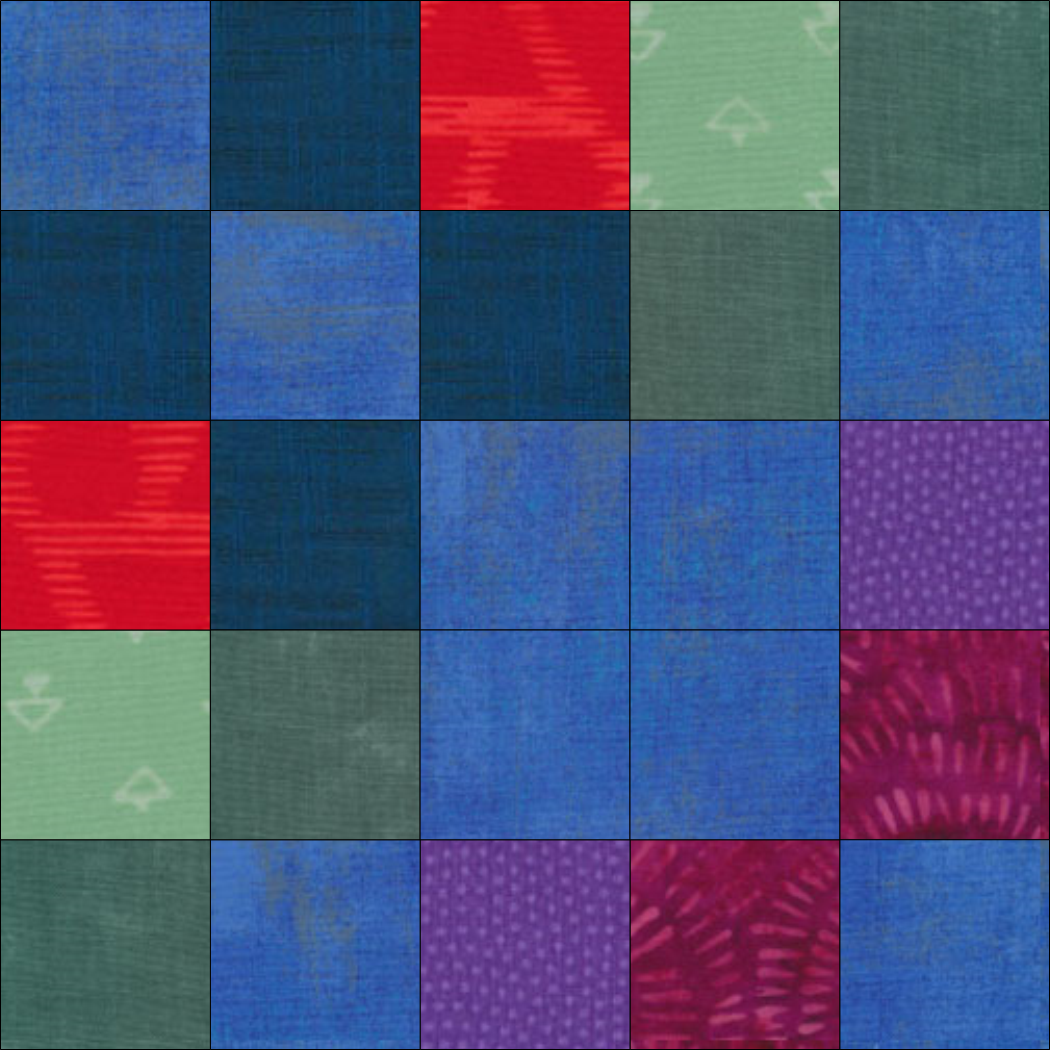
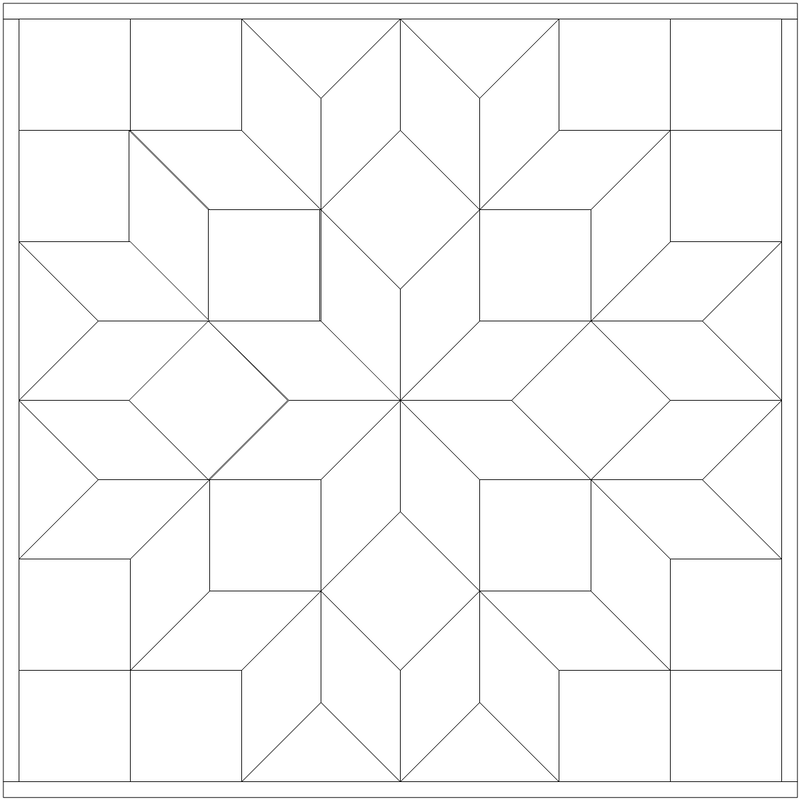
For the center of Kathy's fabulous quilt, there are only two blocks. And both can be drafted in EasyDraw. In coloring the blocks, I used default fabrics that were similar in value to Kathy's quilt -- just to keep things simple.
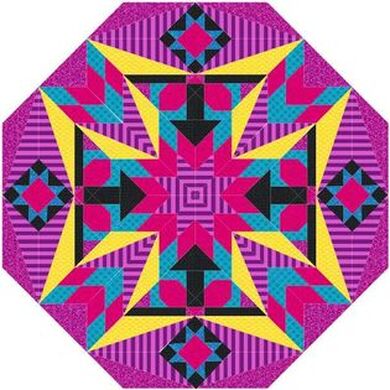
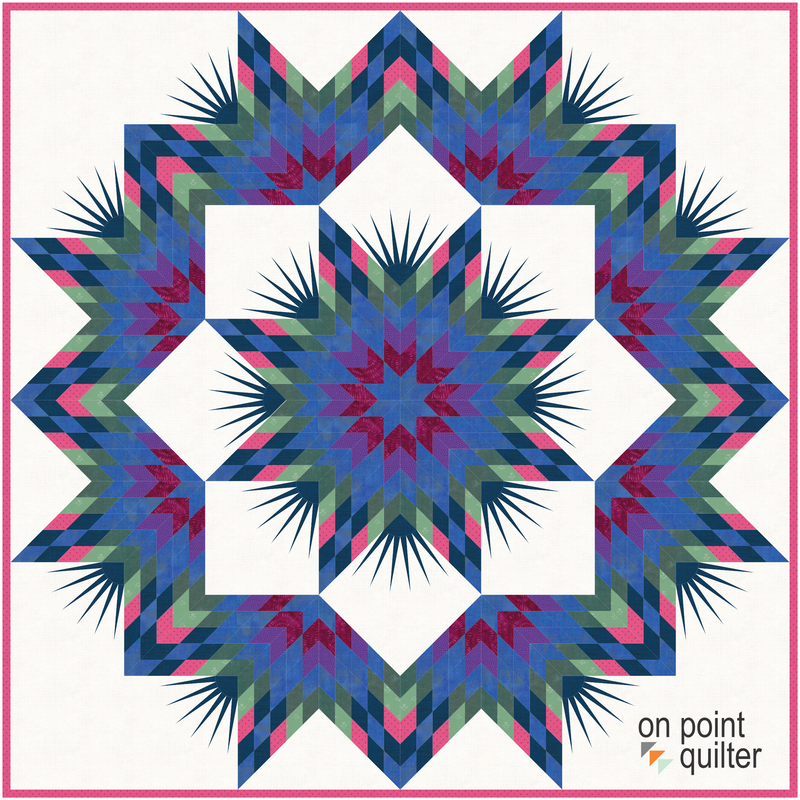
The layout I chose was Star Layout 49 from the EQ8 Layout Library. You will love what the layout does with the 5 x 5 grid. And these blocks could be strip pieced to create a stunning star quilt.
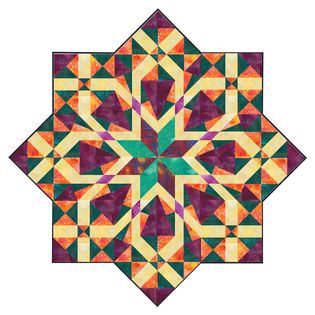
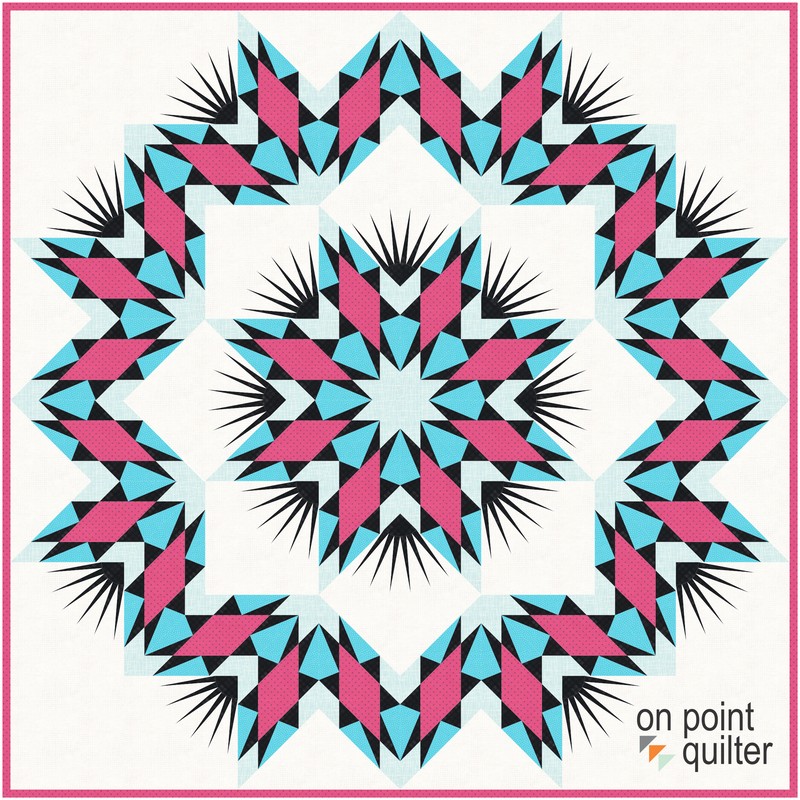
Here are the quilts from the video.
And yes -- you could draft Kathy's amazing border in Electric Quilt as well. But that is more involved and outside the scope of a blog post.
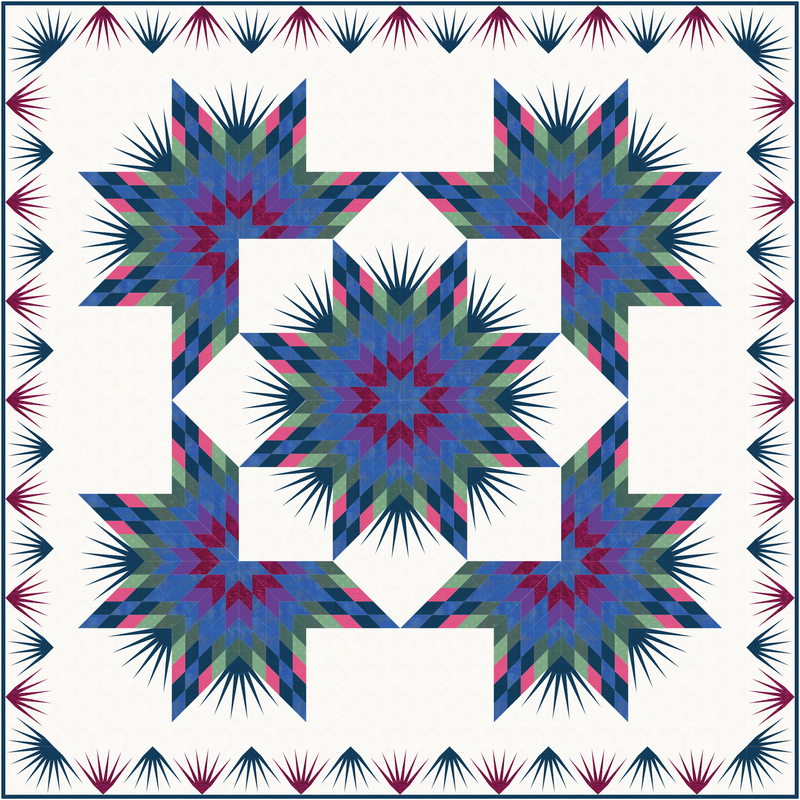
I also played with the blocks in a different Star layout (Stars 29). This is not part of the video. EQ is so much fun.
I look forward to seeing what layout you decide to work with -- and what blocks you included in the layout. Post your favorite in the Learning EQ Facebook group. I've set up a dedicated post for your quilt designs.
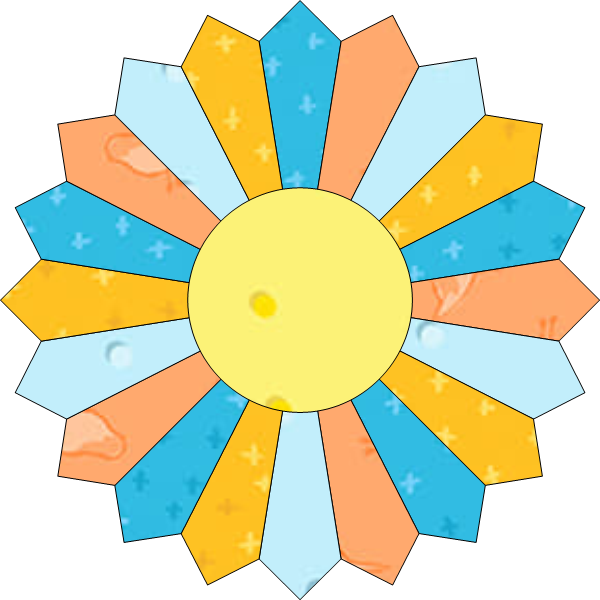
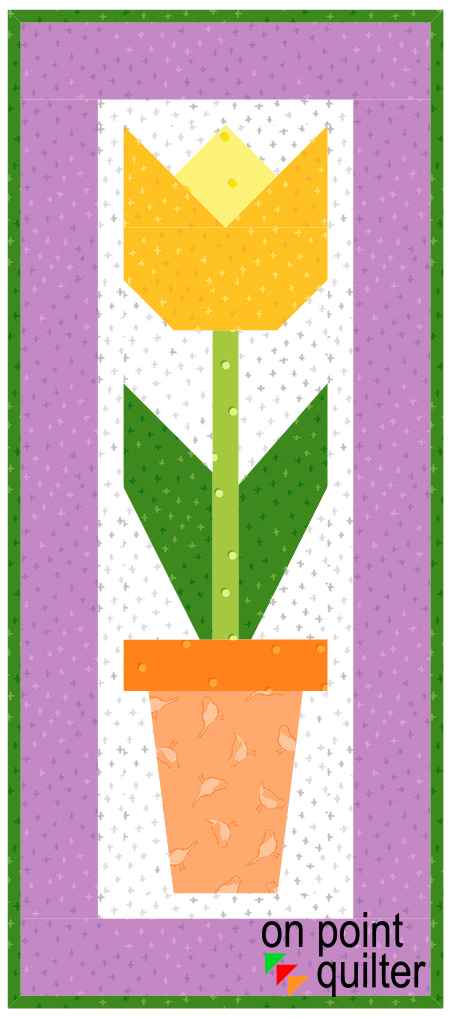
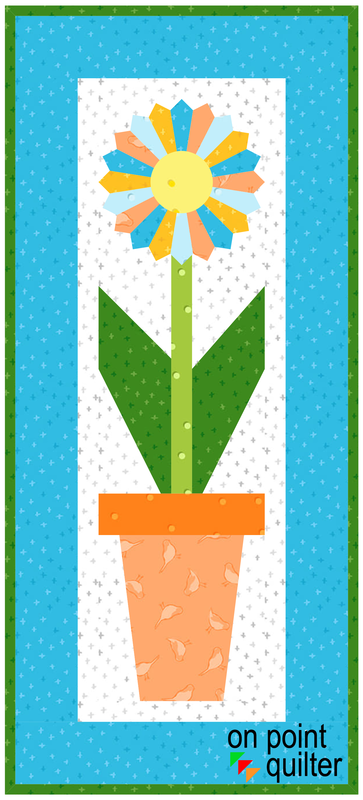
Are you planning to get your mother a flower (or flowers) for Mothers Day? How about creating a quilted flower instead? Check out two options in this weeks EQ8 video tutorial. As a bonus, scroll down for free downloads for the blocks in the quilt.
Check out the full instructions in the video tutorial.
Here are the quilts from the video. It would be super easy to swap out these fabrics for something in your stash. Pick your favorite colors -- or your mothers favorite colors.
Ready to get started piecing the quilts? Here are ready to use downloads for the blocks.
Let me know which of the flower quilts your prefer. Or did you create your own head for the flower? Share your designs and ideas in the Learning EQ Facebook group.
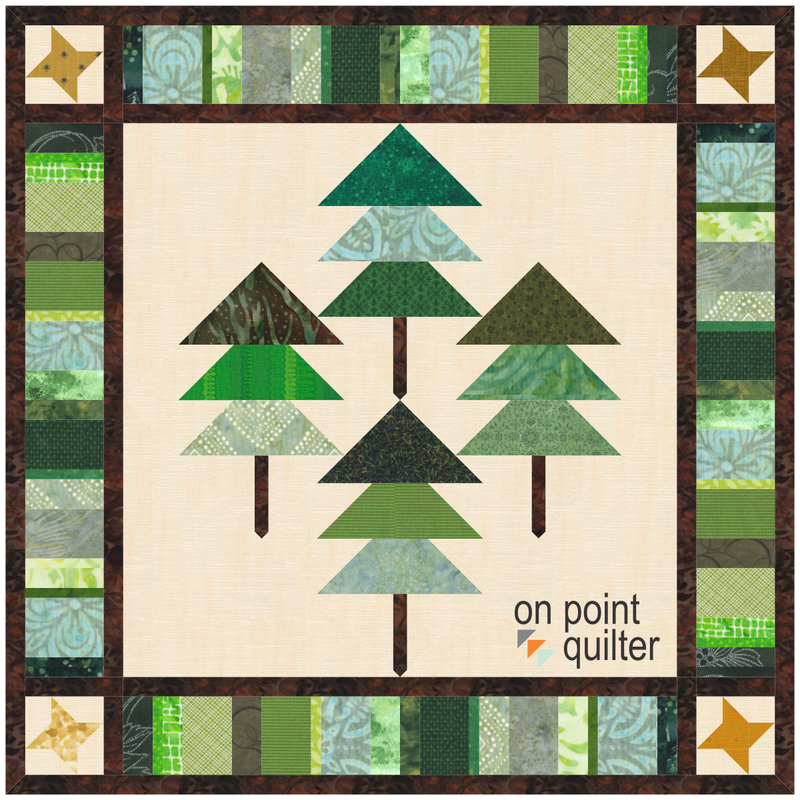
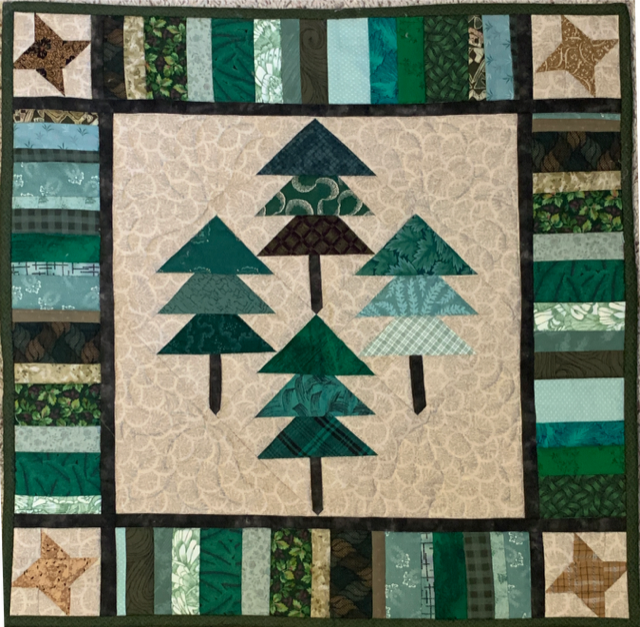
Some days a project decides it doesn't want to behave. That was the case for my Scrappy Pine Trees quilt. So in addition to seeing my design, you will see how I deal with "problems" during the design process. Just in case you have similar issues when designing your own quilts. :)
This was all done to help you. Wink! Wink!
The quilt is very versatile. Consider swapping out the pine trees in the center for a different set of blocks. Just remember that the blocks will be on point -- so plan accordingly.
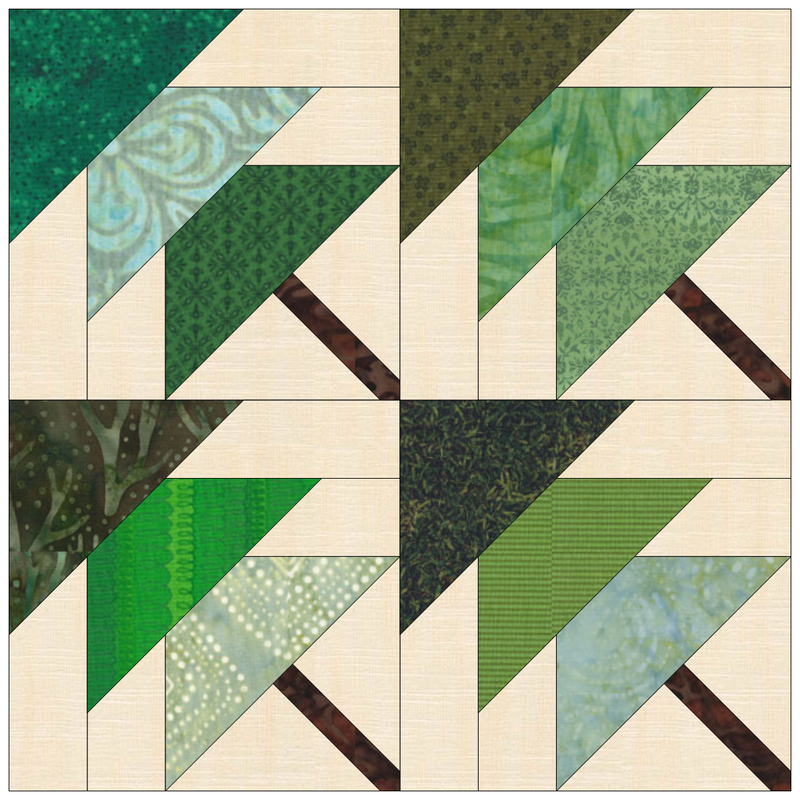
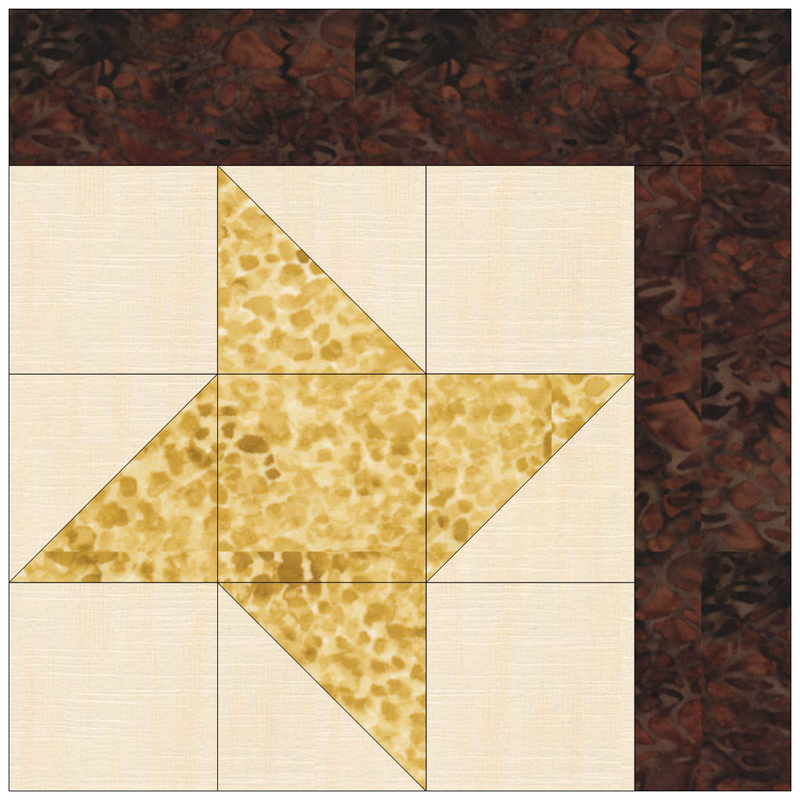
Here are the blocks from the video tutorial.
As previously mentioned I had a couple of problems to work through in drafting the quilt.
Problem #1
I had decided to combine four of the same block in a single block. The rotation wasn't an option under Serendipity>Shrink and Flip. So I resized/and cloned for the four corners of my quilt. Unfortunately, I kept loosing lines. I thought I could get around that by adding a line around the block. That resulted in a Polygon error. And I still lost lines. Ugh! The beauty is that you get to see how it really isn't that hard to fix both of those problems in Electric Quilt 8. The key is to not panic.
Problem #2
After drafting the "border", I realized I needed a faux inner border. This was easy to fix with the merge block feature in Electric Quilt 8.
Watch the video to see how to draft all the blocks and quilt.
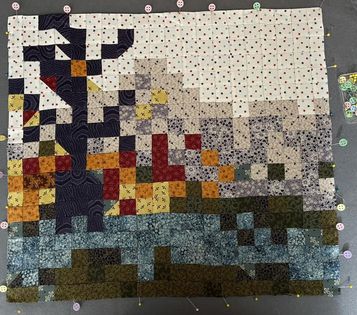
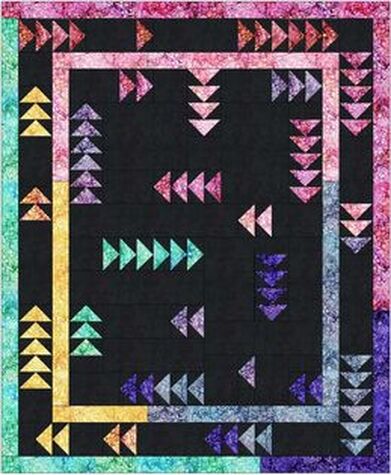
And here is my Scrappy Pines quilt. This was done a long time ago (as you can probably guess with some of the fabrics I used) -- but is still a favorite of mine.
|
Kari SchellElectric Quilt Expert and Educator and Pattern Designer. Categories
All
Archives
July 2024
|













 RSS Feed