
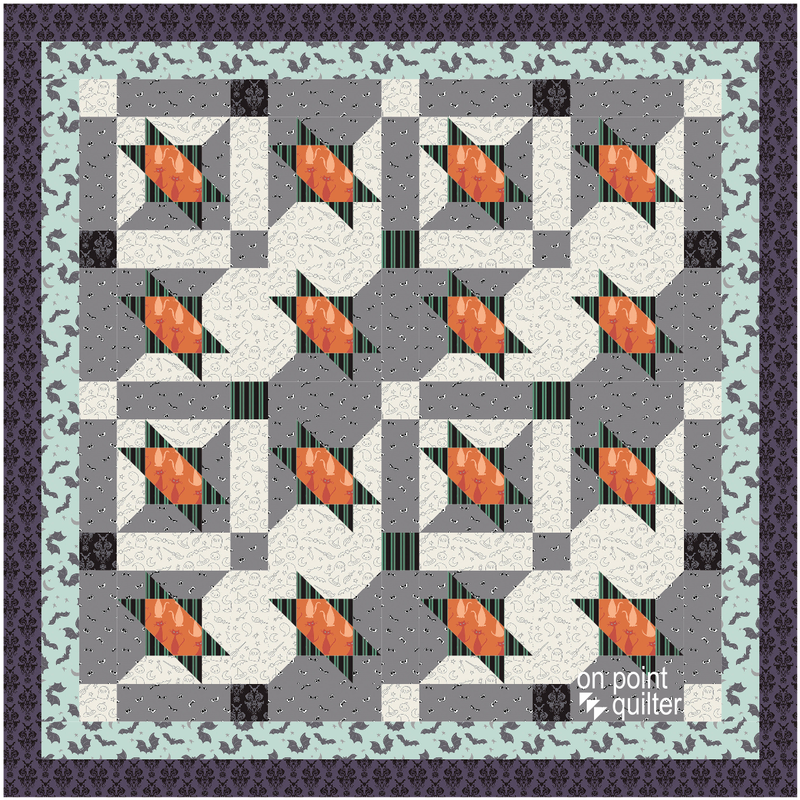
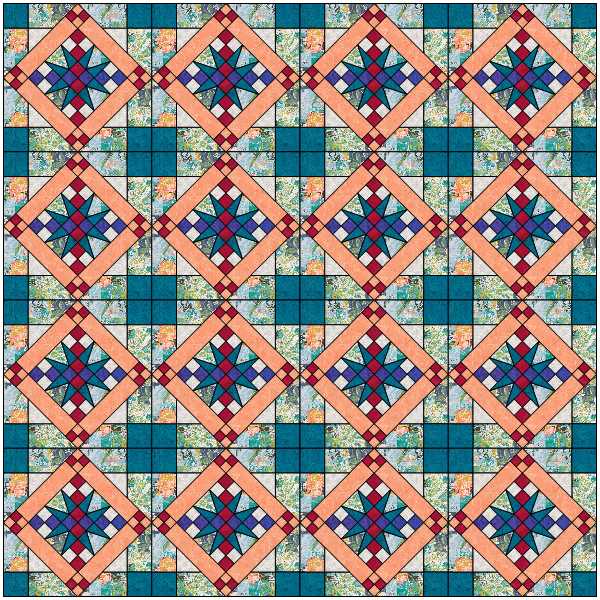
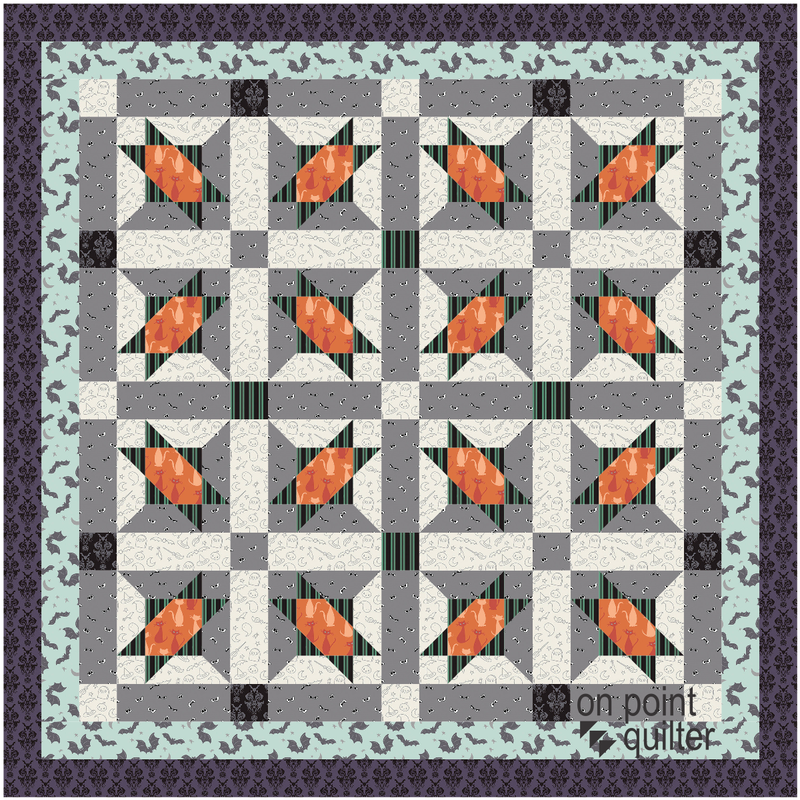
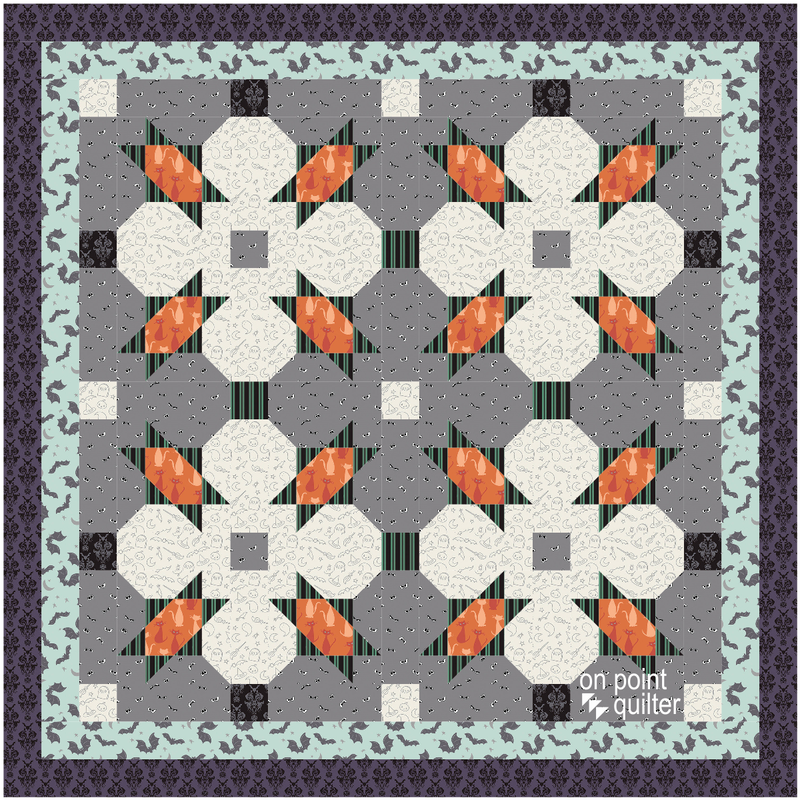
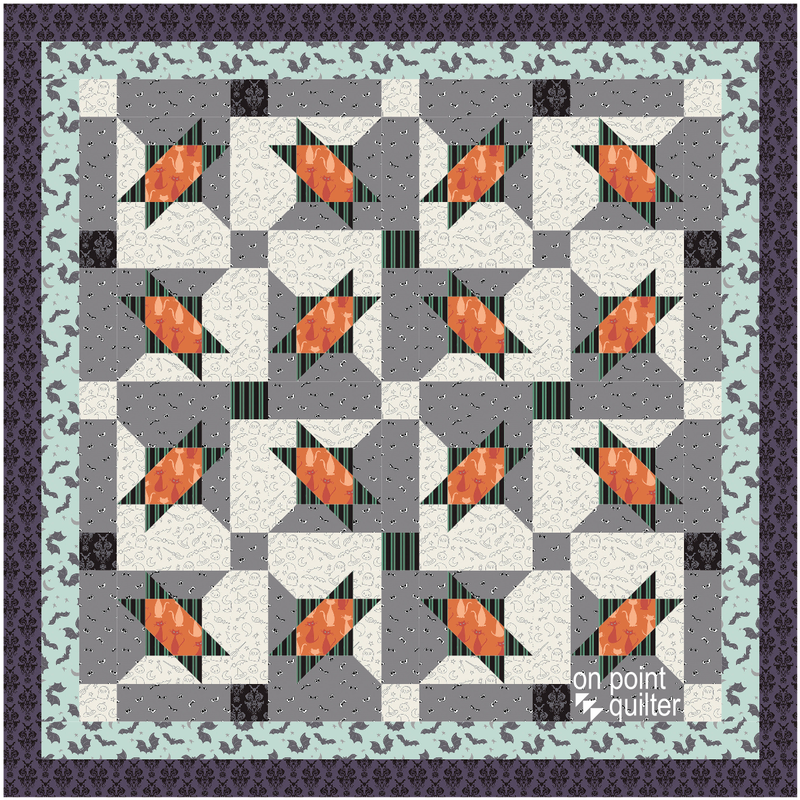
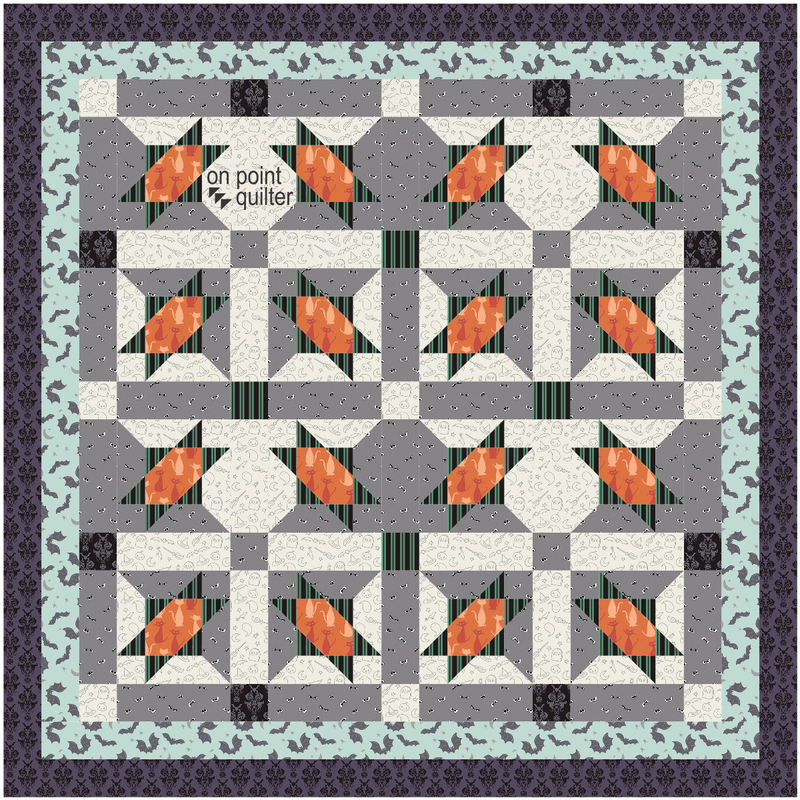
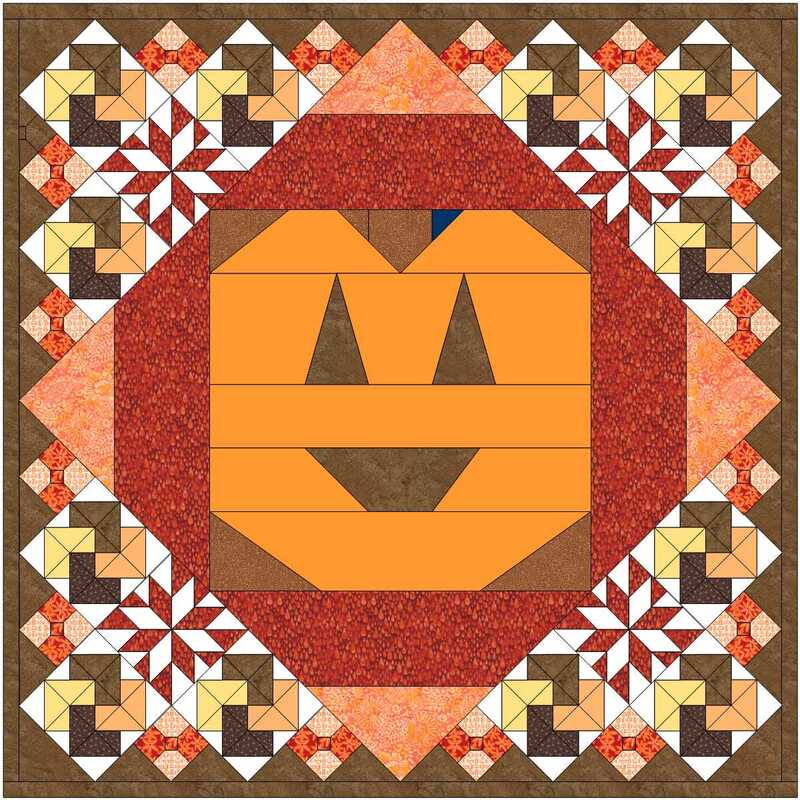
Learn to draft an easy asymmetrical block, and color it with a Spooky Hollow, a fabric collection by Melissa Mortenson that was produced by Riley Blake Designs.
The Spooky Hollow fabric collection is part of EQ Stash Online - 2021 Download 01 which is available for purchase from EQ. For those that were on my webinar earlier this week, you learned how you can download the collection from the Riley Blake website. Feel free to refer back to the pdf for the webinar for including fabrics directly from the Riley Blake website. Then use Symmetry in Electric Quilt 8 to audition various rotations of the blocks. I think this creates a great quilt for Halloween. Enjoy this free EQ8 tutorial.
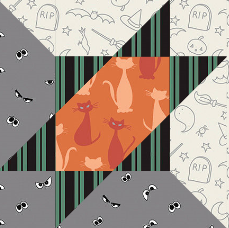
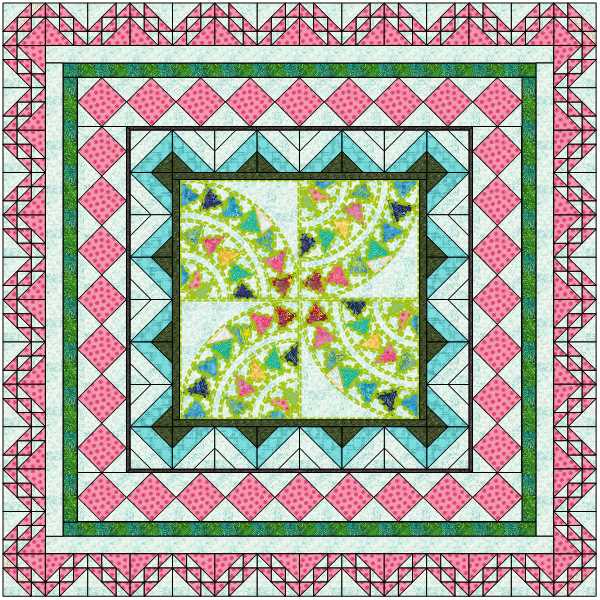
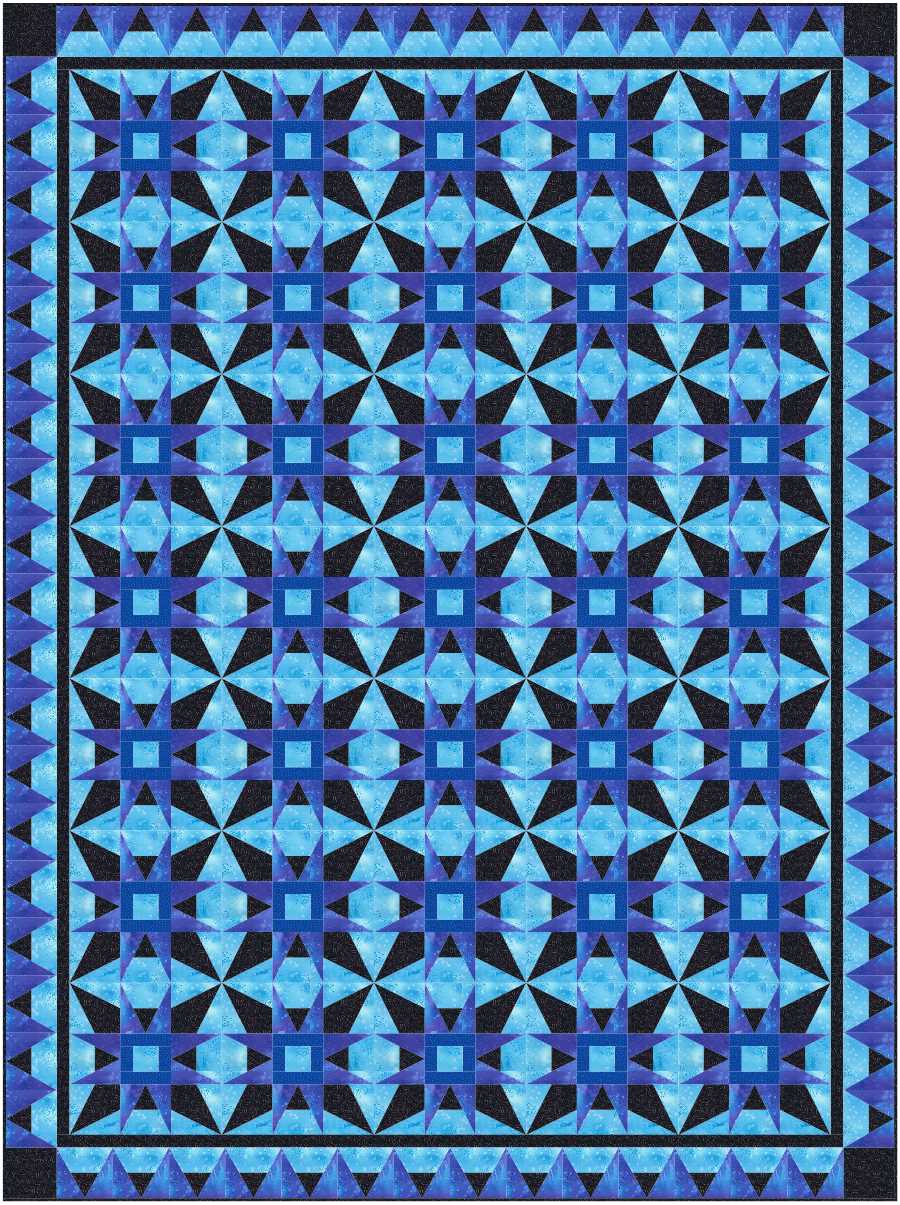
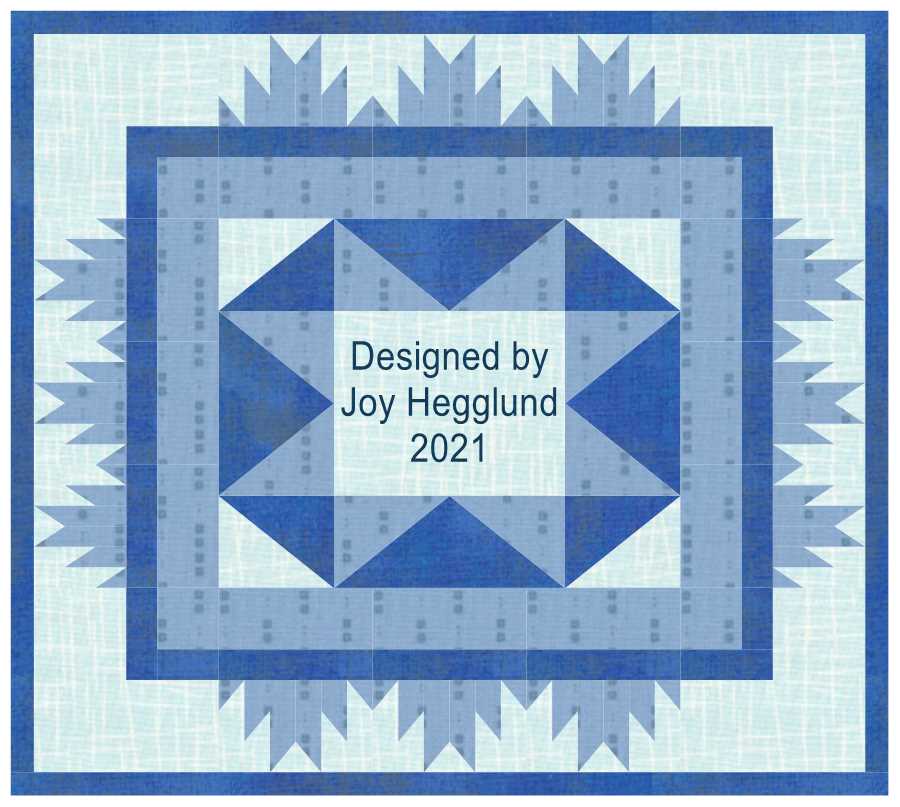
Here is the Spooky Stars block and my favorite Symmetry quilts using the Spooky Stars block.
Spooky Stars Block Construction using Folded Corners
I often receive questions on how I would approach piecing a particular block. For this block, the most efficient cutting chart is not the one produced by Electric Quilt.
Instead I would cut squares and rectangles as noted in the annotated diagram below. 
Cutting chart for 6 inch Spooky Star block by Kari Schell
FC is my abbreviation for Folded Corner. It is a square piece of fabric that is sewn onto another square or a rectangle.
If you haven't used folded corners, it is a very efficient want to work with patches with 45 degree angles. Here is how to construct a folded corner. 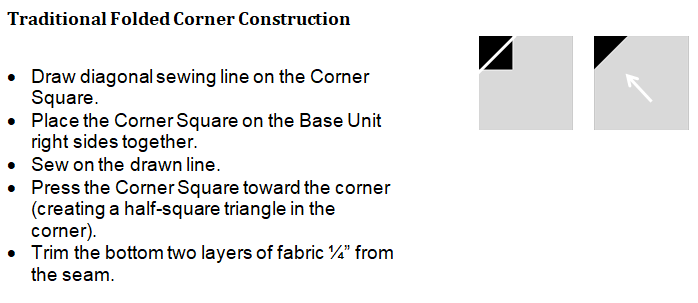
After adding the Folded Corners on the square and rectangular base units, combine units per diagram below.
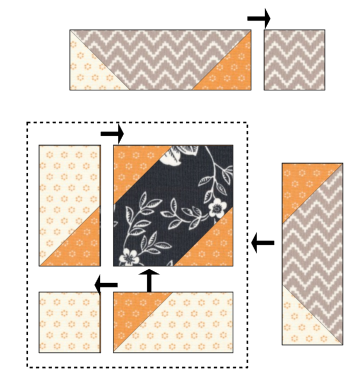
Spooky Star Assembly
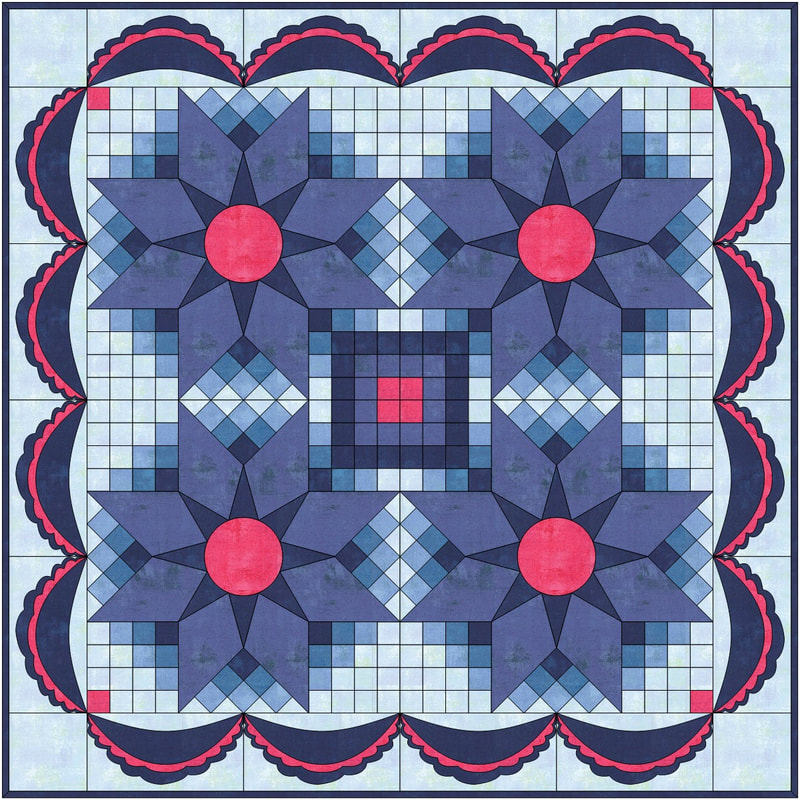
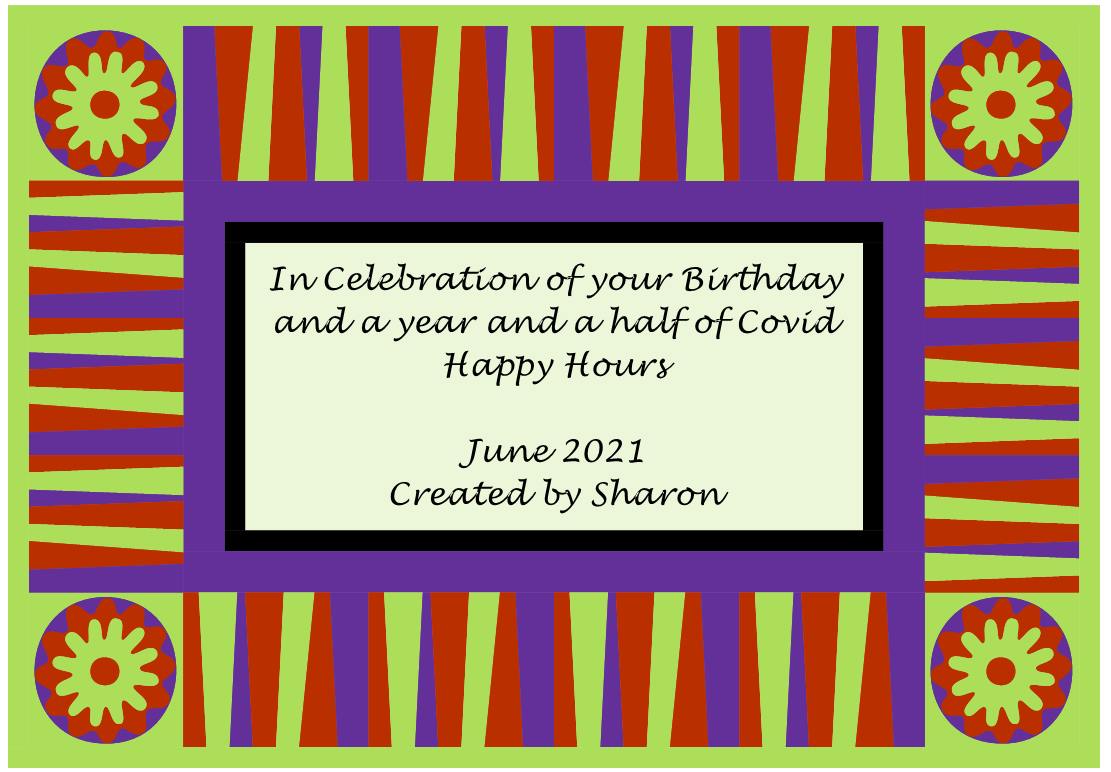
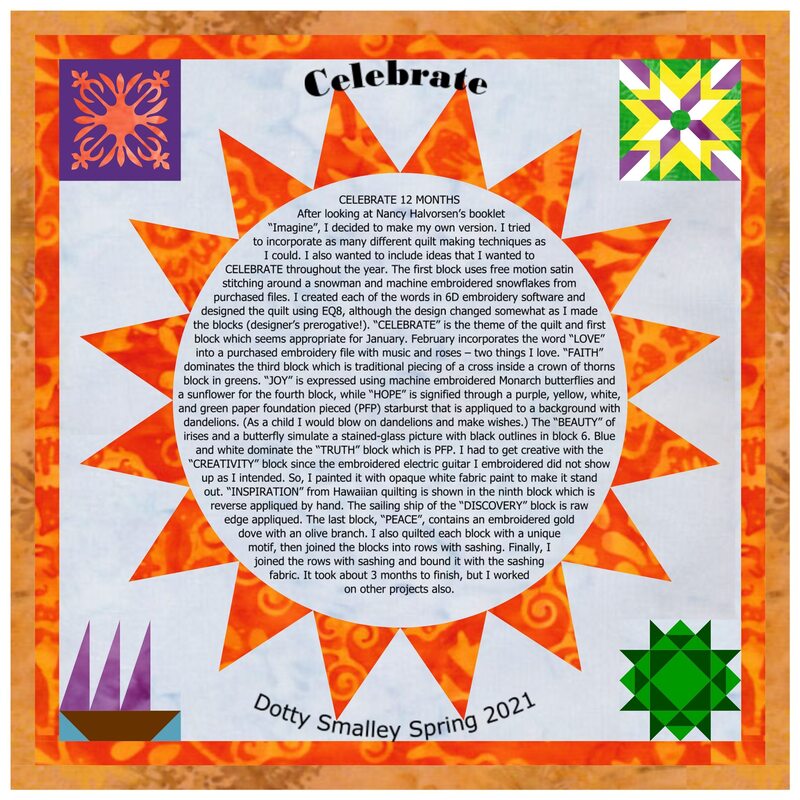
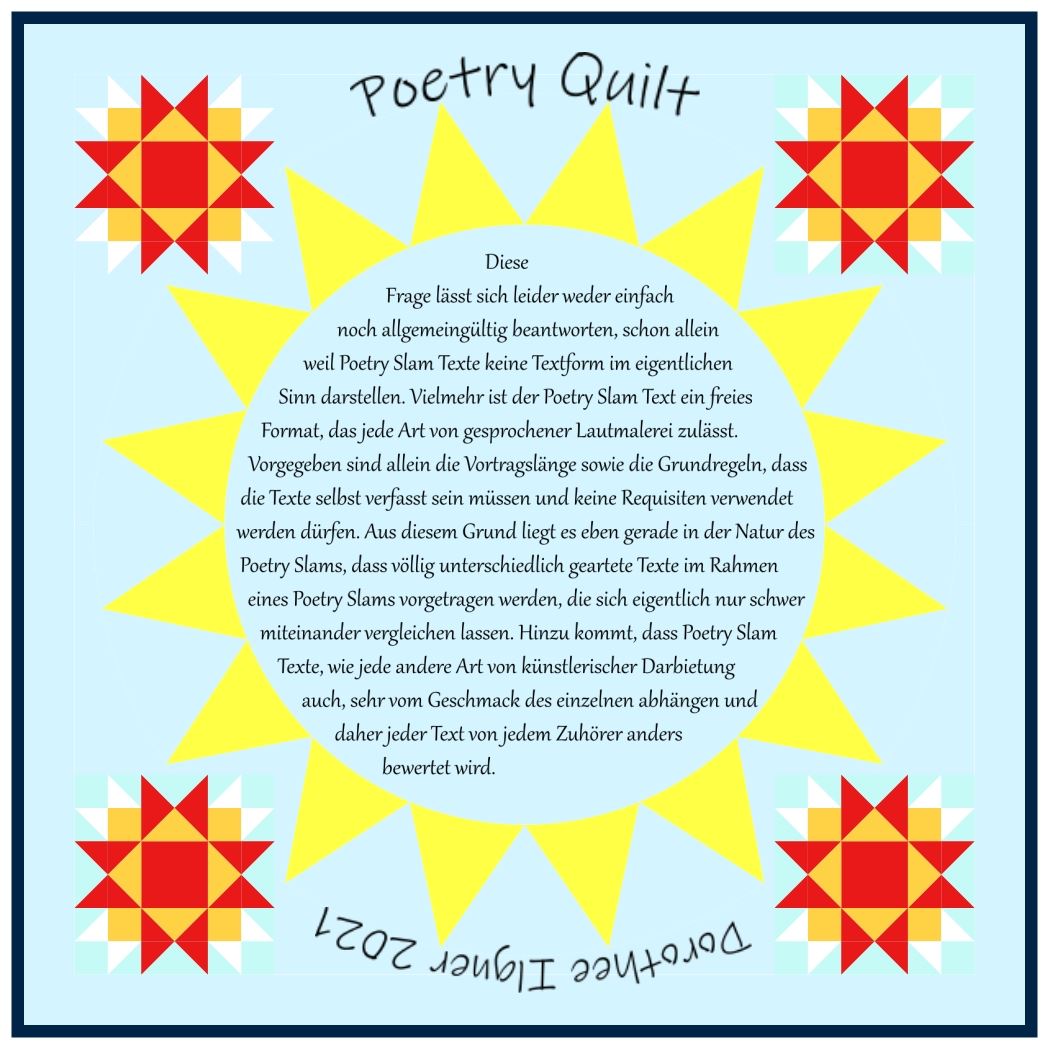
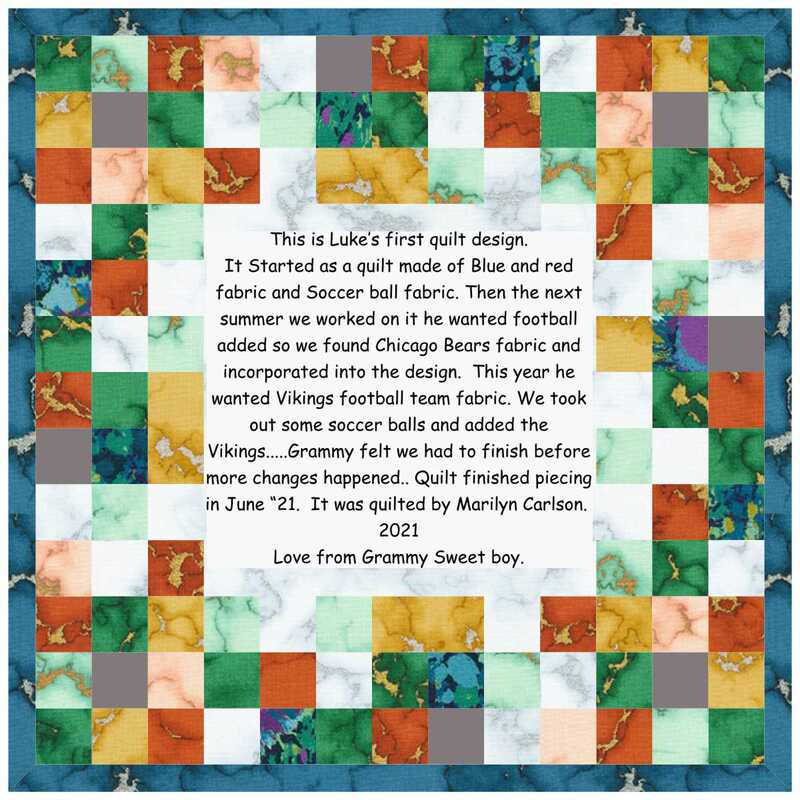
An opportunity to join me on Zoom either Monday, October 25 or Tuesday October 26. Three times to choose from.   Select your preferred time below and click on the link to reserve your spot. Tech Know Quilters Virtual Quilt ShowCurrent Tech Know Quilter members have been sharing their class projects along with their original designs in the membership's private Facebook group. Enjoy this show of some of their recent creations. Members include Wanda, Sharon and Vicki who are writing (or have written patterns) for their designs. And Julie who decided to spend time designing quilts based on Ricky Tims' convergence idea. If you would like to join this amazing group of quilters, you can sign up for the wait list here. 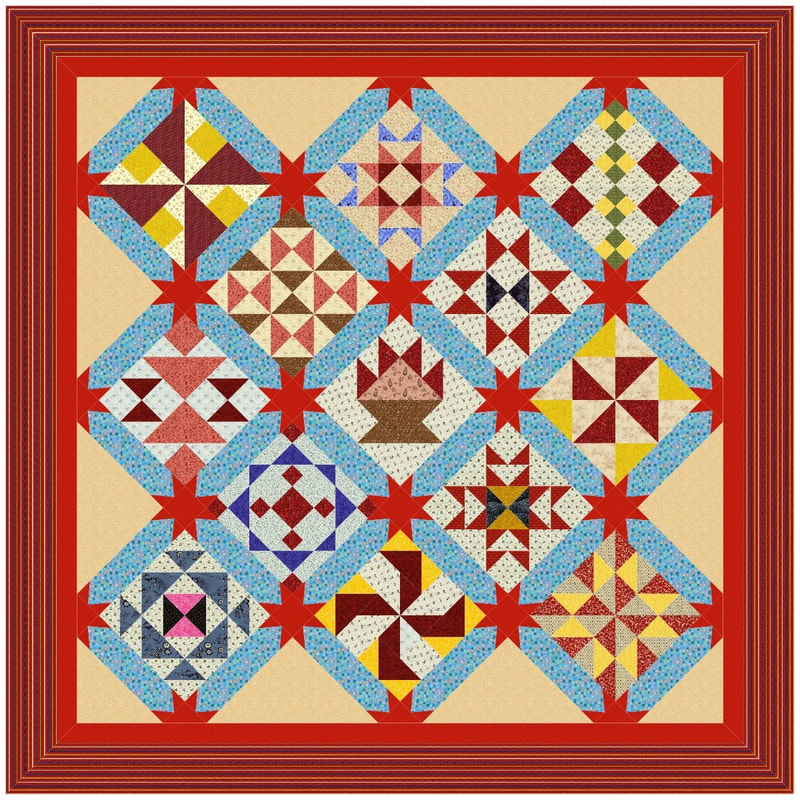 Wanda Smith Hizer This is a Block of the Month program that I designed for a local quit shop.
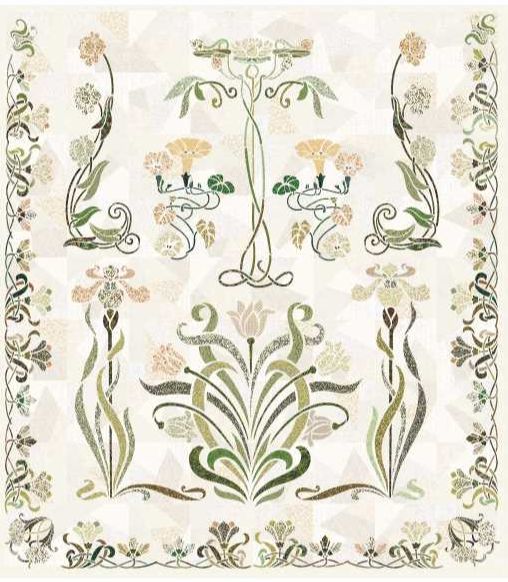
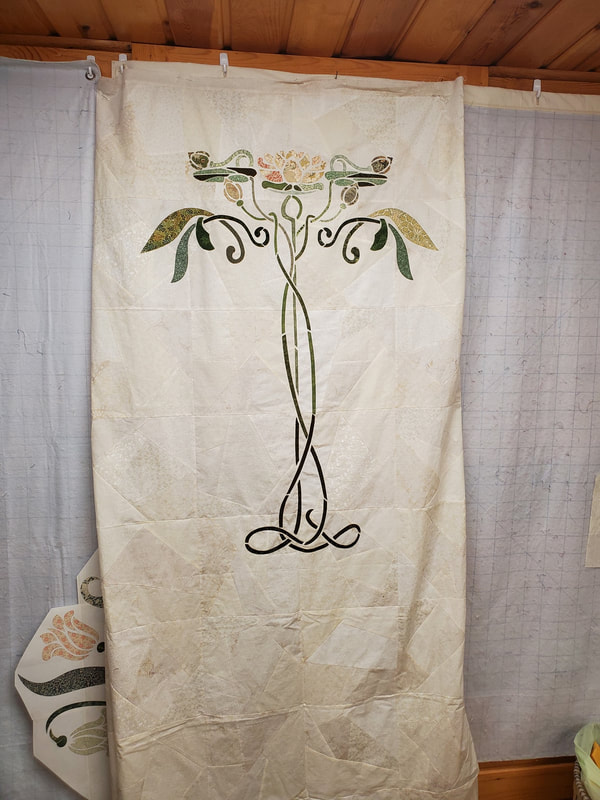
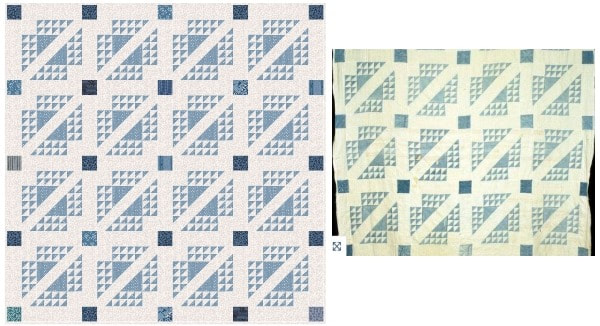 Cheryl Johnston In September I took the Reproduction Quilts 2 class. I searched the Quilt Index for a quilt I wanted to reproduce and found one called Primrose Path. Below is my interpretation along with the original.

Learn an entirely new way to use Electric Quilt 8. With Electric Quilt 8 you can create your own card making templates which can be used to keep track of measurements for your card and for auditioning stamps.
During the past year, I have taken up card making. I really don't want to think about the amount of time I am spending reading blog posts, Pinterest and watching You Tube videos as I learn a whole new set of crafting skills.
I have been very intrigued with the large variety of layouts available for cards. Most card designs are 4-1/4" x 5-1/2". (Essentially 1/4 of a piece of letter paper). If the card is folded it takes 1/2 a sheet of letter paper for each card. On that base you add layers and decorate with stamps and embellishments. I have found that most information on sizes for the layering pieces are buried in You Tube videos (or sometimes not even available). As a result, I needed a way to track information for my favorite card designs. I have found that EQ8 can easily be adapted for card-making designs. Inspired by Stampin Up Paper Pumpkin Alternate Designs
I recently joined Stampin Up's Paper Pumpkin membership program. For $22 each month (including shipping), I receive a box with a set of stamps and card making material. There are instructions for cards or alternative crafting projects in each box. But what is more intriguing is seeing what Paper Pumpkin demonstrators and members are doing with the supplies. Bloggers will do tutorials on alternate designs they develop and others just post pictures of their cards on Pinterest or on Facebook.
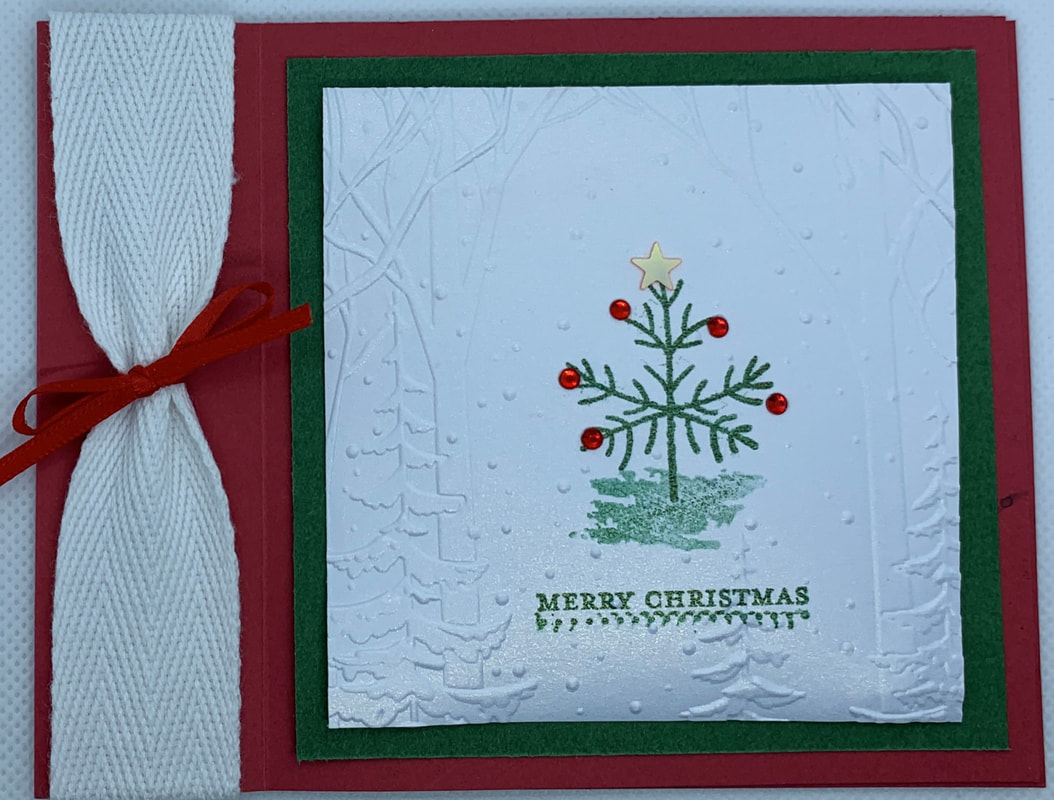
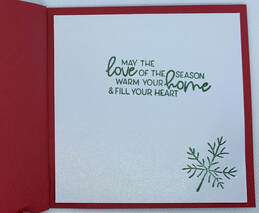
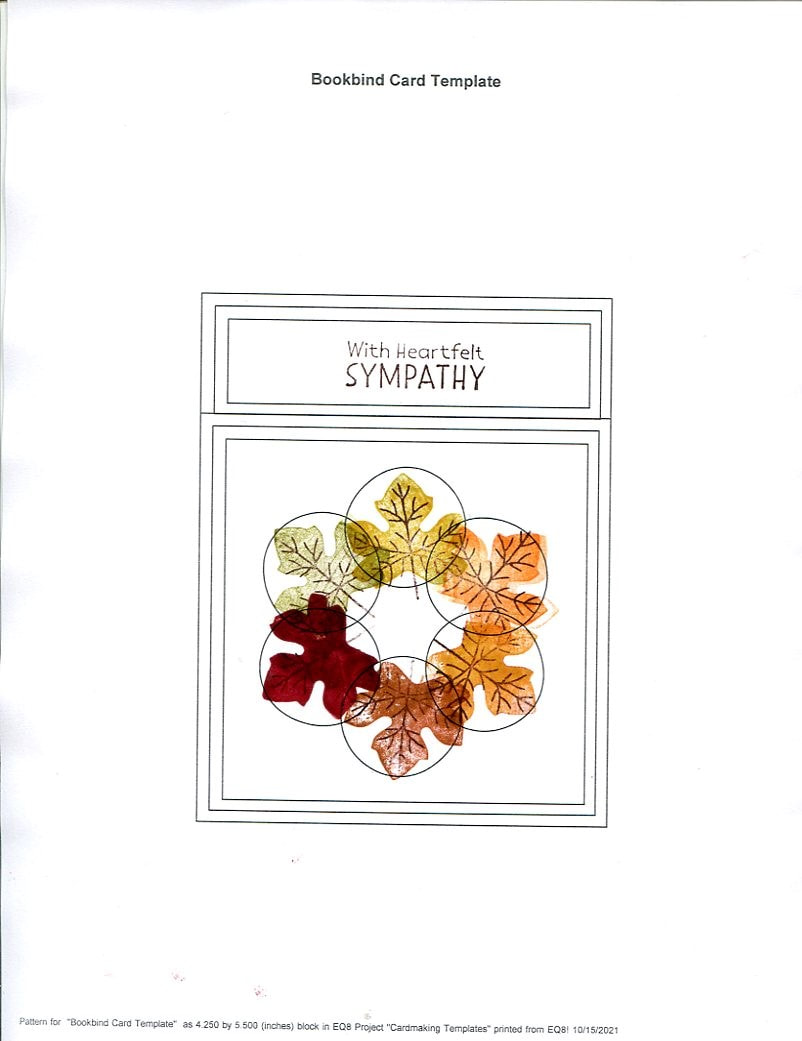
I've become a bit obsessed with collecting these pictures and watching the videos. One basic layout that has intrigued me is a book binding card. Take a look at how a book binding card differs from a regular card.
Here are three book binding cards I created using two of my Paper Pumpkin kits.
The inspiration for the Christmas card was a 3" mini gift card designed by Rachel Tessman from StampYourArtOut.com. Since square cards cost more to mail in the US, I modified the design to turn it into a book binding card. This used the leaf vine and ground stamp from the Haunts and Harvest Paper Pumpkin kit by Stampin Up.
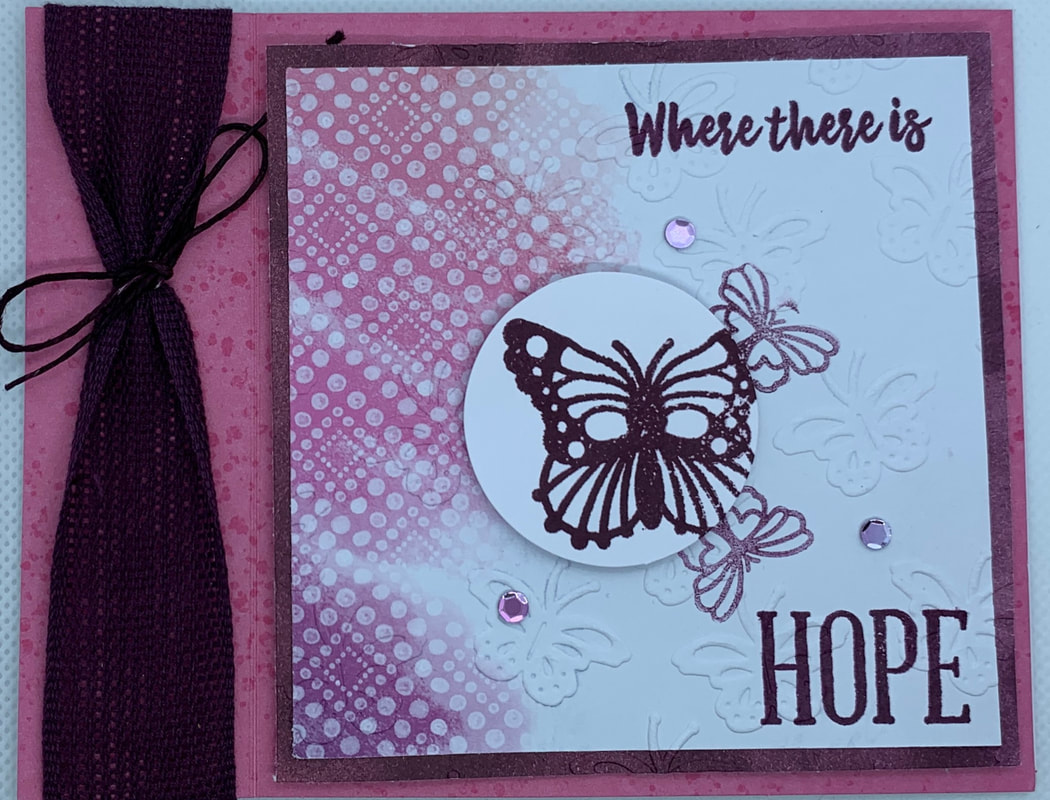
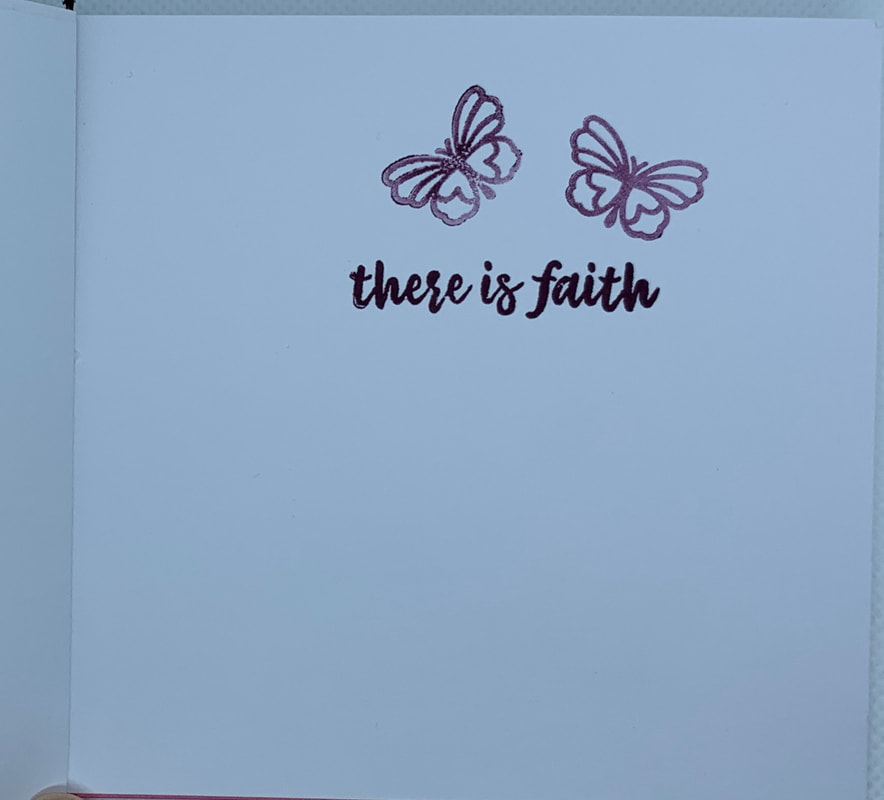
This next one was a slight variation of a design I found in a video by Rachel Tessman that used the Hope Box Paper Pumpkin kit.
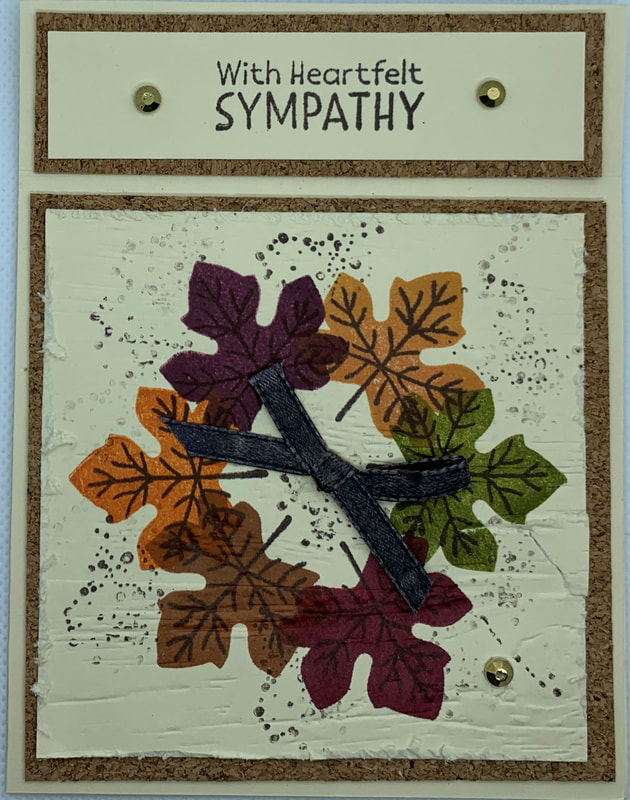
The wreath of leaves in the next one was inspired by a card by Gourdy VanGogh that was shared in the Paper Pumpkin Fan Club Facebook group. This used the stamps from the Haunts and Harvest Paper pumpkin kit. Can you tell that I used cork for the frames?
This basic book binding card design is so versatile. I decided to set it up in Electric Quilt, so I could keep track of the measurements and audition stamps.
See how to create the card template as an applique block using Electric Quilt 8 in this video tutorial.
Using the print-outs from EQ8, I added cutting instructions and auditioned stamps as shown below.
I look forward to seeing your card making templates. Feel free to post in the Learning EQ Facebook group.
Scroll down for a new tutorial on designing a wool label using Electric Quilt 8.
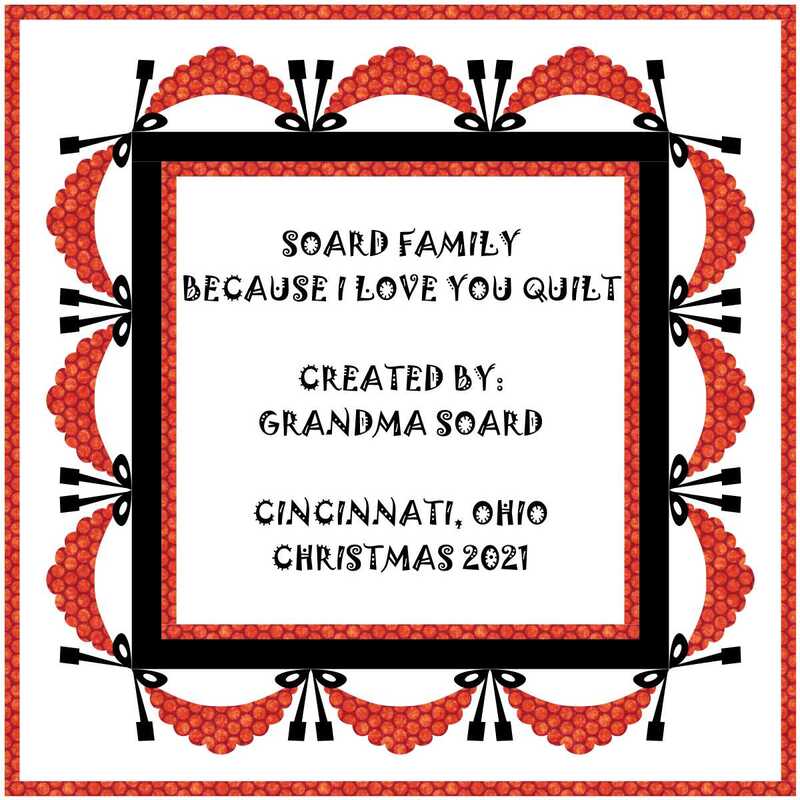
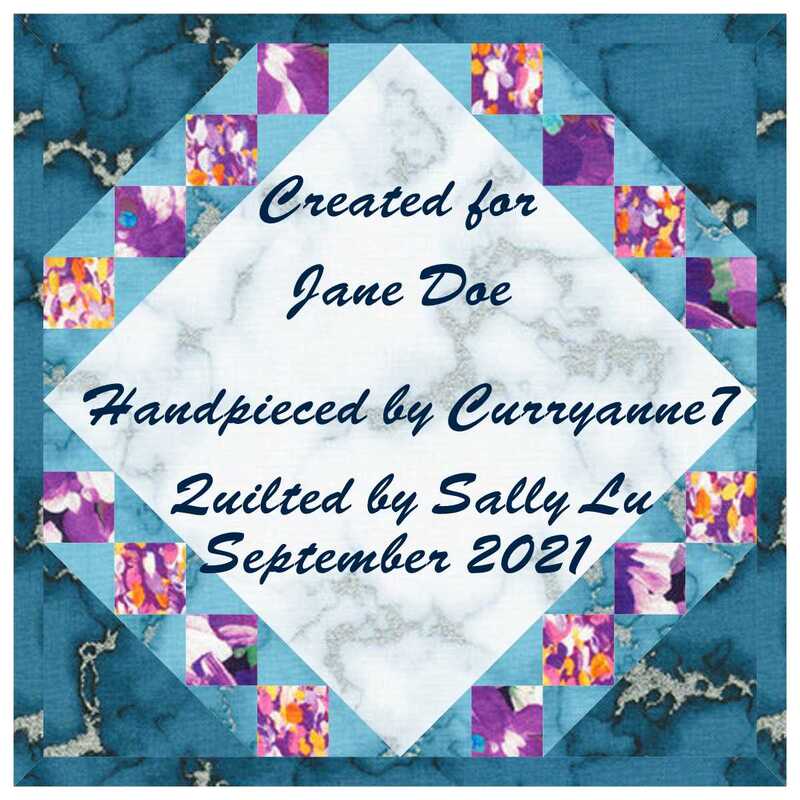
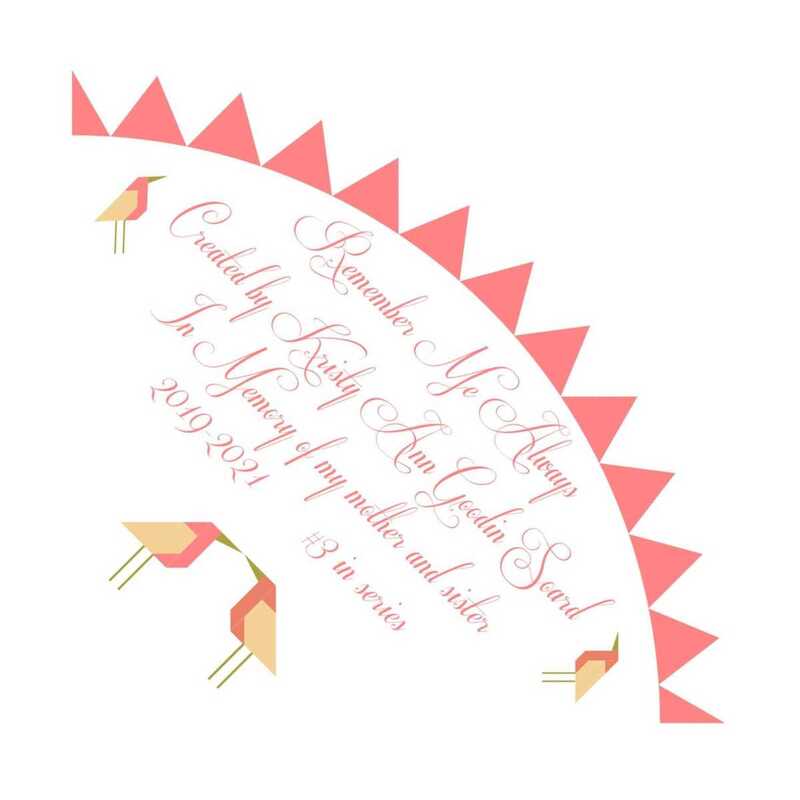
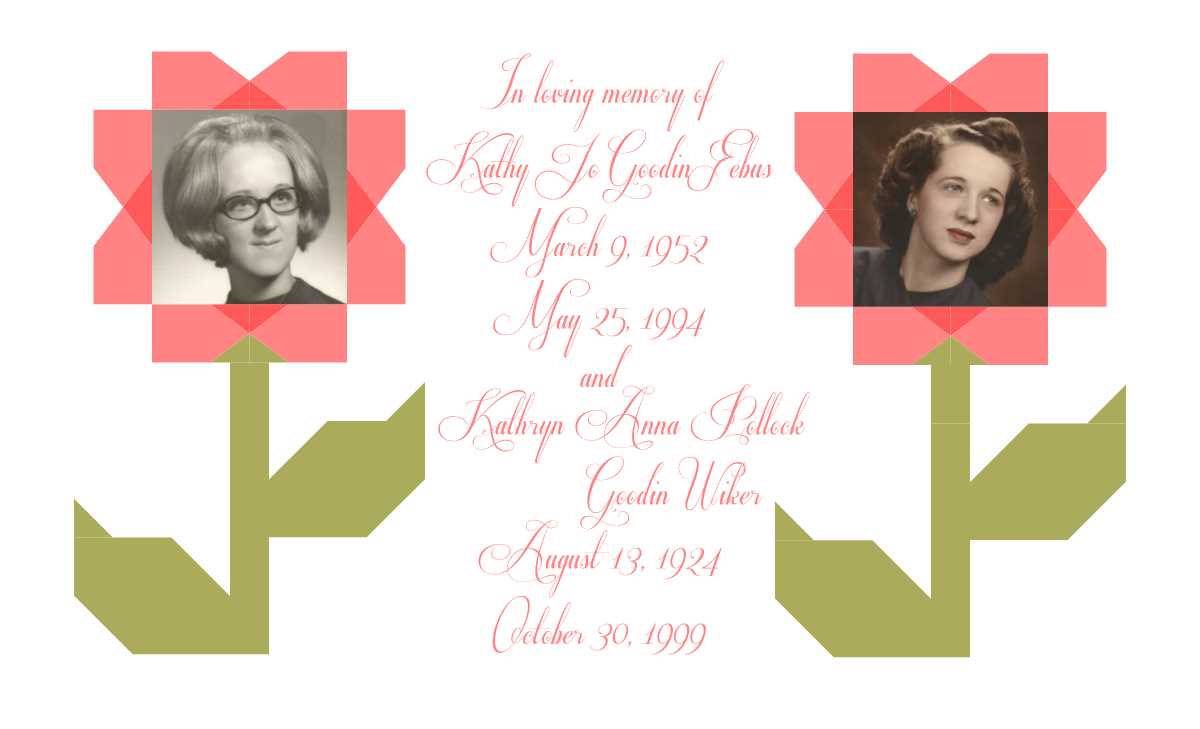
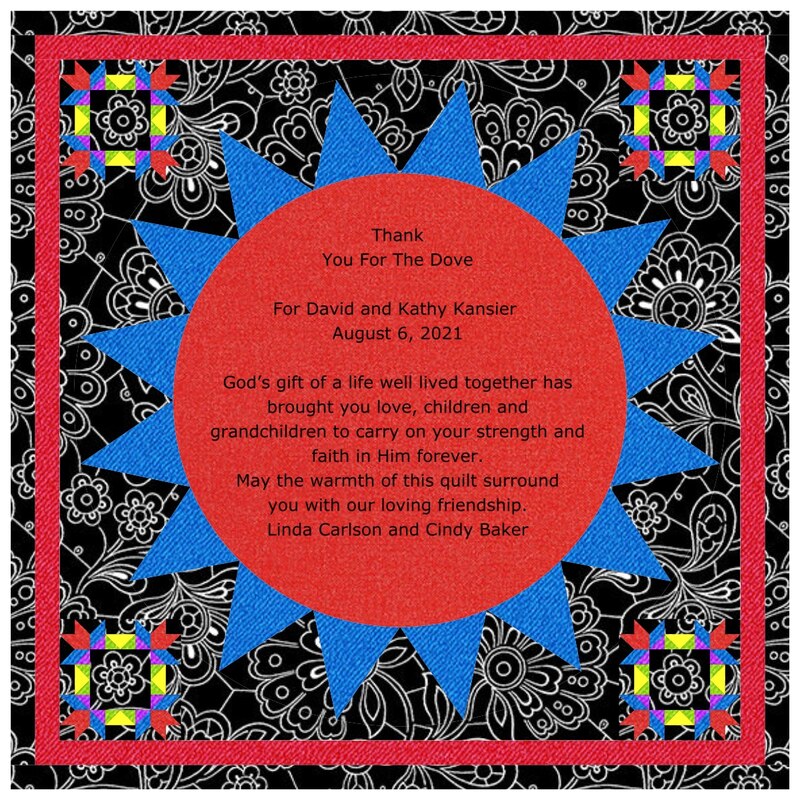
Quilt Label Showcase
In the month of July the primarily focus for Tech Know Quilter Masters members was labels.
Tech Know Quilters Masters members have received at least 12 months of Tech Know Quilter classes. In the Masters lessons, participants not only work on EQ skills, but have lots of opportunities for enhancing their design skills as well. Here are some of the projects submitted in the private Facebook group for the various label making lessons. Enjoy the virtual show! Label Making Basics Submissions
One of the great part of making labels is you don't need to actually piece what is included in the label. Members demonstrated that this was a great opportunity to play with the auto borders.
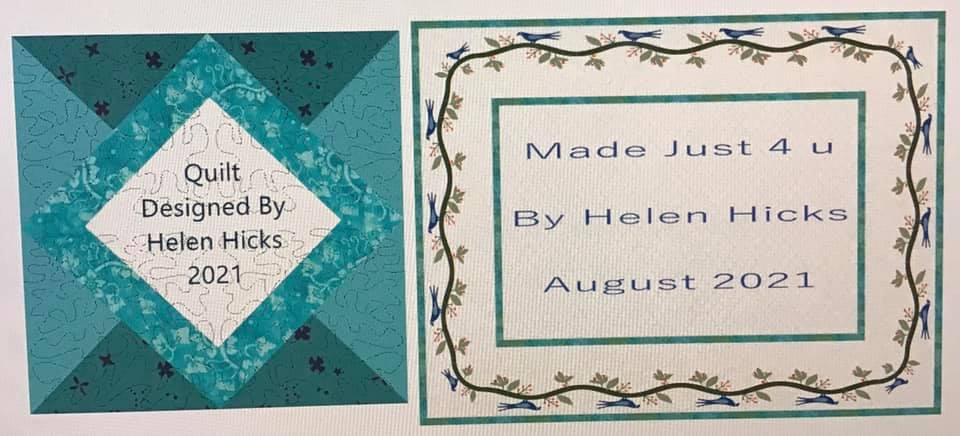
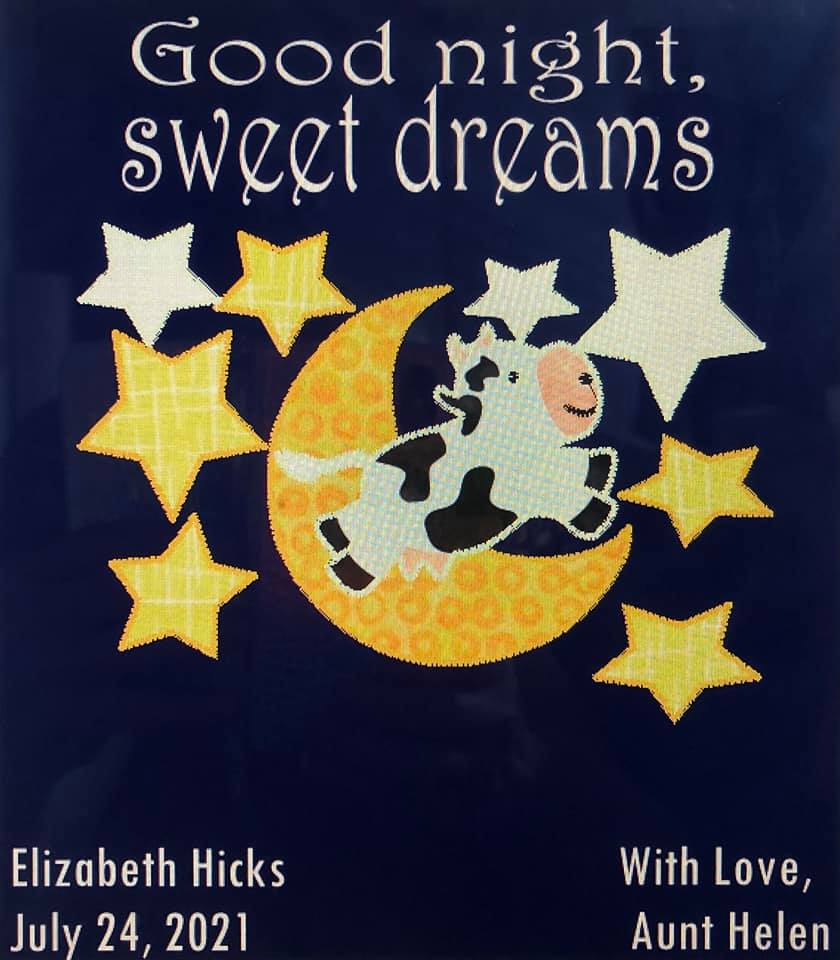
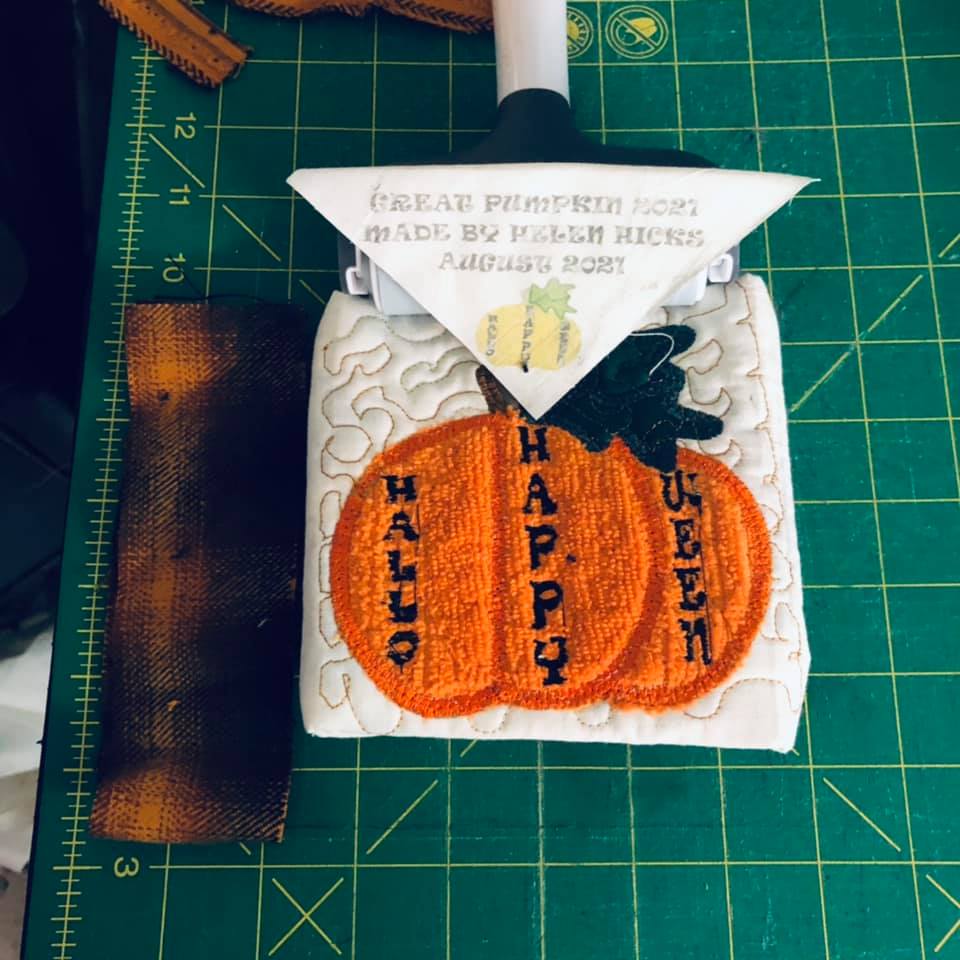
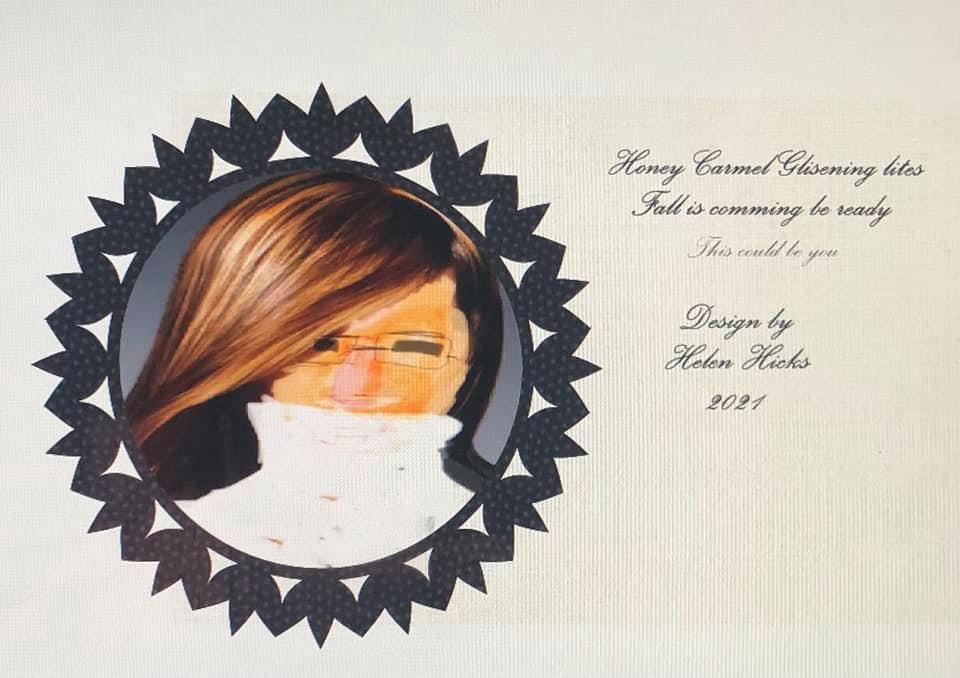
Helen Hicks
Fonts and Applique Submissions
Did you know you can add text with any True-Type font on your computer? Using different fonts is a great way to personalize your next label.
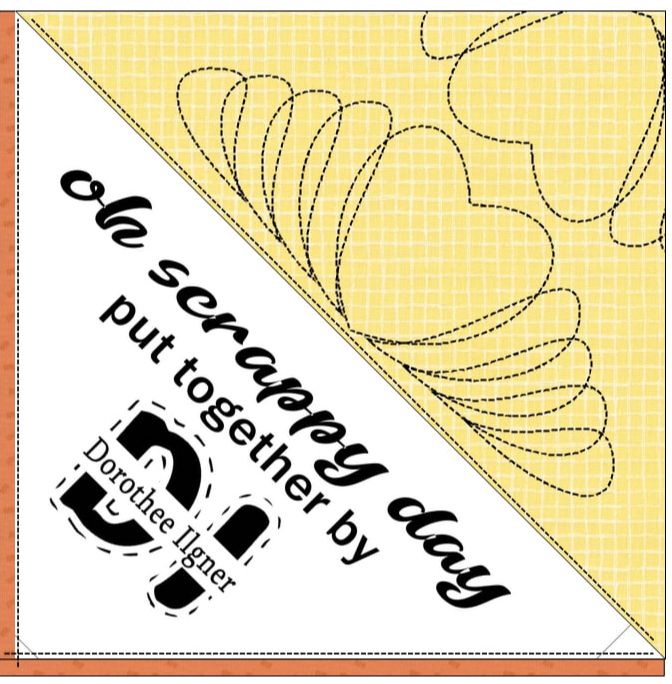
Long Text Label (with curved text) Submissions
Sometimes the text tools in EQ can seem a bit limiting (no spell check and no options to curve text). We explored some work-arounds.
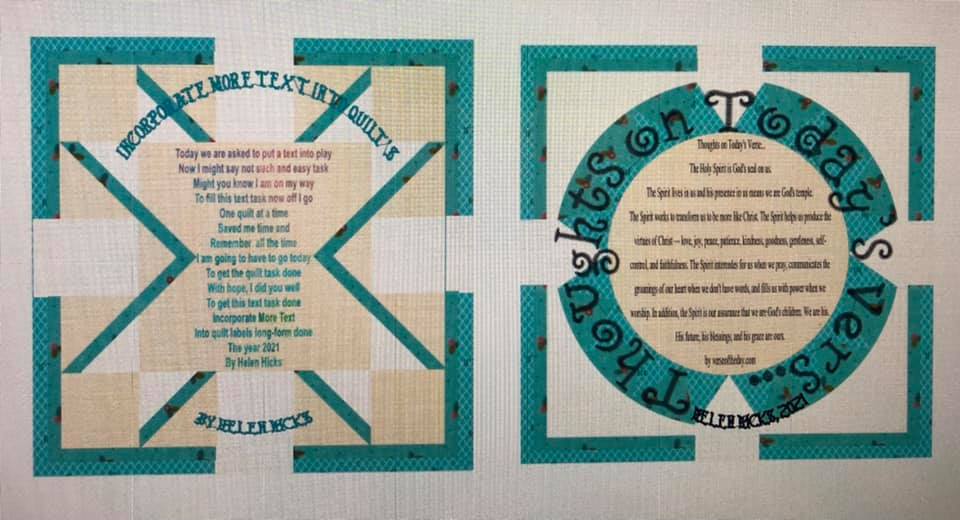
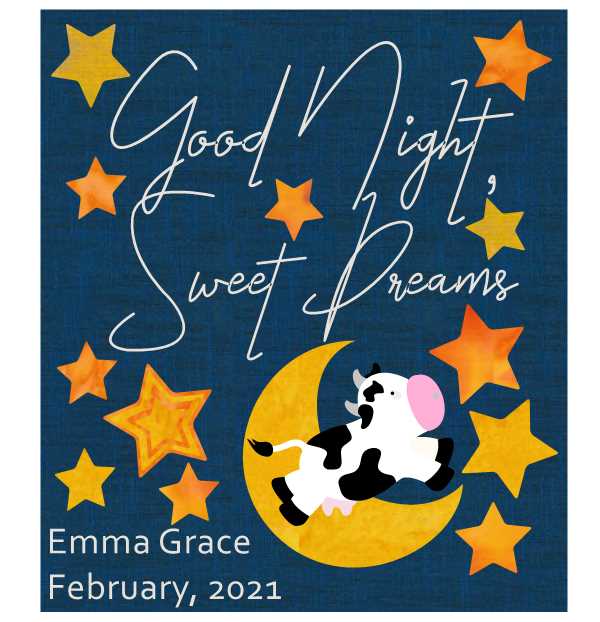
Helen Hicks
Tuck In Label Submissions
One of my least favorite parts of quilting is sewing down labels -- and that has often kept me from putting labels on many of my quilts. I have no excuse after this lesson -- as the label can be folded on the diagonal and tucked into the binding.
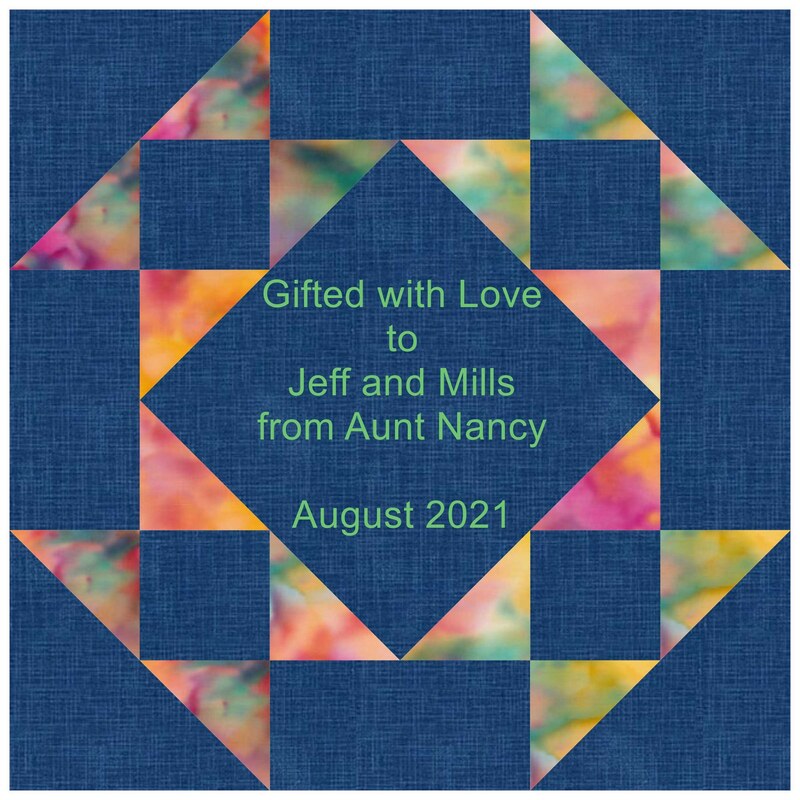
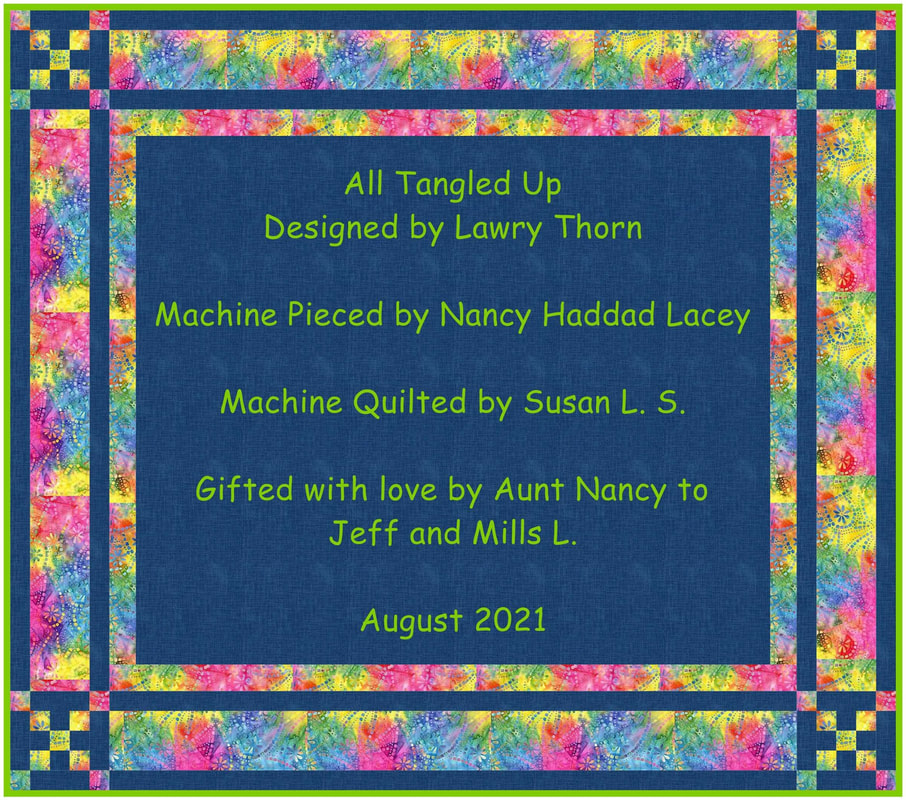
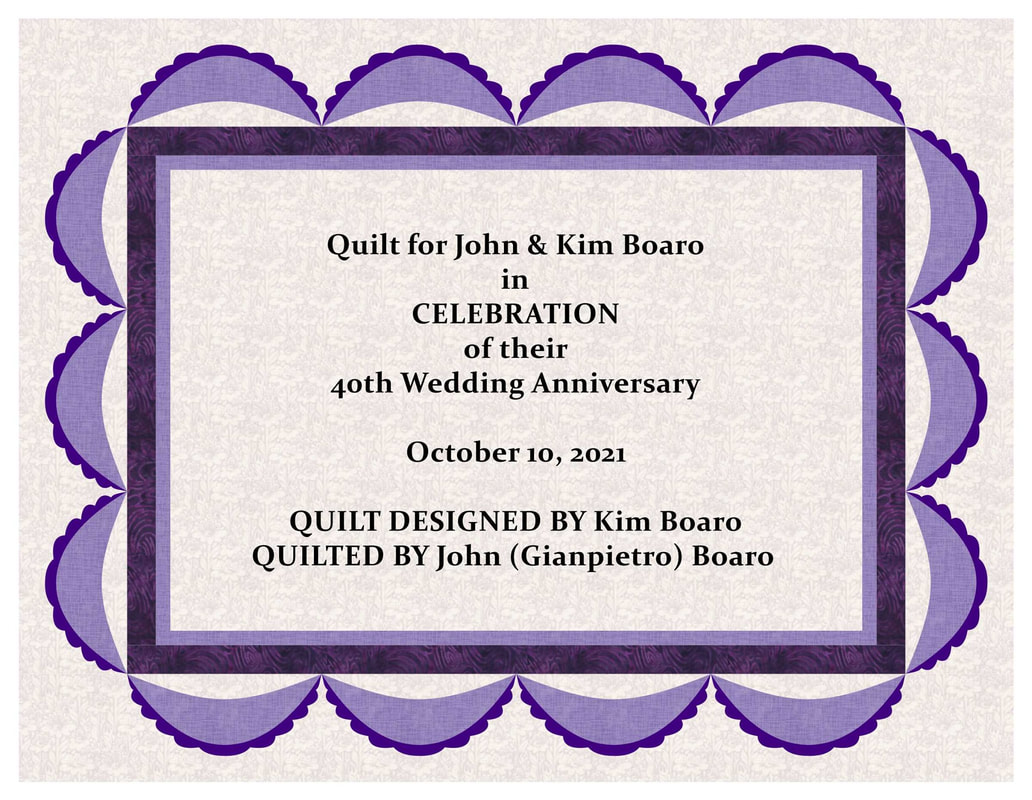
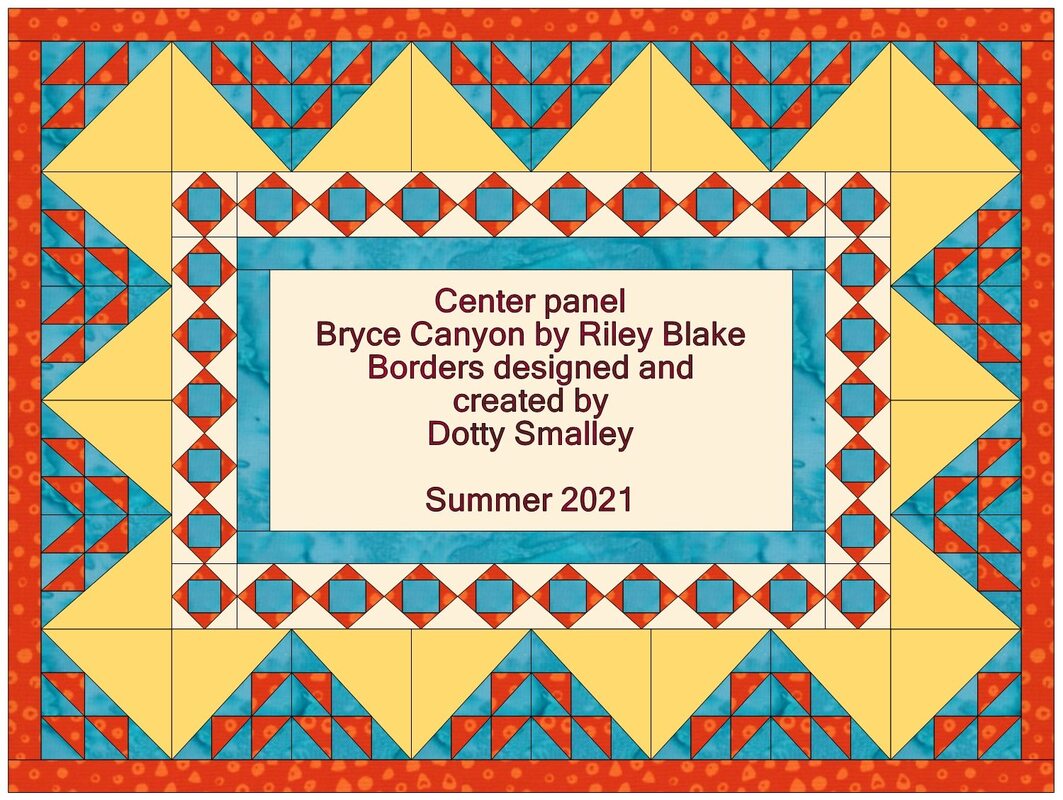
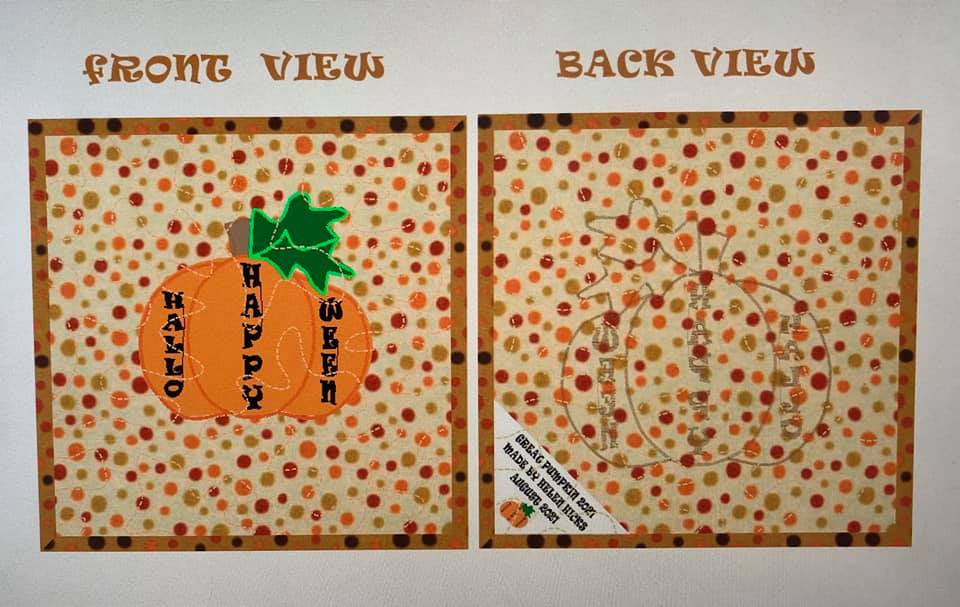
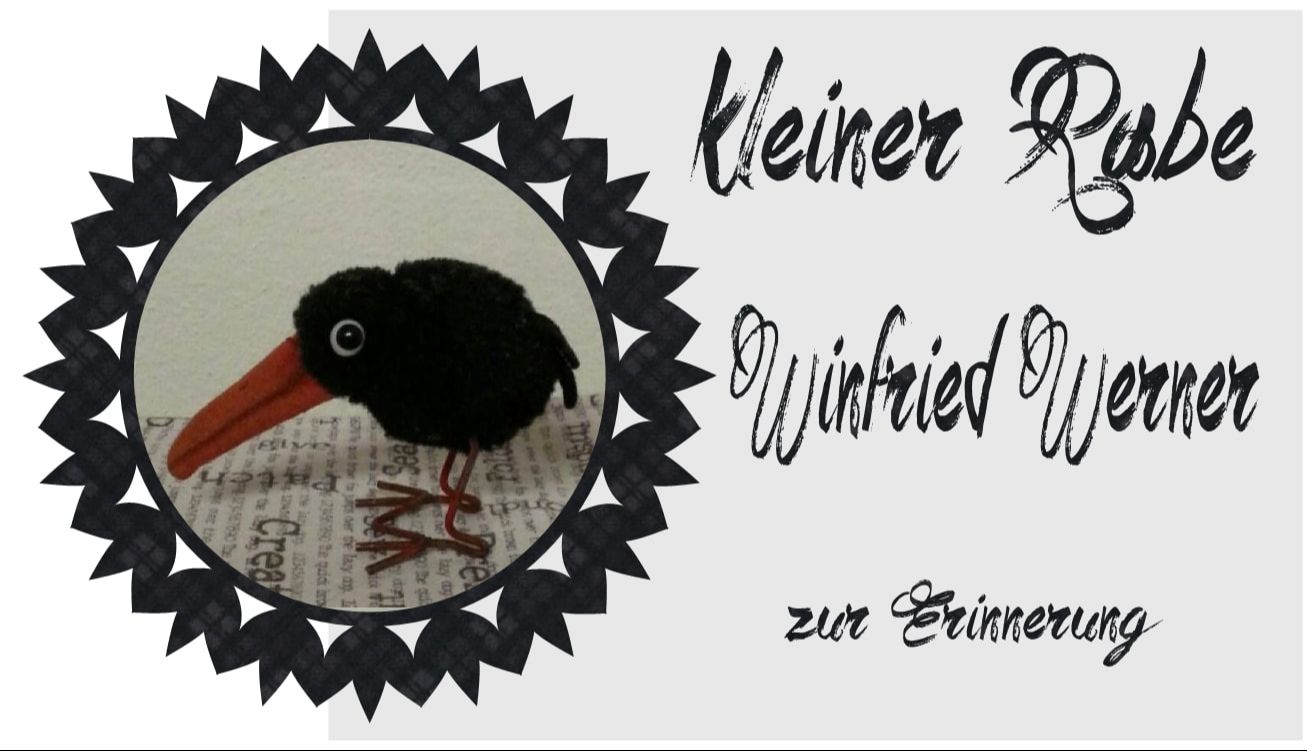
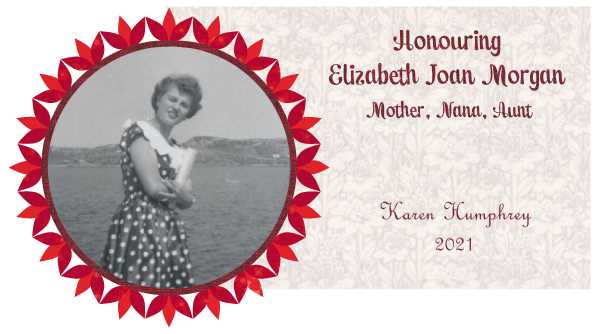
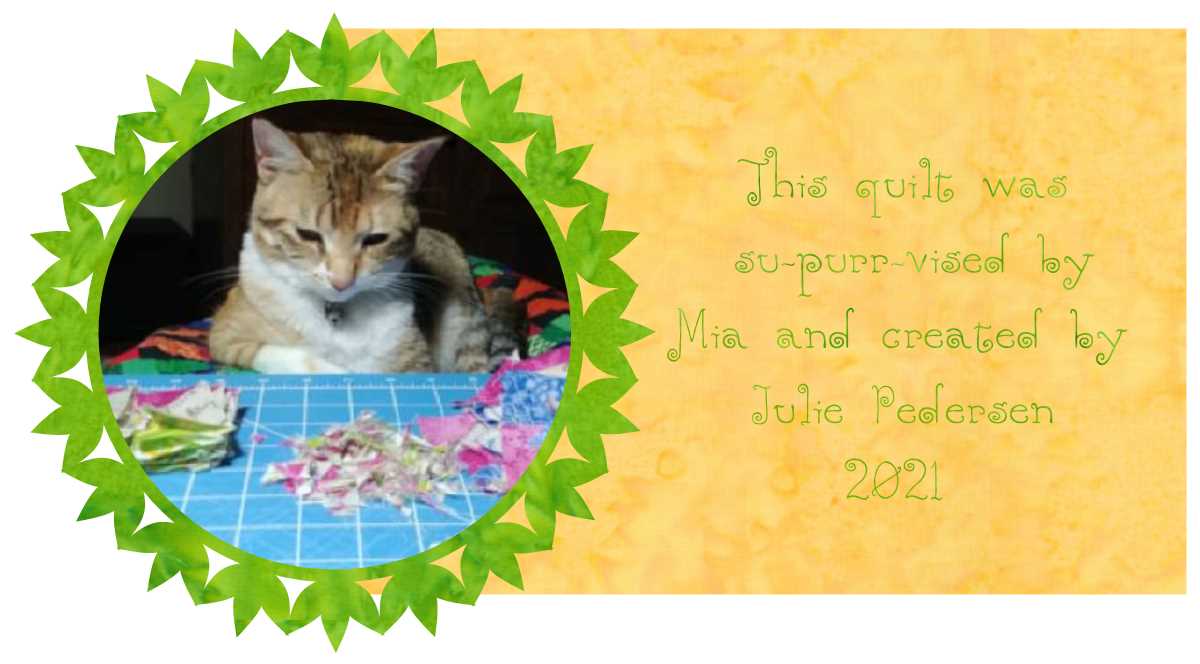
Photo Label Submissions
A picture is worth 1,000 words -- even in a label. And shapes don't need to be square to incorporate a photo into an EQ design.
Would you like to join this talented group of EQ designers? You can sign up for the wait list for the next Open Enrollment period for Tech Know Quilter's here.
Wool Label Tutorial
There were so many ideas to explore when creating the labels class, that I didn't have room to include them all.
One additional option is creating a wool label. They could go on the back of a quilt. Or with some sizing changes, it could be turned into a penny rug. Learn how to draft a wool label/quilt using Electric Quilt 8.
If the plan is to use the design as a label, I suggesting reducing the size to 5 inches before printing out templates.
I would love to see your wool label or (if you prefer) your favorite label designed in EQ. Please feel free to share in the Learning EQ Facebook group.
Scroll down for the video tutorial on creating and printing quilt labels in EQ8.
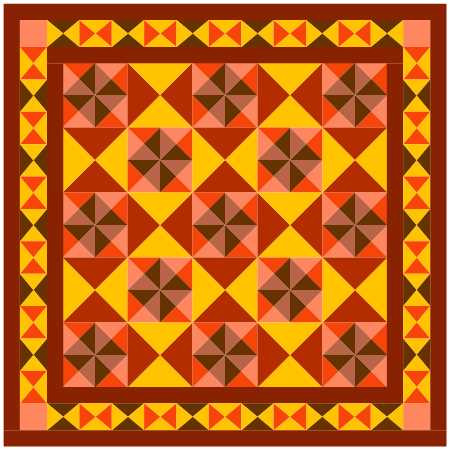
Tech Know Quilters Virtual Quilt Show
Current Tech Know Quilter members have been sharing their class projects along with their original designs in the membership's private Facebook group. Enjoy this show of some of their recent creations.
If you would like to join this amazing group of quilters, you can sign up for the wait list here. 
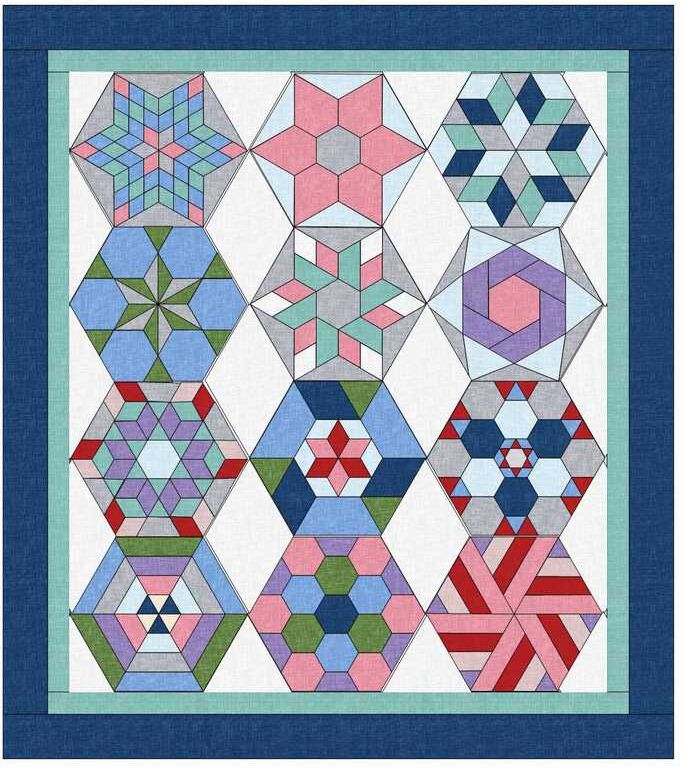
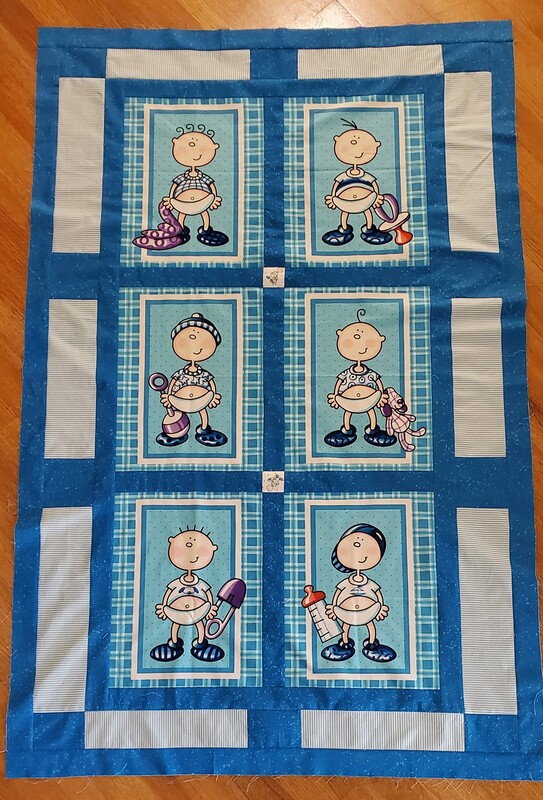
Karen Humphrey This month I worked on the T-shirt and Panel Quilts classes. I chose to use a panel I purchased in 2018 - Thomas Kincade churches by Bernatex. There are so many options and ways to do a panel that it was fun to play around with. One thing I have learned from designing quilts with fabrics from my personal stash is that I wish I had downloaded the fabric swatches at the time of purchase, because years later they are harder to find if not impossible. Now if I purchase fabric, the first thing I do beside washing it, is download the fabric swatches.
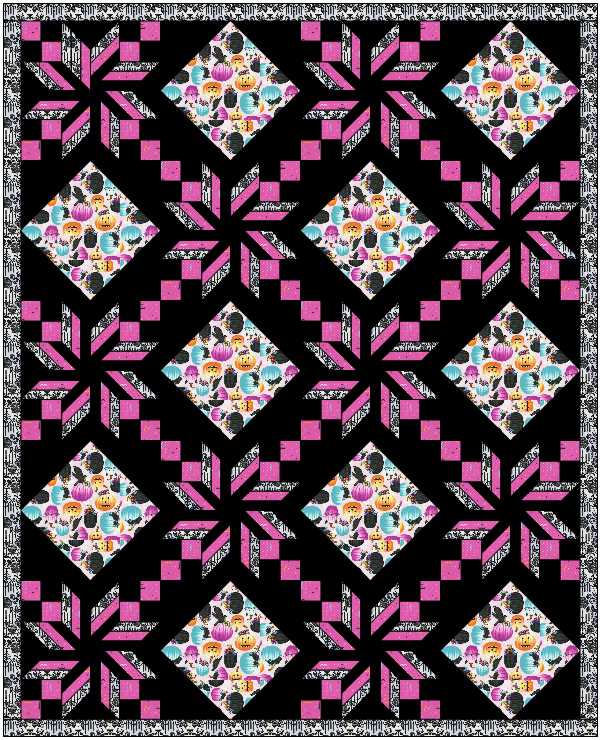
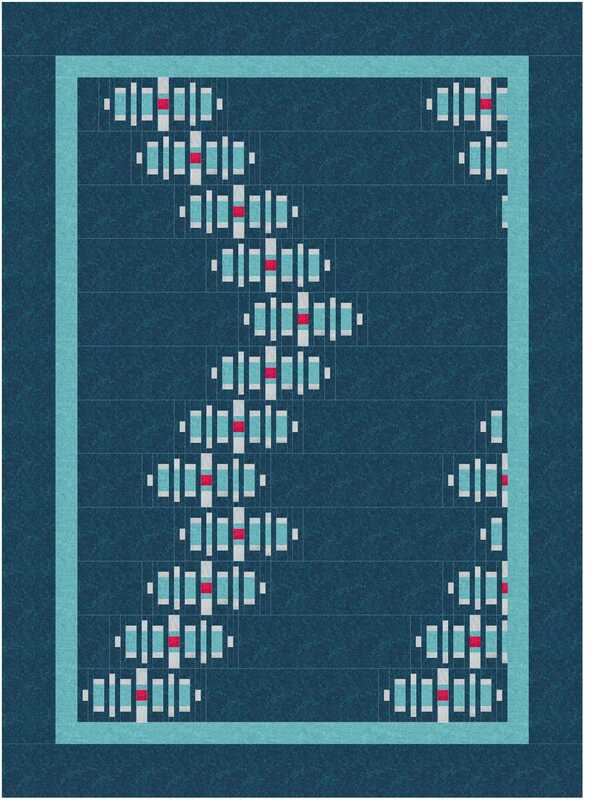
Nancy Dugger Weeks Halloween 2021
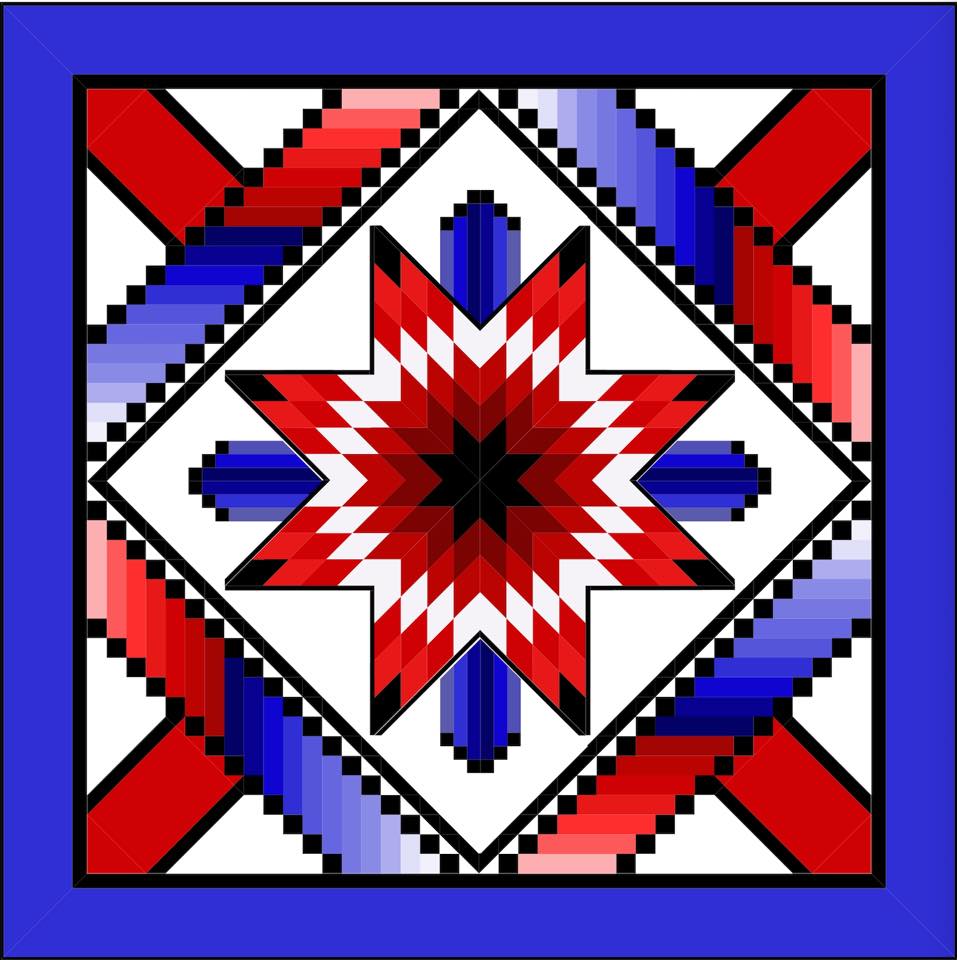
Pat Harkins Working on this lone star quilt design inspired by a Jinny Beyer pattern. I used layer one and two to place blocks and neutral color for place holder “blocks”, polydraw, appliqué, adding fabric. To name a few. I have red and blue ombre fabric. I am working on the best way to cut and piece the blocks. It will be queen sized.

Lynne Maramieri This past month I created this quilt from the Introduction to Applique lessons.
Carol Kendra Really enjoyed taking the Easy Draw and Kaleidoscope classes this month. Did a lot of things I didn't know I could do with EQ. Feel much more comfortable using some more of the tools that are in the program.
Moira Hewitt I did optical illusion quilts, really enjoyed the cubes.
Zdenka Nemethova I took Bargello lessons and really enjoyed them. For the first time I can try Custom Set Quilt and it was fun
Patricia Hansen This month I took the bargello class and came up with this variation. Not my usual colors for sure! But I did enjoy designing this one.

Mary Groesbeck I just finished Modern Quilts 2. As always, I learned so much. My favorite for the month is this one, because it's got me thinking about all that empty space for quilting. It seems like most of my quilts lately have been three fabrics. This one has more, with the two "whites" providing a background but the two of the together adding a little bit of a shadow look. I designed it so that I did not need more than one yard of each fabric, since I only have a yard of each.
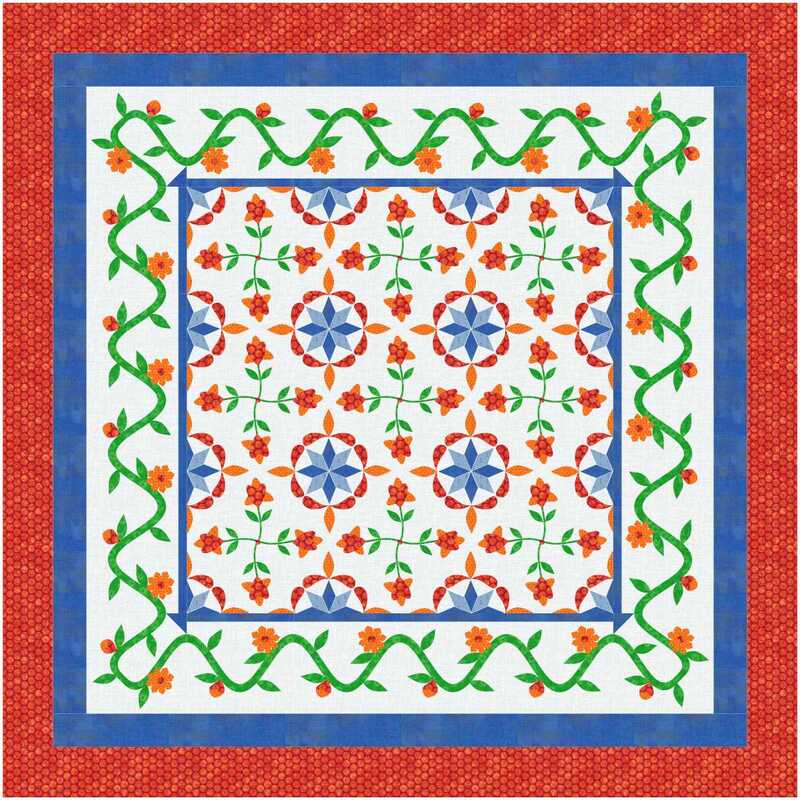
Edith Craig In August, I took Introduction to Applique. We adapted several blocks from a historic quilt and made them into blocks for a new quilt. I took inspiration from this and adapted 2 additional blocks from the historic quilt. These I placed in a quilt on-point and added one of the borders that we drafted in class. I learned how to look at existing blocks to determine how to draft them in a new way for applique and the many variations the EQ provides.

Easy Quilt Labels Using Electric Quilt 8
In the virtual show you may have noticed a few quilt labels. The latest class in Tech Know Quilters was all about creating your own labels in EQ8.
The tutorial this week will show you how easy it is to start with your quilt design in EQ8 and add text to create a label. And you can even resize and print your label from directly in EQ8. Learn how!
Would you be willing to share pictures of your own quilt label designed using EQ8? I've set up a post in the Learning EQ Facebook group to share your creations.
|


Free guide available for newsletter subscribers


Kari SchellElectric Quilt Expert and Educator and Pattern Designer. Categories
All
Archives
July 2024
|


 RSS Feed