
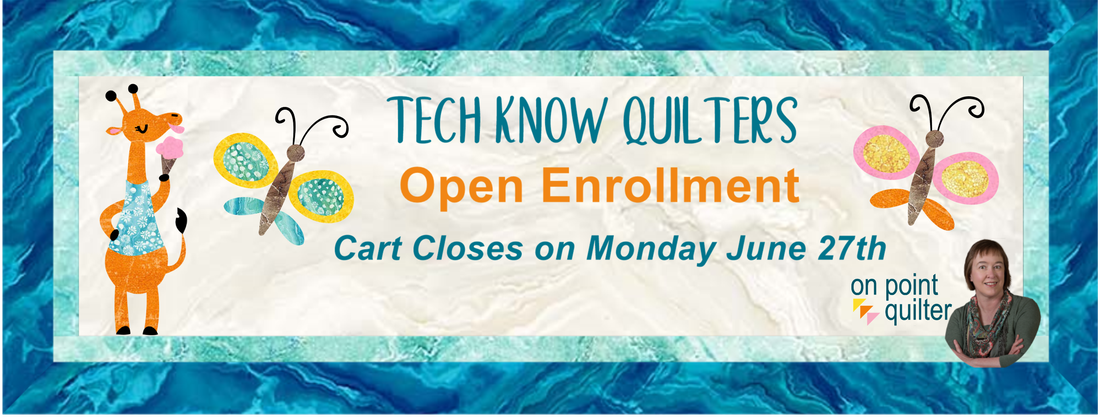
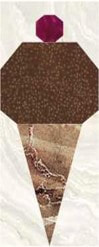
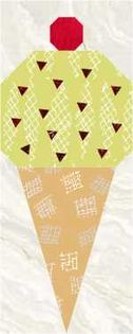
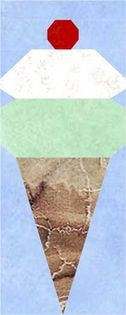
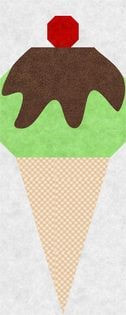
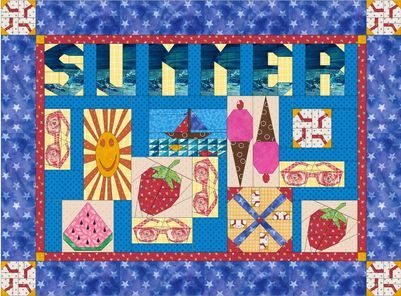
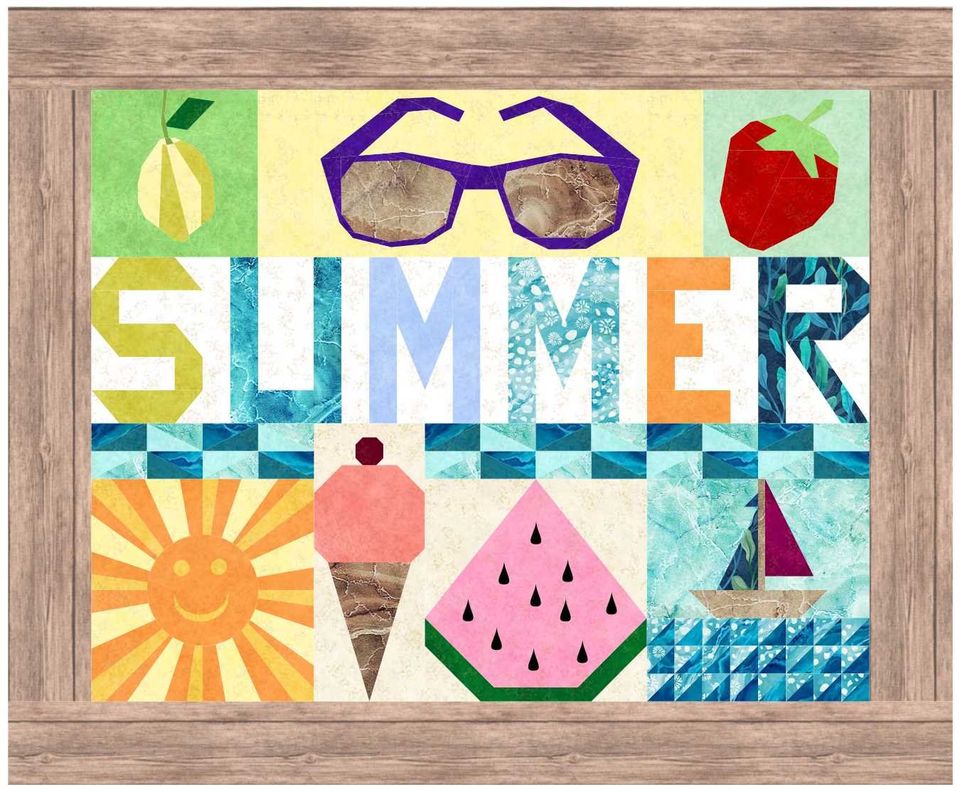
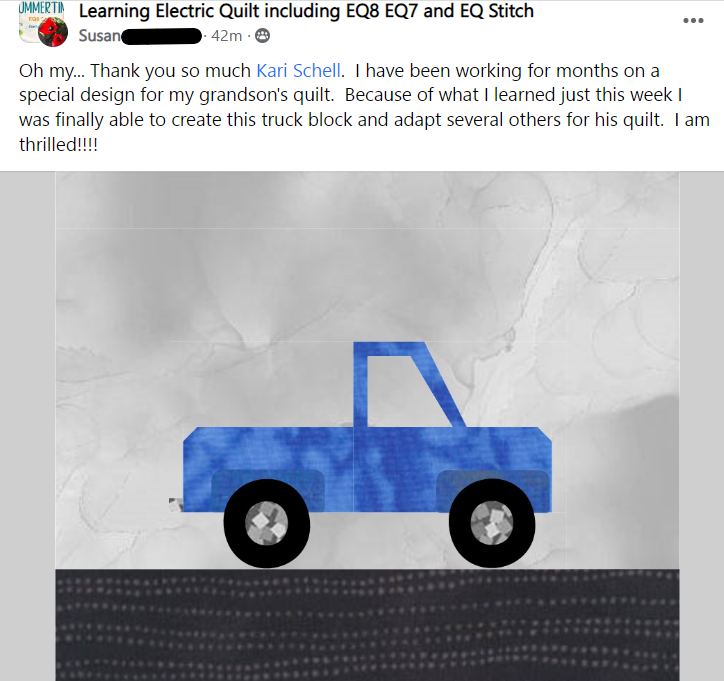
 Are you ready to master Electric Quilt 8? Tech Know Quilters only opens enrollment a few times a year. Since we finished an awesome challenge, I decided to open enrollment through next Monday. But I have to shut it off on June 27, as we need to get everyone loaded in our system so you can start your journey to mastery next Friday. Summertime EQ8 Challenge RevealHere is my pieced (and framed) project from the Summertime EQ8 Challenge. 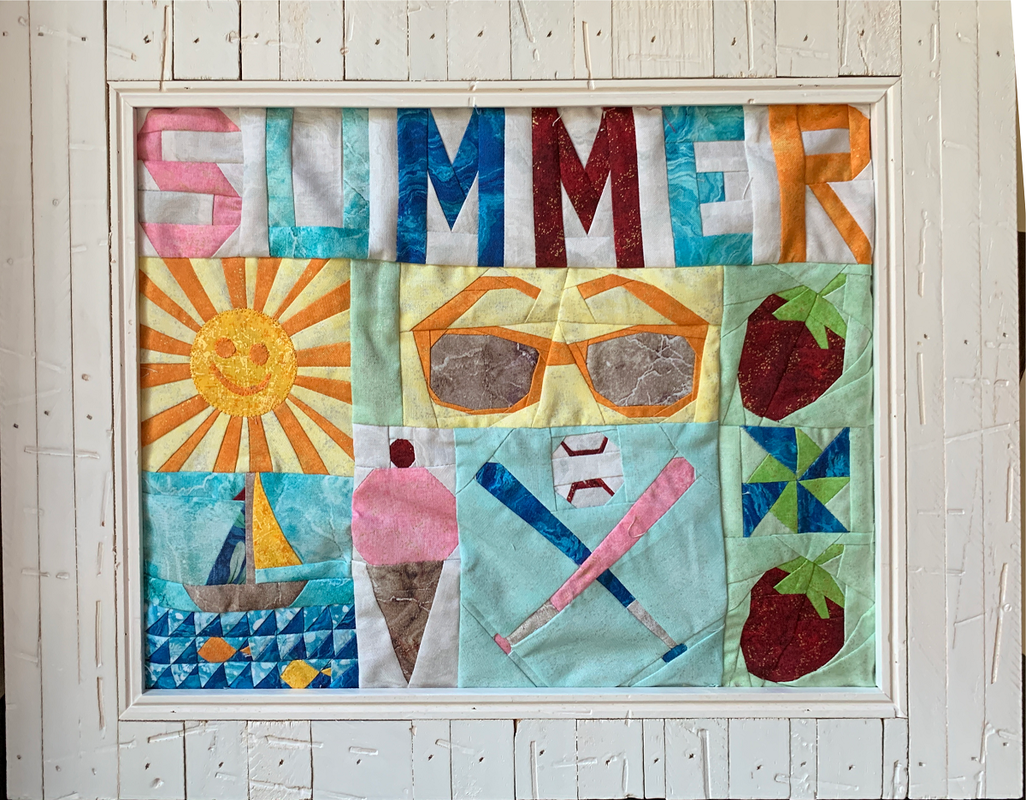 I plan to pull it out of the frame and add a bit of quilting as I think the quilt will lay much flatter if I do that. I had a blast sharing the Electric Quilt tutorials with you over the past two weeks and have been so encourage seeing your blocks and quilt designs. And even more than that -- the progress that has been made. So many of you talked about all of the new things you learned. And now you have the added skills for your next quilt. Keep up the good work! If you missed the webinar on the Summertime Challenge Layout, you can catch it here. It is available for viewing through the end of the month. Summertime ShowcaseWow. Many of you have been sharing your blocks in the Learning EQ Facebook group. I decided to showcase a few blocks for each day of the challenge. I am so proud of all the participated. Day 1 - Ice Cream Cone
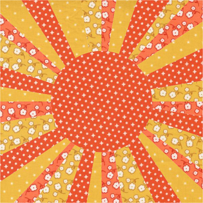
Day 2 - Sunshine
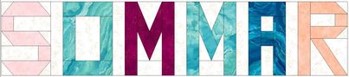
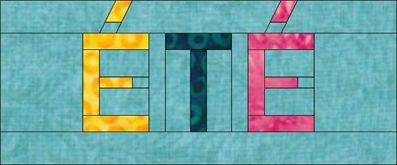
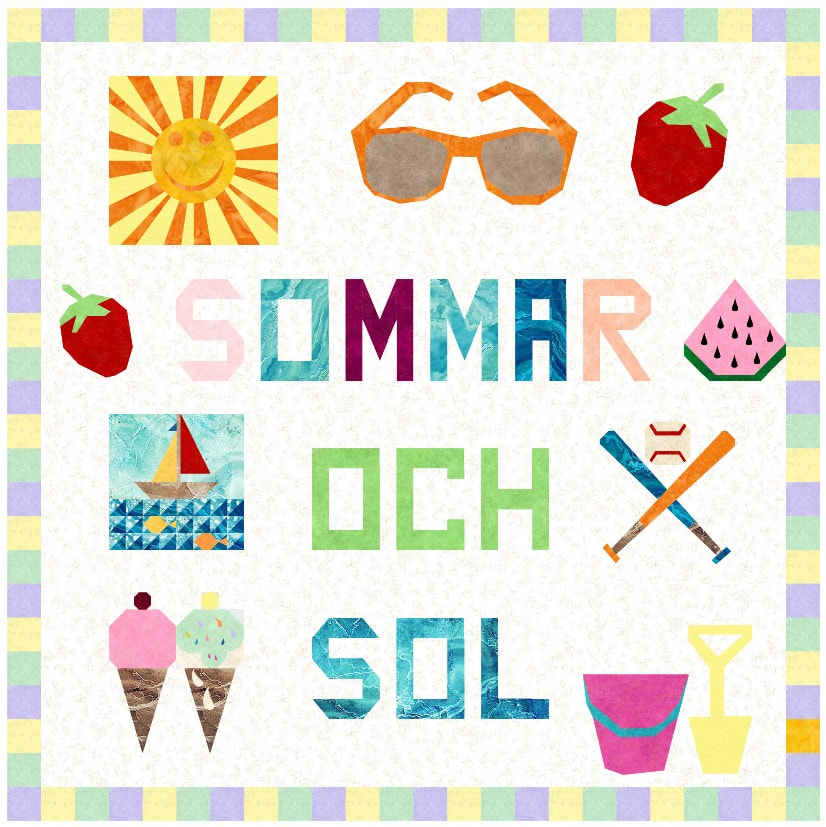
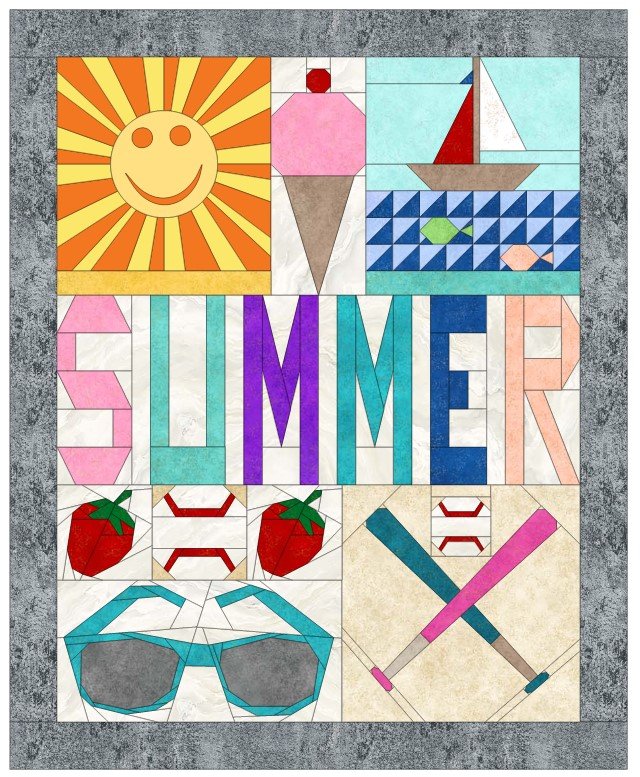
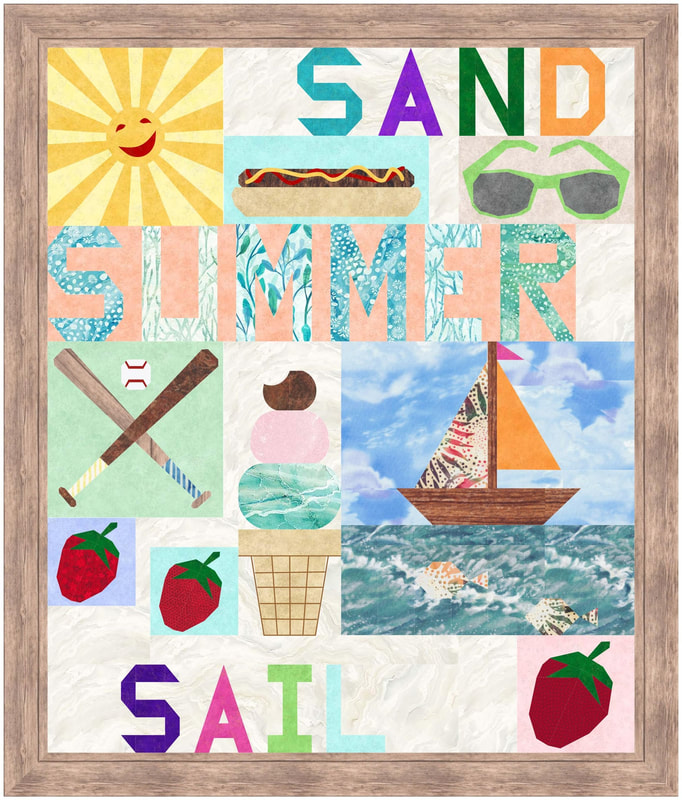
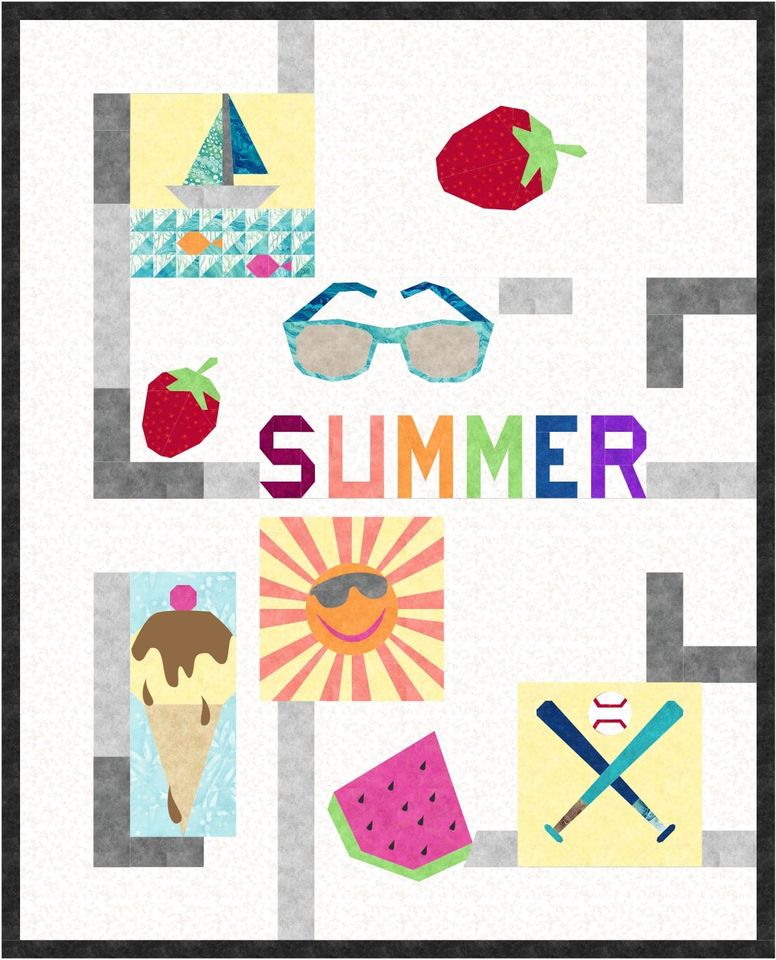
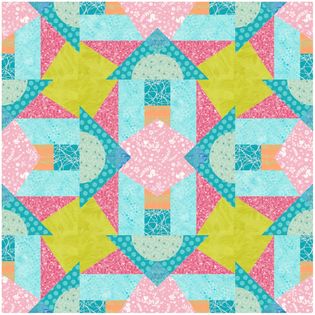
Day 3 - Summer
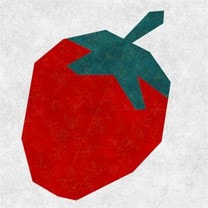
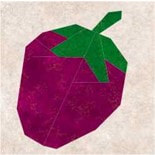
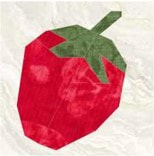
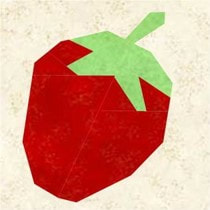
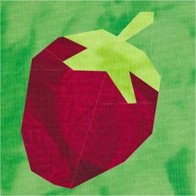
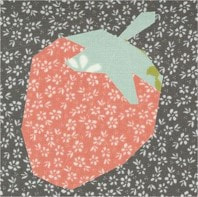
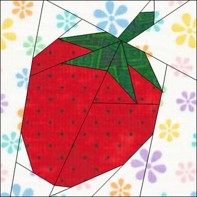
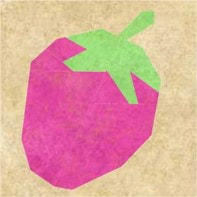
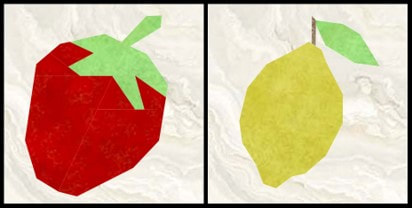
Day 4 - Strawberry
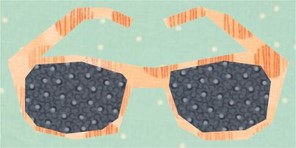
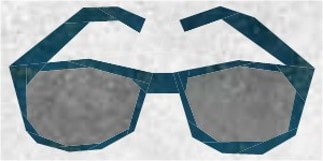
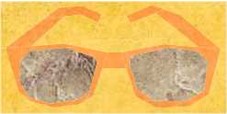
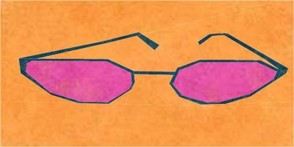
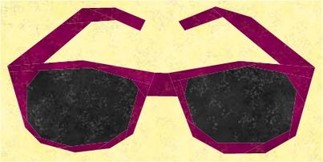
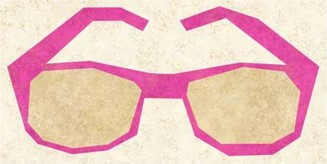
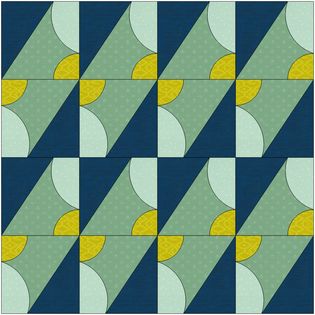
Day 5 Sun Glasses
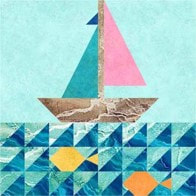
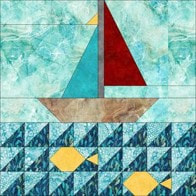
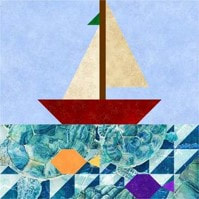
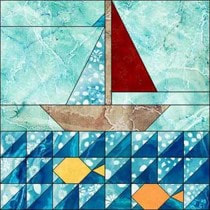
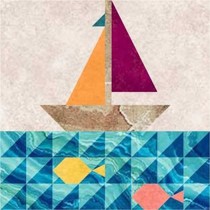
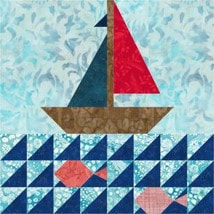
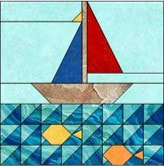
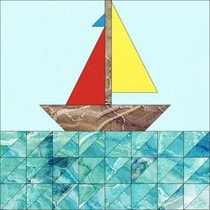
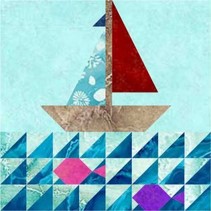
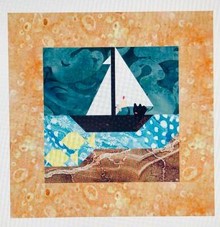
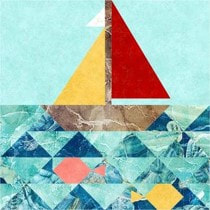
Day 6 Sailing
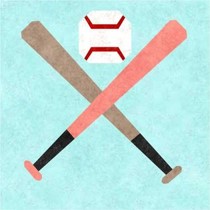
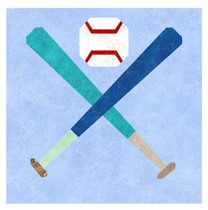
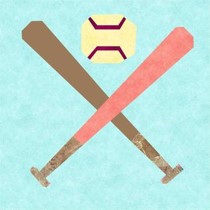
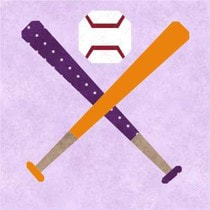
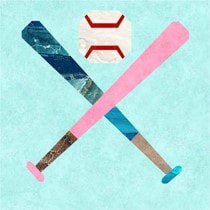
Day 7 Baseball
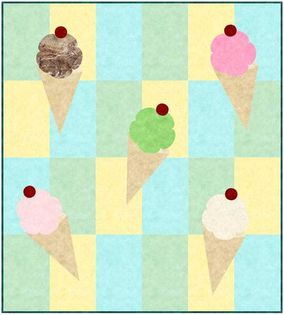
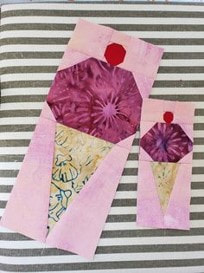
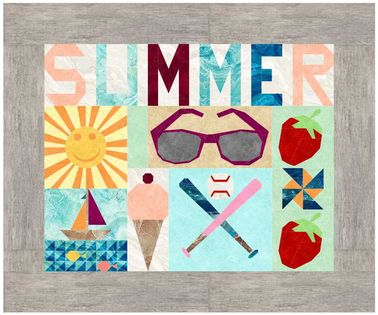
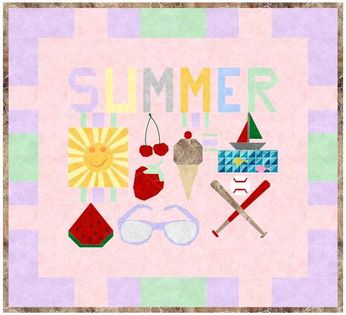
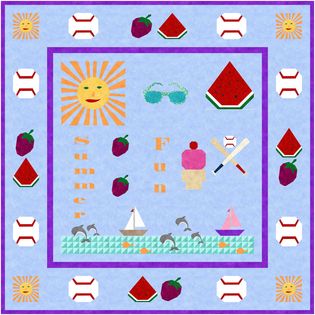
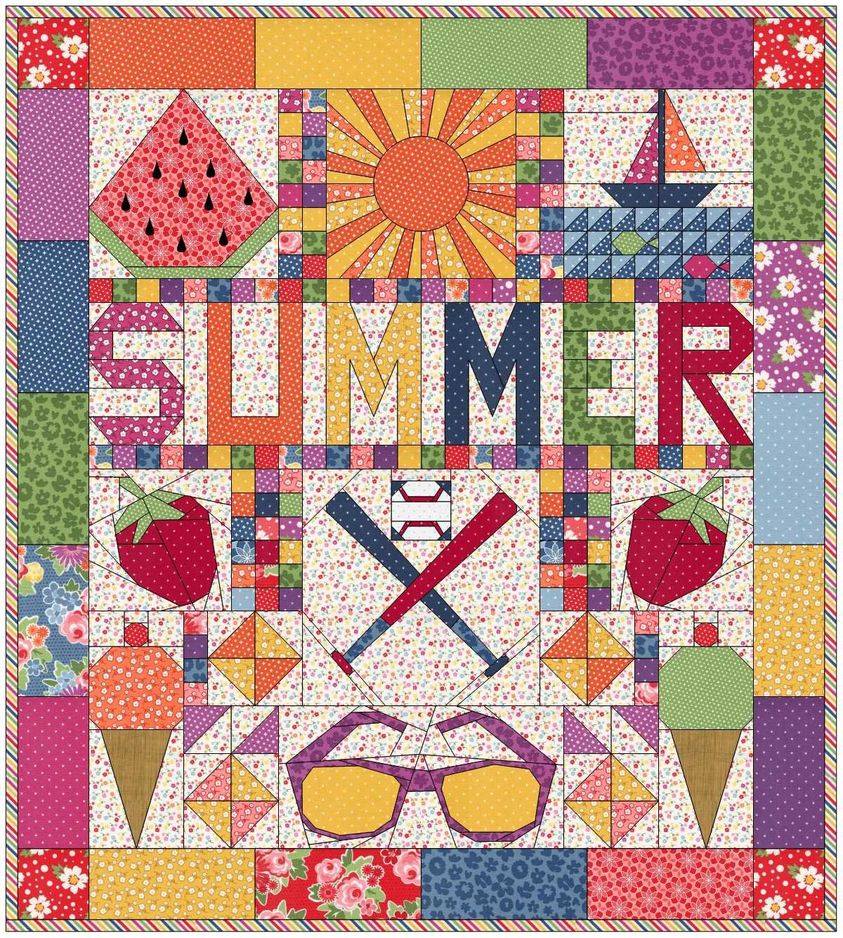
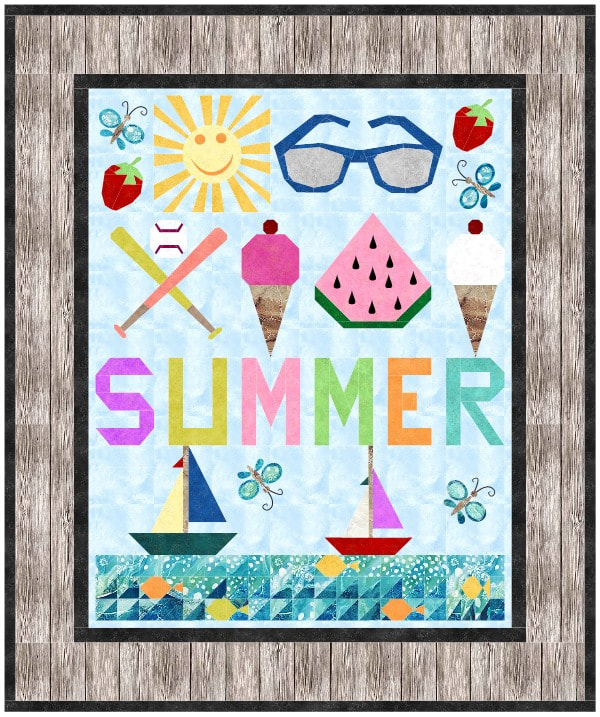
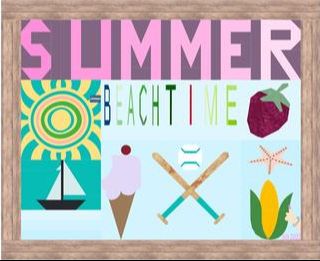
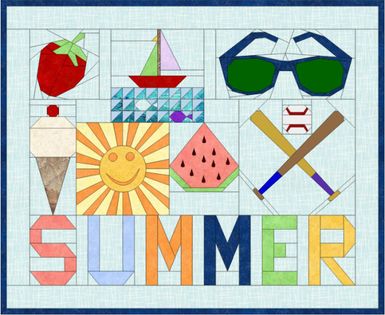
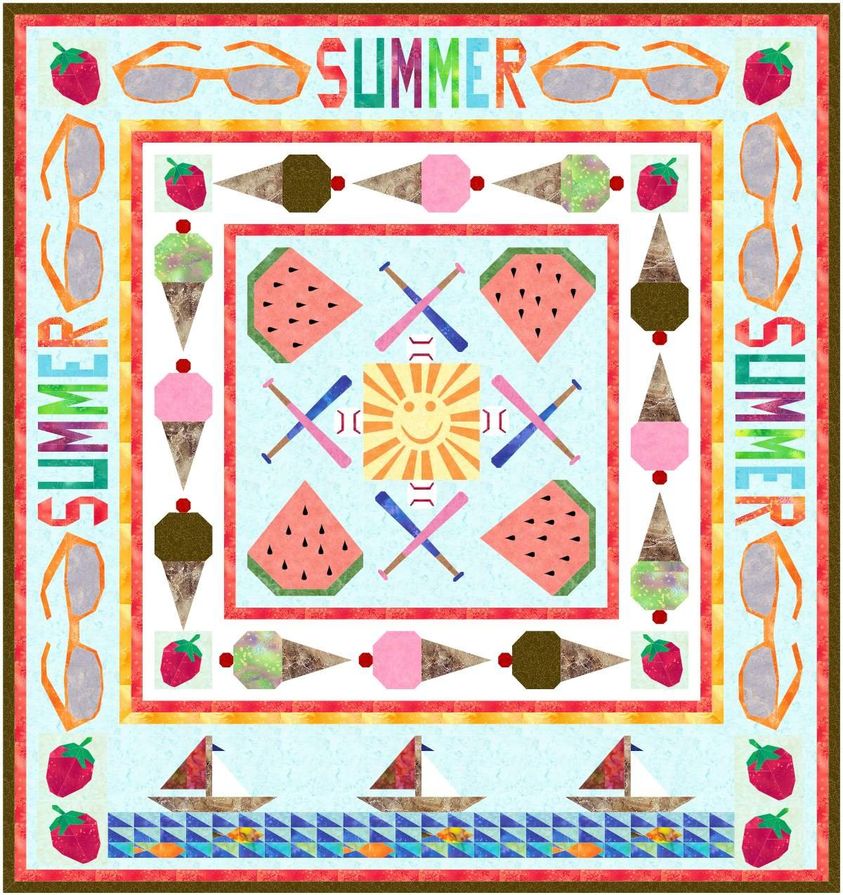
Summertime Reveal QuiltsMany have also posted their final designs on Facebook. Here what has been posted to date.
Last Chance to Join the Summertime EQ8 Challenge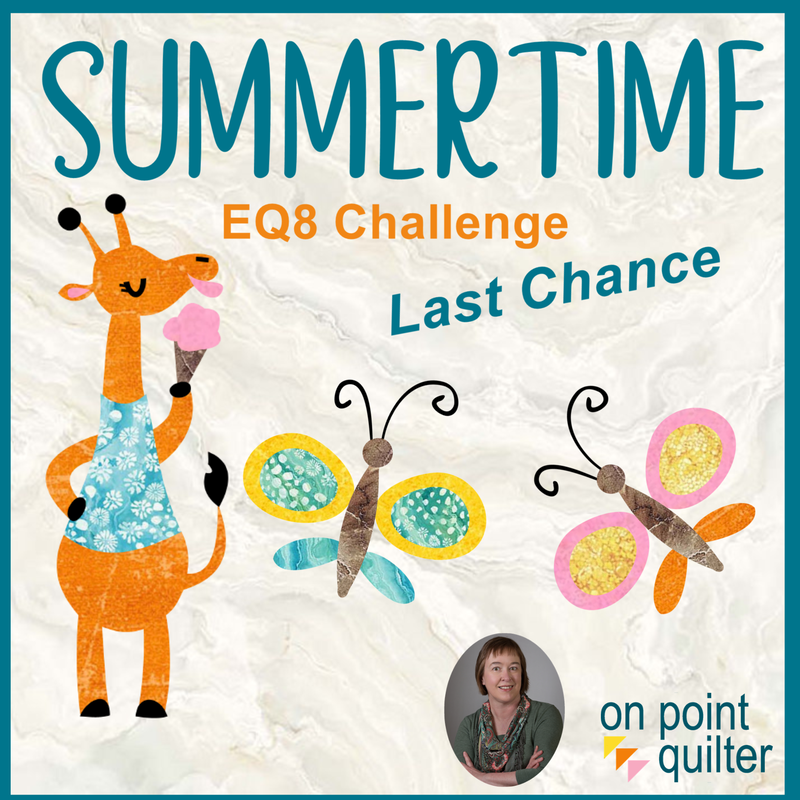 The videos will be available through the end of June 2022. After that point, they will only be available to Tech Know Quilter members in July 2022. You can still enroll and we will get you all the videos over the next 24 hours.
With over 1,200 participants in the Summertime EQ8 Challenge, everyone has had a busy week -- including me. I am so impressed with the blocks that are being drafted as the knowledge and confidence that has been gained while going through each of the free tutorials.
You are still welcome to sign up for the free challenge. Videos will be available through the end of the month.
Summertime Quilt Reveal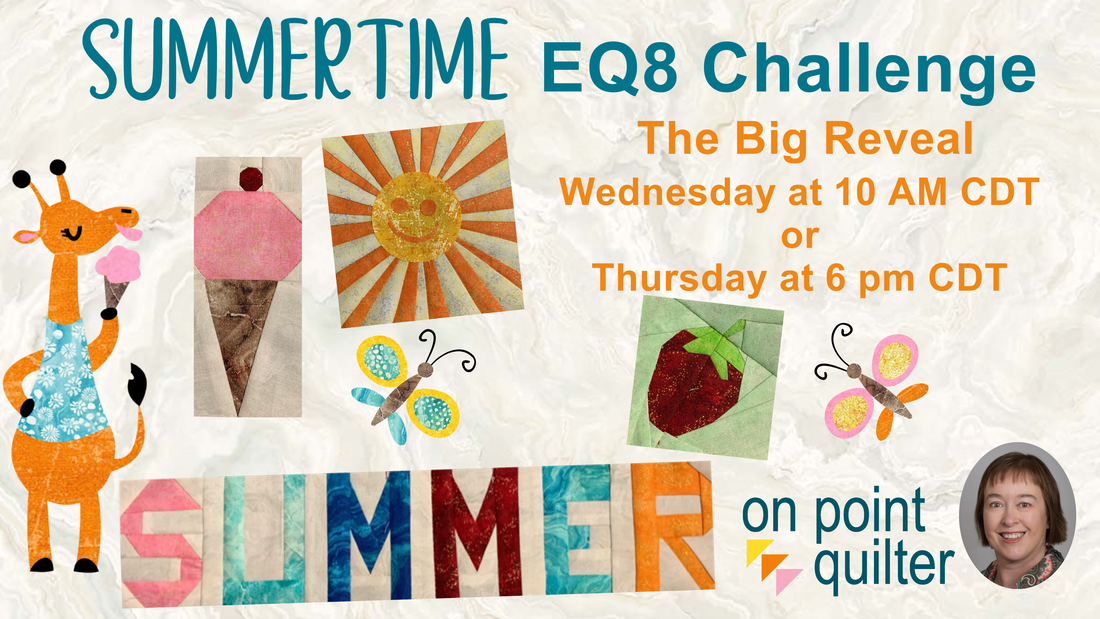
Choose between Wednesday morning or Thursday evening where we will be finishing up the Summertime challenge with a live Zoom meeting.
For those enrolled in the challenge, the videos will be available through the end of the month. (During the zoom meeting, I will be sharing a way to have unlimited access to these videos.) Even if you were unable to join the challenge, you are still welcome to participate in the reveal where I share my layout along with my pieced quilt using these cute little blocks. I will also be talking about Tech Know Quilters and announcing a flash sale. New Tips and Techniques for Paper Piecing
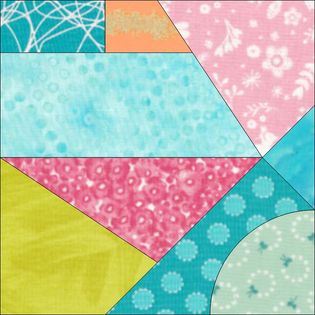
Electric Quilt is fantastic in that is provides us with easy to print foundation patterns. However there has been some confusion on how to paper piece and how to cut those fabric pieces slightly oversized for the foundations.
Since I have been sharing a lot of newly designed paper pieced patterns in the free Summertime EQ8 challenge, I thought I should also share my thoughts on actually making these blocks. Paper Piecing Instructions
If you are new to foundation/paper piecing, here is my suggested piecing process. This is excerpted from my Northwoods Loon pattern.
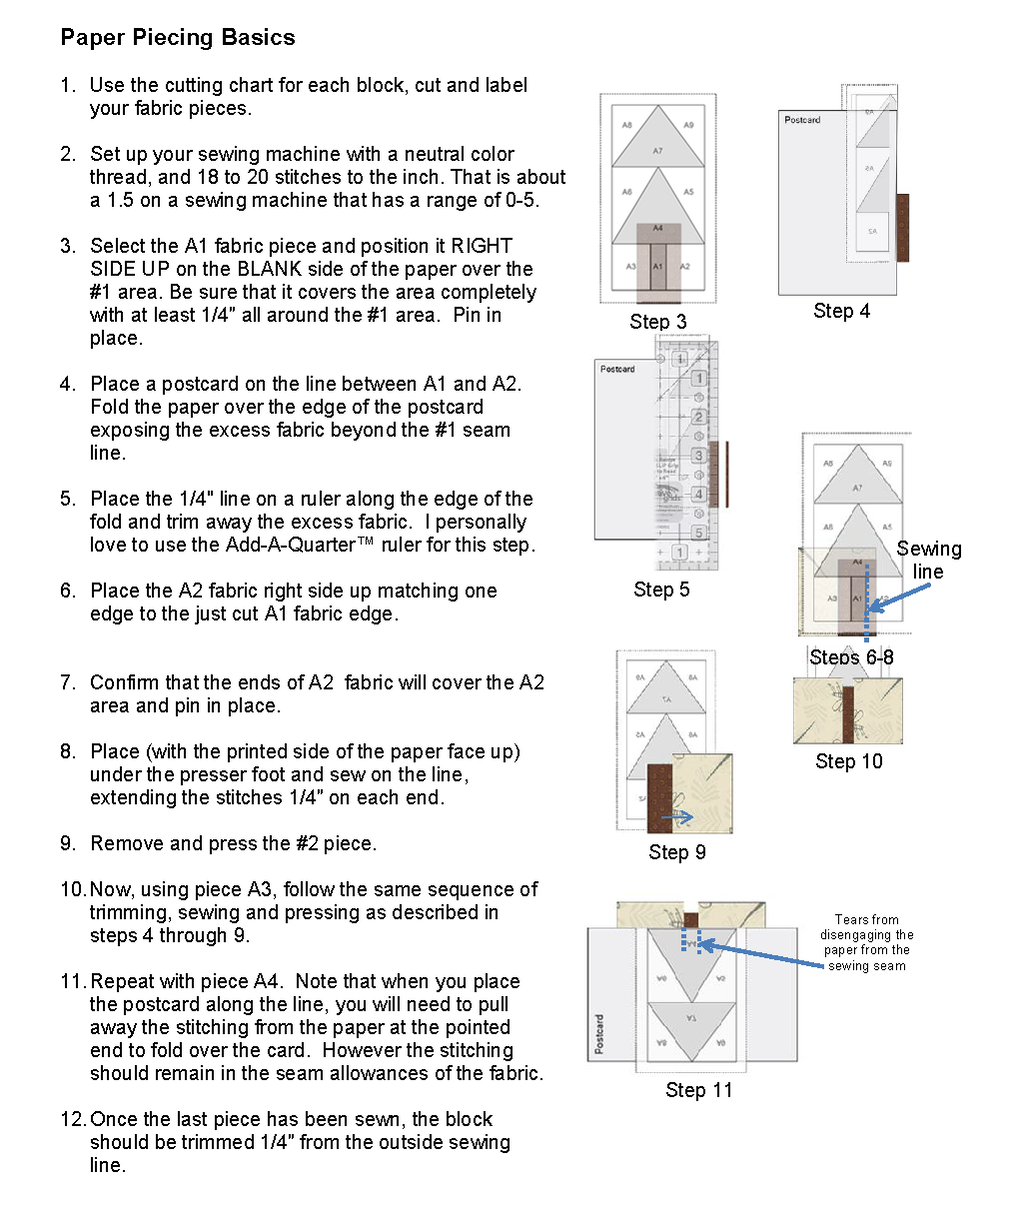
For those that prefer a video, her is a short one covering the same steps noted above (just using a different block).
Oversized Piecing Calculations - Manual Approach
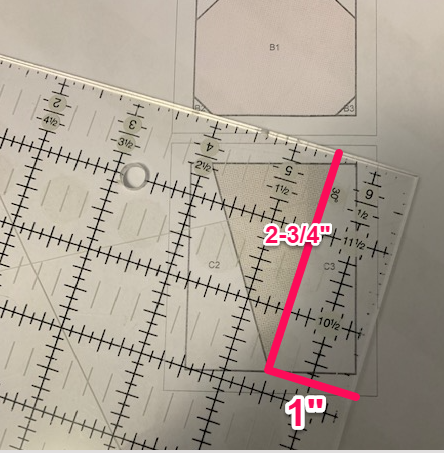
When I write paper piecing instructions (for either myself or a pattern that I am publishing) I like to create a pre-cutting chart. In those instructions, I provide the measurements for rectangles that are slightly oversized and can be added to a previous patch (or patches). If you would like to try my approach, here are some specifics:
For each patch in the block:
Adding 3/4" to both the width and height gives me an oversized piece measuring 1-3/4" x 3-1/2". I always test my patterns and if I am having any problems I will add a bit more to the pre-cut size.
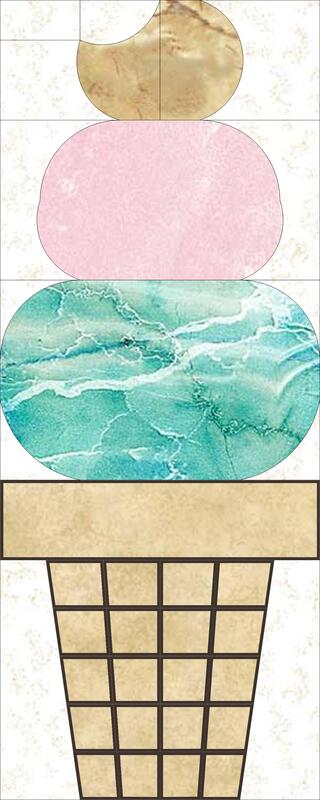
Here is my cutting chart for the ice cream cone block. The block has a finished size of 2" x 5". And was the first block in the Summertime EQ8 Challenge. 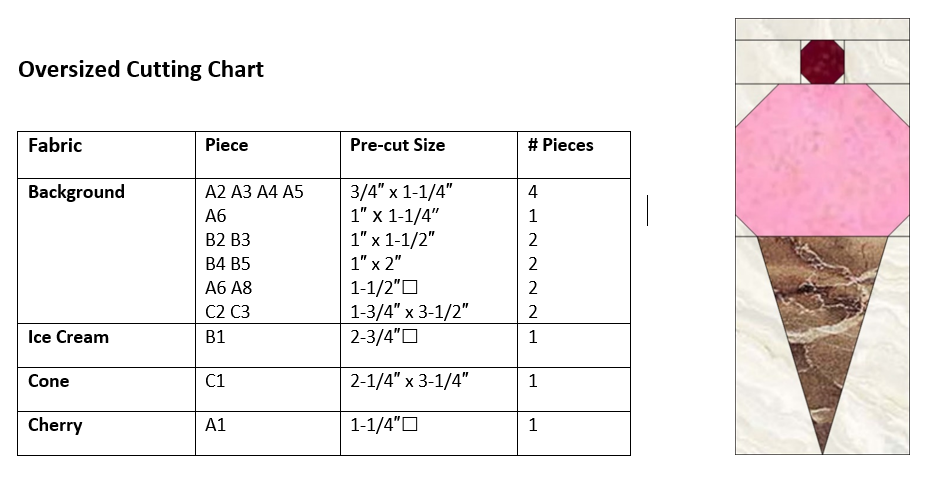
Creating SVG Oversized Cutting Charts
This week I decided to play with two different approaches to creating svg cutting charts for a foundation pattern. I couldn't decide between starting with a block diagram or templates in EQ.
Both approaches use an extra piece of software called Inkscape.
What is Inkscape?
The extra piece of software I used for creating the SVGs is Inkscape. Inkscape is a professional vector graphics editor for Windows, Mac OS X and Linux. It's free and open source. Inkscape can seem overwhelming to use when you open it for the first time. However you only need to use a couple of tools within Inkscape -- so this really is a piece of cake. You can download Inkscape here. I am currently using version 1.1 (which is the version demonstrated in the video). Inkscape will allow you to create an SVG file which may be used in any electronic cutting system (Cricut Design Space, Silhouette Studio, or Brother Canvas Workspace). So what is an SVG file? An SVG file is a graphics file that uses a two-dimensional vector graphic format. Unlike raster formats such as JPG, GIF, and PNG, an SVG image remains crisp and clear at any resolution or size.
SVG Oversized Piecing Approach 1 : Adding Seam Allowances with Inkscape
SVG Oversized Piecing Approach 2: Create the Oversized Seam Allowances using Templates in EQ 8 and use Inkscape to Convert to SVG
Creating SVG Files with Oversized Piecing Video
Here is the video where I demonstrate both approach 1 and approach 2.
Here is the link for the Cute PDF Writer for Windows referred to in the video.
Here is the link for the RWTS PDF Writer for MAC referred to in the video.
Working the Your Cutting System
Each of the major cutting systems has a slightly different approach. Chances are that if you have a cutting system, you have worked through the process of importing a picture or an svg. My primary suggestion is to always double check the measurements of your imported images and adjust them before dong anything else in your cutting system. I have discovered that each of the cutting systems has a different "conversion" from an SVG file. And Cricut (the brand I use), seems to "update" their system at least once a week with the updates changing the conversion percentage. Learn from my mistakes. I have thrown away way too much fabric for forgetting to check and adjust the size before cutting.
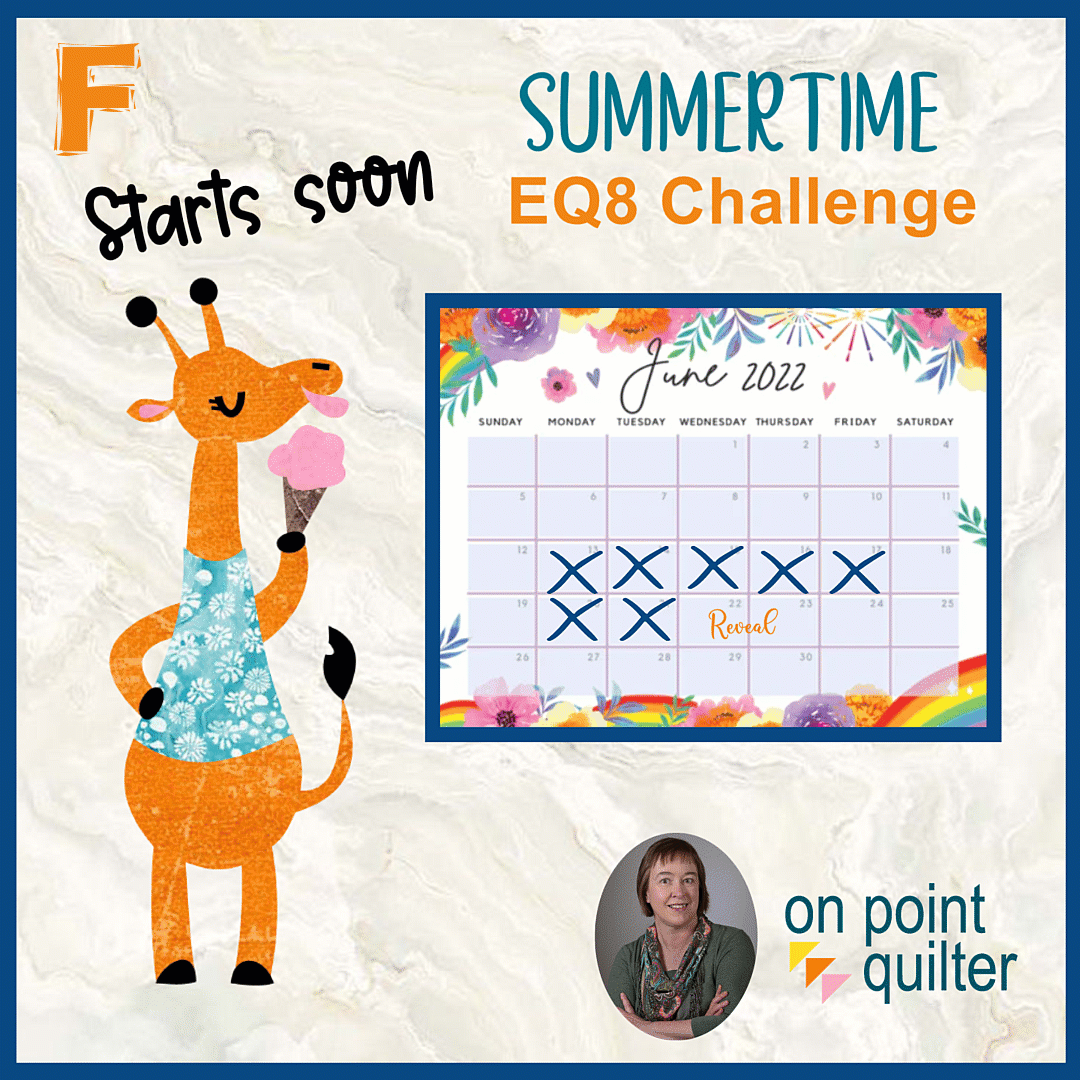
This challenge is FREE and perfect for Electric Quilt 8 owners of any experience level. Whether you are just discovering your love of quilt designing or have been dabbling in the program for years, there will be something new and exciting to learn during the next two weeks.
In this free challenge you will learn how to draft a series of newly designed pieced blocks that would be suitable for a miniature summer themed quilt. You will be the first to see my new designs; and through drafting them, be able to incorporate them in your own quilts. Seeing what others do with their blocks will give you additional ideas on personalizing the blocks and confidence to add your own touch to what you are creating. This free challenge is designed for both beginners to Electric Quilt 8 and those that would like to expand their block drawing skills. My hope is to encourage you to spend a small amount of time using Electric Quilt each day. This will allow you to become more comfortable with the software and get to see your own quilts come to life. Sign up with your name and email below in order to receive the free video tutorials directly to your inbox. Getting Started Videos
The getting started videos are available to all -- regardless of whether you choose to join the challenge.
I've put together three short videos to give you a head start for the challenge:
Video 1: Setting Up Your Project File and Adding Fabrics
In this tutorial, I will share with you how to set up your project for the Summertime EQ8 Challenge. You will also learn how to add fabrics from the Do You EQ website and select fabrics directly from the Northcott website.
Problems and a Solution
One discovery I made after coloring many of the blocks with the new fabrics was that the coloring process was a bit slower than normal.
Further investigation revealed that the downloaded images for Turtle Bay from the Northcott website, were really large (42 inches across and 22 inches wide). Before drafting even one block this brought the file size up to 66 MB (which is super large). While you may have the processing speed on your computer to handle the larger images, I thought I would share how to reduce the image sizes. In the bonus video, I share two options:
Watermarkly is an online app I had purchased to more efficiently add Watermarks to my images. There are also options for resizing, cropping, compressing and adding text. You can purchase the app for a one-time fee (not subscription) of $19.95. (This is not an affiliate link.) I found that in just minutes, I was able to reduce my file size from 66 MB to 20 MB, just by cropping 12 Turtle Bay images to 12 x 12 and replacing the original super large images. Since I have already completed the videos and colored most of my blocks, I will continue with the large EQ8 project -- but thought you would appreciate the option to be a bit more efficient. Video 2: Import a Picture for Tracing Plus Practice Watermelon Block
Video 3: Exporting an EQ Block Image to Facebook
When exporting a block you wish to share on Social Media, the process can be different than sharing a quilt. In this tutorial, learn how to export an image of a block and then add it to a Facebook post.
Here is the link the the Learning EQ Facebook post that is referenced in the videos. Share a picture of your watermelon block, tell me about the fabric collection you plan to use for the challenge, or ask a question.
If you haven't enrolled in the challenge, now is the time. I look forward to working with you to become more comfortable in drafting your own foundation friendly blocks. The first block will be sent out Monday, June 13th (that is this coming Monday) at 8 am. I've been asked by those that are in one of my classes or receive my weekly newsletter if they are automatically enrolled in the challenge. The answer is NO. So please sign up using the link if you would like to participate in the challenge.
Scroll down for a new EQ8 tutorial for those days you aren't feeling super creative.
But first, make sure you are signed up for the brand new EQ8 Challenge. Summertime EQ8 Challenge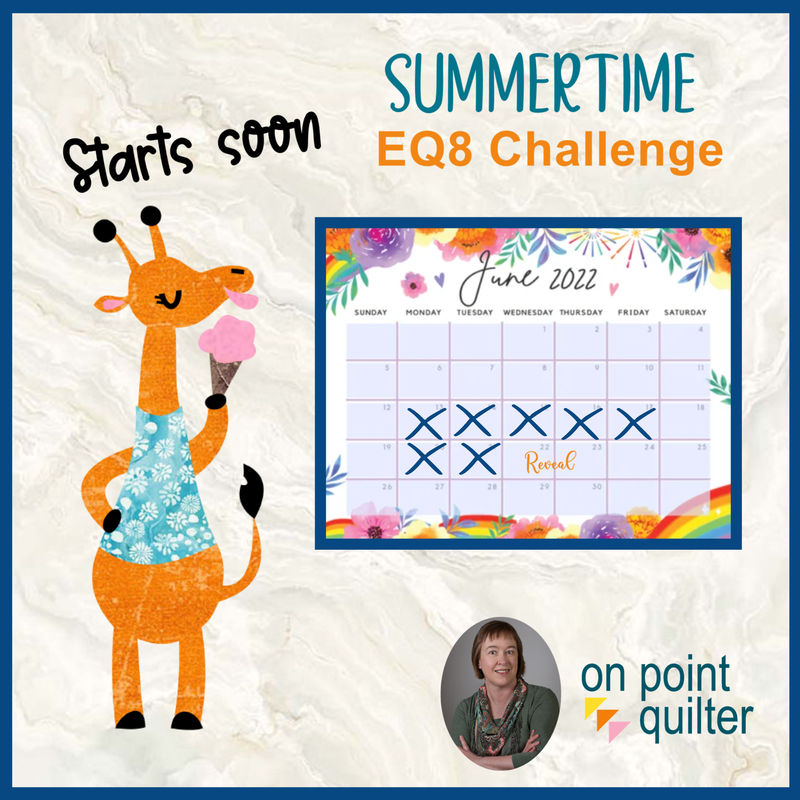
Are you ready to take your Electric Quilt 8 skills to the next level?
In this free Challenge you will learn how to draft a series of newly designed pieced blocks that would be suitable for a miniature summertime quilt. You will be the first to see my new designs; and through drafting them, be able to incorporate them in your own quilts. Seeing what others do with their blocks will give you additional ideas on personalizing the blocks and confidence to add your own touch to what you are creating. The quilt will finish 17 x 11 -- suitable for framing and small enough to finish by the end of the month. With EQ there are plenty of options to make a larger quilter -- so don't feel constrained by my quilt size. This free challenge is designed for both beginners to Electric Quilt 8 and those that would like to expand their bock drawing skills. My hope is to encourage you to spend a small amount of time using Electric Quilt each day. This will allow you to become more comfortable with the software and get to see your own quilts come to life. Sign up with your name and email below in order to receive the free video tutorials directly to your inbox. The challenge will start on Monday, June 13. You can read more about the challenge here. Setting Up Your Project File and Adding Fabrics
Are you anxious to get started on on your Summertime EQ8 project?
I've decided to use fabrics from two current Northcott fabric collections in my quilt. Check out how to add these fabric collections to a project file in this getting started video.
The fabrics I am using to piece my quilt will be from Turtle Bay and Shimmer Radiance by Northcott. I would love to know what fabrics you plan to use.
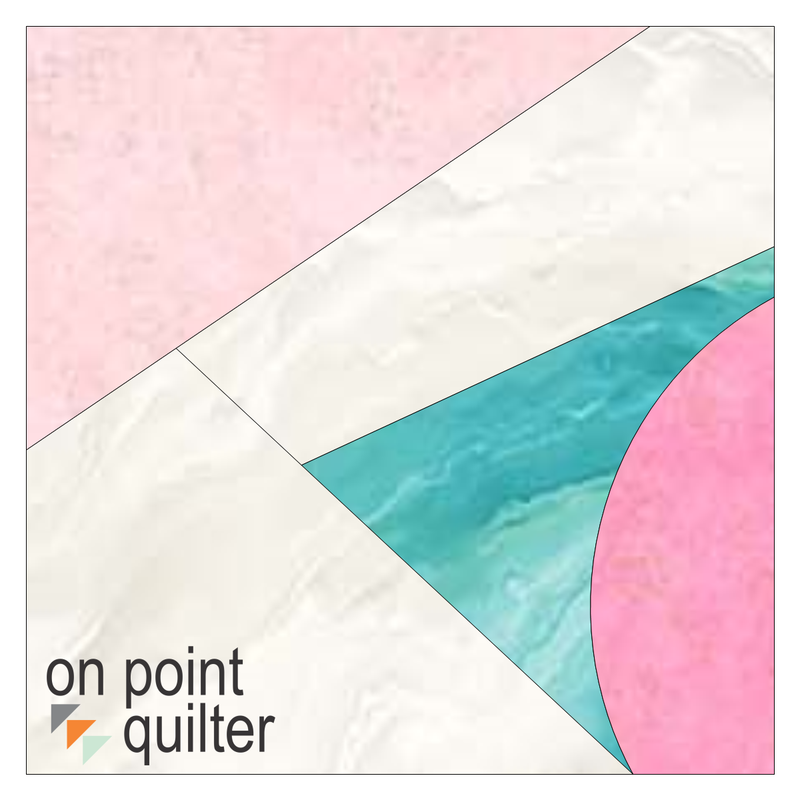
Three Lines and an Arc EQ8 Tutorial
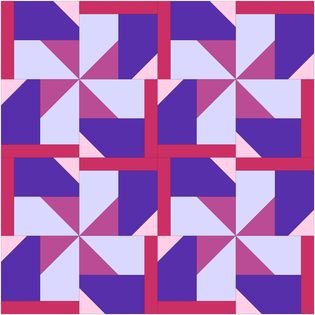
Sometimes it is easy to think that we are not very creative. Let me share a quick exercise to get those creative quilt design juices flowing.
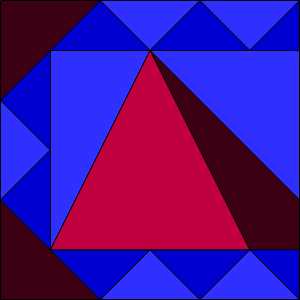
Step 1: Draft an original block.
Here are the rules.
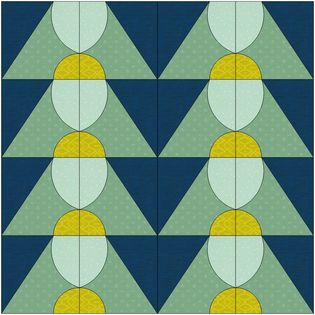
Here are my blocks from the video. I used a couple of Northcott fabric collections -- Turtle Bay and Shimmer Radiance. These were the fabrics I am using in my upcoming challenge and I am totally into them.
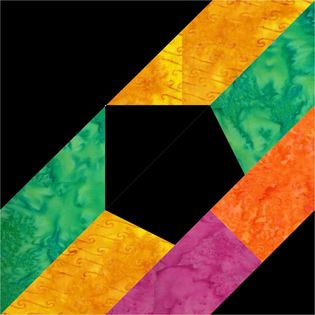
Step 2: Set Up a Quilt
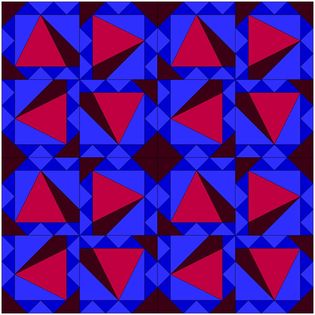
Once the block is done, set up a new quilt with the style horizontal. Set the number of blocks to 4 x 4 and the size to 9 x 9. With the Ctrl or Command key set your blocks in the quilt. Step 3: Use Symmetry Under Block Tools select Symmetry and click on one of the blocks. Just like magic EQ applies a different set of rotations to all your blocks. Then click on a block for a completely different set of rotations. Make sure to save (add to sketchbook) any of your favorite designs.
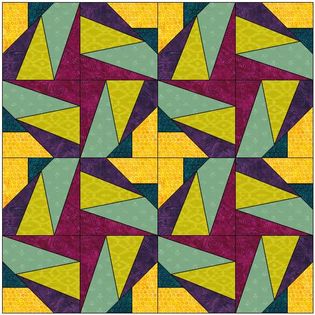
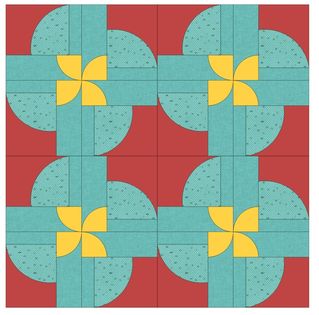
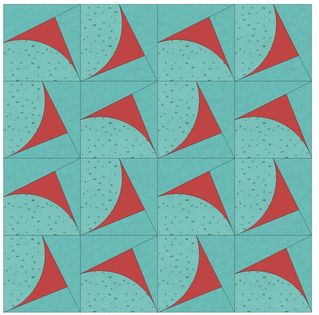
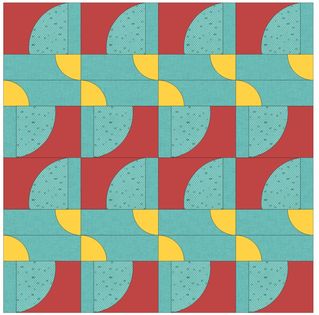
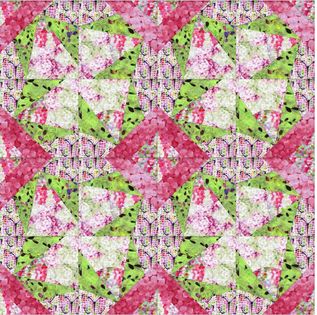
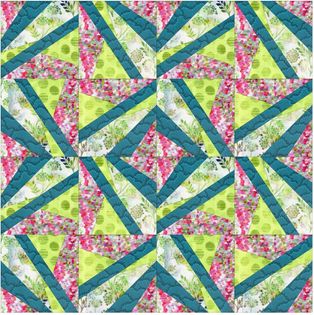
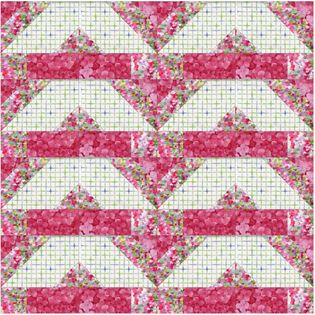
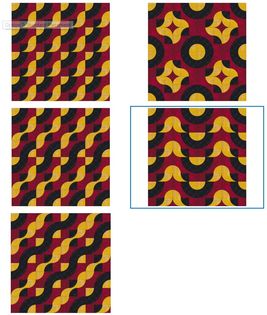
The following slideshow will show you each of the quilts I chose to save from my Three Lines and an Arc block.
Check out the complete video which includes drafting my block and quilt.
Feel free to post pictures of your block and favorite quilt from your block on the post I have set up in the Learning EQ Facebook group. My suggestion is to post the block and then post your quilt as a comment on your block post. That will keep everything together.
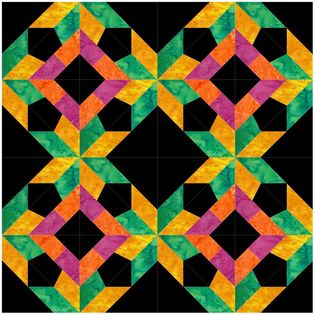
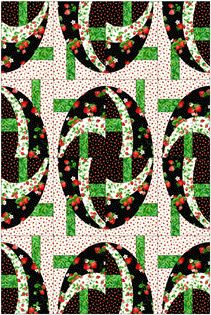
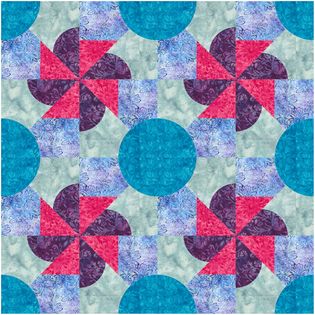
In Tech Know Quilters, a membership for master of Electric Quilt 8, Masters members designed there own symmetry quilt blocks. During the class they found many more symmetry options than that available in the Symmetry tool with EQ8. Who would have thought there were so many options?
Here are a few of there quilts from lesson 1 of their class. Note that the rules I gave them were different than those shares above.
|


Free guide available for newsletter subscribers


Kari SchellElectric Quilt Expert and Educator and Pattern Designer. Categories
All
Archives
July 2024
|


 RSS Feed