|
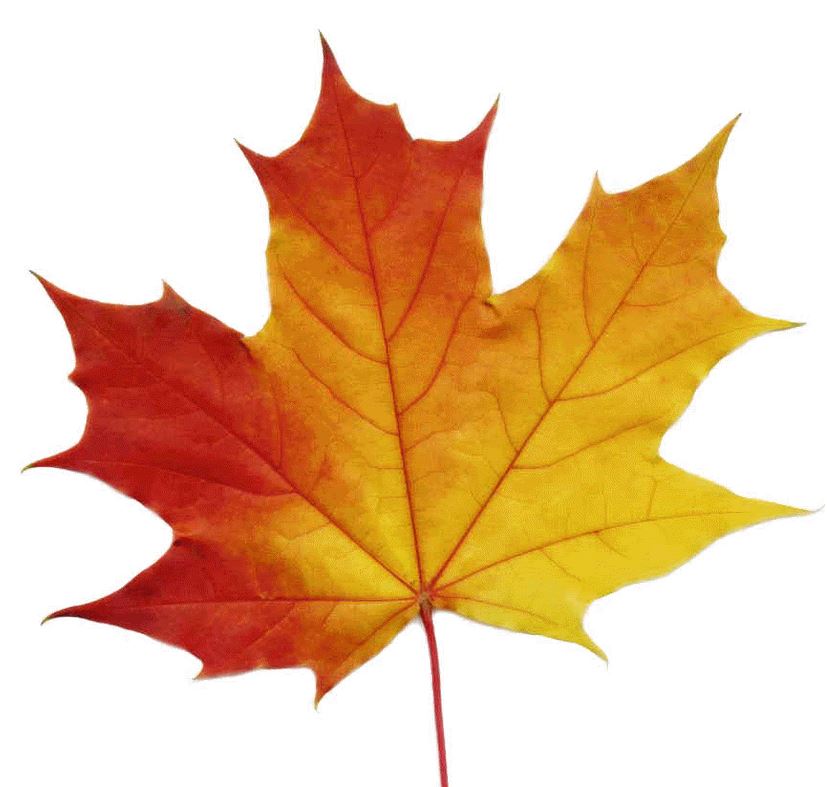
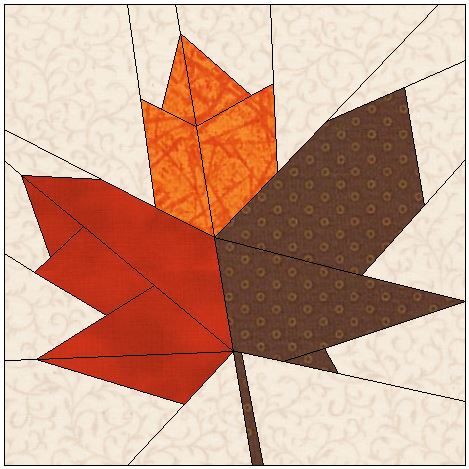
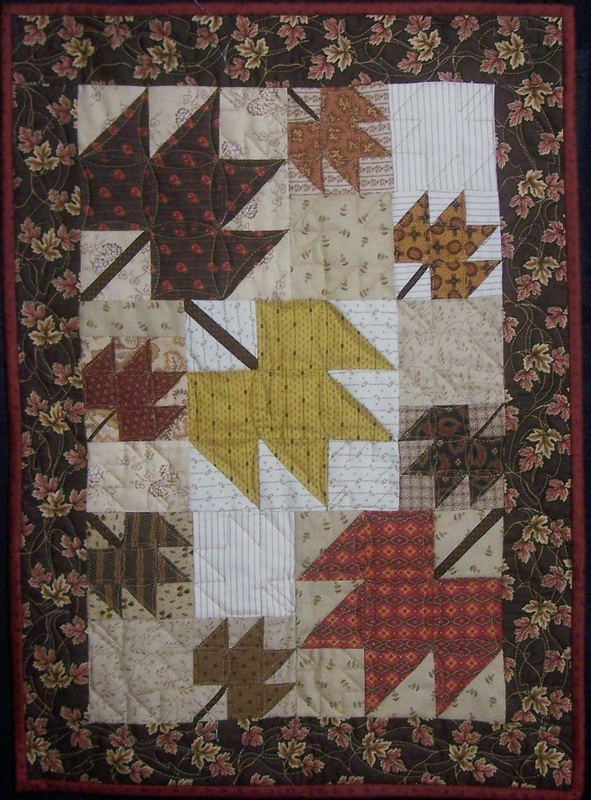
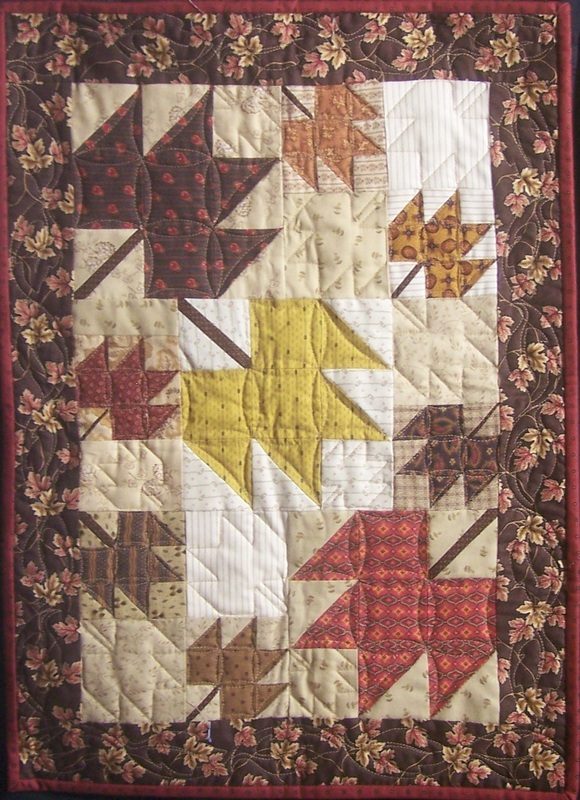
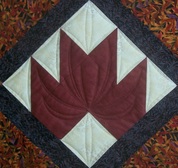
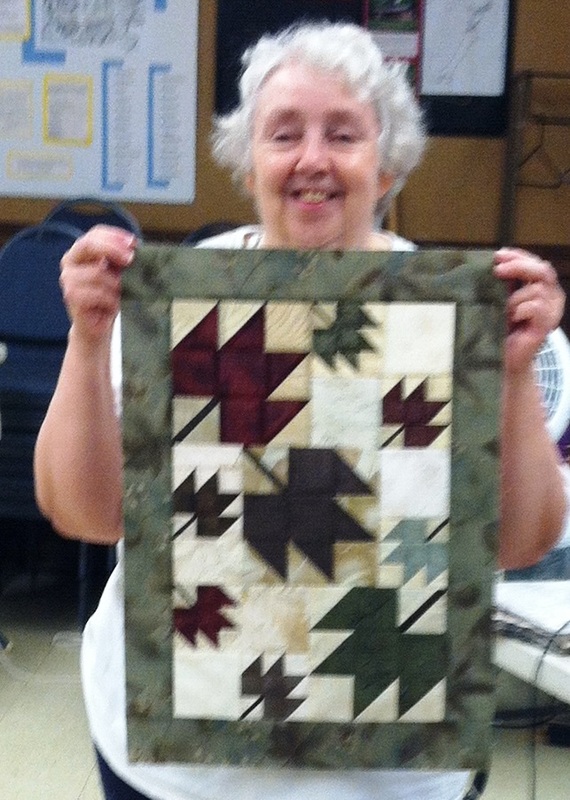
Are you enjoying the fall season? The leaves have been slow to fall and have been particularly colorful. Did you know how much fun it can be to make your own leaf foundation pattern? For this weeks tutorial, I will show you how I did so in Electric Quilt. However, even if you don't have EQ, you could still use this technique with a photo and graph paper. I decided to work with a maple leaf. Here is the inspiration photo and my finished block. If you are interested in a free pdf of the maple leaf foundation (6" size), please click here. If you are interested in the EQ7 file, please click here. Happy quilting. Kari Sign up for my newsletter to stay current on what's happening in my studio and learn more quilting tips. As a thank you, I'll send you a FREE pattern for this small maple leaf quilt.
21 Comments
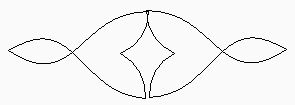
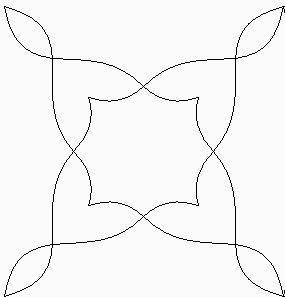
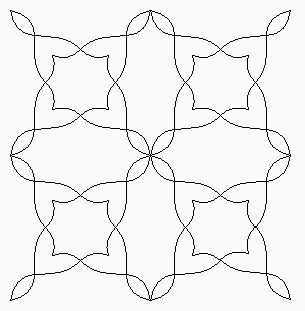
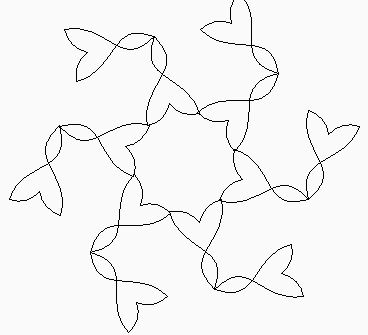
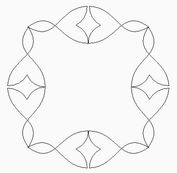
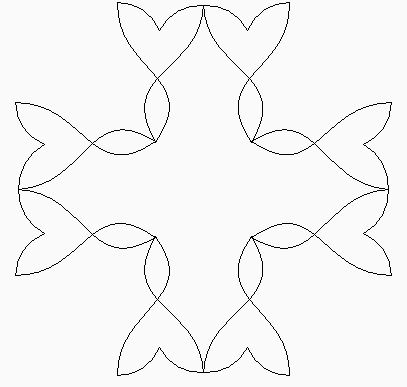
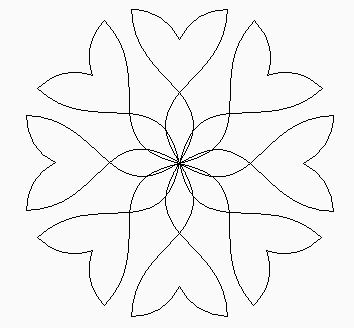
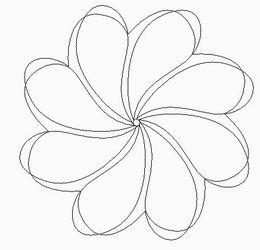
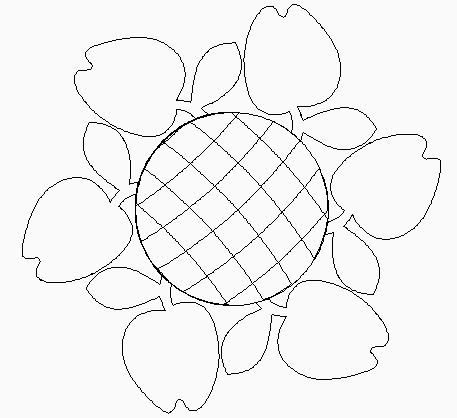
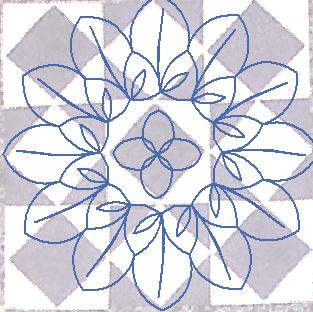
A number of years ago (pre-Intelliquilter) I purchased Volumes 1-5 of the Quiltmaker Design CDs from Electric Quilt. I haven't looked that closely at them in the last few years. Loe Van der Heijden's comment on the Yahoo Art and Stitch group regarding EMS files made me think that these may be very usable designs for those of us with a digital longarm system. First -- I checked out the copyright information. Digitizing is allowed for use in a computerized quilting system. Just no resale/mass production. Yeah!!! Now a video tutorial on how i digitized one of these patterns using Art and Stitch. The design in this video is from Volume 3. After going through this I got hooked on a number of the designs and found it fun to play with new variations of them in Art and Stitch. Even without Art and Stitch, you can create these designs for use on your domestic sewing machine. Here is what I did with Fantasia (from Volume 4) Here is Heart Song from Volume 4 with my Magic Circle variation in Art and Stitch. Here is what I did with the Apple Charm Tack from Volume 2. I created a magic circle and then added curved cross-hatching in the center. If you are interested in the Quiltmaker CDs, they can be purchased on the Electric Quilt website. They retail for $24.95 each and each CD has hundreds of designs. (After this week's tutorial I decided I really needed the remaining three volumes and placed my order. I'm looking forward to the added designs.) Happy quilting. Kari Sign up for my newsletter to stay current on what's happening in my studio and learn more quilting tips. As a thank you, I'll send you a FREE pattern for this small maple leaf quilt.
The leaves have been gorgeous this fall. I'm hoping to get out for a nice walk later today to enjoy the beauty.
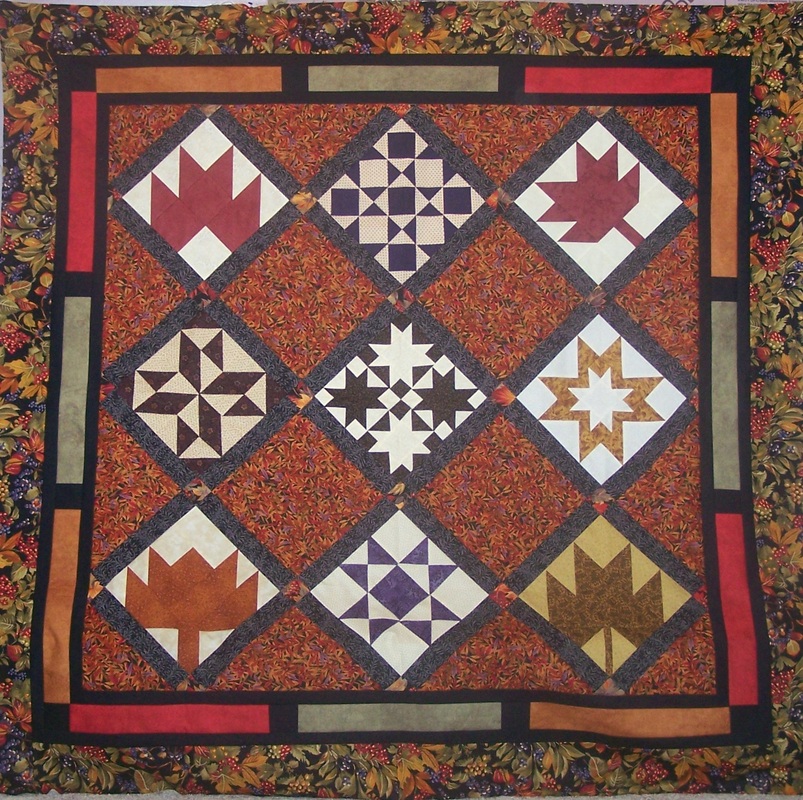
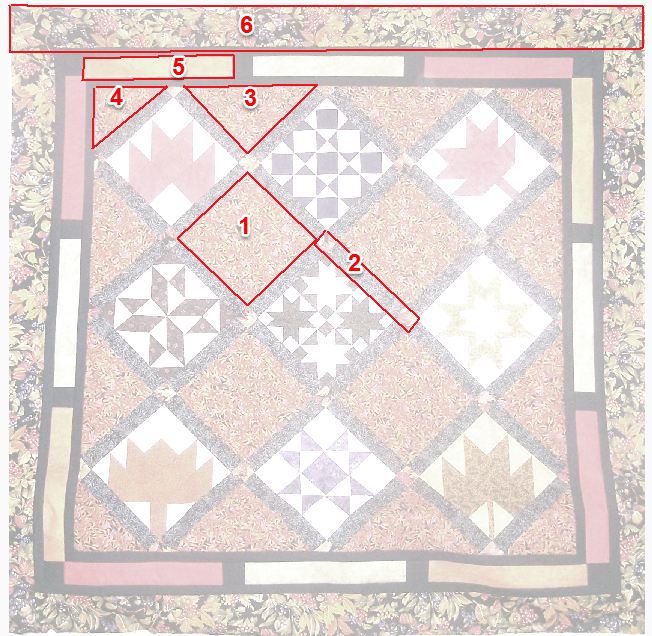
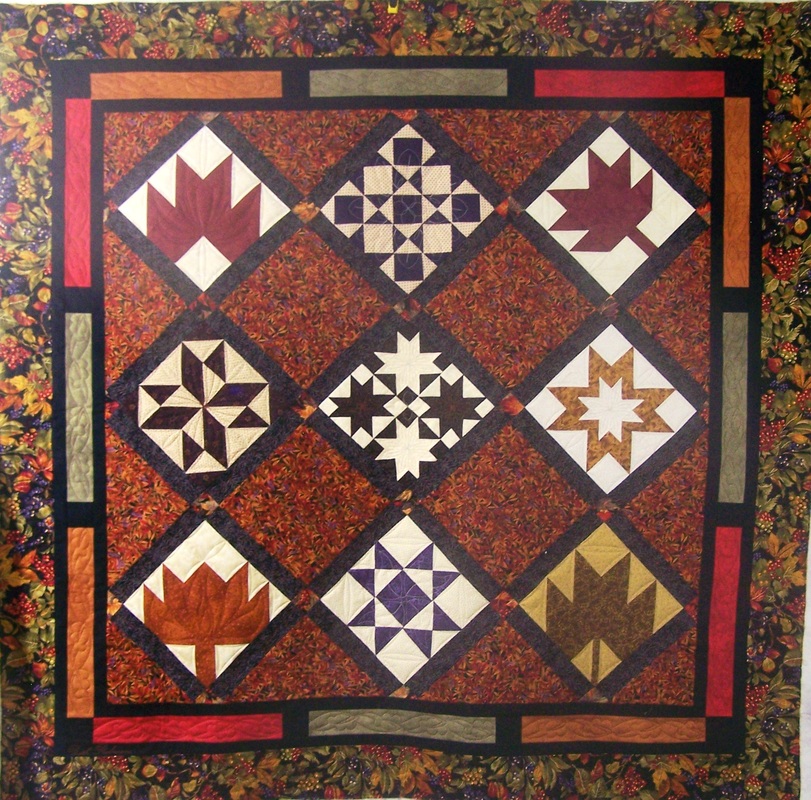
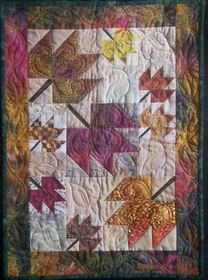
Of course my favorite leaves are those in a quilt. The following sampler quilt top has a wonderful fall theme and was provided by Beth R - who indicated that she wanted "medium custom". For this week's post, I want to walk through how I decided to quilt it. Even if not doing a leaf quilt, this can assist you in analyzing your own quilts.
The theme for this quilt definitely needed to be "leaves". There are a number of different spaces that need to be filled and I also needed to address how I wanted to quilt each of the sampler blocks.
I started by going back to my library of quilting books for inspiration. In looking at "Machine Freehand Patterns" by Nan Moore, I discovered a few pages of freehand leaf designs. The beauty with using my Art and Stitch software is that I only have to draw "one" leaf and then I can modify for designs I can use on my Intelliquilter. If you don't have a computerized system, these designs could also be done freehand.
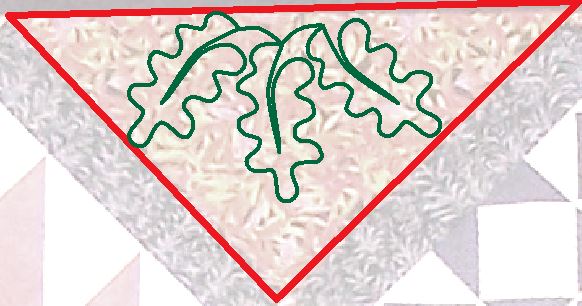
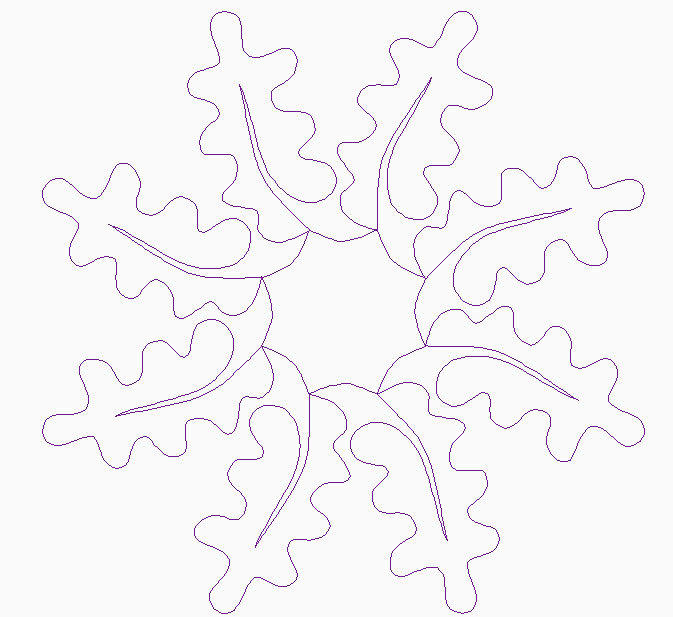
Here is what I came up with for spaces 1, 3 and 4. A wreath (or partial wreath) of oak leaves.
For a free quilting pattern this week, I decided to give you the oak leaf wreath. Click here for a pdf of the pattern. Click here for the Art and Stitch file.
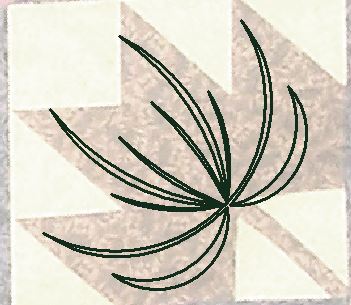
For space five I decided to go with another leaf variation. This one could be used as a point to point design as well. I like that I can stretch this (or shorten this) to fill a space.
For the sashing I wanted a very simple leaf with vine that could come together in the corner.
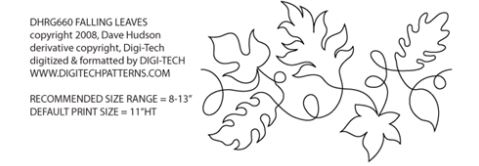
For the border, I will use a design that came with my Intelliquilter, Falling Leaves by Dave Hudson.
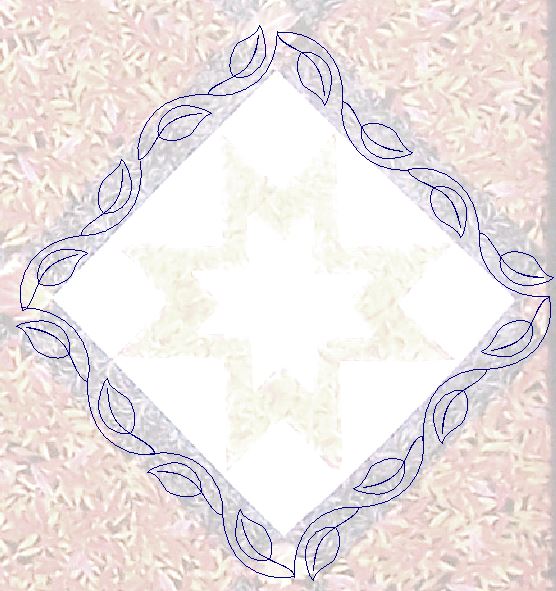
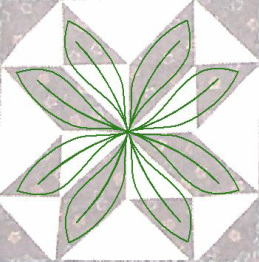
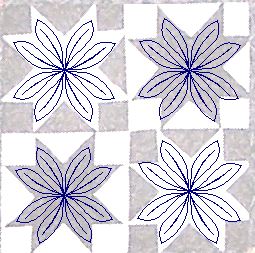
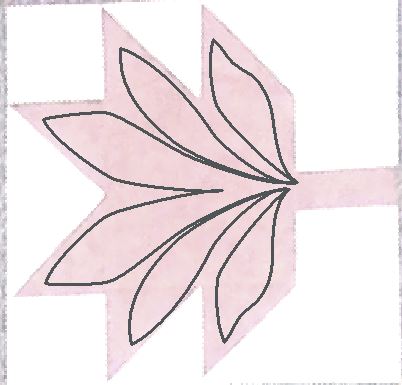
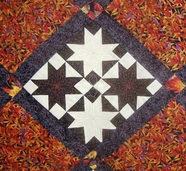
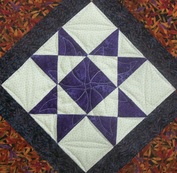
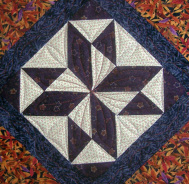
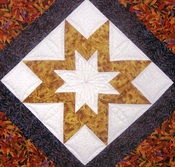
Now for the sampler blocks. There were a number that were based on an eight pointed star, so I came up with a leaf that could be flipped and rotated to fill the space. For the backgrounds, I will use a point to point arc and do that directly on my longarm.
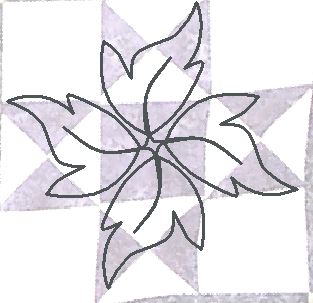
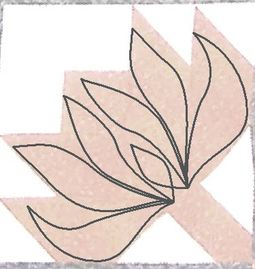
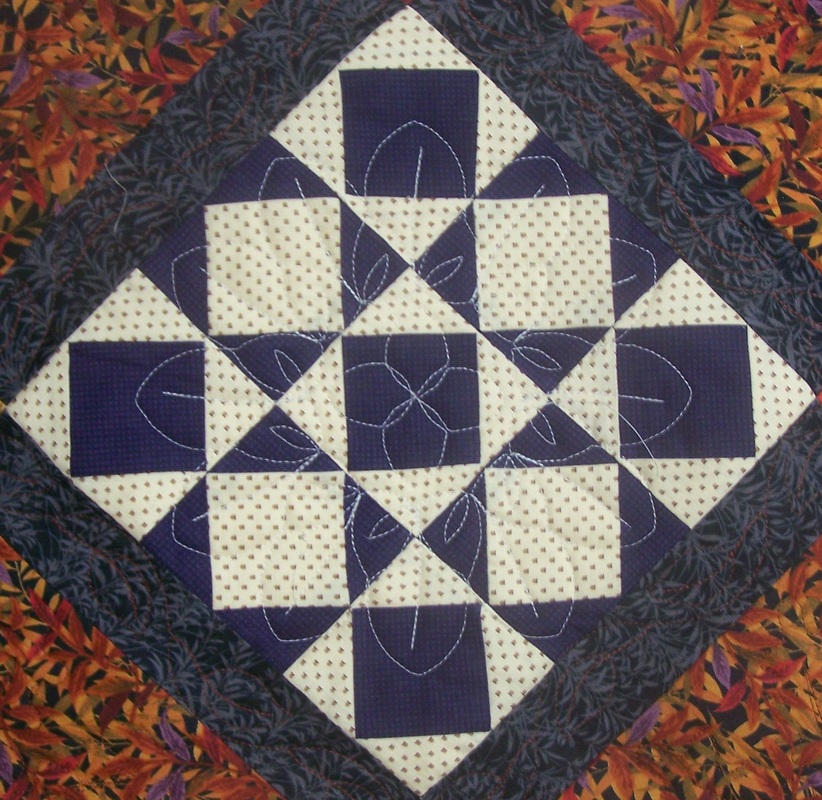
There were a couple of additional blocks that I designed some other quilt patterns around a leaf. The second design was inspired by the "Leaf Flower" in Patterns by Helen on my Intelliquilter.
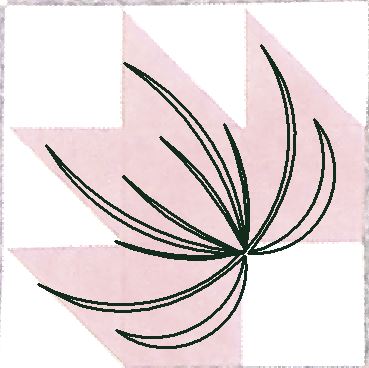
For the leaf blocks, I wanted some leaf like texture or veins. The "S Curve" option was inspired from a book by Deloa Jones. All of these blocks will also have "arcs" in the background spaces.
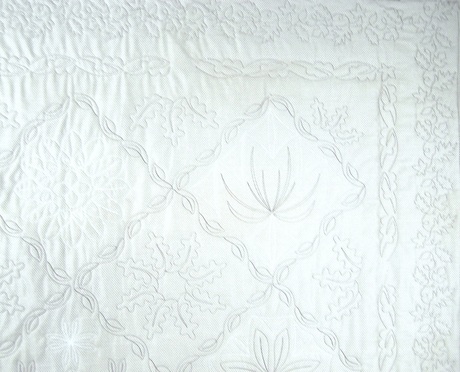
I hope this provides some inspiration when quilting your next leaf quilt. Here are some photos of the finished quilt. I used a rust thread for much of the quilt -- which of course means the quilting is only visible on the back. But you can see more of the quilting in the close-ups.
Happy quilting.
Kari
Sign up for my newsletter to stay current on what's happening in my studio and learn more quilting tips. As a thank you, I'll send you a FREE pattern for this small maple leaf quilt.
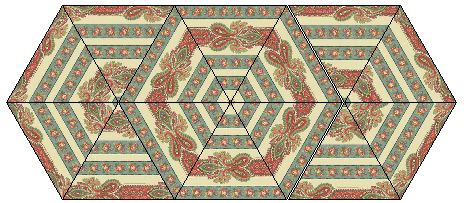
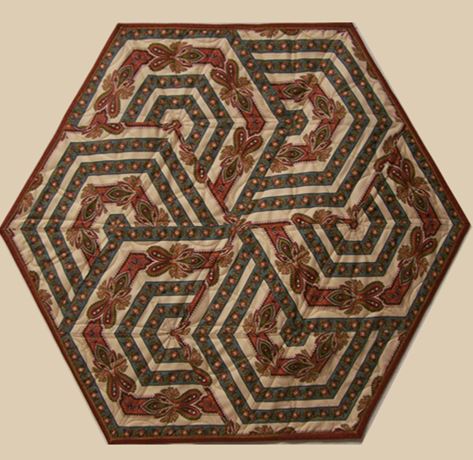
Last week I mentioned I was pondering how the Jo Morton fabric would work in one of the Triangle Frenzy patterns by Bunnie Cleland. You can purchase the patterns on her website or through your local quilt shop. Her patterns are top notch and provide excellent suggestions for making these projects and I highly recommend them. I decided to start by recreating one of the quilts using Electric Quilt as this would give me a vehicle to test the fabric before cutting it up. I will take you through the whole process in this weeks video. I will warn you that this is a long one (13 minutes). It includes drafting the hexagon blocks, figuring out the size of the blocks, setting the blocks using "custom set", importing cropping and resizing the border fabric in the image tab and finally "rotating and fussy cutting" the fabric in the final quilt layout. Here is the link to the online calculator referenced in the video for figuring out the length of your block. Here is the quilt as designed in EQ. Here are photos of my finished projects. I was able to make both of these quilts from two yards of fabric. These are so fast to make. I think these projects may become my "Christmas gifts" this year. Happy quilting. Kari Sign up for my newsletter to stay current on what's happening in my studio and learn more quilting tips. As a thank you, I'll send you a FREE pattern for this small maple leaf quilt.
|
Kari SchellElectric Quilt Expert and Educator and Pattern Designer. Categories
All
Archives
July 2024
|










 RSS Feed