|
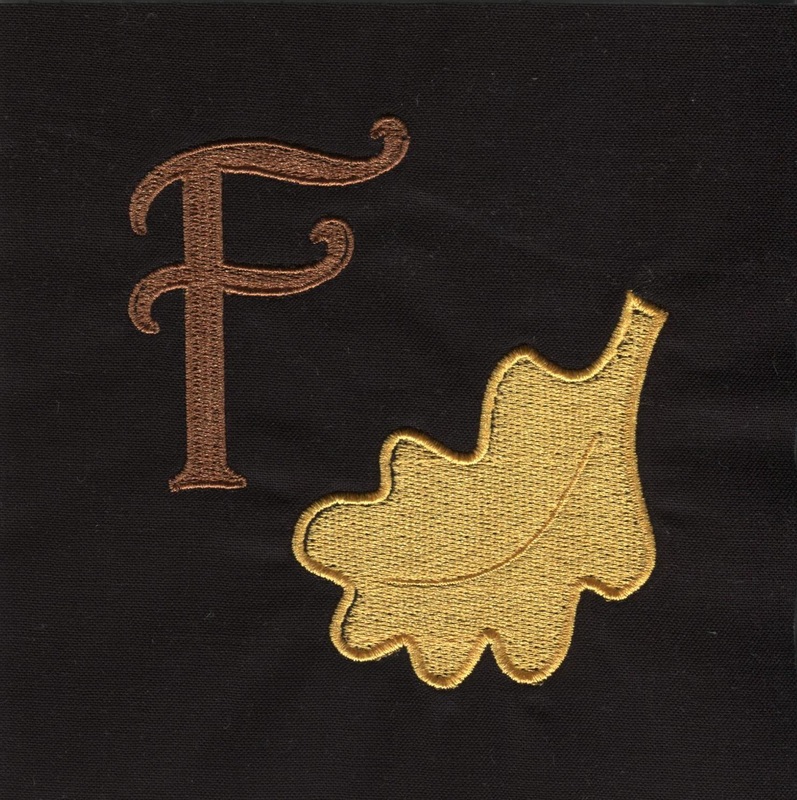
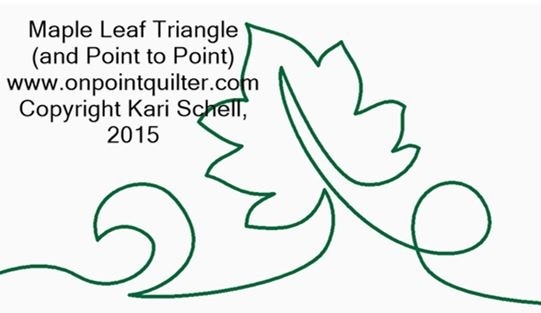
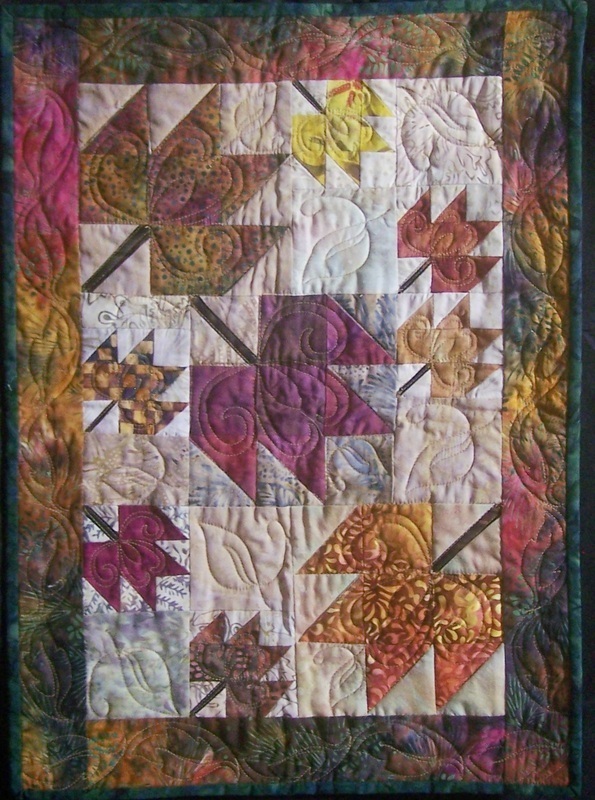
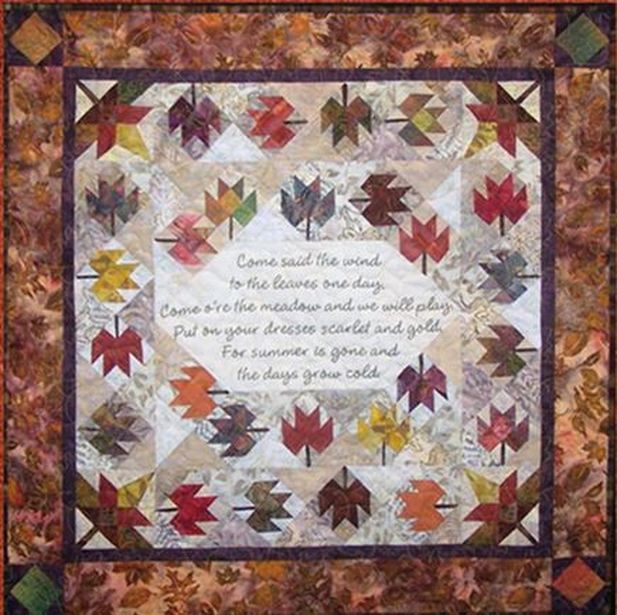
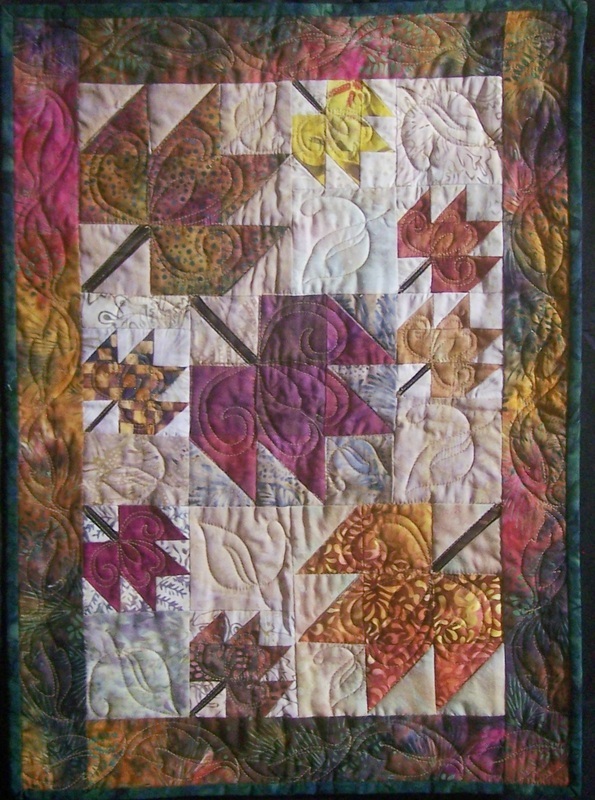
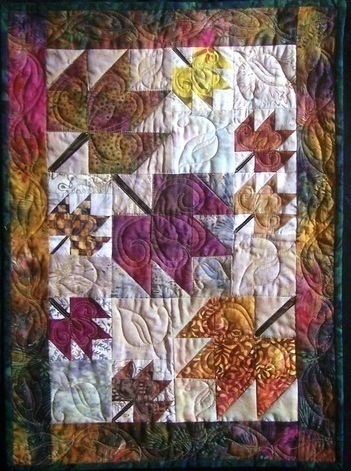
It is finally beginning to feel like fall in Minnesota. Leaves are starting to turn colors and I am needing to pull out my sweatshirts for more than just the ice rink. I also love fall fabrics and fall quilts. In the midst of all my preparation for market, I decided I needed to create a small quilt to celebrate the new season. Would you like to join me? For this project, you can choose to either create applique blocks or machine embroidery blocks. Since I am still having fun playing with EQ Stitch, I will be doing the embroidery version. If you are not currently using Electric Quilt, I will also provide copies of the line drawings for your use in making the blocks. Creating the LayoutThis first video will show you how to create the layout for the quilt. The quilt will have only four blocks. Color the blocks black and the borders in "fall" colors. Creating the Fall Leaf BlockOne of the really cool features of EQ Stitch is how fast it is to create embroidered text. And you can use any true type fonts on your computer! This video will share how I created text for the fall quilt. I also took a motif from the Library, made some minor adjustments and created a stitching design. Here is my stitched out block. The design is created in a 4 x 4 hoop. However I trimmed the block to 5 x 5 to allow for some additional space and the seam allowances. I had a little bit of a pull issue on the leaf. So I may need to play a bit more with my embroidery machine - or increase the edge stitching width. Next week I will share the creation of Block 2 for this quilt. Featured Product - Come Said the WindI am offering a sale on the bundled version of Come Said the Wind which includes the two quilting designs. The bundle is on sale for $15 (that's 50% off the non-bundled prices). No digital longarm system -- there are also pdfs of the quilting designs that may be copied and resized. Best of all you can get started today with downloads of everything.
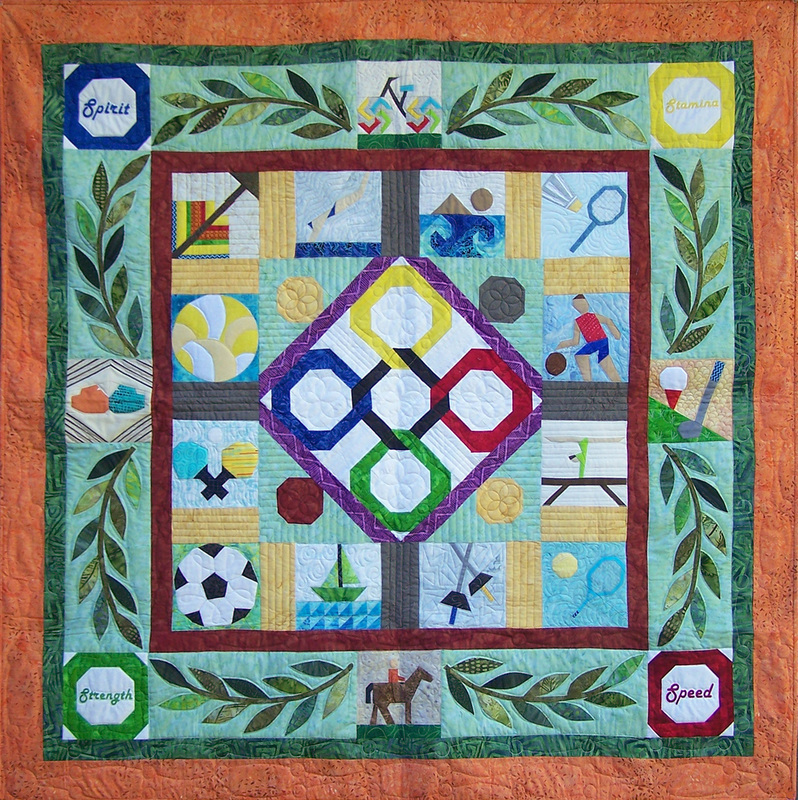
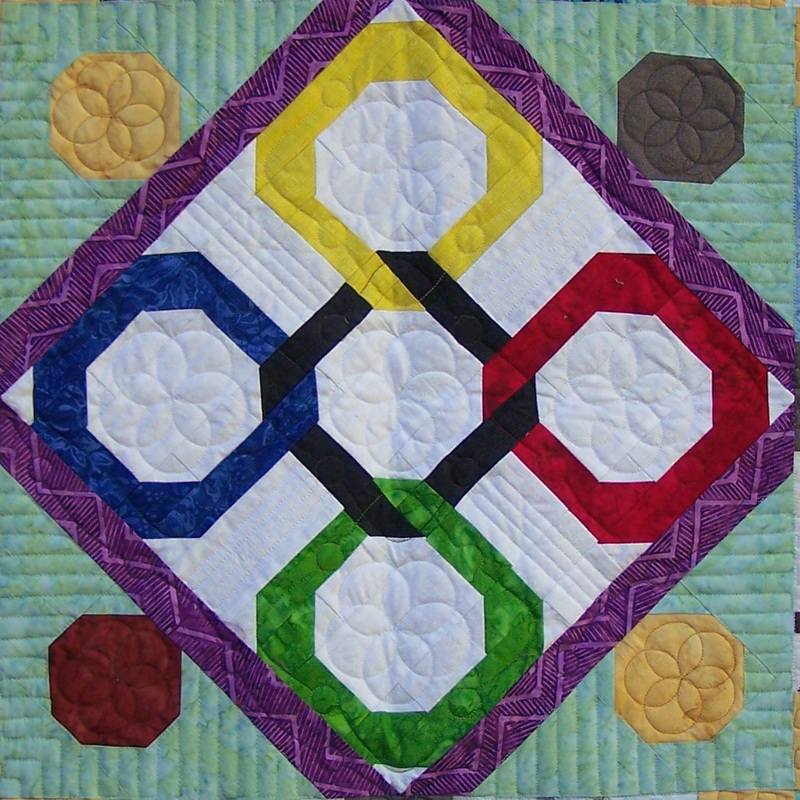
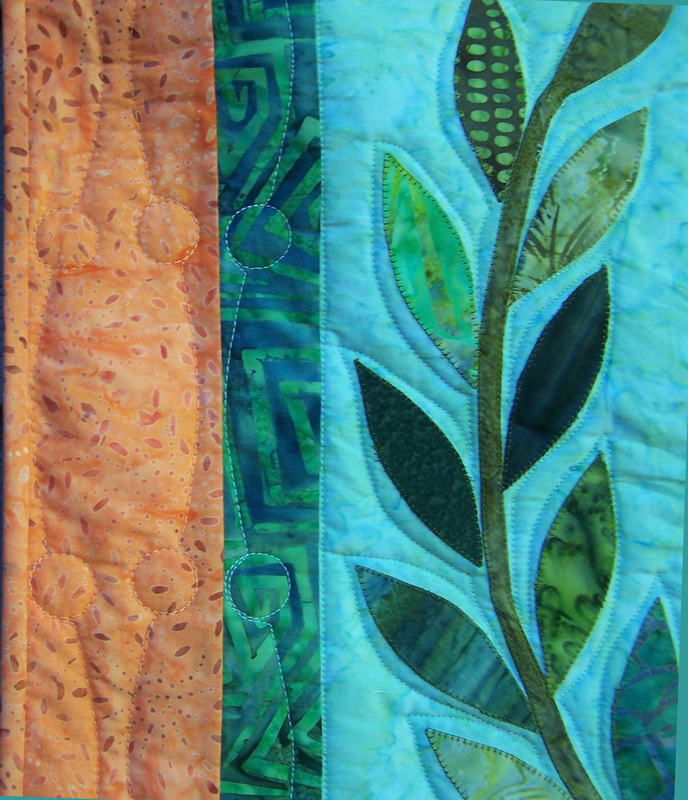
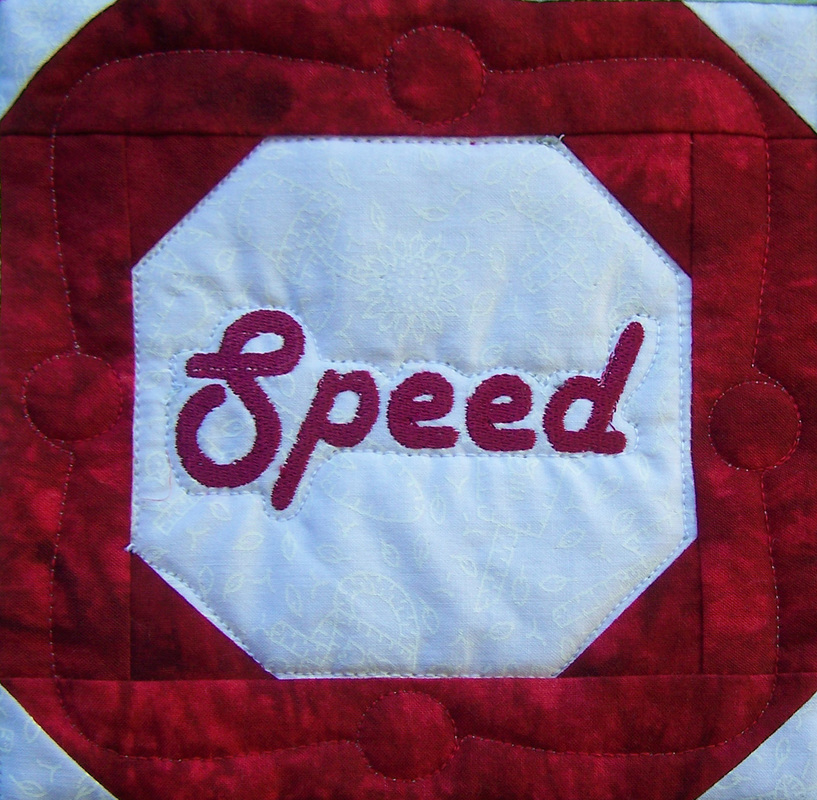
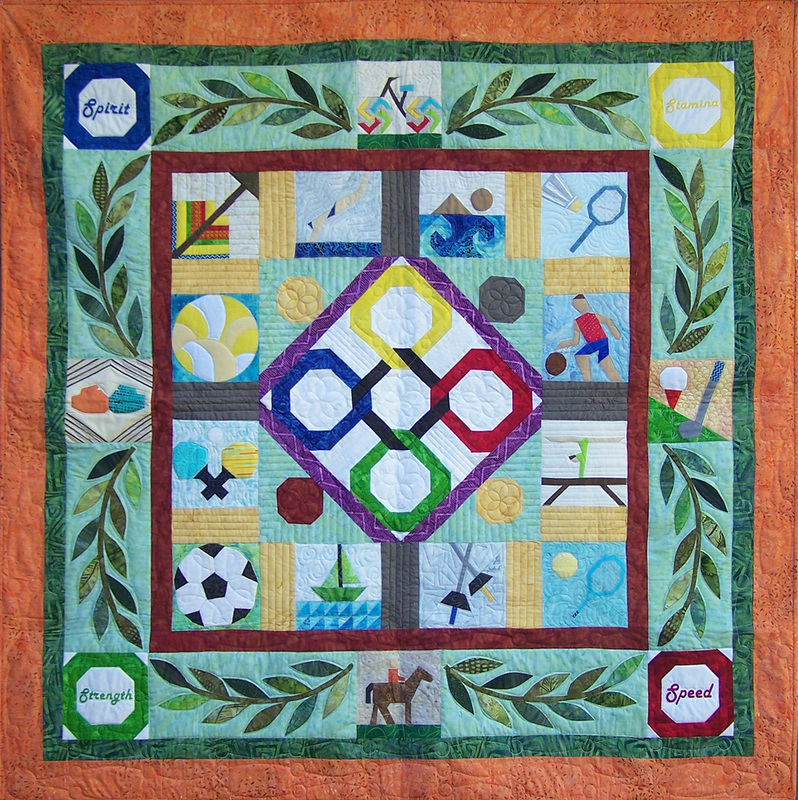
Lots to share this week. As promised, this post includes the remaining close-ups of the Summer Games quilt. I also am now the proud owner of EQ Stitch! I am including my initial impressions of the software -- and my first video. See how easy it is to produce quilting designs for stitching on your embroidery machine. I am also introducing a number of new digital quilting designs (for both longarm and embroidery systems) for the Summer Games quilt -- with a sale on these new designs. Summer Games - QuiltingAs a reminder this is the full quilt. EQ StitchI am now a proud owner of Electric Quilt Stitch. What is EQ Stitch -- it is an add-on software for Electric Quilt that provides the ability to create designs for your embroidery machine. Here are a few observations after beginning to play with EQ Stitch:
Electric Quilt Videos - Continuous Quilting Designs and EQ StitchMy videos this week will include how to create a continuous quilting design in EQ. Part 2 will show how easy it is to add the stitches using EQ Stitch. Featured Products - Summer Games Quilting Designs
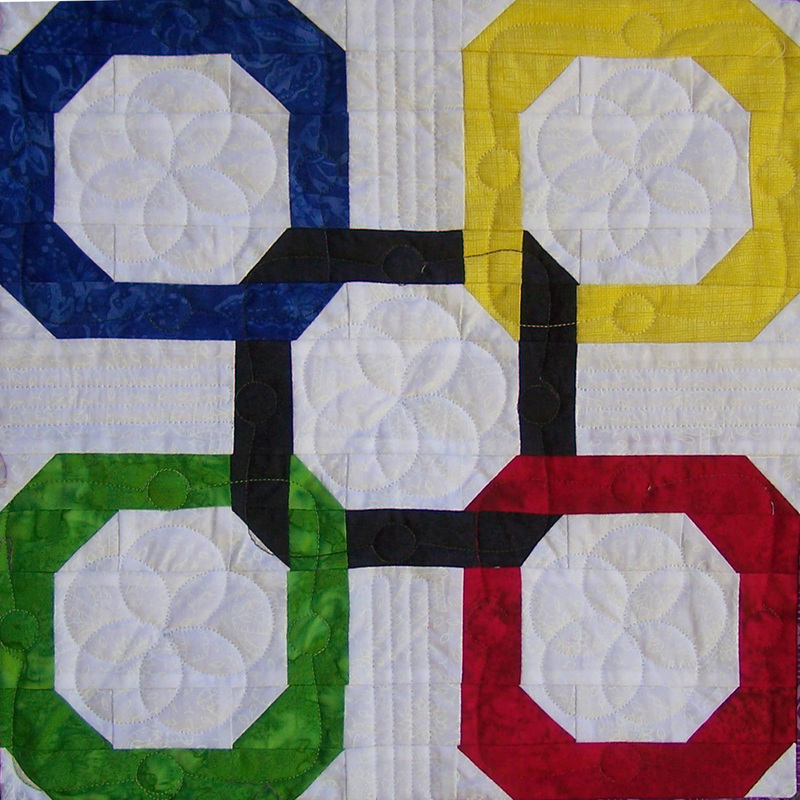
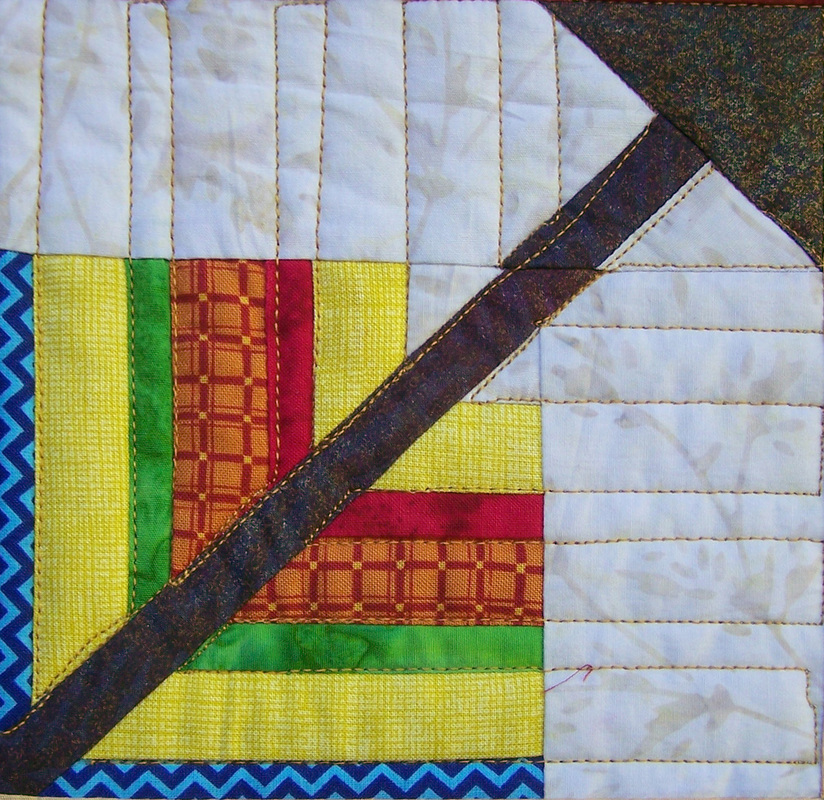
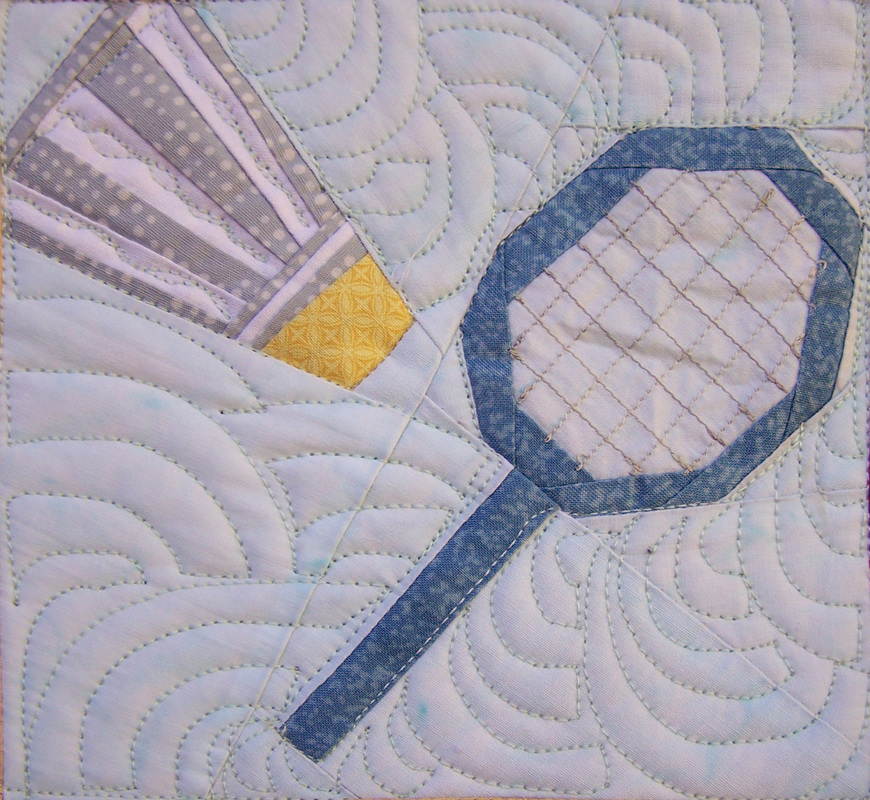
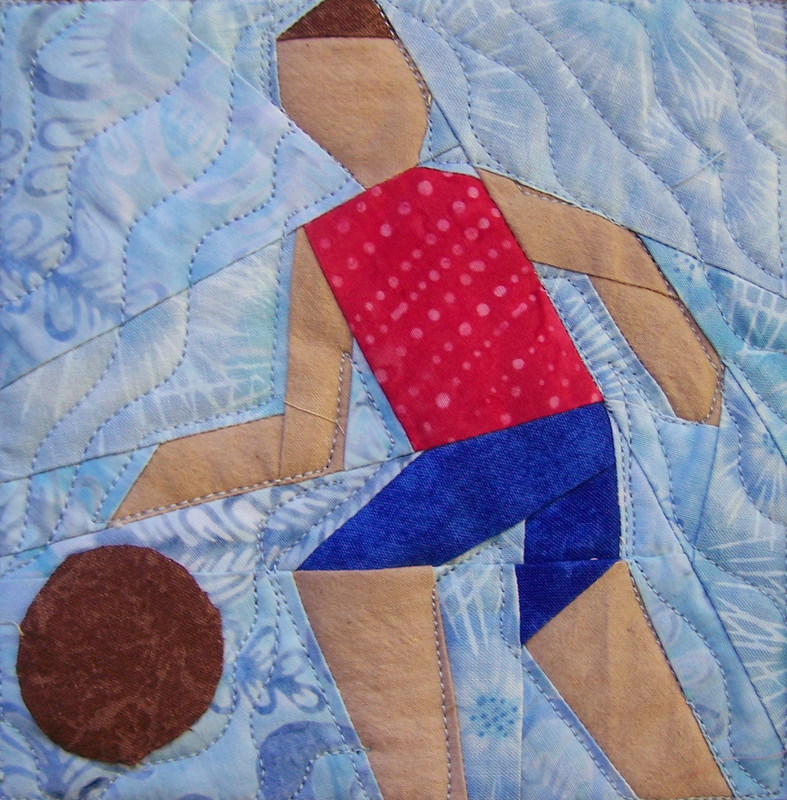
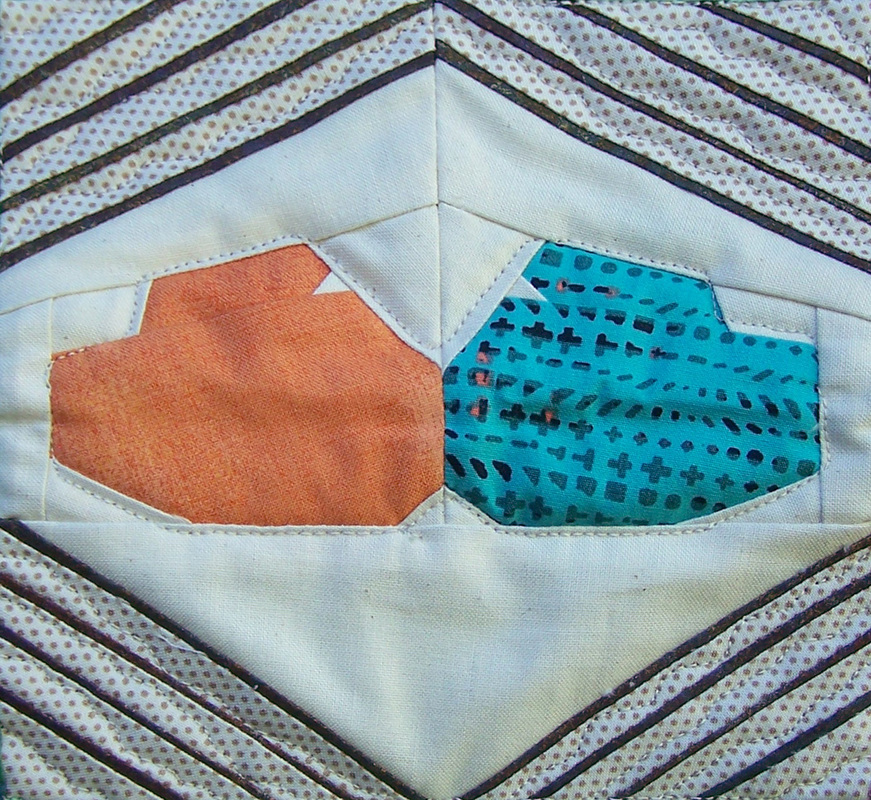
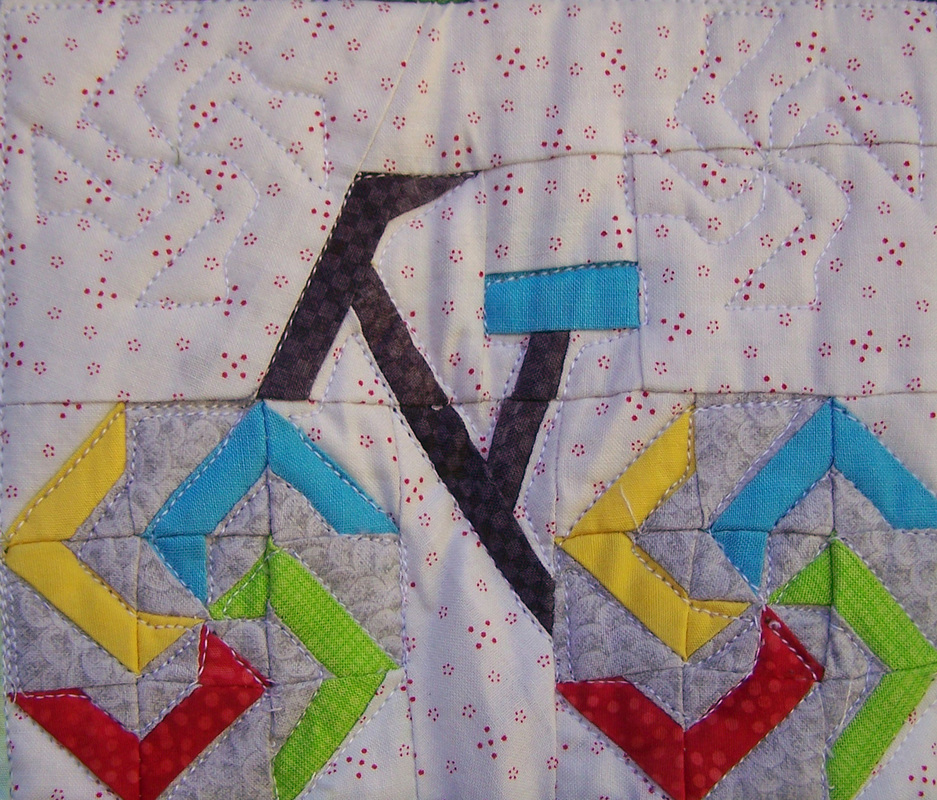
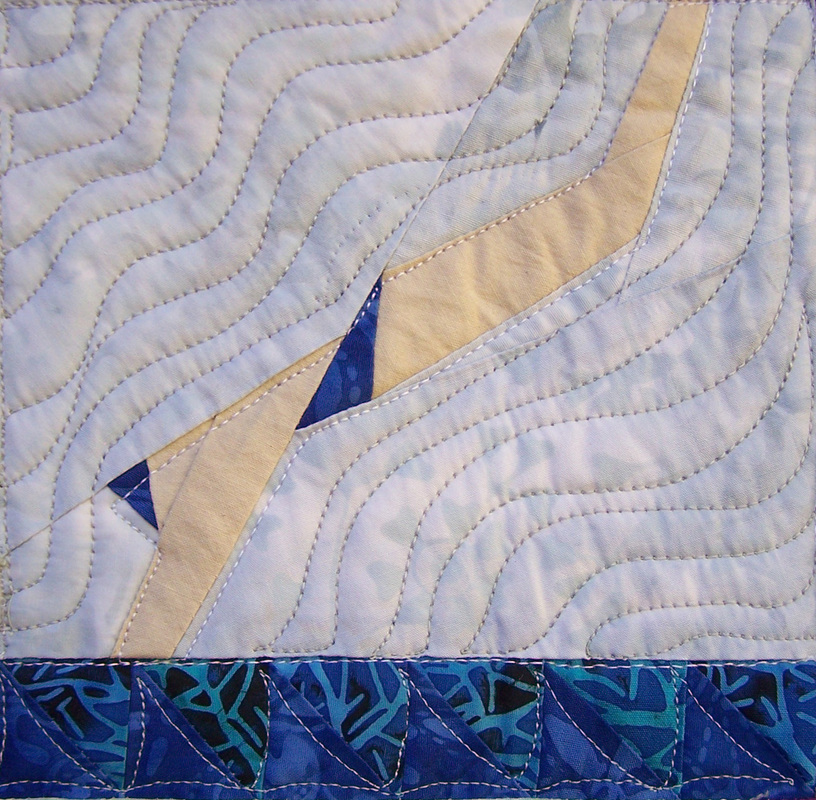
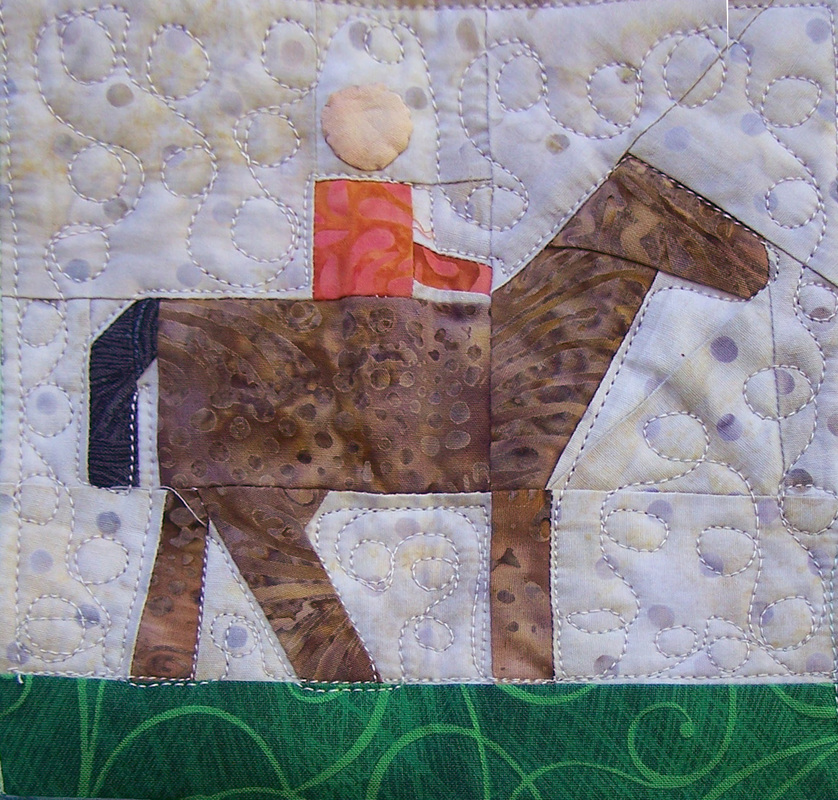
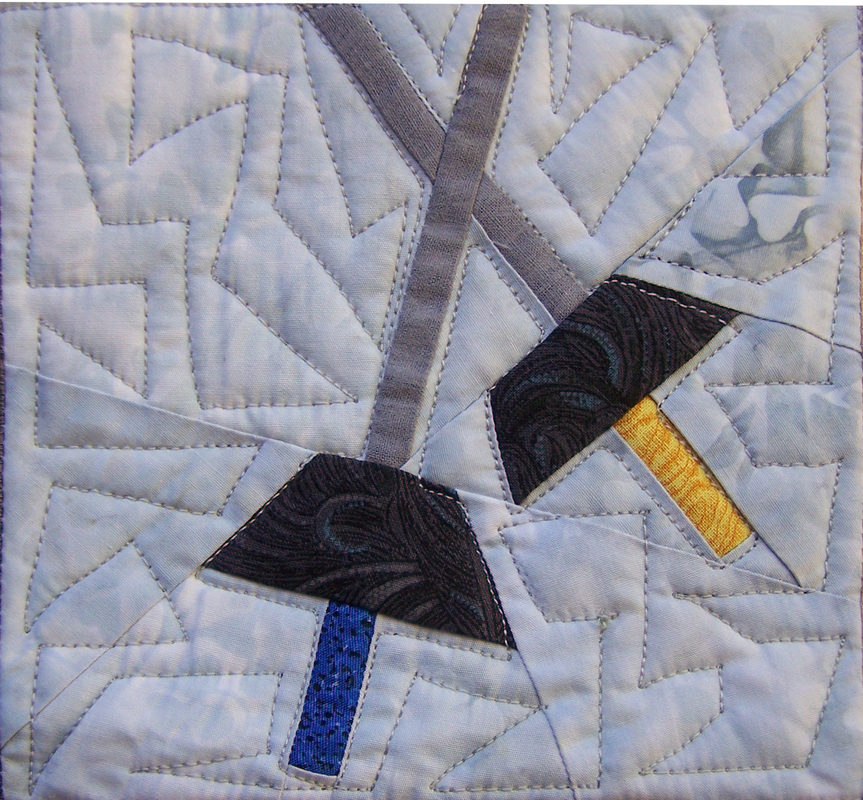
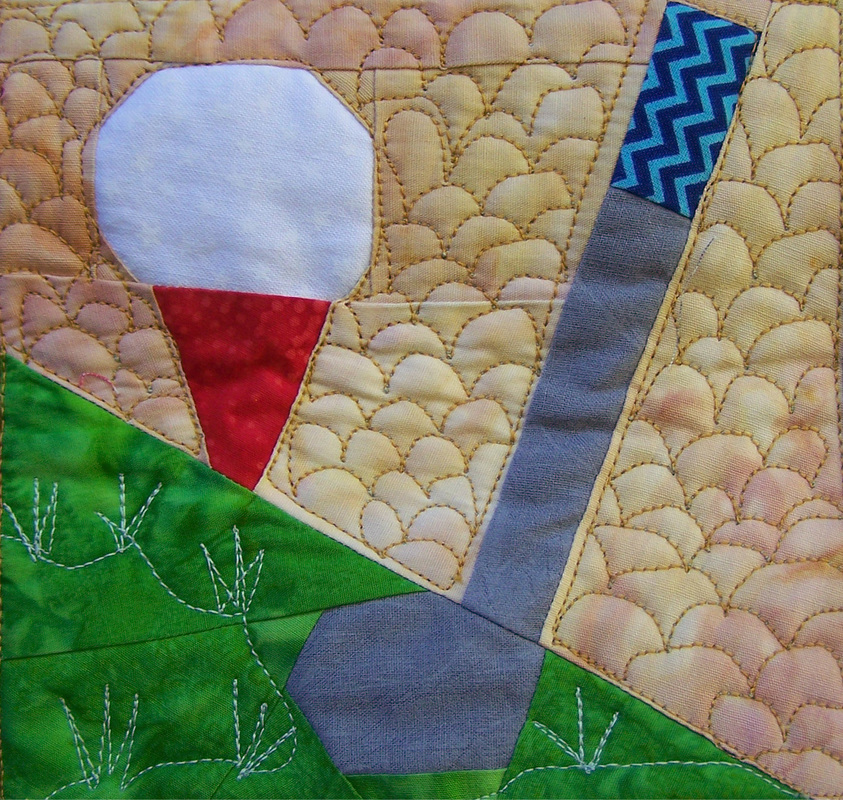
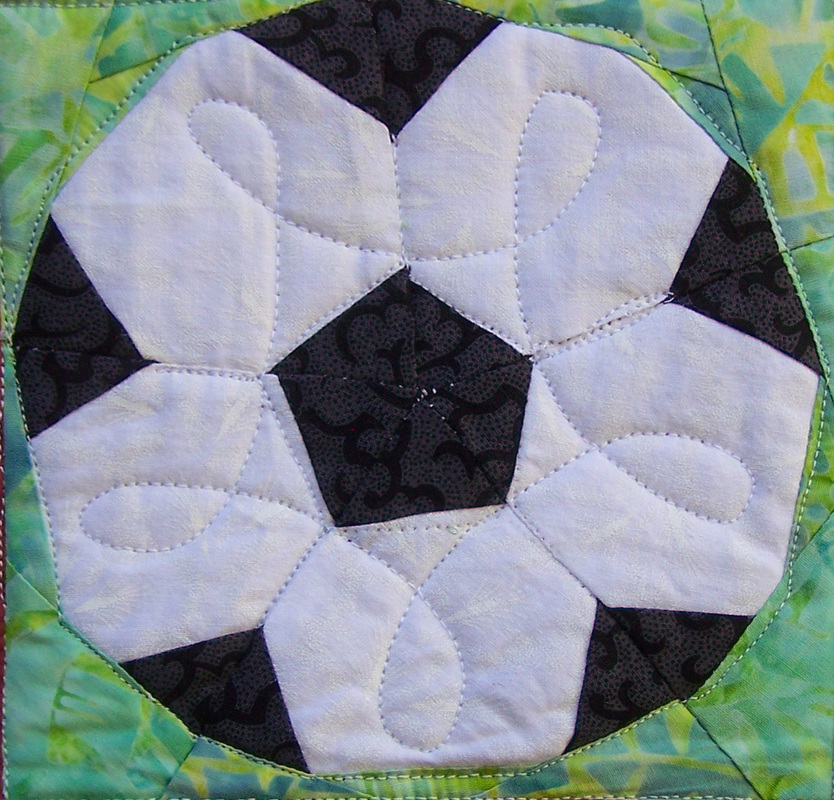
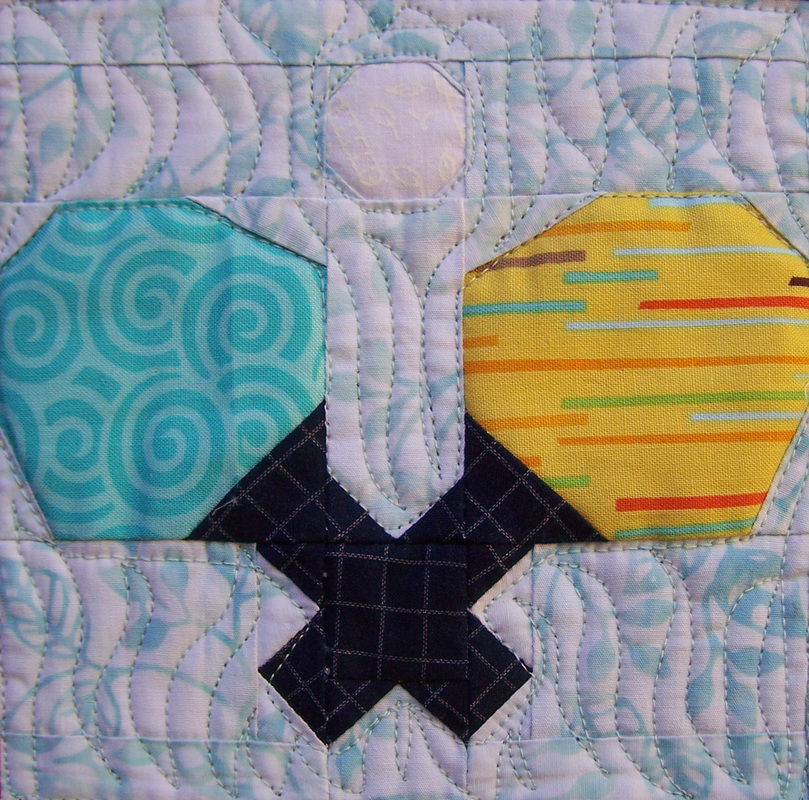
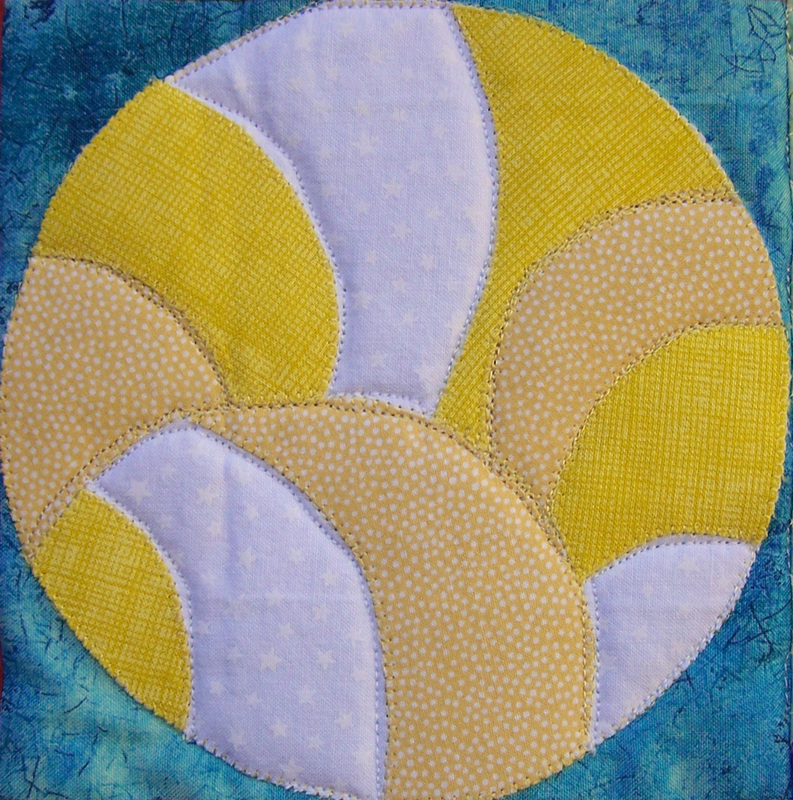
My Summer Games quilt is finished. I completed the binding in my hotel room in Denver and showed the quilt to those at the Electric Quilt Academy during my lecture on Friday night. And now I would like to share it with you. By the way, I am totally sold on the 3 day immersion program for expanding your Electric Quilt skills. I taught the beginner class. My students were awesome and by the end were confidently drafting blocks in Easy Draw, importing fabrics from the internet and even creating a Row by Row quilt. It was also great having Electric Quilt staff in the classroom to answer questions and assist students as well. Back to the Summer Games quilt. This week I thought I would share close ups of the quilted sporting blocks. When quilting these blocks, I tried to come up with textures that would complement the design. I outlined many of the shapes. Most of the work was done freehand. This technique works equally well on longarm machines and domestic sewing machines. There are some wobbles as a result -- but I don't think it detracts from the overall look of the quilt. Next week I will share how I created some of the specialized quilting designs for the other blocks. Northwoods Loon Class at Gruebers
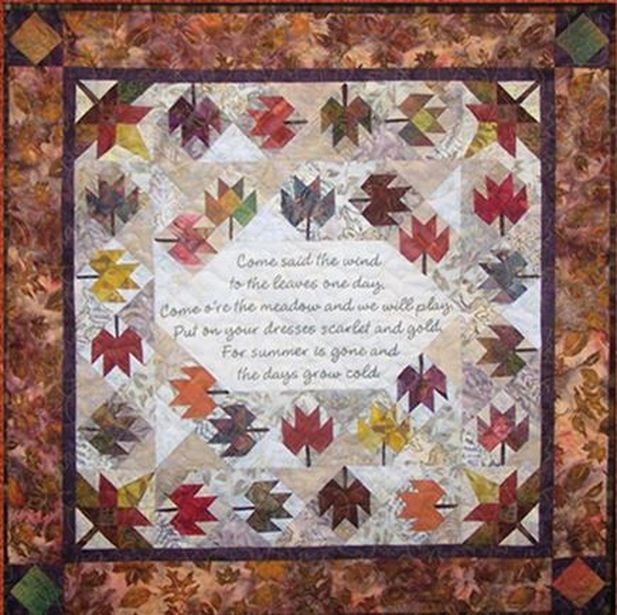
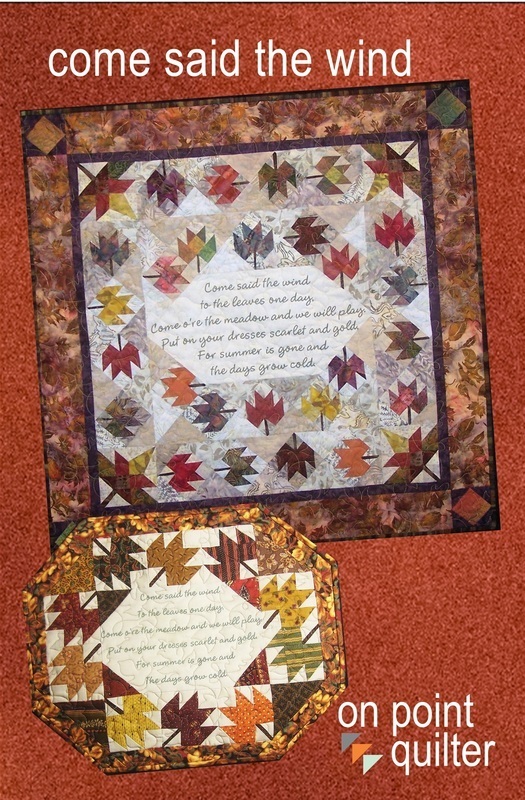
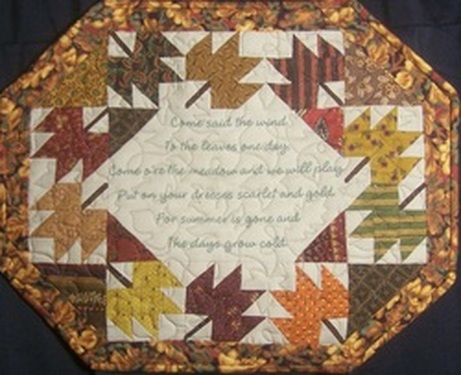
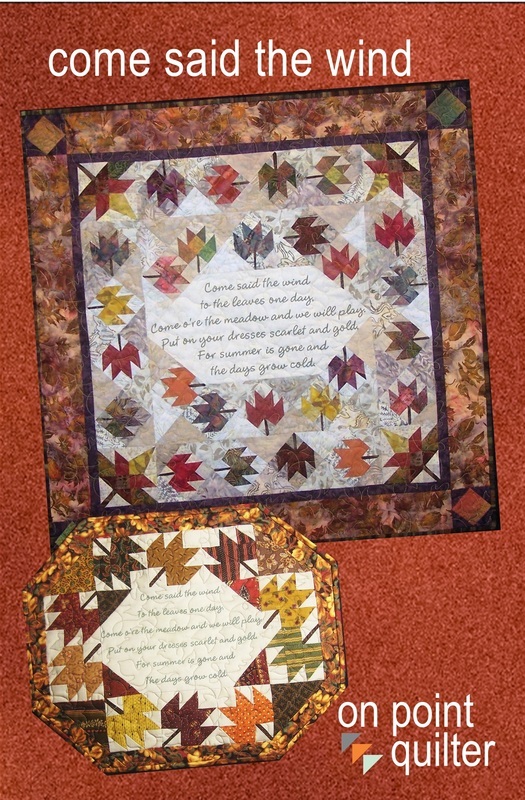
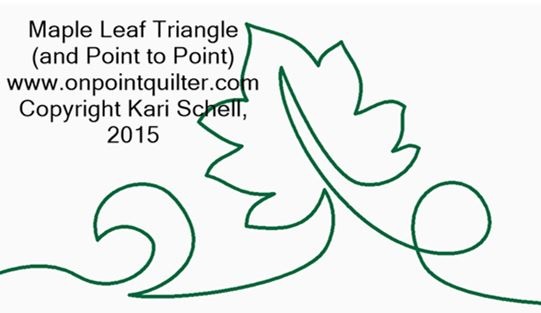
Featured Product - Come Said the WindThe leaves will be turning shortly -- and it is time to display my Come Said the Wind quilts. For my followers, I am offering a sale on the bundled version of Come Said the Wind which includes the two quilting designs. The bundle is on sale for $15 (that's 50% off the non-bundled prices). No digital longarm system -- there are also pdfs of the quilting designs that may be copied and resized. Best of all you can get started today with downloads of everything.
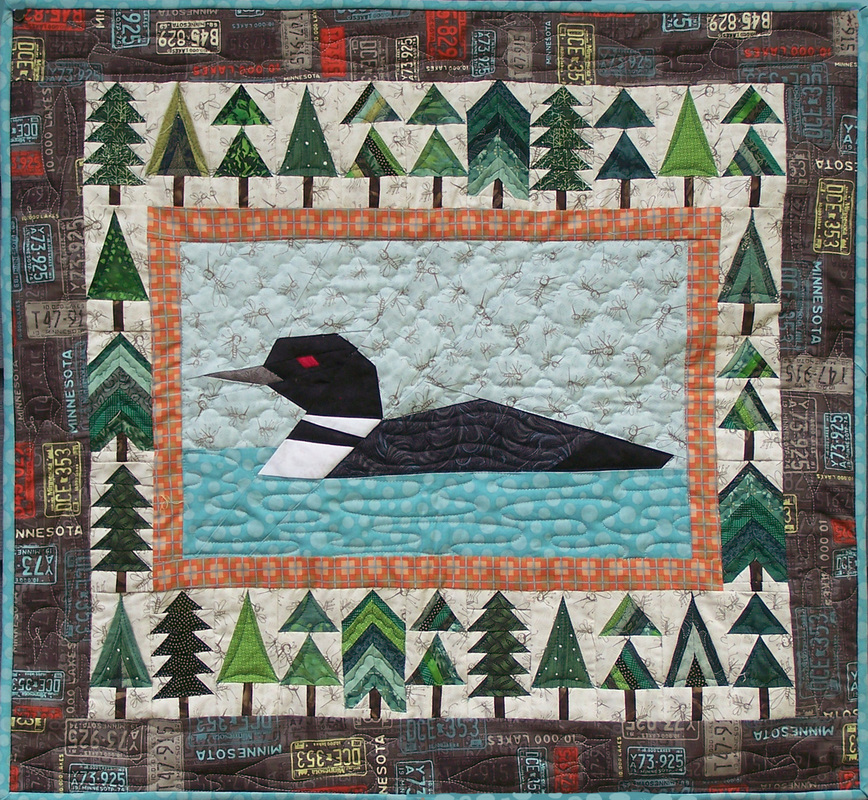
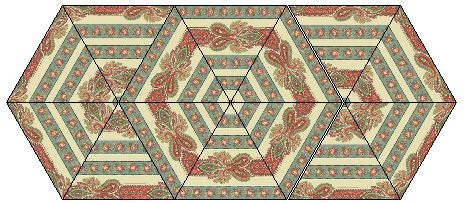
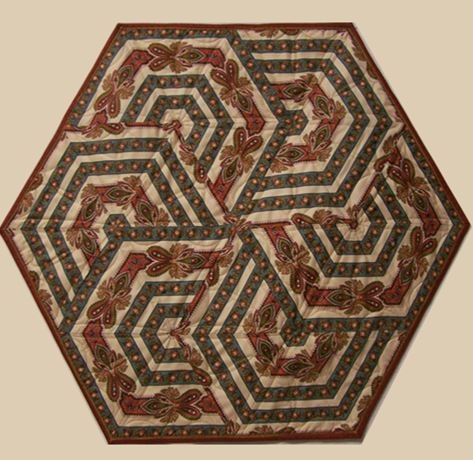
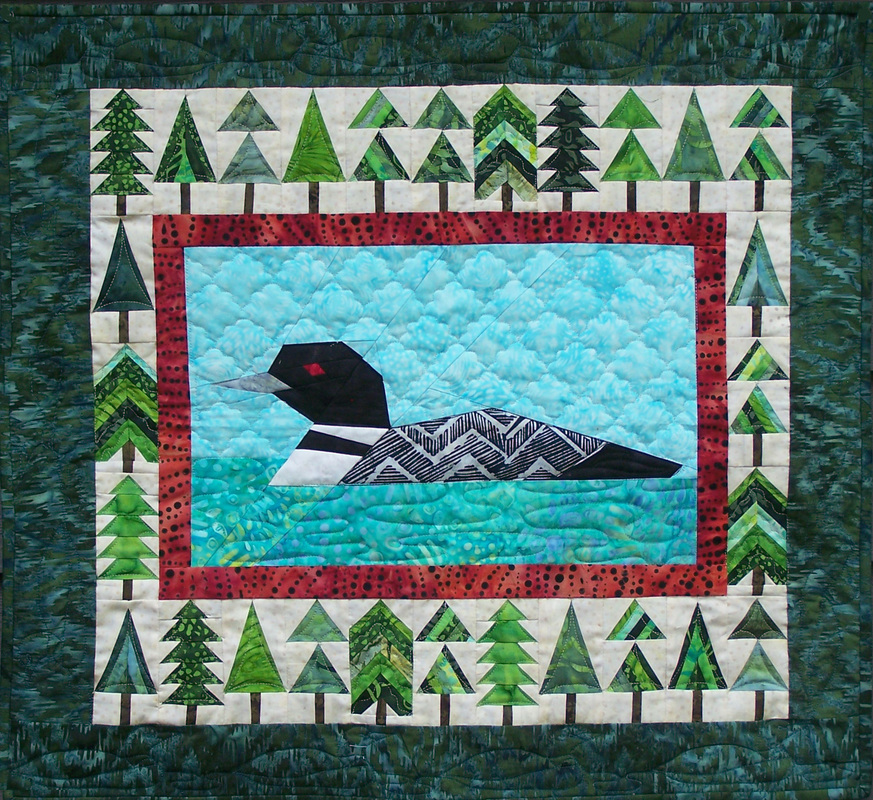
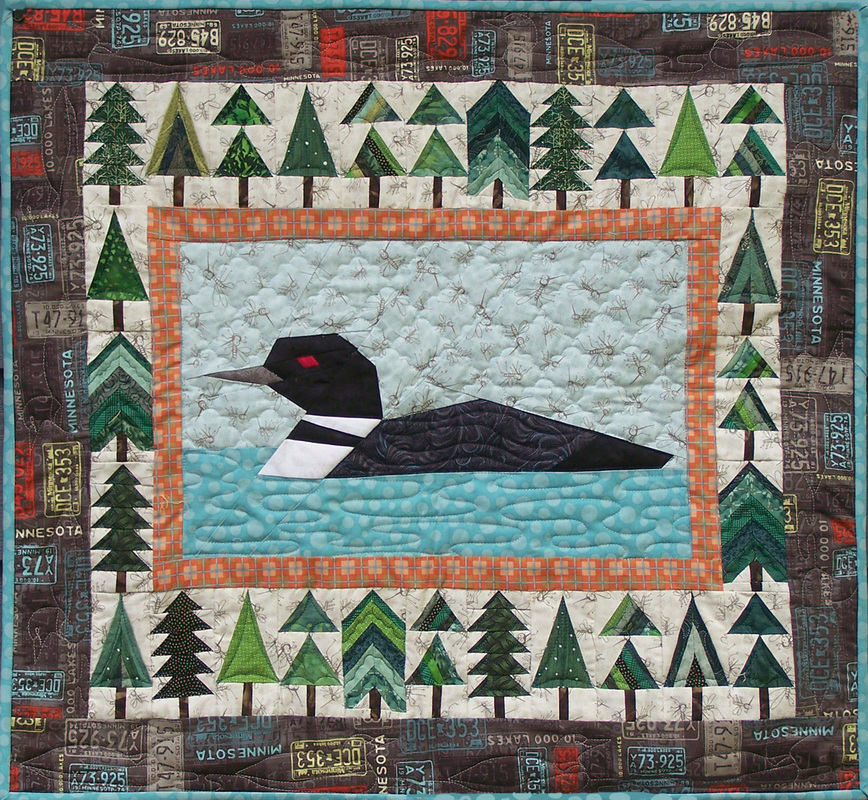
Did you know that Electric Quilt can actually save you money? As quilting fanatics, one of our biggest recurring expenses is fabric purchases. After I purchase the fabric, how do I make sure it will actually work well in my quilt? Some of my go to quilt patterns for quick and easy gifts are Bunnie Cleland’s Triangle Frenzy® quilts. You can purchase her patterns on her website or through your local quilt shop. I highly recommend purchasing her pattern as her instructions for piecing her quilts are superb. When I originally purchased fabric for the quilt, I stared at it for weeks – trying to envision what it would look like all cut up. I finally realized I needed the help of Electric Quilt to test the fabric layout. This video was originally published over a year ago. But the concept remains relevant today. I will take you through the whole process including drafting the hexagon blocks, figuring out the size of the blocks, setting the blocks using "custom set", importing cropping and resizing the border fabric in the image tab and finally "rotating and fussy cutting" the fabric in the final quilt layout. Here is the link to the online calculator referenced in the video for figuring out the length of your block. Here is the quilt as designed in EQ. Here are my finished quilts. I was able to make both of these quilts from two yards of fabric. Featured Pattern - Northwoods LoonWatching a majestic loon on a serene lake will calm your soul. Carry this scene into your home with easy (and incredibly accurate) paper piecing techniques. The wall quilt finishes 27″ x 25″. Hot off the press -- the Northwoods Loon quilt pattern is now available for purchase! One of the sample quilts was done in batiks and the other using the just released MN Shop Hop fabric -- the Mosquito fabric was too hard to resist. I will be teaching a class on paper piecing the Northwoods Loon quilt on September 24th at Grueber's Quilt Shop ini St. Cloud MN. I would love to see you there. Read more here.
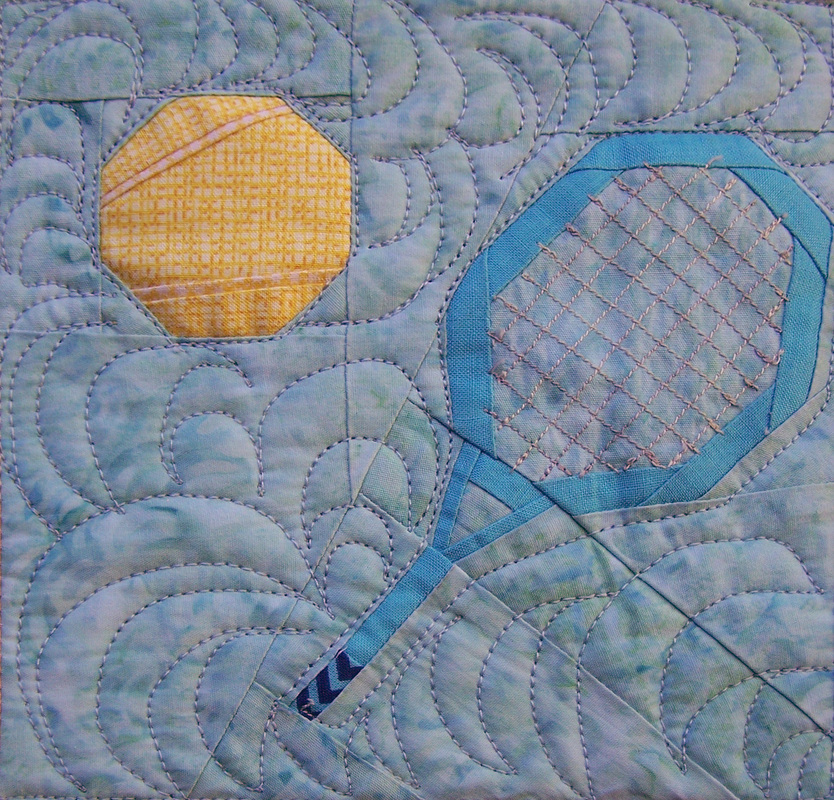
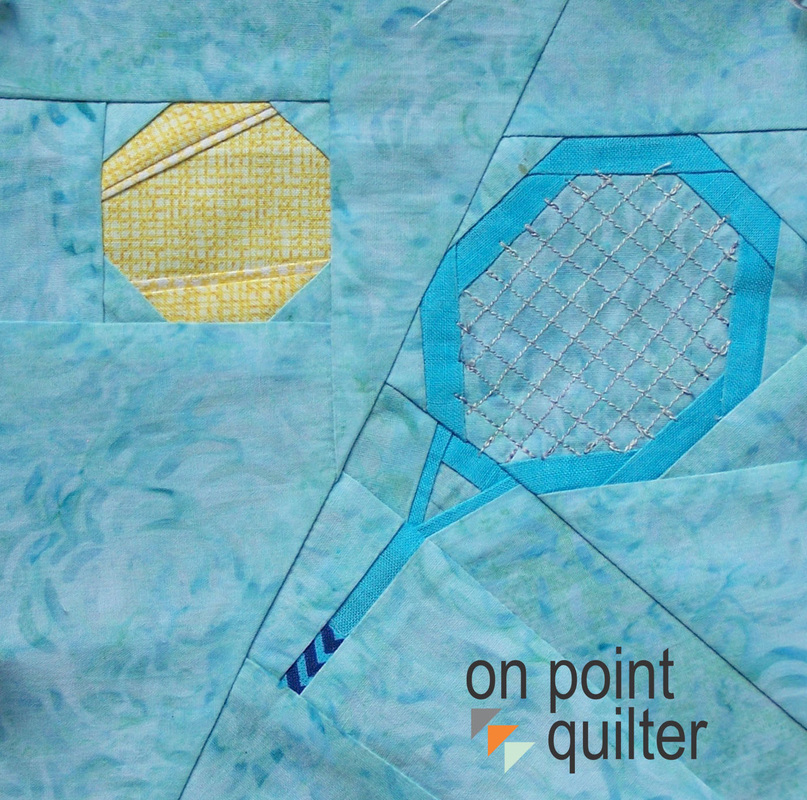
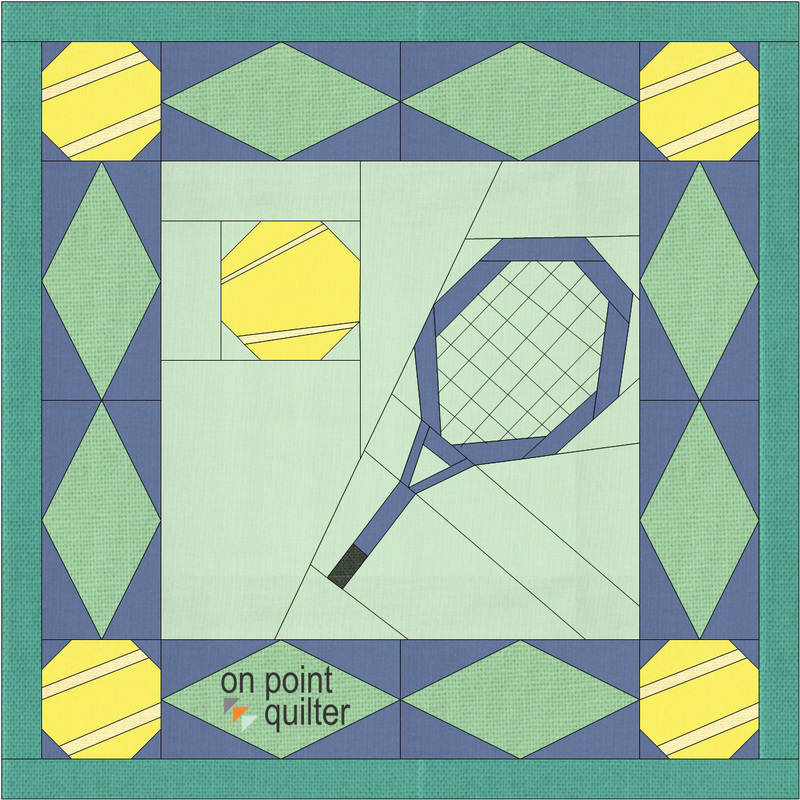
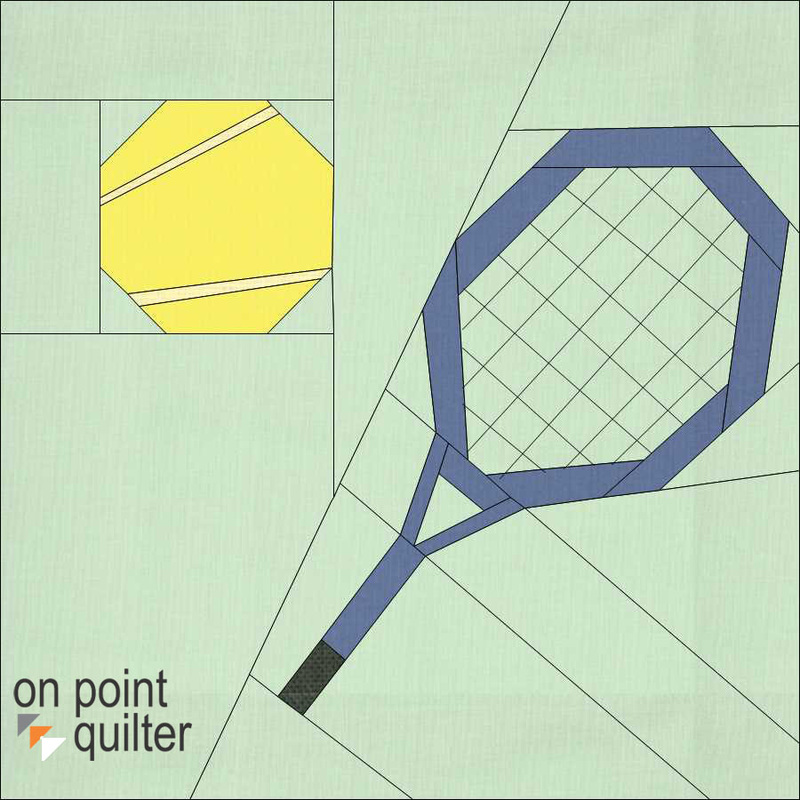
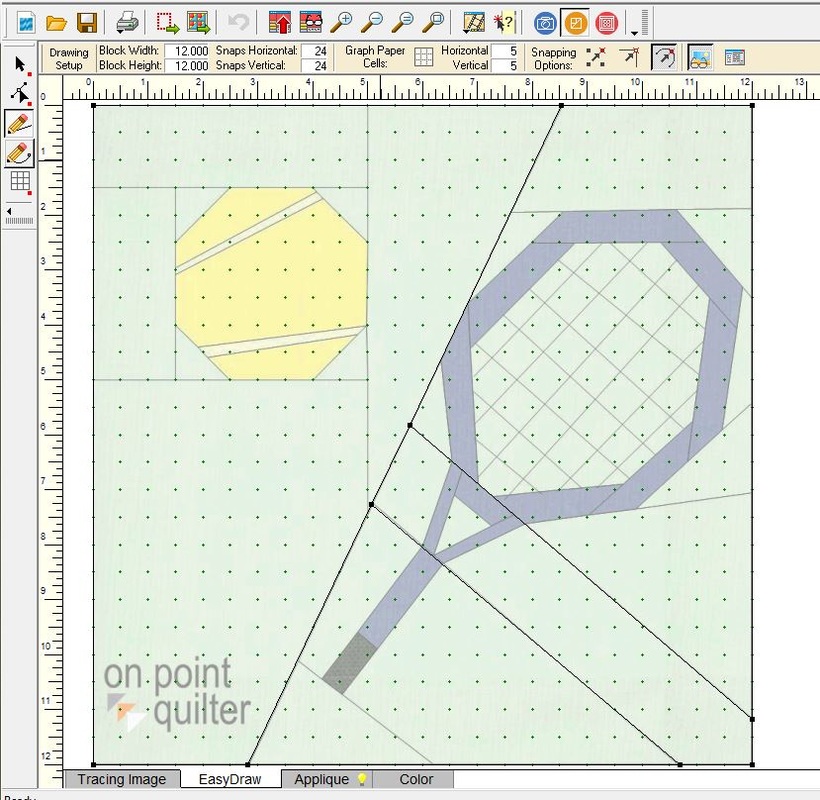
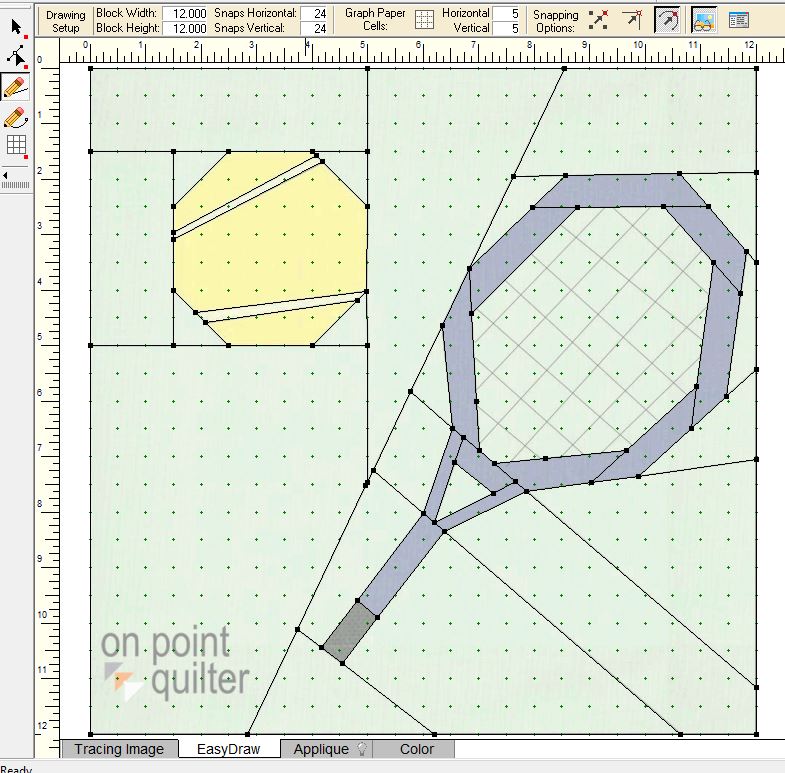
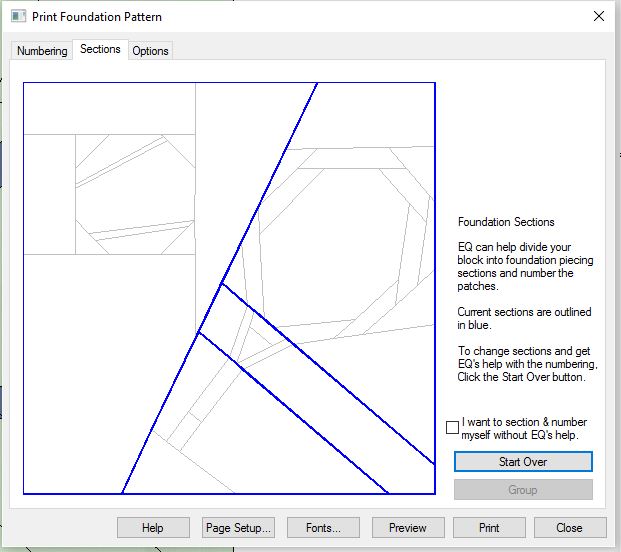
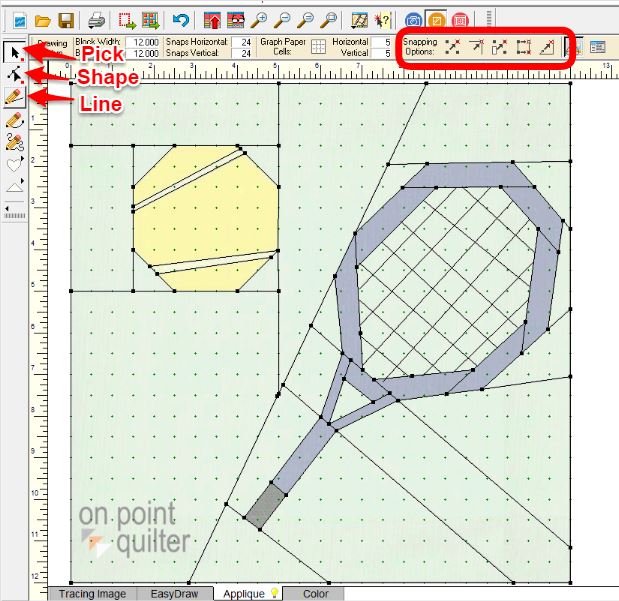
Purchase a physical copy of the pattern (mailed to you). This is includes a sufficient number of foundation patterns on newsprint to complete the quilt. Purchase a download copy of the pattern. This is the final block in our Summer Games series. I'm excited that my quilt top is done. Now to find time to get it quilted. This block is actually a variation of the badminton block. I needed to change the base of the racket, remove the birdie and add a tennis ball. You may use this block to replace one of the blocks in the Summer Games quilt. Or create a mini-quilt and let this block be a star. (Note that their are no instructions given for the mini-quilt. It was just an Electric Quilt play-time quilt.) Click here to purchase and download the block pattern for paper piecing. Pattern includes over-sized cutting instructions and piecing diagram. Please make sure to verify that you are printing actual size (no scaling). In your printer options you may need to uncheck "print to page". Click here to purchase other block patterns. Drafting the Tennis Block in Electric QuiltBlock>New Block>Easy Draw Plus Patch Draw Import Image for Tracing in the Tracing Image tab. Easy Draw Tab Settings Block Width and Height: 12 x 12 Snapping Options: Snap to Lines and Arcs of Drawing only Select the Line tool and draw lines to divide into four major segments. Use the line tool and trace lines for each of the segments. Ignore the racket's string for now. Add to Segment after completing each segment. Print>Foundation Pattern. Check both the Sections and Numbering tabs and make any adjustments at this point. If the sections are not correct, select Start Over and pick all the the pieces you want included in the section and select Group. Add to Sketchbook. Use this version for printing the Foundation Patterns to piece the block. Go to the Applique Tab. Click on the Pick tool and turn all of the Snapping Options off. Use the Line tool and draw each of the Strings as a separate line. Zoom in and use the Shape tool to fine tune the placement of each of the lines. Add to Sketchbook. Save. Back to SchoolIn MN, most of our schools start the Tuesday after Labor Day. Are you looking to learn something new during this school year? Why not enroll in an Electric Quilt University class? A new session of Small Quilts with a Twist - Octagon Table Runners is now open.
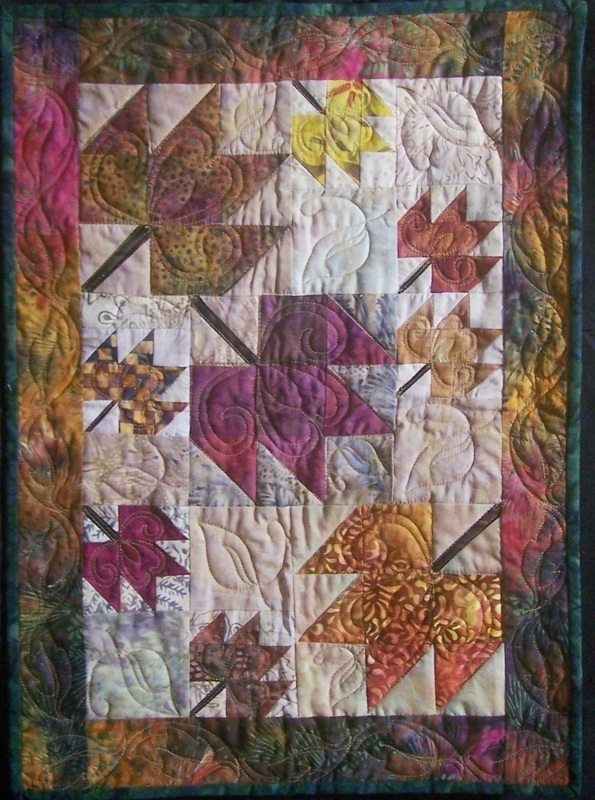
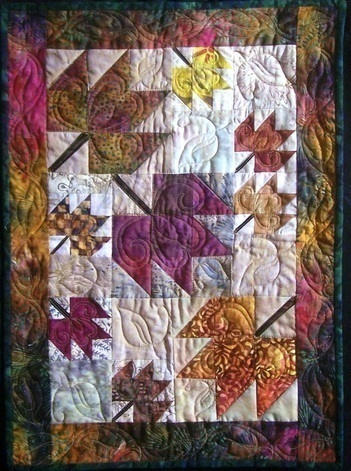 Happy quilting. Kari Sign up for my newsletter to stay current on what's happening in my studio and learn more quilting tips. As a thank you, I'll send you a FREE pattern for this small maple leaf quilt. |
Kari SchellElectric Quilt Expert and Educator and Pattern Designer. Categories
All
Archives
July 2024
|








 RSS Feed