|
Electric Quilt has released an updated version of BlockBase+. BlockBase+ provides us with over 4,000 blocks from Barbara Brackman's Encyclopedia of Pieced Quilt Patterns.
Last week I shared how I took the Magic Cross block from BlockBase+ and created personalized quilt in Electric Quilt. We can now go back to BlockBase+ to export the templates as an SVG file. These SVG templates are compatible with all electronic cutting systems including Cricut, Silhouette and Brother. This video will show you how to use them with Cricut Design Space and a Cricut Maker to easily cut out the patches for all your block.
Correction: In the video I mentioned that you needed 3 of the teal blocks. You actually need four of them. Fortunately it was easy to go back and cut an additional block.
I really adore my Cricut Maker for cutting fabric. With the pink mat (for fabric) and the rotary cutting tool, there is no special prep work required. Just lay the fabric on the pink mat and run it through your machine.
Fabric Shopping
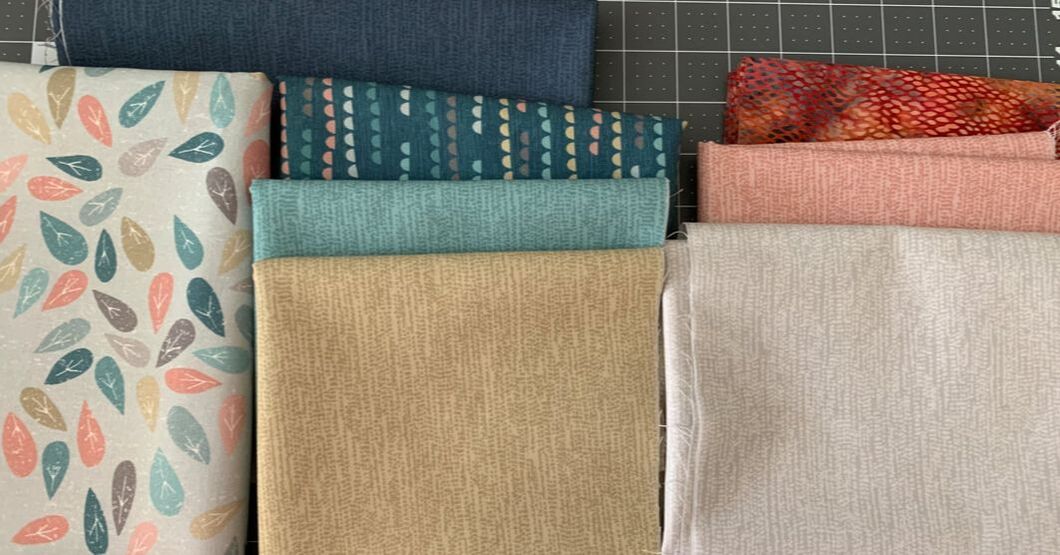
I was unable to locate the fabric collection I used for designing my quilt in Electric Quilt. So I ended up picking up some new fabrics at Twin Cities Quilting. The fabrics were from the Breeze and Elements collections by JoJo Coco Design for Dashwood Studio. These fabrics were brand new to the shop and I was able to score the first cut off the bolts.
I also needed a darker pink. I purchased the batik -- but when auditioning the fabrics in EQ decided it really didn't work. So a second shopping trip yielded a more dusty pink. I also added the leaf print on the left for backing and the dark blue for binding. The shop was not cutting fat quarters so I ended up getting 1/3 yard cuts. Which turns out to be the perfect size of working with the 12 inch mats for Cricut. I think 1/3 yard cuts are going to become my new default quantify for smaller fabric purchases. Piecing the Magic Cross Block
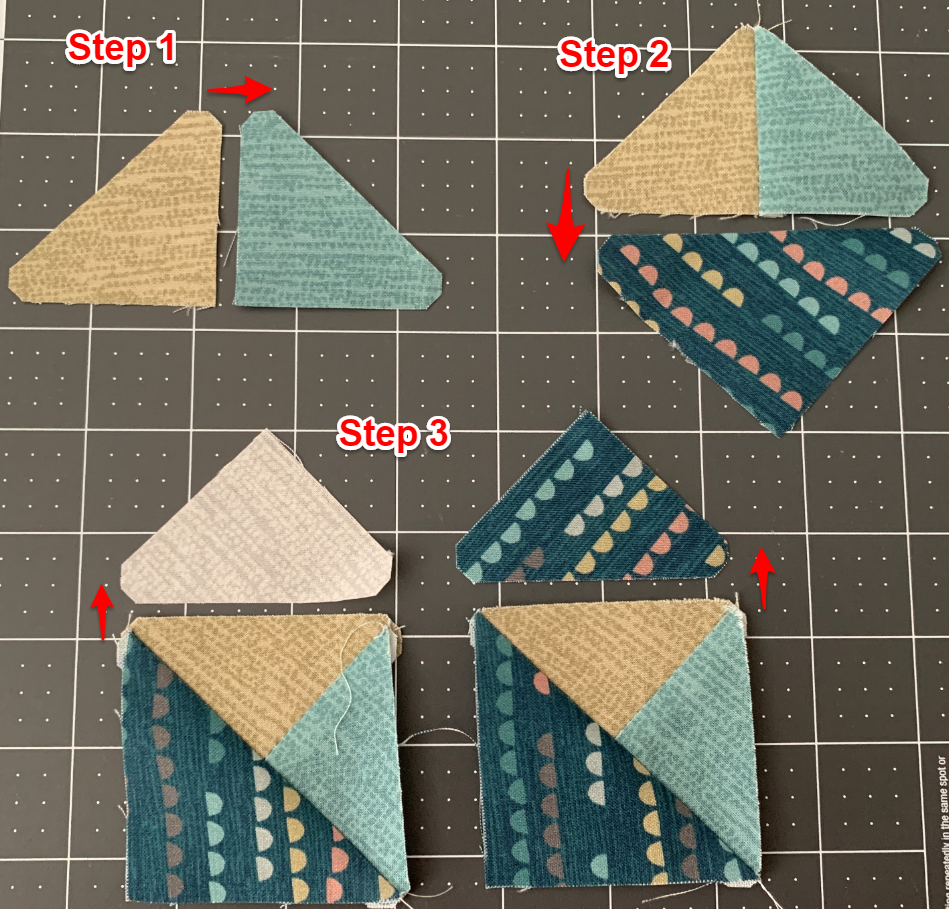
Step 1: Combine two of the smaller half square triangles.
Step 2: Add the darker teal/blue to the bottom of the previous unit. Step 3: To half the units add the lighter background to the top. To the other half, the darker teal/blue.
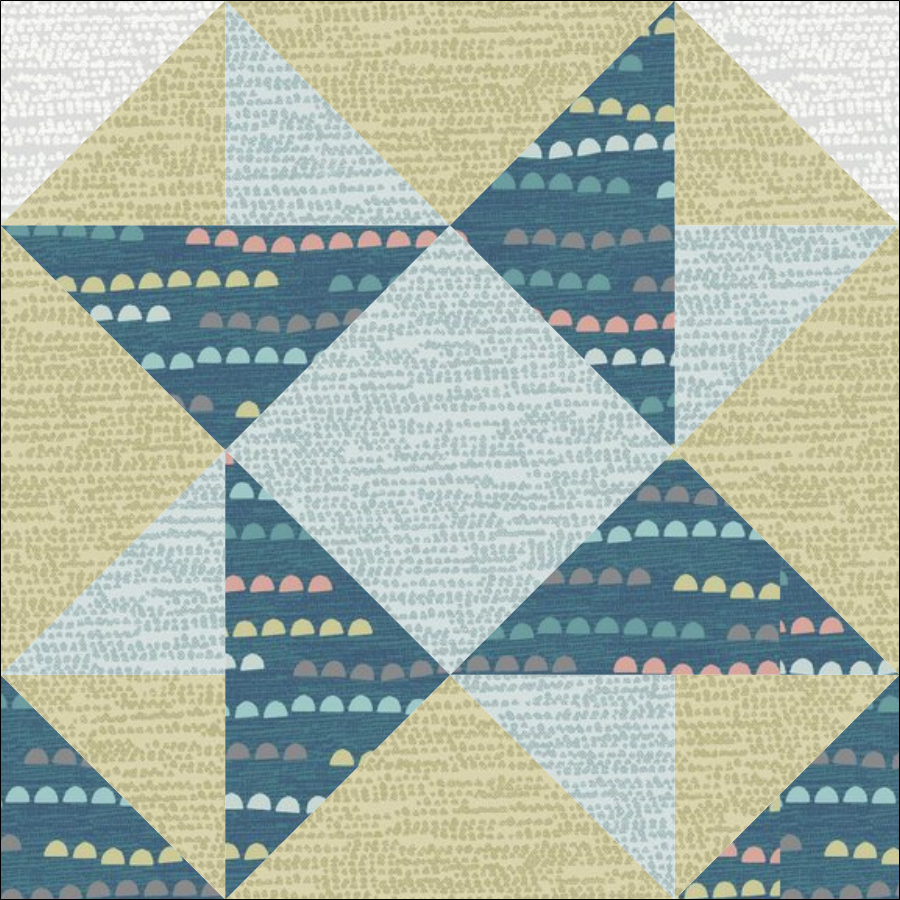
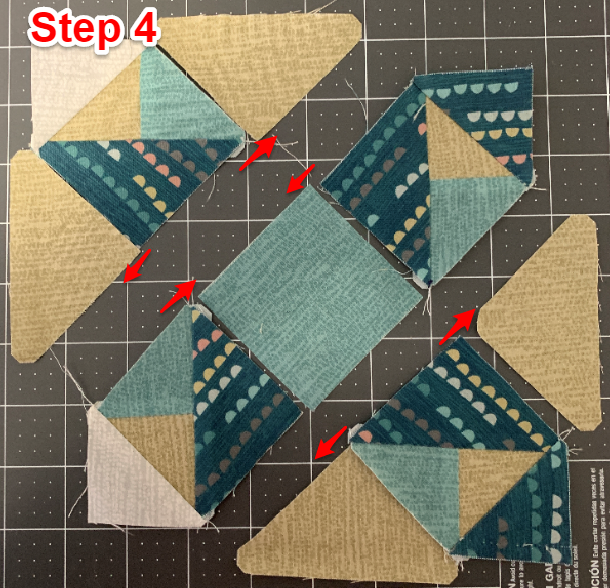
Step 4: Create rows per the diagram.
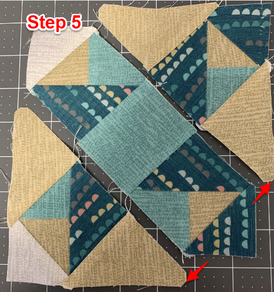
Step 5: Add diagonal rows together.
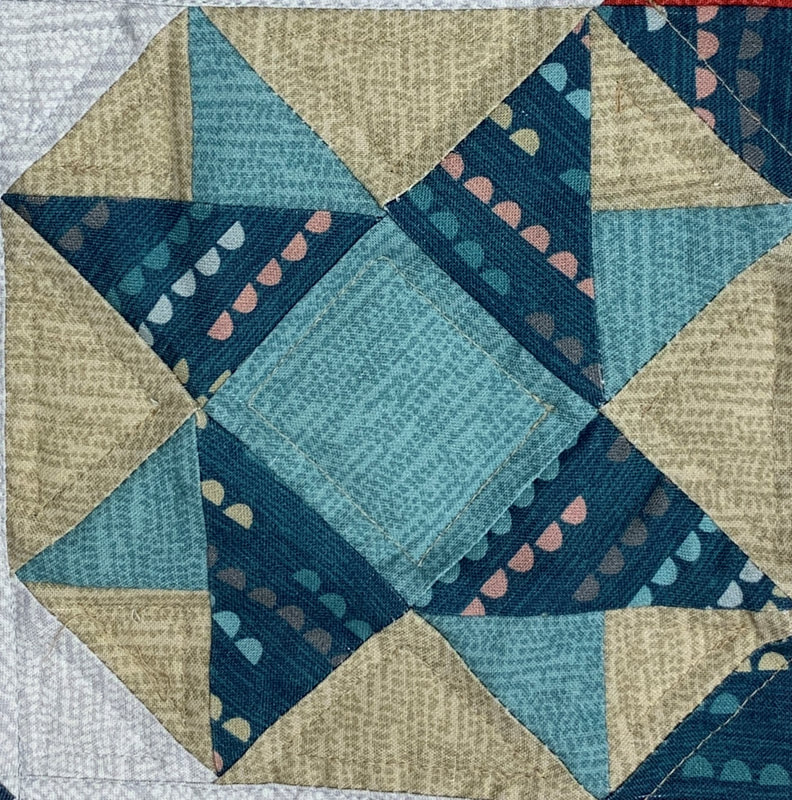
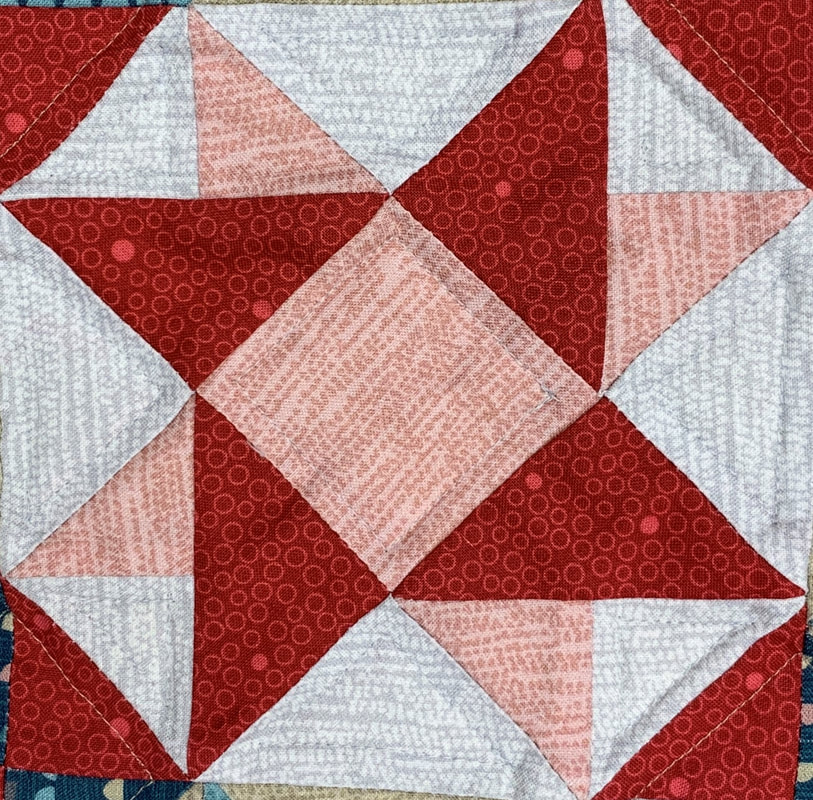
Here are my finished blocks.
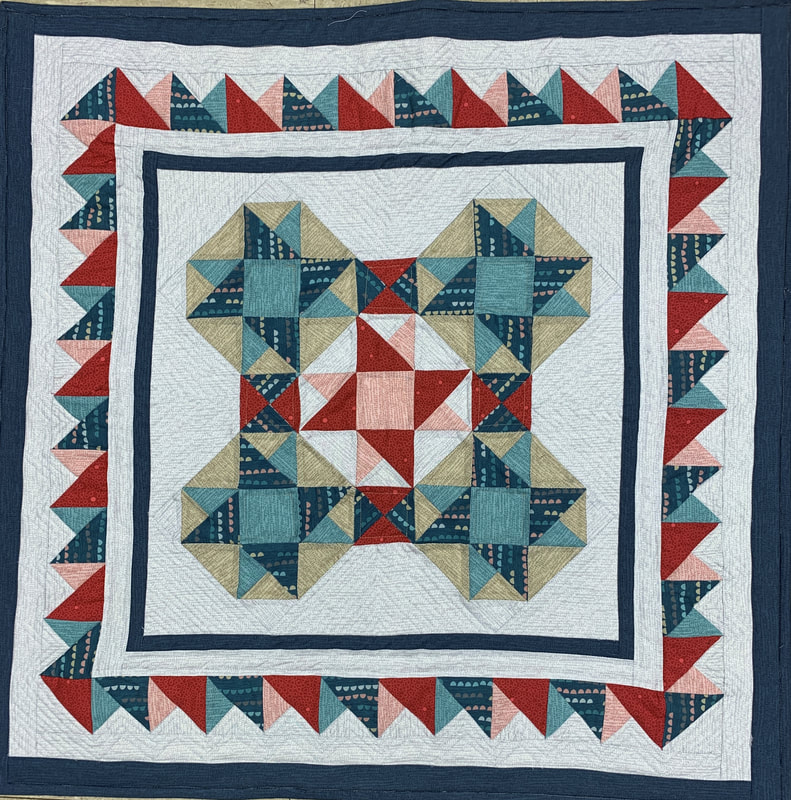
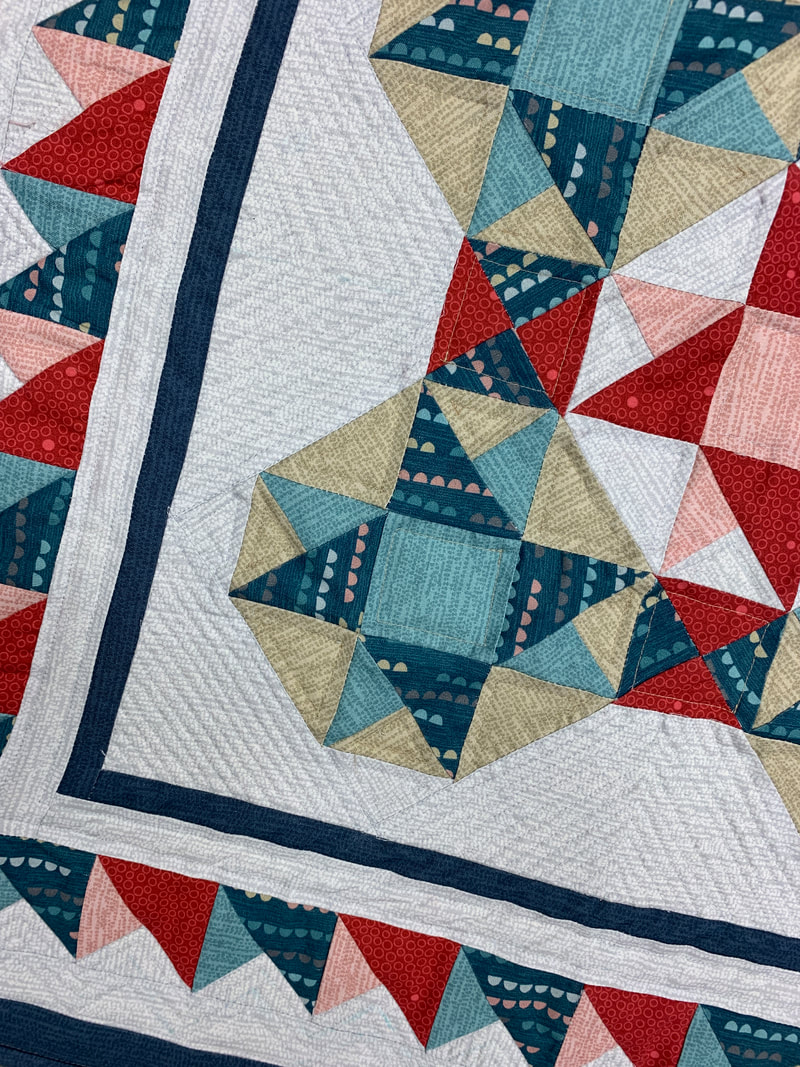
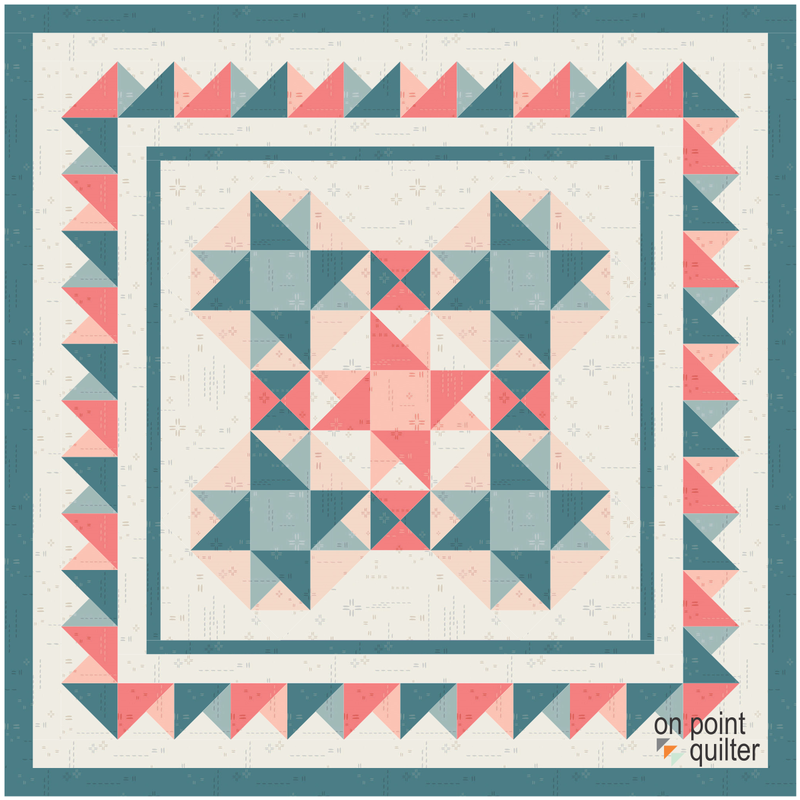
Here is my finished quilt. I was able to use the same corner units from the block to cut the pieced border units on my Cricut Maker as well. I did end up rotating the pieces in Cricut Design space so there was straight of grain on the outside of the units.
I decided to quilt this on my domestic machine and decided on straight line quilting in the negative spaces for a modern look.
Blocks become much more appealing when you work with your favorite fabrics. Before piecing the blocks, bring them into Electric Quilt 8 so you can audition the blocks with a fabric collection. Pick a collection from either a favorite manufacturer or a collection of your personal fabrics.
The video will not only show you how to include a block from BlockBase+ in an Electric Quilt 8 project, but will also show you how to design a quilt starring the Magic Cross block. The fabrics used in the Magic Cross quilt were from the April 2021 Free Fabric Collection -- Decostitch Elements by AGF Studio.
If you are having problems accessing your purchased BlockBase+ blocks in EQ8, make sure you have purchased and installed BlockBase+ on your computer and you have downloaded and updated your EQ8 software. The EQ8 update is free. You can obtain the most recent version of EQ8 from your your account on the EQ website.
If you wish to piece this quilt, you will need five six inch blocks. Four of the blocks in teals and one in pinks. There are also 40 2 inch blocks for the tile square border.
What will you do with the Magic Cross block?
Nothing says spring more than a bright bouquet of daffodils. To celebrate, we will be designing a daffodil quilt. This was one that I was thinking about making into a formal pattern when originally designed in 2014. Time has slipped away and I am not sure if that will happen. But I will share how to create your own Daffodil Days quilt using Electric Quilt 8 and some basic construction instructions.
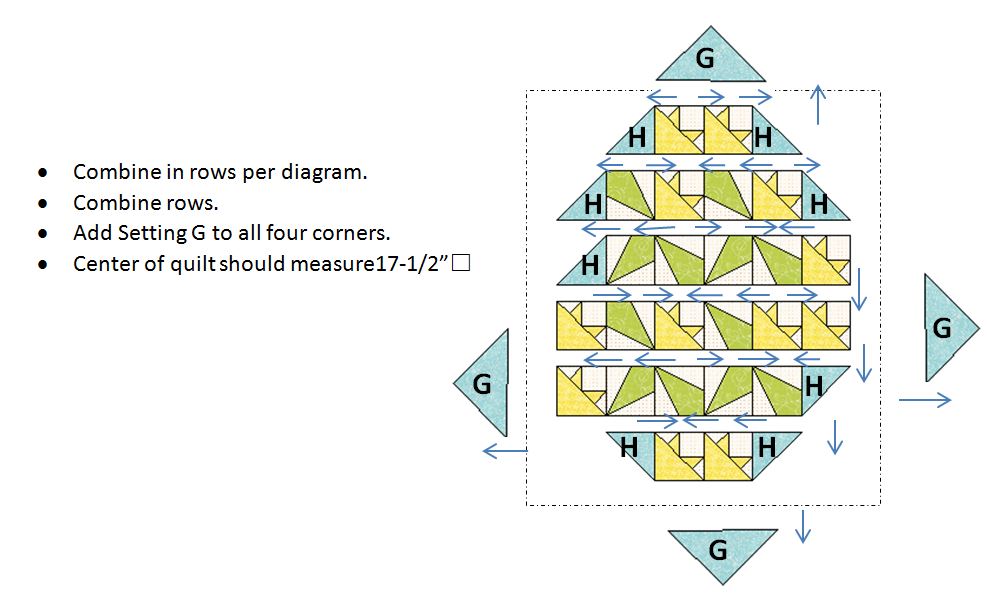
Spoiler alert -- They key was setting up the correct layout and then creating a series of setting blocks using Serendipity with Merge blocks.
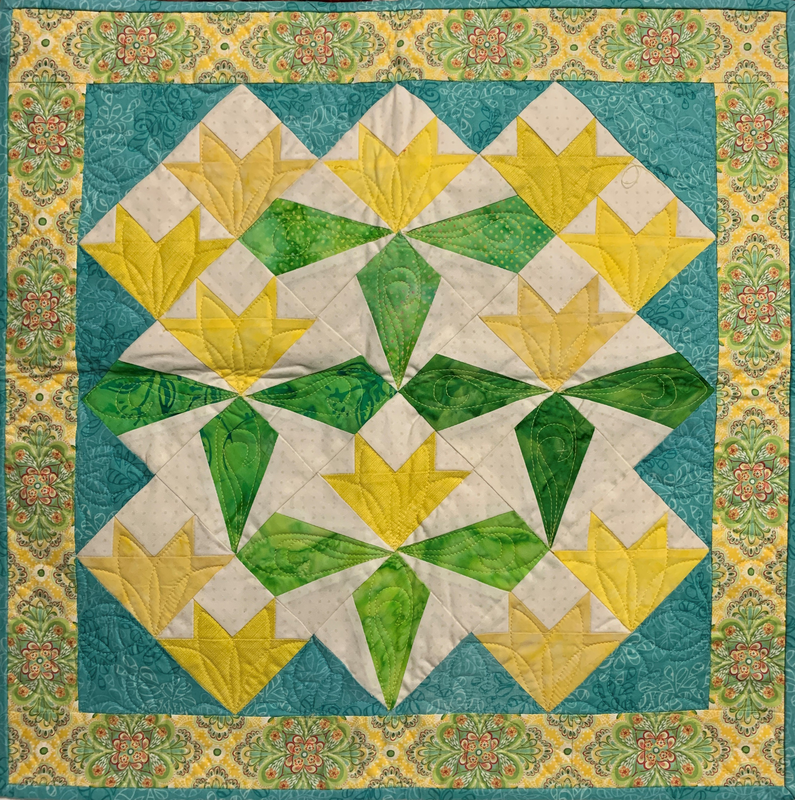
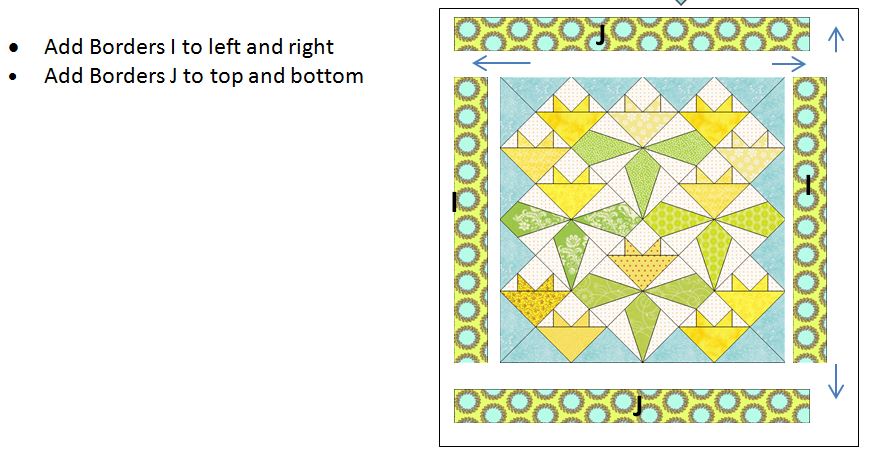
Here is my finished quilt -- pieced and quilted back in 2014.
Piecing Daffodil Days
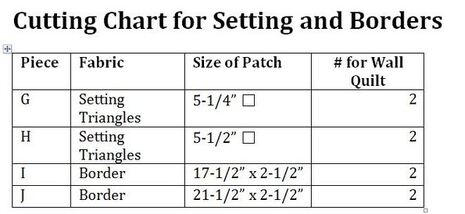
I often prefer to modify cutting information produced by Electric Quilt to incorporate my favorite construction techniques. So don't be surprised if the information below doesn't exactly match what you print from EQ8.
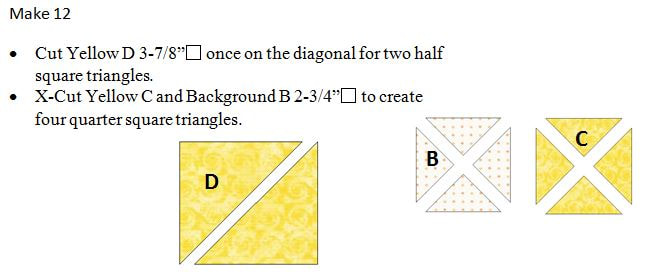
Daffodil Block Construction - Make 12 Blocks

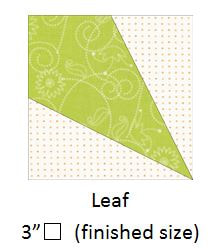
Leaf Block Construction - Make 12 Blocks
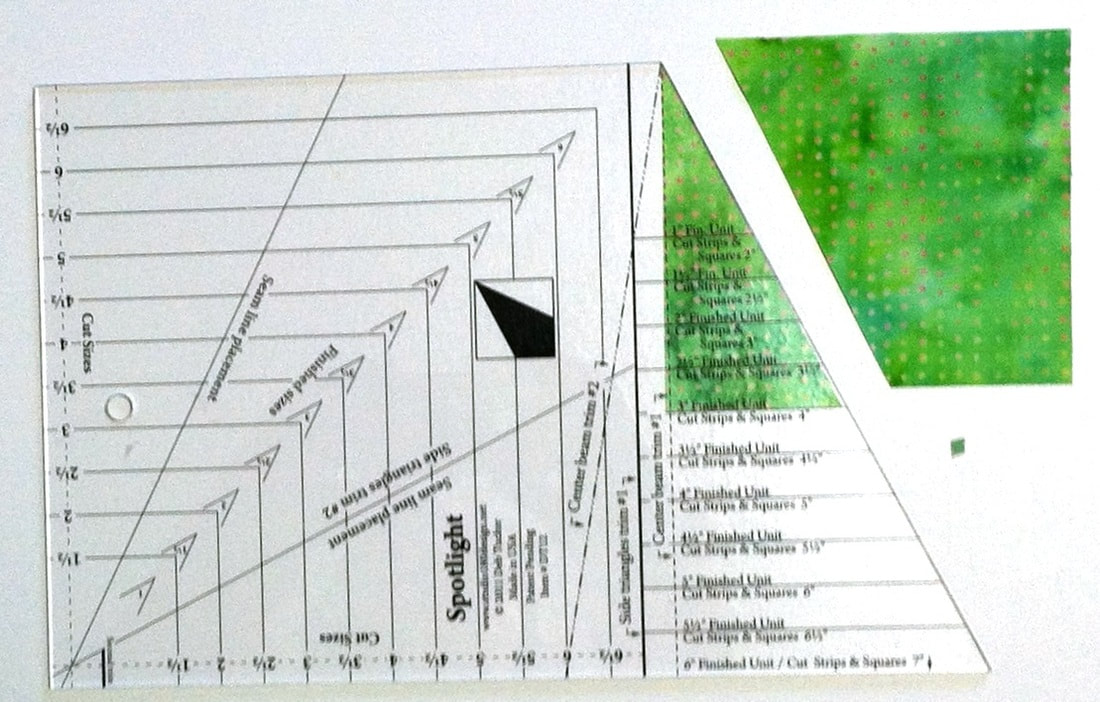
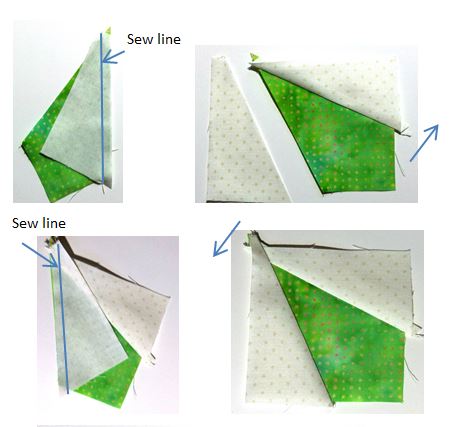
For the Leaf Block, I used a tool from Deb Tucker's Studio 180 Design. I love using these rulers as they provide for pieces that are slightly over-cut and then cut down once they are pieced. This gets rid of many challenges with block construction. For this block I am using the Corner Beam™ tool.
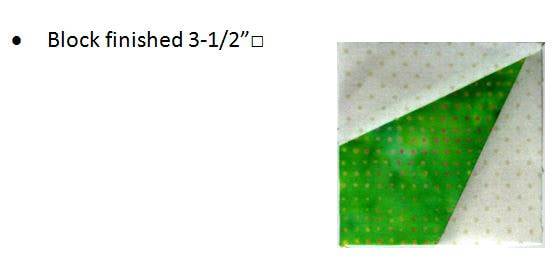
I've taken photos of the cutting and construction of this block as I think it really helps see how the ruler is used.
Layer pieces right sides together and raw edges even. Shift Background E down a little over ¼ inch so the point of the green piece is visible. Sew one side, press and then sew the other side.
Trim Down Instructions
Finishing Instructions
True confessions! I can't draw. At all! Never give me a blank sheet of paper and tell me to draw anything.
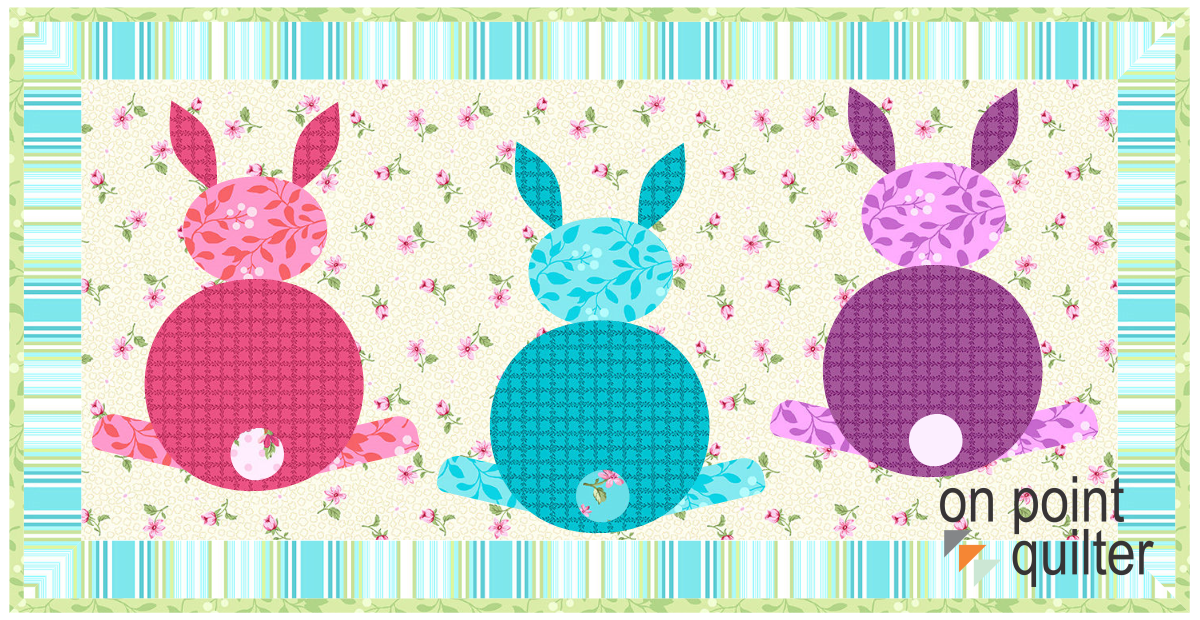
As a result, I put off trying to draw applique in Electric Quilt for a long time. However -- it really wasn't as hard as I thought it would be. And I found that EQ gave me all these neat predefined shapes, so I didn't have to be a great drawer. If you are drawing challenged, this video tutorial is for you. You will be amazed at how easy it is to create a bunny to welcome spring.
Would you like to create this quilt to celebrate spring? The fabrics from this quilt were from the February 2021 Fabric of the Month Free Download on the Do You EQ website. The collection was Rose Whispers by Eleanor Burns for Benartex. 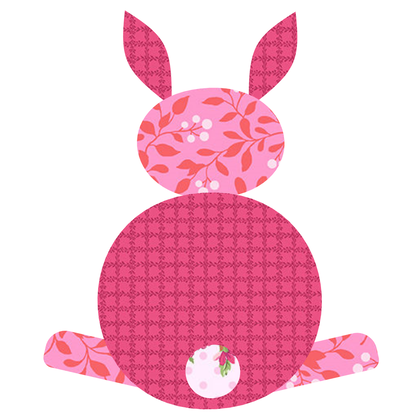
Here is my bunny from the video (created as an applique motif).
Here is the quilt.
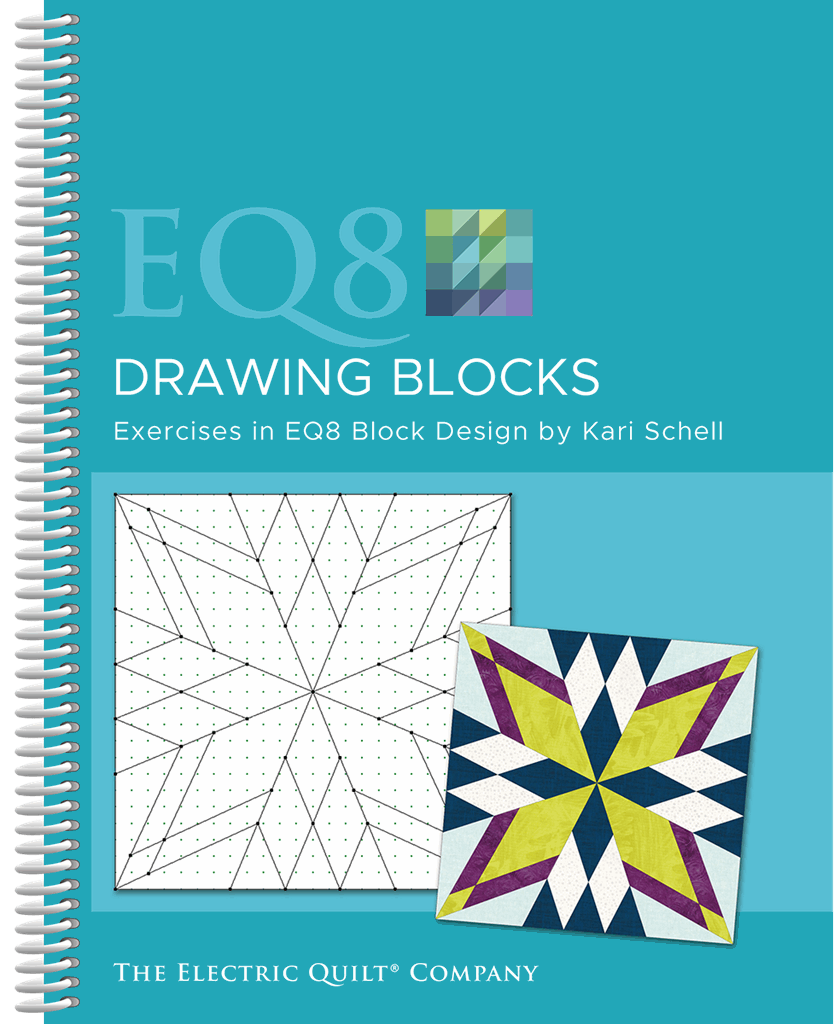
EQ8 Drawing Blocks
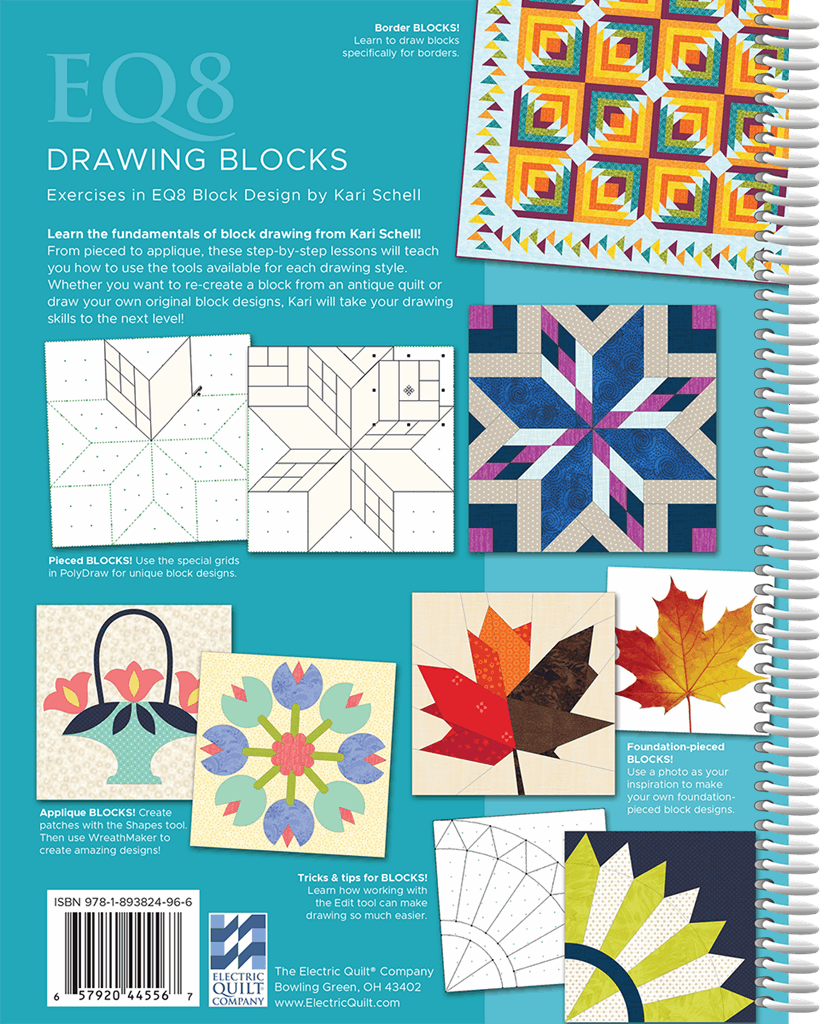
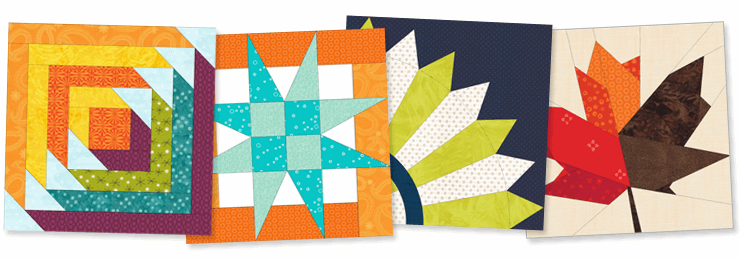
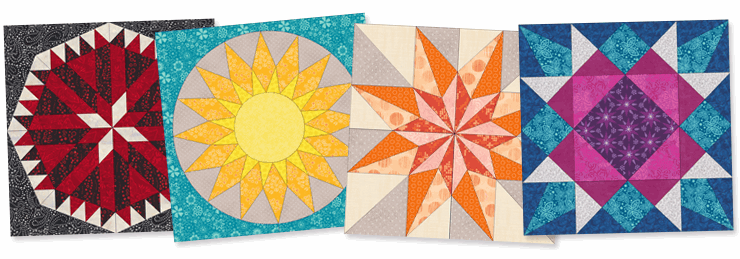
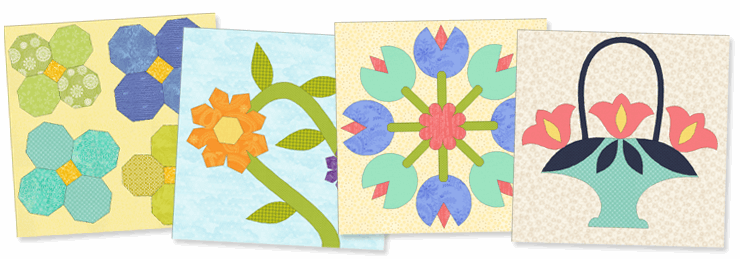
Would you like to learn the fundamentals of block drawing. Each chapter focuses on one of the EQ8 drawing styles. Learn how to draw the blocks below, plus many more!
Chapter 1 Drawing Pieced Blocks in EasyDraw
Learn how to set up the Precision Bar for drawing success, determine the best size to draw a block by examining the block’s grid, trace a photograph to create a foundation-friendly block, and more!
Chapter 2 Drawing Pieced Blocks in PolyDraw
Learn the difference between the EasyDraw and PolyDraw drawing styles, use the Clone and Rotate method for faster drawing, draw a block on each of the special grids, and more!
Chapter 3 Drawing Applique Designs
Learn to use the Draw and Shapes tools to create unique applique patches, use WreathMaker to make beautiful designs, modify a block from the library to make it your own, trace an antique quilt block, and more!
You may purchase directly from me (with the option of a signed copy) or from Electric Quilt.
I only ship within the US. |
Kari SchellElectric Quilt Expert and Educator and Pattern Designer. Categories
All
Archives
July 2024
|















 RSS Feed