|
Last week, I shared drafting a postcard quilt that had a heart, in a heart, in a heart. If you would like to create this pattern for yourself, please check out the EQ8 tutorial in last weeks bog.
I mentioned I had purchased a couple of new items for foundation piecing and decided to try they out when constructing the postcard quilt.
Foundation Paper Comparison
When doing foundations, we need a base that has printed foundations that we will use as guidelines for sewing. The new product I tried was Foundation Stuff.
Here is a personal comparison of the three foundations I currently use. I printed out my Teeny Tiny Hearts foundations on all three. Carol Doaks Foundation Paper
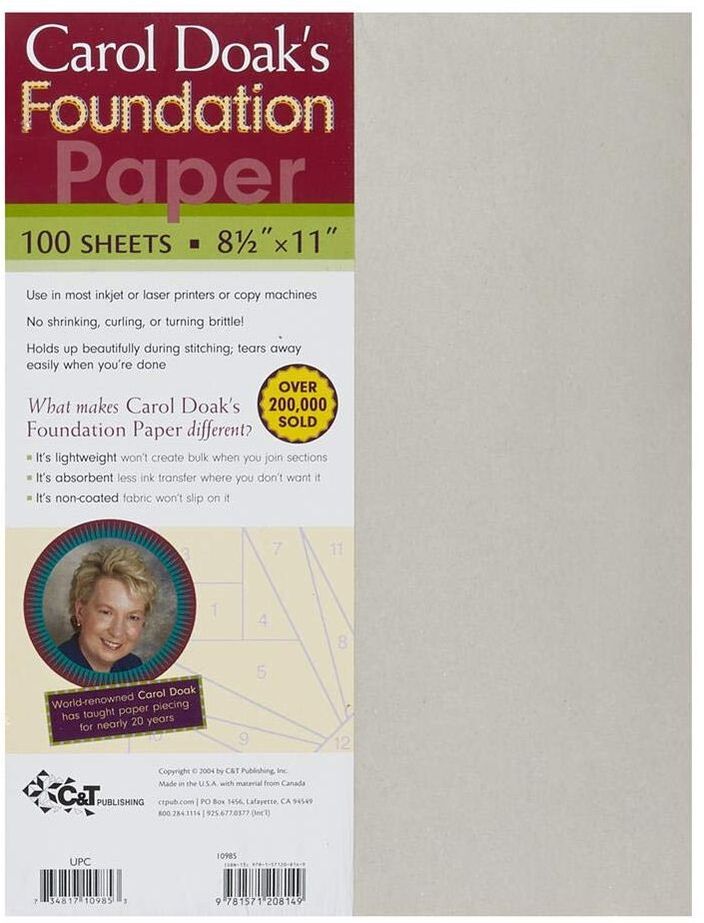
This is the brand I have been using for the last five plus years. It goes through the printer without a problem and it is super easy to cut and to tear off. Of the brands I was comparing, it was the hardest to see through -- but newsprint will darken over time (and the paper was purchased a number of years ago). The biggest downside is that the paper can easily tear ahead of the removal process -- particularly when working with micro foundations.
The current price of the paper on Amazon Prime is $13.92 for 100 sheets. EQ Printables - Quilter's Newsprint
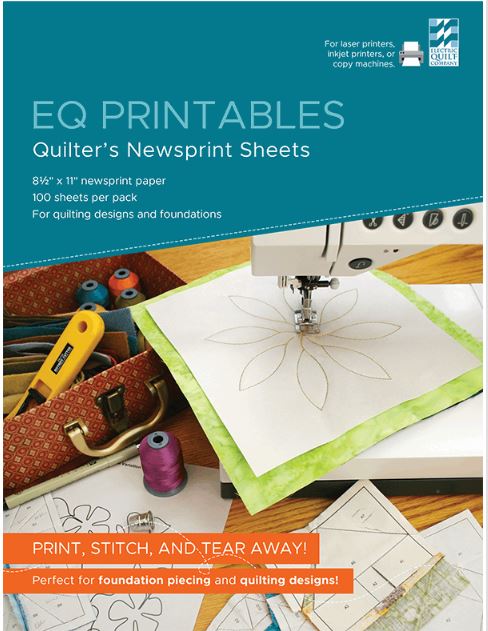
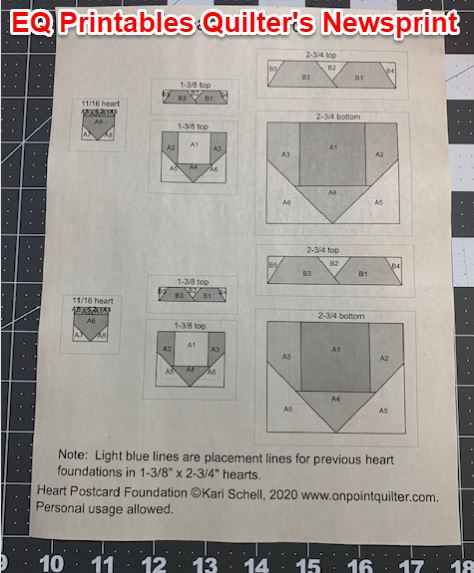
The EQ Printables newsprint was a little lighter than color than the Carol Doak's paper (and as a result a bit easier to see through). This could be because the paper is stored in a sealed bag which gives it less exposure to light and air.
It printed beautifully and appears to handle just like the Carol Doak's newsprint. It retails for $9.95 for 100 sheets on the EQ website (and on my website as well). This does not include shipping. Foundation Stuff
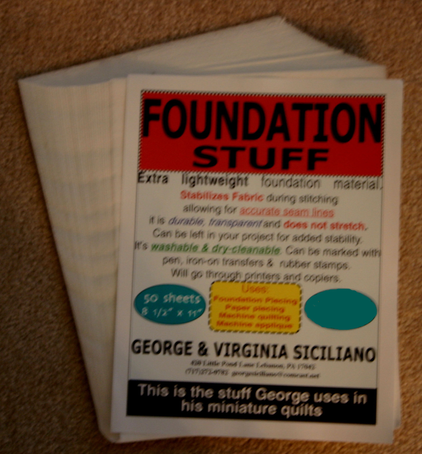
This is lightweight foundation material created by George & Virgia Siciliano. The cover notes the following. "Stabilizes fabric during stitching allowing for accurate seam lines. It is durable, transparent and does not stretch. Can be left in your project for added stability. It's washable & dry-cleanable. Can be marked with pen, iron-on transfers & rubber stamps. Will go through printers and copiers."
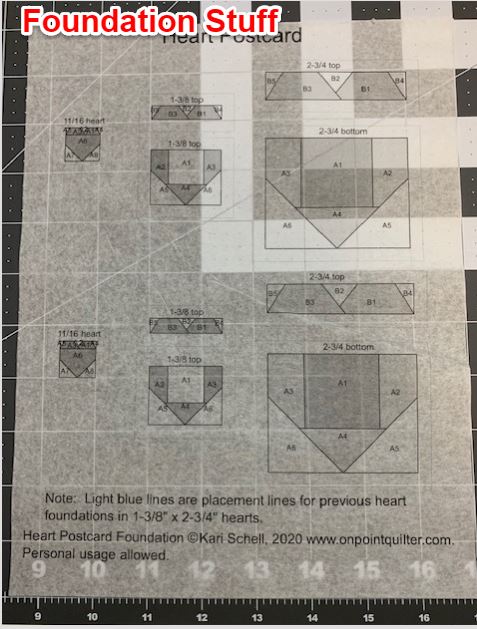
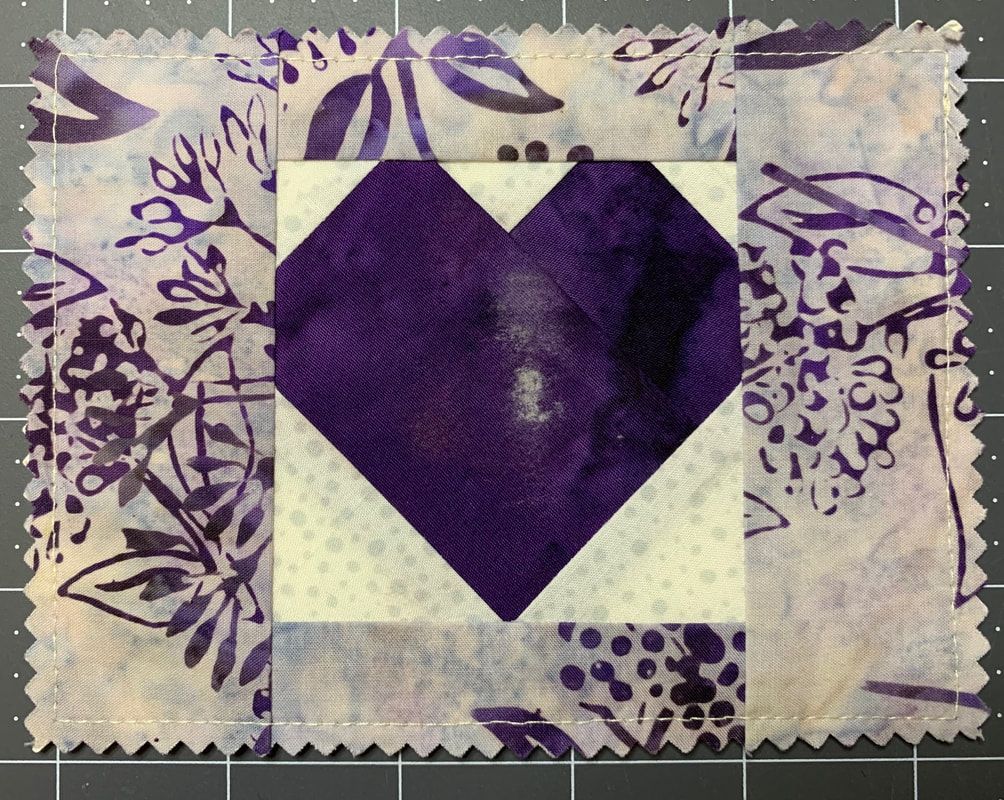
When doing my miniature heart block (with the first heart foundation being under 3/4"), I found there was no splitting of the foundation during the sewing process. I had set my stitches to 1.2 on my machine since I had seams that were less than 1/8" in length. Very impressive. It is a nice white material and is much easier to see through than the other two brands. It was soft -- as a result I would be comfortable leaving it in my projects. But it also seemed as easy to remove as the other brands. So leaving it in versus removal can be your choice. It did do a nice job of printing -- however, my paper was slightly wrinkled when I removed it from my printer. The wrinkles appear to have happened after the print as I was able to iron them out and did not notice an issue with distortion. I ran three different sheets through my Brother Laserjet printer with similar results. I would recommend testing this will your own printer. It retails on www.georgesiciliano.com for $15 for 50 sheets plus a $3 charge for shipping. So this is the most expensive of the options. My Conclusion
For most of my foundations, I will use the EQ Printables Quilter's Newsprint. The ease of running through the printer and the price point being the biggest advantages.
For minis, I will use Foundation Stuff, as I did appreciate that the foundation didn't fall apart during the pull-back, nor did it split when sewing my very small stitches. Sewing the Heart Foundation
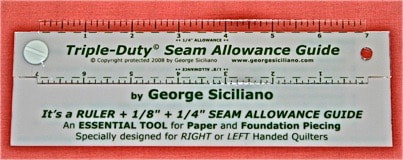
While purchasing Foundation Stuff, I also saw that George Siciliano had a Triple-Duty Seam Allowance Guide. I was curious how it compared to the Add-A-Quarter and Add-an-Eighth tools from CM Tools. I typically use the Add-A-Quarter guide for all my foundation blocks and it is the tool I recommend in my foundation patterns. .
I will share my experience with the Triple-Duty Seam Allowance Guide (along with using Foundation Stuff) in my video for the week.
I had a few nightmares with uploading videos from my phone to my computer and needed to abandon the first video where I sewed the center of my heart. However, since the primary purpose of the video was to share how I use the Triple-Duty 8" Seam Allowance Guide, this should give you a good idea of the process.
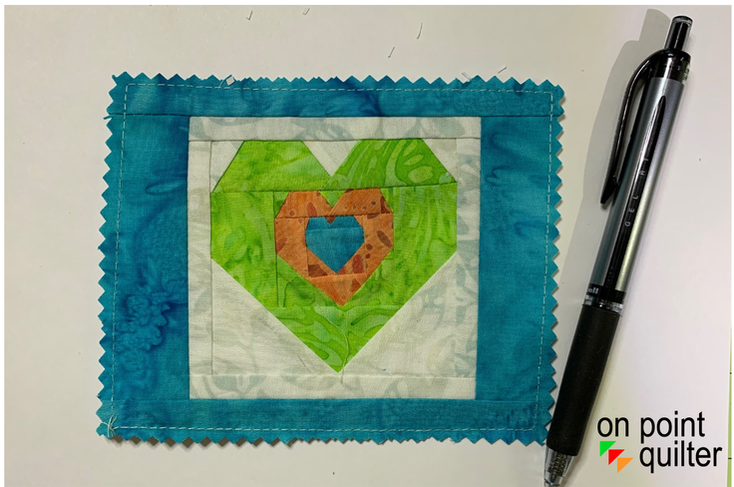
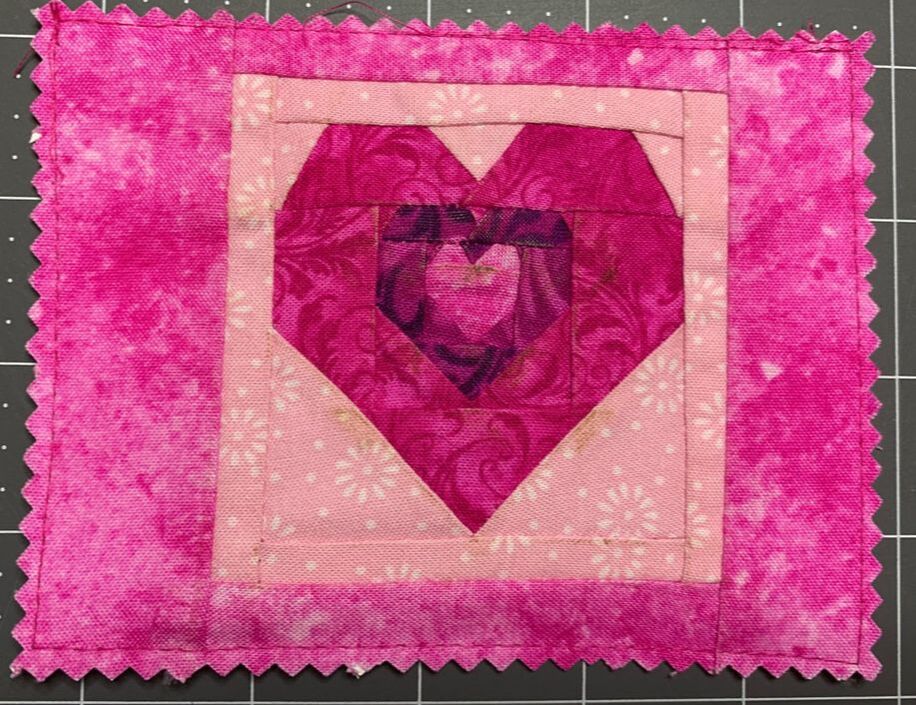
I've now completed two postcards. These are really a lot of fun.
Free Foundation Pattern
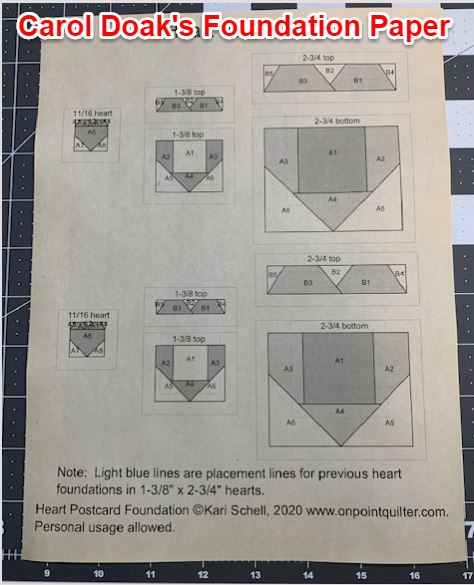
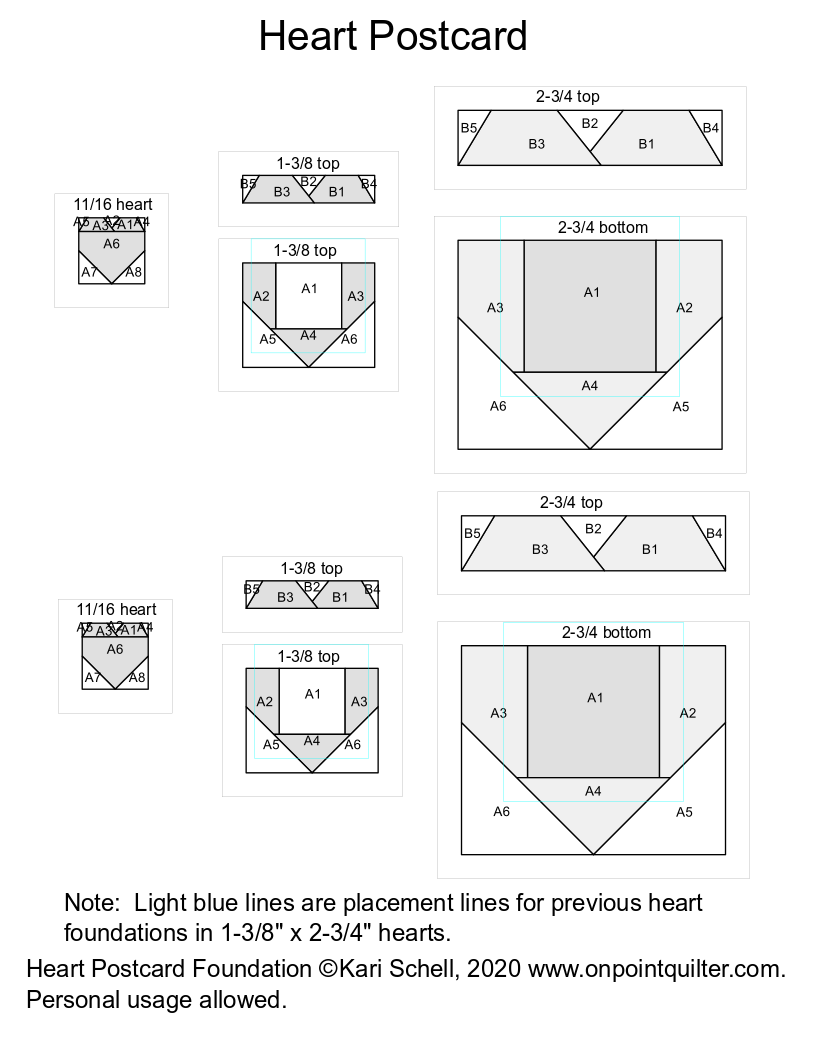
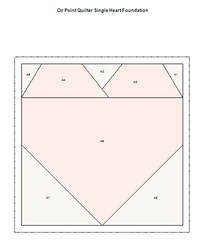
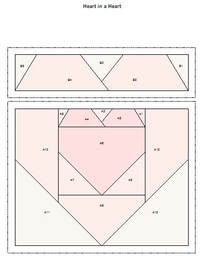
Would you like a downloadable copy of the foundation for the Teeny Tiny Heart block? You can download it here.
Make sure to double check the sizing before using the foundations asprinters can distort pdfs. Two copies of the block are included on the page.
I received a lovely valentine card from my friend Sherry Perry this week. She foundation pieced a heart and sewed it to a postcard.
I've been admiring the card all week and thinking about creating my own postcard. I had just ordered a new kind of foundation paper along with a new tool for foundation piecing and I wanted to see how well they worked.
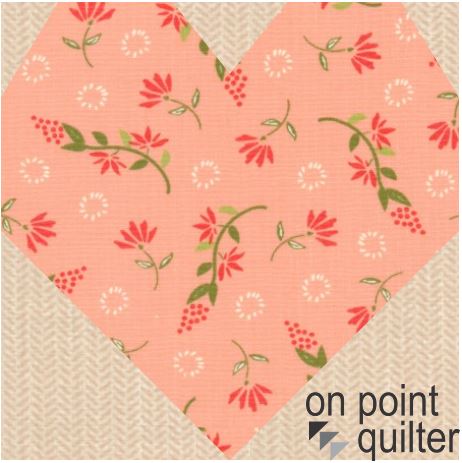
For my heart, I started with a design I did in the EQ8 Drawing Blocks book. If you have the book, the instructions for drafting the basic heart block as a simple foundation is on pages 59 and 60. There is only one section in this block which would make it easy to piece and it would nicely accommodate different sizes.
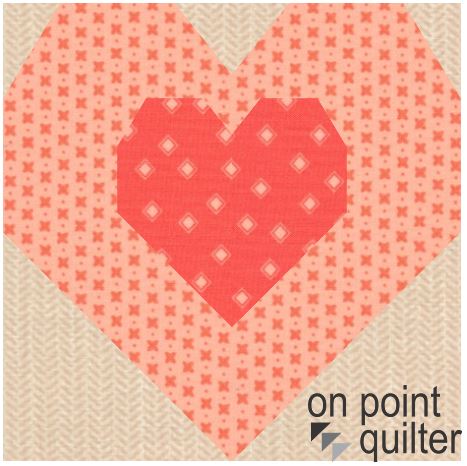
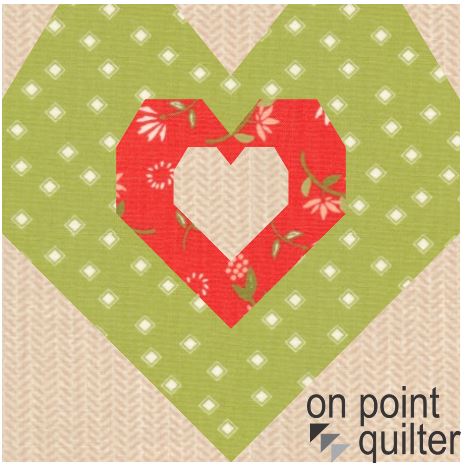
Then I started thinking about create a heart in a heart and came up with this variation. This one could be foundation pieced with two sections.
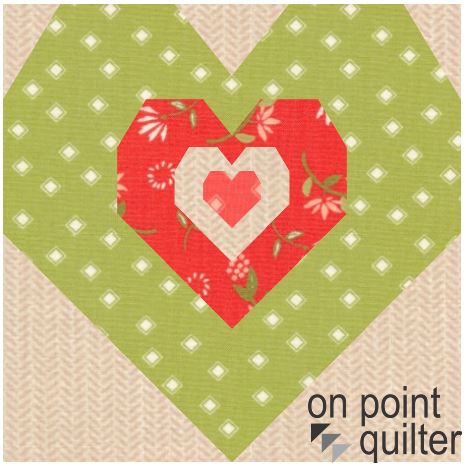
Then I expanded on the concept and created a triple heart block.
Then what about four hearts?
This one would wouldn't be easy to paper piece as designed -- but you could foundation piece the smallest section. And then create a separate foundation for the next size (with foundation one becoming the center square for the second foundation). Then foundation 2 (once completed) becomes the center square for foundation 3.
You you can just keep repeating the process and make that center smaller and smaller. So how small would you go?
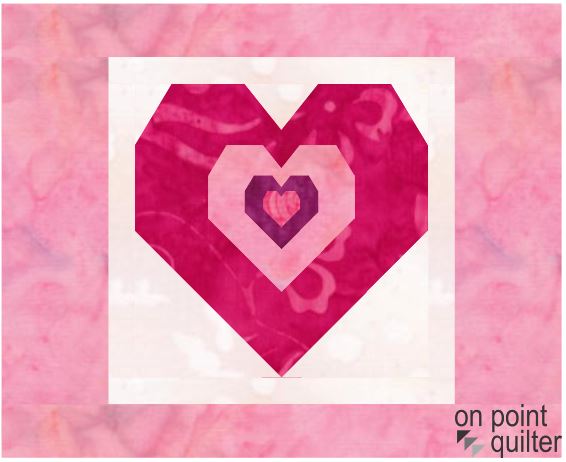
Before deciding, I I needed to design my quilt (which is the size of a postcard). After playing a bit with the center size and border sizes (along with researching acceptable postcard sizes with USPS), I came up with the layout below.
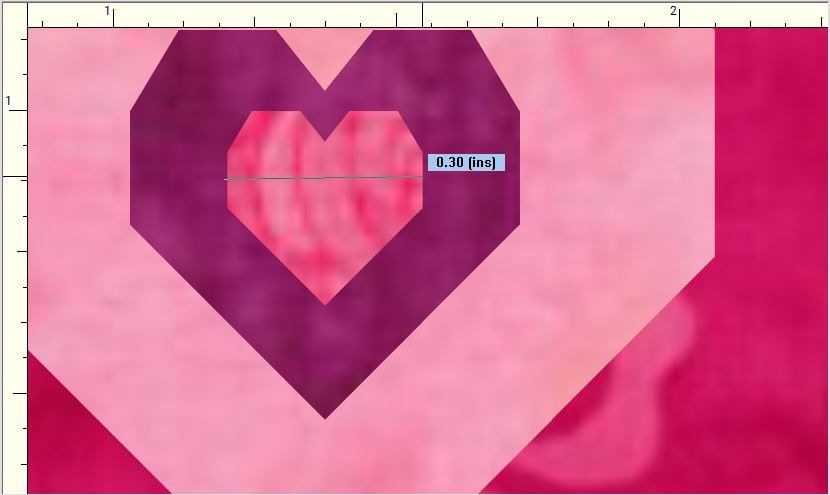
The size of the postcard quilt is 5-1/4" x 4-1/4". The heart block size ended up being 2-3/4" x 2-3/4" After measuring, I realized the size of the center heart was slightly over 1/4". Yikes!
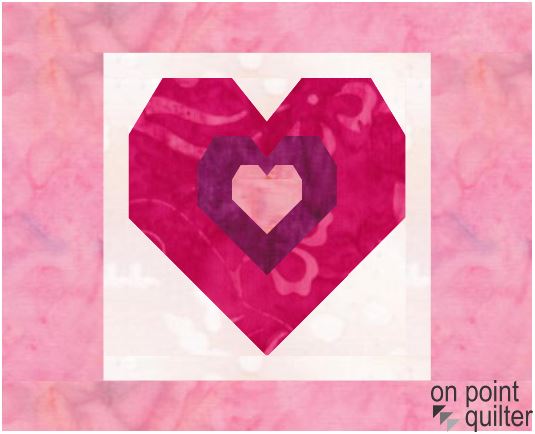
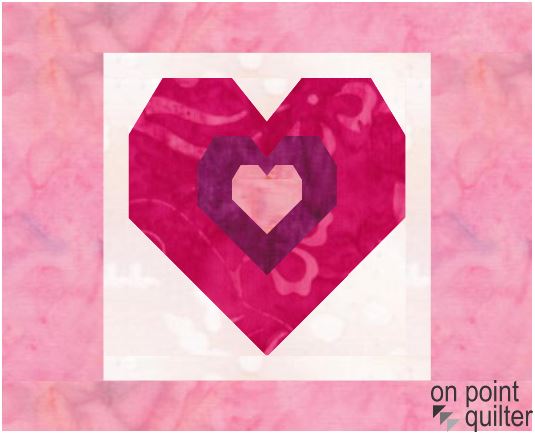
So I decided I needed to eliminate the center heart ( and go back to the triple heart. The center pieced center heart is now a whopping 3/4" x 3/4".
Learn how to draft the blocks as shown in this block and the quilt in my Electric Quilt 8 tutorial.
I will be sharing more on my construction process and observations on my new foundation piecing tools in a future post hopefully next week)..
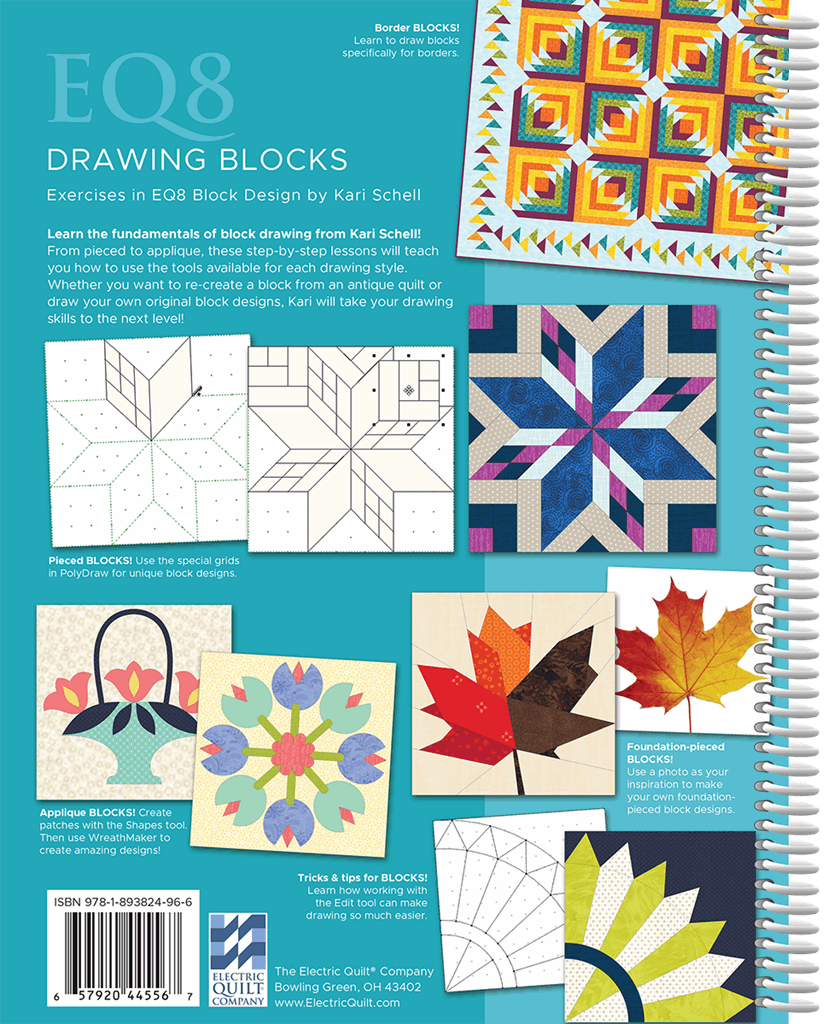
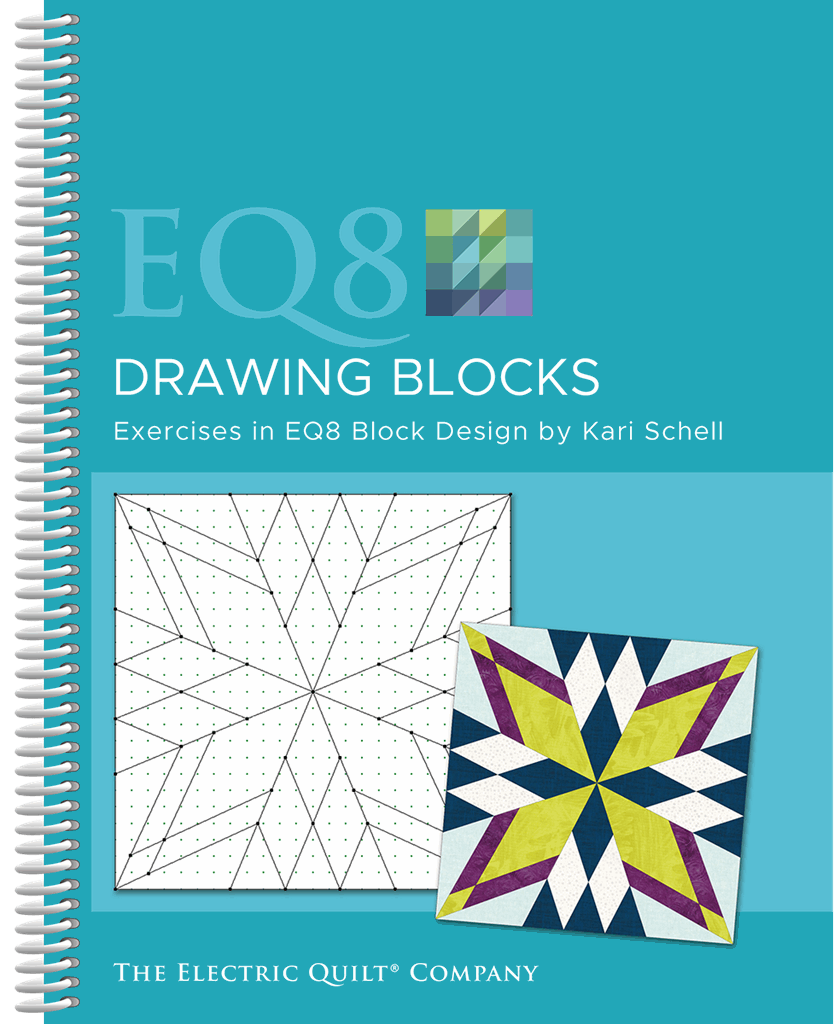
EQ8 Drawing Blocks
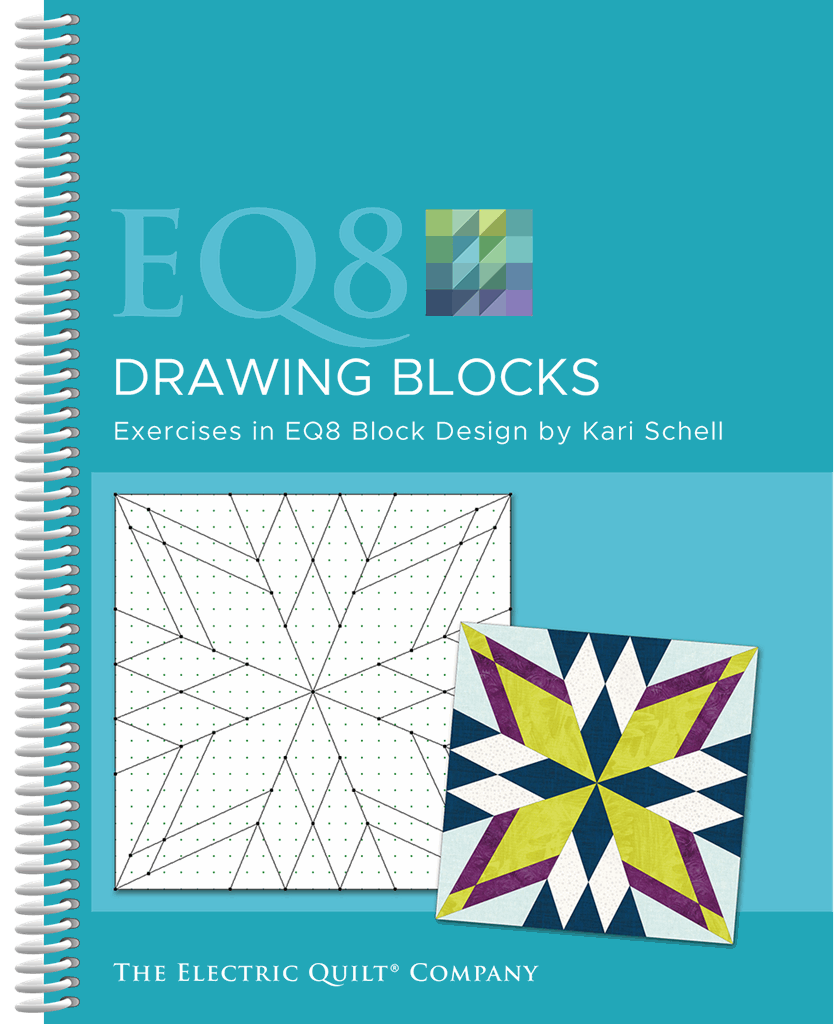
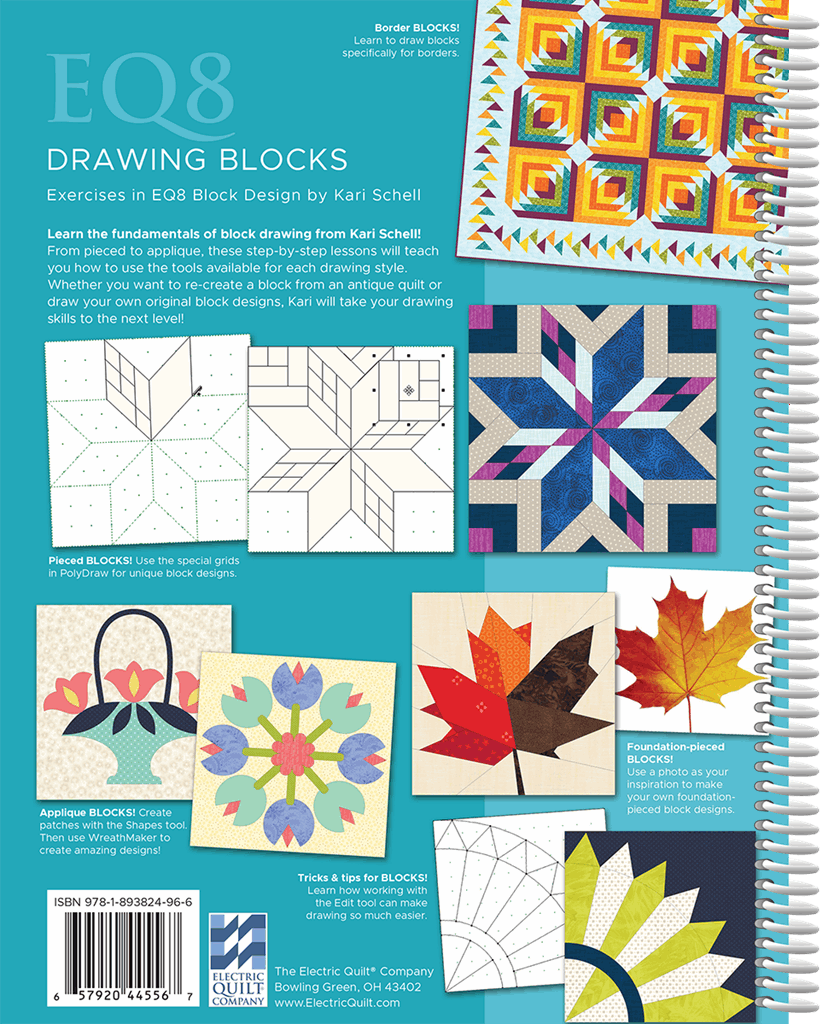
The EQ8 Drawing Blocks book does a deep dive in drafting blocks in all the block worktable options. Included in the book is the foundation friendly heart block shown above.
Purchase a copy of the book from On Point Quilter for $5 off. The price has been adjusted in the store to reflect the sale price. I would be happy to autograph a copy of the book if you wish.
Price: (normally $29.95) On sale for $24.95 through February 29, 2020.
I love blocks and quilts comprised of all types of hearts. So I think we should celebrate Valentine's day all month.
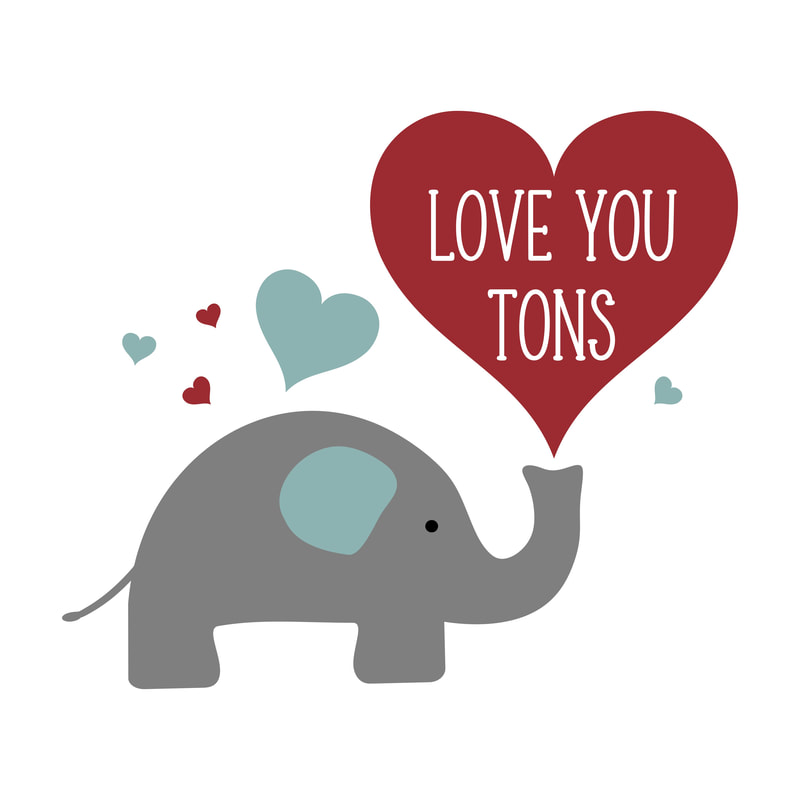
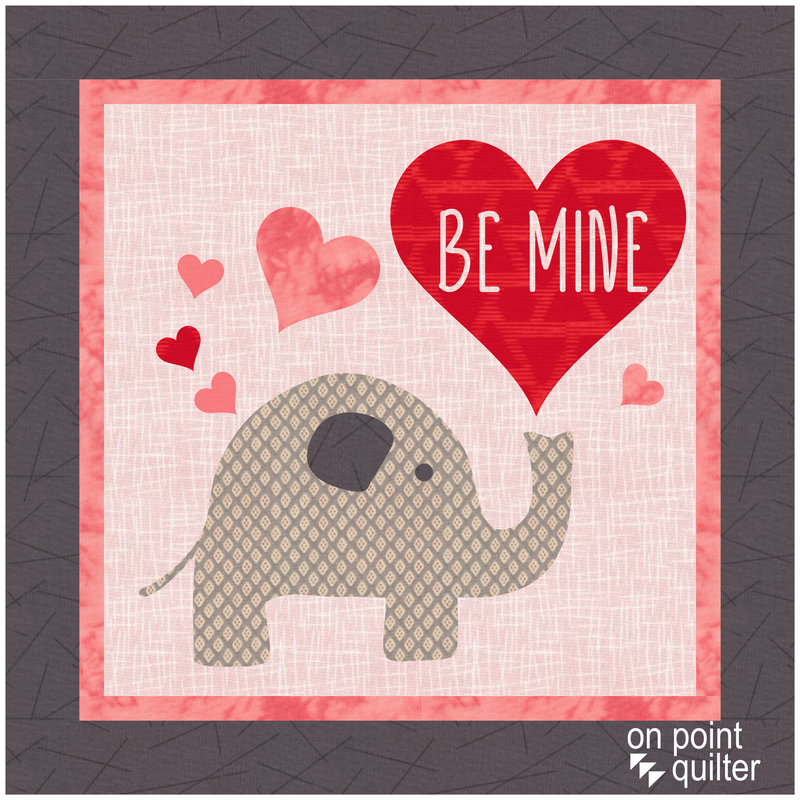
In my video tutorial, you will learn how to trace the red heart and the elephant. And then use your creativity to modify the design and create your own small quilt.
Here is the quilt I created during the video.
Applique can be one of the more challenging skills to master in Electric Quilt. If you would like to become more skilled in developing your applique drafting skills, there is an entire chapter on Applique Drawing in my EQ8 Drawing Blocks book that has been published by Electric Quilt.
For this week only, purchase a copy of the book from On Point Quilter for $5 off. The price has been adjusted in the store to reflect the sale price. I would be happy to autograph a copy of the book if you wish.
Price: (normally $29.95) On sale for $24.95 through February 20, 2020.
 Love Roses from Creative Fabrica Love Roses from Creative Fabrica
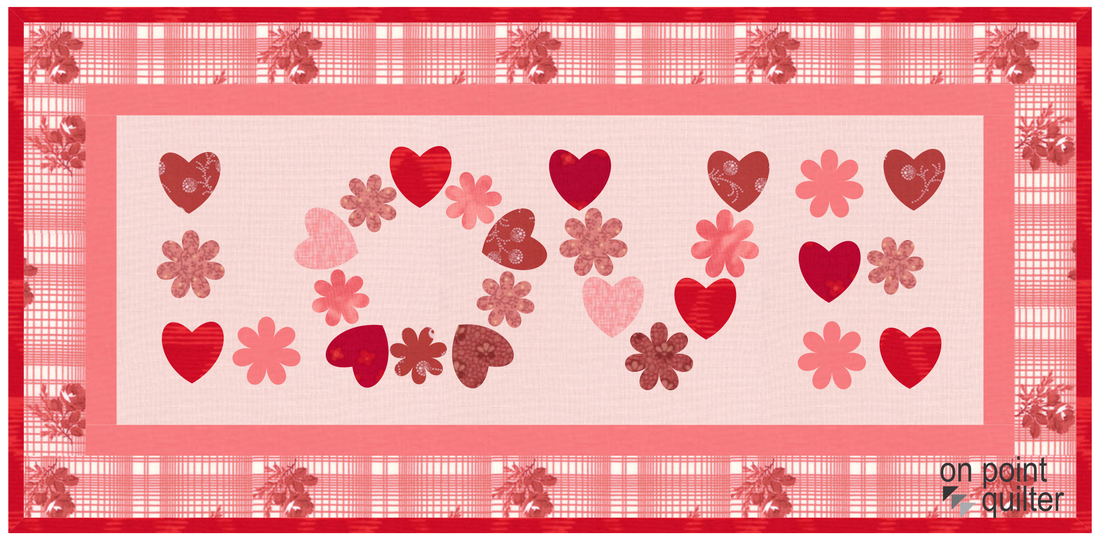
I've been looking at a lot of graphic designs this last week and one that intrigued me was a word composed of some flowers and leaves. I spent some time playing in Electric Quilt, to see if I could replicate the concept with some simple shapes. (Let's face it, I don't have enough time or patience to replicate the inspirational photo.)
In my free EQ8 tutorial, I will show you how to create the shapes, and then place then in a block to create your own WordArt. We also cover using Wreathmaker (as I found it helpful in drawing the "O").
I didn't cover drafting the quilt layout. However, if you would like to replicate my project, create a Horizontal layout with 1 x 1 blocks. The block size was 14 x 5. There are two borders. The first is a .5 inch long horizontal and the second a 1 inch long horizontal.
Here is my quilt. The fabric in the border is part of the free fabric download from EQ for Feburary 2019.
After designing the Love WordArt quilt, I started thinking about using other words. This could be a fun gift for a child, friend or family member. Here is "quilter" spelled out using the same concept.
What word will you put in your WordArt quilt?
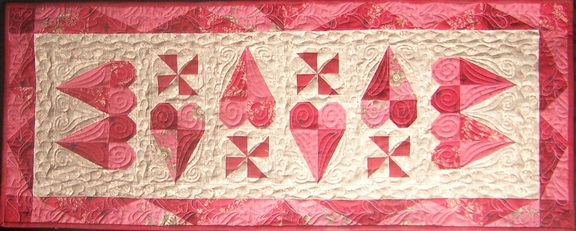
Be My Valentine
Create a quick table quilt measuring 40" x 16" to celebrate Valentine's Day. Or this would also make a great shower or wedding gift for that special someone.
This project is a lot simpler than it looks. I used over-sized units that are cut down with the use of rulers from Deb Tucker's Studio 180 Design. I've also provided alternate instructions if you wish to do the project without the rulers. Click here to purchase Be My Valentine. On sale for $5 (regularly $8).
Have you ever designed a quilt and then wanted to play with the finished design in another quilt -- but didn't want to start over in drafting and coloring the quilt.
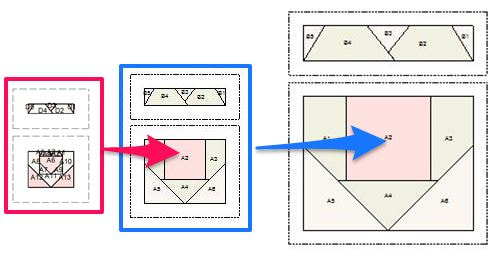
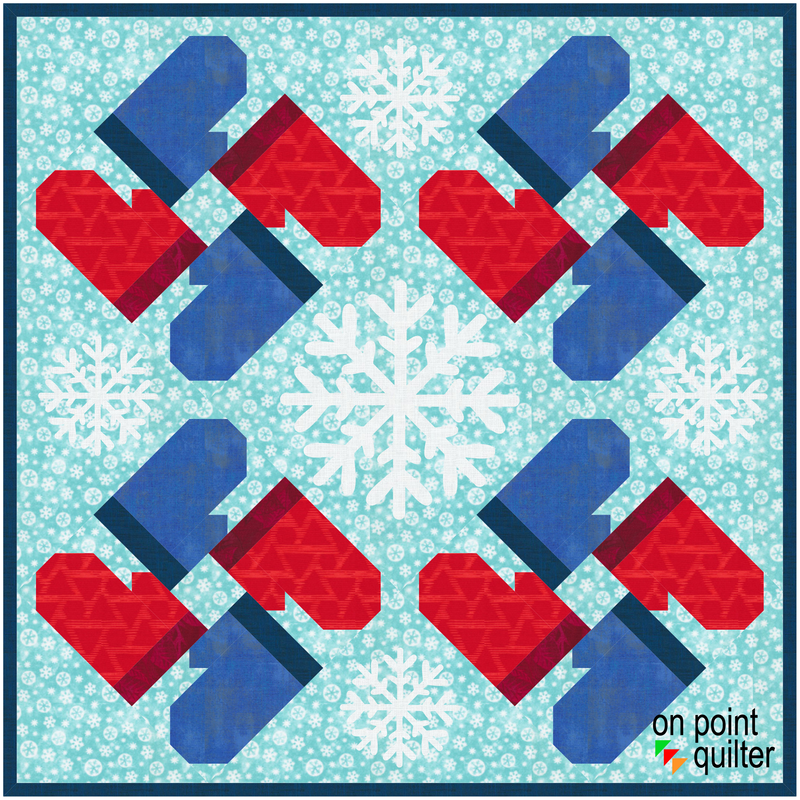
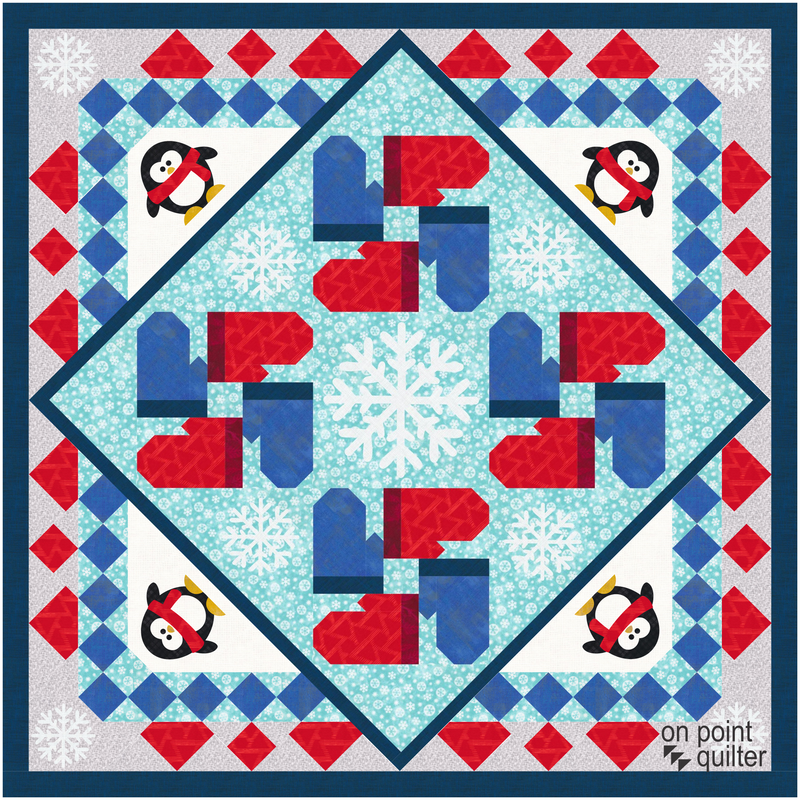
That was my dilemma this with. Last week, I shared a blog post where I designed a Mitten Quilt Layout. I liked the design -- but thought there was more I could do with it. Specifically, I wanted to create a medallion quilt with this quilt as the center. In this tutorial I will take you through the process of how do this (without needing to redraft the center in the medallion quilt). This process could also work if you drafted a section of a quilt and wanted to repeat the section multiple times in another quilt. Here was the starting quilt.
Here is the video. In it I will cover:
Here is my finished quilt.
A warning -- note that fabric yardages will not reflect fabric needed for the parts of the quilt in the photo. Also, you will need to go back to the first quilt if you want to modify the center (including fabrics). You will also not be able to get block specific cutting information for the blocks in the photo.
Flash Sale -- Shoot for the Stars with EQ8
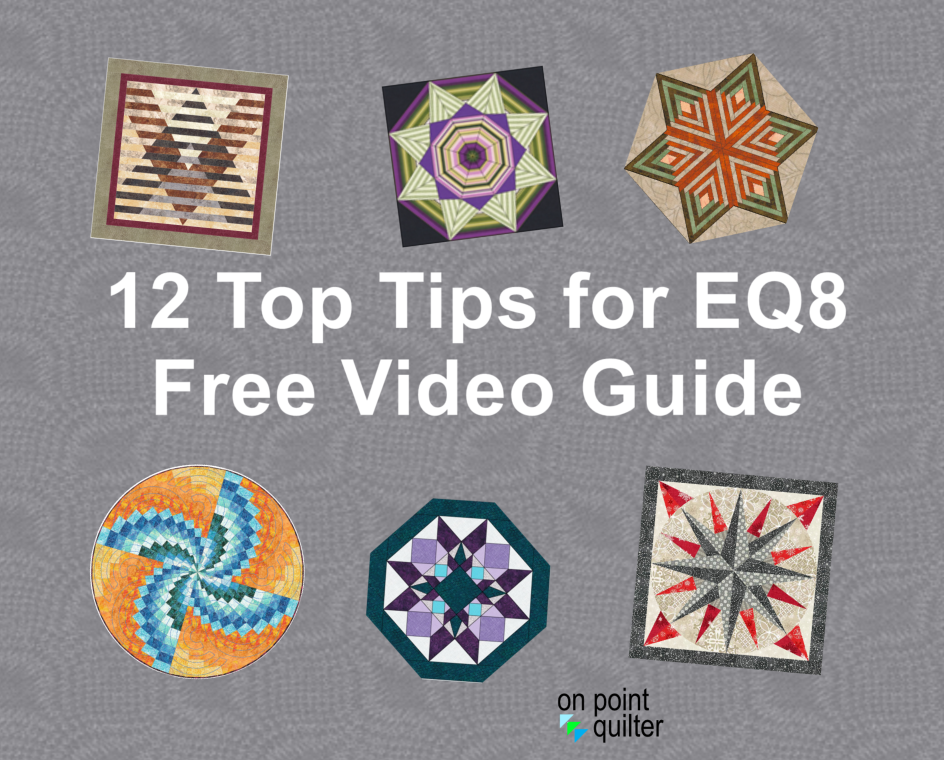
Are you just getting started with Electric Quilt 8 and need some help?
Shoot for the Stars is designed to get you started with Electric Quilt 8 through training delivered straight to your inbox. This series includes 14 short (i.e.. 5-10 minute) videos delivered over the course of a month allowing you to learn the basics of this complex program in bite size increments. The class is currently on sale for $30 (regular $50). Join now. (Sale ends February 4, 2020.) |
Kari SchellElectric Quilt Expert and Educator and Pattern Designer. Categories
All
Archives
July 2024
|











 RSS Feed