ON POINT QUILTER
  • Blog
  • About
  • EQ8 Training
    • Tech Know Quilters Electric Quilt 8 Membership Training
    • EQ8 Made Easy
    • Electric Quilt 8 Sneak Peek
  • Store
  • Contact
Picture

Random Color Generator

8/26/2023

 
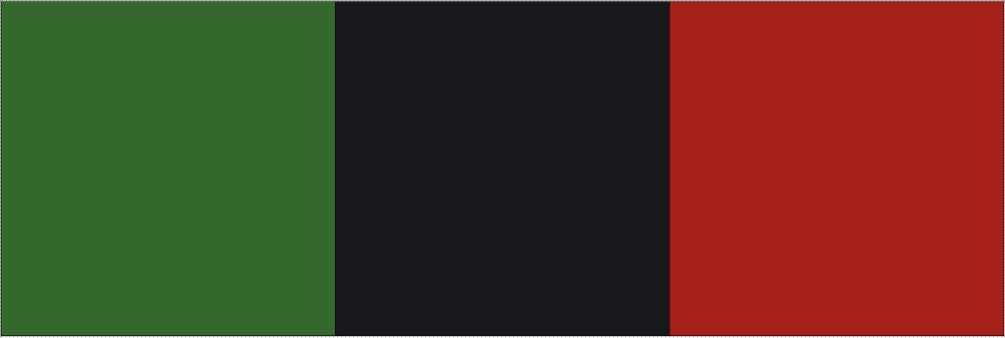
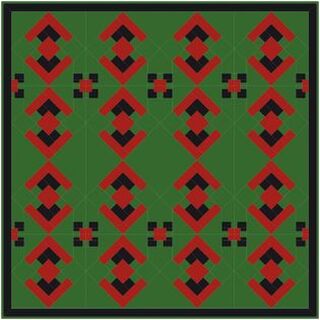
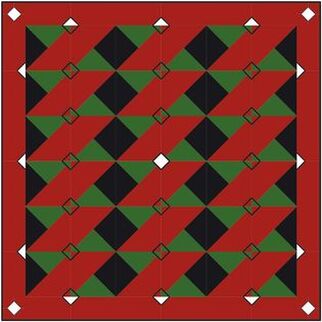
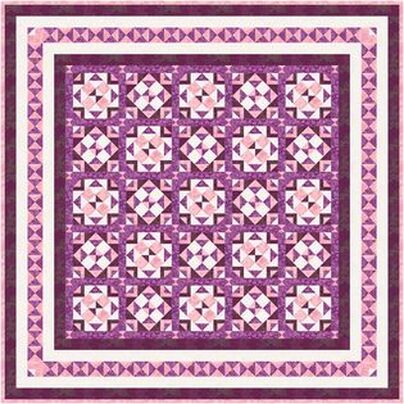
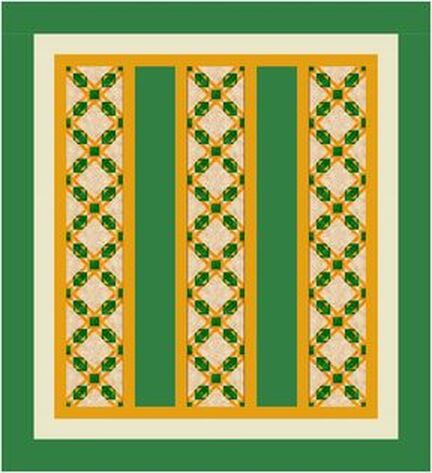
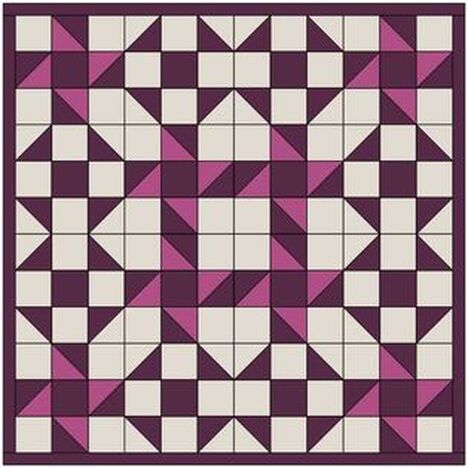
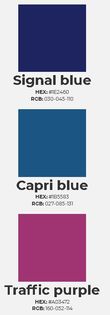
Each month, I provide a challenge to Tech Know Quilter Masters members.  In July, their challenge was to use a random color generator to generate three colors.  Then to design a quilt using those three fabrics.  The only other color that could be added was a background.  They were also allowed to use "fabrics" to replace the random color.

I decided to challenge myself to complete the challenge and will be sharing my process and quilt in this blog post as well.

Tech Know Quilter Masters Random Color Generator Challenge Showcase

Here are the designs submitted by Masters members in July. Tech Know Quilters Masters members are more advanced and are working on stretching both their design and their Electric Quilt skills.  ​
Mary Groesbeck
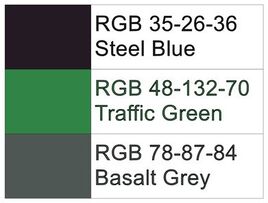
I was expecting 3 colors that I would have to force to play together against their (and my) will...and look what I got. A real red, a blue black, and a good green. Anything with red and black will work for me.
Picture
Picture
Picture
Edith Craig   ​

​Here is my challenge quilt using the 3 colors from the generator and then selecting fabrics from that spectrum. I also used some of the techniques from last month to design this quilt.
Picture
Picture
Patricia Hansen  ​

​My three colors were used in the borders of this EQ quilt design. I looked for similar colors in the fabric swatches I already had downloaded for this project to use in the X designs.
Picture
Rhonda Goss
Picture
  Gloria Worthen Jacobs  

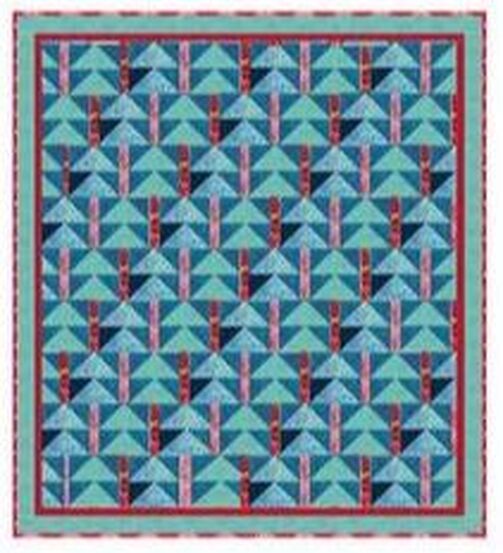
​I reviewed lesson 1 on tessellations and used my colours in a version of the trees.
Picture
Picture
Katherine Martin

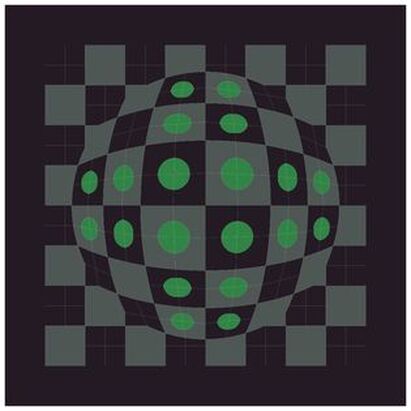
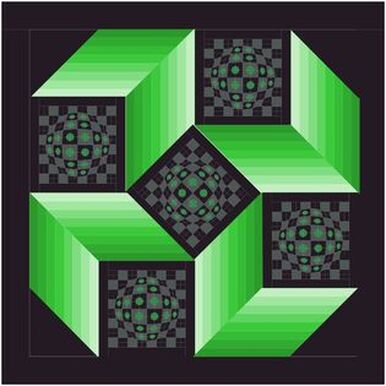
I am working on More optical Illusions this month, so tried my colours out on my Bubble Quilt.
Picture
Picture
Picture
Renae Frank Butler
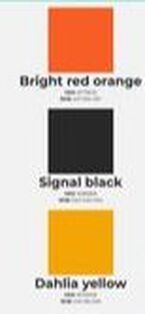
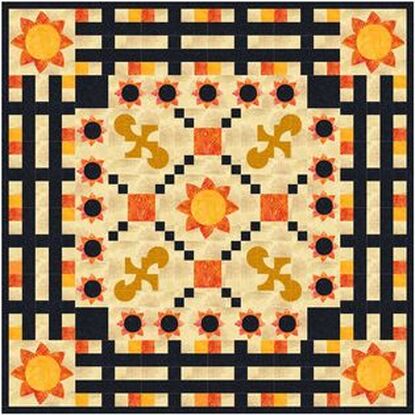
I am not a orange and yellow person so this was an interesting choice for me all three generated colors were used for the design, then I used map to fabric randomizing and did a little tweaking. 

The second item was a block in the block library that was recolored.
​
Picture
Picture
Picture
Curryanne Hostetler
Picture
Picture
Picture
Fran Heisey
I'll have to confess, I cheated a little. I generated 2 sets of colors, and picked the set I like better.
Picture
Picture
Block copied from a ceramic tile.
Picture
Lee Wiencki  

​​A three colour quilt using Drunkard's Path.
Picture
Picture
Julie Pedersen

Here are my 3 colors and fabrics to match them.

​The second quilt were selected fabrics when I search by color to make it more interesting.

Picture
Picture
Picture

My Random Color Generator Project

Some of the TKQ Masters members have suggested that I should participate in these challenges myself.  So I thought I would walk you through my project -- along with some of my thought processes as I was creating the quilt.
Picture
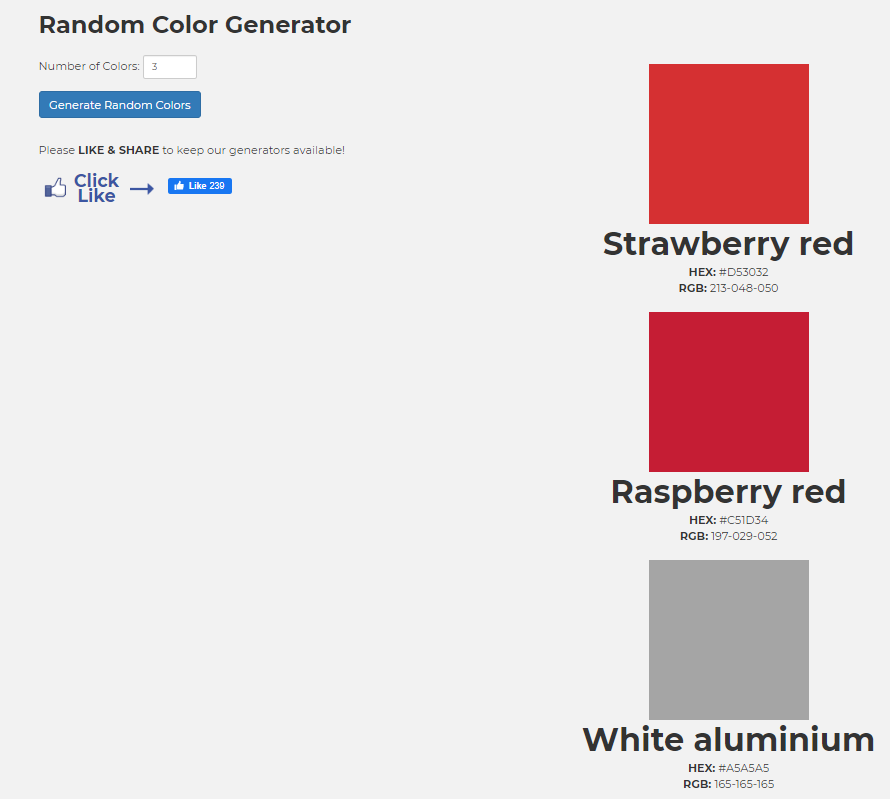
Assigned Colors from the Generator:
  • Strawberry red
  • Raspberry red
  • White aluminum

I like the idea of red and grey -- but was a little concerned with having two reds that are fairly close in value.

Fortunately I previously set the rule that fabrics can be selected instead of colors.  ​?
For the project, I selected a design I didn't have room for in one of my Tech Know Quilter classes.  I had colored the quilt in three colors -- which I realized would be perfect for the challenge.

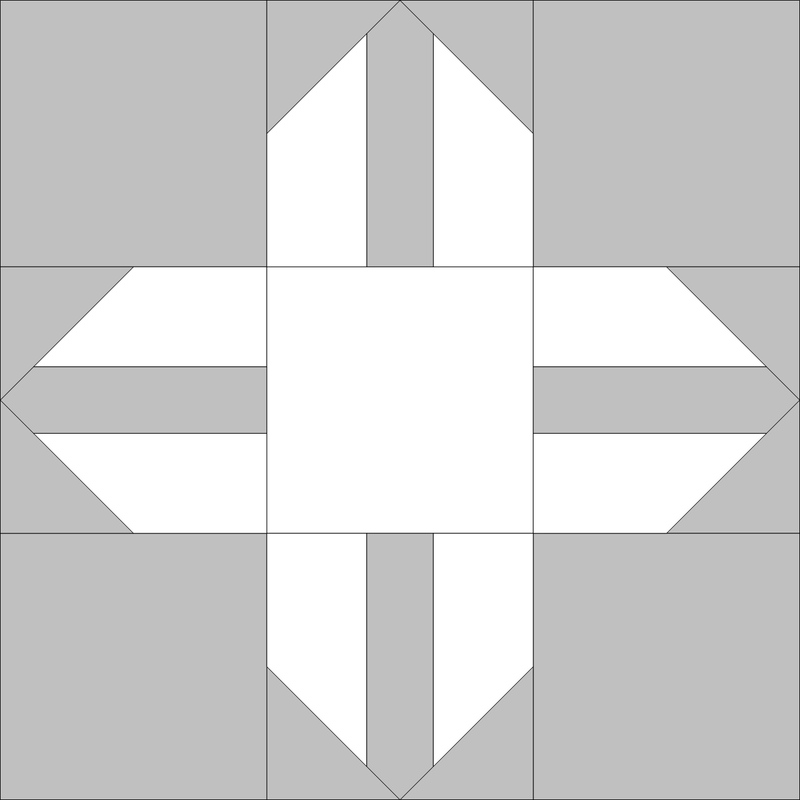
In BlockBase+, I selected #1718 called either Nine Patch T or Mrs. Danner Bk. 7.  If you are looking in BlockBase+ you can find the block in 09 Equal Nine Patch > 08 Like Santa Fe.

If you don't have BlockBase+, the block could be drawn in EasyDraw.  Set the block width and height to 12 x 12.  Set the snaps at 24 x 24.  The only snapping option should be Snap to Grid.


Picture
Block 1718 from BlockBase Plus
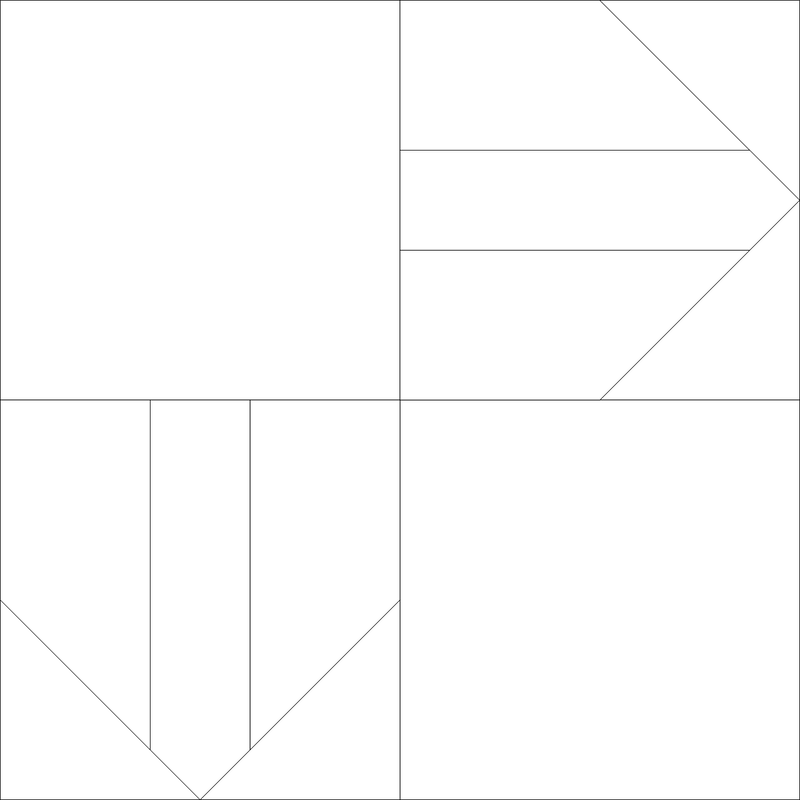
Even though I started with Block 1718, I chose to use only part of the block.  In the video, I will take you through the process to eliminate both the left third and top third of the design.  

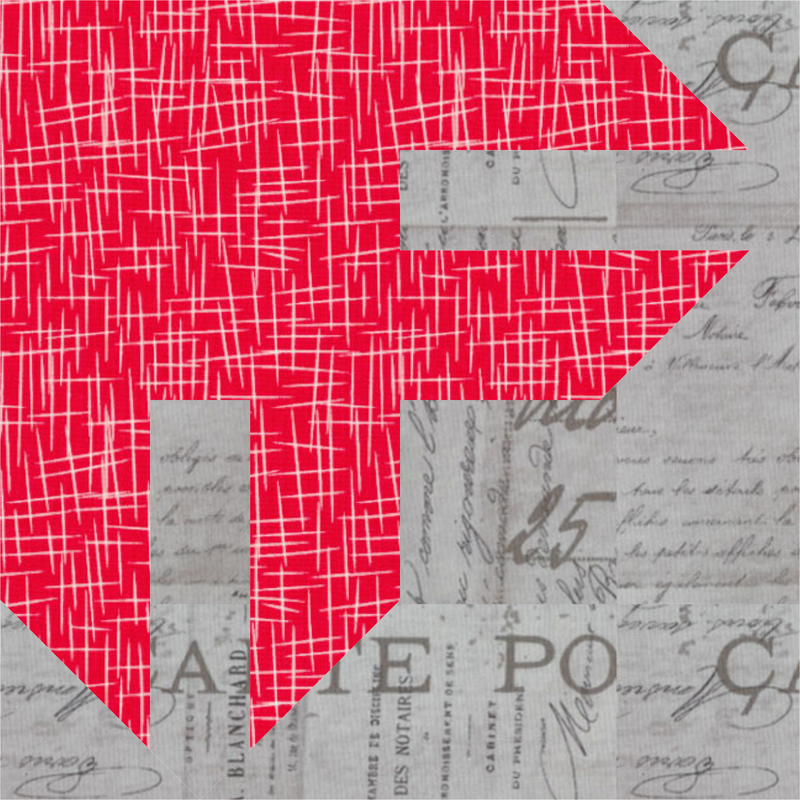
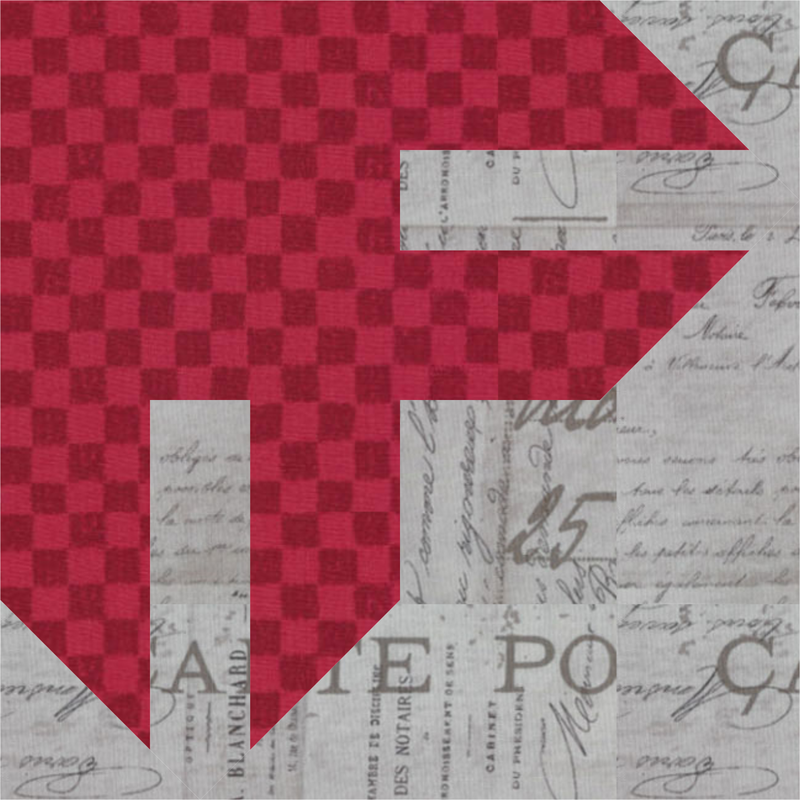
I then created two colorings of the block using my colors from the random color generator.
Picture
Block 1718 Revised by Kari Schell
Picture
Raspberry Red and White Aluminum Colored Block
Picture
Strawberry Red and White Aluminum Colored Block
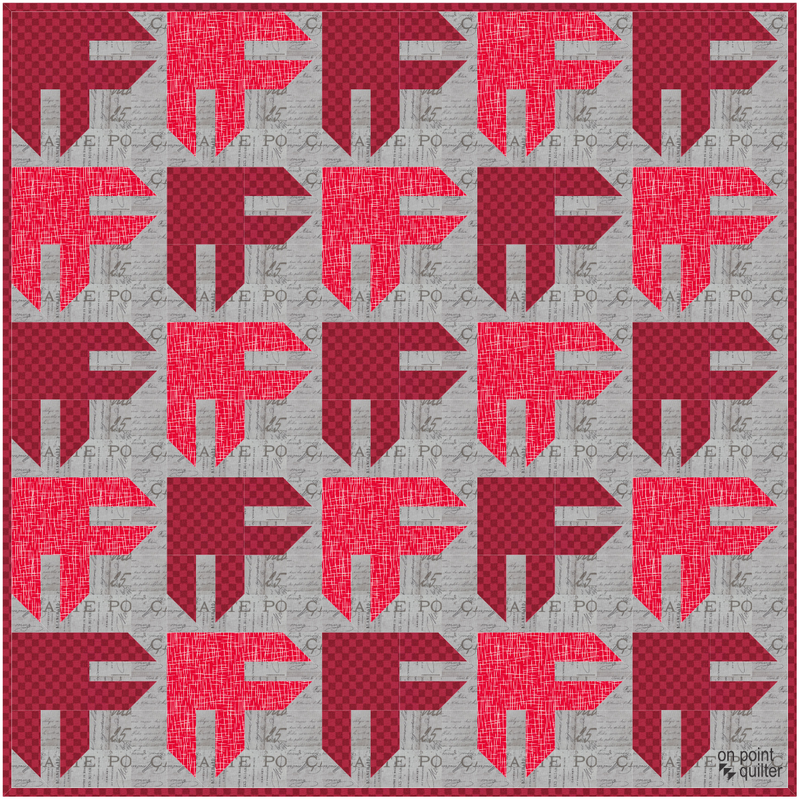
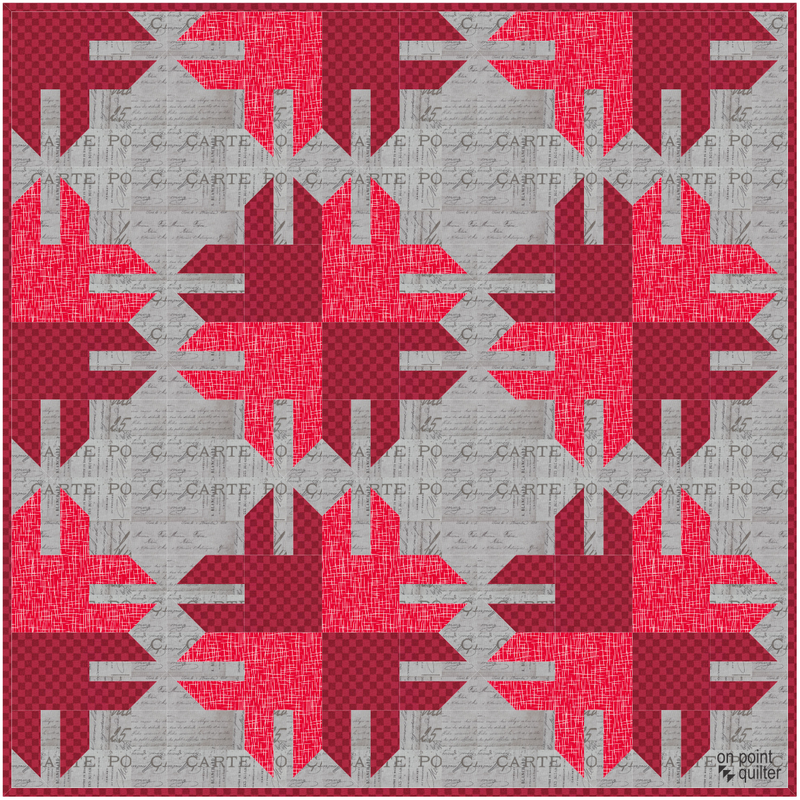
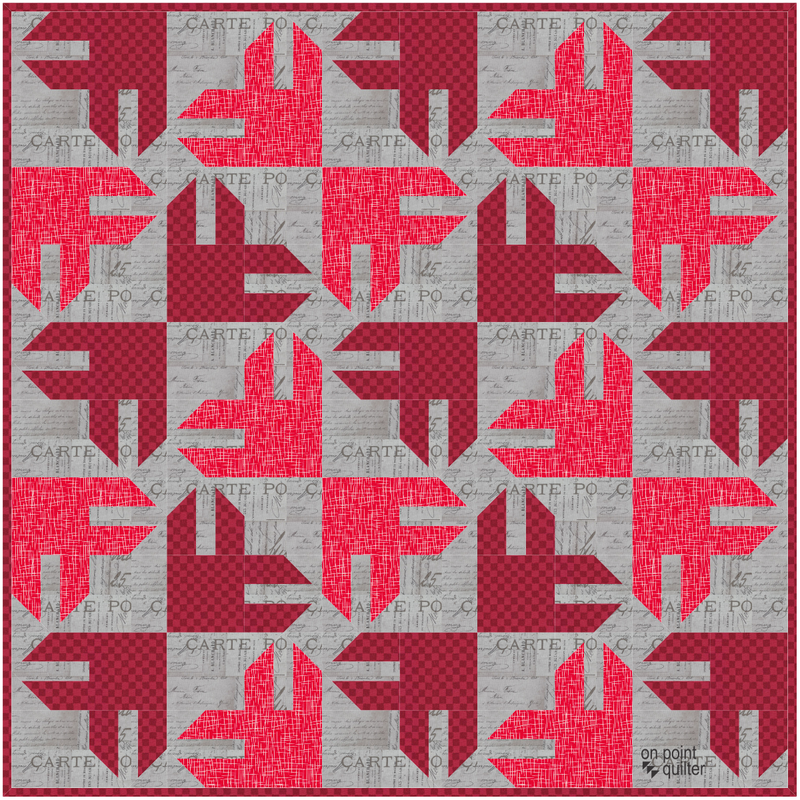
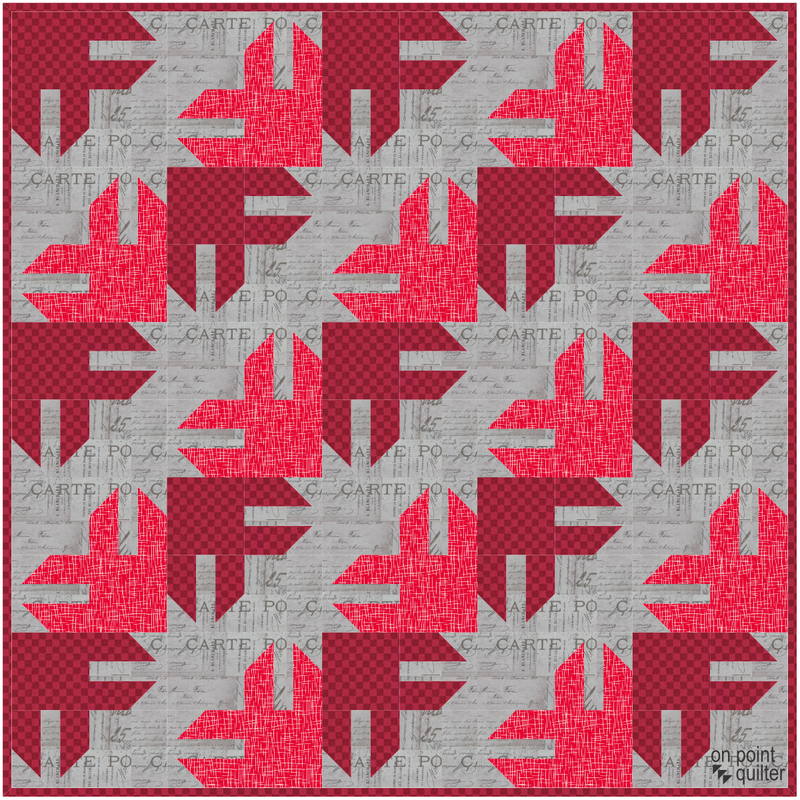
The modifications to the block resulted in an asymmetrical design.  Which gives so many more options on the quilt worktable.Here are the quilts from the video saved after selecting Symmetry.
Picture
Original Layout (no rotation)
Picture
Symmetry Option 1
Picture
Symmetry Option 2
Picture
Symmetry Option 3
I hope you enjoyed seeing my thought process as I designed a quilt for the challenge -- as well as how the quilts were created in EQ8.

I would love to see your use of my modified block.  With a different set of fabrics or colors.  If you would like to try the Random Color Generator, you can locate it here.  ​

​Post you pictures on the Learning EQ8 Facebook group.
Random Color Generator Learning EQ Facebook Post

Tech Know Quilters Working with Fabric Class

Picture
The first Tech Know Quilters class is all above working with fabrics and colors in Electric Quilt 8.  

If you would like to join Tech Know Quilters ahead of the next open enrollment period, send me a note and I will send you information on getting started in September -- back to school for you.

Picture
Happy quilting.

​Kari

Join the On Point Quilter weekly newsletter and receive regular tips and inspiration on using Electric Quilt 8 along with the  Free 12 Top
Tips for EQ8 video guide.
Picture

Rotating and Fussy Cutting Large Scale Fabric Using Electric Quilt 8

8/19/2023

 
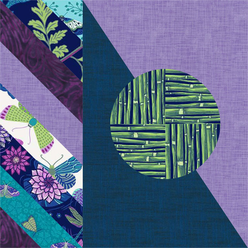
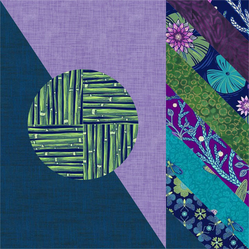
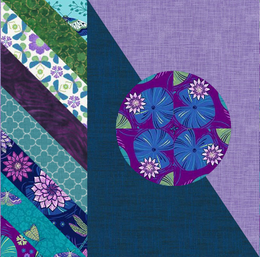
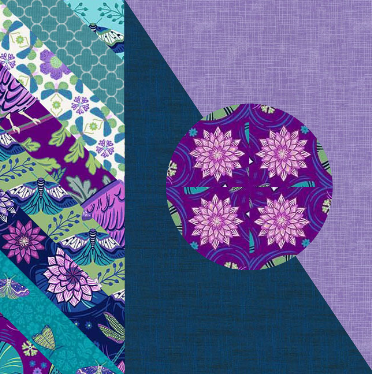
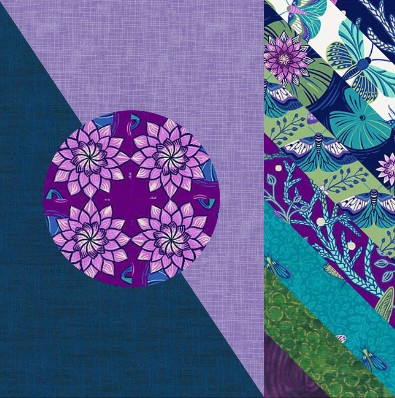
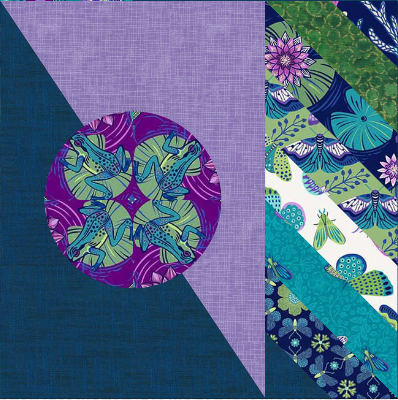
Last week I created a new block that I called "Sashing and Block Combo" and set it in a quilt.

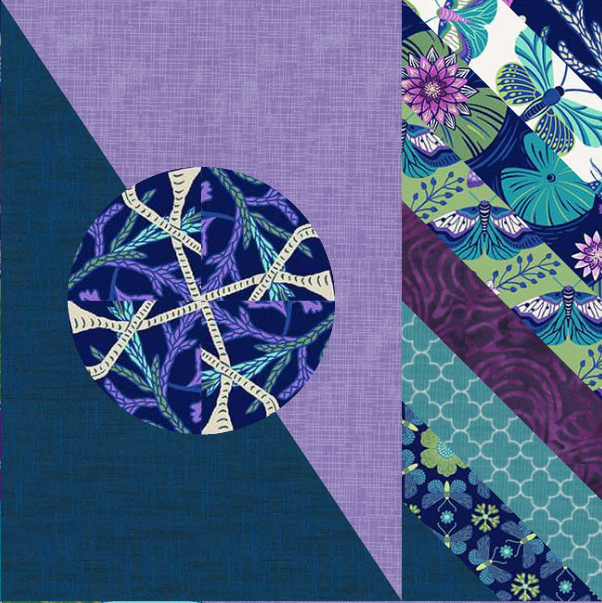
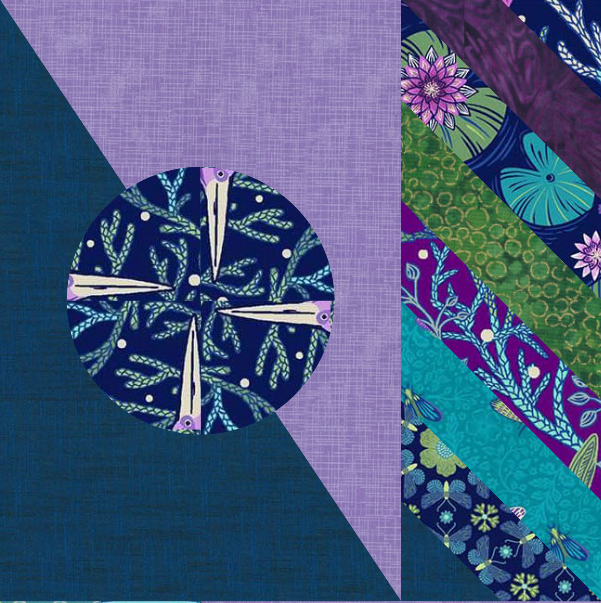
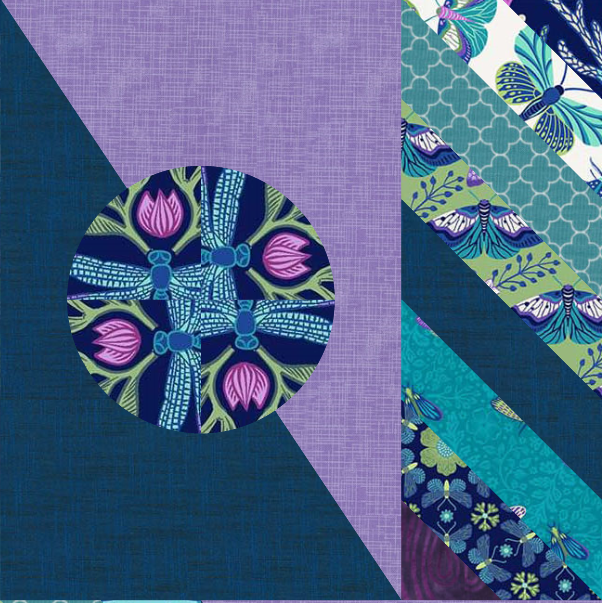
The circle was drawn and quartered with the Ellipse applique tool and I set and rotated one fabric for the four quarters of the circle.

Most of the fabric used in the quilt were from from the Waters Edge fabric collection FREE download from Electric Quilt.

You can find last weeks tutorial on drafting the block and quilt here.
Picture
Picture
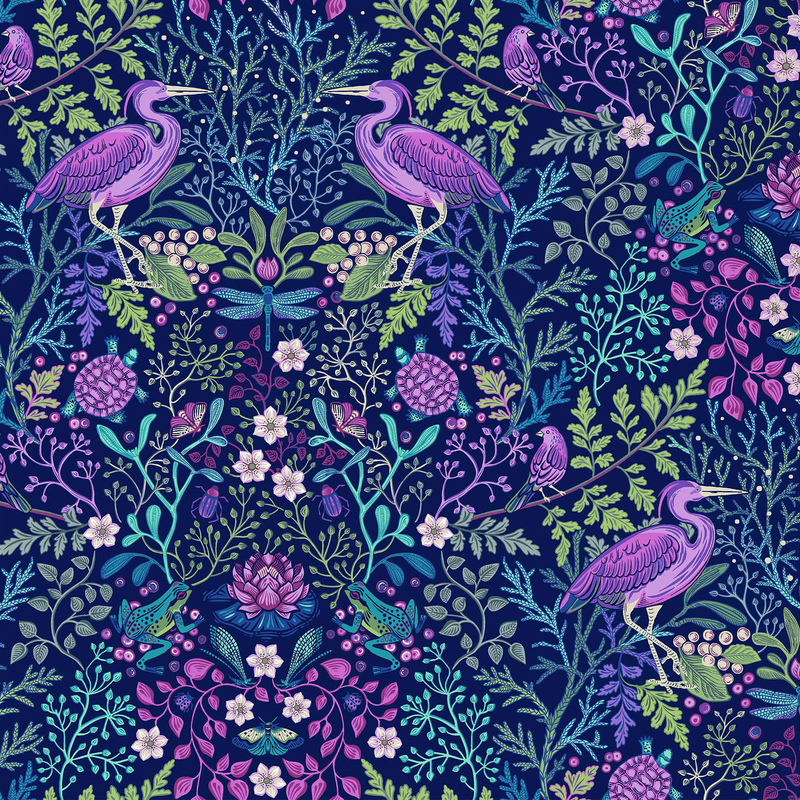
When I went to play with rotating and fussy cutting some of the Waters Edge fabric pieces, I quickly realized some of the fabrics had a very large repeat.  This first piece in the collection was 25 inches square -- and it isn't even a full repeat of the design.
Picture
Waters Edge by Brett Lewis for Northcott (SKU 26719-49)
Trying to rotate and fussy cut a 25" piece of fabric in a 2-1/2" quarter circle, did not work very well for me.  So I knew I needed to approach the process a bit differently.

I thought about the time I did a One Block Wonder quilt (a real quilt -- not an EQ design) where I cut the theme fabric into strips that were exactly the same section of the fabric (essentially cutting the repeats).  I then aligned each of the strips and sub-cut them for each of the blocks.  Then sewed together for a kaleidoscope type of design.

The approach I chose for fussy cutting in my quarter circles in the Sashing and Block Combo EQ quilt was similar to that.  However I chose to cut my strips larger than needed.  Then I could have more options for fussy cutting the design to pick different elements to highlight. 
I found that I could cut the 25" fabric swatch into 25 different 5" segments -- more than I need for the  Sashing and Block Combo quilt.

In this weeks video tutorial, check out how I created smaller fabric swatches, rotated fabric and fussy cut in the quilt.  
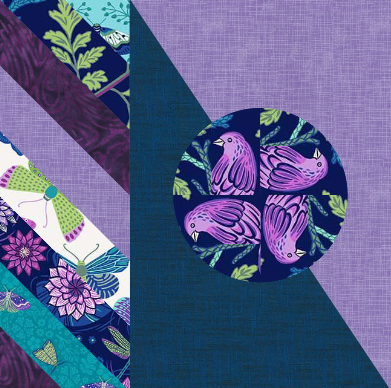
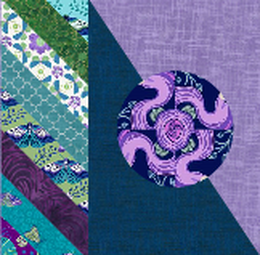
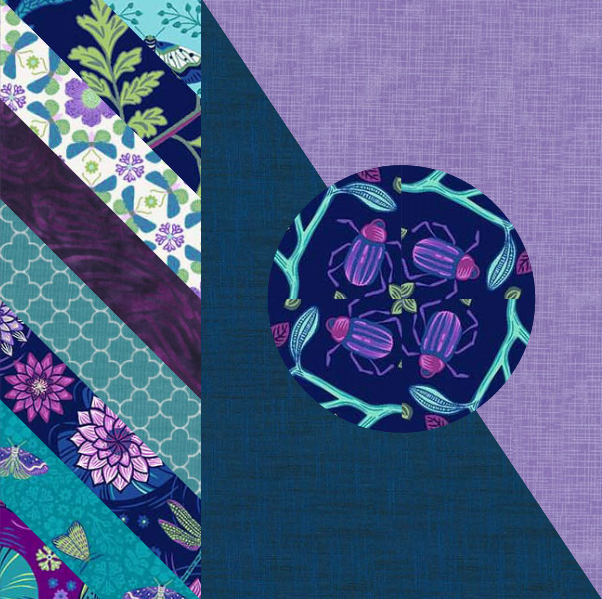
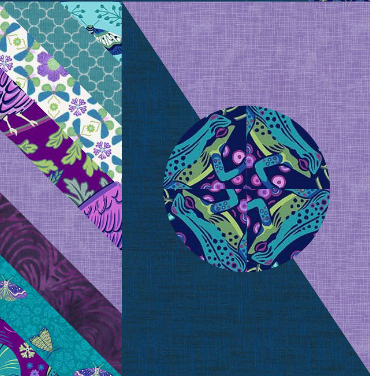
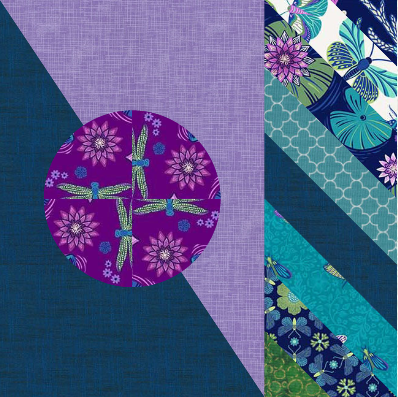
Here are my updated blocks.  Check out the circle designs in each of them.  The first 8 were from the fabric image shown above.  Can you find the designs in the full fabric image?

Click on each block for a close-up view.
Picture
Picture
Picture
Picture
Picture
Picture
Picture
Picture
Picture
Picture
Picture
Picture
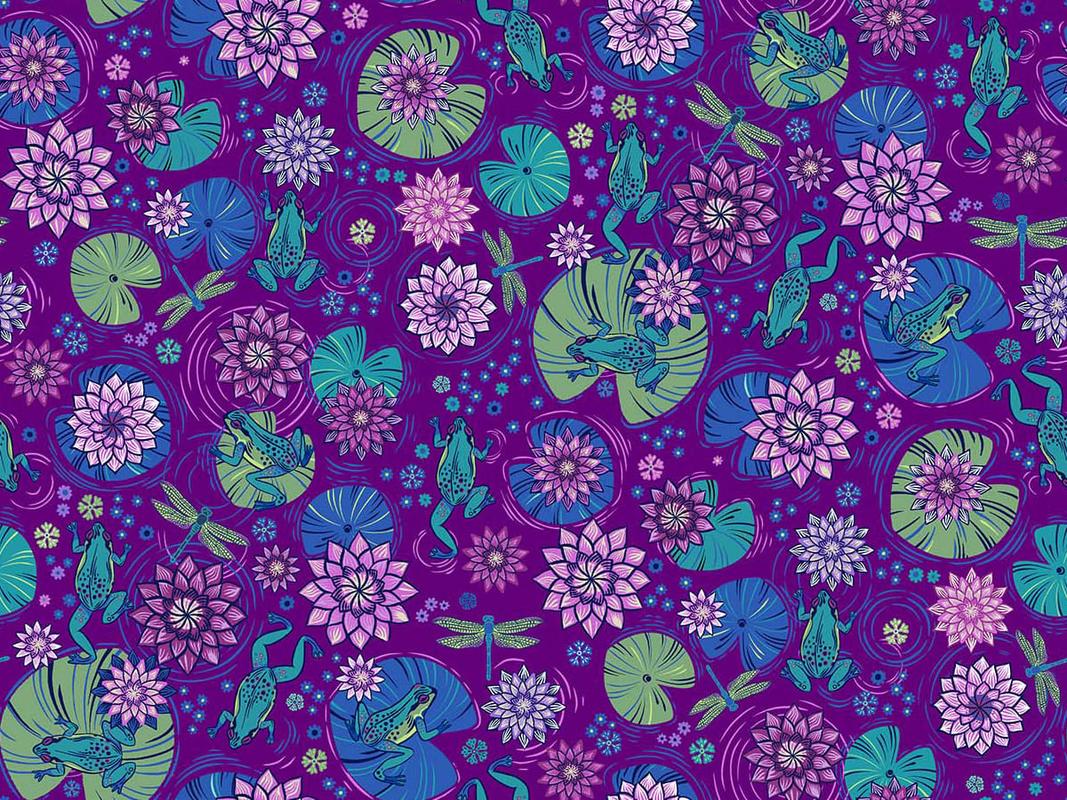
The last four were from the following piece.  This is also from the Waters Edge fabric collection.  This one had a full repeat both horizontally and vertically.  The single repeat was 16-1/2" by 12-1/2".
Picture
Waters Edge by Brett Lewis by Northcott SKU 26711-86
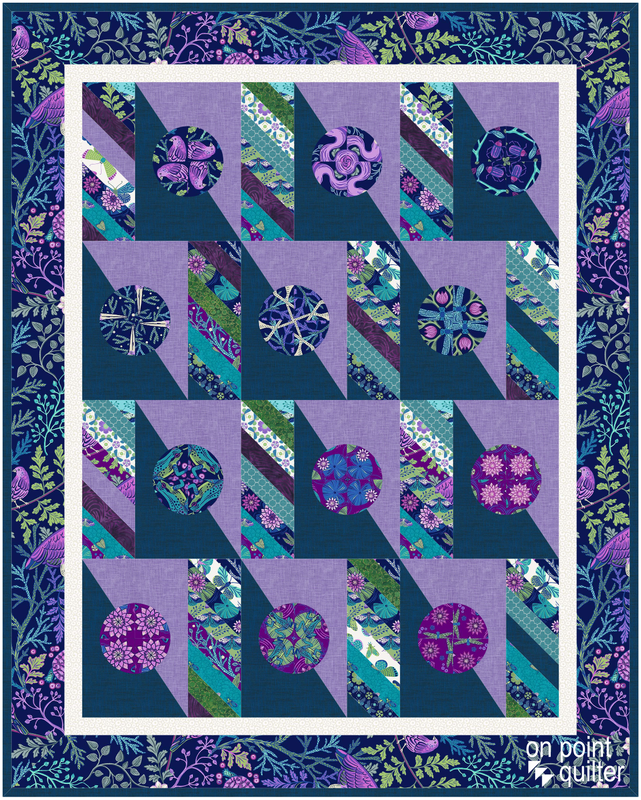
Here is the final quilt.
Picture
Sashing and Block Quilt with Rotating and Fussy Cutting of Theme Fabric
I look forward to seeing what you choose to do with fussy-cutting.  Feel free to share a block (or two) in the Learning EQ Facebook group.
Learning EQ Facebook Group Fussy Cut Design Post

What to do about Pixelated Fabric?

When I reopened the Sashing and Block Combo Design project file after last weeks video, I noticed that some of the fabric in the sketchbook, looked pixelated and appeared to have lost its color. (See the last three fabrics in the picture as an example.)

After some experimenting I found that if you use this fabric to color a quilt, it will look "normal" in the quilt.  The pixelation is only visible in the coloring tools and in the project sketchbook.
Picture
Pixelated Fabric Problem
I reached out to Electric Quilt who shared with me that it was a known issue.  I suspect related to these super large fabric swatches.  The workaround is:
  • Close the project.
  • Reopen the project.
  • The first screen you will see is the Project Sketchbook.
  • Select the Fabrics tab before doing anything else.  Scroll over and note that the fabrics should now be able to be viewed correctly.

I was able to fix this project.  However I did find that it doesn't work 100% of the time.  So we may need to deal with a few "pixelated fabric swatches".  FYI -- I didn't find any issues after cropping the large pieces.

Tech Know Quilters Working with Fabric Class

Picture
The first Tech Know Quilters class is all above working with fabrics in Electric Quilt 8.  In addition to learning how to import fabric from multiple sources, you will even learn how to photograph and scan your own fabric.  Won't that be a great stash busting option!

If you would like to join Tech Know Quilters ahead of the next open enrollment period, send me a note and I will send you information on getting started in September -- back to school for you.

Picture
Happy quilting.

​Kari

Join the On Point Quilter weekly newsletter and receive regular tips and inspiration on using Electric Quilt 8 along with the  Free 12 Top
Tips for EQ8 video guide.
Picture

Sashing and Block Combo Design

8/12/2023

 
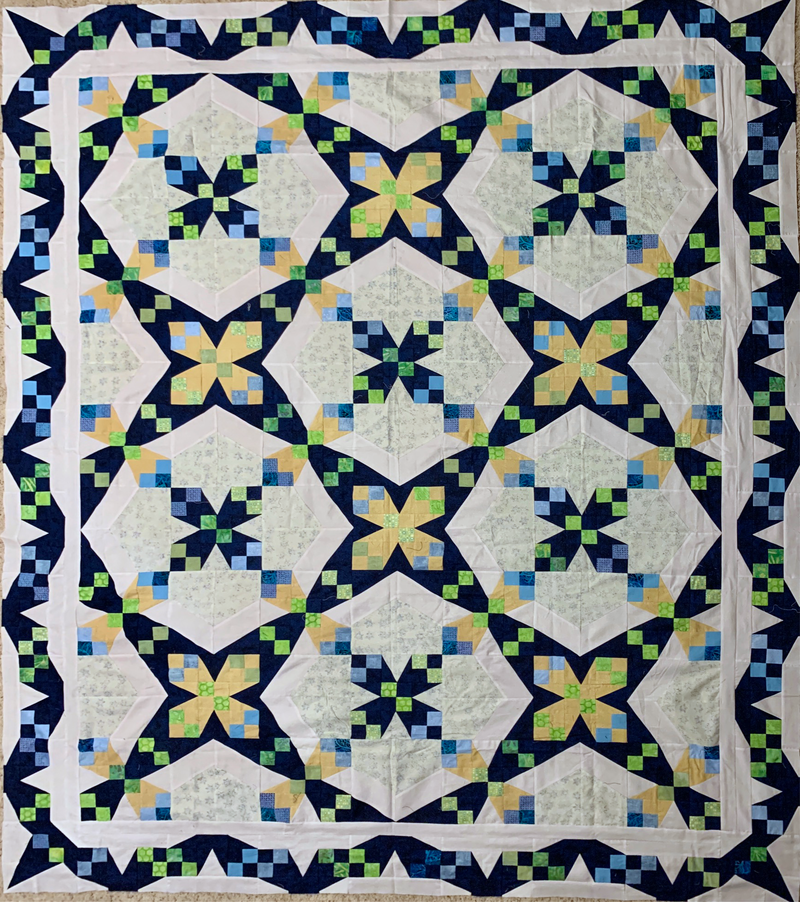
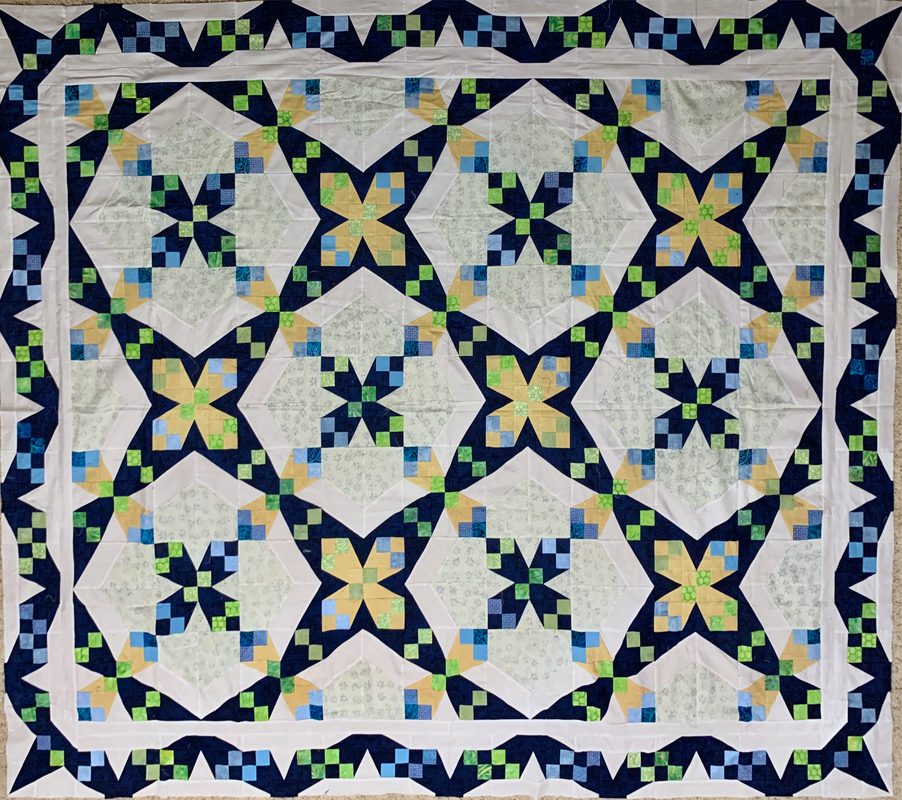
Last week I mentioned that I was away at a quilt retreat.  It was so fun catching up with some quilting friends and even getting a bit of quilting done.  Of course not nearly as much as I was planning on.  But I did get the binding on two quilts and borders pieced and added on a third quilt.  I thought those borders would take me 1/2 day -- boy was I wrong.  But I do like how the quilt turned out.
Picture
Block Busters Pieced Quilt by Kari Schell
Picture
Block Busters EQ8 Version by Kari Schell
Picture
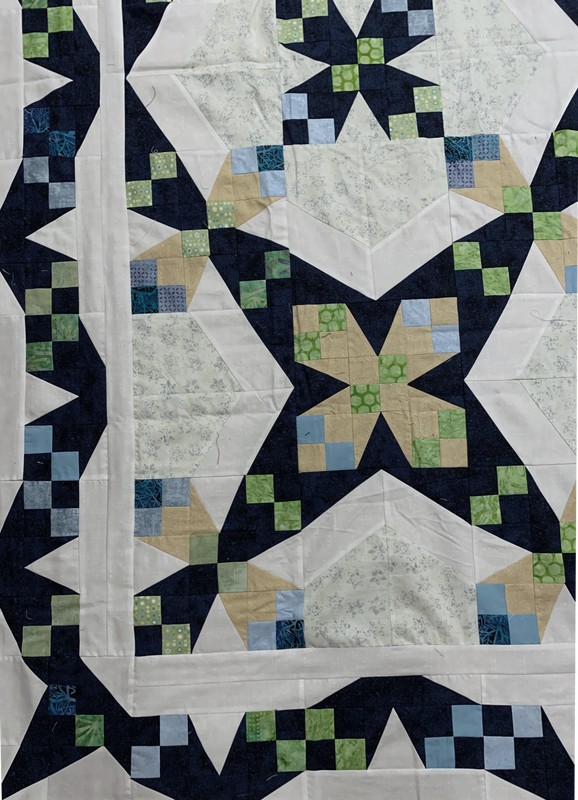
Close Up of Corner (with correction of coloring using PhotoShop)
This was a project I had included for my TKQ Masters group a few months ago.  In Block Busters we took pieces of one block and played with different arrangements and incorporated them in other blocks.   We even played with overlapping blocks for new designs.

The color of the actual quilt is a bit off as I decided to photograph it at 9:30 at night in my family room.  Not ideal for getting the colors correct.

For those who have completed at least 12 months of Tech Know Quilters, let me know if you are interested in the Tech Know Quilter Masters program.  We have so much fun exploring the design part of working with EQ.  I would love to send you more information on the program.

Sashing and Block Combo Design Using EQ8

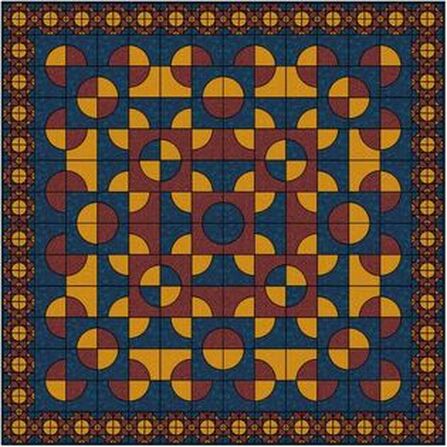
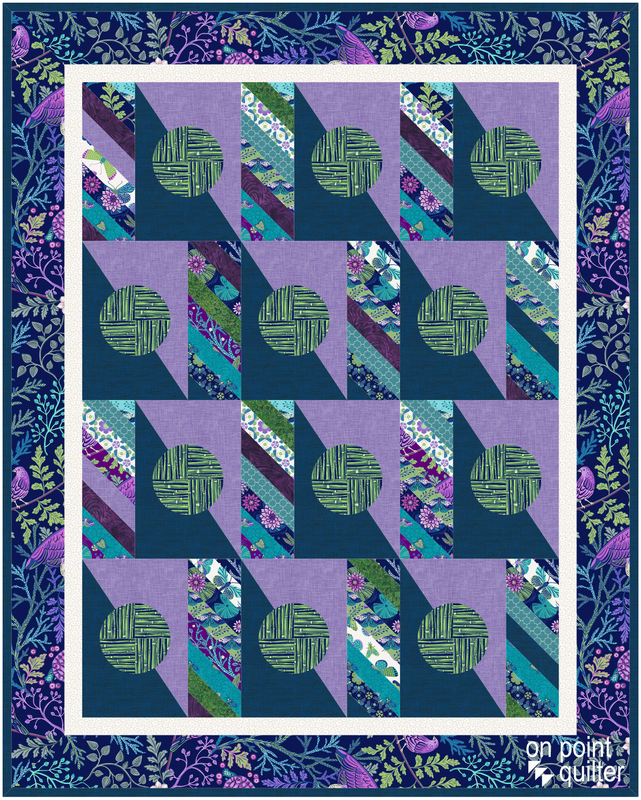
The Electric Quilt tutorial today has a bit of a surprise in it.  The quilt looks like a custom set quilt.  But it was done with a horizontal layout.

In the video tutorial, I cover, drafting the blocks, working with the Ellipse applique tool and rotating fabric.

The "sashing" can be pieced with 1-1/2" strips, making this a fun stash buster idea.

The fabric used in the quilt was a combination of default fabrics and Waters Edge.  Waters Edge was designed by Brett Lewis for Northcott.  It is a free download from Electric Quilt.  
Waters Edge Fabric Collection Download from Do You EQ?
Enjoy the video.
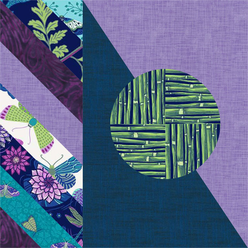
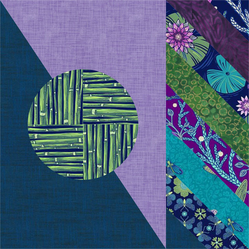
Here are the blocks and quilt from the video.  Each of the blocks have a 9" x 9" finished size.
Picture
Sashing and Block - Block 1
Picture
Sashing and Block - Block 2
Picture
Sashing and Block Combo Quilt
I would love to see what you decide to do with the combo block.  Feel free to post in the Learning EQ Facebook group.
Learning EQ Facebook Group Sashing and Block Combo Design Post
Spoiler alert -- I am playing with a different idea for the applique circles.  I hope to be able to share that with you next week.

Picture
Happy quilting.

​Kari

Join the On Point Quilter weekly newsletter and receive regular tips and inspiration on using Electric Quilt 8 along with the  Free 12 Top
Tips for EQ8 video guide.
Picture

Learn to Create An Optical Illusion Quilt

8/5/2023

 
As this posts, I am enjoying an extended weekend with members of my local quilt guild.  For me this means some time actually piecing a quilt or two and catching up with some dear friends.  It is always inspiring to see what everyone is working on and hear about their latest fabric and tool finds.

I also get super inspired when members of Tech Know Quilters share what they are working on as well.  I consider them my "online guild".  They provide me inspiration each and every day.  I will be sharing a few of their virtual projects in this post.

​Scroll down for an EQ8 tutorial on designing an optical illusion quilt -- complete with added quilting.

Tech Know Quilter Showcase

Tech Know Quilter members shared some of their favorite projects (along with their own designs) from their June class.  You can learn more and sign up for the wait list to join this amazing group of designers here.
Picture
Picture
Mary Groesbeck I took a welcome break from a big project and made this for a friend's birthday. The center is from A Bit Orange and the border design is mine. I added the borders on the longarm, so there was no design or sewing until the binding. It took about an hour (plus binding). I'm pleased with it.
Picture
Rhonda Goss Surprising Corners class.
Picture
Connie Bobcik I was working on TKQ Optical Illusions. I had so much fun this month and learned so much also. It amazes me how much the quilt layout can change the entire look of a quilt and really give you an Optical Illusion as in lesson 9.
Picture
Connie Bobcik Lesson 8 learning the Hollow Block was also a fun block to do. Learning how to draft a simple block in such a way that it totally changes the look and really gives your quilt some dimension. I can see my blocks rolling down a staircase!
Picture
Connie Bobcik I also really enjoyed lesson 5, in Optical Illusions, the Overlapping Ribbons. There are so many options to changing this block up. It was so much fun to playing with coloring also in this block.
Picture
Connie Bobcik Another really fun lesson was lesson 10. Learning how to spin your block just by moving a node is so cool.
Picture
Julie Pedersen I took the Surprising Corners Masters class. This was a quilt from one of the lessons that I played with after the lesson and changed the motifs used.
Picture
Helen Warwick Last month I took your Advanced Borders Classes. I mentioned to a quilting friend that I was taking a class on borders and she asked if I could come up with a border for the scrappy log cabin quilt top she had just made. So I did. She loves it. I printed out the the paper piecing and blocks for the Woven Star corner blocks and wrote up sizes and directions on how to do the rest of it. I think it turned out great. Your classes have given me the confidence to tackle projects I never would have done otherwise.
Picture
Curryanne Hostetler I worked with different blocks of Checkerboard to create a quilt as well as the auto border of checker boards.
Picture
Curryanne Hostetler - a second coloration.
Picture
Fran Heisey Surprising Corners is a fun class. The corners really do surprising things. The block in the corner stones is the block with the surprising corners.
Picture
Kristy Goodin Soard Surprising Corners Masters Class...original block from the library was Topeka Rose.
Picture
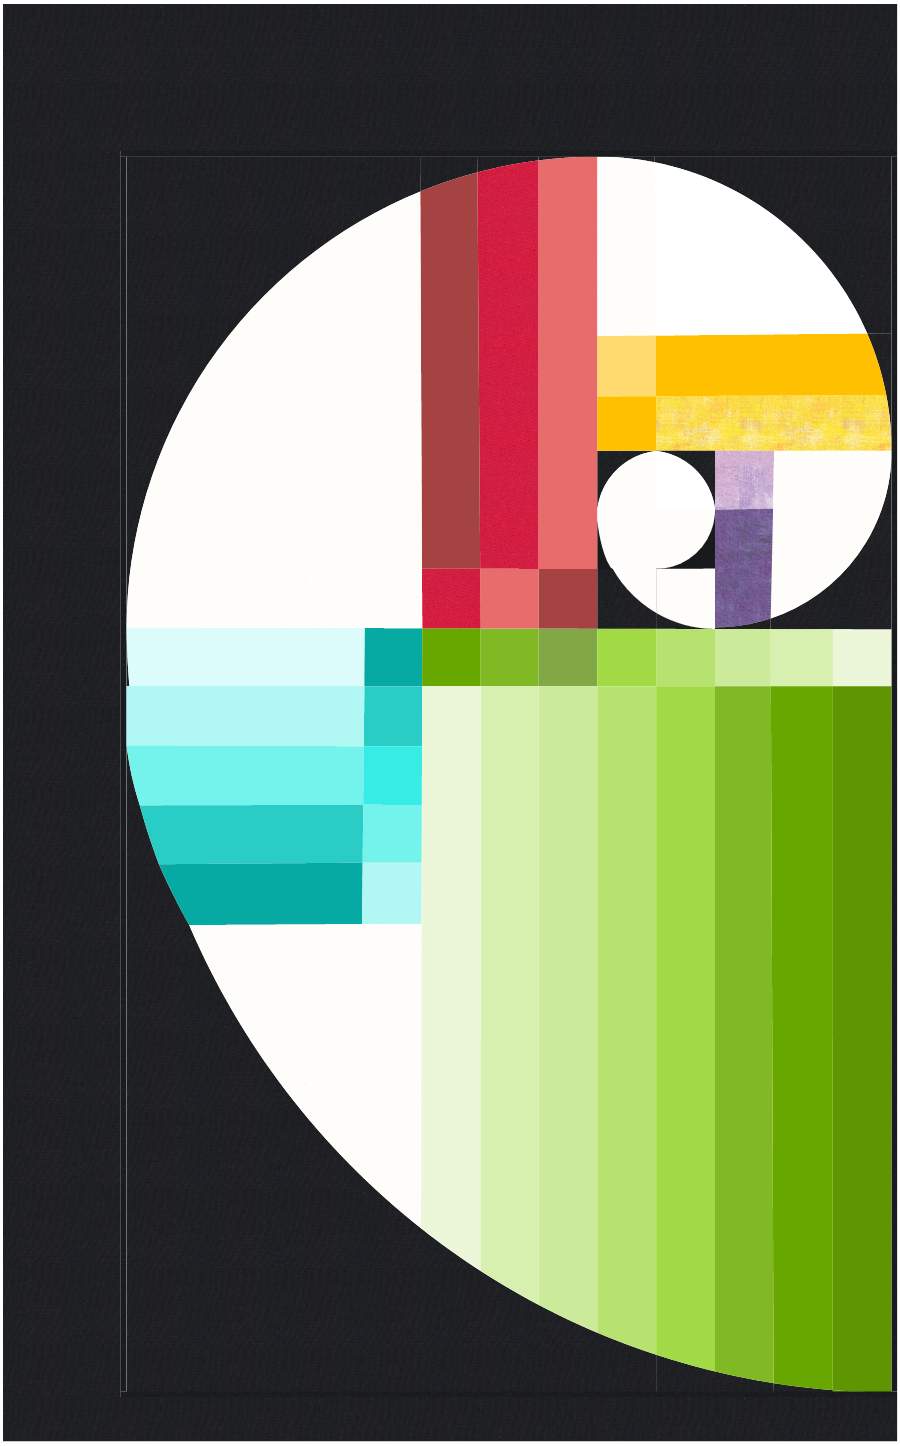
Terry McCaskey I enjoyed the Modern Quilts 2 class this month. The Fibonacci class was probably my favorite and this quilt design is one I might actually construct sometime.
Picture
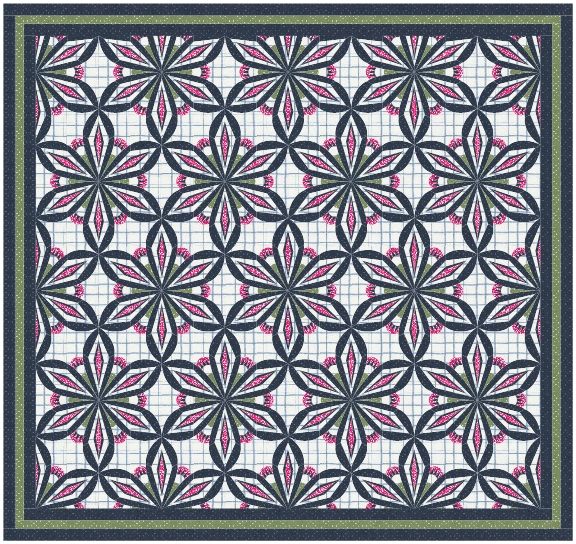
Debbi Treusch I had the Surprising Corners class this month. It was a fun class. I took a block from one of the lessons and made a few modifications, the set it into a non-square layout. I really like the result. The blue lines between the blocks is just a plaid fabric. I'm not a plaid person, but I like the effect of it in this quilt.
Picture
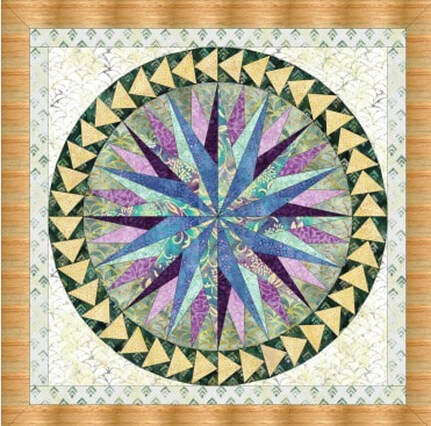
Marcia Jensen I finished the PolyDraw lessons in TKQ, and I loved using all the skills we learned in that group of lessons to make this Compass block/quilt!
Picture
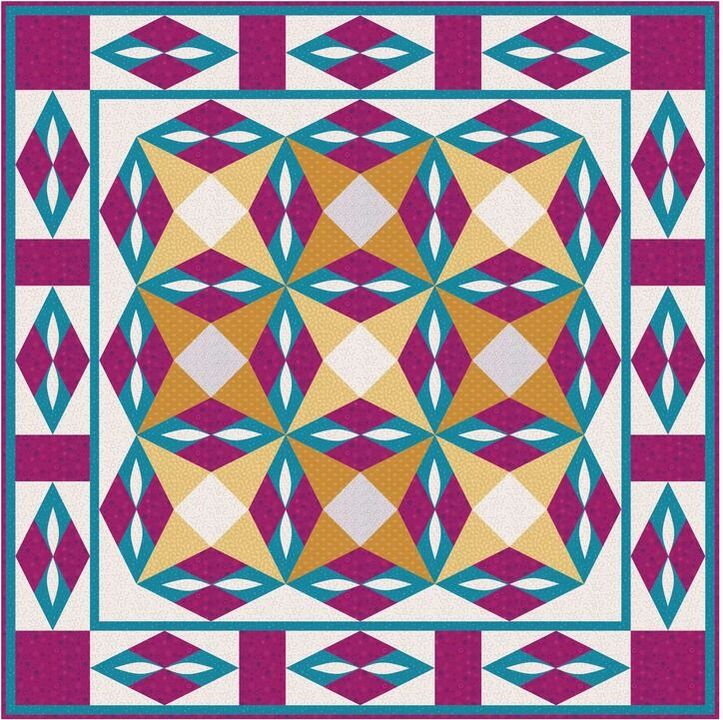
Edith Craig My class this month was Surprising Corners. It was such fun to see the secondary patterns that appeared when blocks were put into a quilt. Such a variety of options. This quilt was adapted from one of the lessons, adding additional diamonds, setting blocks on the outer edge to make a square, and then adding pieced borders.
Picture
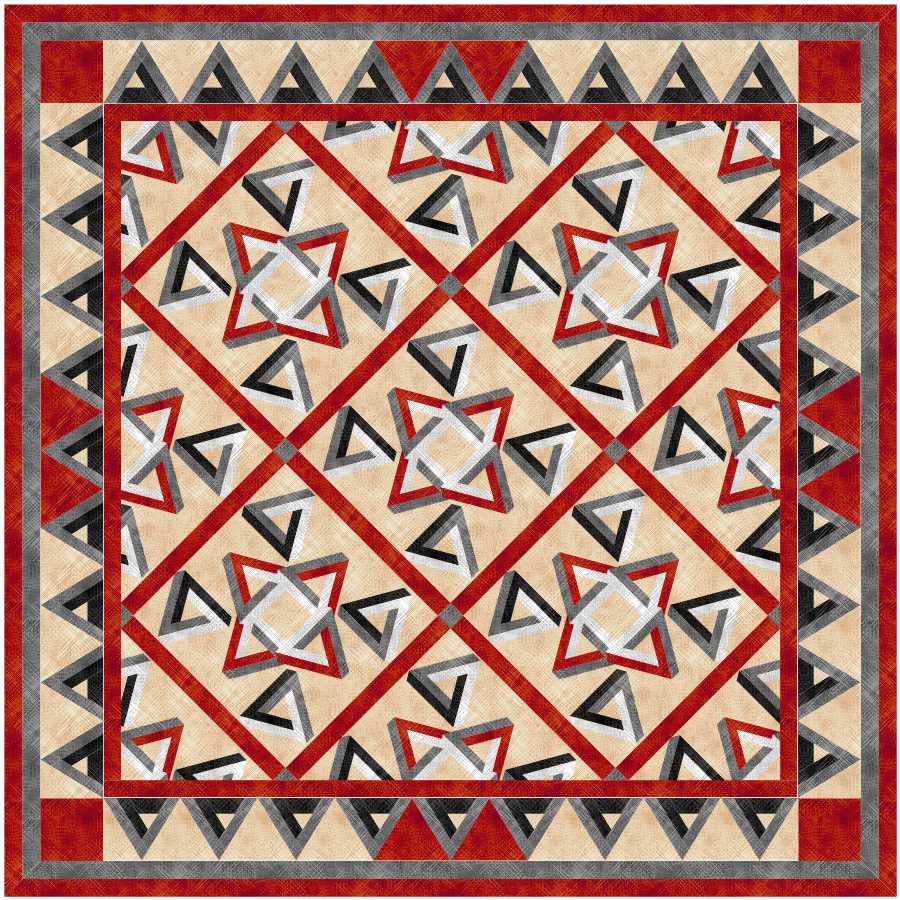
Jane Perri This quilt was designed in the Optical Illusions class Lesson 11 Impossible Triangles.

Optical Illusion with Quilting EQ8 Tutorial

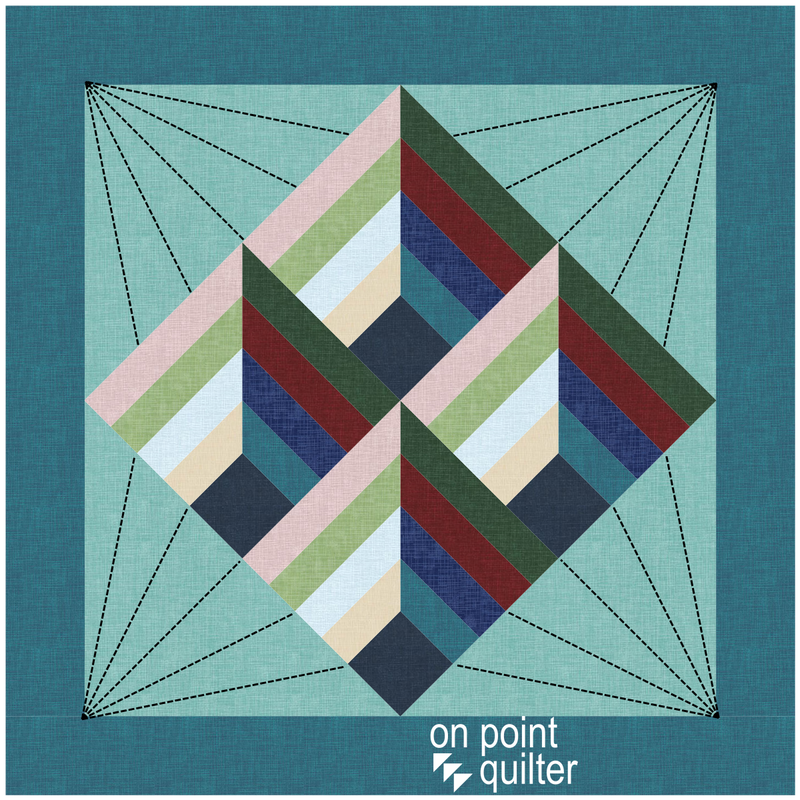
I designed this project for one of my Optical Illusion classes in Tech Know Quilters -- but didn't have enough room to include it in the class.  As you saw in the show a number of Tech Know Quilter members just finished their projects from an Optical Illusions class.  So I thought it would be fun to share this tutorial with you.
Here is the quilt from the tutorial.
Picture
Optical Illusion with Quilting design by Kari Schell using EQ8
I look forward to seeing what you decided to do with this block.  Please feel free to post pictures in the Learning EQ Facebook group.
Learning EQ Facebook Post for Optical Illusion Block and Quilt
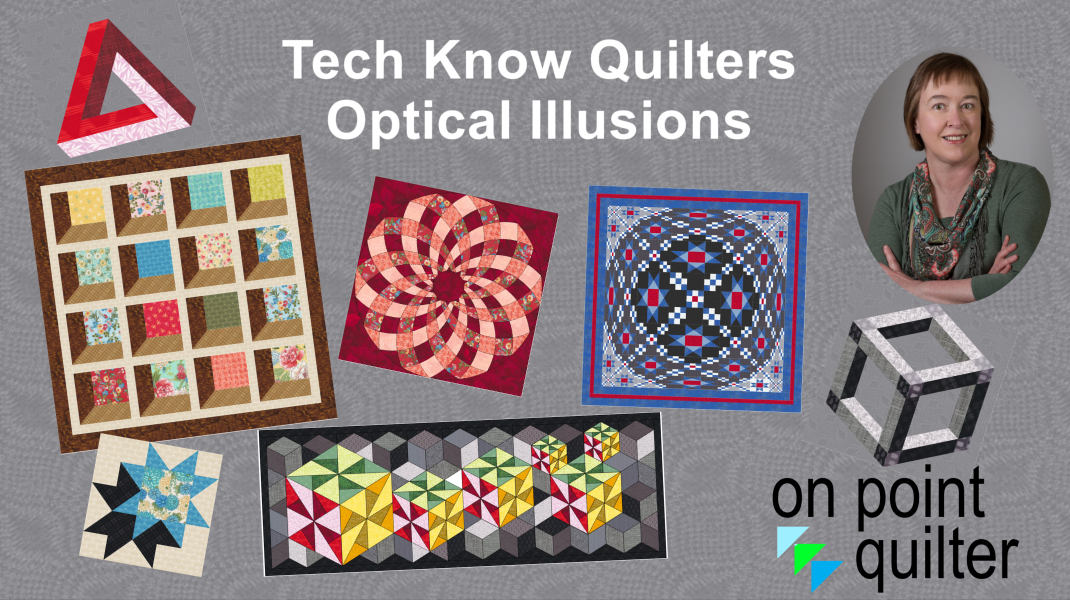
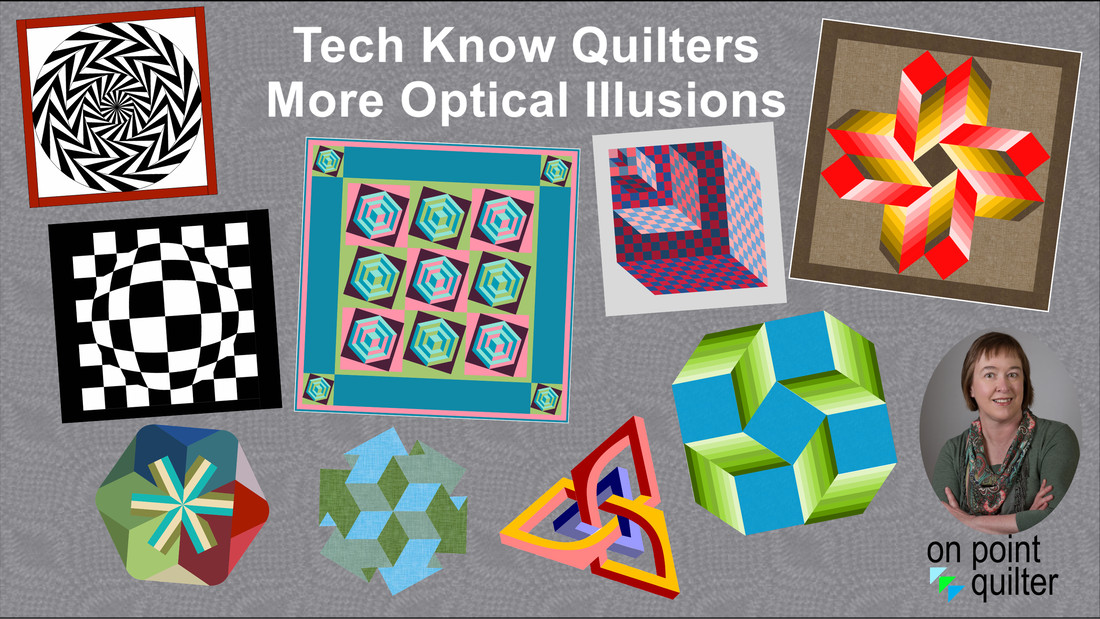
In Tech Know Quilters there are two different Optical Illusions classes.  Here are some of the projects from each of the classes.
Picture
Picture
If you are currently in Tech Know Quilters and would like to take either of these classes as an add-on class, just send us a note.  We would be happy to get you a discount coupon for your class.

Picture
Happy quilting.

​Kari

Join the On Point Quilter weekly newsletter and receive regular tips and inspiration on using Electric Quilt 8 along with the  Free 12 Top
Tips for EQ8 video guide.
Picture
    Picture
    Picture
    Picture
    Free guide available for newsletter subscribers
    Picture
    Picture
    Picture

    Kari Schell

    Electric Quilt Expert and Educator and Pattern Designer.

    Categories

    All
    Art And Stitch
    Cricut Maker
    Dear Jane
    Electric Quilt 7
    Electric Quilt 8
    Goose Goose Duck Challenge
    Inkscape
    Patterns
    Silhouette Cameo
    Stampin Up
    Tips And Techniques
    Tools And Rulers

    Archives

    April 2025
    March 2025
    February 2025
    January 2025
    December 2024
    November 2024
    October 2024
    September 2024
    August 2024
    July 2024
    June 2024
    May 2024
    April 2024
    March 2024
    February 2024
    January 2024
    December 2023
    November 2023
    October 2023
    September 2023
    August 2023
    July 2023
    June 2023
    May 2023
    April 2023
    March 2023
    February 2023
    January 2023
    December 2022
    November 2022
    October 2022
    September 2022
    August 2022
    July 2022
    June 2022
    May 2022
    April 2022
    March 2022
    February 2022
    January 2022
    December 2021
    November 2021
    October 2021
    September 2021
    August 2021
    July 2021
    June 2021
    May 2021
    April 2021
    March 2021
    February 2021
    January 2021
    December 2020
    November 2020
    October 2020
    September 2020
    August 2020
    July 2020
    June 2020
    May 2020
    April 2020
    March 2020
    February 2020
    January 2020
    December 2019
    November 2019
    October 2019
    September 2019
    August 2019
    July 2019
    June 2019
    May 2019
    April 2019
    March 2019
    February 2019
    January 2019
    December 2018
    November 2018
    October 2018
    September 2018
    August 2018
    July 2018
    June 2018
    May 2018
    April 2018
    March 2018
    February 2018
    January 2018
    December 2017
    November 2017
    October 2017
    September 2017
    August 2017
    July 2017
    June 2017
    May 2017
    April 2017
    March 2017
    February 2017
    January 2017
    December 2016
    November 2016
    October 2016
    September 2016
    July 2016
    June 2016
    May 2016
    April 2016
    March 2016
    February 2016
    January 2016
    December 2015
    November 2015
    October 2015
    September 2015
    August 2015
    July 2015
    June 2015
    May 2015
    April 2015
    March 2015
    February 2015
    January 2015
    December 2014
    November 2014
    October 2014
    September 2014
    July 2014
    June 2014
    May 2014
    April 2014
    March 2014
    February 2014
    January 2014
    December 2013
    November 2013
    October 2013
    September 2013
    August 2013

    RSS Feed

Contact:
On Point Quilter
e-mail:  [email protected]
phone:  763-566-6536

GET MY NEWSLETTER FOR REGULAR EQ AWESOMENESS!

* indicates required
  • Blog
  • About
  • EQ8 Training
    • Tech Know Quilters Electric Quilt 8 Membership Training
    • EQ8 Made Easy
    • Electric Quilt 8 Sneak Peek
  • Store
  • Contact