
|
Scroll down for a new tutorial on creating a quilt layout for a mitten quilt plus the sale on the just released Snow Couple pattern.
Tech Know Quilters Showcase
Current Tech Know Quilter Members were challenge to apply what they learned at the end of their December class. Although December was a busy month, I was impressed with how many rose to the challenge.
In December, Masters Members were challenged to examine a historic block and re-draft so that it was easy to piece using folded corner methodology. Here are the quilts from the members who rose to the challenge.
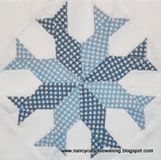
The suggested blocks were Ararat and Giddap blocks by Evaline Foland in 1931. 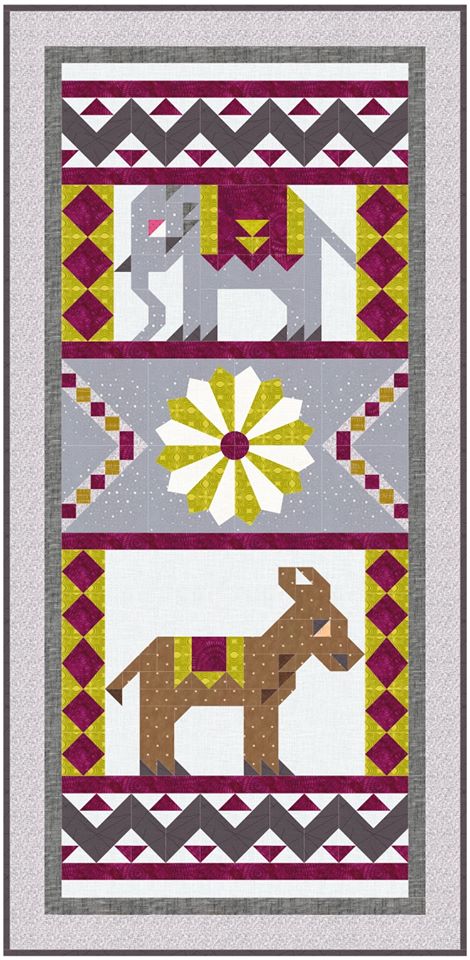
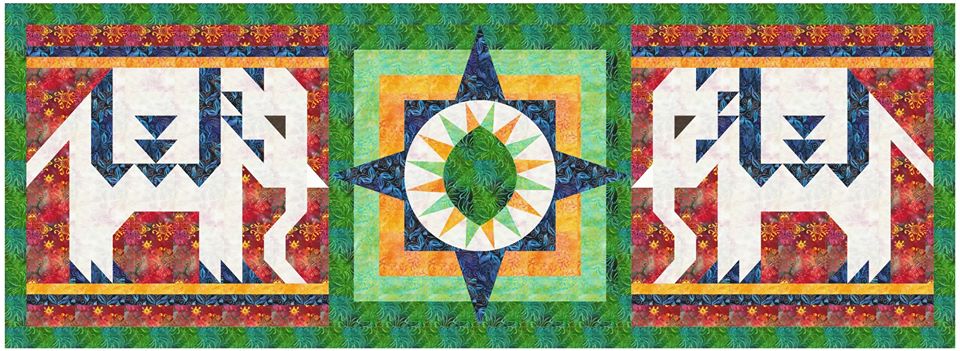
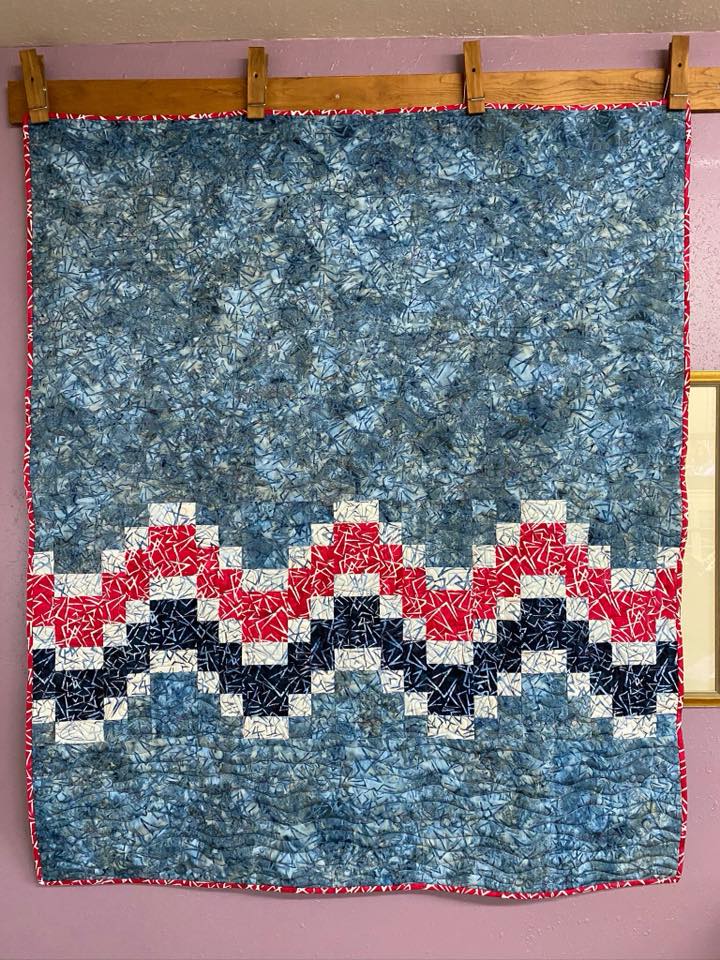
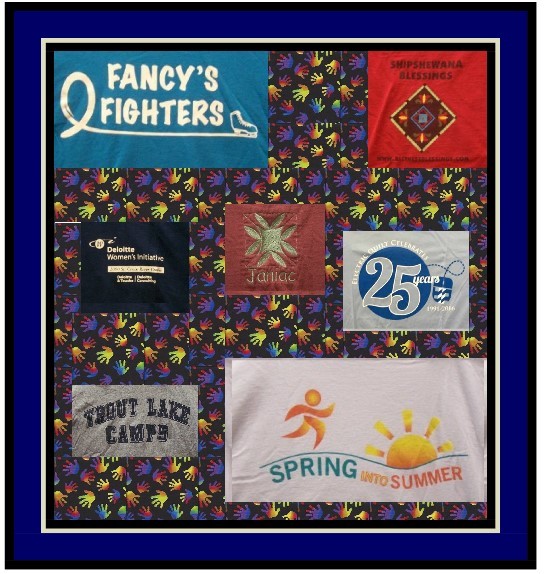
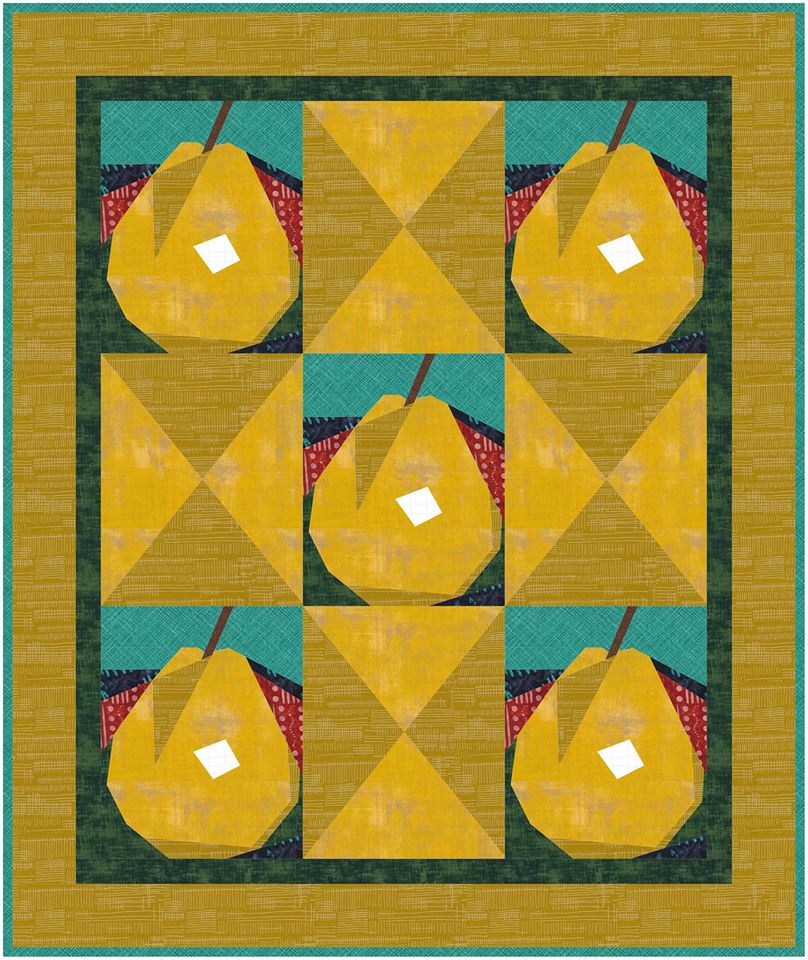
Joyce Drenth I redrew each of the animal blocks and created a different combination of row-by-row type filler blocks for this custom set quilt.
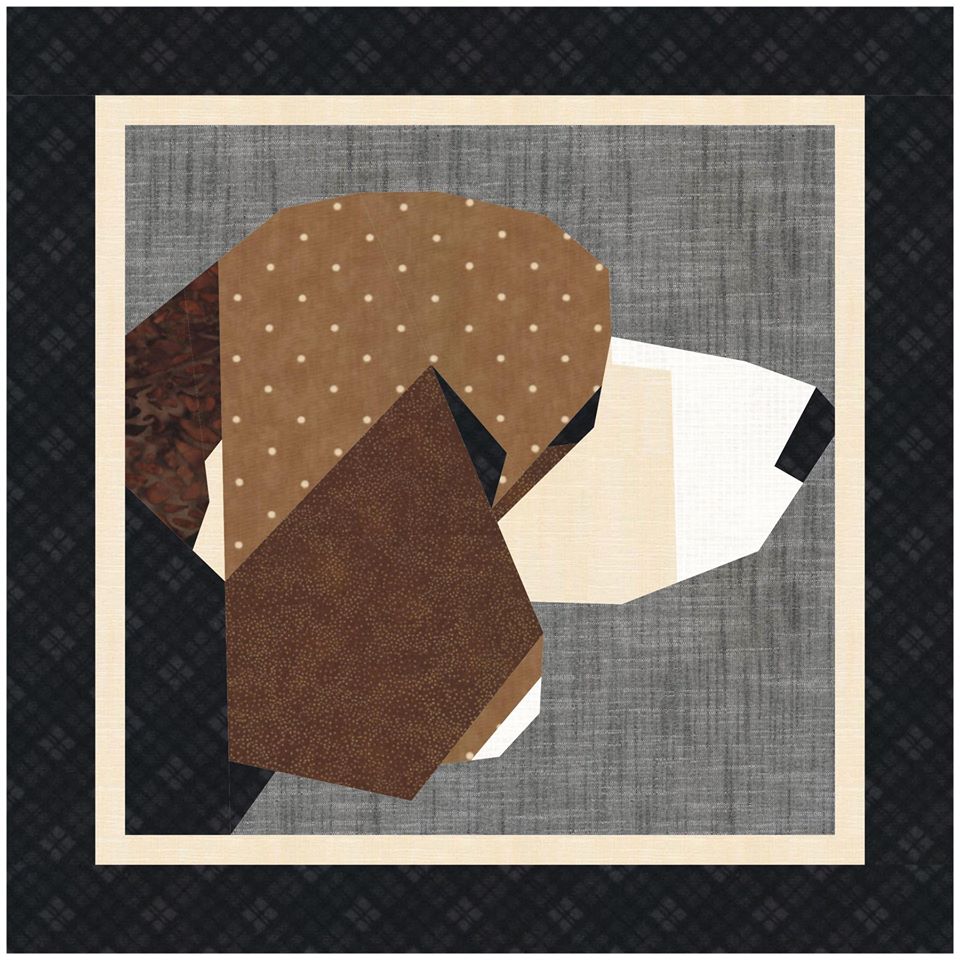
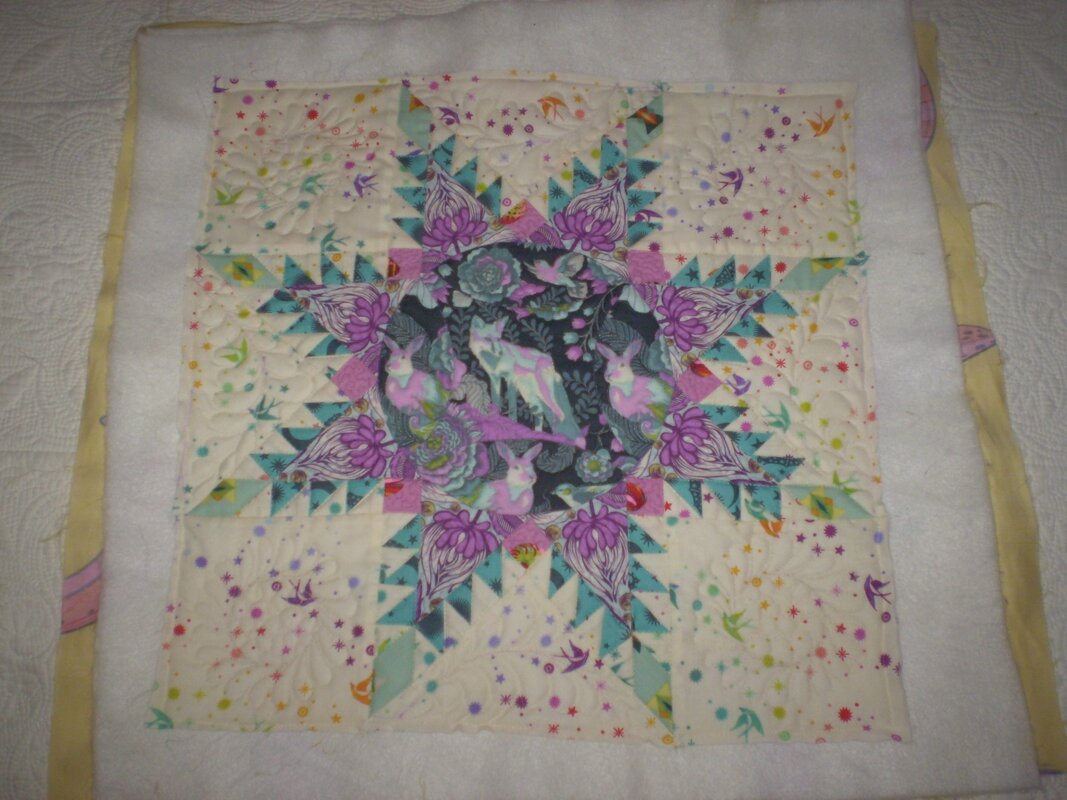
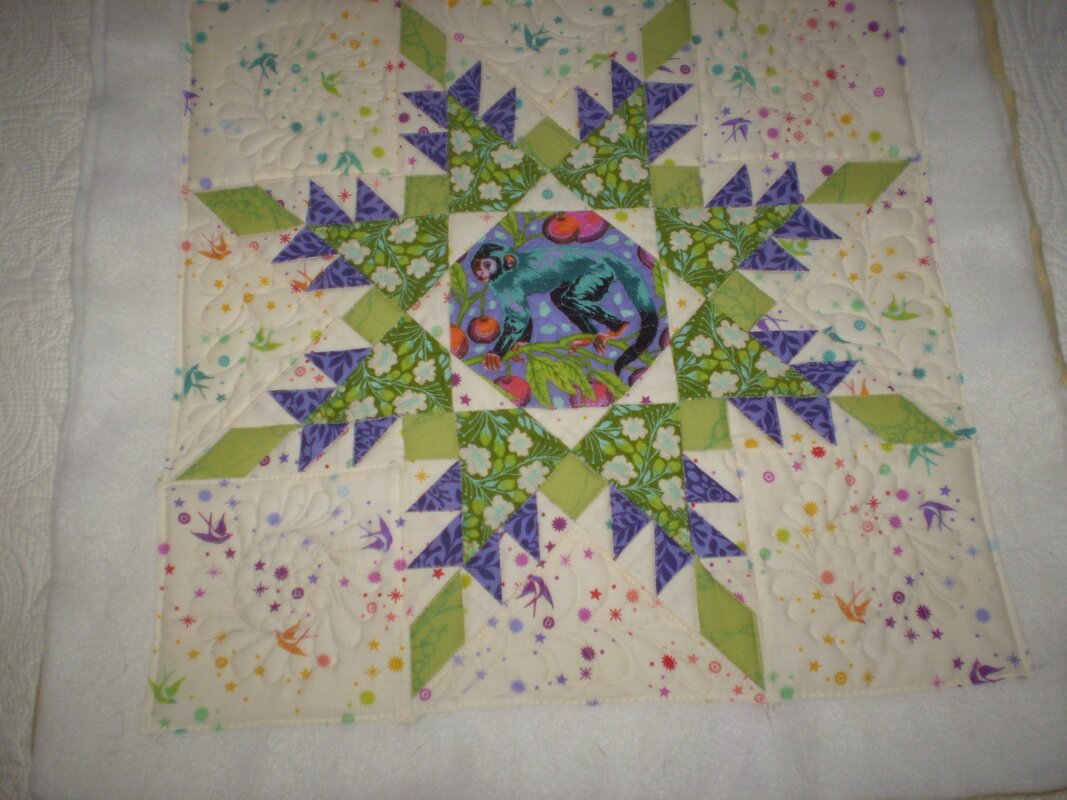
Julie Pedersen -- Elephant Challenge
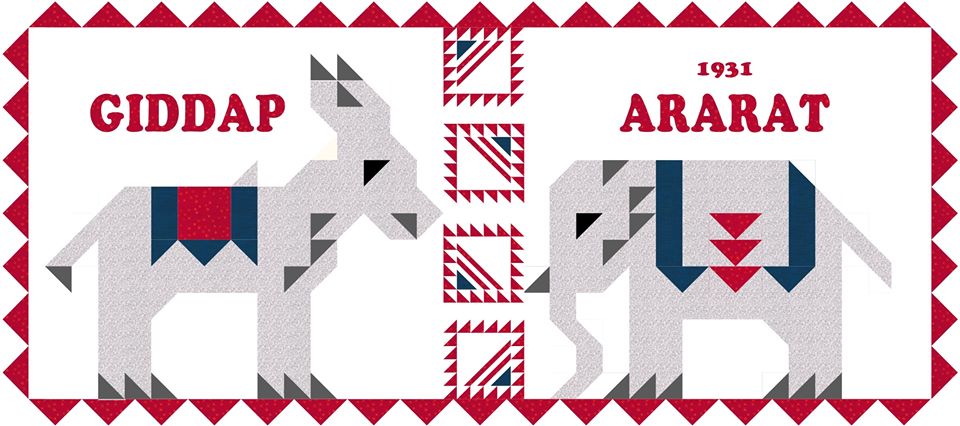
Kristy Goodin Soard Thanks for the challenge Kari. It was just what I needed to master the skill of folded corners. I hope Evaline would approve of the liberty I took with her design. I like to think of my parents who were just youngsters when she designed her original quilt. I am imagining the triangle border made of a nice red wool.
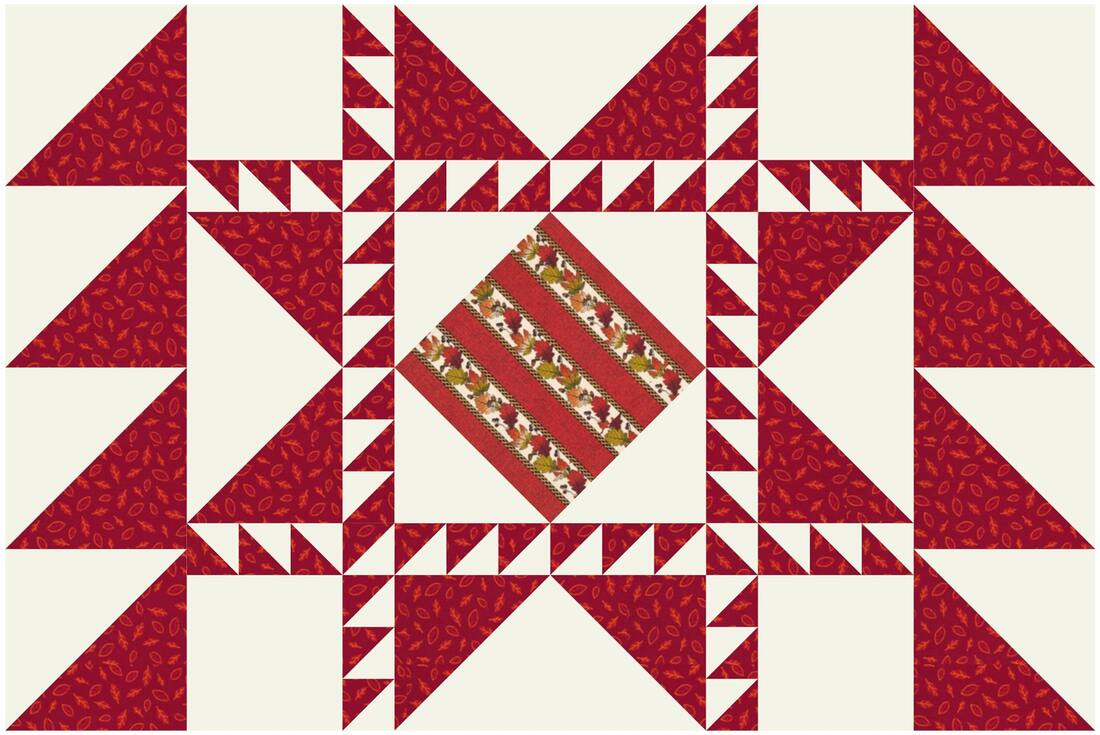
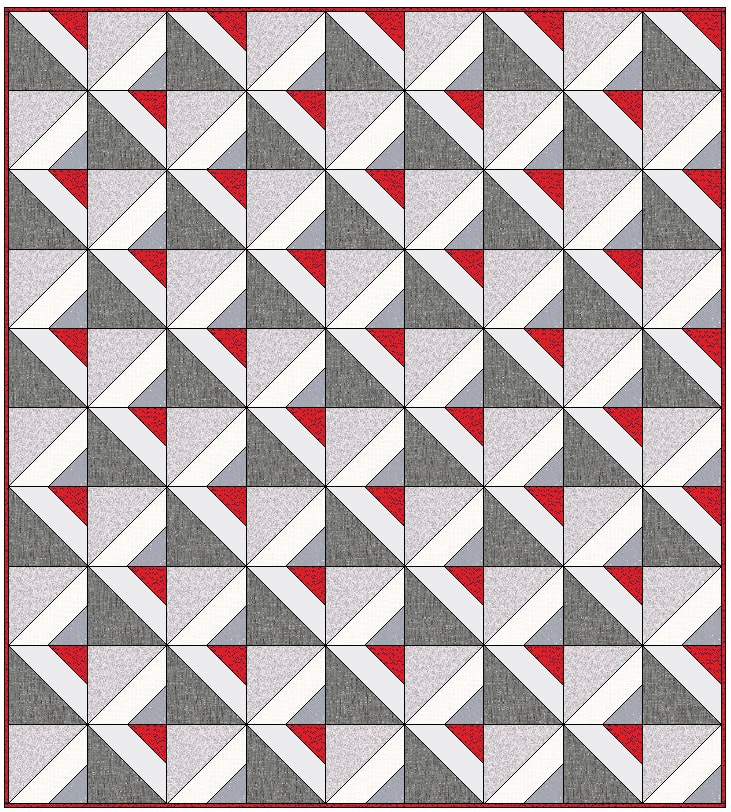
Kristy Goodin Soard Applying the Master's Folded Corners class, I chose to reproduce a design I found in a book, Pennsylvania Patchwork Pillowcases and Other Small Treasures, by Ann R. Hermes. It is the Sawtooth pillowcase thought to be made in 1830-1840 and of unknown provenance. It was originally 15.5" x 23.5", but I chose to design it to fit a standard size pillowcase today. I stayed true to the rotation of her HSTs even when I probably would have chosen a different rotation, as well as just clipping to the edge the HSTs on the back versus adapting the size to fit the back. I also maintained the rotation of the stripe in the center block, requiring me to use the advanced rotation fabric tool. I used her red and white color scheme, appropriate to this season, and chose the fabrics from the July-Dec 2011 Get Ready for Fall line. I feel certain the maker did not use the folded triangle method for piecing, but it works perfectly for this application.
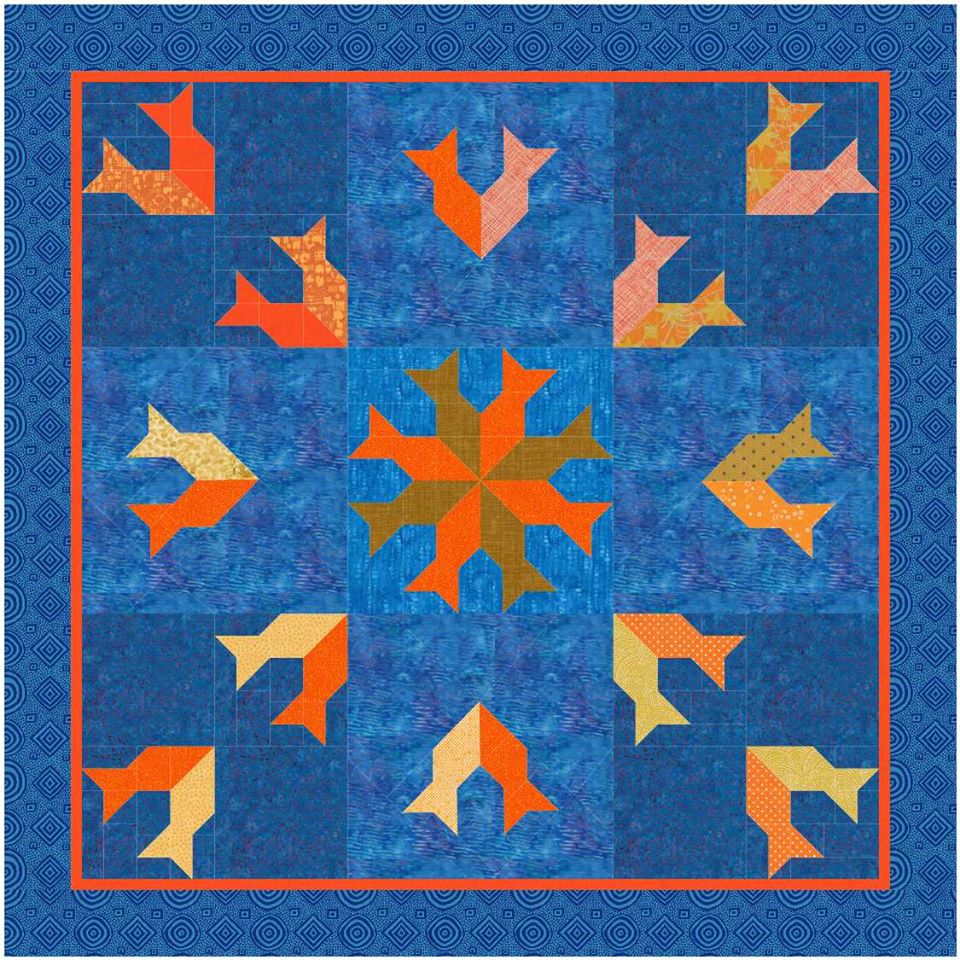
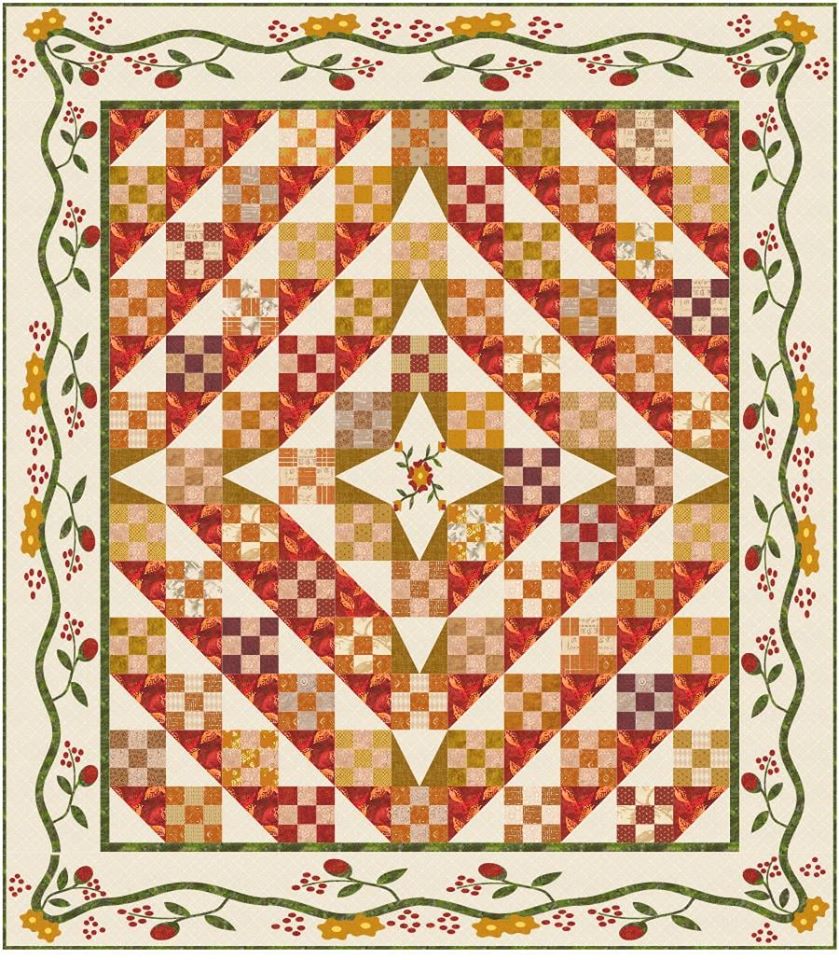
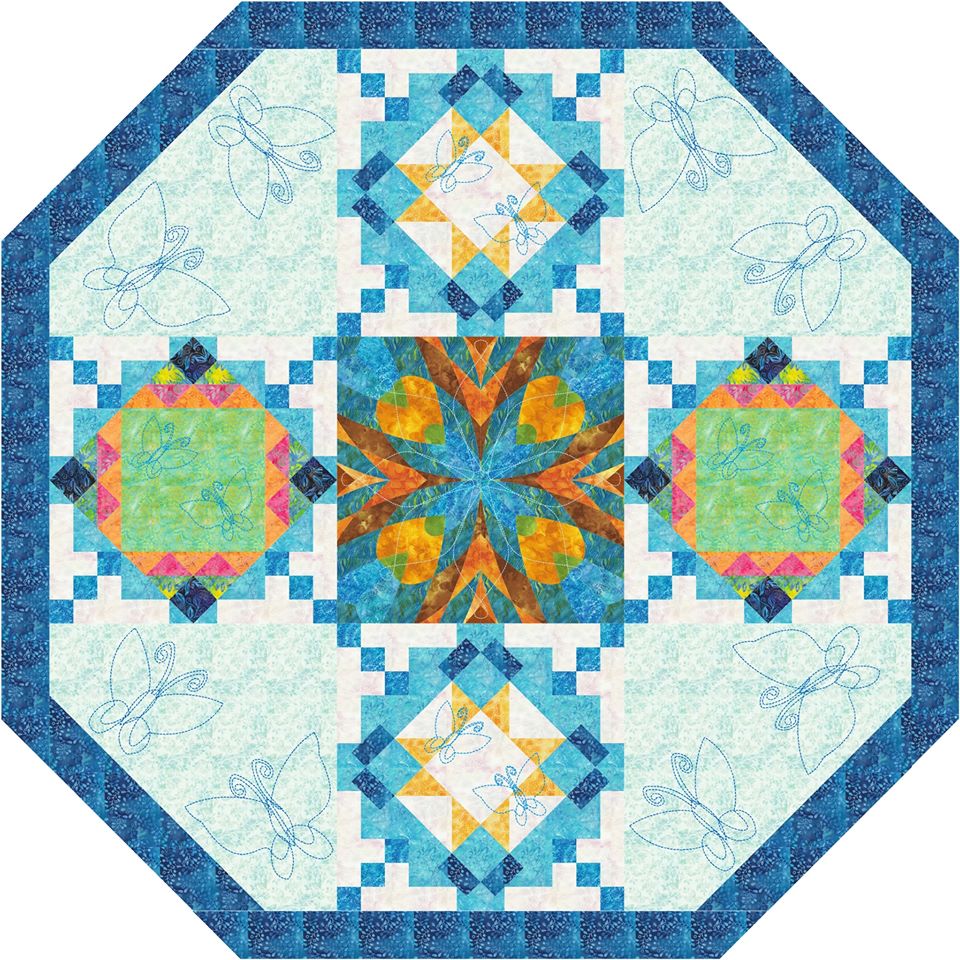
Other Projects
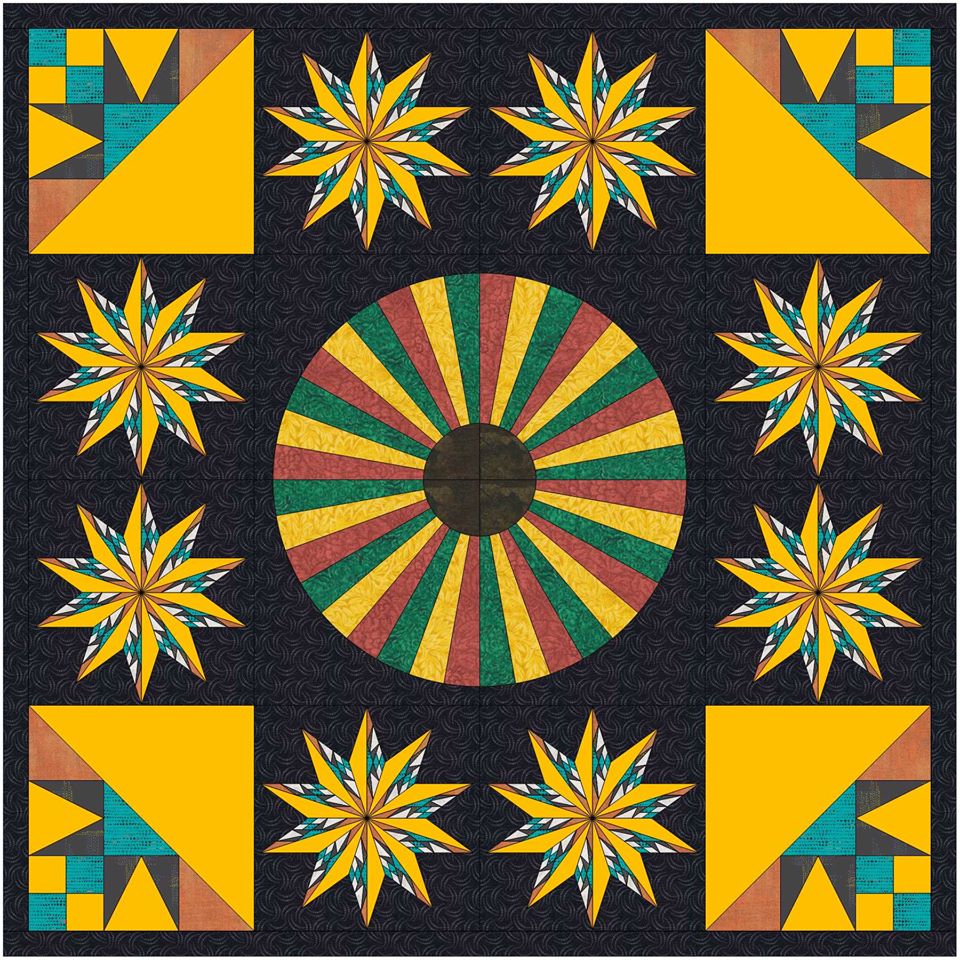
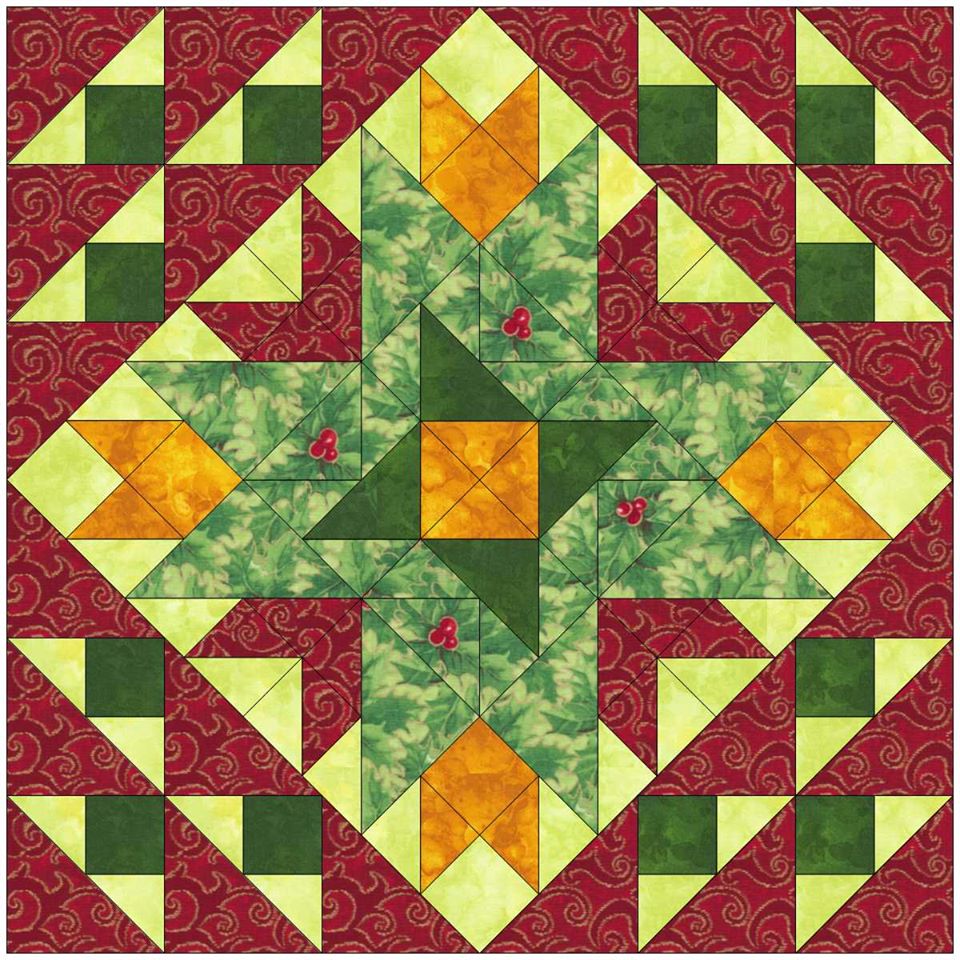
Here are some of my favorite other projects posted by Tech Know Quilter members during the last month.
Who's Got the Mitten Quilt
In this video tutorial, I share a quilt option for the Mitten block drafted during the last blog post. If you missed the previous tutorial, you can watch here.
After choosing an on point layout, I decided the open spaces called for some "winter" applique. I share how to convert an applique block to a motif for use in the quilt.
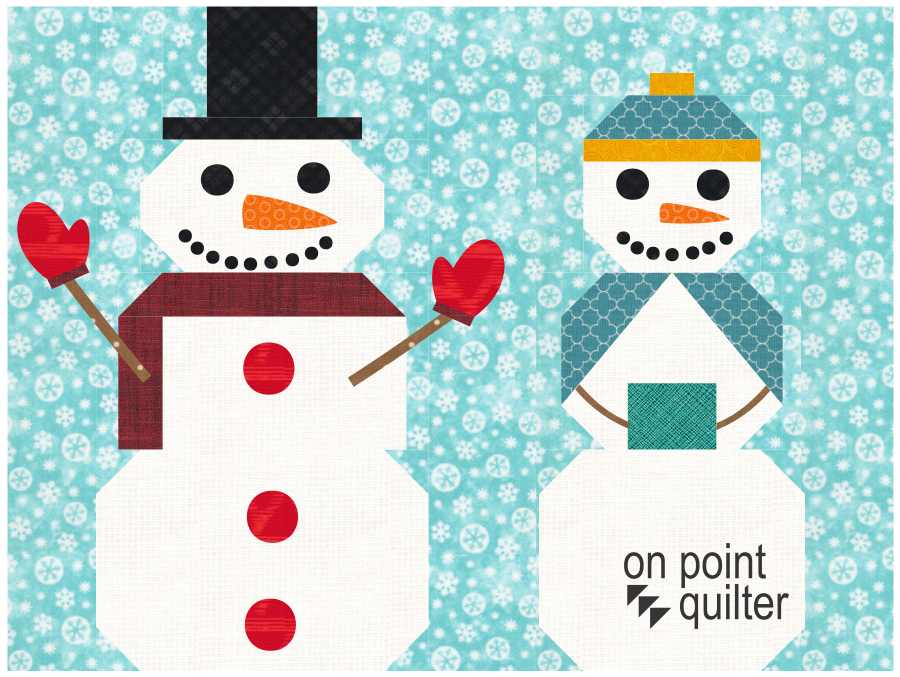
Snow Couple Calendar QuiltThe mitten block pieces could all be cut with squares and rectangles constructed using folded corner techniques. Learn more about creating your own folded corner cutting charts here.
If you would like to use your electronic cutting system to cut out the snowflake blocks, see my method here. NEW - Snow Couple Calendar Quilt Pattern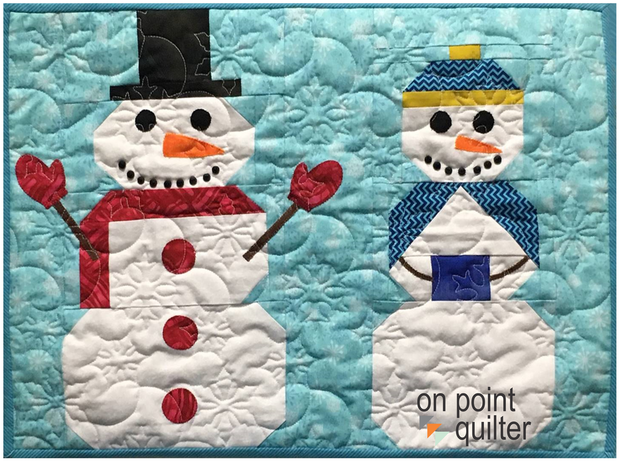
I just released a new pattern that use the folded corner technique along with simple applique. The pattern includes svg files for the applqiue. It is on sale this week, for the new release price of $5. The sale ends January 31st, 2020.
Who's Got the Mitten?
Do you ever remember something from childhood -- but can't remember the context. That is how I feel about my blog title. The saying came to mind as I work working on my blog post. I am wondering if it was a game we played or a book I read. An internet search was not helpful. If anyone else remembers this, let me know.
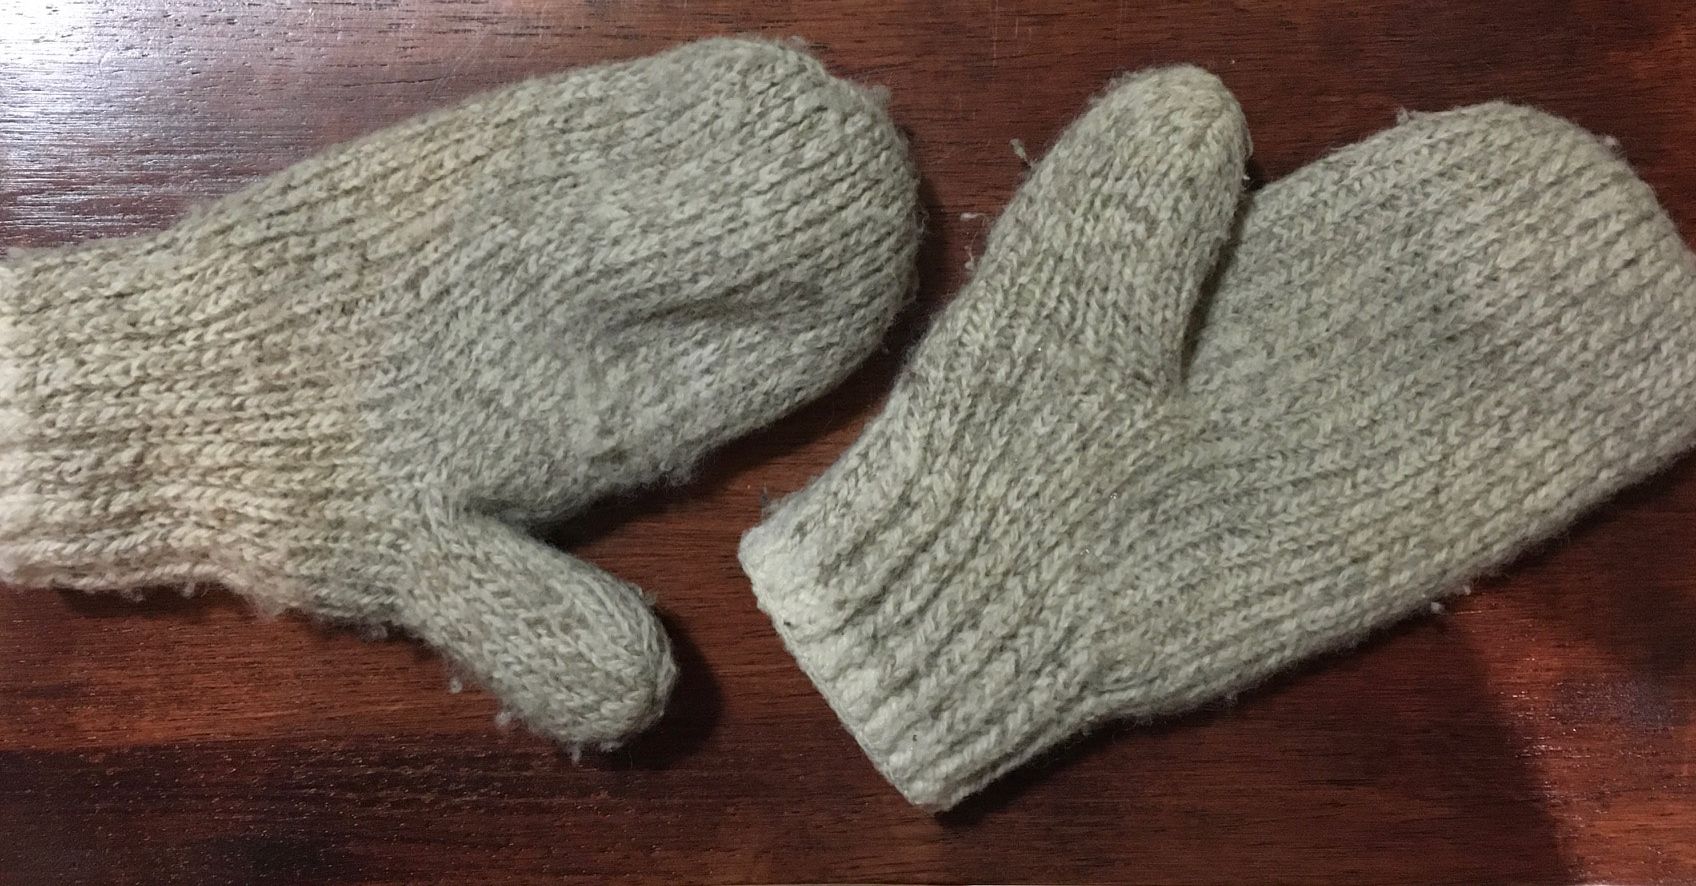
We are in the midst of a snow storm with 8-10 inches projected followed by a significant drop in temperature plus heavy winds that will whip all that snow around (think blizzard) . Since I shovel my own driveway, I've been out two times today (and will probably do once more before going to bed tonight to try keep my snow lifting to a manageable amount).
Because of the cold weather, I went on a search for my warmest mittens -- the kind that will feel good on a super cold day.
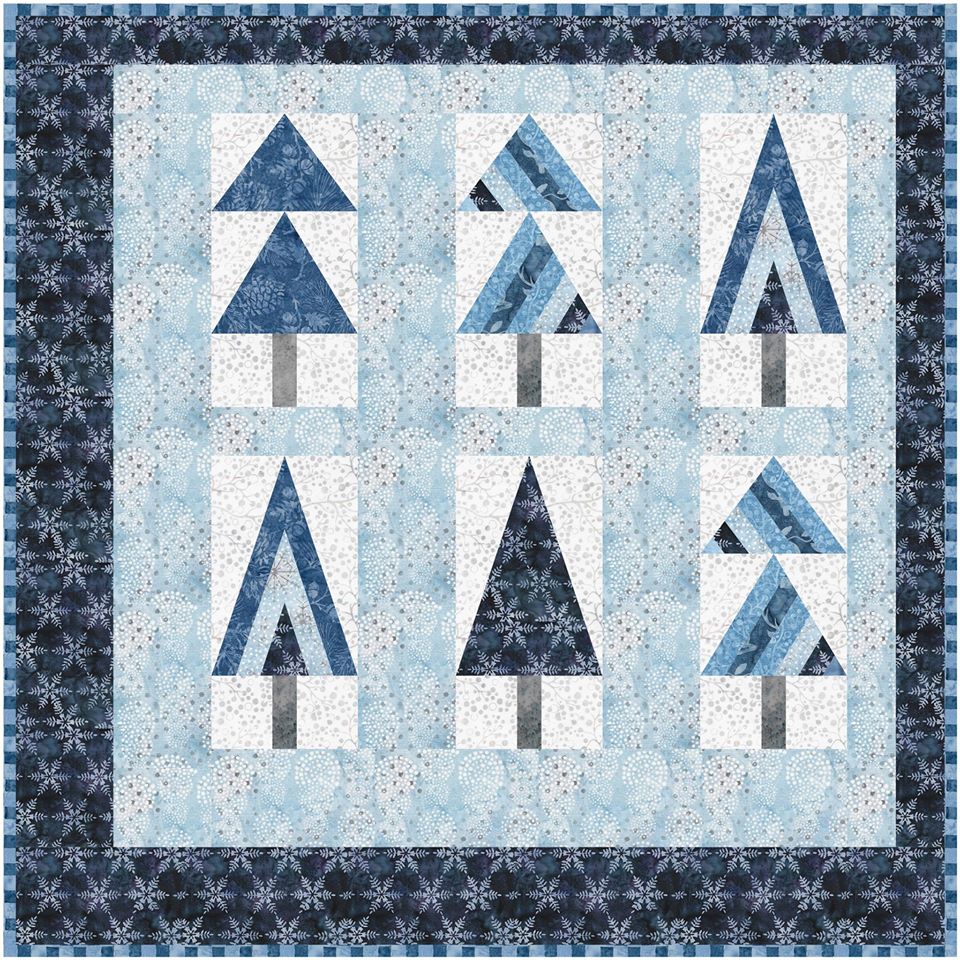
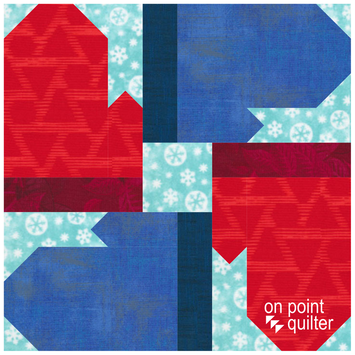
Since mittens were on my mind, I decided I needed a mitten quilt block. And then I decided to make it more interesting. In my video tutorial I describe my design process, starting with a single block, working with it in custom set and ultimately designing the final block.
Here are the blocks from the video.
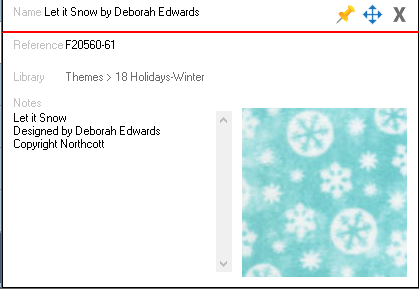
I did end up swapping out the background fabric used in the video for one that included snowflakes. The snowflake fabric I chose was part of the EQ8 Fabric Library. You can locate it under Themes>18 Holidays-Winter.
I have some ideas for a setting (or two) for this block -- but I will save that for a future blog post.
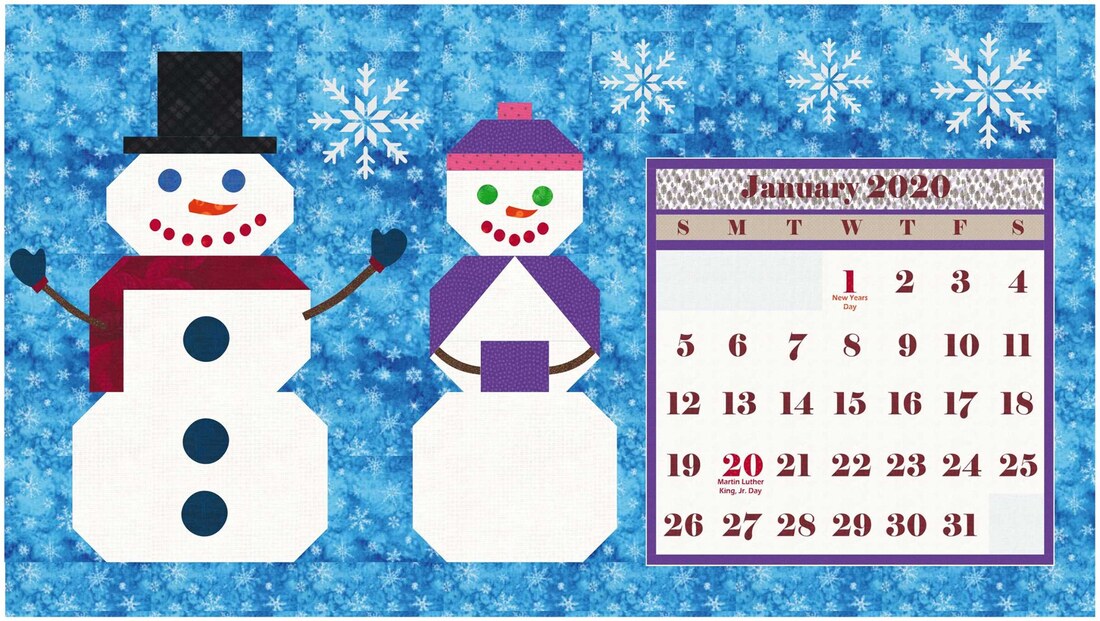
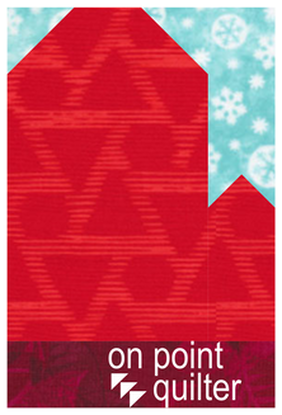
Snow Couple Calendar Quilt
I released a new class to the Tech Know Quilter group in January. This class is entitled Calendar Quilts and each EQ lesson provides a calendar quilt block. I pieced my January quilt block during a retreat last weekend and decided to turn it into a stand alone quilt and then a pattern.
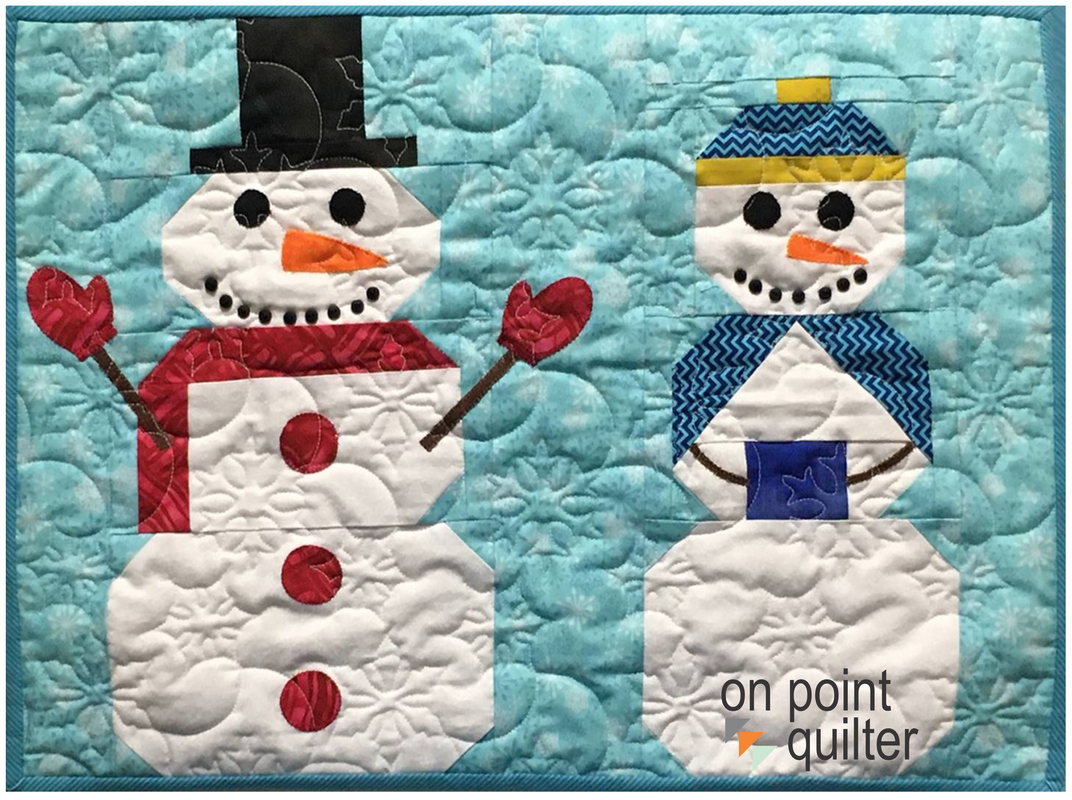
Snow Couple Quilt Designed by Kari Schell
-The block was pieced with only squares and rectangles using the folded corner concept. I love the simplicity of that method as it produces super accurate results and there is no need to trim down over-sized units to achieve that accuracy.
The applique was transferred to Inkscape and then to my new Cricut Maker for super easy cutting of the pieces. The mouth could be appliqued or done with 1/4 inch buttons. The quilt finishes 20" x 15". I've decided to sell the pattern (with cutting charts and instructions for my folded corner construction method). For the rest of January, you can purchase this pattern for only $5. (The regular price (effective February 1) will be $7.50 The pattern is immediately downloadable and includes an svg file for the applique (if you would like to use your electronic cutting system for cutting out the applique pieces). There are also templates that can be traced if you wish to cut your applique pieces manually.
Check out with some of the Tech Know Quilter members did while designing their own snow couple block. (Note: We also covered creating a backdrop with an EQ calendar for our desktop computer using these blocks.)
Julie Pedersen's Snow Couple Desktop Design

Holly Hicks Snow Couple Desktop Calendar Design
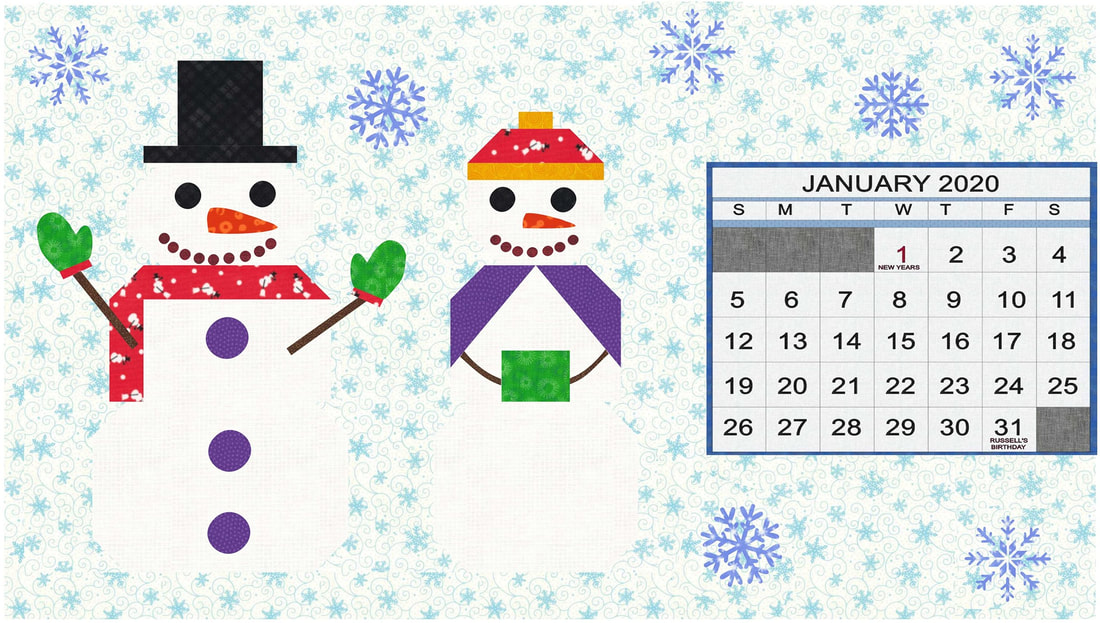
Holly Wilson Snow Couple Desktop Calendar Design
Maureen Pinwill Snow Couple Block
Penguin Mug Rug
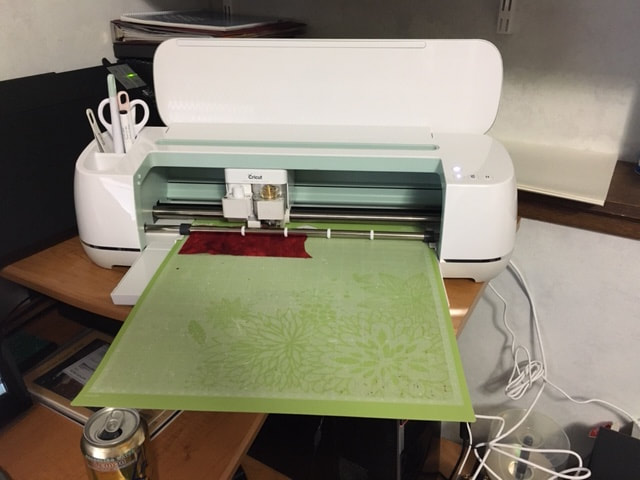
Last week I shared about cutting my applique patches using a Cricut Maker. This week I decided I needed a new Mug Rug and decided that with the ease of cutting out designs with the Cricut Maker, I would create a mug rug that featured some seasonal applique.
The penguin in my mug rug came from the EQ library -- so this was a fun and easy project for Electric Quilt 8. Transferring Designs from Electric Quilt to an Electronic Cutting System
Problems: After writing the tutorial last week on transferring designs from EQ to my Cricut Maker, I ran into a couple of issues. I found out that designs resize when moving from Inkscape to Cricut Design Space. (They also resize when bringing them into Silhouette Studio as well.) I also discovered that when I imported designs into Cricut Design Space, the patches did not always show up on the import.
I've signed up for a class/membership on using both Cricut Design Space and creating SVGs in Inkscape from Erica Martin. I had watched a number of her free tutorials in December and knew Erica would be super helpful in finally moving my Inkscape skills beyond basic hacker -- and to be be able to confidently use Cricut Design Space. She very graciously responded to questions on my problems and assisted me in identifying the best way to address them. I would highly recommend her membership if you are interested in mastering Inkscape and Cricut Design Space. Here website is svgandme.com if you would like to check out her tutorials and membership.
In my bonus tutorial, I will walk you through my updated process for transferring designs from Electric Quilt to Inkscape to Cricut Design Space. This will also work if you are using Silhouette Studio or Brother Canvas Workspace.
Free Penguin SVG File
Piecing the Penguin Mug Rug
Penguin Mug Rug by Kari Schell
Today was Day 1 of a quilt retreat. In addition to catching up with friends and lots of great stories and laughing, I managed to sew up the Penguin mug rug as shown here. The background squares are cut 1-1/2" x 1-1/2" and the "ice" is cut 9-1/2" x 1-1/2".
For the applique, I ironed SoftFuse on the back of my fabric. Removed the paper and with the fusible size down, placed on a Cricut Green Mat. I cut all the pieces using the rotary cutter blade on my Cricut Maker with the material setting Fused Fabric. After fusing the applique to the background, I used a blanket stitch on my machine to stitch down the pieces. For quilting, I did some stitch in the ditch around the applique shapes and cross-hatching through the grey background squares. The mug rug finished 9" x 6" (before binding).
Background: I owned a Silhouette Cameo (first edition) and had pretty mixed results with cutting fabric. I had some nice cuts but wouldn't have achieved that without some great advice from my blog readers. Check out my paper snowflake project last year -- which was done on the Silhouette Cameo.)
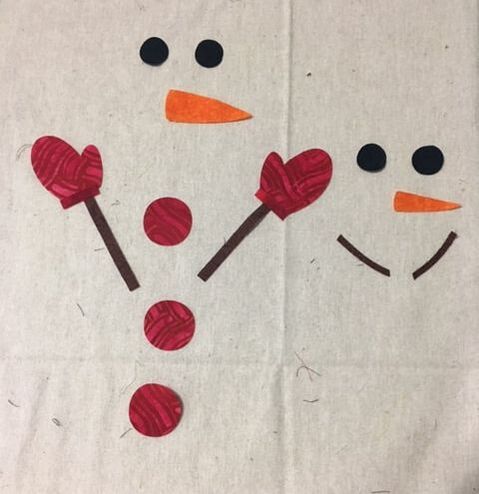
Given my fairly frustrating learning curve on the Cameo, I will admit to being a bit gun-shy. However, I have a retreat coming up next week, and realized that if I actually wanted to make my snowman project, I needed to cut it out -- NOW! I experienced a couple of glitches with Cricut Design Space including designs not showing up in the import and modifications to design in Inkscape not carrying over to Cricut Design Space. But once my design was loaded, the cutting process was a dream. Not one bad cut in my first time cutting fabric with the Cricut Maker.
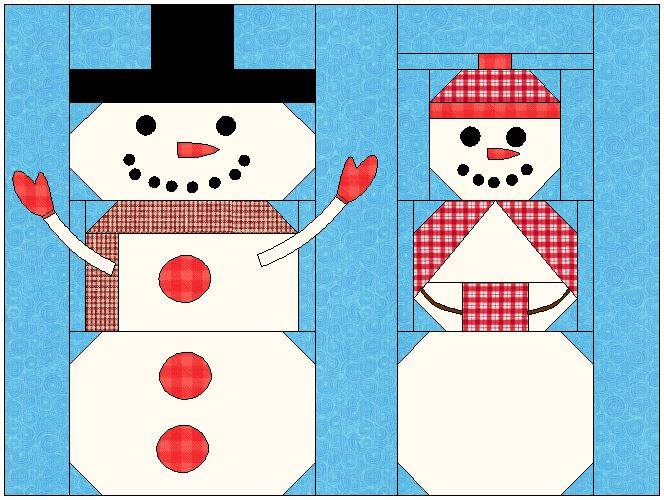
Here was the block I created for the TKQ Calendar Quilts class. I want to piece the block at the size 20 x 15.
Snowman Block designed by Kari in EQ (for a Tech Know Quilter class)
Here is the video describing my process. Not sure if I figured out the most efficient way to do everything -- but I figured I needed to start with the basics.
In the video, I explain that I printed my block to a pdf writer. In the video I used Cute PDF Writer. However the actual pdf writer is not important. Feel free to use what you have available to use on your computer.
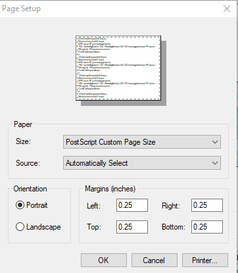
Look to see if you have a setting for your pdf writer called Post Script Custom Page Size. I just discovered this setting a few months ago -- but essentially it lets you pick a page size (even one that is larger than any of your installed printers). This is particularly useful for larger sized blocks.
If you don't have this option, just pick the largest paper size you have installed on your computer. You make have some tiling which will require multiple Inkscape files.
The intermediate software I used to convert my design from the pdf format to an svg format is Inkscape. Inkscape is a professional vector graphics editor for Windows, Mac OS X and Linux. It's free and open source.
Inkscape can seem overwhelming to use when you open it for the first time. However you only need to use a couple of tools within Inkscape -- so this really is a piece of cake. You can download Inkscape here. Inkscape will allow you to create an SVG file which may be used in any electronic cutting system (Cricut Design Space, Silhouette Studio, or Brother Canvas Workspace). So what is an SVG file? An SVG file is a graphics file that uses a two-dimensional vector graphic format. Unlike raster formats such as JPG, GIF, and PNG, an SVG image remains crisp and clear at any resolution or size. 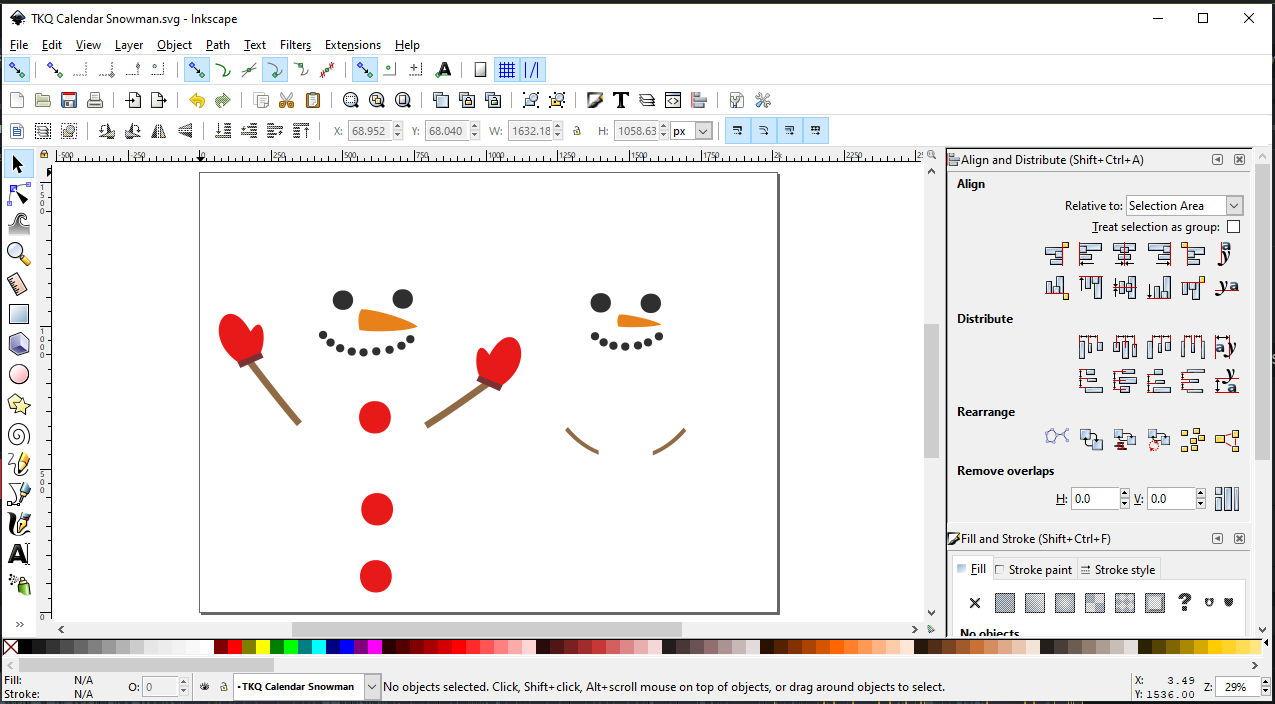
In Inkscape, ungroup your image and select and delete any patches that you don't want to cut with your cutting system. Then save as an SVG. (Update: Make note of the size of the svg objects.)
In Cricut Design Space, select Upload Image and navigate to the SVG file. Select Save. Select the Image and select Insert Images. (Update: Resize the grouped images to match the size noted in Inkscape.) Make any modifications. I chose to remove the circles for the mouth as I think it will be easier to use a decorative stitch on my sewing machine rather than appliquing 1/4 inch circles on my block.
I chose to back my fabric with Soft Fuse Premium. I love the soft hand of this fusible -- it actually feels like there is none. I ironed the fusible to the fabric (3 seconds with a dry iron), removed the paper and placed it fusible size down on the Cricut mat. I used the green mat -- but after I was all done found that they actually recommend the pink mat.
Cutting with the rotary cutter blade was an absolute dream. I had absolutely no problems with shifting material and there were no snags in the cut (both issues that I had with my old Silhouette Cameo). (Note -- I had the first version of the Silhouette Cameo and based on conversations with others who have upgraded, I think the later versions are less troublesome.)
|


Free guide available for newsletter subscribers


Kari SchellElectric Quilt Expert and Educator and Pattern Designer. Categories
All
Archives
July 2024
|


 RSS Feed