
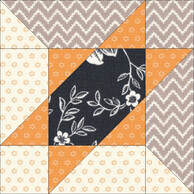
Last week I shared how to create an asymmetrical block. Harvest Stars was colored with All Hallows Eve, a Moda fabric collection by Fig Tree Design. I then created a number of quilt options using Symmetry in Electric Quilt 8.
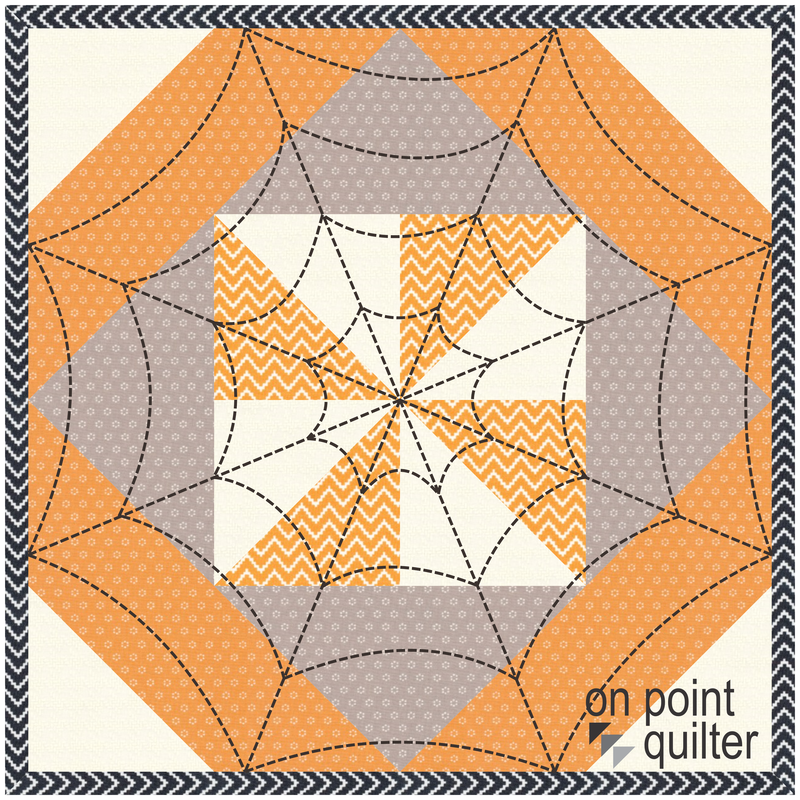
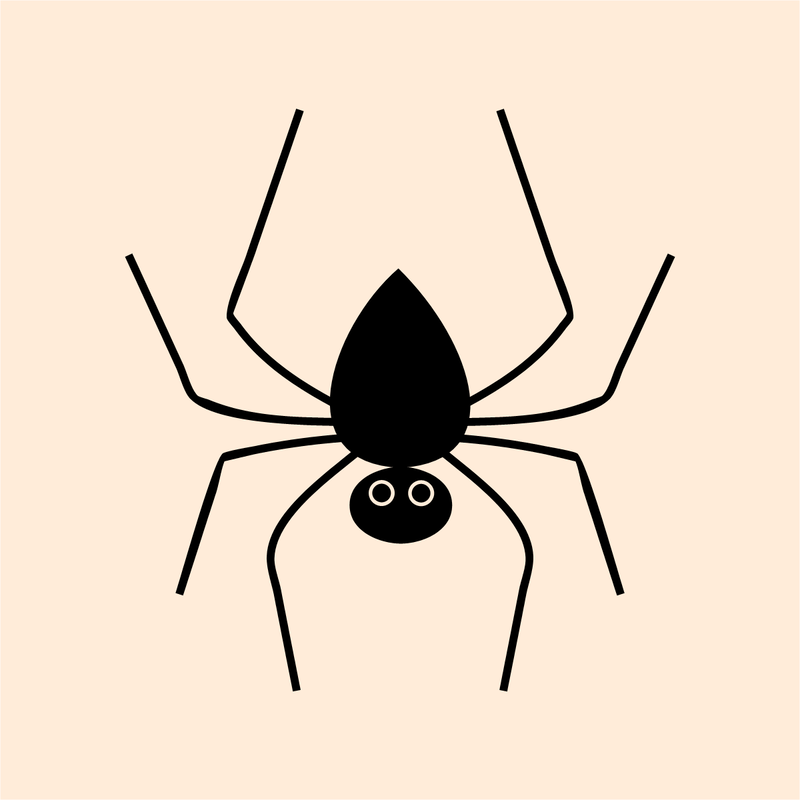
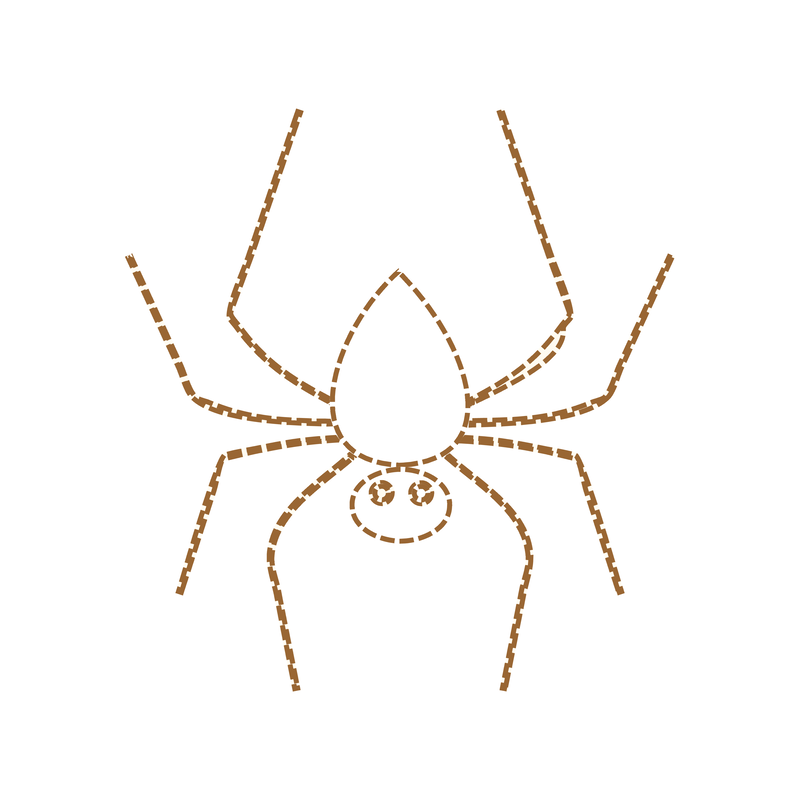
If you missed the tutorial, you can still catch it here. 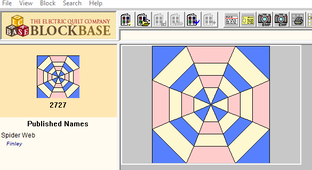 Spider Web by Ruth Finley published in 1929 (from Blockbase) Spider Web by Ruth Finley published in 1929 (from Blockbase)
This week I decided to create a quilting design for the Harvest Stars quilt. I originally pulled a quilt block called Spider Web from Block Base and set it on my quilt. But I wasn't super excited by all the straight lines.
Spider Web Quilt Video
In my Electric Quilt 8 video tutorial this week, I will show you turn a Kaleidoscope block from the EQ library into the Spider Web-like block designed by Finley. (If you have Block Base, you can import this block instead of drafting it as I did.)
Then we will use this block to create an applique motif that may be set on Layer 3 of a quilt in Electric Quilt.
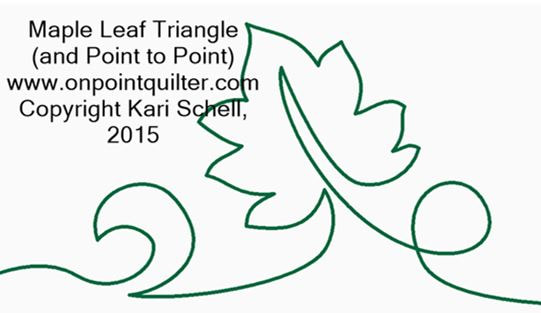
Here is my spider web quilting design.
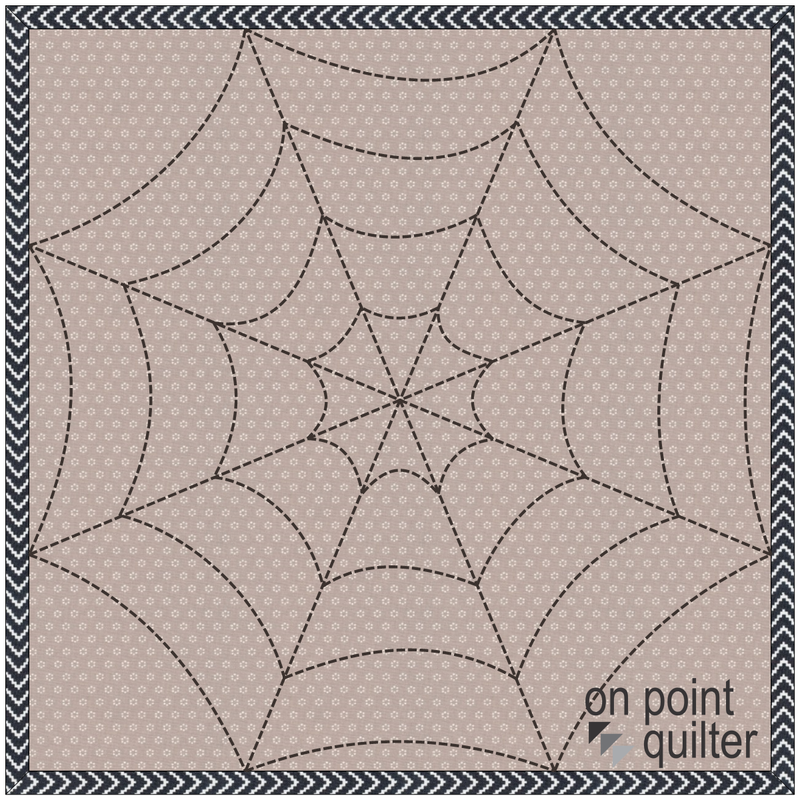
Spider Web Stencil by Kari Schell
Quilting the Spider Web Design
This is one of those designs that would be super forgiving when stitching out either on a longarm or on a domestic quilting machine. Start by quilting the straight lines. Then add the continuous curves. The curved lines don't need to be "perfect" -- just sew a gentle curve from one straight line to the next.
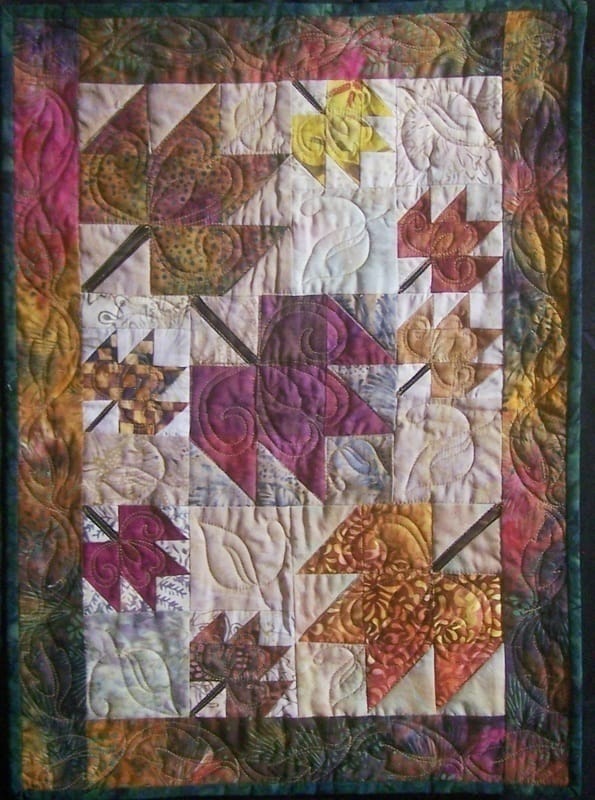
This design would work for a Halloween quilt, a fall harvest quilt -- or any quilt that could benefit from some gentle curves. I applied the Spider Web stencil to the Harvest Stars quilt from last week. The Spider Web stencil was set at 16 inches x 16 inches. 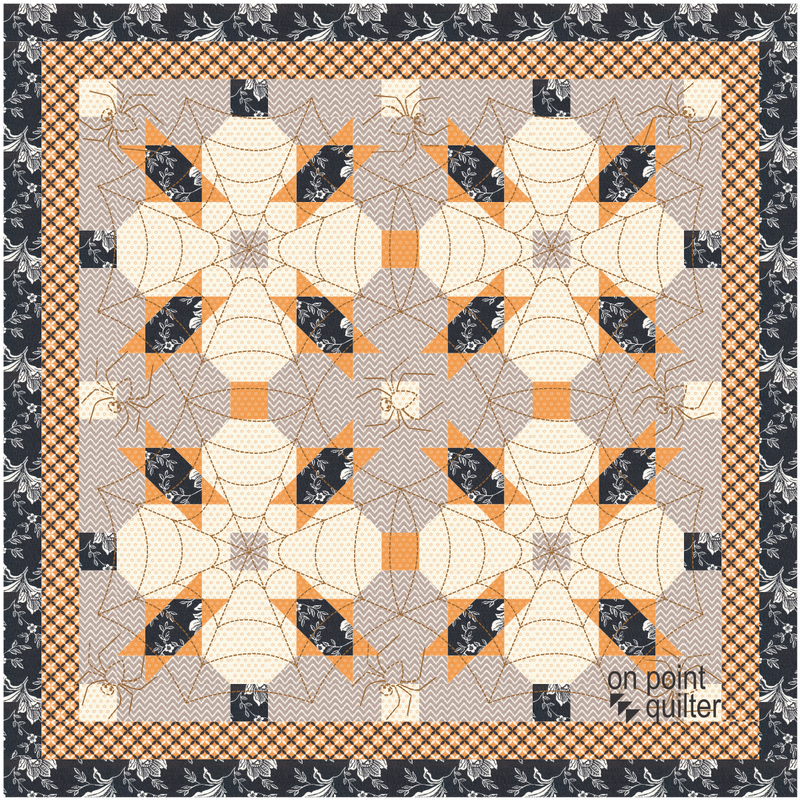
This did leave some holes in the corner that would need to be filled. I found a spider block in the EQ library that I modified to turn into a quilting design and added to the quilt. (Instructions for this were not included in the video tutorial.)
Just for fun, I tried the Spider Web stencil on a different pieced block.
Where would you apply this stencil?
Heads up -- there is a brand new Tech Know Quilter's class starting on March 2nd. Read more below.
But first -- the final installment on the Winter's Game Quilt...
During the past month, I've shared a number of posts to honor those in the winter Olympics. In today's post, we will cover two additional blocks in the Winter Games quilt plus the quilt layout.
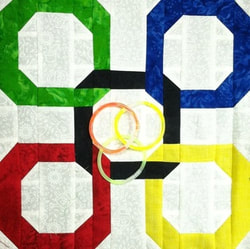
Alternate Block 1 Interlocking Friendship Rings
This block was originally designed in 2016. As a result the video tutorial for drafting the block is for EQ7 -- but for those familiar with EQ8 the techniques are easily adapted. Feel free to import the following block for tracing. 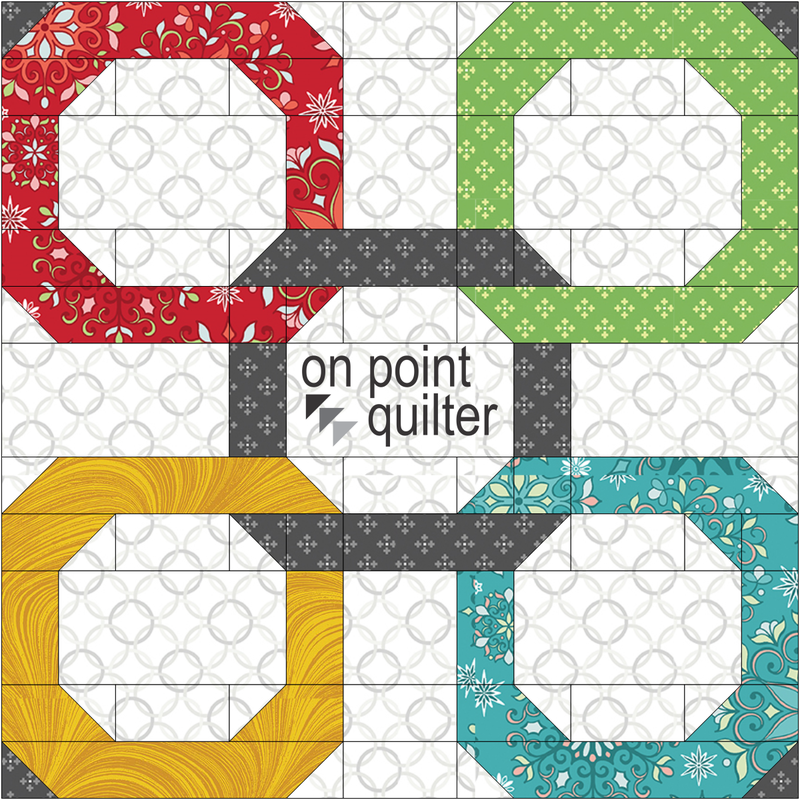
Friendship Rings designed by Kari Schell in 2016 using EQ7.
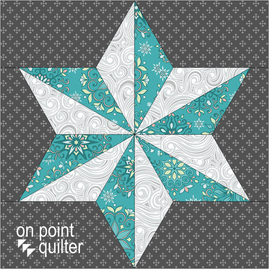
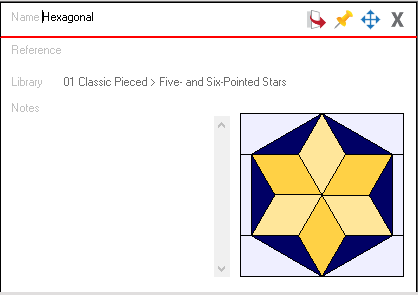
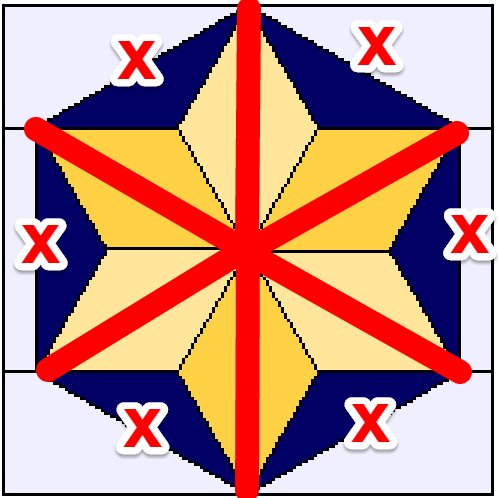
Alternate Block 2 - Winter Games Snowflake Block
The Winter Games Snowflake block was started by bringing in the Hexagonal block from the EQ8 Library. I deleted 6 lines and added six new lines. Turn on Snap to Node to add the additional lines. This one is super fast to draft. This block would be best pieced by using templates.
Winter Games Quilt Layout
See how to create the layout using Electric Quilt 8 in my current video tutorial.
Here is the final quilt presented with the Winter's Game fabrics from Benartex.
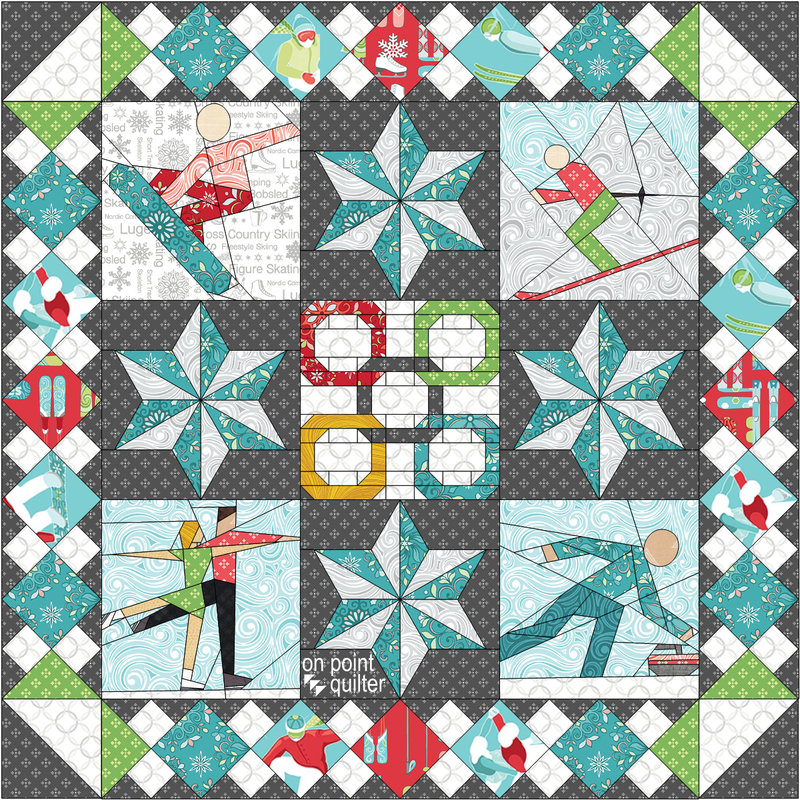
Winter Games Quilt designed by Kari Schell using EQ8.
New Tech Know Quilters Class Starts March 2nd -- Register Now
A new Tech Know Quilter's class will be starting on March 2nd. This one is focused on creating centers for medallion quilts using EQ8l
There are both traditional and modern designs with blocks ranging from super simple to complex -- with even a bit of applique. Both square and rectangular medallions will be shared. All of this will be presented in 13 Easy Peasy video tutorials of 5-10 minutes. A video tutorial plus detailed step by step instructions will be sent to your inbox every Monday/Wednesday and Friday. Here are just a few of the 30+ medallion centers you will create in this class. 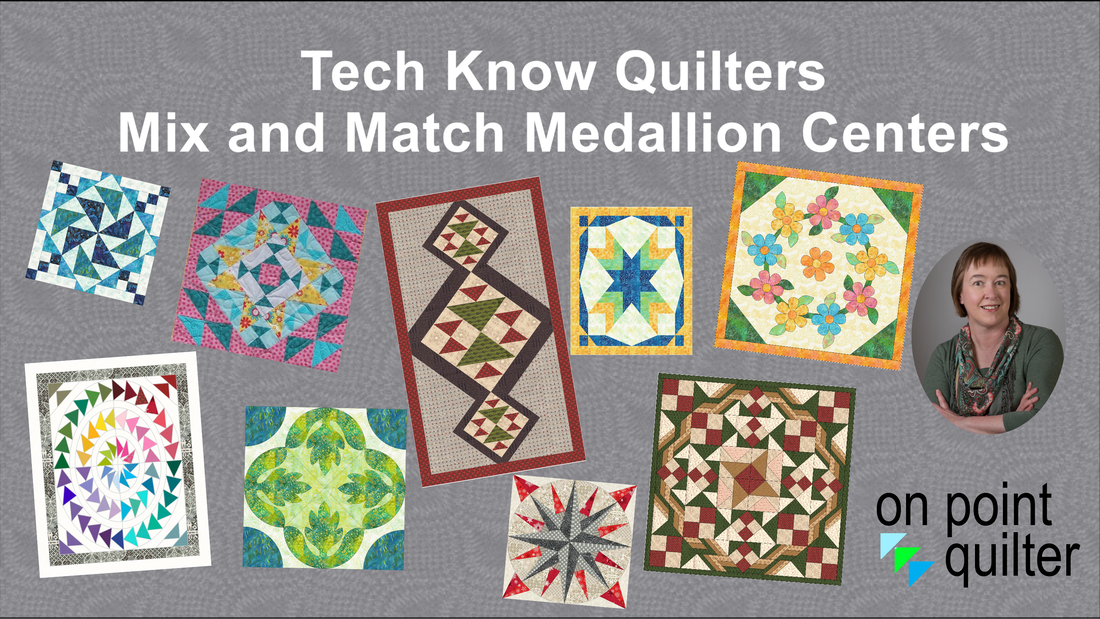
If you would like to sign up for the monthly membership program, there are three payment options:
Not yet ready for the membership program. You may purchase the medallion class as a stand-alone class for $40 here. Shoot for the Stars with EQ8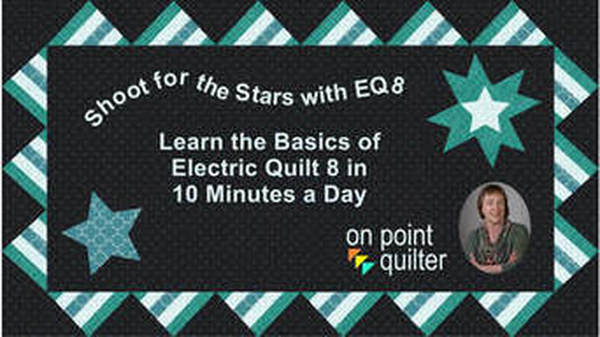
Are you just getting started with Electric Quilt 8 and need some help?
Shoot for the Stars is designed to get you started with Electric Quilt 8 through training delivered straight to your inbox. This series includes 14 short (ie. 5-10 minute) videos delivered over the course of a month allowing you to learn the basics of this complex program in bite size increments. The class is currently on sale for $25 (regular $35). Join now.
Before getting started on my tutorial -- many of you may have noticed the advertisement for Electric Quilt 8 in your favorite quilting magazines. It is true -- EQ8 will be released shortly. Electric Quilt will have an announcement on their website next Monday -- complete with the list of new features. I am already planning for this. More to come!
Antique Garden Maze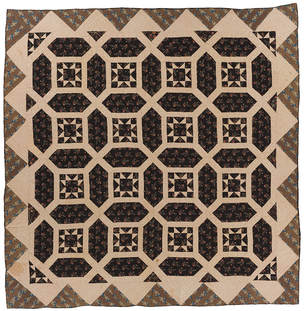
Last week I shared a photo of an antique quilt, along with how I broke the quilt down (i.e. identifying the blocks and the setting I would use in Electric Quilt). A number of students in my Easy Peasy Easy Draw class, chose to draft the blocks and quilt (with no instruction required as they are now pros on working with Easy Draw). Here are a few of their drafted quilts. I think they all did a great job.
In my tutorial this week I will share with you how I chose to draft the layout and the blocks in Electric Quilt. This will also include my logic on drafting those half sawtooth star and half cross corner blocks.
Next week I will share some suggestions on the wonky border -- particularly adding setting triangles that go out to the corners of the quilt. And yes, I did decide to make all four sides the same -- as I am sure the original quilt maker would have done if she had Electric Quilt. :)
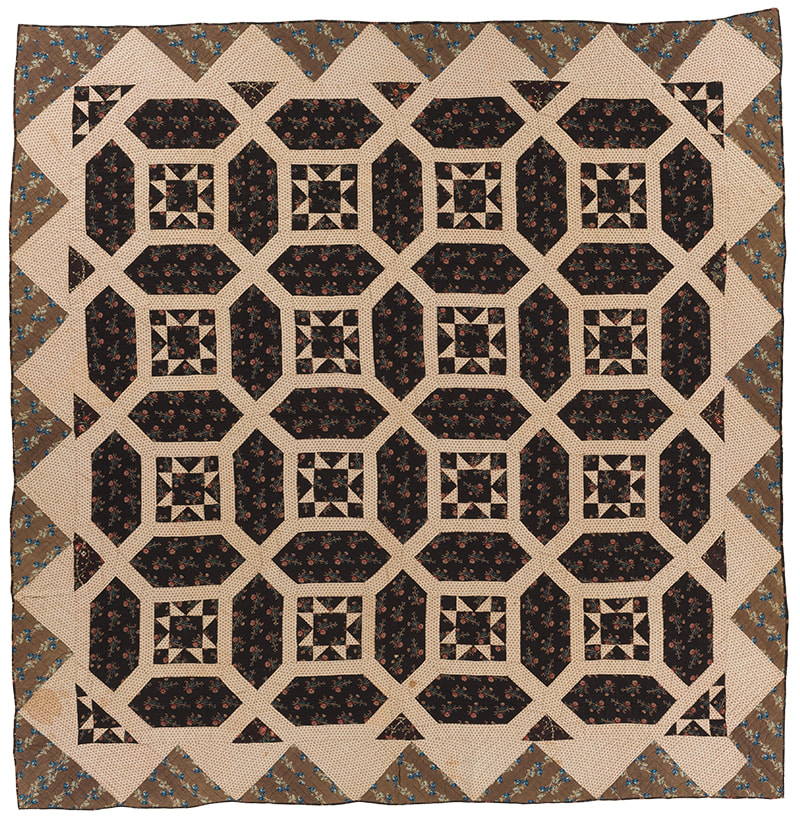
This quilt is part of a current exhibit at the International Quilt Center Study Museum. I would love to see this quilt in person.
On their website they note that the label says: Given To: Carrie L. Hatch, By Granmother Hurlbert in 1871. The quilt is dated about 1820-1840. It was possibly made in Montgomery County, PA and is part of the Ardis and Robert James Collection at the museum. How would you redraft this antique quilt?
Here are the questions I like to start with when redrafting any quilt. Take this short quiz and see how your answers compare to mine.
Just because your answers were different then mine, doesn't mean your answers were wrong. There are often more than one way to recreate a quilt.
Would you like to try to draft this quilt for yourself? Here are the blocks I identified. Next week I will provide additional information on drafting these blocks along with the layout that I used?
For those in the Easy Peasy Easy Draw class, see if you can use the techniques from the class for drafting them. The tricky part is making the lattice match between the blocks. 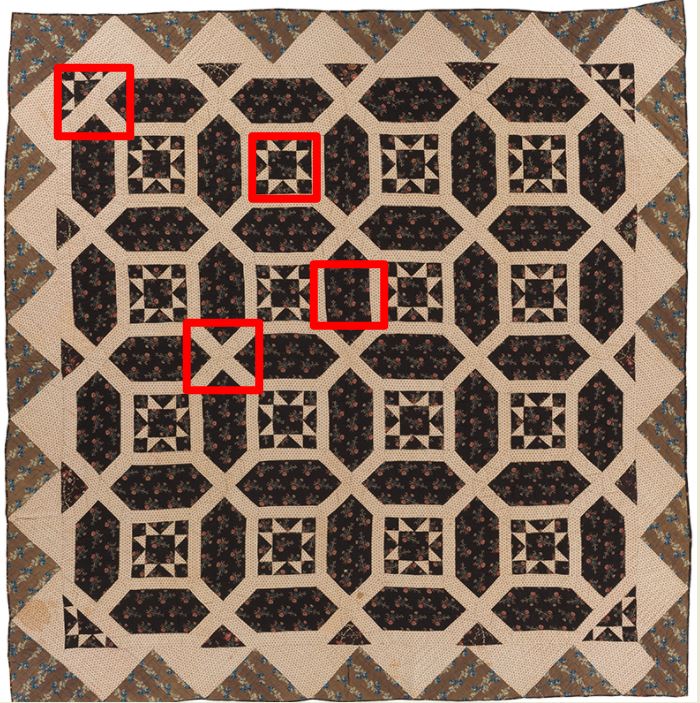
Ready to Devote 10 Minutes a Day to Learn Electric Quilt?
Catch the Waves Free Challenge for Electric Quilt Newbies

In talking to people in my classes and online, one thing I hear is "I haven't really learned how to use my EQ software". Or a variation on the theme -- "I haven't used my software in (insert number) of months (or even years)". or -- "I've tried the software, but it wasn't intuitive".
Join the over 2000 people who accepted and completed this challenge allowing them to fall in love with the program. 14 separate videos will be emailed to you over two weeks. Price: Free
Easy Peasy Easy Draw - Learn Easy Draw in 10 Minutes a Day
Would you like to draft your own quilt blocks? This class will focus on how to “read a block” and then come up with the most efficient way to draft it with Electric Quilt. The blocks in this class are those that can be done in a “grid” format – basically just like drawing with a pencil and graph paper. Within Electric Quilt these blocks are drafted within Easy Draw. Learn more here.
30 separate video lessons (including instructions for over 50 blocks) will be e-mailed to you over six weeks (one lesson a day, Monday-Friday) Price: On sale for $50 (That's only $1.67 a lesson!)
In a Facebook Group last week, there was a discussion on the best way to print a large block (when you don't own a large carriage printer). Yes you can still print it in Electric Quilt and tape the pages together -- but sometimes you just don't want to do that.
I've frequently used a pdf writer in the past, but found that my pdf writers limited me to an 8-1/2 x 11 inch size. However, Adrienne Quinlan shared with me that she used Bullzip pdf writer which handles up to size A0. I was so excited and knew I needed to give it a try. My video tutorial this week is about installing and using Bullzip to print a 24 inch block to a pdf writer -- ready for taking to Office Depot and printing out at full size.
Here is the link to the Bullzip download page. (I just downloaded their freeware copy of the program.)
Featured Product - Come Said the Wind Pattern Digital Bundle
I've bundled the download version of Come Said the Wind and the two quilting designs. The bundle is on sale for $15 (that's 50% off the non-bundled prices). No digital longarm system -- there are also pdfs of the quilting designs that may be copied and resized. Best of all you can get started today with downloads of everything.
|


Free guide available for newsletter subscribers


Kari SchellElectric Quilt Expert and Educator and Pattern Designer. Categories
All
Archives
July 2024
|


 RSS Feed