|
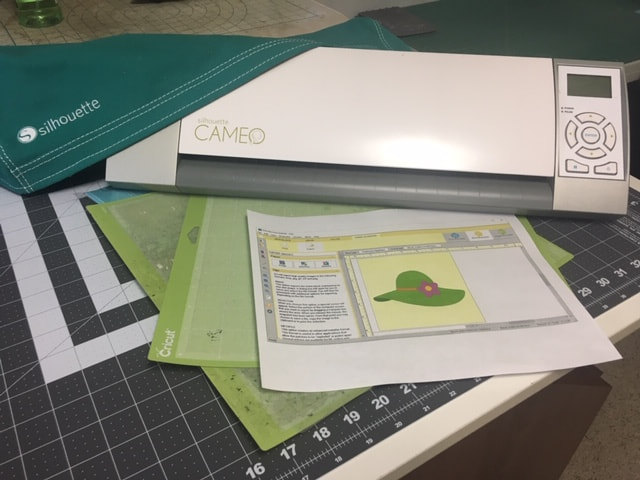
In a Facebook group this week, there was a discussion on creating files that could be used by cutting machines such as Silhouette Cameo, Brother Scan and Cut, Cricut Explore Air and Cricut Maker. These cutting systems all have proprietary software that makes sharing designs between systems problematic. However --- all of them allow for use of SVG files.
So what is an SVG file? An SVG file is a graphics file that uses a two-dimensional vector graphic format. Unlike raster formats such as JPG, GIF, and PNG, an SVG image remains crisp and clear at any resolution or size. Since Electric Quilt exports to raster formats, we need to be able to transition from those formats to SVG. In my free Electric Quilt video tutorial, I will share how to go from a block in Electric Quilt to an svg file. The intermediate software I use is Inkscape. Inkscape is a professional vector graphics editor for Windows, Mac OS X and Linux. It's free and open source. It can seem overwhelming to use when you open it for the first time. However I will share with your the few items you need to create your SVG file from Electric Quilt. You can download Inkscape here. Once you have it downloaded it is super simple to convert your files.
You may never need to purchase an SVG file again -- just use blocks from the Electric Quilt library or draw your own. You could even use these designs in creating personal cards.
Shoot for the Stars with EQ8
Are you just getting started with Electric Quilt 8 and need some help?
Shoot for the Stars is designed to get you started with Electric Quilt 8 through training delivered straight to your inbox. This series includes 14 short (ie. 5-10 minute) videos delivered over the course of a month allowing you to learn the basics of this complex program in bite size increments. The class is currently on sale for $35 (regular $50). Join now. Introduction to Electric Quilt Class at Minnesota Quilt Show
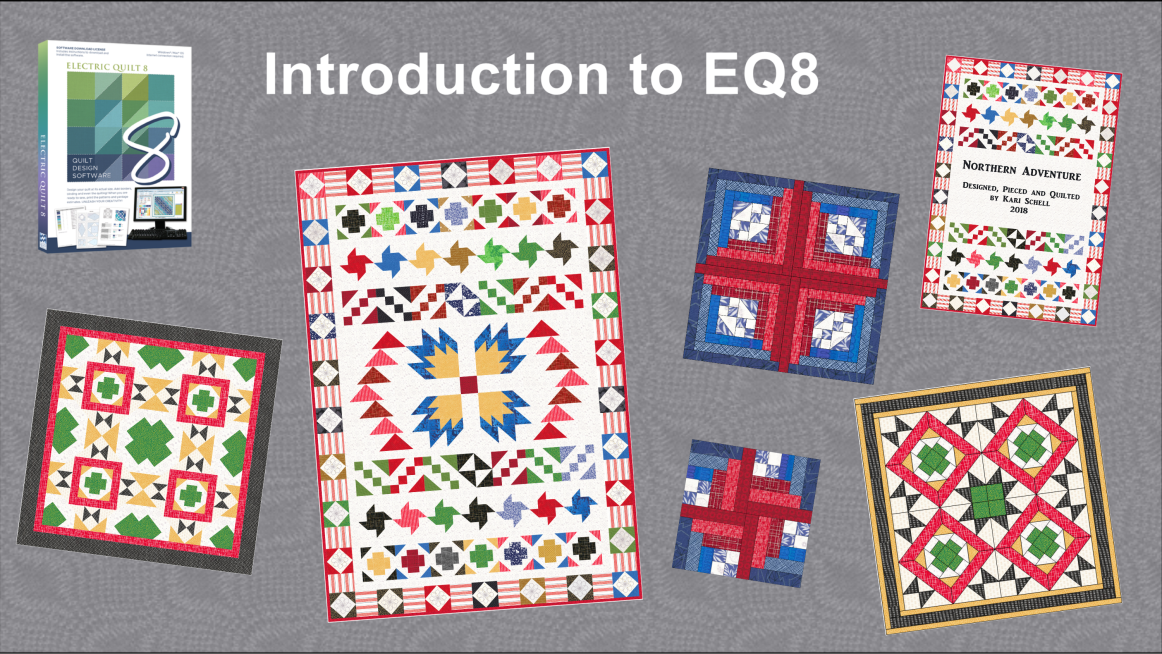
Would you like to join me for an in person hands-on Electric Quilt class? I will be teaching at the Minnesota Quilt Show in Rochester MN. This is my only scheduled in person class for 2019.
The class, Introduction to Electric Quilt 8 is a full day class on Saturday, June 15, 2019. You can learn more and register here. I look forward to seeing you there.
Chris K.
5/18/2019 08:28:20 am
Wow, that was instructive, although I wish I could slow down the video to take notes. I had worked out my own method for doing this: Trace the applique in EQ8 and print to a PDF file with seam allowance. Use Import PDF File in Inkscape, then simply save as PDF. When it's imported into Cricut Design Space, you actually have two versions of each piece, one with seam allowance and one without. Very handy if you want to cut Templar as well as fabric.
Kari Schell
5/18/2019 10:24:32 am
Thanks for sharing your method of using Inkscape and Cricut Deesign Space! By the way, you can stop the video at any time or scroll back to replay at a particular point.
Carol Ruggins
5/18/2019 08:50:17 am
Thank you for showing us how this can be done. Such a powerful tool!
Barbara Grandon
5/18/2019 10:26:01 am
Thank you Kari. I'm so interested in this. I have a Cameo (in the box still) and I'm learning appliqué. The pattern I'm using is taped together over 9 sheets of paper for the block. I'm wondering how I get that pattern as once piece into EQ8. I do see the pattern all together in a part of the instructions however the pattern is small compared to how large it actually is. I don't know if I'm making sense. But I am so excited at the possibilities.....exchanging hand cutting templar and fabric!
Kari Schell
5/18/2019 12:34:04 pm
Hi Barbara. You may wish to tape your large pattern on the wall and take a photo of it. Then input the photo as a tracing image in EQ. Also -- do some testing on cutting fabric on your Silhouette. Did you catch the blog post https://www.onpointquilter.com/blog/cutting-out-a-paper-snowflake as it specifically talks about using the Silhouette.
Diane Satterfield
5/18/2019 03:27:46 pm
Fantastic tutorial!! As always. As someone who thinks that "hand" is a 4-letter word, I love being able to use EQ with my Cameo and with my embroidery module to create quilt blocks. It ends up taking much more time than if I had just done it by that 4-letter word, but it's so much more gratifying figuring out how to use all my toys.
SHARON GROVES
5/18/2019 06:12:28 pm
thanks! I have a Scan n Cut & inkscape, but never thought of doing this. Oh the possibilities!
adrienne quinlan
5/19/2019 04:09:35 am
Kari
Kari Schell
5/19/2019 09:55:24 am
Awesome. I've never tried the metafile export with Inkscape. Thank you for sharing.
CJ Tinkle
5/19/2019 05:39:09 am
Hi Kari,
Kari Schell
5/19/2019 09:57:20 am
Very valuable information. Thank you for sharing. I've always gone from an image file directly to Silhouette. I look forward to trying this with a pdf file.
Marie Naves
5/20/2019 03:04:07 pm
I've watched your video several times and have made notes. Following your directions, I saved the Sun Hat 1 and Sun Hat 2 files. I open Inkscape and open my Sun Hat 1.bmp file. I click Select and click on the file. I choose Path and Trace bmp. I change colors to 6, uncheck smooth and stacked. I check remove background. When I click okay, the whole image is not selected. It only selects the small dark green part on the lower left. I can't figure out what I'm doing wrong. I'll view your video again to see if I can pick up anything I may be doing wrong. If you can help, I would appreciate it.
Marie Naves
5/20/2019 03:38:28 pm
I got it! I didn't have Colors checked in the Inkscape dialogue box! Duh! I'm glad I decided to watch your video again and note every setting. Now maybe I can continue with the video and not screw up again! Thanks, Kari for such great videos. Comments are closed.
|
Kari SchellElectric Quilt Expert and Educator and Pattern Designer. Categories
All
Archives
July 2024
|





 RSS Feed