
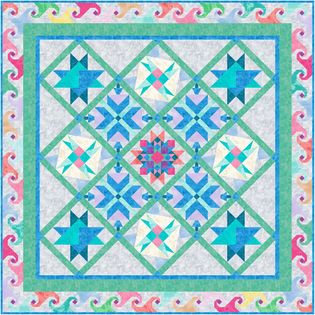
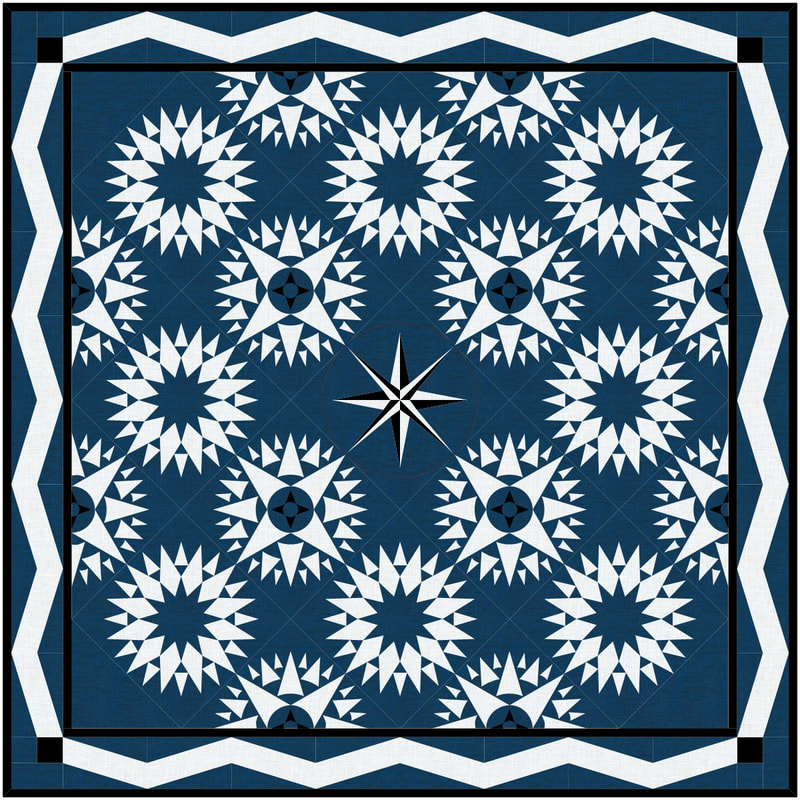
Word of the Year Challenge ShowcaseIn January I challenged Tech Know Quilter Masters members to come up with a word for 2024 and to create a quilt around that word. I have been in groups where selecting a word for the year was suggested (as opposed to New Years resolutions). Why do people choose a word for the New Year? A Word of the Year is your “mission statement” for the next 12 months. You use it to guide and inspire you when making decisions throughout the year. It's not a rigid rule to follow or a single goal to meet. As Elizabeth Rider put it, “it's a constant (but gentle) reminder to focus on creating positive change”. This one took a bit more work for the Masters members -- but I was so impressed with their challenge words along with the quilts reflecting their word. Enjoy this show of their quilts.
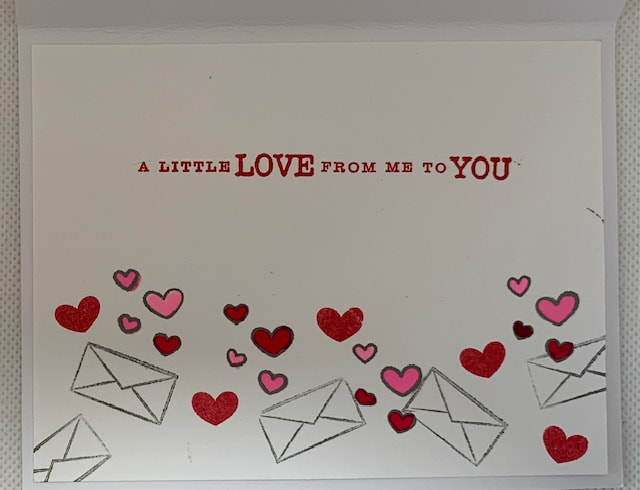
I decided to participate in the challenge as well. My word is JOY.  In Embracing Advent, Jen Ludwig states "Happiness is not the same as joy." "Our happiness is based on what is happening, but joy can be present regardless of the circumstances." I want to make a more conscious effort to see God at work in all aspects of my life and to chose joy in all situations. My design is a way to remind me of this on a regular basis. I decided to try a stained glass type of design. I used AI for inspiration for the various letters. Each letter was drawn in EQ and combined in a quilt -- with an added stained glass border. I am currently debating making the quilt -- maybe with some batiks. In the interim, I have put the design as wallpaper on my computer. Want to Know More about TKQ Masters? Tech Know Quilters members are eligible for the Masters program after completing 12 months of Tech Know Quilter classes. Masters members receive fewer lessons each month, with more time to devote to their own projects and challenges. Drop me a note if you have completed over 12 months of Tech Know Quilters and are interested in learning more about the Masters program. You can learn more about the regular Tech Know Quilters membership program and sign up for the wait list for the next open enrollment period here.
In the video, I share three different template options from Electric Quilt 8:
Whenever you use a cutting system, make sure the sizes are correct before cutting. Cutting systems have their own "logic", which may not import the correct sizes.
**What is Inkscape?
The extra piece of software I used for creating the SVGs is Inkscape. Inkscape is a professional vector graphics editor for Windows, Mac OS X and Linux. It's free and open source. Inkscape can seem overwhelming to use when you open it for the first time. However you only need to use a couple of tools within Inkscape -- so this really is a piece of cake. You can download Inkscape here. Inkscape will allow you to create an SVG file which may be used in any electronic cutting system (Cricut Design Space, Silhouette Studio, or Brother Canvas Workspace). So what is an SVG file? An SVG file is a graphics file that uses a two-dimensional vector graphic format. Unlike raster formats such as JPG, GIF, and PNG, an SVG image remains crisp and clear at any resolution or size. My Translation -- Much cleaner of an image than any trace in a cutting system.
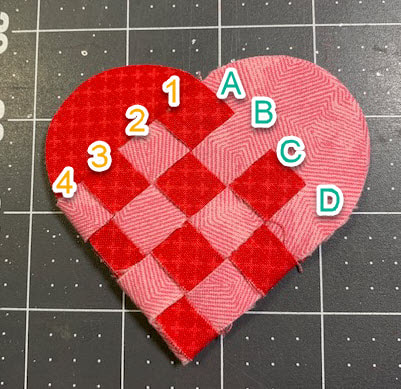
In the video, I shared that I changed the size of the template to 2" x 6". This size made a perfect basket that I used to make some Valentine's Day cards. More on that below.
Whether or not you choose to make the Swedish Heart basket, I suspect you will find the information on using Electric Quilt 8 with a cutting system incredibly valuable.
If you would like to share your results, I have set up a Facebook post in the Learning EQ Facebook Group. Constructing the 3D Swedish Hearts Basket
I made one basket with cardstock and a couple with fabric. The cardstock weaving was a bit harder as I was trying not to bend the paper and I hadn't put any wiggle room in the cuts. (Learning from my mistake, I did add the wiggle room in the cut in the video.)
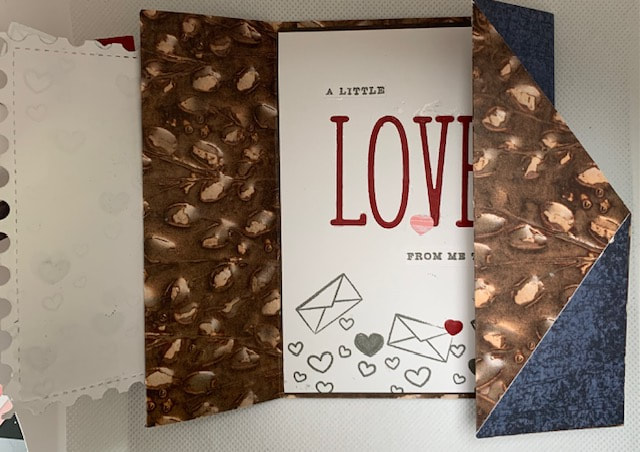
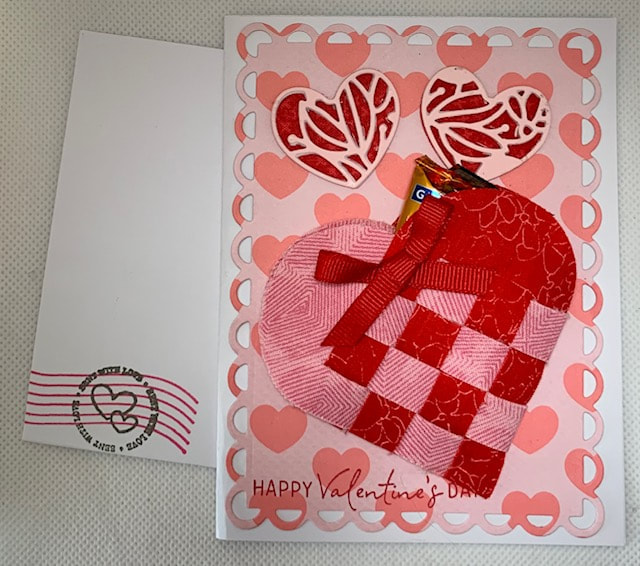
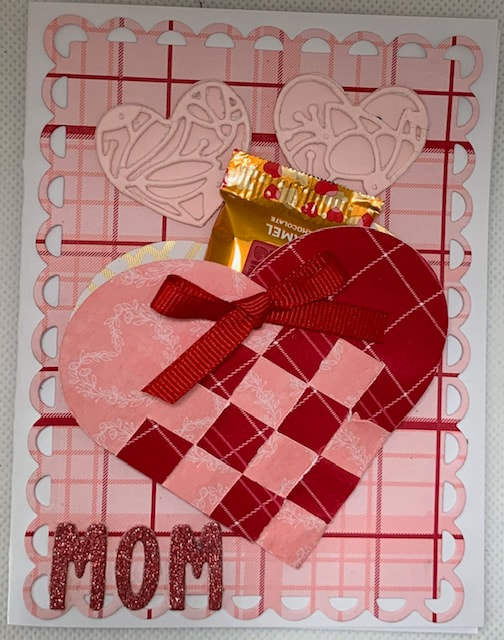
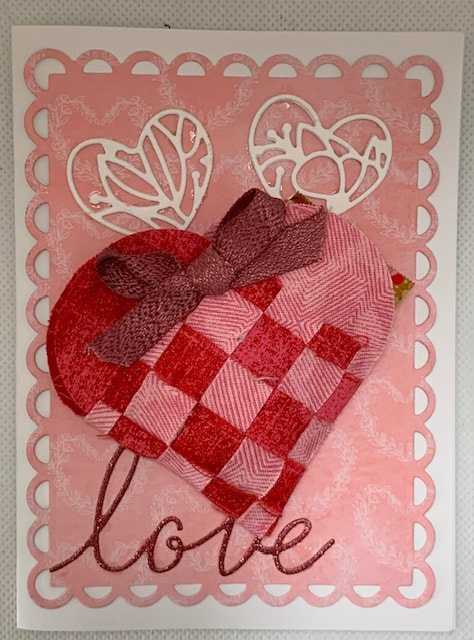
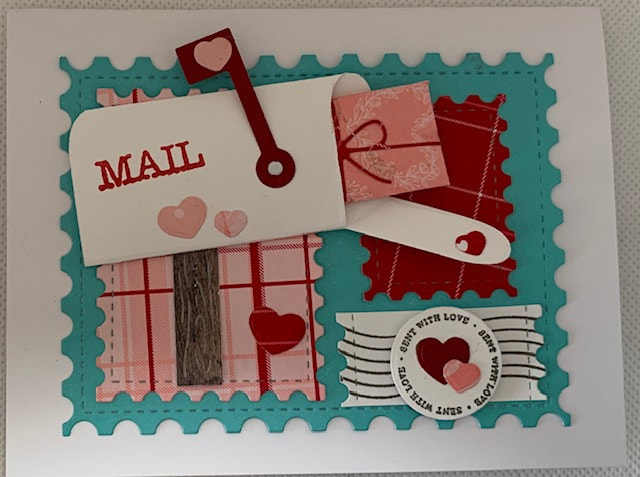
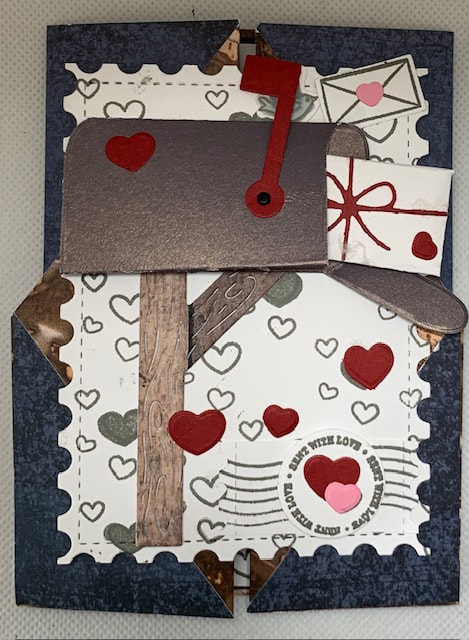
Here are my cards with the Swedish Baskets. I was able to fit a piece of candy in each of the baskets.
Card Construction Information:
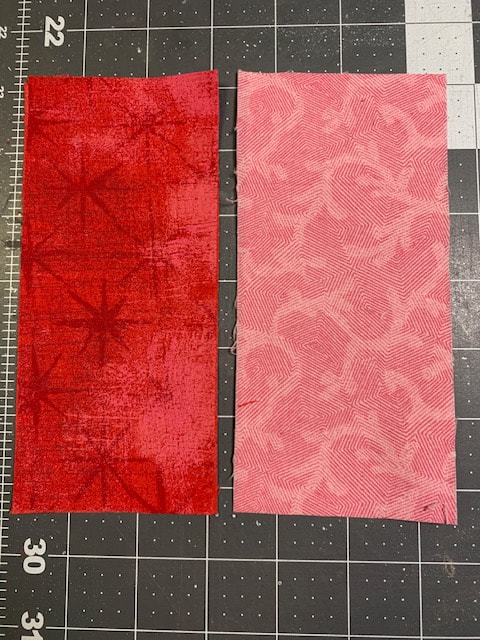
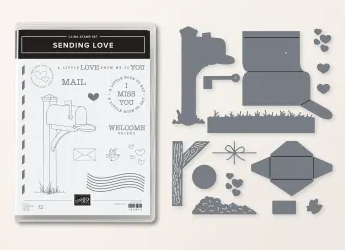
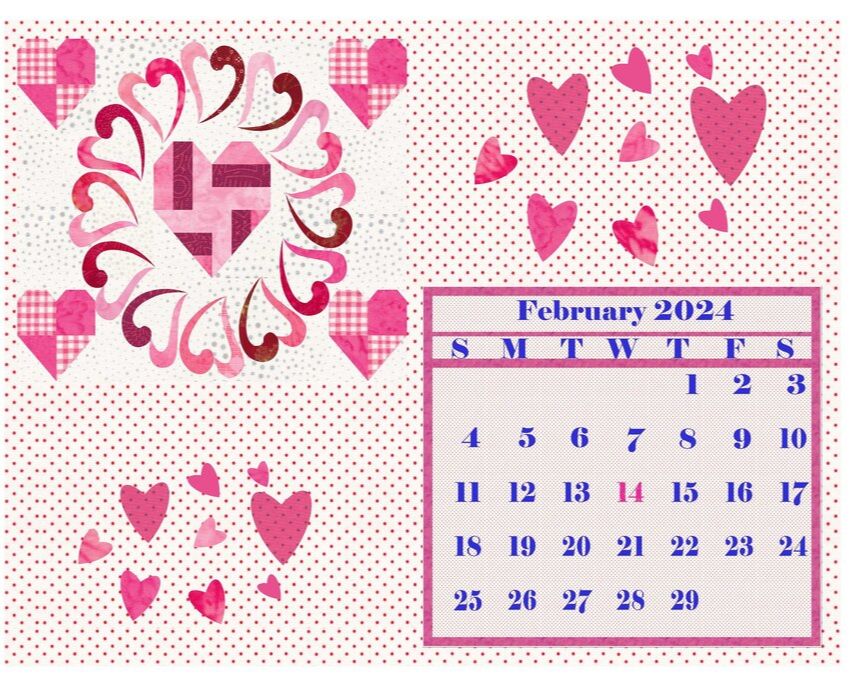
Card Base: 5-1/2 x 8-1/2 Basic White cardstock. Scored and folded at 4-1/2". Scalloped Card Front: Stampin Up Scalloped Contours Dies (155560). Paper was Sale-A-Bration. Most Adored paper. Free with a $50 order placed before the end of February 2024. Swedish Heart Baskets: Cut out on Cricut Maker using the templates from this video. The middle card was cut from the Most Adored Sale-A-Bration paper. The other cut from fabric in my stash. Other Smaller Decorative Hearts: Stampin Up Adoring Heart dies (currently unavailable). I layered three of the cut pieces together and for two of the cards added a plain heart in back.
If you would like to order Stampin Up Supplies through me, you will be able to do so here.
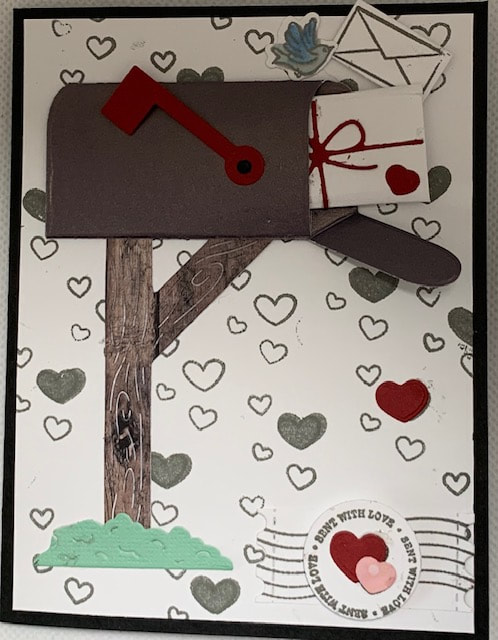
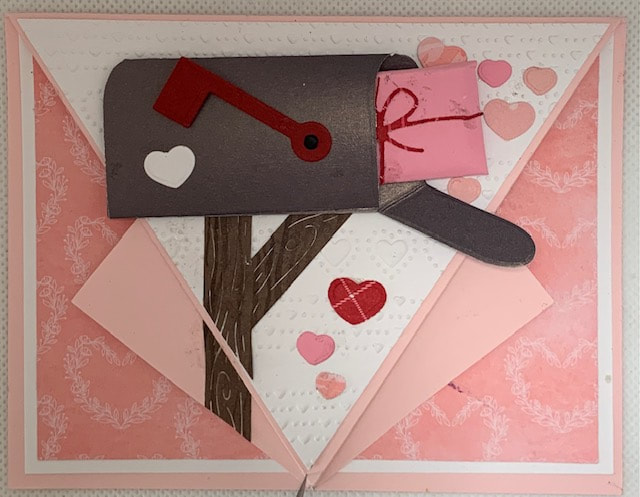
When checking out enter the host code J3NW7MWC. (If you order by the end of February and your order totals $50, make sure to select your Sale-A-Bration gift.) I will be sending a small gift to those who order using my host code. :) Other Valentine Cards (for my nieces and nephews)
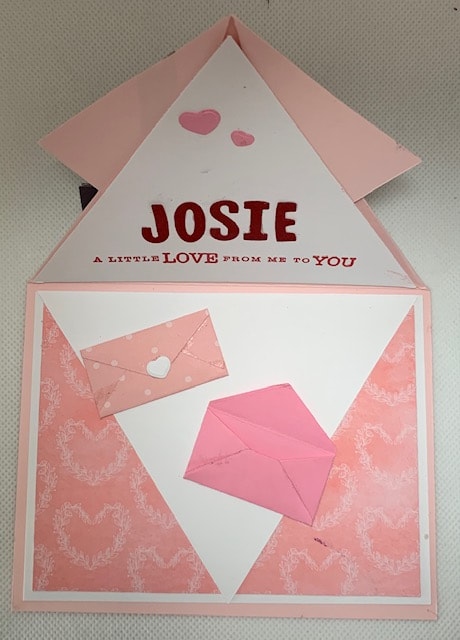
Fold Out of Card #3
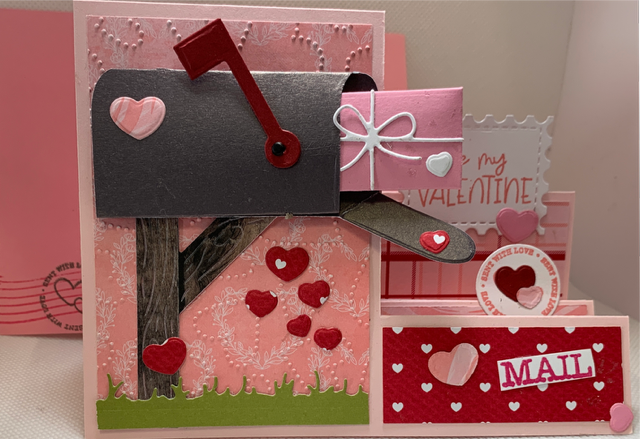
Send Love Card #5 - Stand-Up Fun Fold
I love blocks and quilts comprised of all types of hearts. The design I am sharing today could be used for Valentine's Day -- or would also look super cute in a baby quilt.
In my video tutorial, you will learn how to trace the red heart and the elephant. And then use your creativity to modify the design and create your own small quilt.
Here is the quilt created during the video.
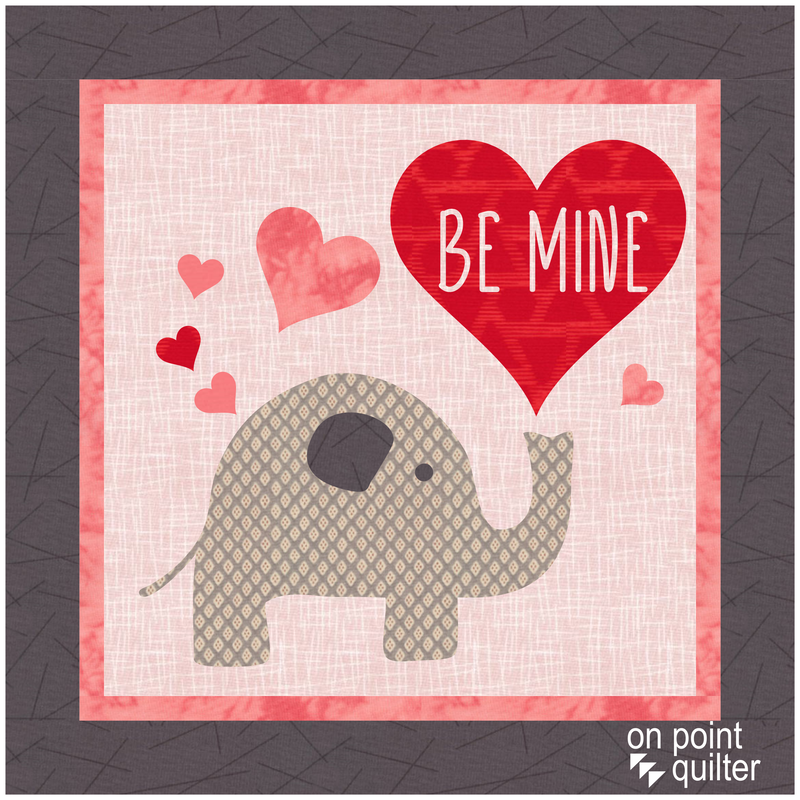
Be Mine created by Kari Schell using EQ8
Share your quilt in the Learning EQ Facebook group. I would love to see your design.
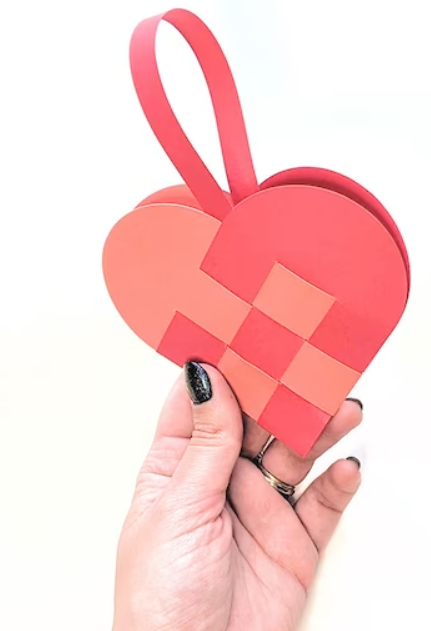
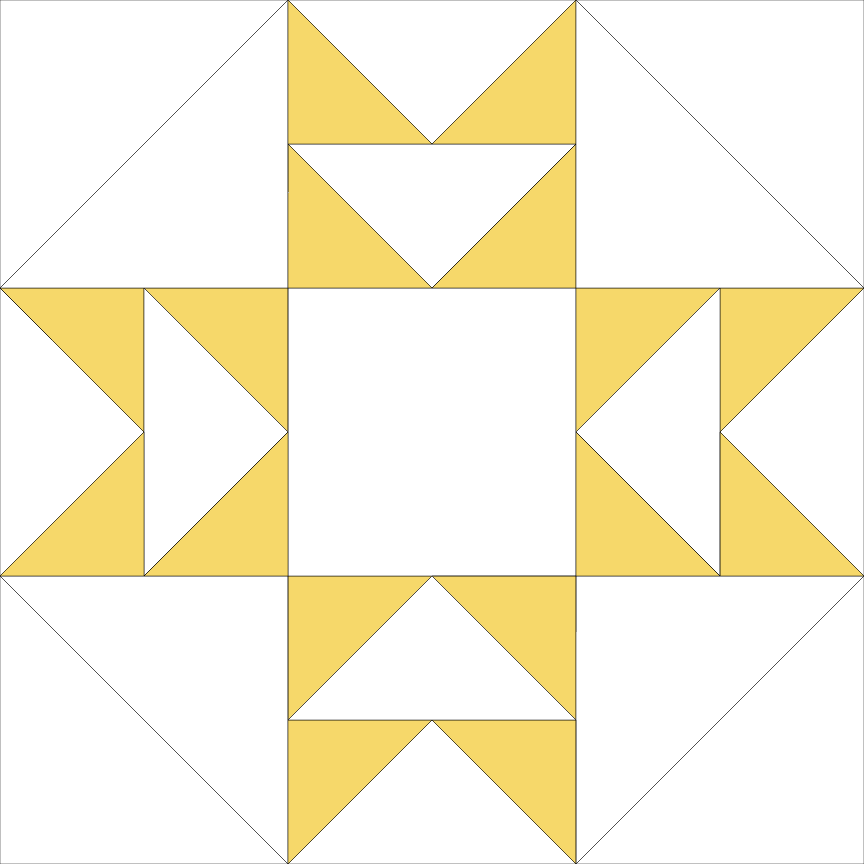
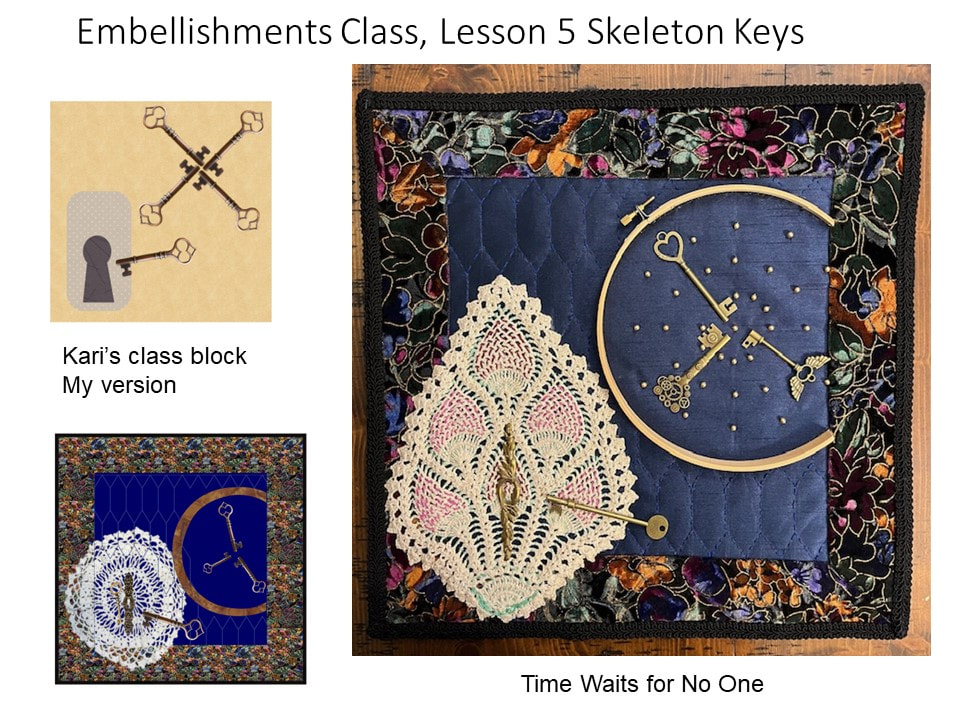
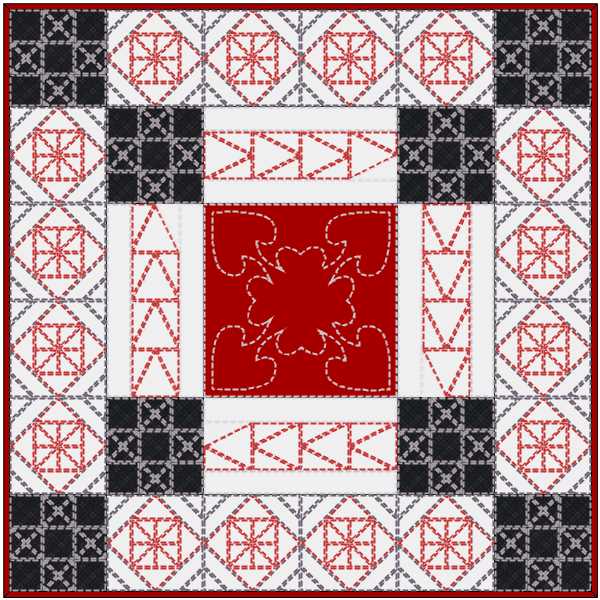
Another new heart block and quilt. This one was inspired by an email I received from Fran H. (a talented Tech Know Quilters member) on a Swedish Heart Christmas ornament.
In this weeks video tutorial, I will share how to draft an interwoven heart using the Applique toolkit in Electric Quilt 8 and a new quilt featuring this block.
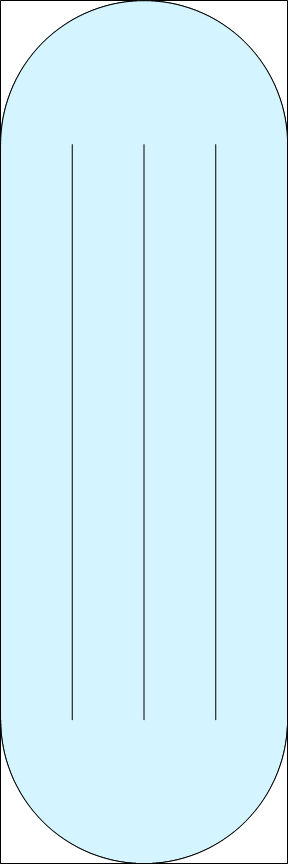
Woven Unit IdeasAny EasyDraw block that can be drawn with horizontal and vertical lines than can be drawn from one edge of the block to the other, is perfect for incorporating in a Swedish Heart Basket block. Here are a few examples I came up with.
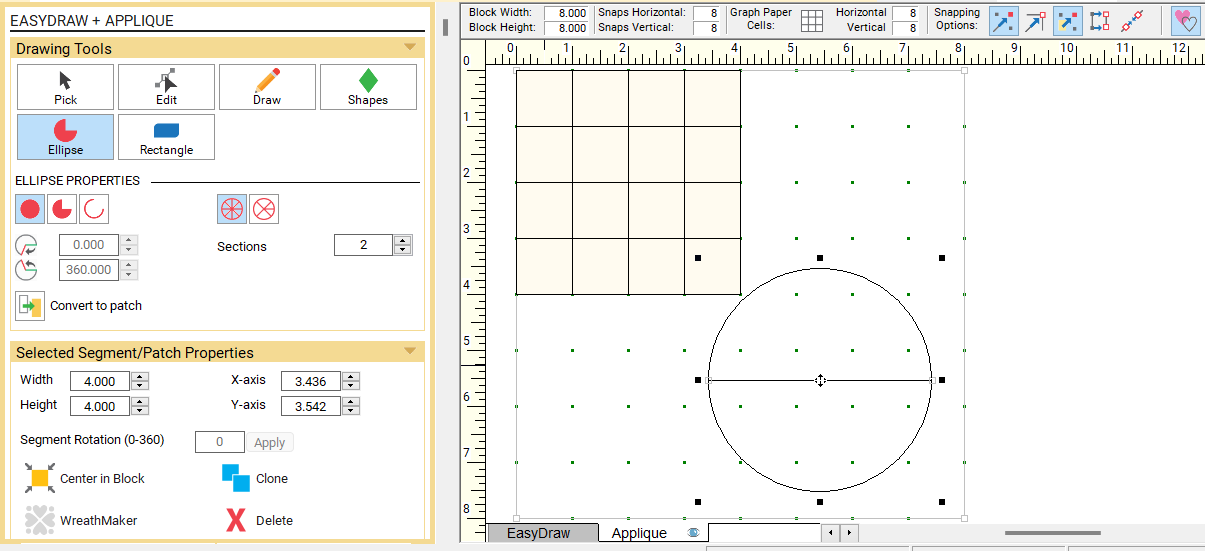
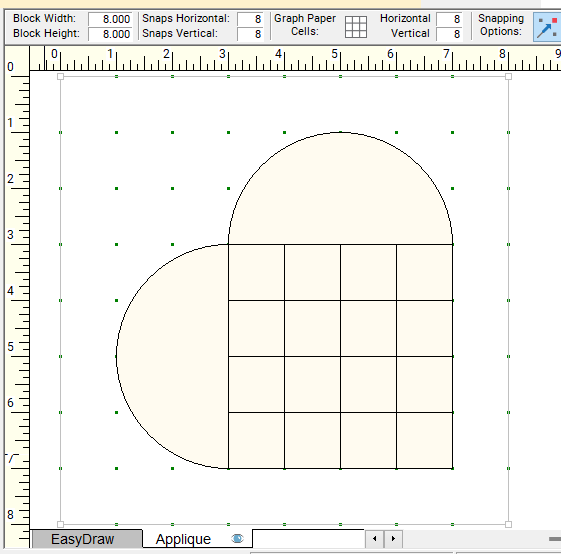
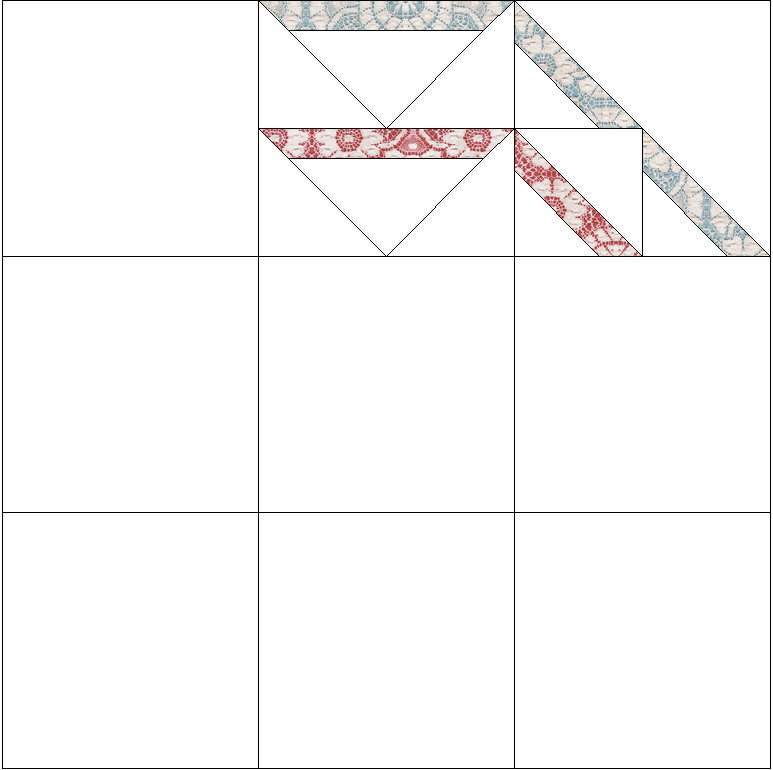
Drafting the Swedish Heart Basket Block
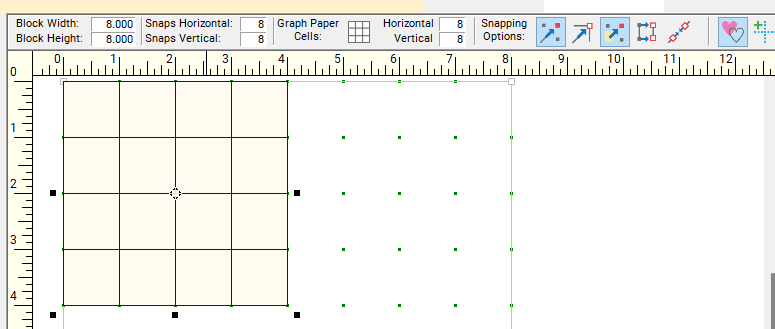 Setting Up the Worktable and Drafting the Squares Setting Up the Worktable and Drafting the Squares
Set up a block size double the size of the segment of your block that is comprise of squares and rectangles.
For my four by four grid, I set up an eight inch block and placed the four by four grid in the upper left corner. Set the snaps horizontal and vertical at 8 x 8. Under Snapping Options, turn on Snap to Grid and Snap Whole Patch to Grid Point. Under Shapes find the square and drag a 1" square on the worktable. Clone and reposition for 16 squares in the upper left corner.

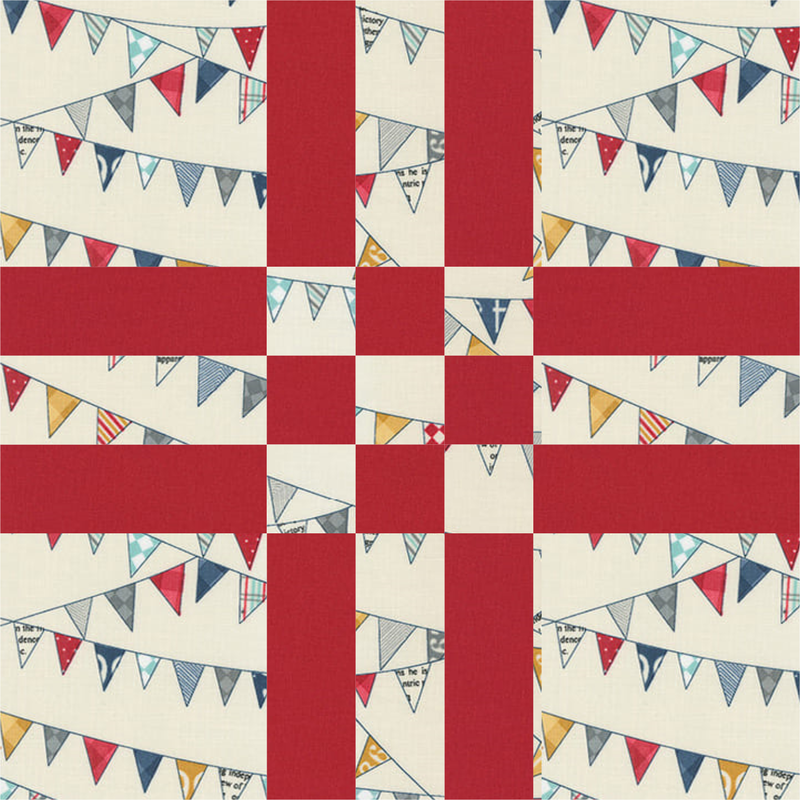
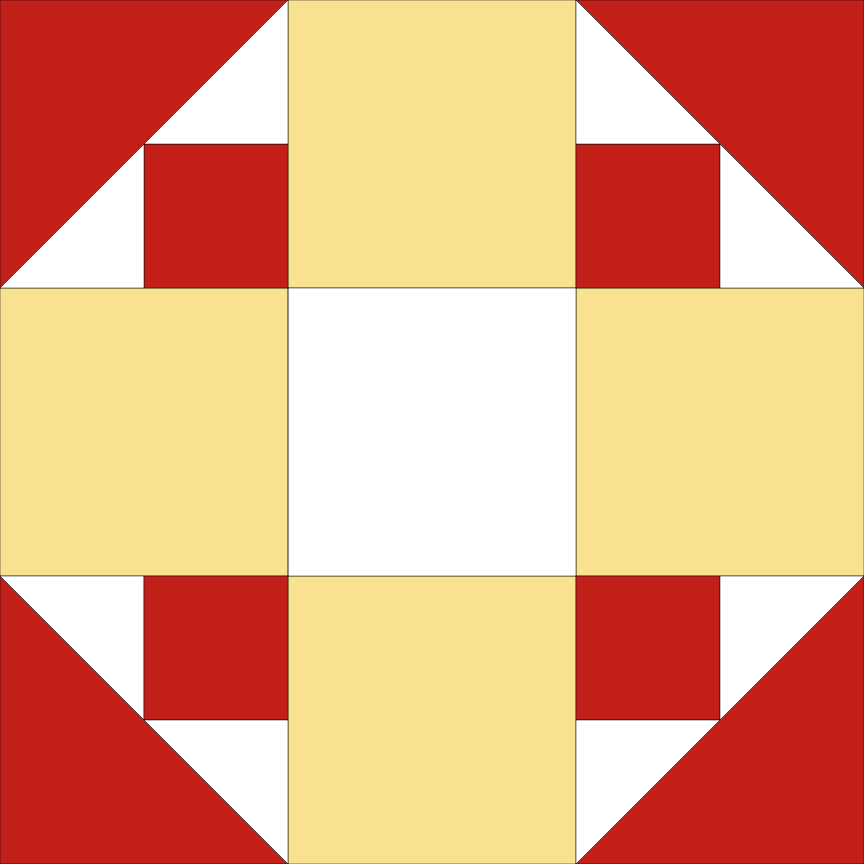
Swedish Basket Heart Colored with Vintage fabric collection from Moda.
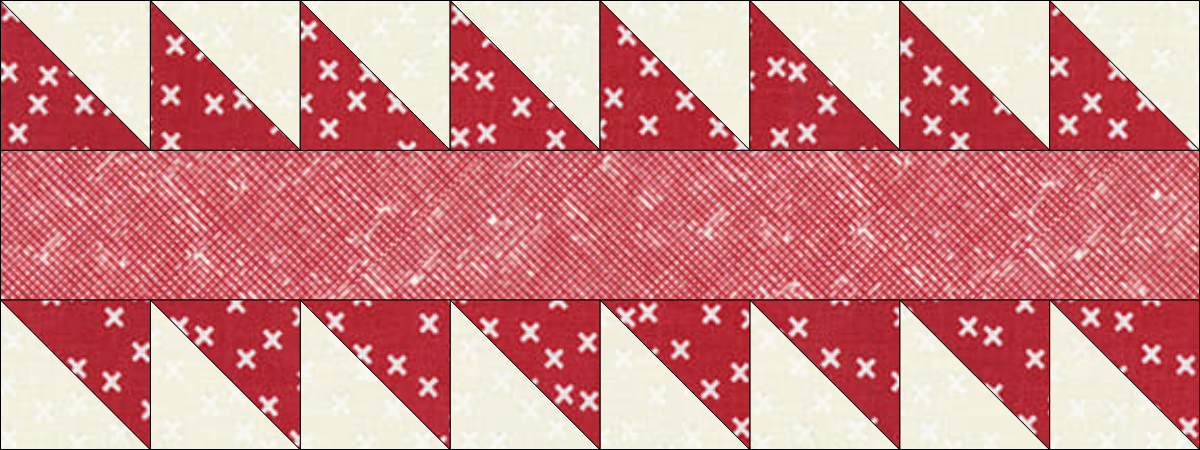
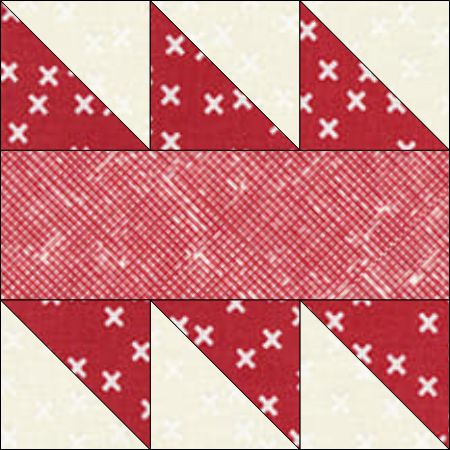
Drafting the Alternate Blocks
Create pieced blocks comprised of half square triangle units and rectangles for sashing and cornerstone units.
As a bonus, these same blocks will be used in the border (at the exact same sizes as in the sashing and cornerstones.
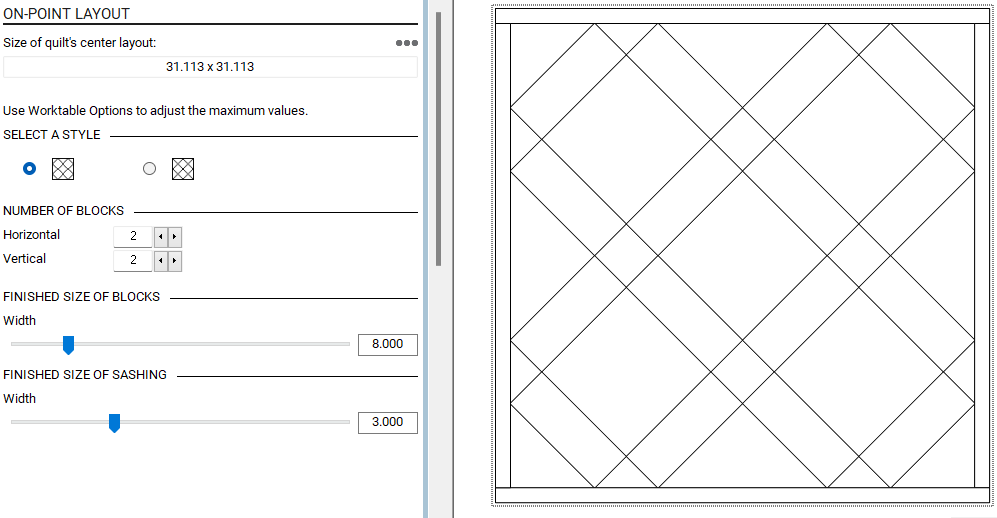
Swedish Basket Heart Quilt Layout
Quilt Borders
Putting Together the Quilt Design
Watch the video for more information on how to draft the blocks and quilt using Electric Quilt 8.
Here is the final quilt from the video.

Swedish Heart Basket Quilt drawn using Electric Quilt 8
Think through how you could personalize the design. A few ideas:
Share your quilt in the Learning EQ Facebook group. I would love to see your design.
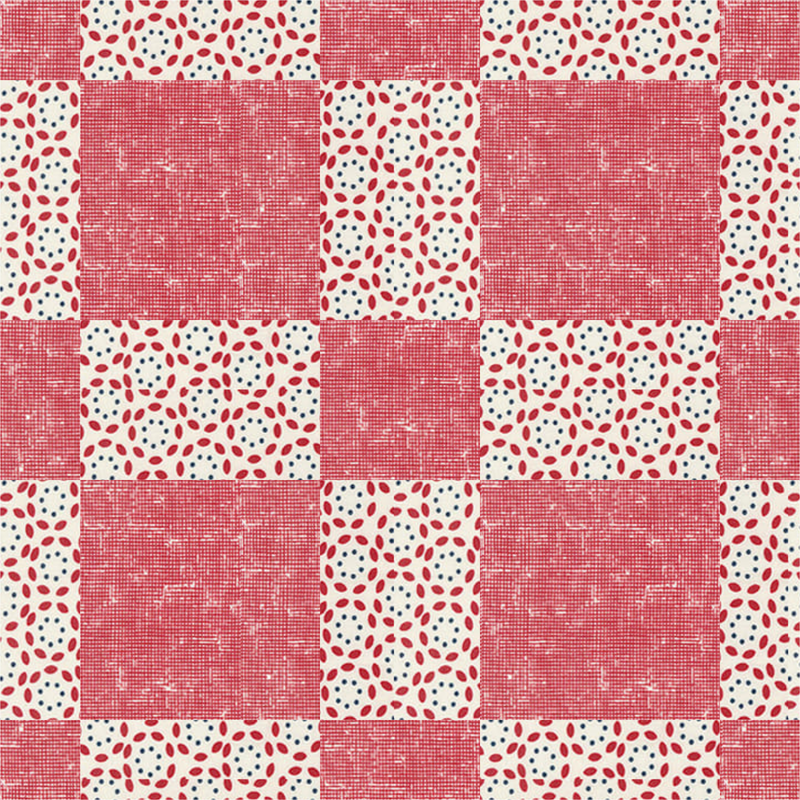
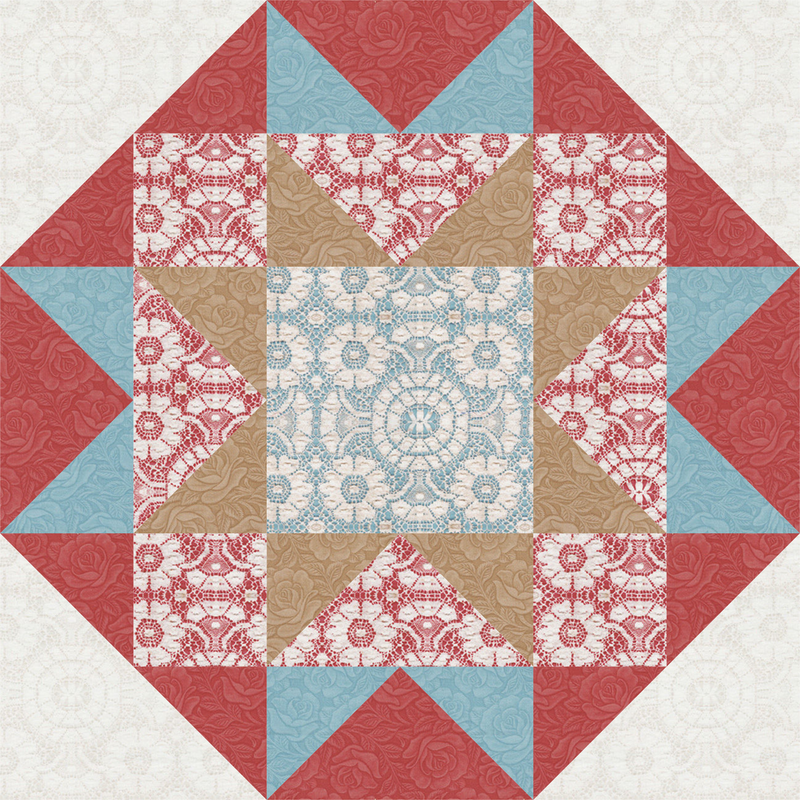
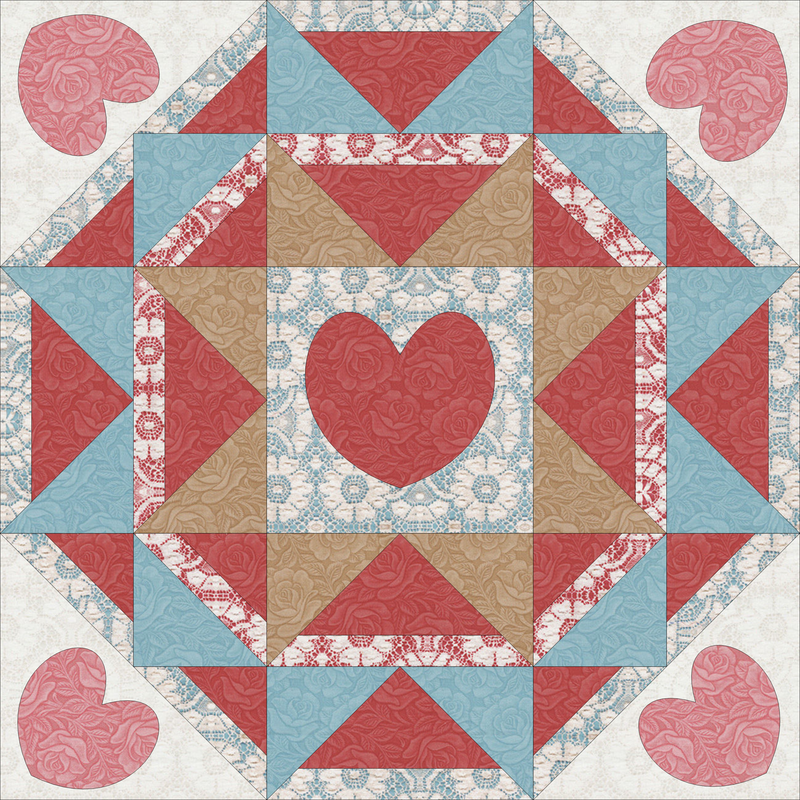
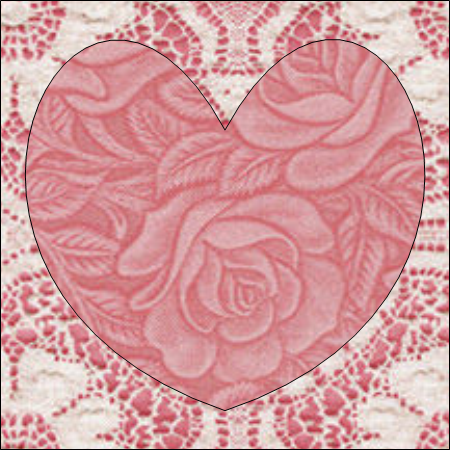
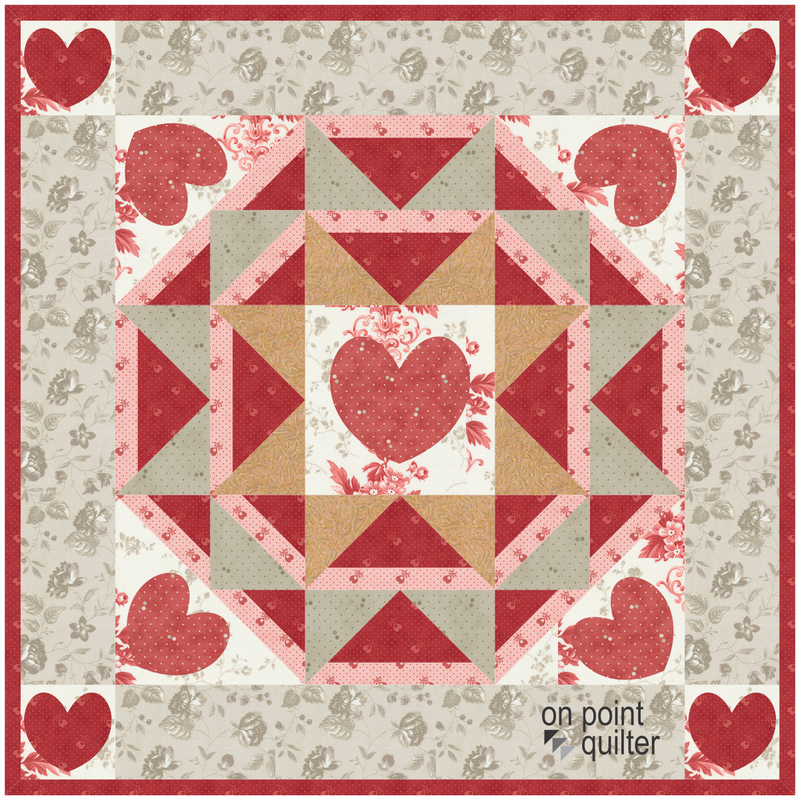
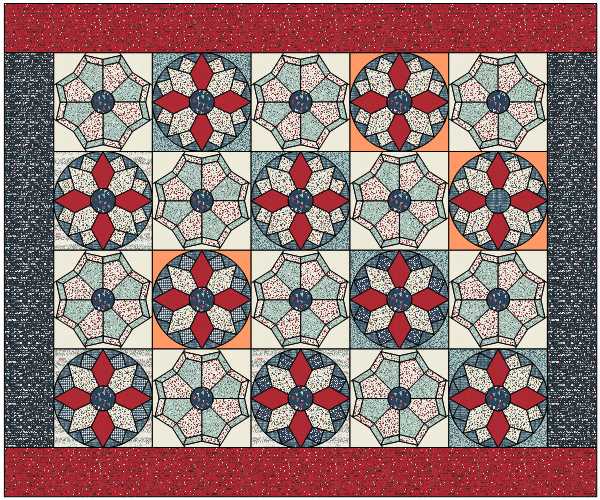
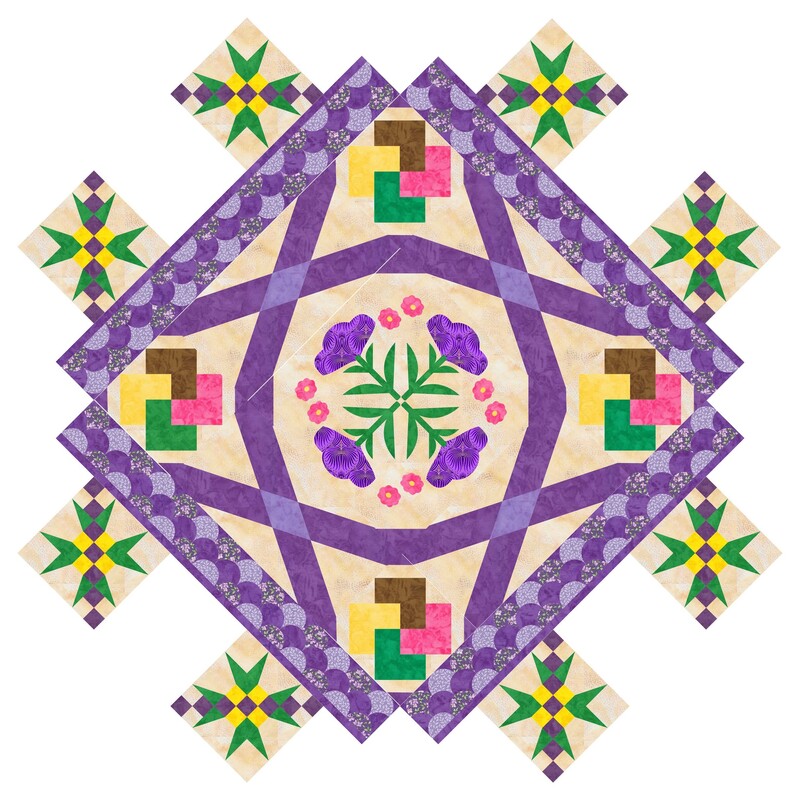
The block for this weeks tutorial is primarily pieced and drafted in EasyDraw. But includes some optional heart applique motifs. I used the fabric collection Leather and Lace and Amazing Grace to color the block and quilt.
I combined the hearts with the fabric collection for the name of my new block - Heartfelt Grace. Scroll down to see some fantastic EQ8 designs in the latest Tech Know Quilter showcase. Heartfelt Grace Electric Quilt 8 Tutorial
The inspiration for this block came from two different blocks in Block Base+.
Block Base Plus is based Barbara Brackman's Encyclopedia of Pieced Quilt Patterns. This book is the perfect resource for identifying 4000+ historic blocks plus the names and publishing information. The blocks are EQ friendly and can be used in Electric Quilt 8. Check out my review of Block Base + here.

Adding Bands Around the Octagon Shape
Heartfelt Grace Quilt Design
See how to create your own Heartfelt Block and Quilt in the complete video tutorial.
Here are the quilts from the video.
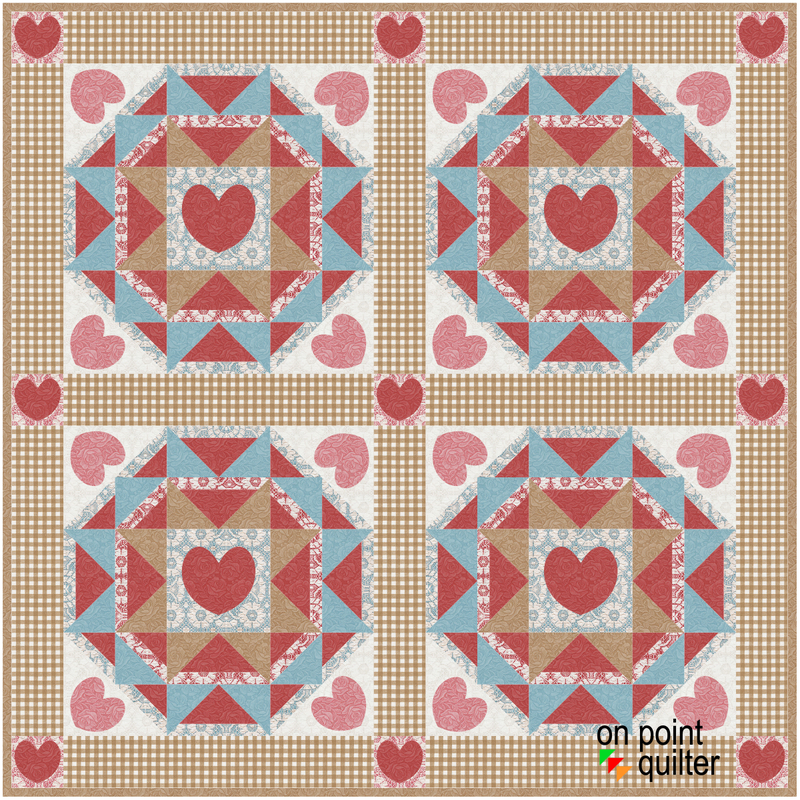
Heartfelt Grace Quilt 46" x 46"
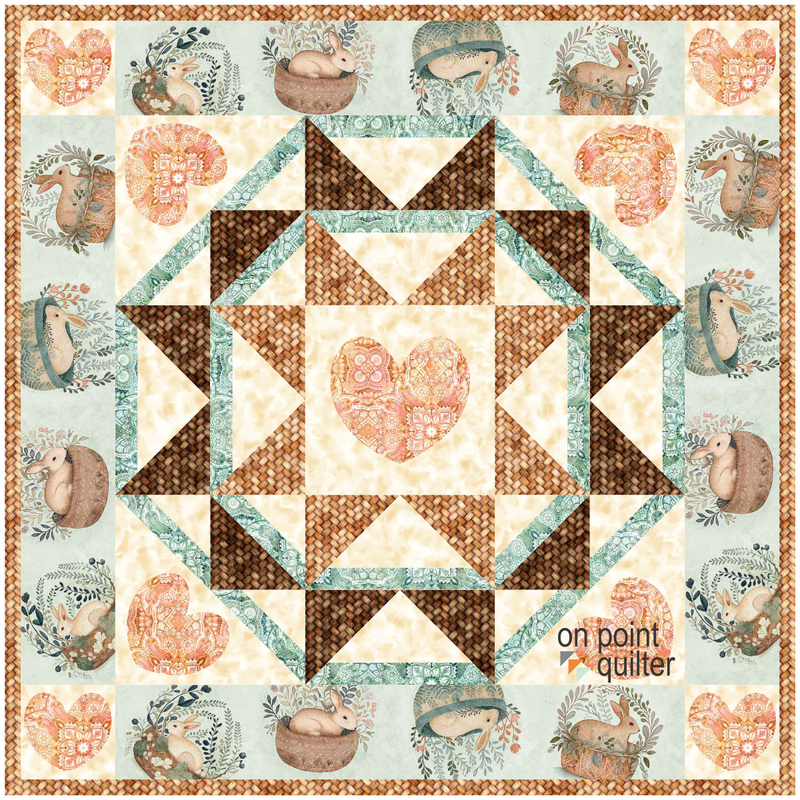
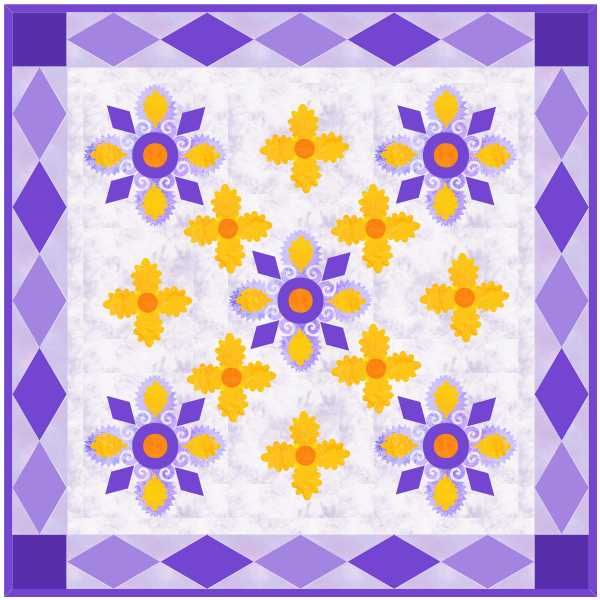
I also did a variation of the quilt -- with just one block. Valentines Day is just around the corner. So this might be an easier option to be complete in time.
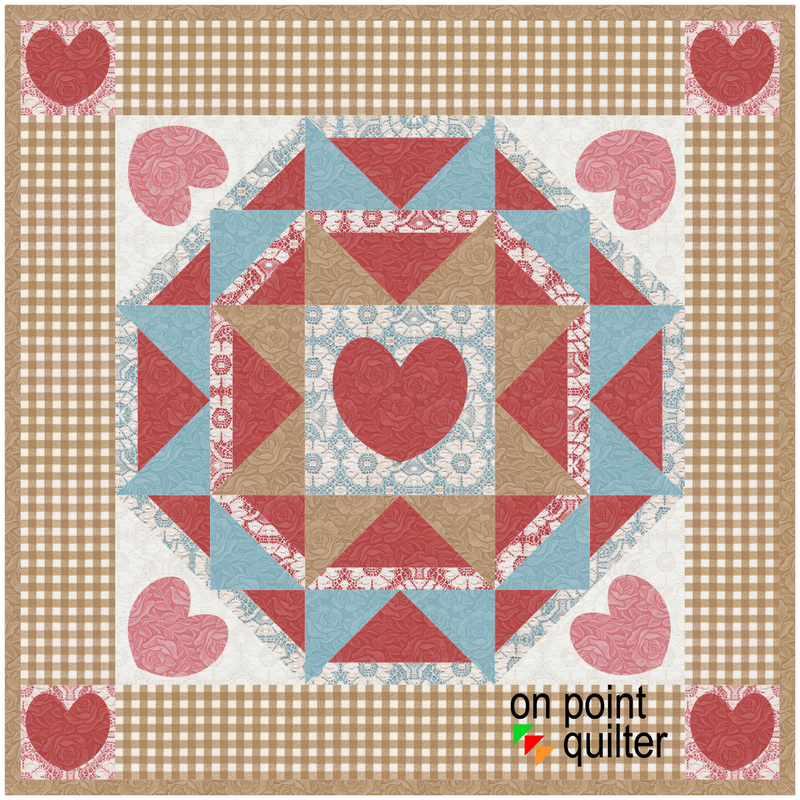
Heartfelt Grace Quilt 25 x 25
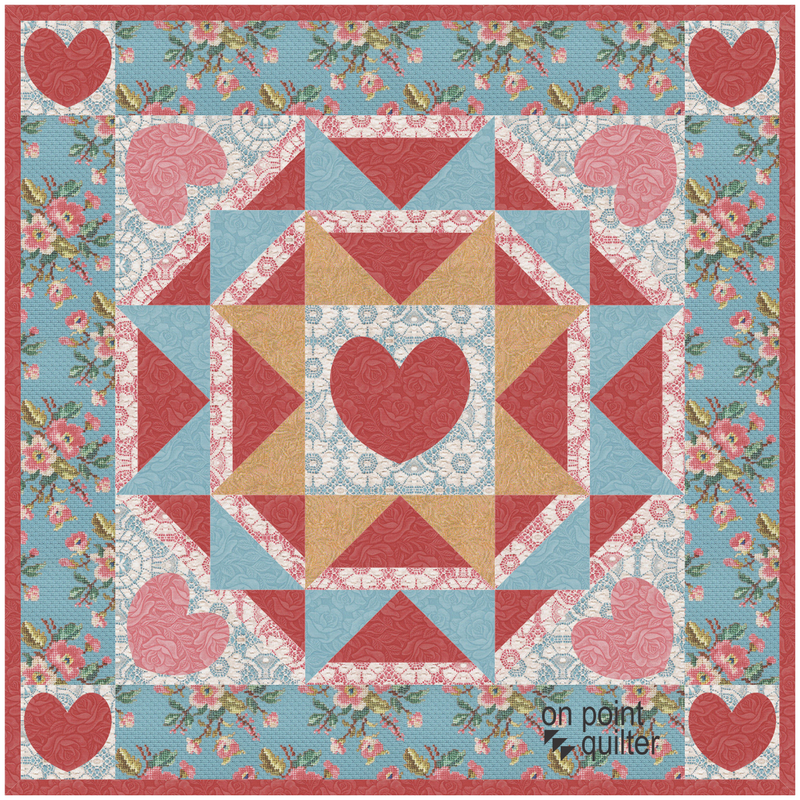
It isn't included in the video, but I played with a couple of different fabric collections as well.
I look forward to seeing what you decide to do with this design -- or maybe you will be inspired to create your own "banded" block. Share your creation in the Learning EQ Facebook Group.
Tech Know Quilters Showcase
Each month I encourage Tech Know Quilter members to share favorite projects from their class for the month and applications of the concepts for their own quilts. Here are their submitted designs for the December Month-End Challenge.
I am so grateful to be able to assist an amazing group of quilters and designers in their Electric Quilt journey.

Fran Heisey I learned so much this month. It was hard to pick a favorite. I especially enjoyed learning how to make the stained glass effect.
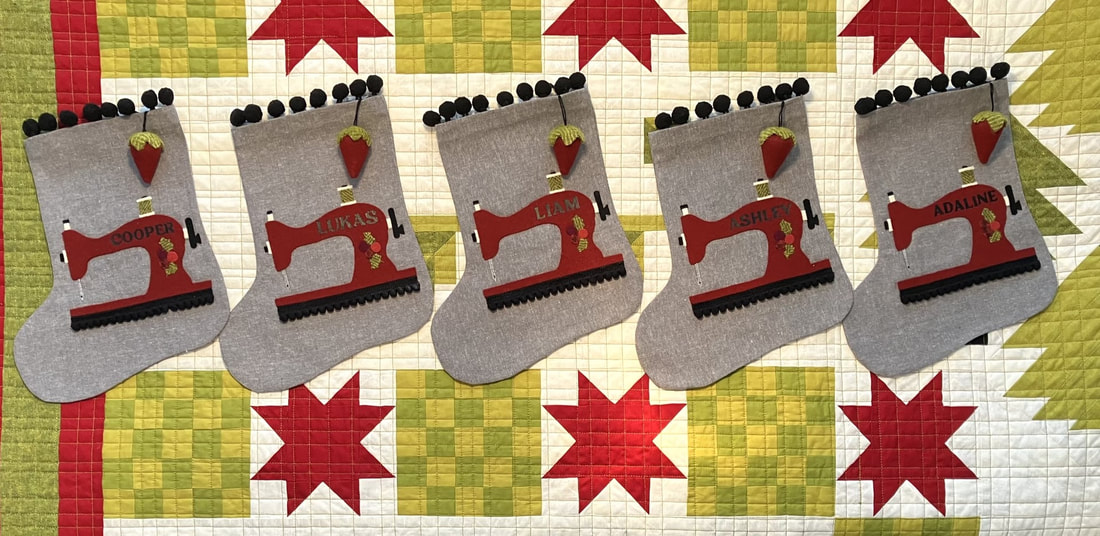
Kristy Goodin Soard Now that Christmas is past, I can share a photo of the stockings I designed in EQ8 for my grandchildren. I have taken every class Kari has offered, and accumulated so much knowledge. This design took tidbits from numerous classes over the years.
Tech Know Quilters is a membership program focused on mastery of Electric Quilt 8. We have members at all stages of their Electric Quilt journey.
Click here to learn more.
|


Free guide available for newsletter subscribers


Kari SchellElectric Quilt Expert and Educator and Pattern Designer. Categories
All
Archives
April 2024
|


 RSS Feed