
|
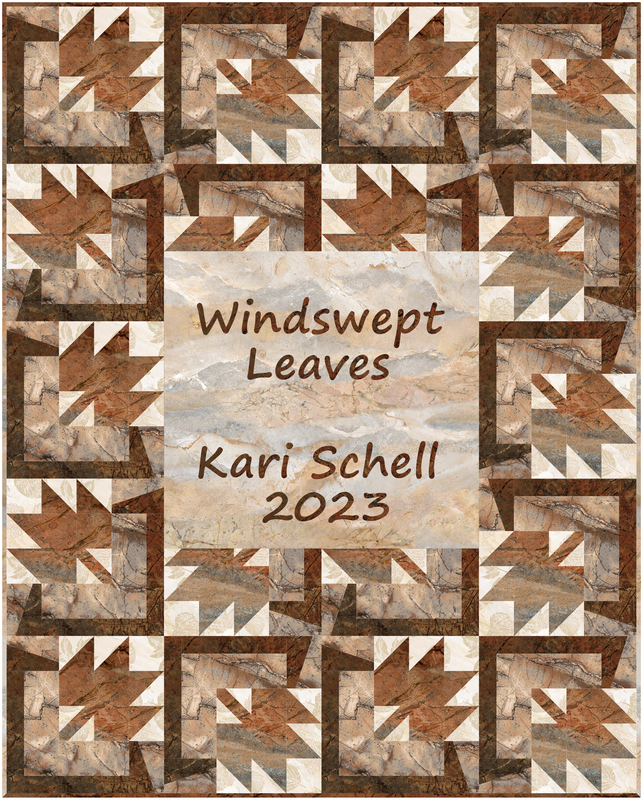
Sometimes that beautiful striped fabric in our collection can be a bit intimidating to work with.
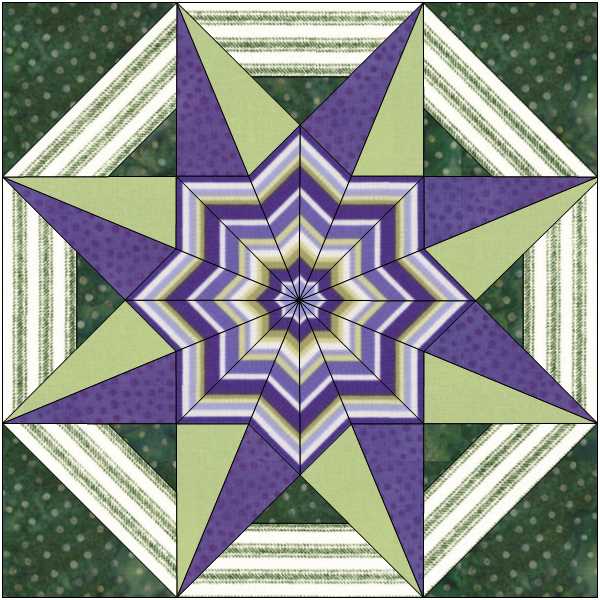
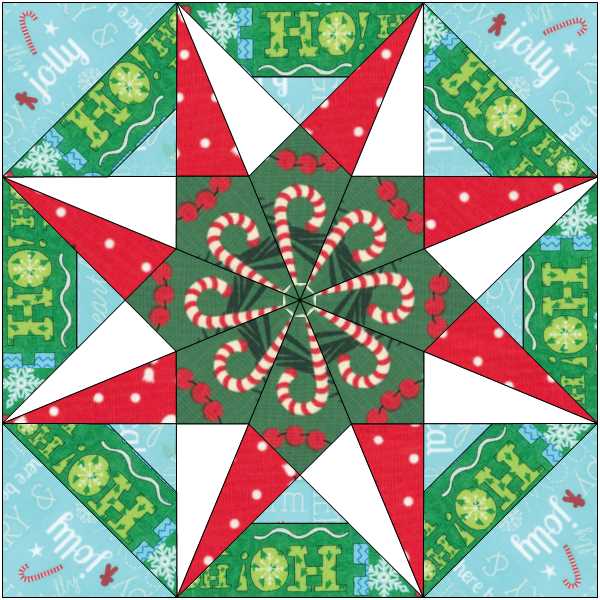
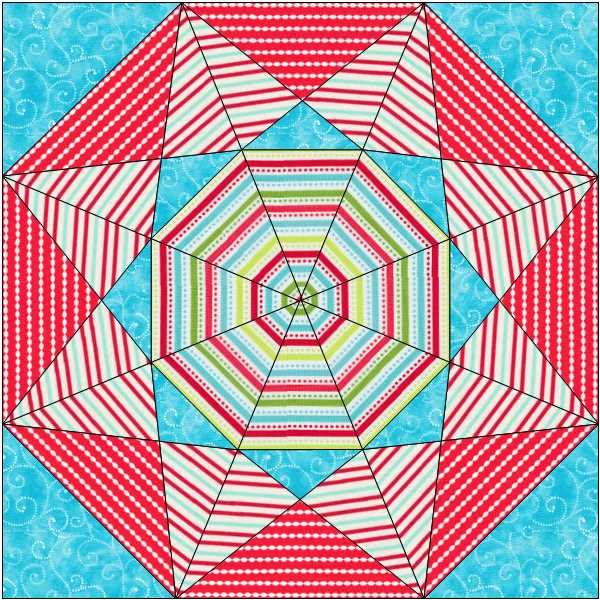
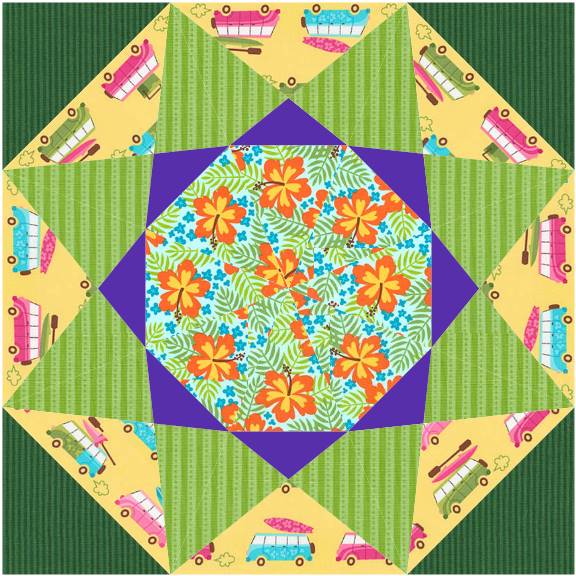
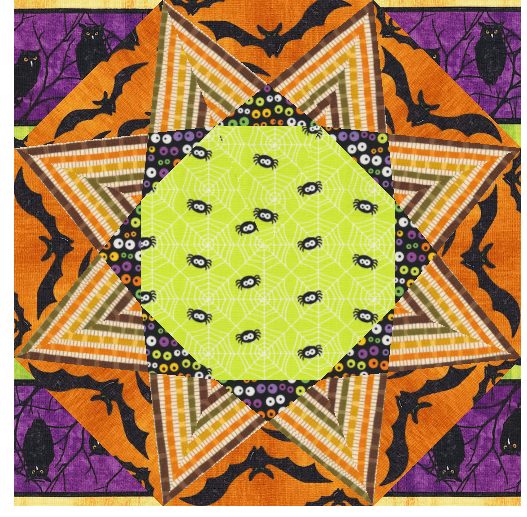
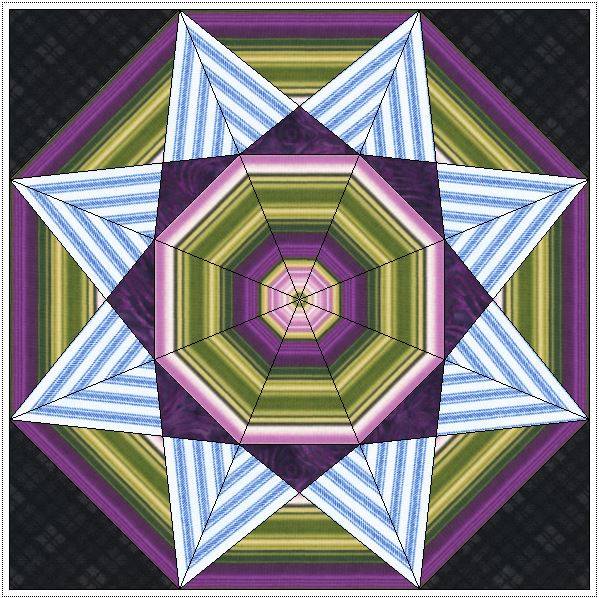
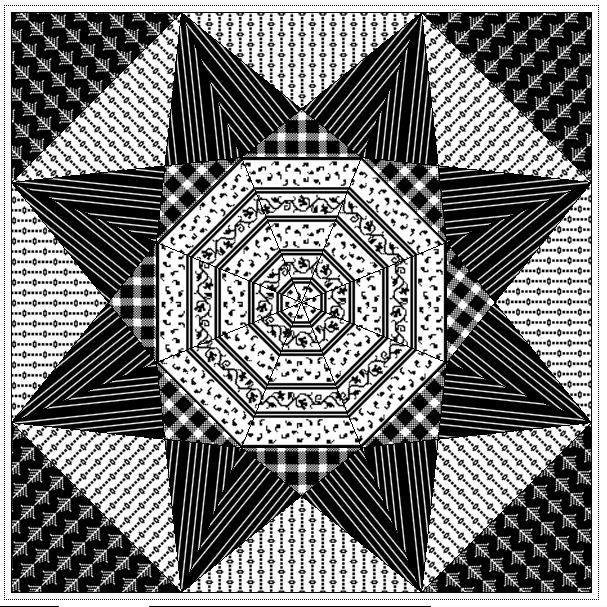
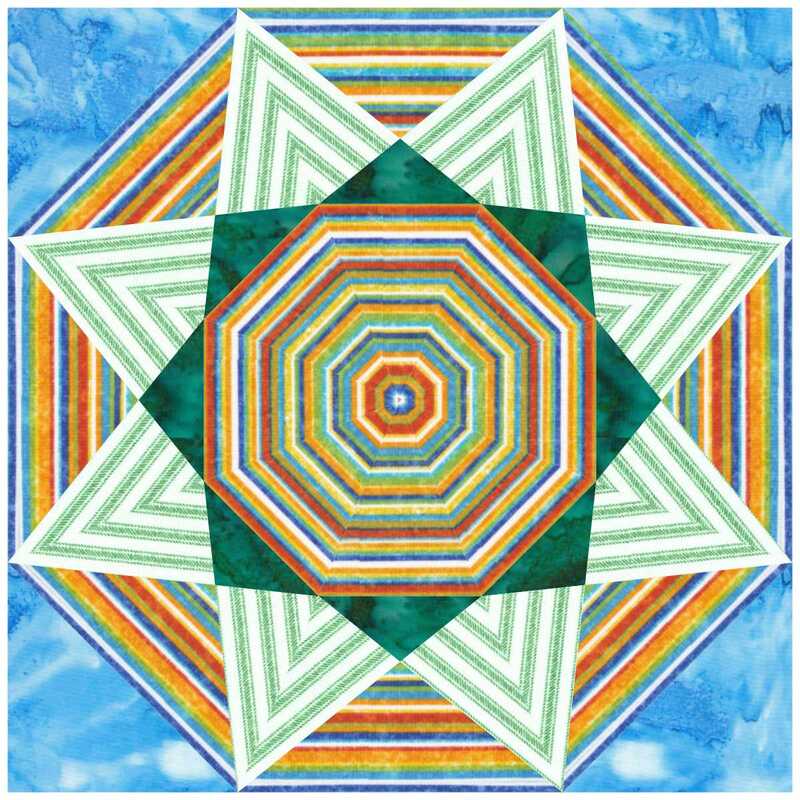
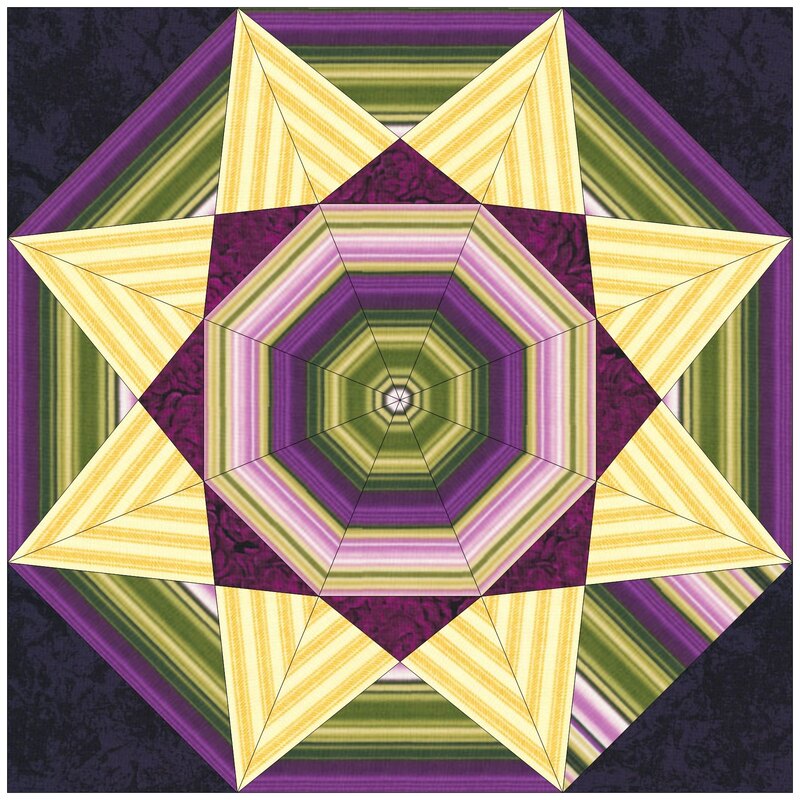
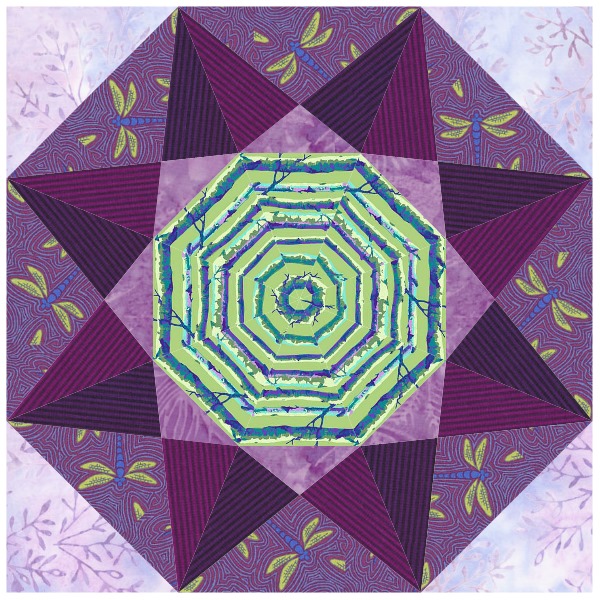
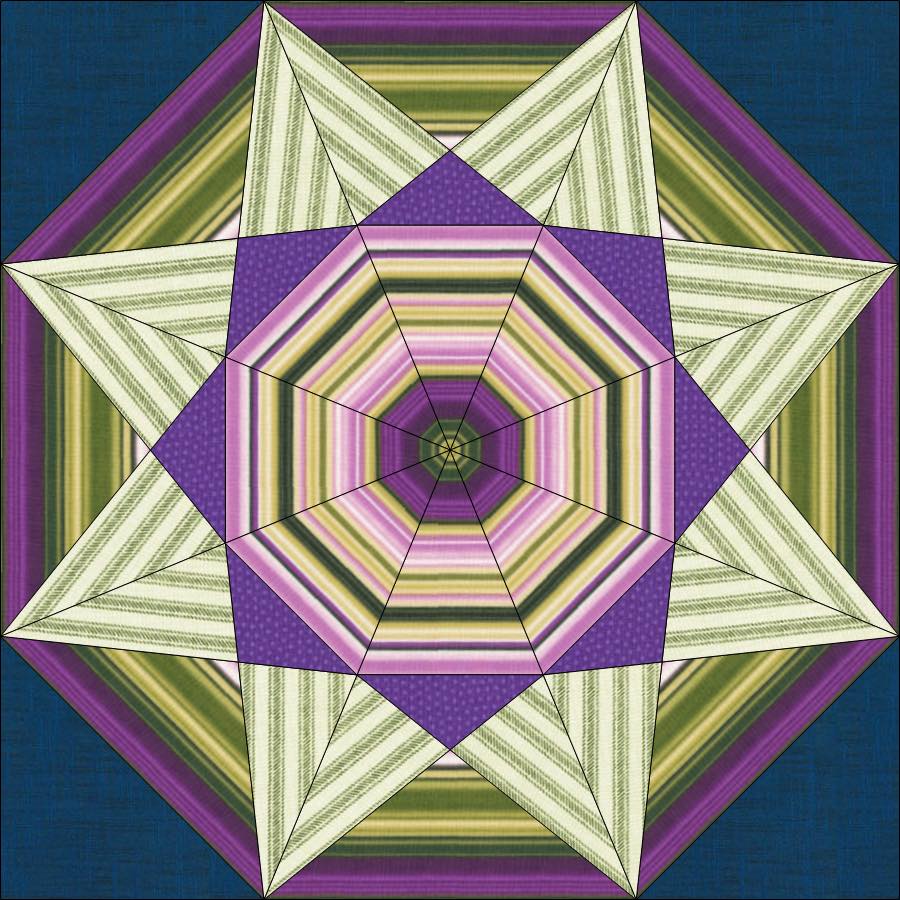
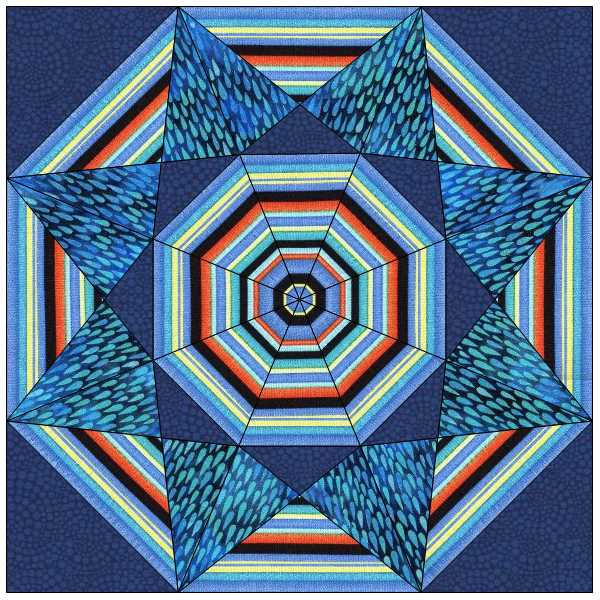
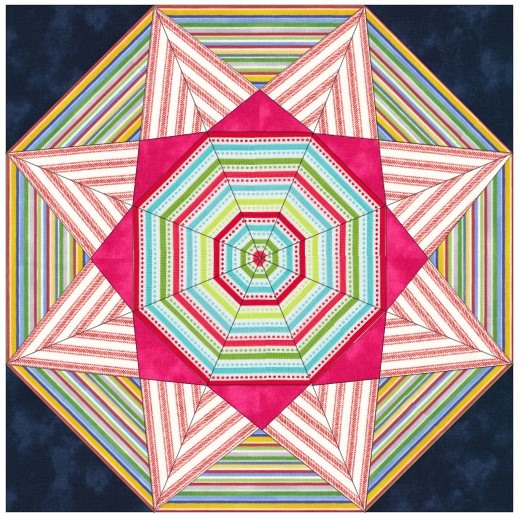
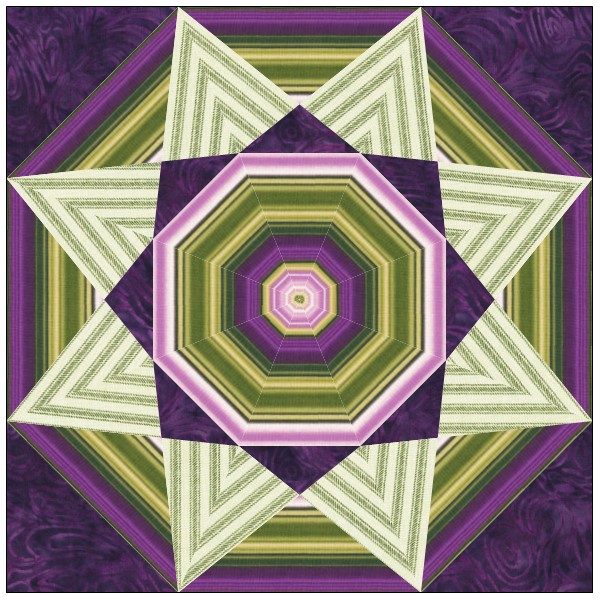
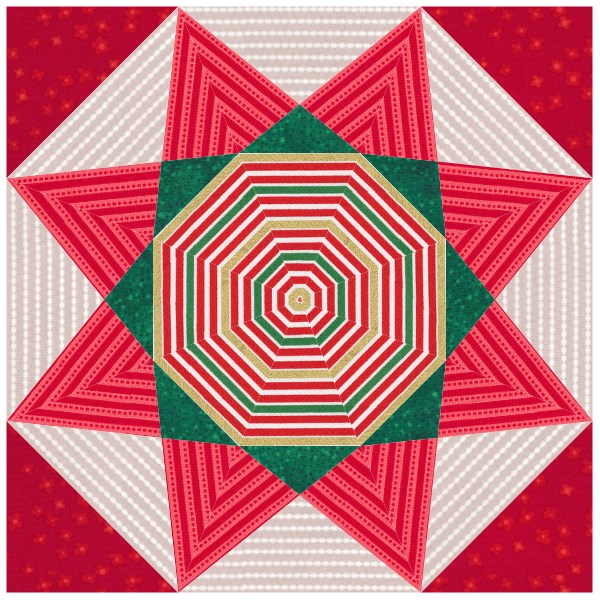
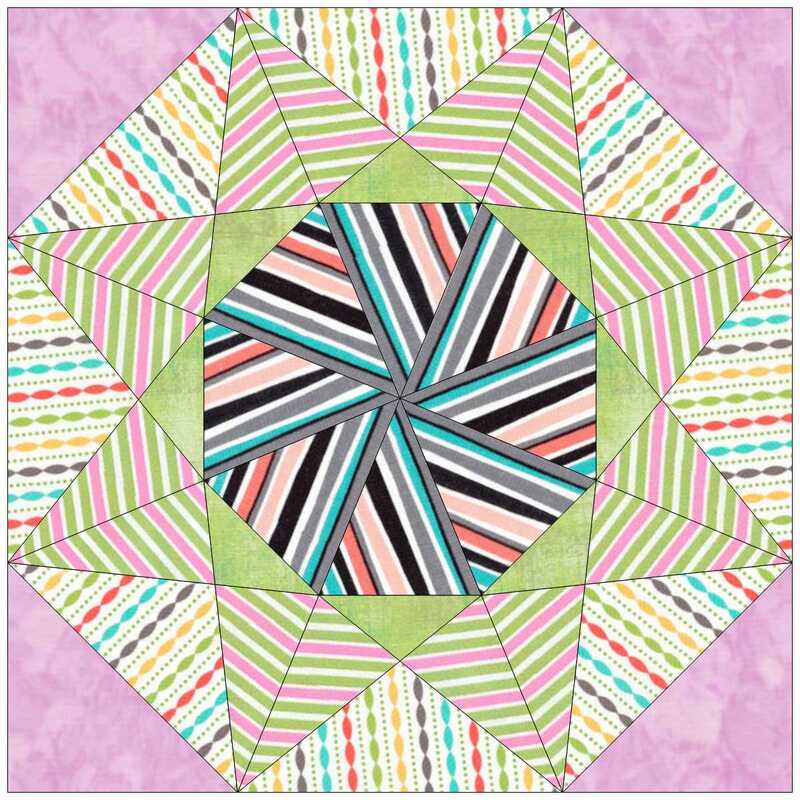
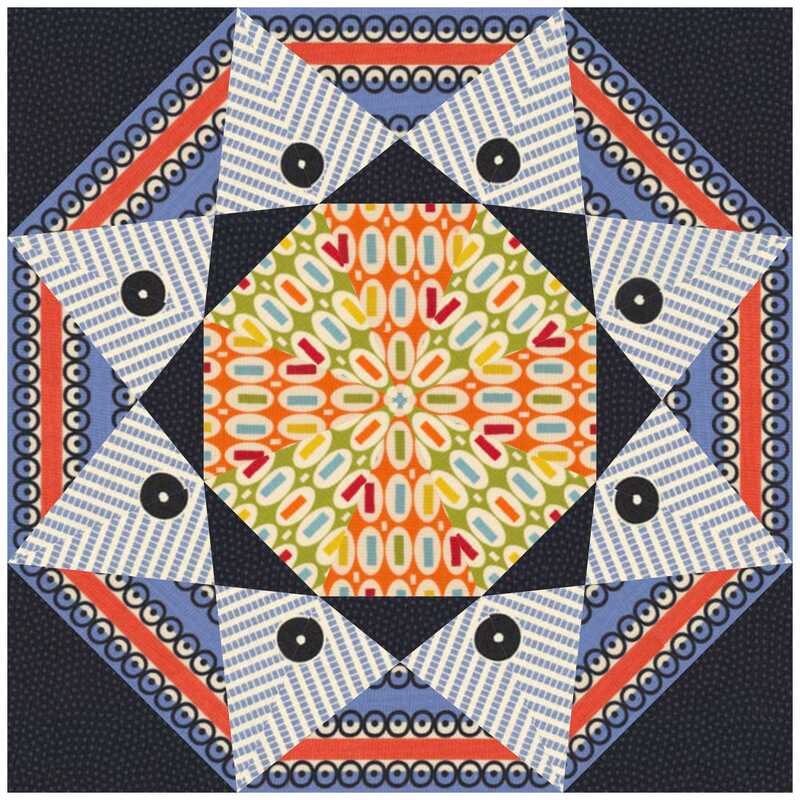
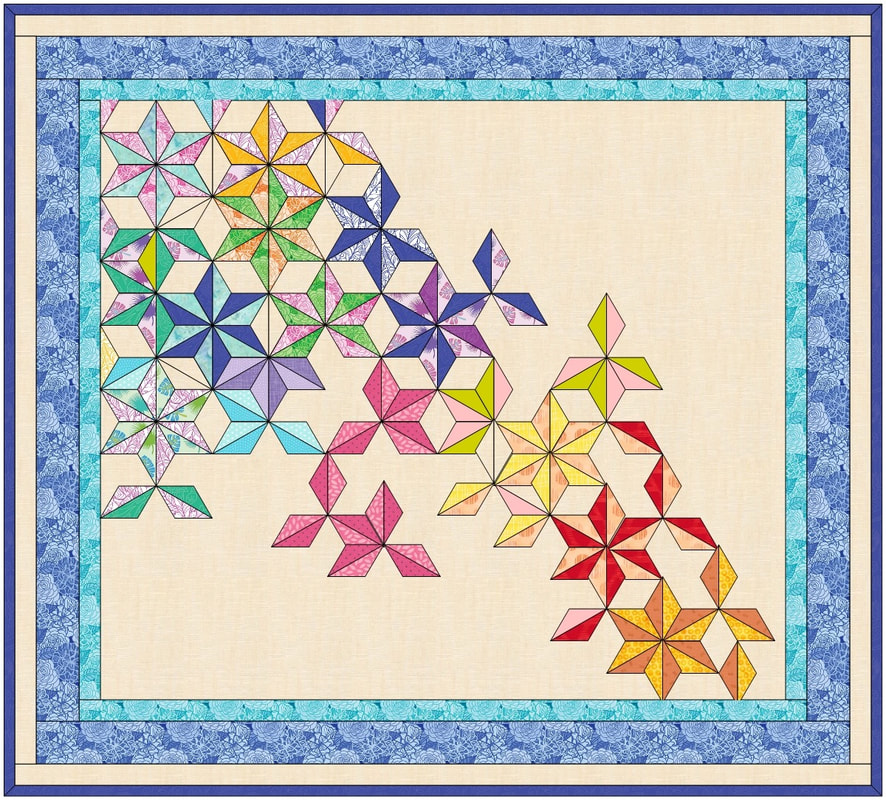
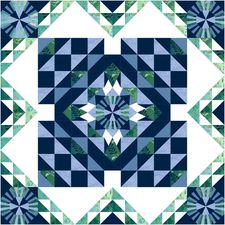
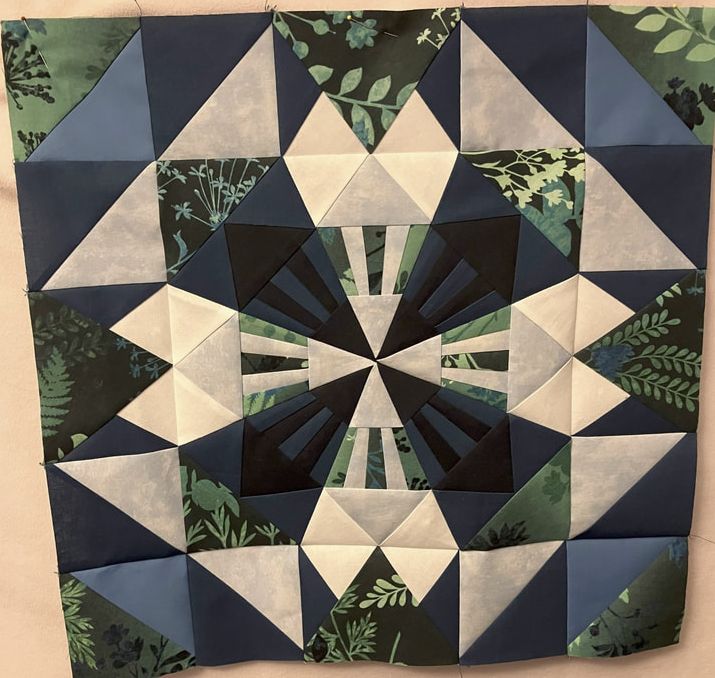
If you have ever struggled with making that initial cut into striped fabric, this tutorial is for you. Kaleidoscopes with Striped Fabric
Tech Know Quilter members have been working with striped fabric and posting their blocks in our private Facebook group..
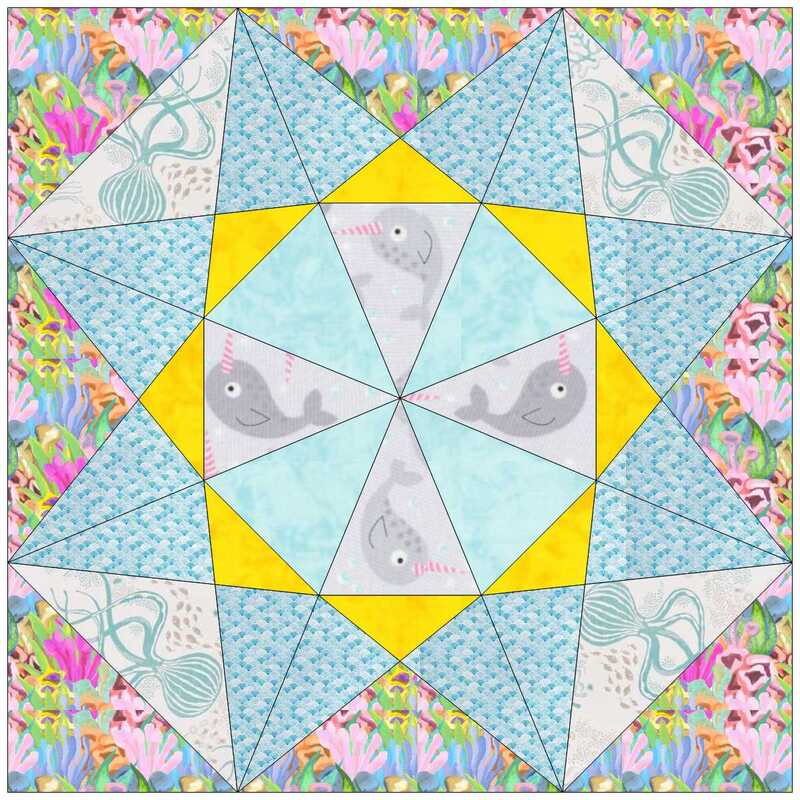
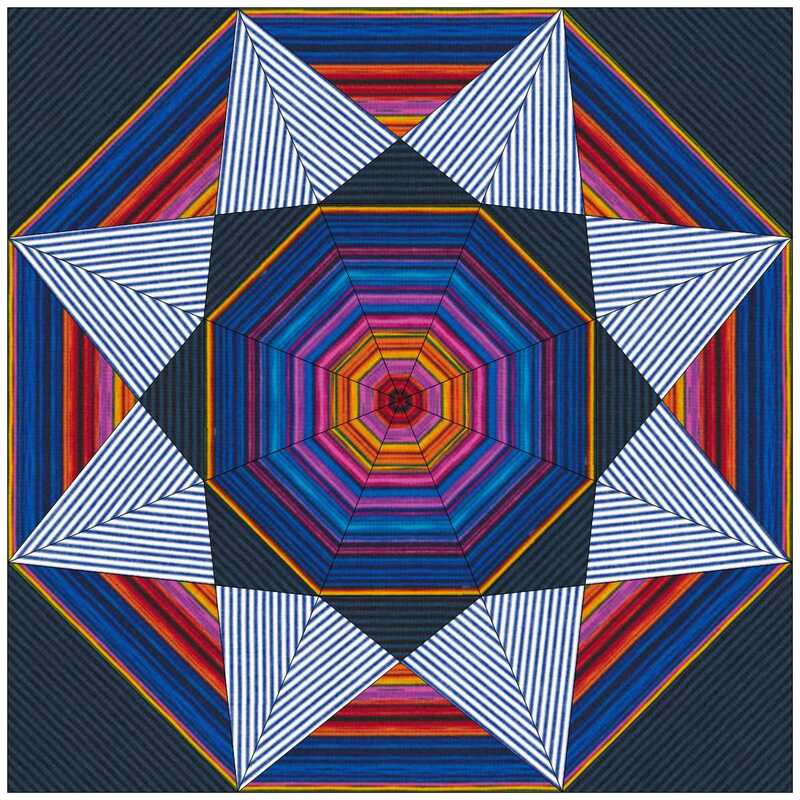
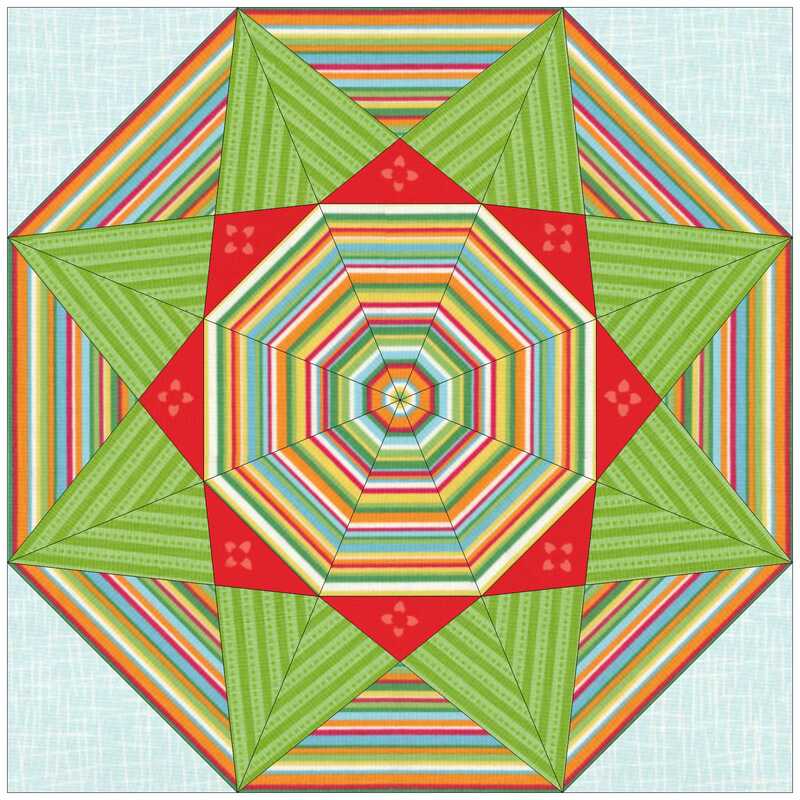
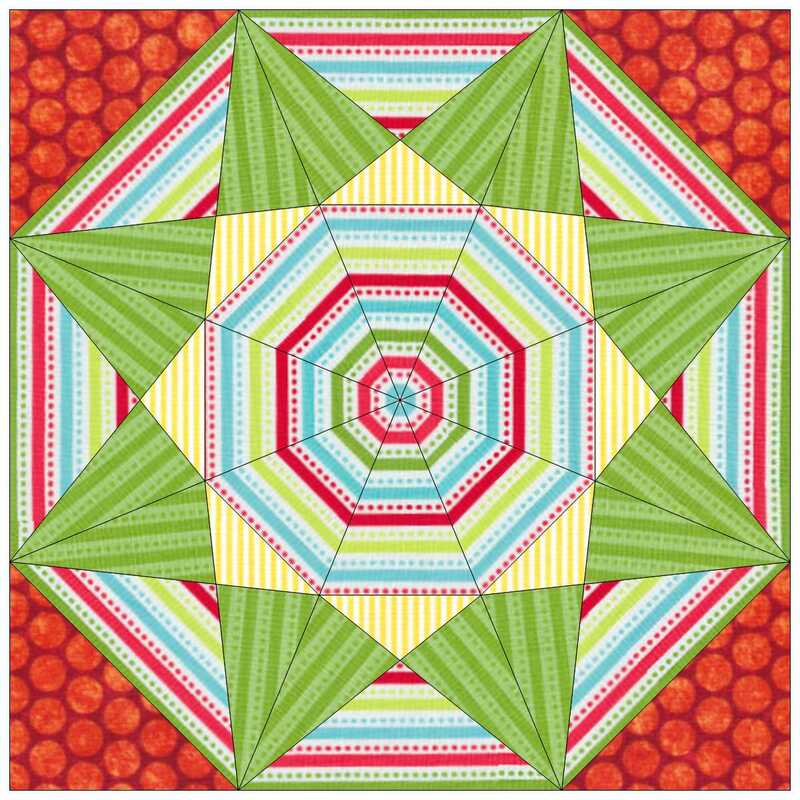
In the EasyDraw Kaleidoscope class they created a striped fabric Kaleidoscope block. While many of the blocks are the same -- the fabrics result in a very different look for each of the blocks. Enjoy some of their awesome designs.
If you are currently in TKQ and would like to take EasyDraw Kaleidoscopes as an add-on class, send me an email. I have a discount coupon just for you.
Rotating Fabric in a Block using Electric Quilt 8
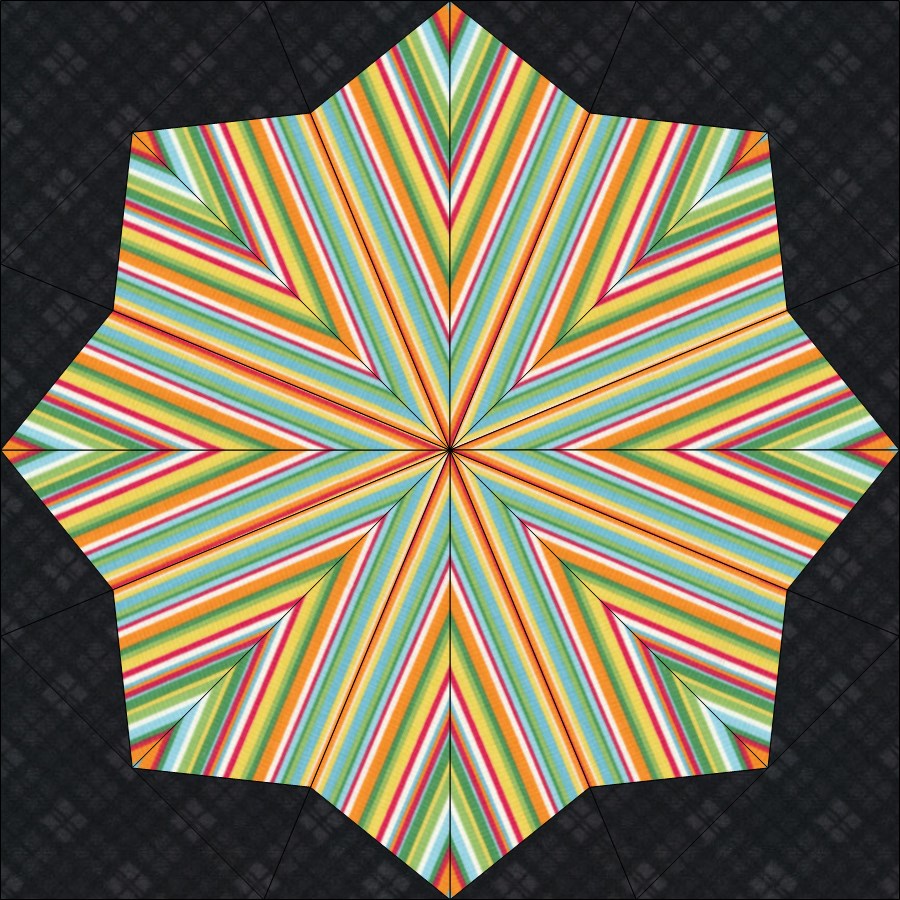
Although Electric Quilt does not have a rotate fabric option in the block worktable (something definitely on my wish list), there is still a way for you to rotate fabric for your block.
Let me show you how.
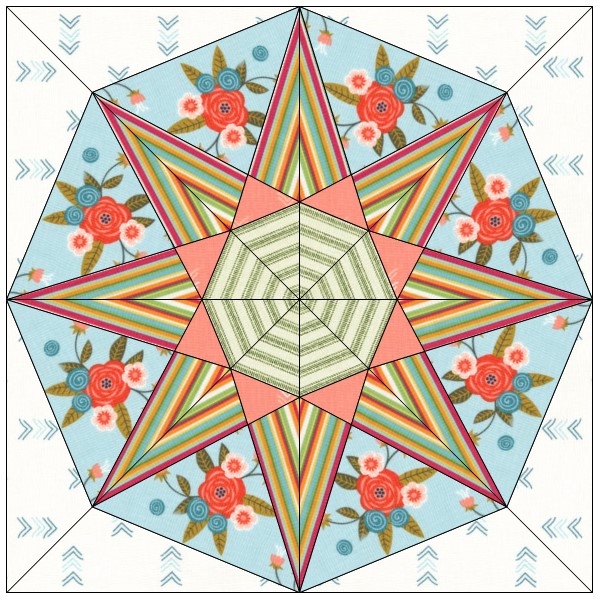
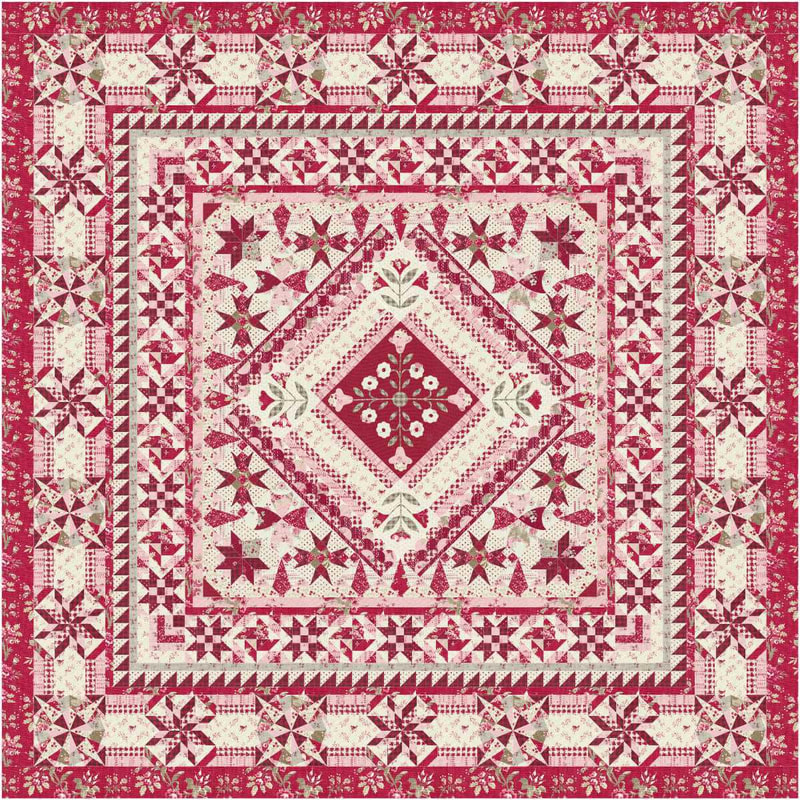
In the video I used Rose Whisperers by Eleanor Burns for Benartex. This is one of the fabric of the month collections from Electric Quilt. You can still get the free download on their website.
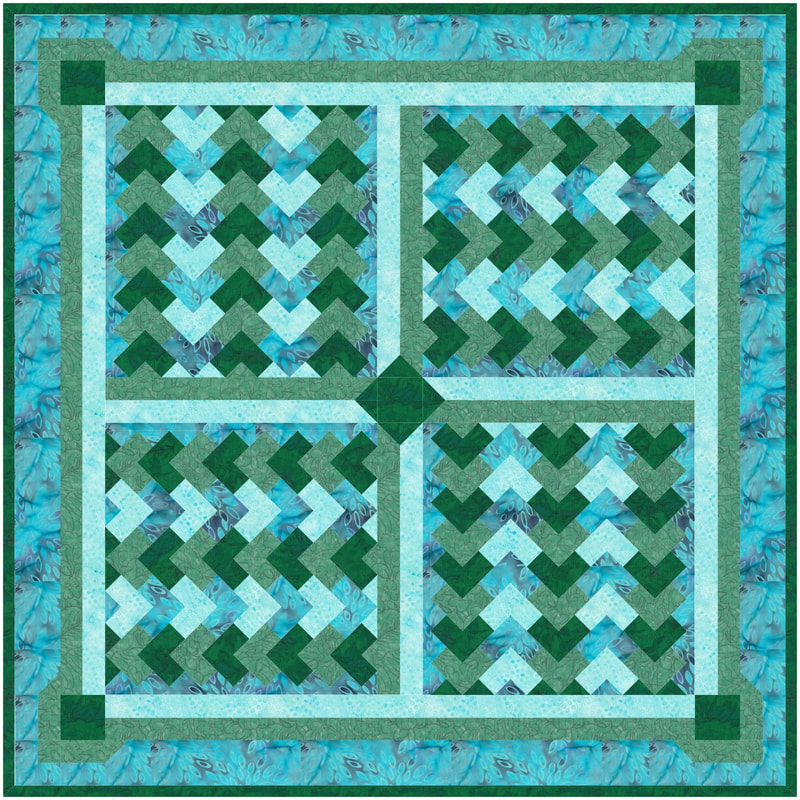
Here is the block from the video. 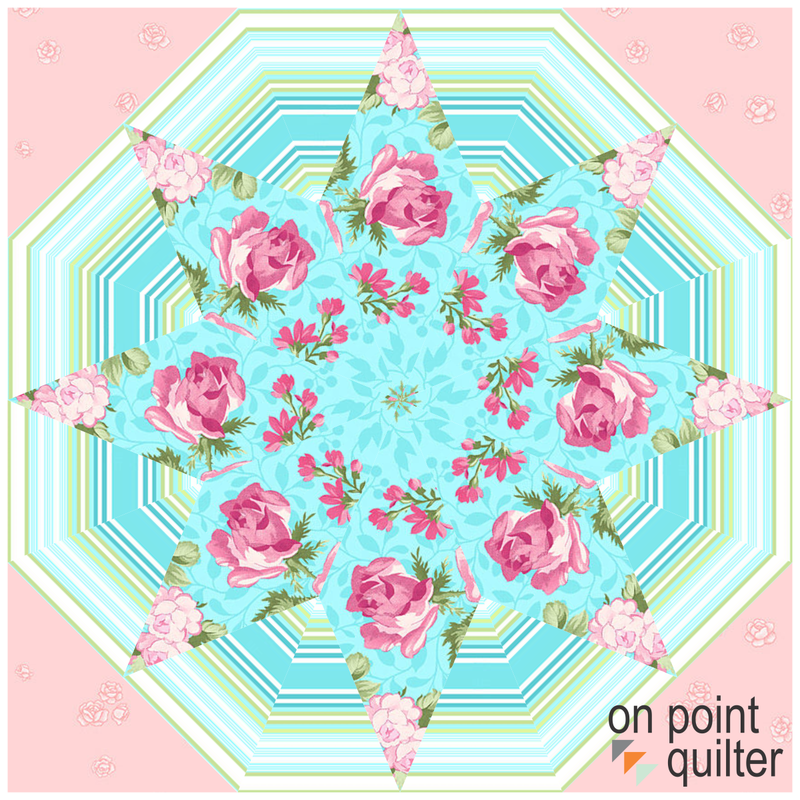
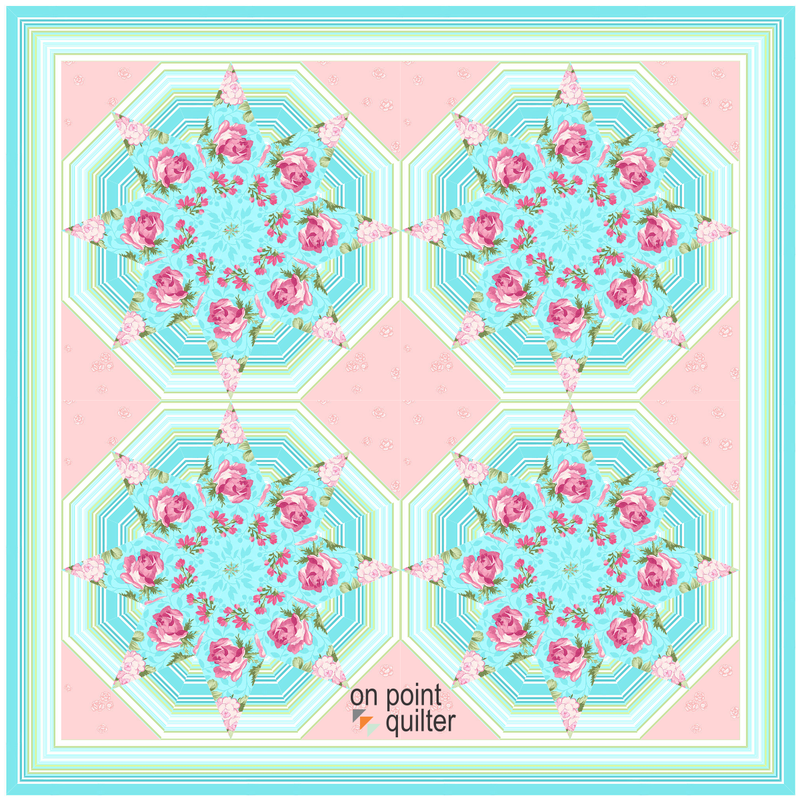
And if you want to supersize your project, consider creating a quilt comprised of four blocks. Just don't rotate the block (or put them in an on point layout) as you will need to adjust the rotation and fussy cut the fabrics again).
I look forward to seeing what you choose to do with your striped fabric. Post your quilts in the Learning EQ Facebook group.
Quilt Show season is upon on.
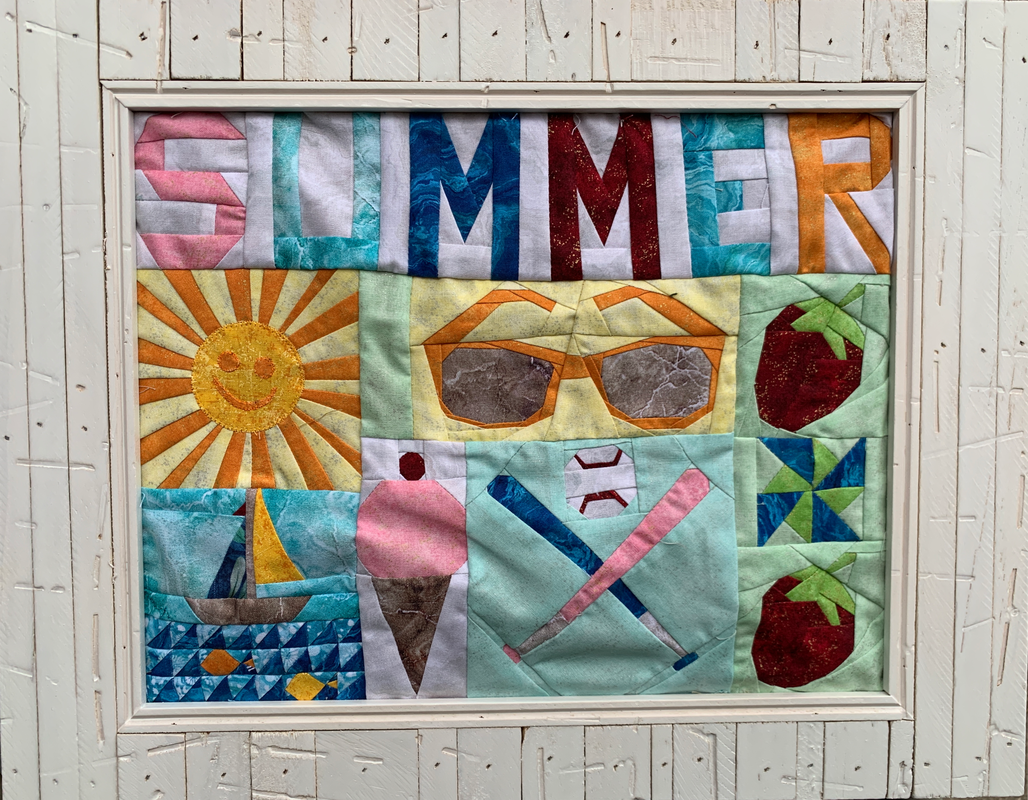
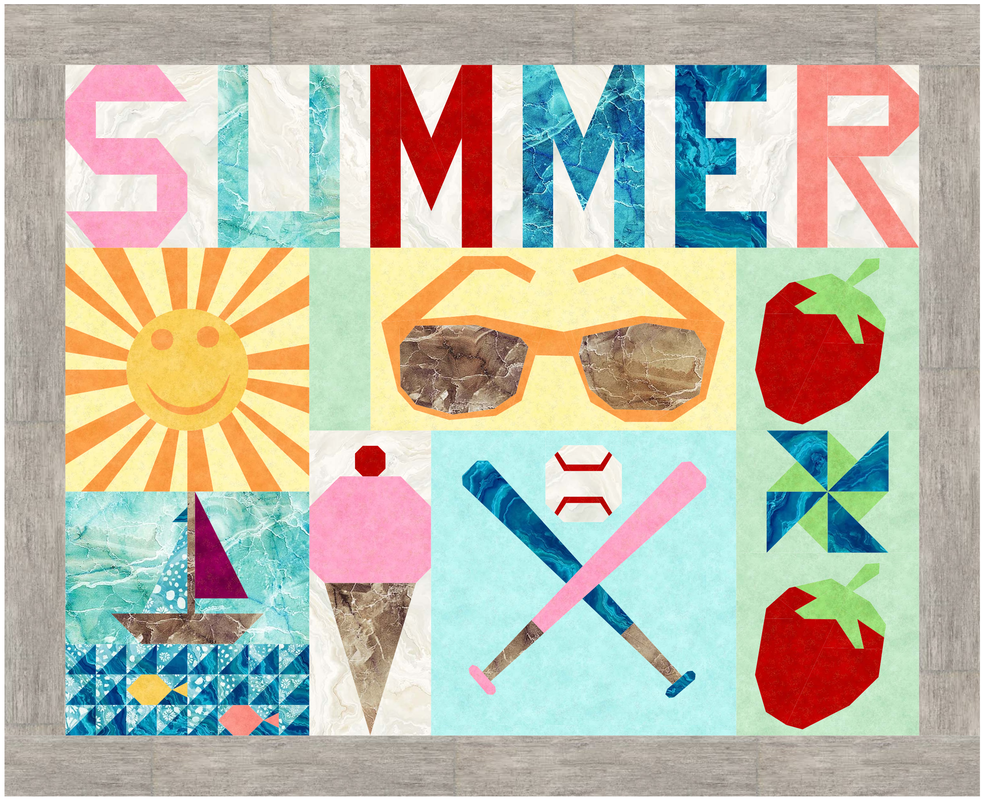
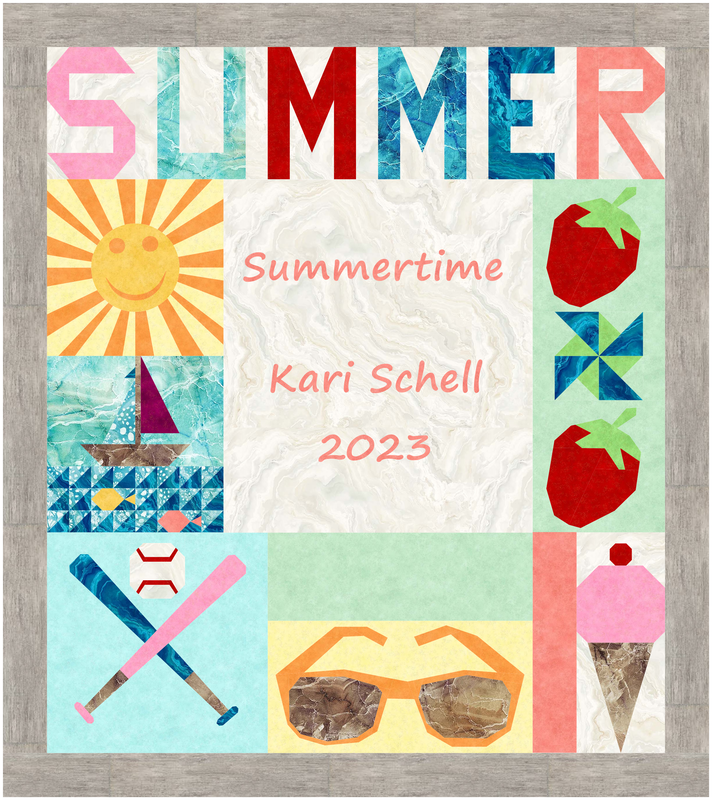
I've been enjoying the photos of award winning quilts from some of the national shows. They are truly breathtaking. My local quilt guild -- Maple Grove Quilters -- is having their show this weekend as well. We have a great group of very talented quilters. I also enjoy spending time enjoying their quilts. During the last couple of months, I have been busy on the longarm finishing up my quilts for the show. No custom quilting for me this year. I was in production mode. Two weekends ago, I was at a quilt retreat. A good chunk of my time was trimming up the quilts and adding binding. Last Sunday I was focused on creating and attaching labels for my quilts. Quilt show is today (May 4th). For those in the Twin Cities area, join me at the Maple Grove Community Center (from 9 am to 4 pm) to see a great collection of quilts created by Maple Grove Quilters. In this tutorial, I will share my quilts, their matching labels and walk you through my label process for one of my quilts. Summertime EQ8 Quilt Label Tutorial
When trying to decide what to do for this label, I struggled with the fact that there was no natural place on the quilt top to add the label information.
I didn't want to delete any of my blocks. So I decided to redesign the layout to include a plain block that was large enough to add my label information. Check out the full process in this EQ8 video tutorial. Printing Labels
In a Word document, I inserted the label images exported from Electric Quilt 8. I did a copy (Ctrl or Command Plus C) followed by paste (Ctrl or Command Plus V).
I then resized the images to fit on three pages. Pro Tip: Make sure to leave at least 1/2 inch between the quilts on each page to ensure a large enough seam allowance. It is a good idea to print the document on regular paper -- before proceeding to the EQ Printables. 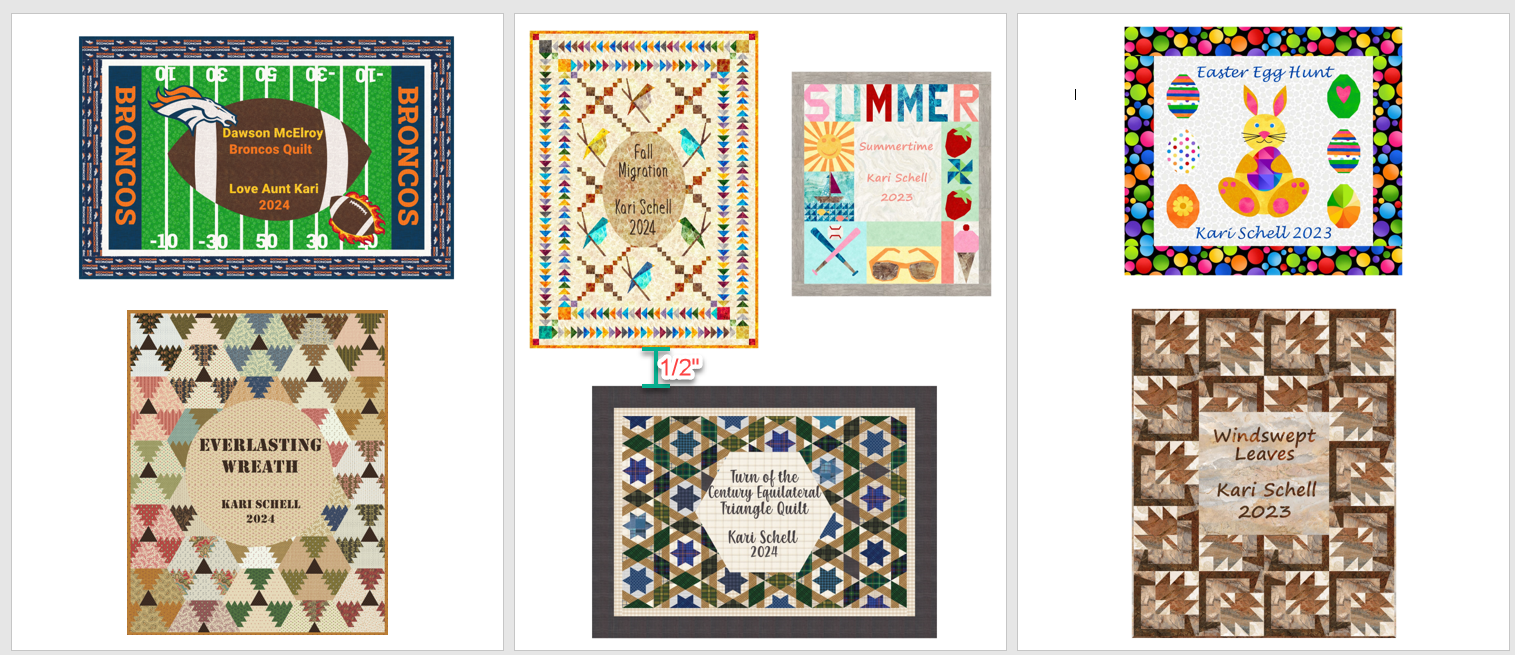
Word Document for seven different images exported from EQ8
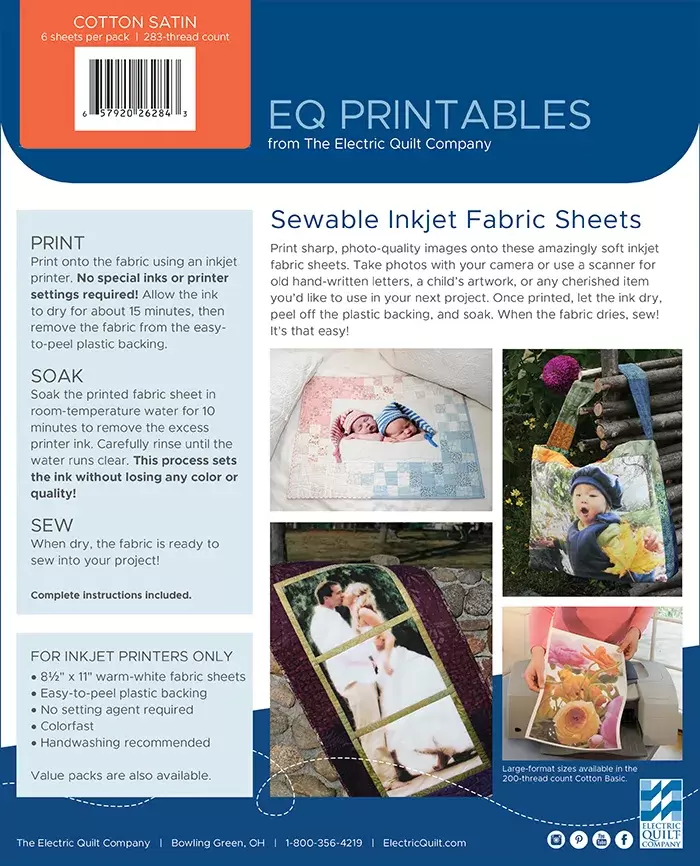
What to Do if Your Ink Jet Printer isn't Working
Electric Quilt recommends that you print your labels on an InkJet printer. My InkJet printer was out of ink. So I used my laser printer instead. This is definitely not recommended. I printed one sheet at a time and let my printer cool down between pages. I did not want to melt the plastic sheets which are attached to the EQ Printables fabric.. I did notice that there was some extra ink on the next couple of printouts (after finishing my labels). Using a Laser printer is not recommended -- so use it at your own risk. I did find that the ink sits on top of the fabric, making the label a bit stiff. I am also not sure about the color fastness of the label -- so you may want to test this if you decide to user a laser printer. 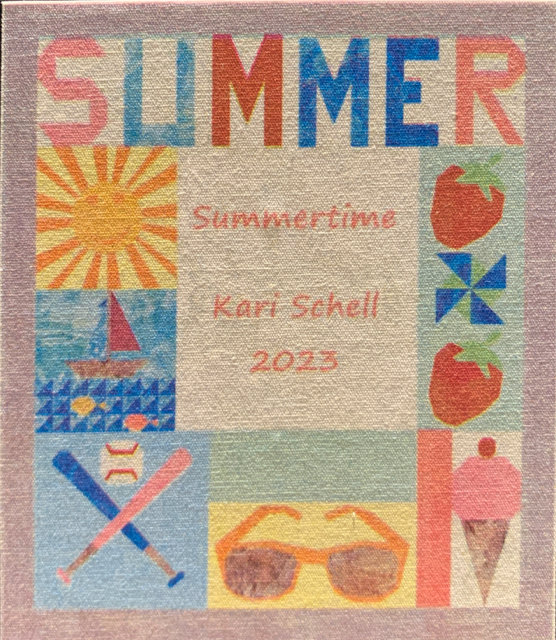
Summertime Label Printed on EQ Printables (Cotton Satin) using Laser Printer. Size was 3.5" x 4".
I would love to see pictures of your EQ designed labels. Feel free to share in the Learning EQ Facebook group.
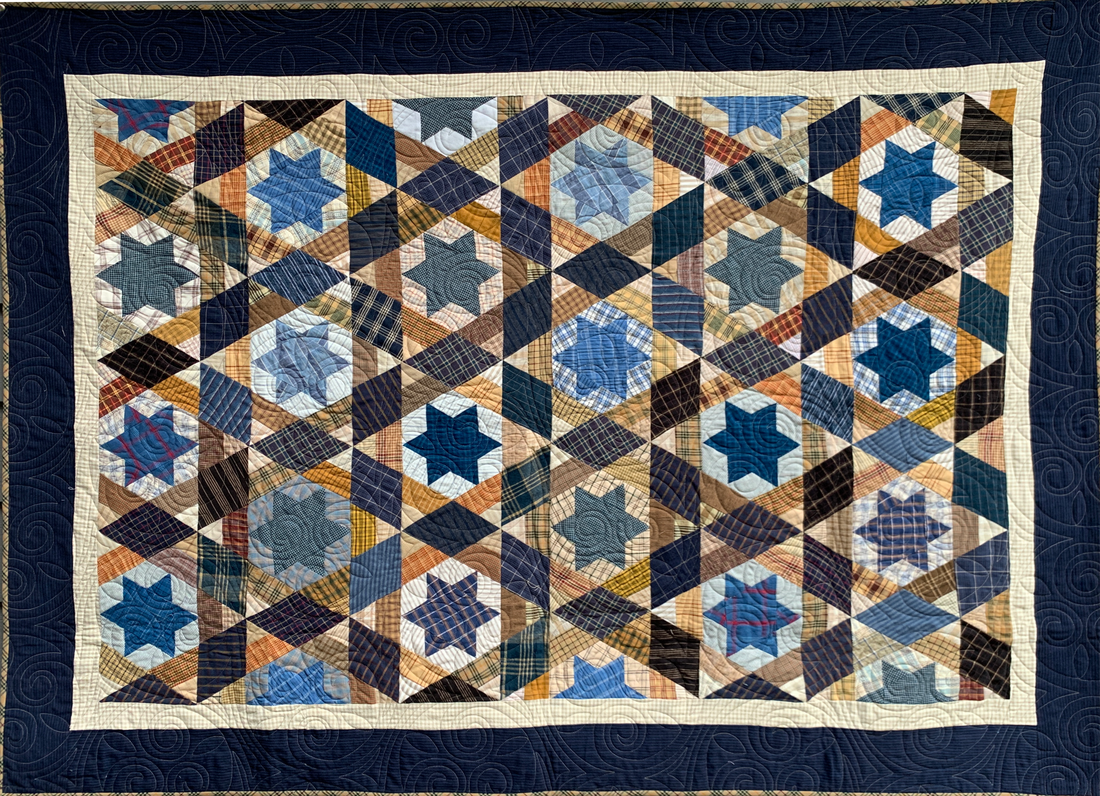
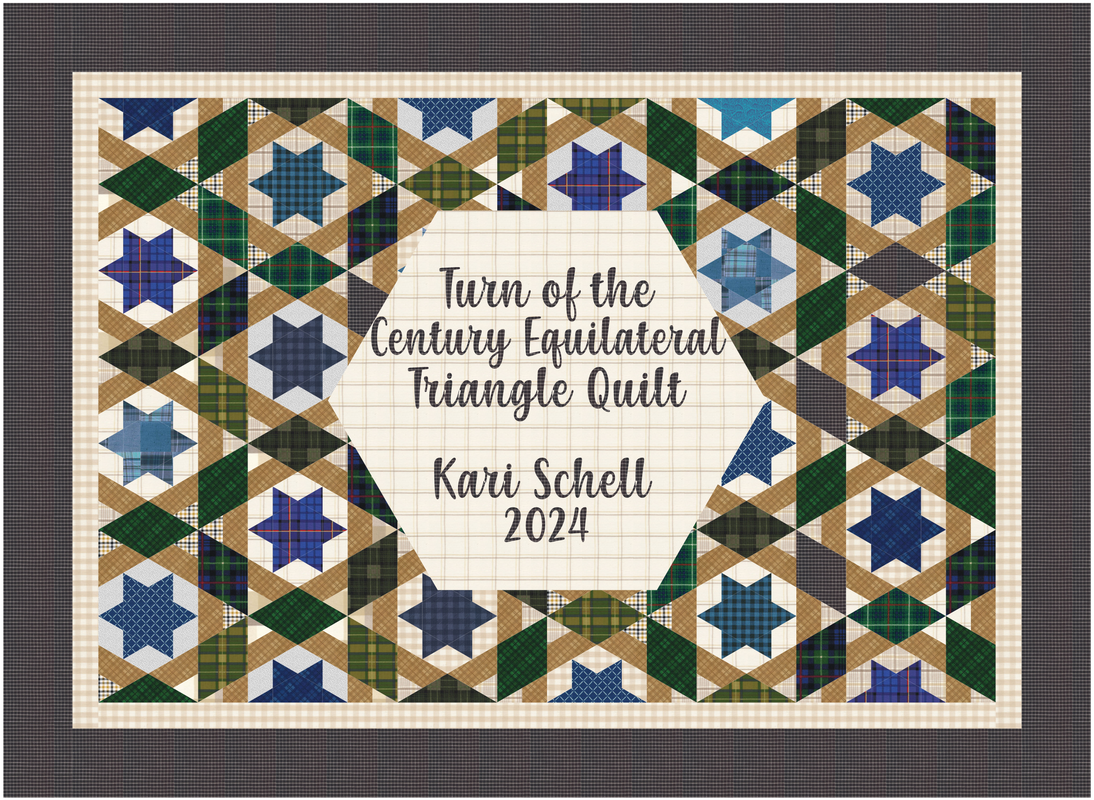
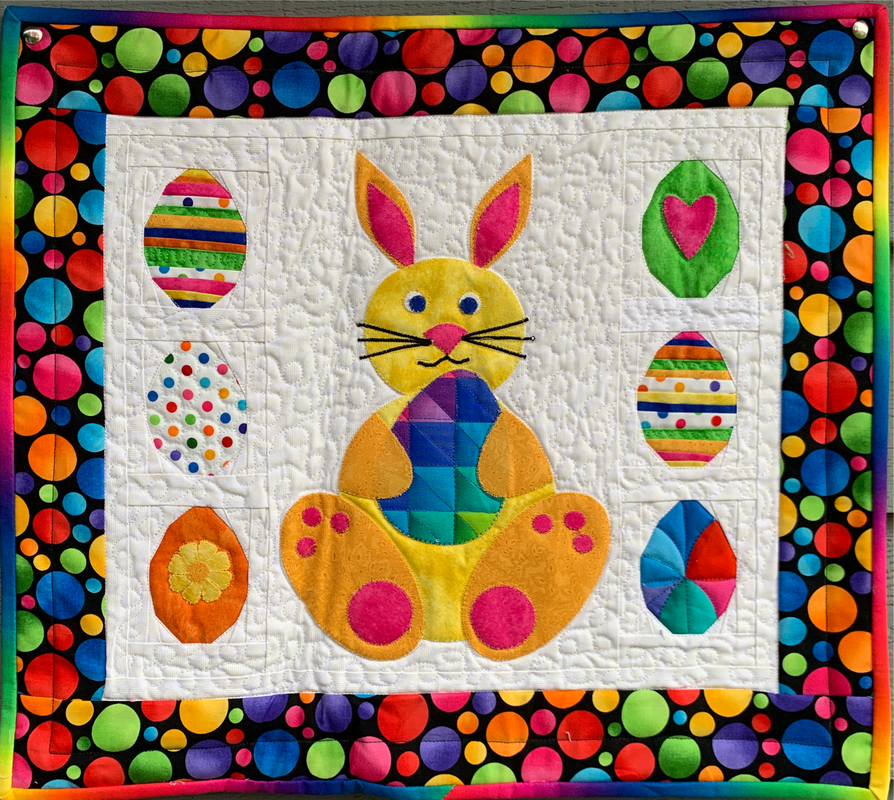
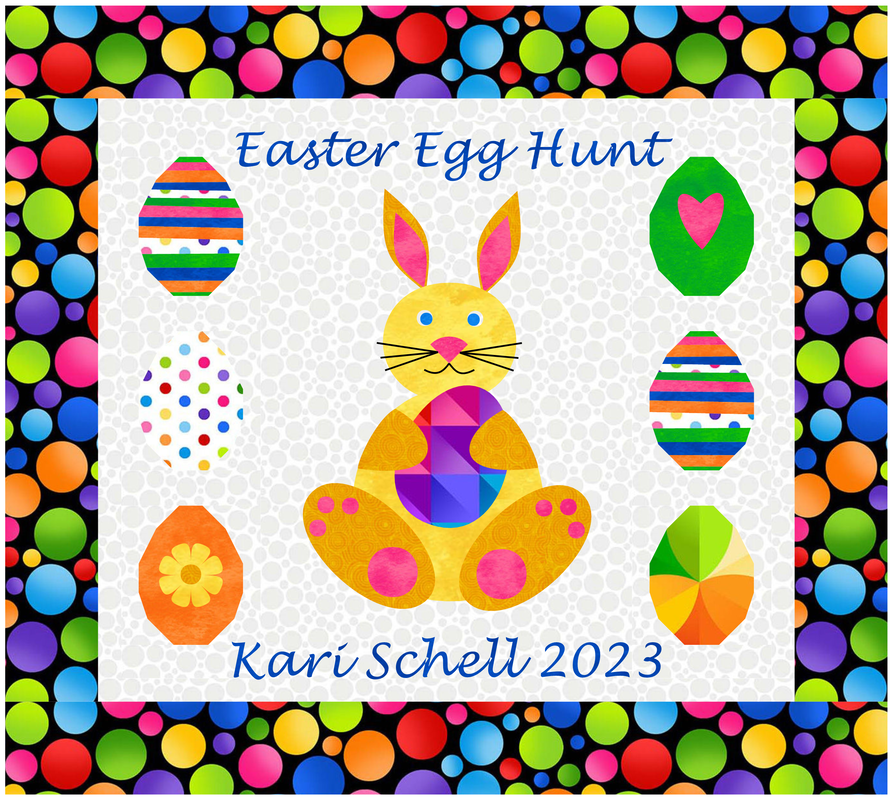
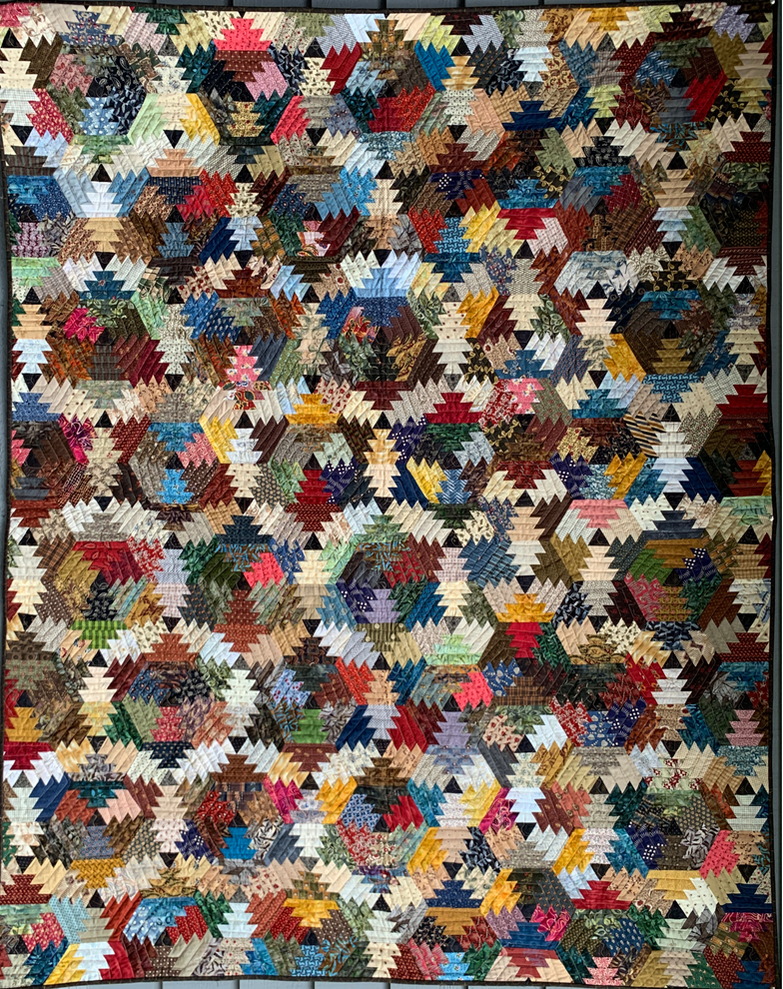
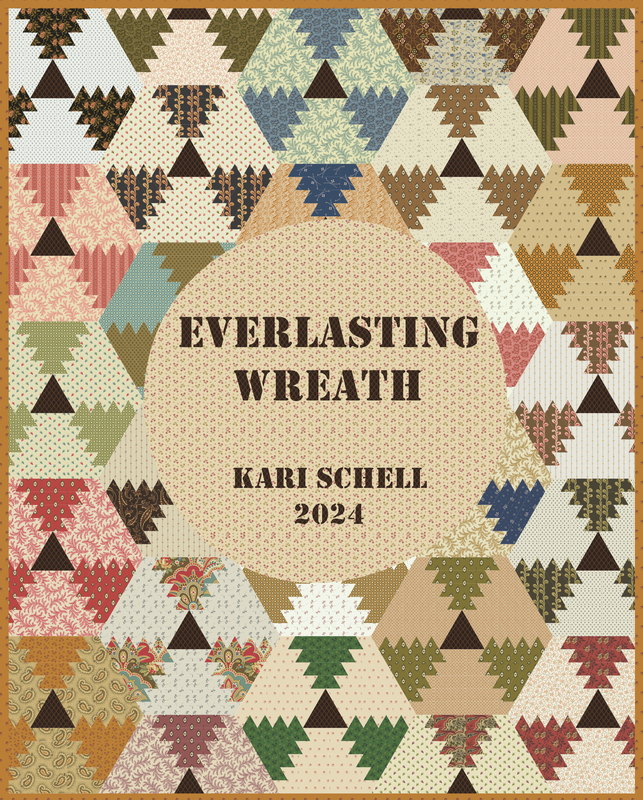
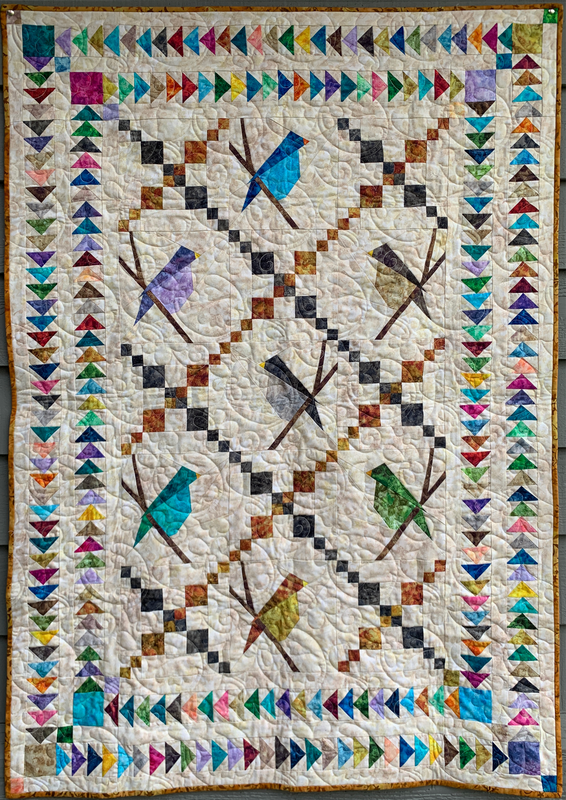
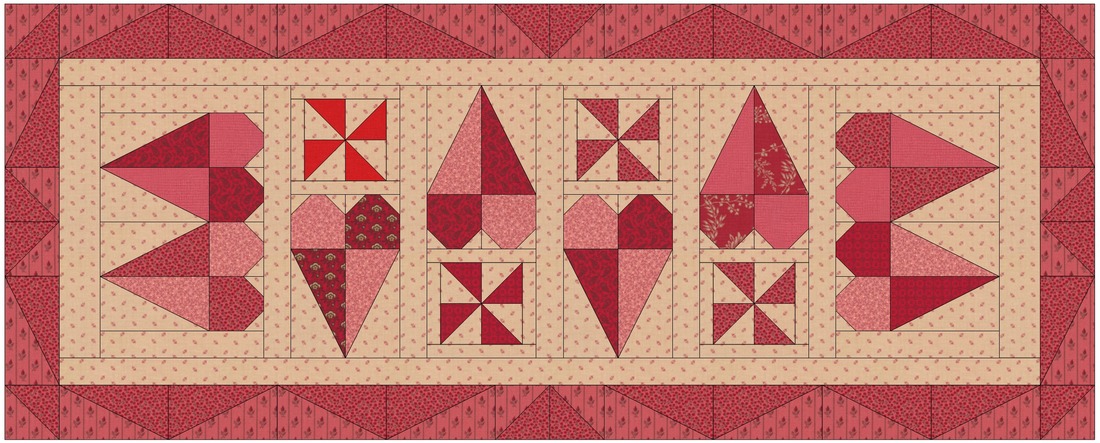
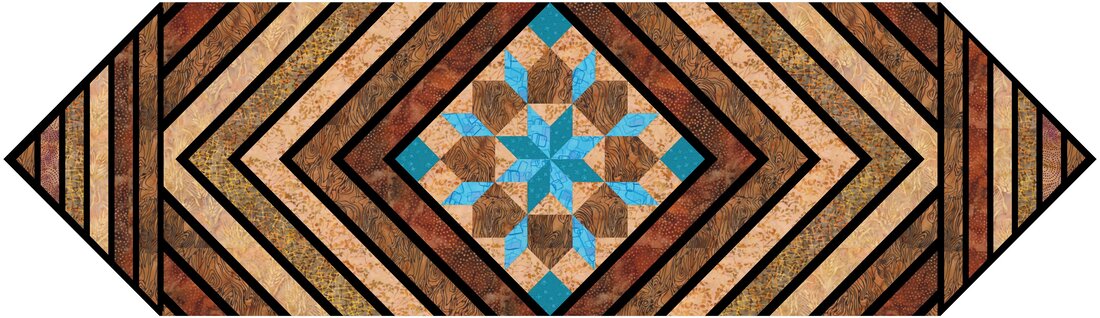
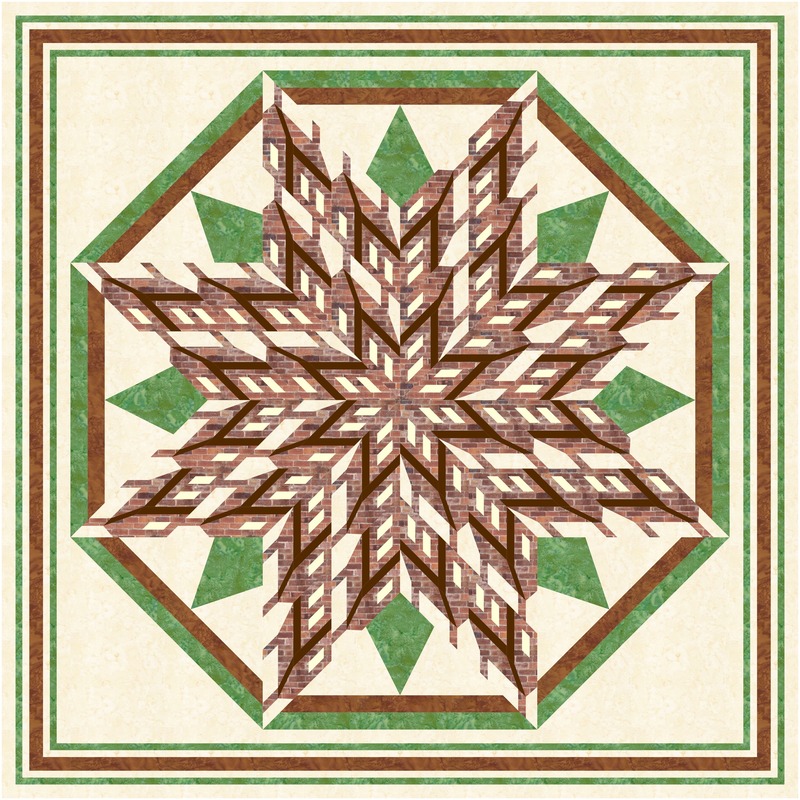
Quilts and Matching Labels
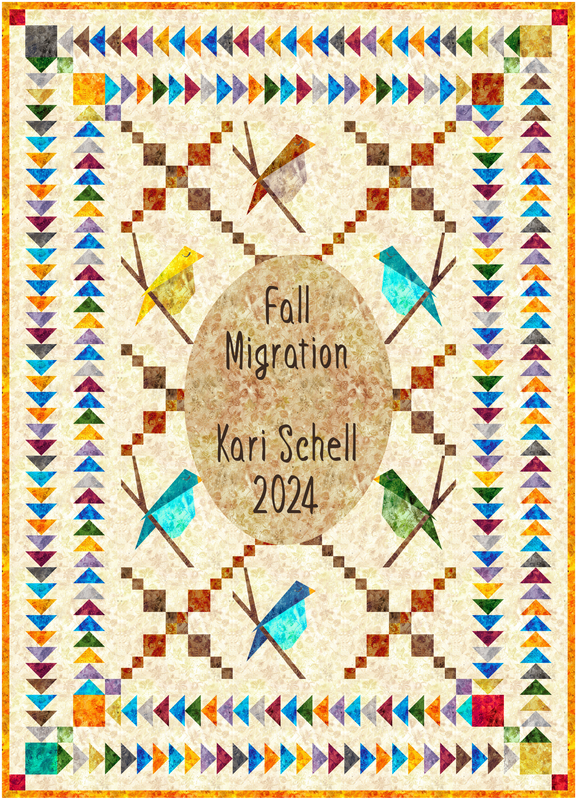
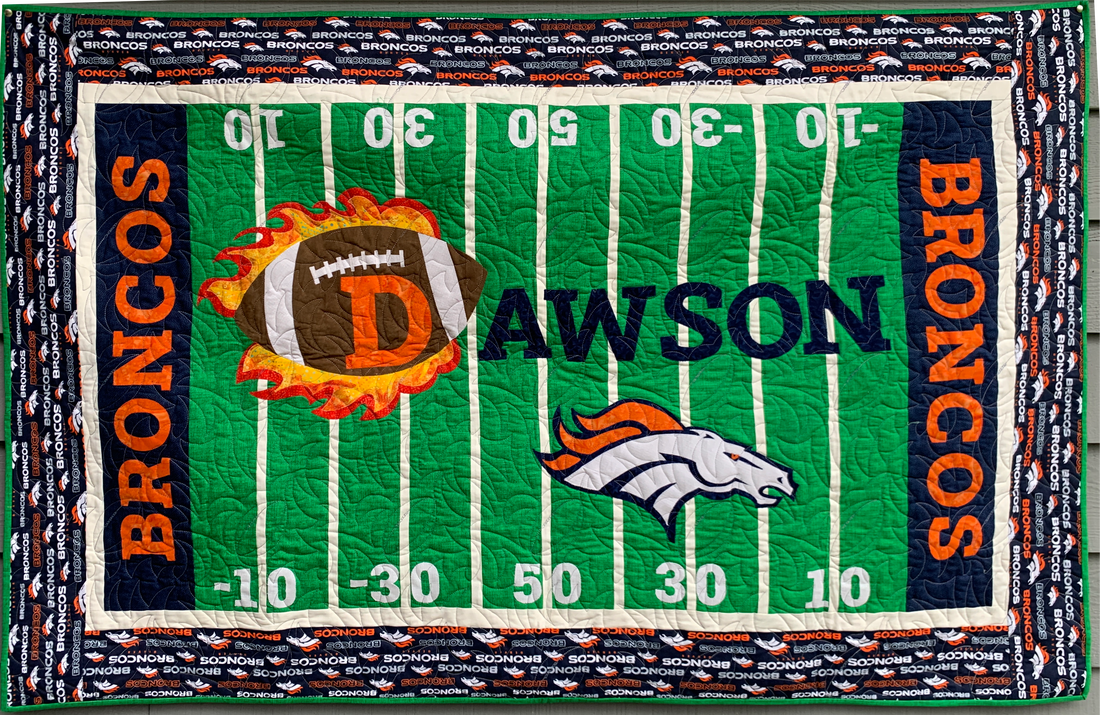
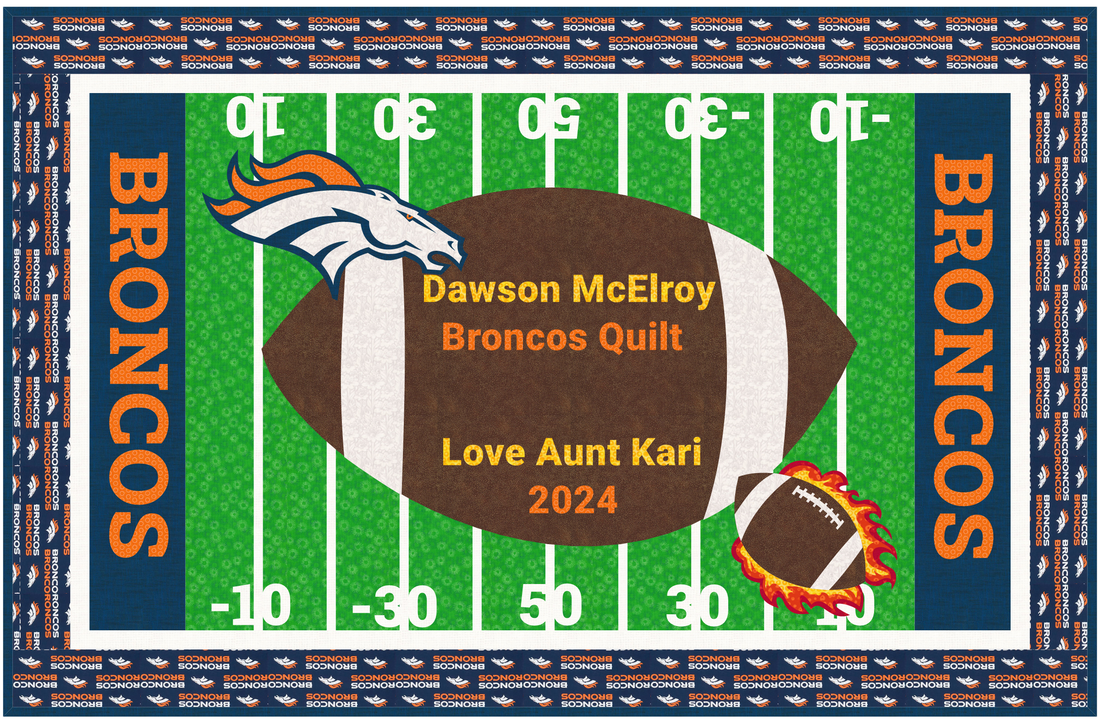
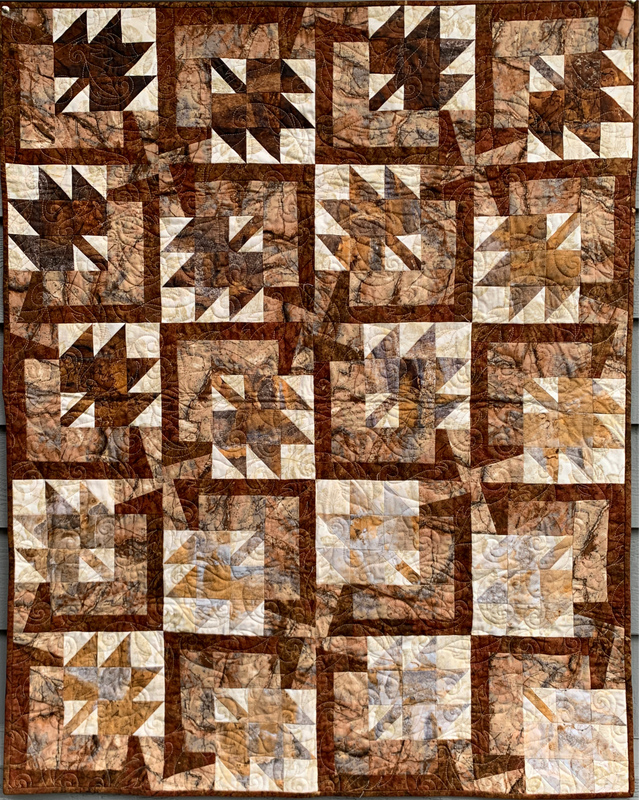
Here are the other quilts for my show along with the label (designed in EQ8). For each label I included an explanation of how I modified the quilt when creating the label.
 Limited-Time Enrollment: I'm excited to announce the opening of enrollment for Tech Know Quilters, but act fast – this opportunity is available only from Friday through Monday. Since I open enrollment just a few times a year, I wanted to ensure you don't miss this chance. Your Electric Quilt Mastery Journey Begins: Your journey towards Electric Quilt mastery kicks off on May 1st. I can't wait to work with you, helping you unravel the potential of that fabric stash and explore your creativity through designing one-of-a-kind quilts. Ready to Join? If you're eager to master Electric Quilt and take your quilting to new heights, I invite you to join me. Let's embark on this exciting journey together. Tech Know Quilters March 2024 Month End ChallengePrepare to be amazed by the incredible creativity on display in our latest showcase featuring student projects from the Tech Know Quilter community. A recurring sentiment we've encountered is the delightful surprise expressed by many: "I didn't know you could do that with Electric Quilt 8!" Breaking free from any limitations, our talented members have harnessed the full potential of this versatile software.Get ready to be blown away by the astonishing creativity showcased in our newest collection, highlighting student projects from the vibrant Tech Know Quilter community. One sentiment echoed throughout is sheer amazement: "I had no idea Electric Quilt 8 could do all that!" Unleashing boundless creativity, our skilled members have unlocked the endless possibilities of this dynamic software
Registration now open for Signs of Spring Free EQ8 Live Webinar on April 24 or 25
|


|
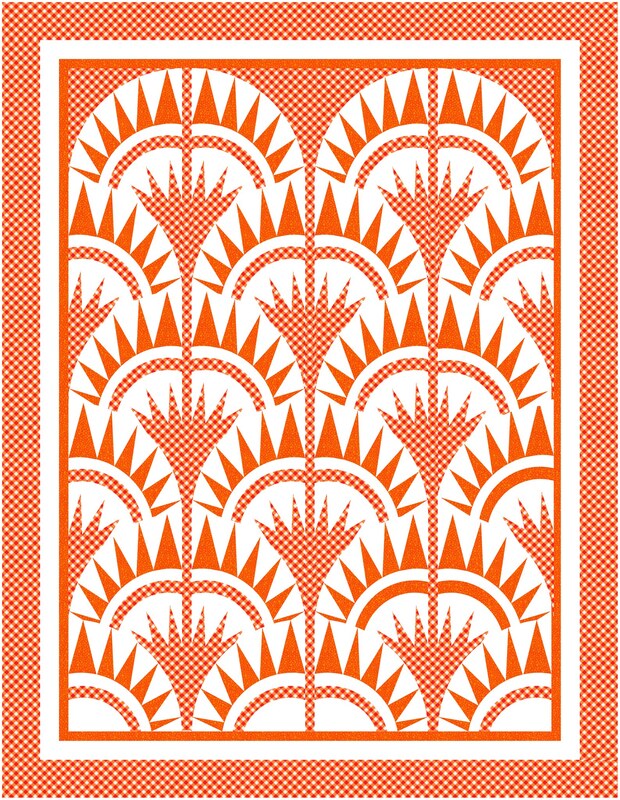
I've been sharing a fun EQ project - April Showers Brings May flowers. This week we will finish up the quilt.
Over the last two weeks, I shared drafting umbrella blocks along with raindrop blocks (for the April Showers) part of the design. In this tutorial, I have a bonus project focused just on the May Flowers block option. |
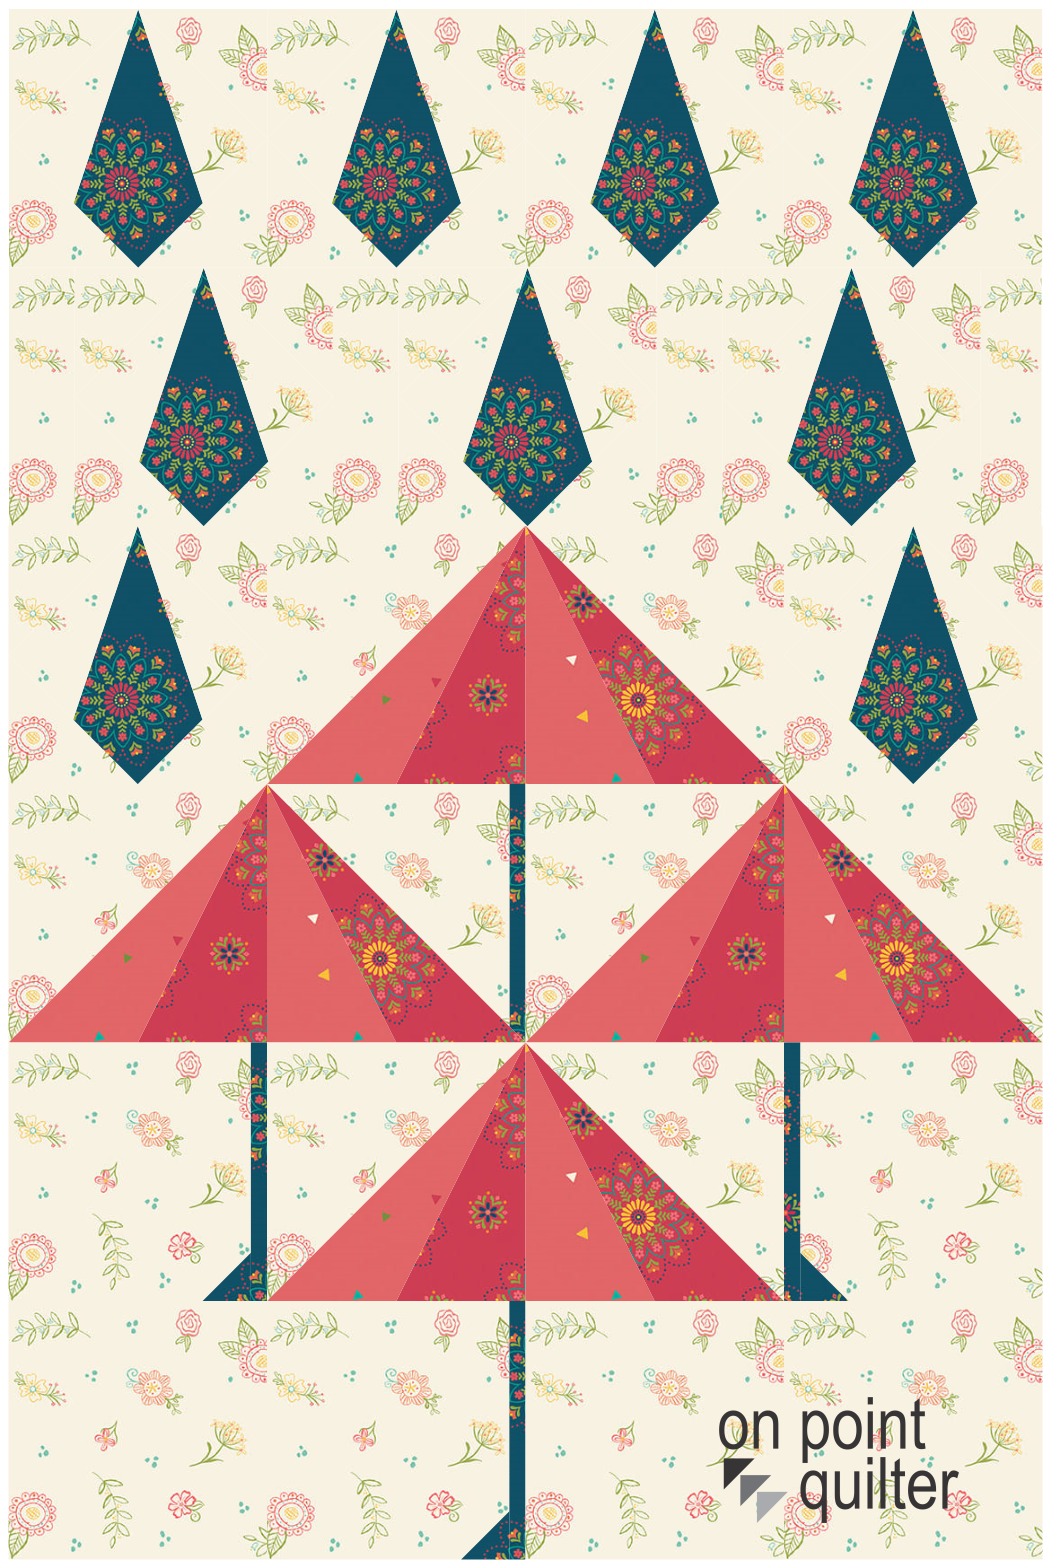
April Showers Brings May Flowers Quilt from Week 2
|
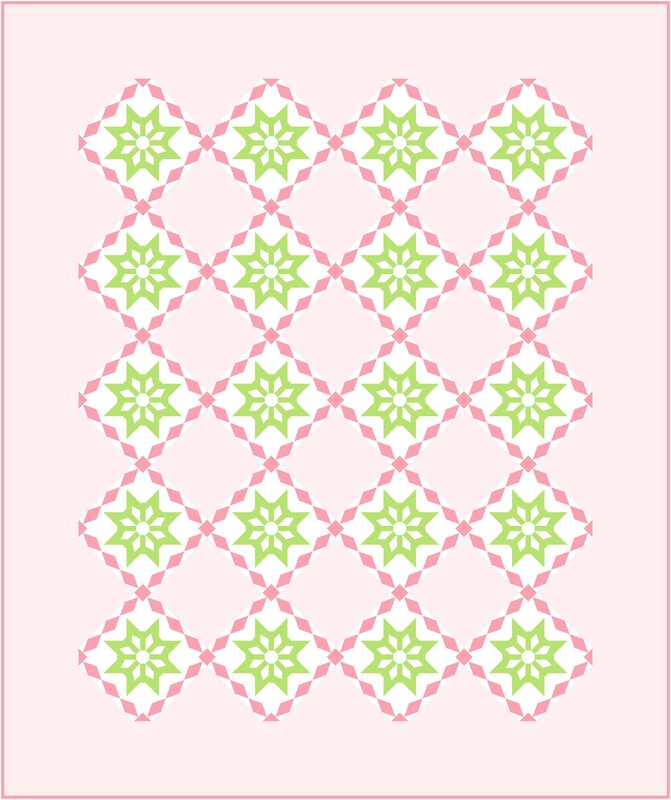
May Flowers EQ8 Tutorial
|
In the April Showers brings May flowers quilt, we will add a May Flowers block to the quilt. You will notice that there is some similarity to the raindrop block.
In the tutorial, I talk about a second option for creating the "tilt" option for the flower. During the last video I shared how to create the block using the Tilt option in Serendipity. In this tutorial, I share how to use the Merge Block option in Serendipity. I am curious which you prefer. |
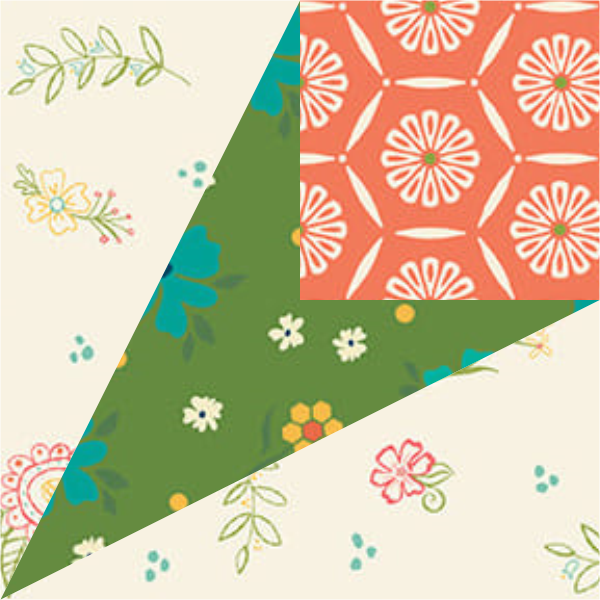
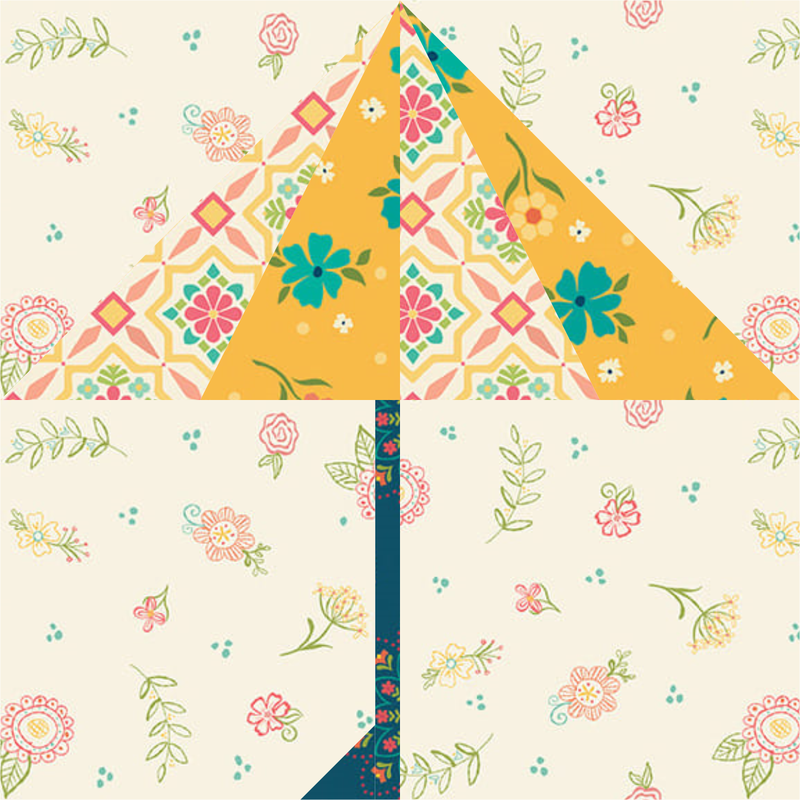
May Flower Block 1
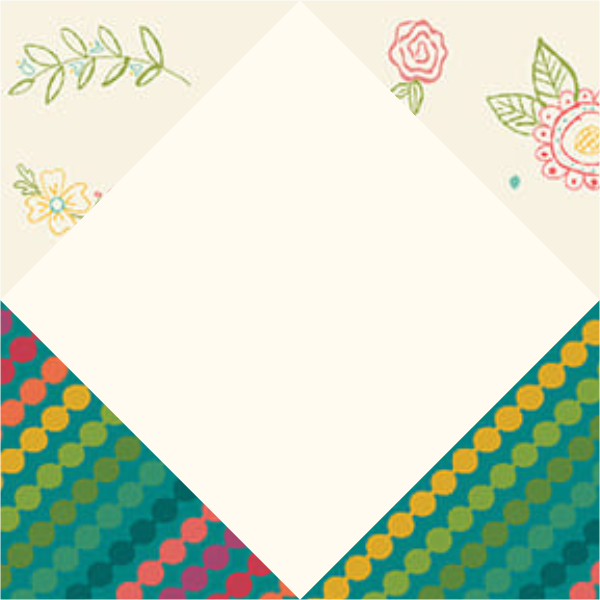
May Flower On Point Square
|

May Flower Merged Block
Add three additional borders to the quilt from week 2.
Add the remaining blocks to the quilt and borders and color the quilt.
Add the remaining blocks to the quilt and borders and color the quilt.
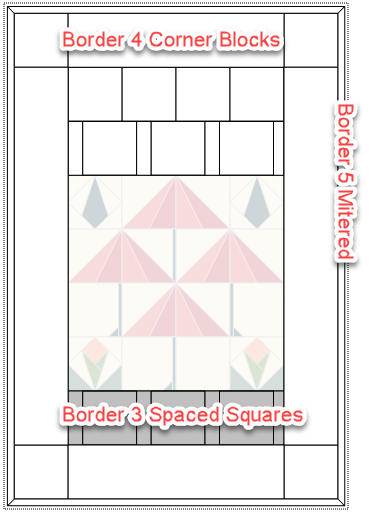
Added Borders for April Showers Brings May Flowers Quilt
|
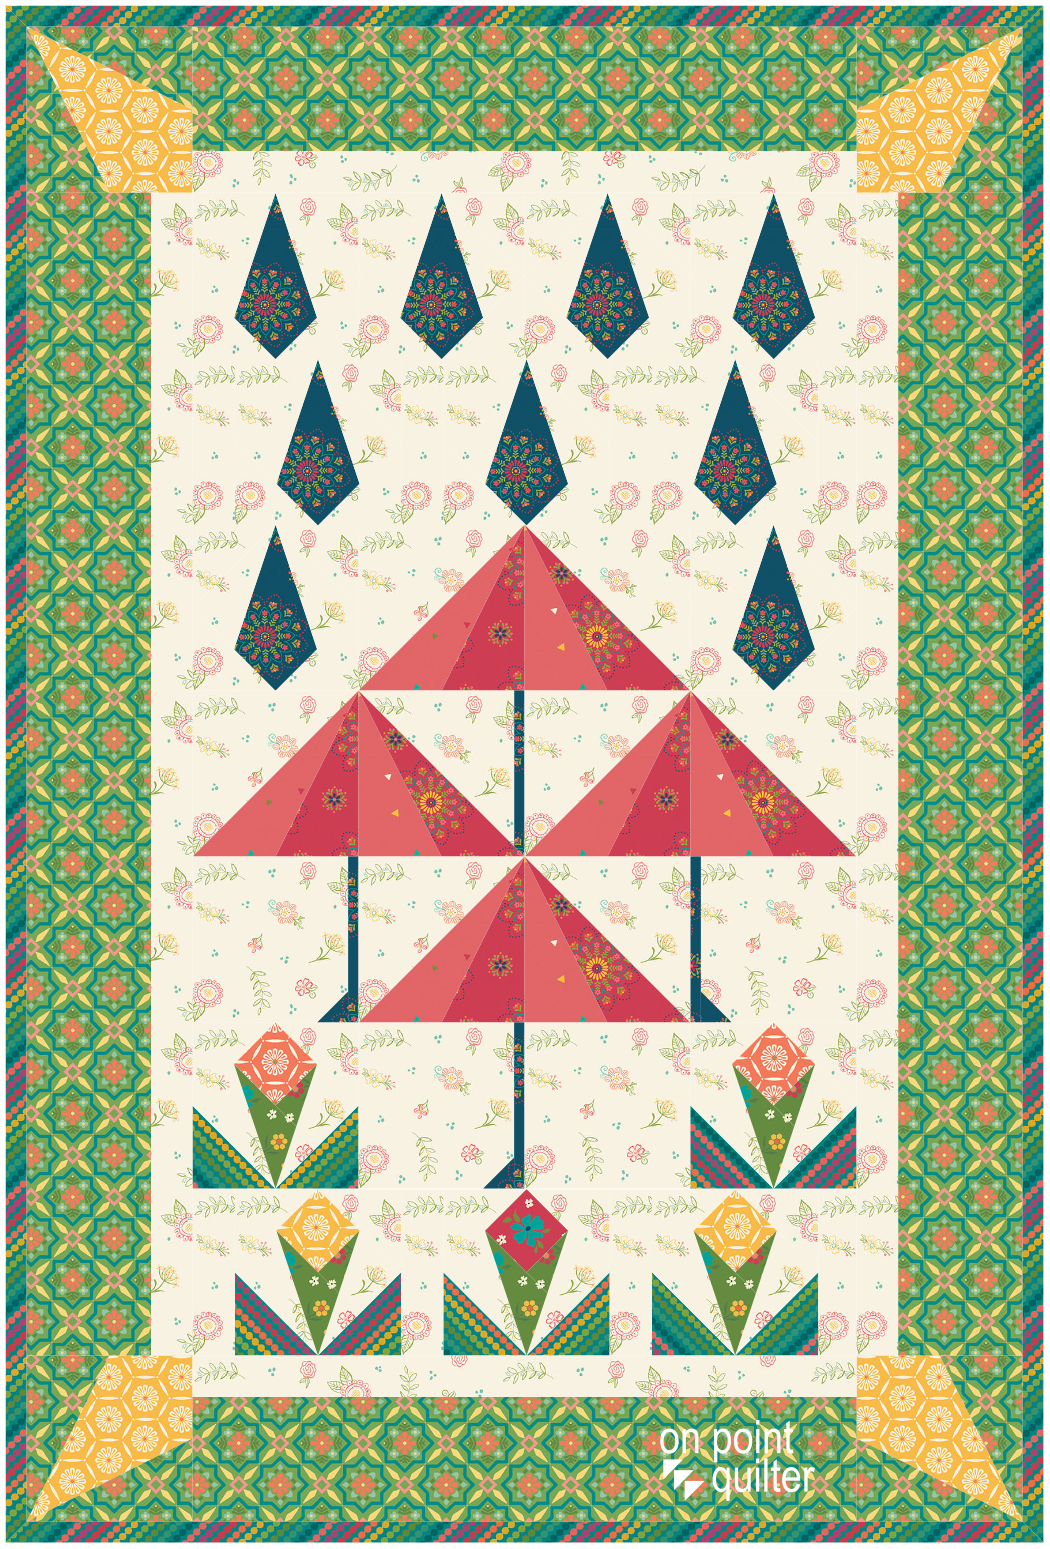
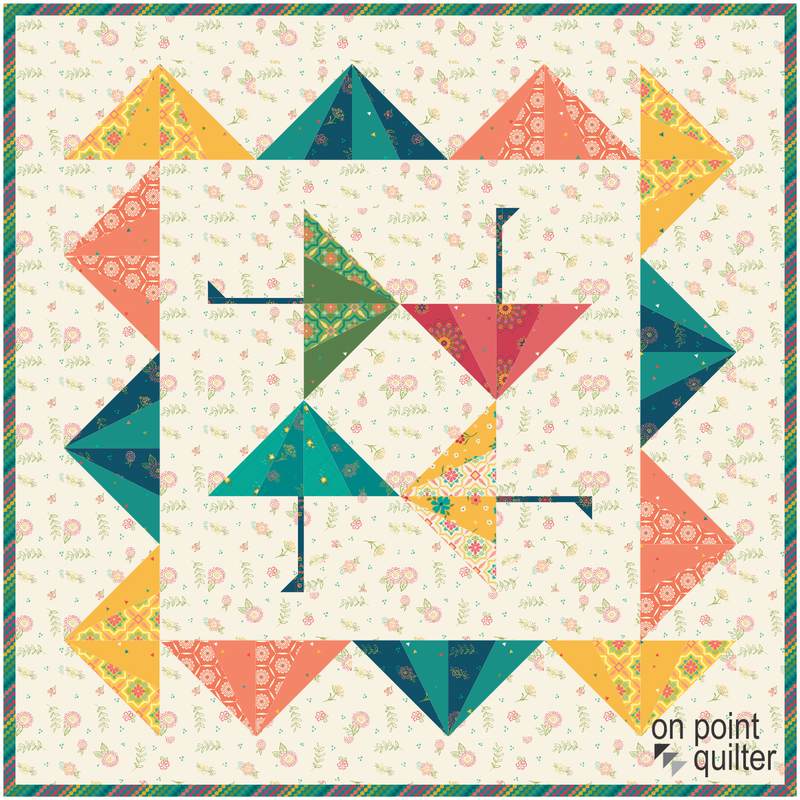
April Showers Brings May Flowers Final Quilt Design in EQ8
|
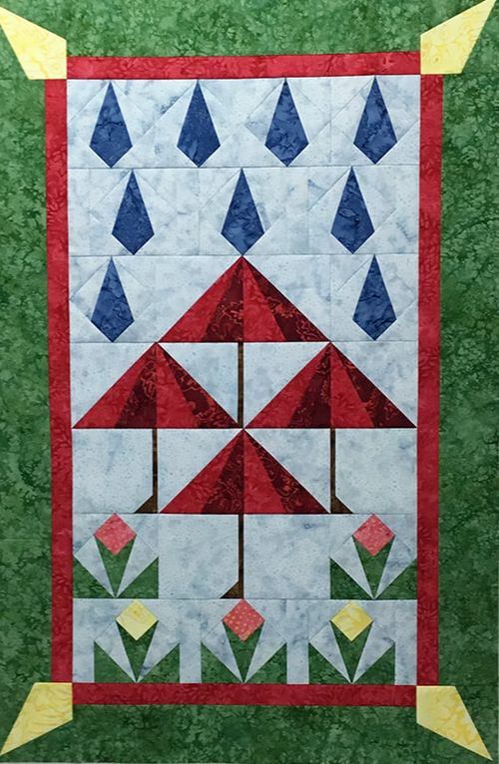
Tina Dillard's April Showers Quilt
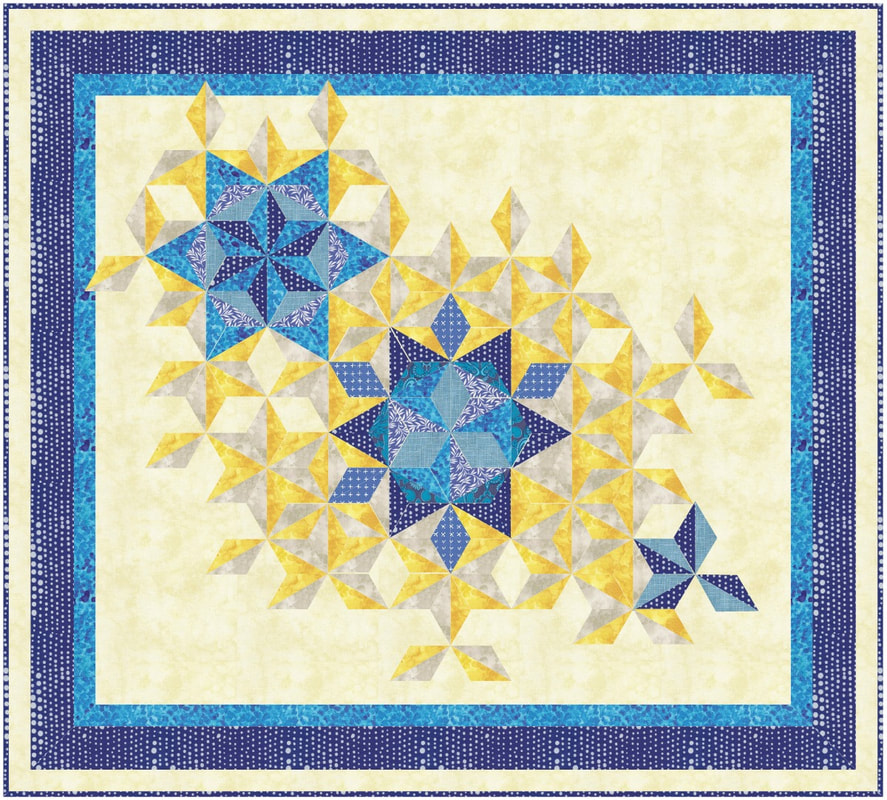
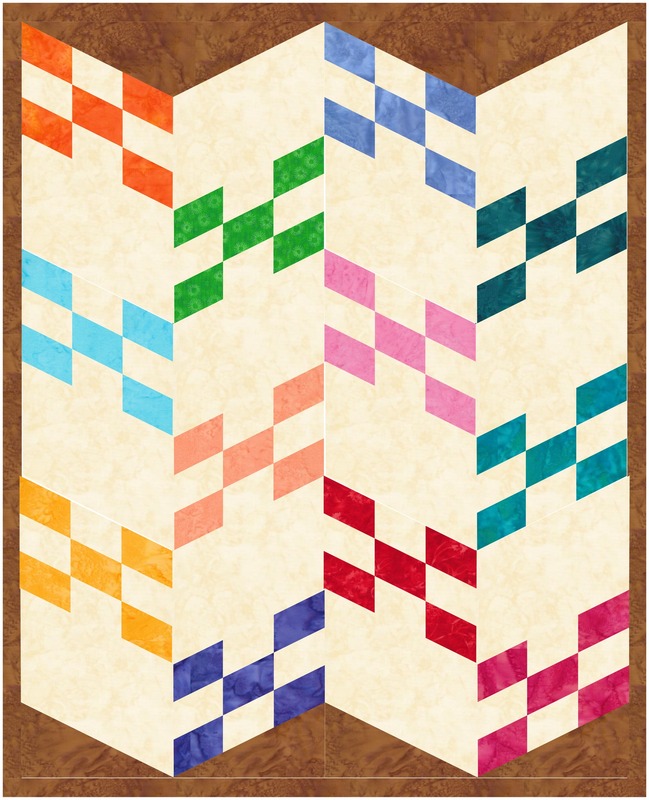
May Flowers Alternate Quilt
In the video, I also shared a quilt with just the May Flower blocks.
This used the quilt style - Horizontal Strip. With the Horizontal Strip style, you can pick a different style for each strip.
And then add borders of your choosing.
This used the quilt style - Horizontal Strip. With the Horizontal Strip style, you can pick a different style for each strip.
And then add borders of your choosing.
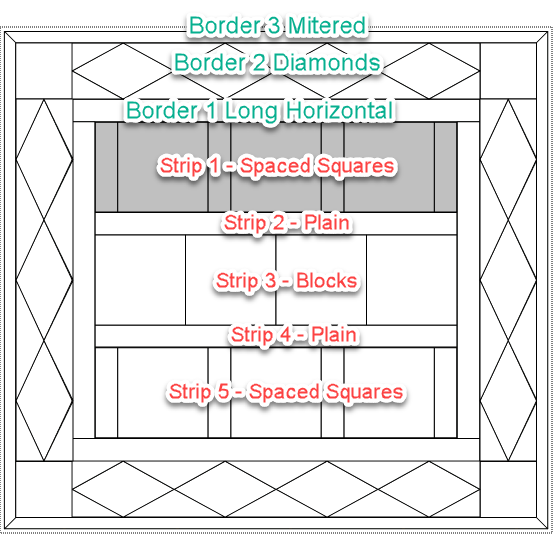
Horizontal Strip Set Layout
|
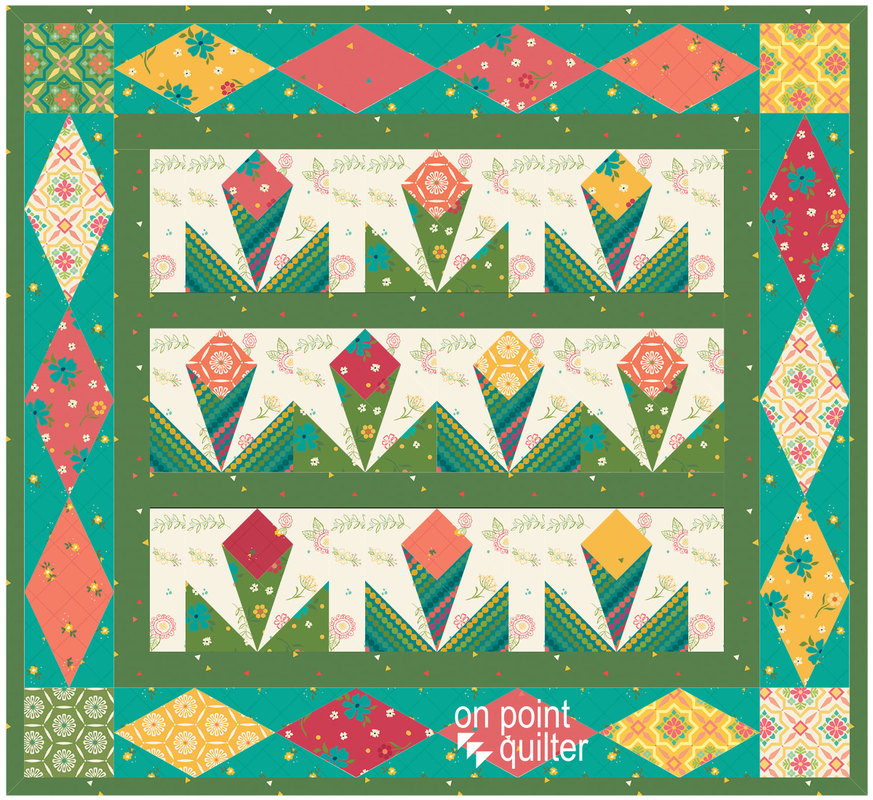
May Flowers Final Quilt
|
Learn how to create both quilts in the EQ8 Video tutorial.
I look forward to seeing what you chose to do with the May Flowers quilts. Feel free to share your designs in the Learning EQ Facebook group.

|
Happy quilting.
Kari Join the On Point Quilter weekly newsletter and receive regular tips and inspiration on using Electric Quilt 8 along with the Free 12 Top Tips for EQ8 video guide. 
|
ANNOUNCEMENT: Registration now open for Signs of Spring Free EQ8 Live Webinar
Register here.

April Showers EQ8 Tutorial
Growing up, I remember Mom singing a song called April Showers. It included these lyrics:
"When April Showers come your way.
They bring the flowers that bloom in May.
So if it is raining, have no regret.
It isn't raining rain you know.
It's raining violets."
She must have sung it a lot -- as I was able to recall and write out the words without a Google search.
In Minnesota we started the month with some snow. After an entire winter with very little precipitation.
Today was our first day that felt like spring.
In anticipation of spring and with memories of the song my mother loved, I've designed a quilt that will be presented over the next few weeks.
We will start the quilt by creating some umbrella blocks.

April Showers Umbrella Block 1
|

April Showers Umbrella Block 2
|
April Showers Umbrella Block 3
|
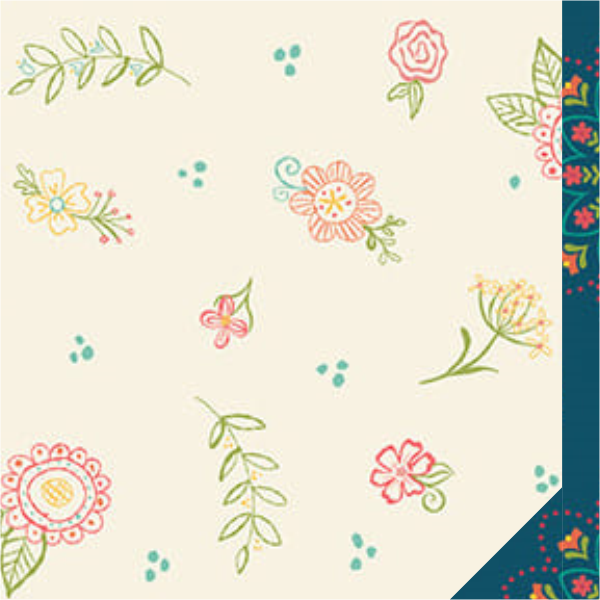
To color the blocks and quilt, I used the Market Street fabric collection.
This collection was created by Heather Peterson for Riley Blake.
It was the free fabric collection from Do You EQ in October 2023.
You can download the EQ fabric collection here.
This collection was created by Heather Peterson for Riley Blake.
It was the free fabric collection from Do You EQ in October 2023.
You can download the EQ fabric collection here.
In the video, I share a fourth block -- which is really a combination of the previous blocks. This block won't be in the final April Showers project. But I wanted to provide an alternate quilt that focuses just on the umbrella block.
Umbrella 8" Block
In the video, check out how to draft each of the blocks along with two quilt options.
Here is the first quilt presented in the video.
In future blog posts, I will be added to this quilt with additional blocks and borders.
In future blog posts, I will be added to this quilt with additional blocks and borders.
Start of April Showers Quilt (Week 1)
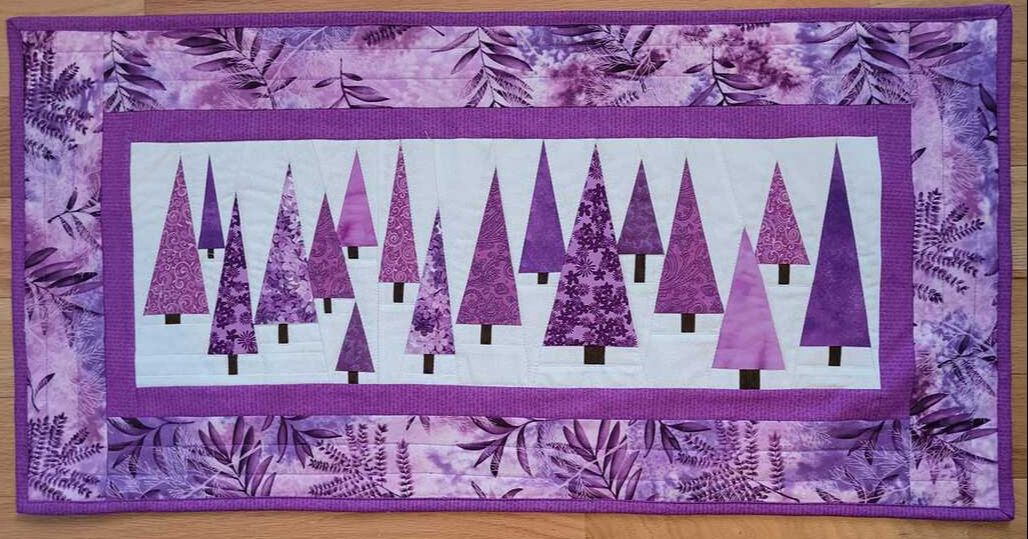
Here are umbrella blocks that were made by Tina Dillard of Quilting Affection Designs. Note that there are a few "holes". These will be filled with added blocks in the next couple of weeks.
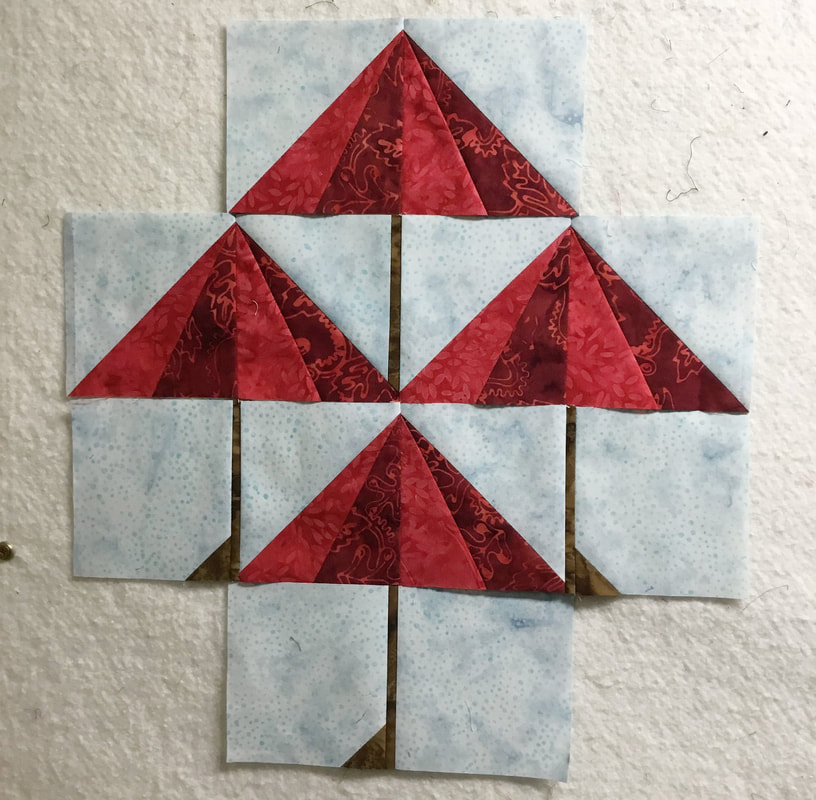
Umbrella Blocks Pieced by Tina Dillard
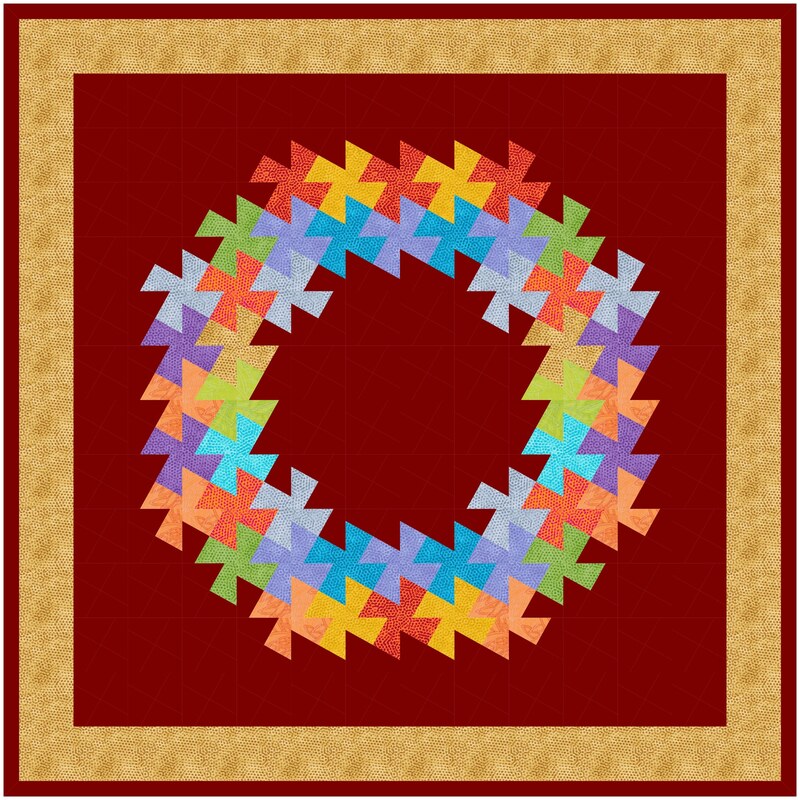
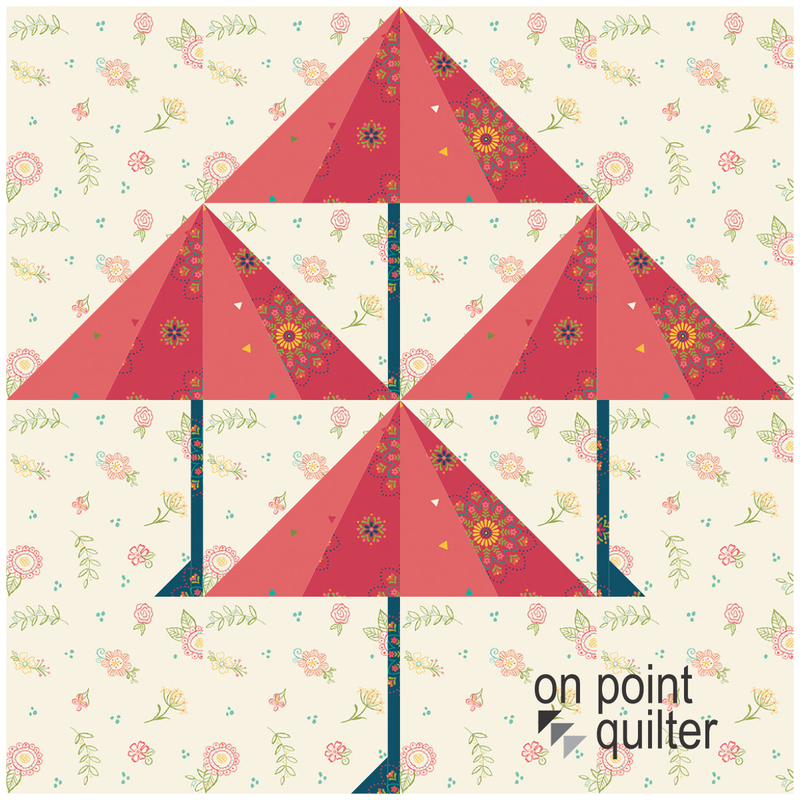
During the video, I also created an alternate quilt design that featured two of the umbrella blocks.
Umbrella Quilt Designed using EQ8
I look forward to seeing what you do with the umbrella blocks. Please feel free to share your designs on the Learning EQ Facebook group.

|
Happy quilting.
Kari Join the On Point Quilter weekly newsletter and receive regular tips and inspiration on using Electric Quilt 8 along with the Free 12 Top Tips for EQ8 video guide. 
|


Free guide available for newsletter subscribers


Kari Schell
Electric Quilt Expert and Educator and Pattern Designer.
Categories
All
Art And Stitch
Cricut Maker
Dear Jane
Electric Quilt 7
Electric Quilt 8
Goose Goose Duck Challenge
Inkscape
Patterns
Silhouette Cameo
Stampin Up
Tips And Techniques
Tools And Rulers
Archives
July 2024
June 2024
May 2024
April 2024
March 2024
February 2024
January 2024
December 2023
November 2023
October 2023
September 2023
August 2023
July 2023
June 2023
May 2023
April 2023
March 2023
February 2023
January 2023
December 2022
November 2022
October 2022
September 2022
August 2022
July 2022
June 2022
May 2022
April 2022
March 2022
February 2022
January 2022
December 2021
November 2021
October 2021
September 2021
August 2021
July 2021
June 2021
May 2021
April 2021
March 2021
February 2021
January 2021
December 2020
November 2020
October 2020
September 2020
August 2020
July 2020
June 2020
May 2020
April 2020
March 2020
February 2020
January 2020
December 2019
November 2019
October 2019
September 2019
August 2019
July 2019
June 2019
May 2019
April 2019
March 2019
February 2019
January 2019
December 2018
November 2018
October 2018
September 2018
August 2018
July 2018
June 2018
May 2018
April 2018
March 2018
February 2018
January 2018
December 2017
November 2017
October 2017
September 2017
August 2017
July 2017
June 2017
May 2017
April 2017
March 2017
February 2017
January 2017
December 2016
November 2016
October 2016
September 2016
July 2016
June 2016
May 2016
April 2016
March 2016
February 2016
January 2016
December 2015
November 2015
October 2015
September 2015
August 2015
July 2015
June 2015
May 2015
April 2015
March 2015
February 2015
January 2015
December 2014
November 2014
October 2014
September 2014
July 2014
June 2014
May 2014
April 2014
March 2014
February 2014
January 2014
December 2013
November 2013
October 2013
September 2013
August 2013
 RSS Feed