ON POINT QUILTER
  • Blog
  • About
  • EQ8 Training
    • Tech Know Quilters Electric Quilt 8 Membership Training
    • EQ8 Made Easy
    • Electric Quilt 8 Sneak Peek
  • Store
  • Contact
Picture

Elsa and Anna - Part 3

2/10/2015

 
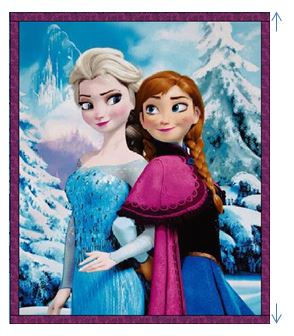
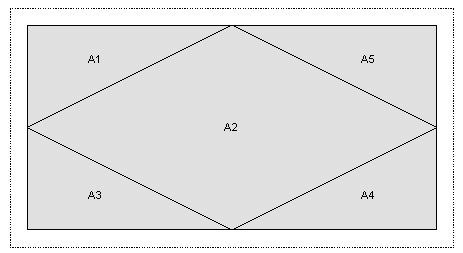
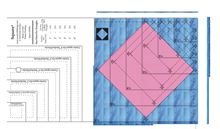
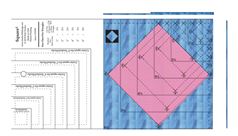
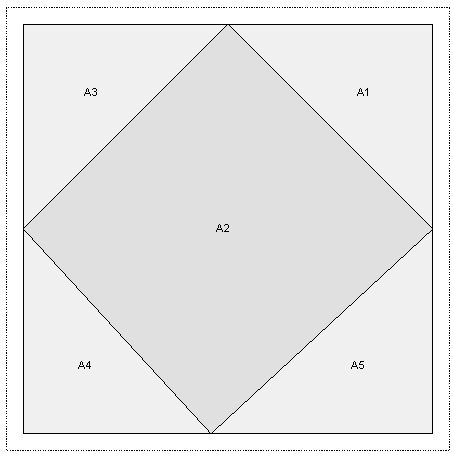
Now that the quilt is designed, we are ready to piece the Elsa and Anna quilt.  As a reminder, this is the drafted quilt.
Picture
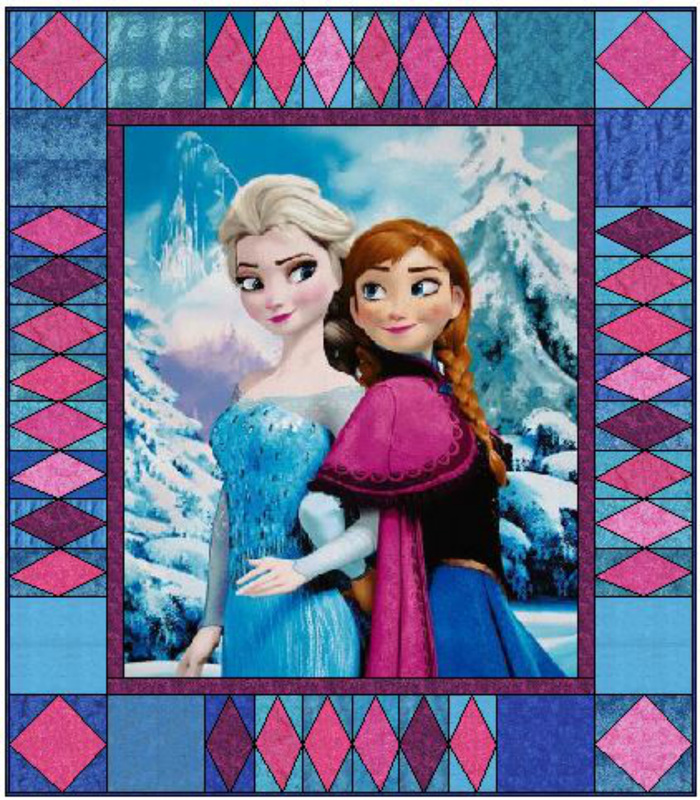
Cut the panel to 28-1/2" x 34-1/2".  When I went to cut I found the center was a little smaller than I had originally measured.  If that is the case with your panel, you can adjust the inner borders and the plain block sizes to still make everything fit. 

Inner Border

Cut two strips 1-1/2" x 34-1/2" for sides.
Cut two strips 1-1/2" x 30-1/2" for top and bottom.

Add side strips to quilt panel.
Add top and bottom strips to previous piece.
Picture
Picture
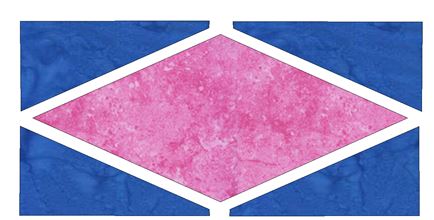
Section should measure 30-1/2" x 36-1/2".

Ice Diamond Construction

Picture
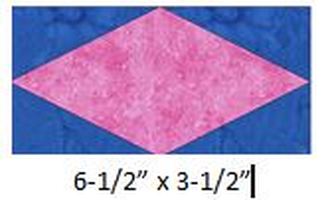
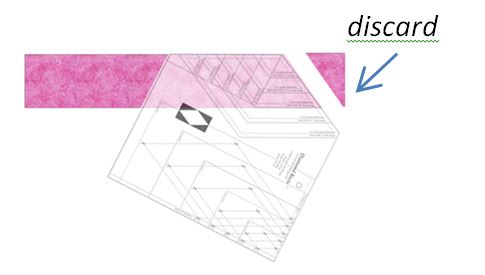
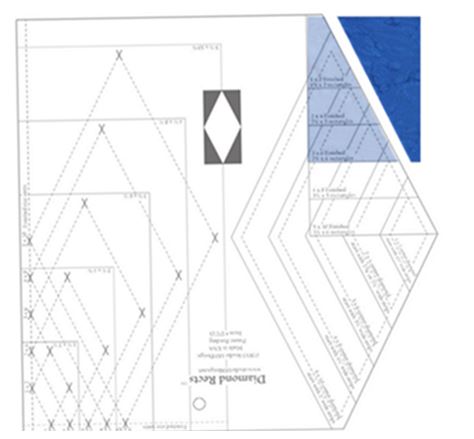
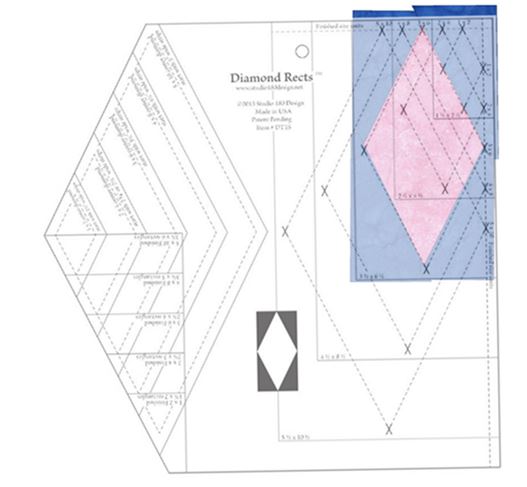
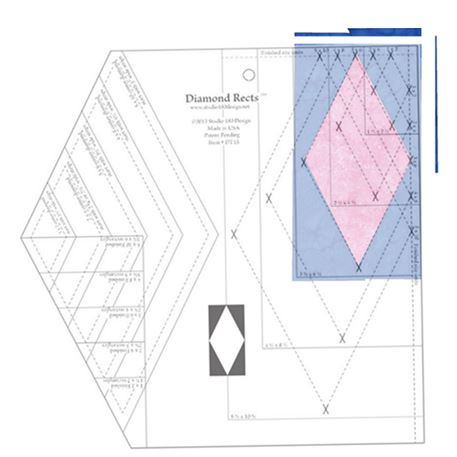
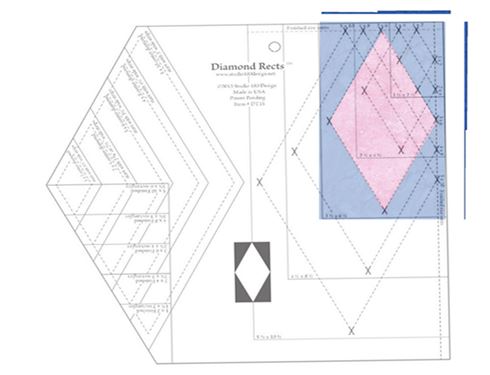
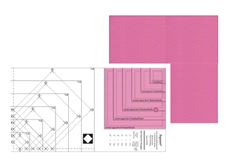
For the Ice Diamonds, I am using the Diamond Rects™ tool from Deb Tucker's Studio 180 Design.  I like the tool as it allows for over-sized piecing which is subsequently trimmed down.  Getting these blocks perfectly pieced is like magic as the last step in the process is trimming to the prescribed size! 

Here is a demo I originally did last July that shows the Diamond Rects tool.
If you don't have the ruler, I will also provide a foundation pattern.

Make a total of 28 units.
Picture
Picture
  • Use Diamod Rects™ to cut diamonds from 3-1/4” strip of Pink/Burgandy fabrics.  Cut and discard selvedge corner first.  


  • Then rotate Pink/Burgandy strips.  Align and cut the top and the right of diamond using the 3 x 6 finished size markings.    You will need 4 diamond cuts per block.


Picture
  • For each Ice Diamond, cut 2 Blue/Teals  4” x 2-3/4”.  Place pieces so half are facing up and half are facing down.  Use the Diamond Rects™ to cut Side Triangles from these pieces.

Picture
  • Lay out all pieces right sides up as they are going to be sewn.  

Picture
  • Stitch two opposite side triangles to opposite edges of the center diamond.  Align the raw edges matching the tips for the narrow points on the diamond with the corner pieces.  Stitch with Pink Diamond on top.  It is important to use an accurate ¼” seam for this step.  Press toward side triangles
Picture
  • Center, align and stitch the remaining two side triangles (again matching the tips for the narrow points on the diamond with the corner pieces).
Picture
  • Using the Diamond Rects™, line up the pink diamond sewing lines with the 3 x 6 dotted lines on the ruler.  
Picture
  • Trim #1
Picture
  • Then rotate the unit 180 degrees and re-position the ruler.  
  • You can align both the 3 x 6 dotted lines and the 3-1/2” and 6-1/2” solid lines for this trim.
  • Trim the other two sides of the unit.  
  • Unit will measure 3-1/2” x 6-1/2”.

Picture
Foundation piece (with seam allowances)is included here if paper piecing.

(Make sure section measures 6-1/2” x 3-1/2” after printing.)


Ice Crystal Instructions

Picture
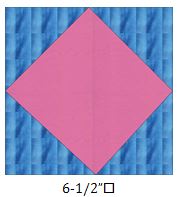
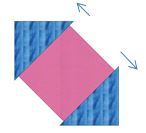
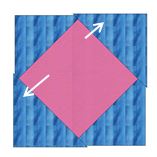
For these blocks I will be using the Square2™ tool from Deb Tucker's Studio 180 Design.  This tool also allows for over-sized piecing which is subsequently trimmed down.  

If you don't have the ruler, I will also provide a foundation pattern.

Make a total of 4 units.
Picture
  •  Use Square2™ to cut center squares from pink.  (If not using the Square2™, cut squares 4-3/4”o.)

Picture
  • Cut two 4-1/4” x 4-1/4" of Blue/Teal fabrics for corners for each unit.
  • Cut these once on the diagonal to produce 2 triangles.  

Picture
Picture
  • Add triangles to all four sides of Pink Center square.  Put Pink fabric on top when sewing on the corners.  Make sure you use an accurate ¼” seam allowance for this step.

Picture
  • Use your Square2™ ruler to trim units to 6-1/2" x 6-1/2". 
  • Square2™ Trim #1 – The seam lines for the pink center square will line up with the 6” finished size dotted guidelines.  Trim top and right.  Then rotate unit 180 degrees. 

Picture
  • Square2™ Trim #2 – The seam lines for the pink center square will line up with the 6” finished size dotted guidelines and the 6-1/2” solid lines.  Trim remaining two sides.

Picture
Foundation piece (with seam allowances)is included here if paper piecing. 

(Make sure section measures 6-1/2” x 6-1/2” after printing.)

Completing the Top

Cut eight 6-1/2" x 6-1/2" pieces from blue/teal fabrics.

Piece Ice Diamonds and 6-1/2" x 6-1/2" pieces for side borders. If you need to adjust the length of the border, just trim from the squares on the end.  Make 2.
Picture
Piece Ice Diamonds, Ice Crystals and 6-1/2" x 6-1/2" pieces for top and bottom  borders. If you need to adjust the width of the border, just trim from the plain squares before adding the Ice Crystal corners.  Make 2.
Picture
Add side borders to center.
Add top and bottom borders.
Picture
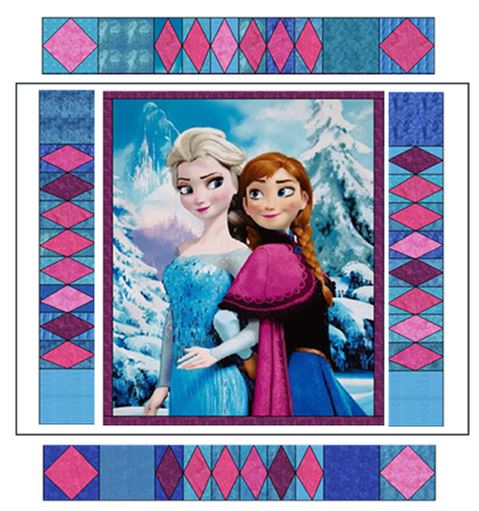
The top should now measure 42-1/2" x 48-1/2".  

Here is my pieced top -- just off the sewing machine.
Picture
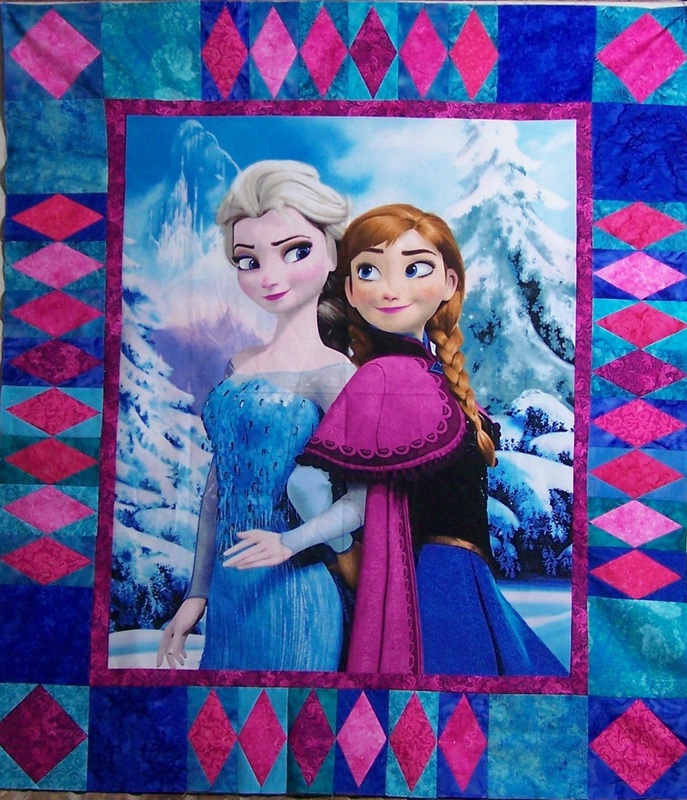
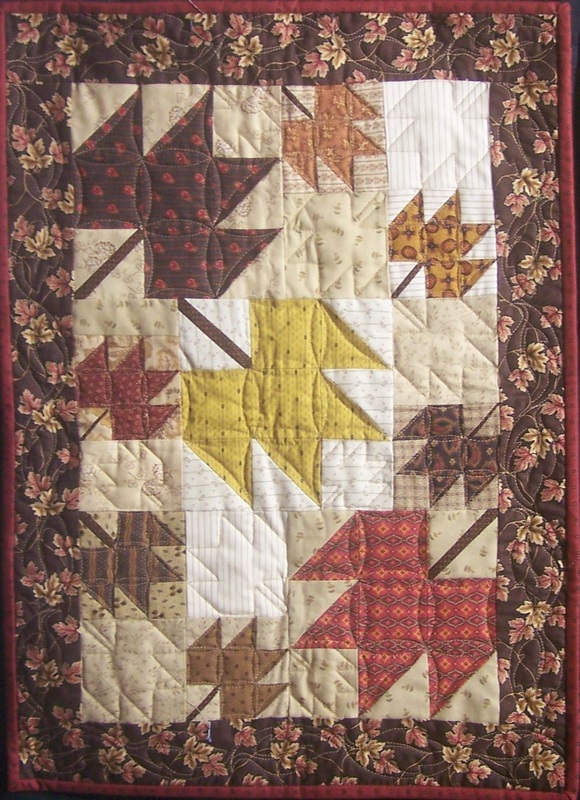
Next week, I will provide some suggestions for quilting.  I will also be sharing photos of the submissions from the "Snowflake Exchange".  
Happy quilting.

Kari

Sign up for my newsletter to stay current on what's happening in my studio and learn more quilting tips.  As a thank you, I'll send you a FREE pattern for this small maple leaf quilt.
Picture
Martie Nowell
2/14/2015 06:36:40 am

Thanks so much - love your site and on point projects as well as Deb Tucker's rulers - a great combo!


Comments are closed.
    Picture
    Picture
    Picture
    Free guide available for newsletter subscribers
    Picture
    Picture
    Picture

    Kari Schell

    Electric Quilt Expert and Educator and Pattern Designer.

    Categories

    All
    Art And Stitch
    Cricut Maker
    Dear Jane
    Electric Quilt 7
    Electric Quilt 8
    Goose Goose Duck Challenge
    Inkscape
    Patterns
    Silhouette Cameo
    Stampin Up
    Tips And Techniques
    Tools And Rulers

    Archives

    April 2025
    March 2025
    February 2025
    January 2025
    December 2024
    November 2024
    October 2024
    September 2024
    August 2024
    July 2024
    June 2024
    May 2024
    April 2024
    March 2024
    February 2024
    January 2024
    December 2023
    November 2023
    October 2023
    September 2023
    August 2023
    July 2023
    June 2023
    May 2023
    April 2023
    March 2023
    February 2023
    January 2023
    December 2022
    November 2022
    October 2022
    September 2022
    August 2022
    July 2022
    June 2022
    May 2022
    April 2022
    March 2022
    February 2022
    January 2022
    December 2021
    November 2021
    October 2021
    September 2021
    August 2021
    July 2021
    June 2021
    May 2021
    April 2021
    March 2021
    February 2021
    January 2021
    December 2020
    November 2020
    October 2020
    September 2020
    August 2020
    July 2020
    June 2020
    May 2020
    April 2020
    March 2020
    February 2020
    January 2020
    December 2019
    November 2019
    October 2019
    September 2019
    August 2019
    July 2019
    June 2019
    May 2019
    April 2019
    March 2019
    February 2019
    January 2019
    December 2018
    November 2018
    October 2018
    September 2018
    August 2018
    July 2018
    June 2018
    May 2018
    April 2018
    March 2018
    February 2018
    January 2018
    December 2017
    November 2017
    October 2017
    September 2017
    August 2017
    July 2017
    June 2017
    May 2017
    April 2017
    March 2017
    February 2017
    January 2017
    December 2016
    November 2016
    October 2016
    September 2016
    July 2016
    June 2016
    May 2016
    April 2016
    March 2016
    February 2016
    January 2016
    December 2015
    November 2015
    October 2015
    September 2015
    August 2015
    July 2015
    June 2015
    May 2015
    April 2015
    March 2015
    February 2015
    January 2015
    December 2014
    November 2014
    October 2014
    September 2014
    July 2014
    June 2014
    May 2014
    April 2014
    March 2014
    February 2014
    January 2014
    December 2013
    November 2013
    October 2013
    September 2013
    August 2013

    RSS Feed

Contact:
On Point Quilter
e-mail:  [email protected]
phone:  763-566-6536

GET MY NEWSLETTER FOR REGULAR EQ AWESOMENESS!

* indicates required
  • Blog
  • About
  • EQ8 Training
    • Tech Know Quilters Electric Quilt 8 Membership Training
    • EQ8 Made Easy
    • Electric Quilt 8 Sneak Peek
  • Store
  • Contact