|
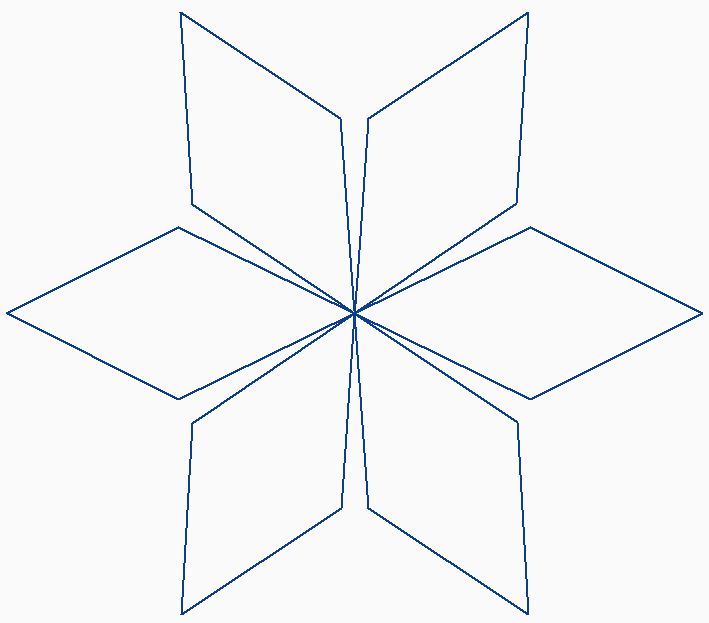
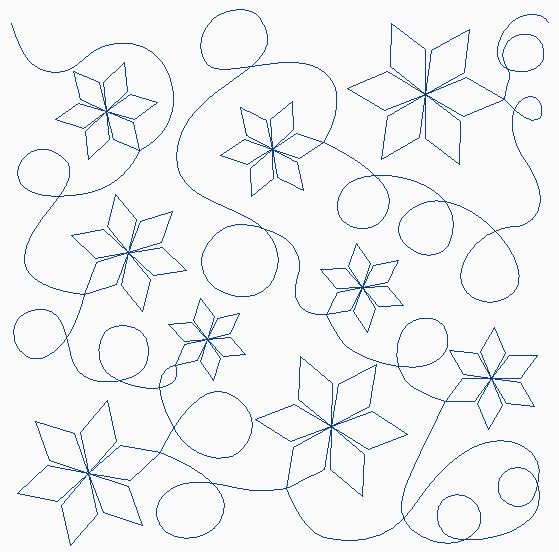
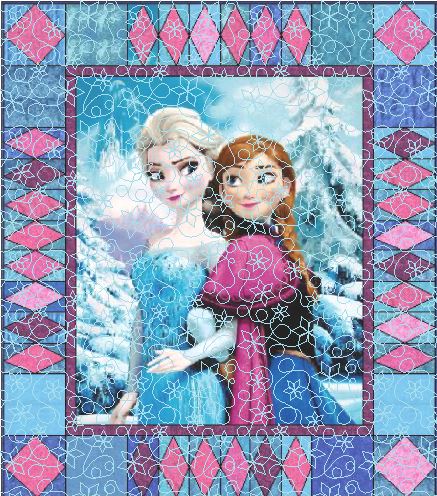
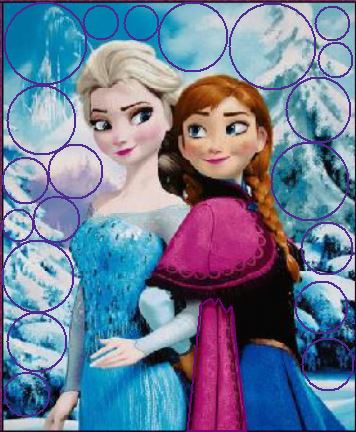
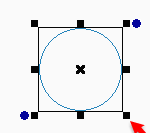
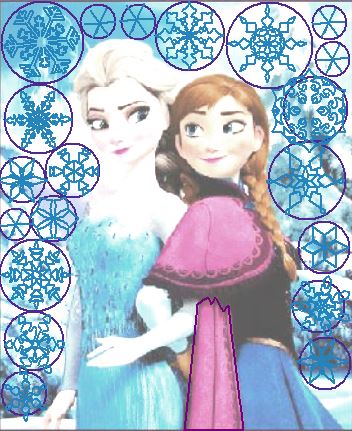
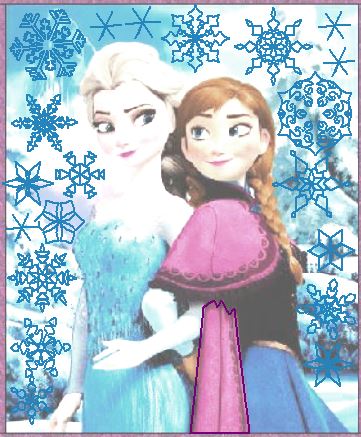
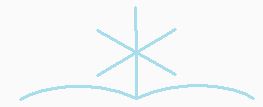
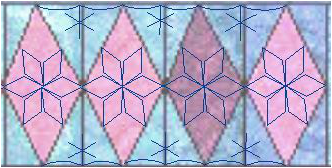
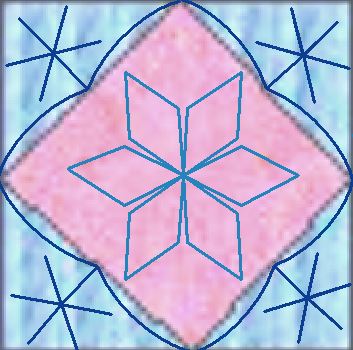
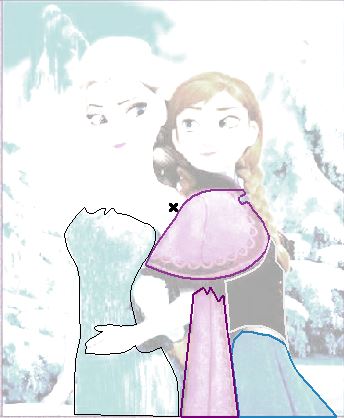
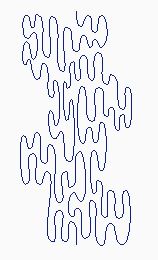
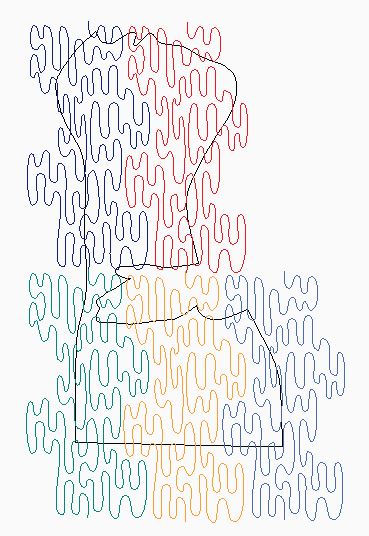
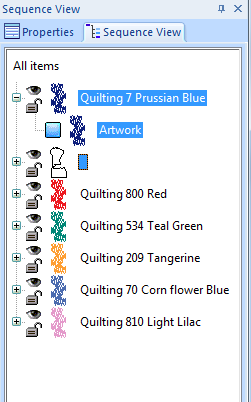
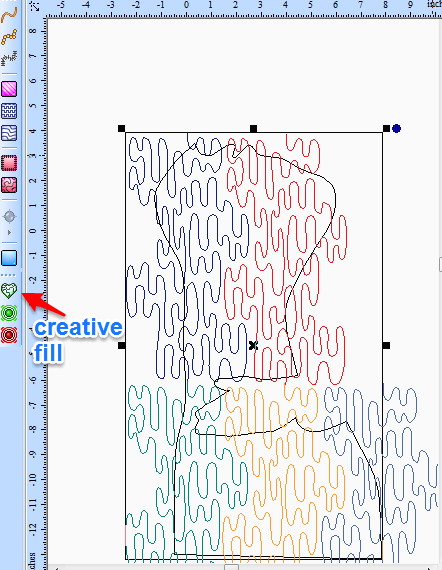
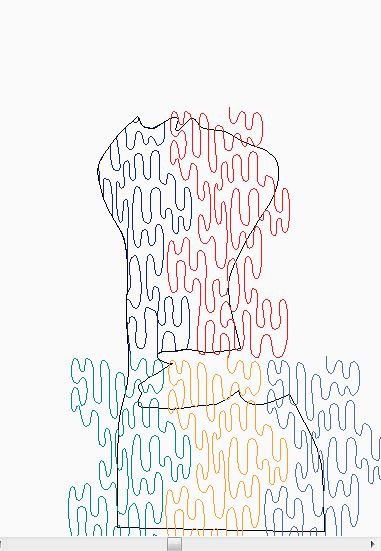
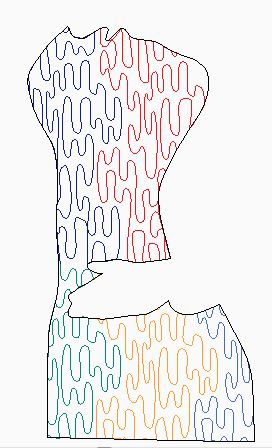
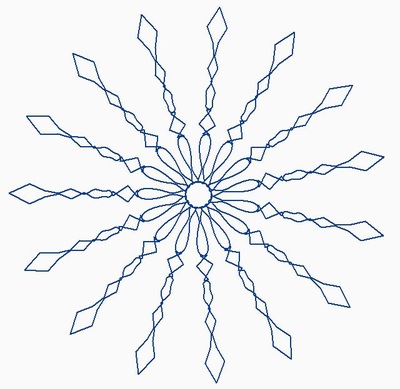
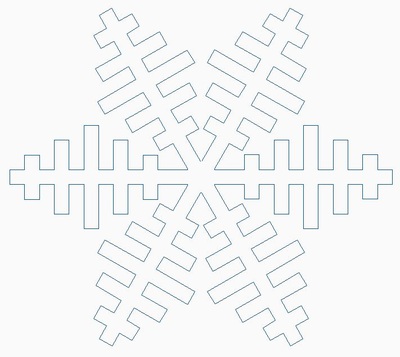
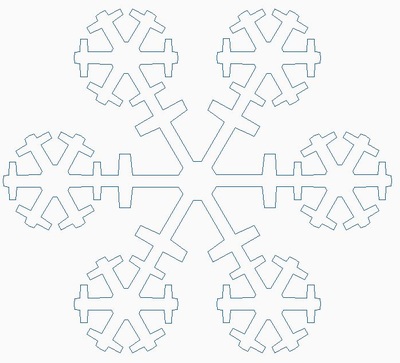
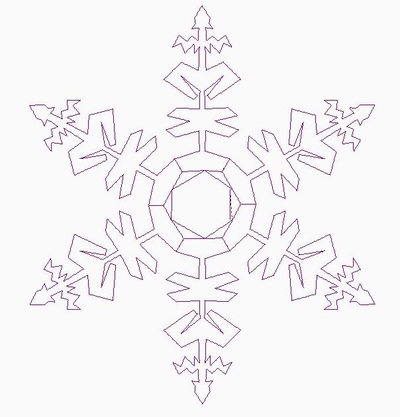
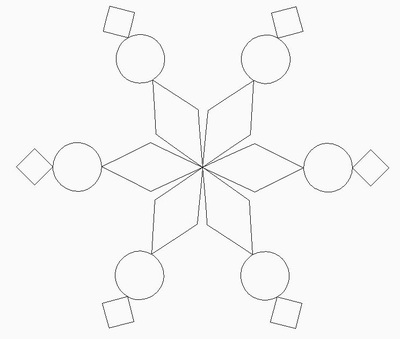
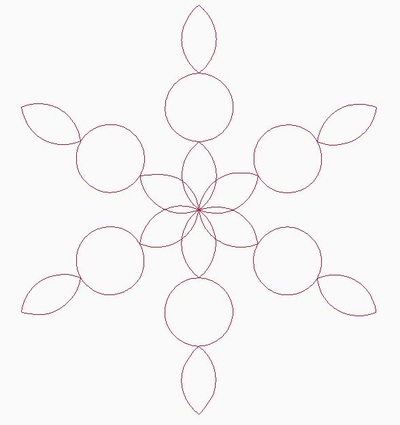
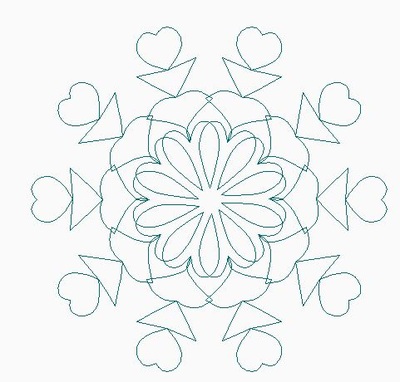
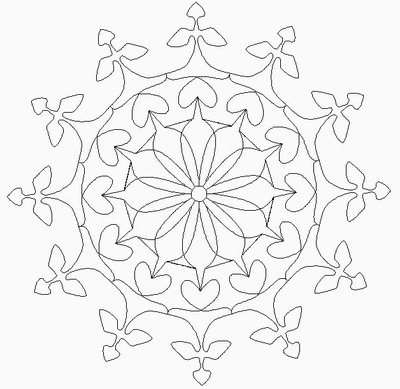
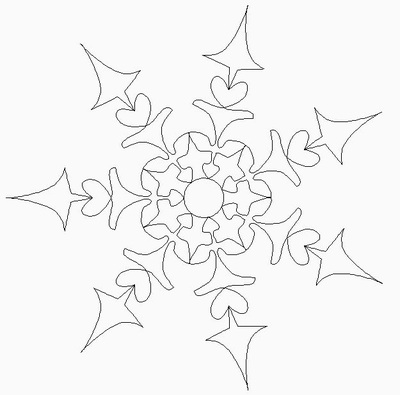
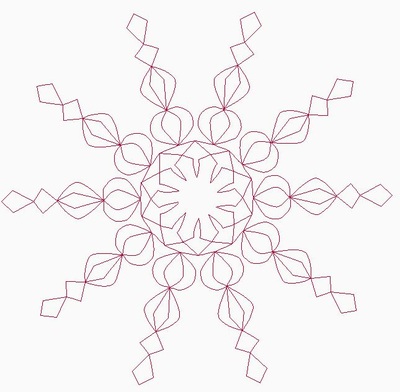
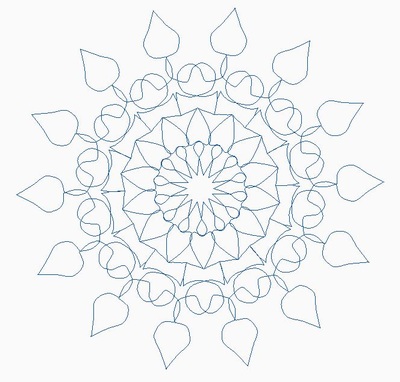
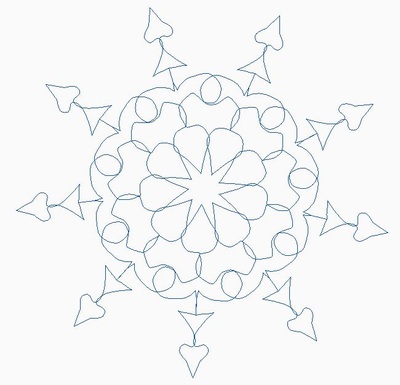
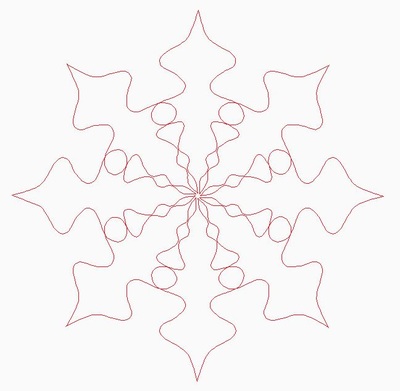
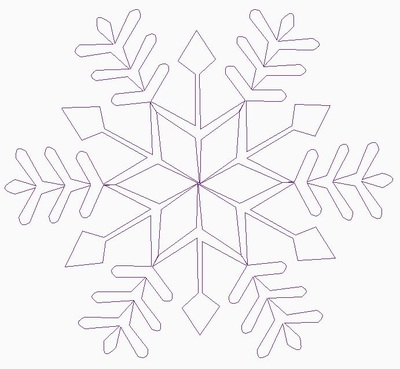
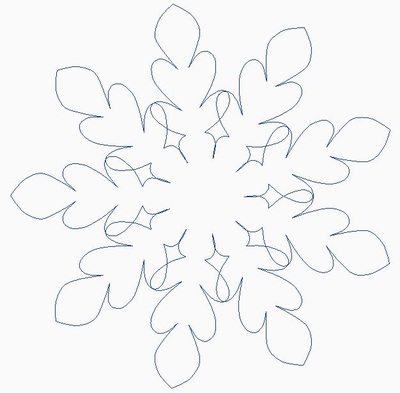
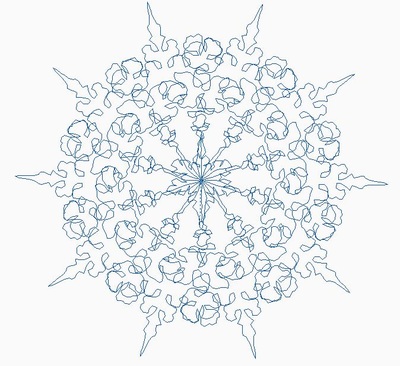
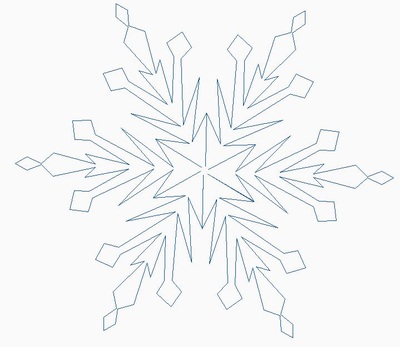
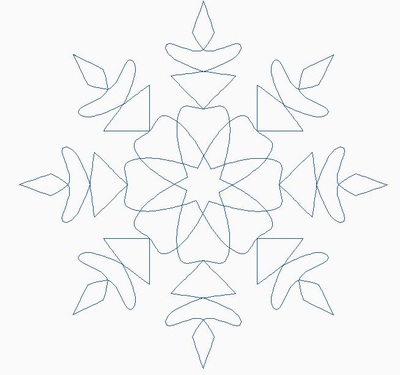
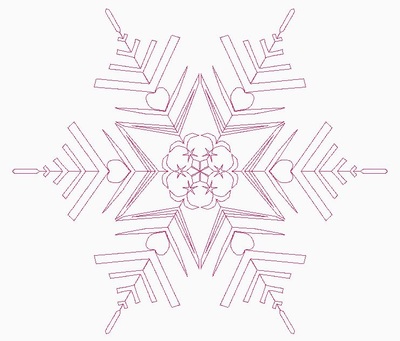
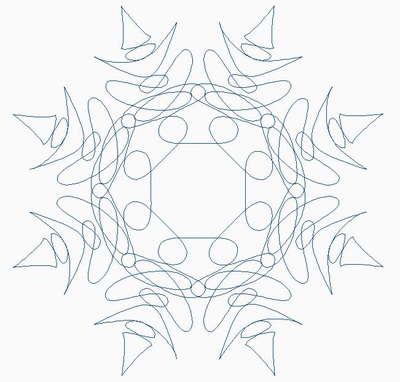
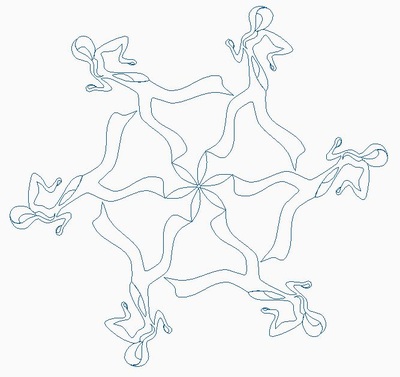
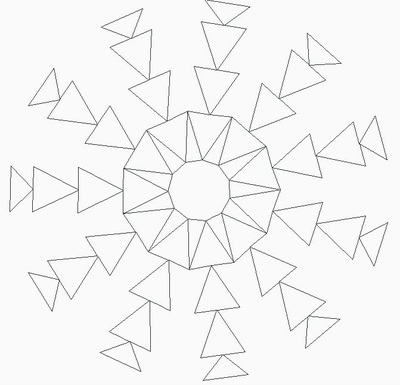
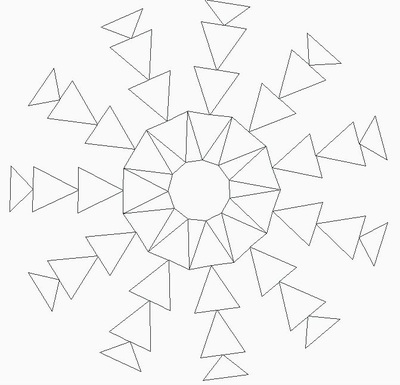
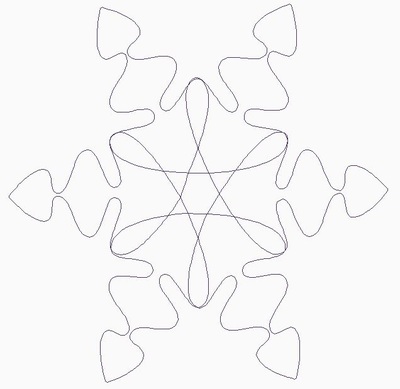
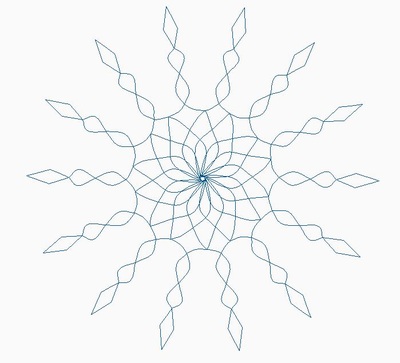
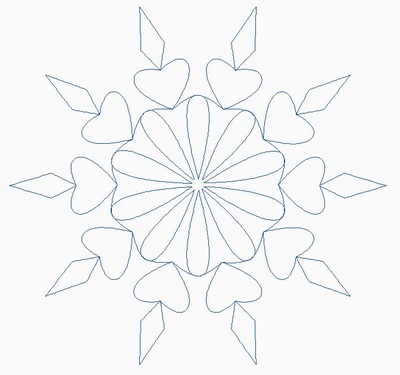
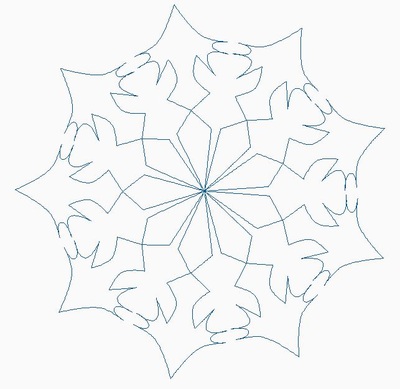
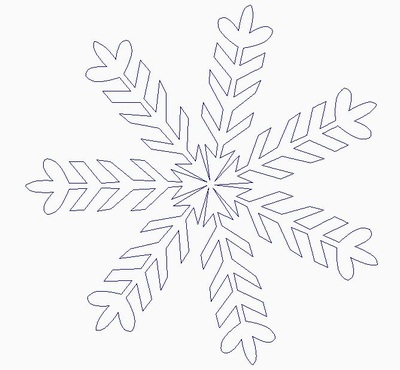
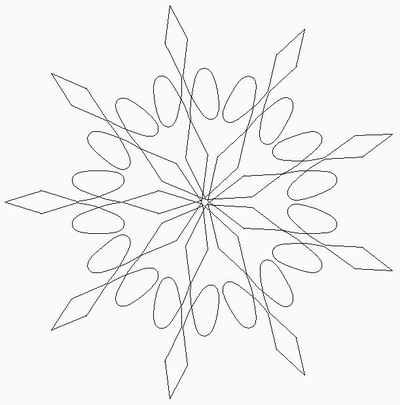
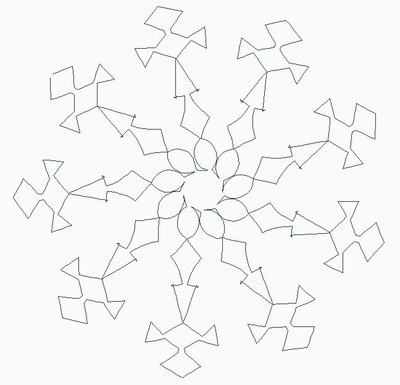
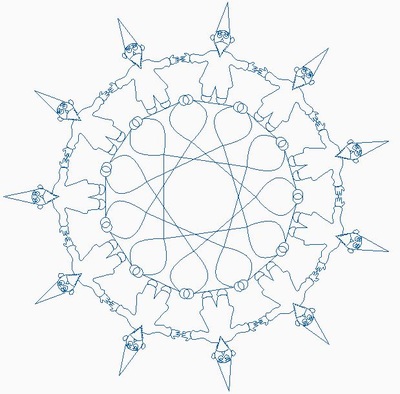
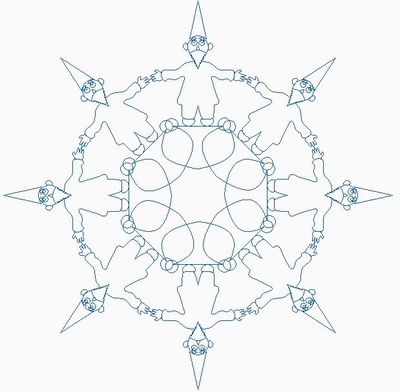
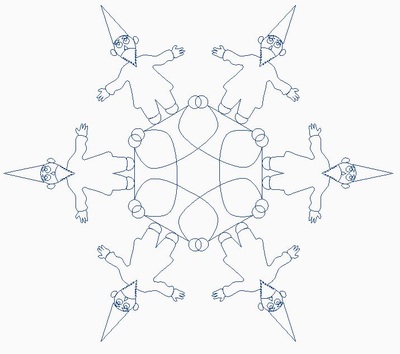
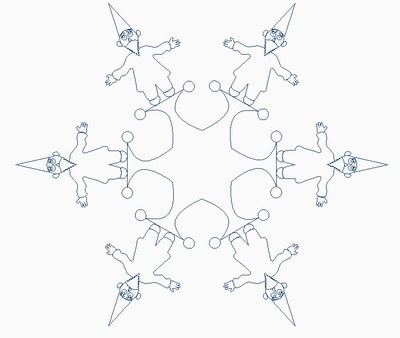
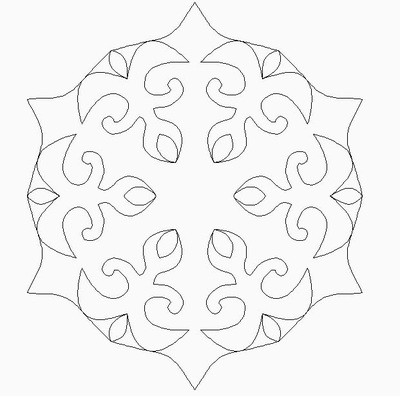
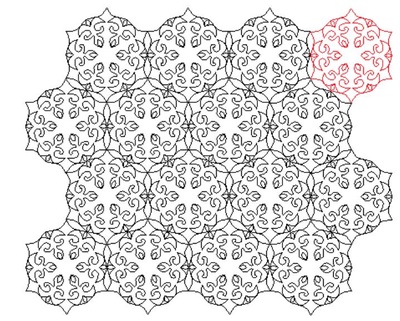
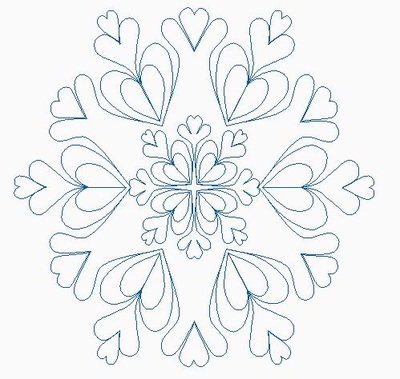
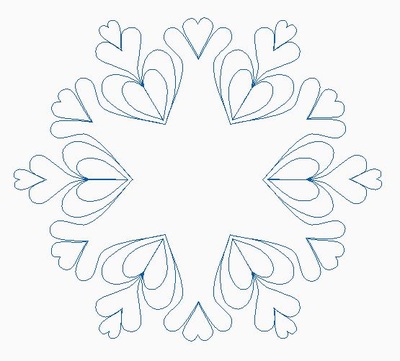
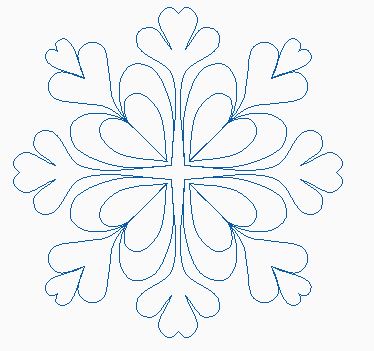
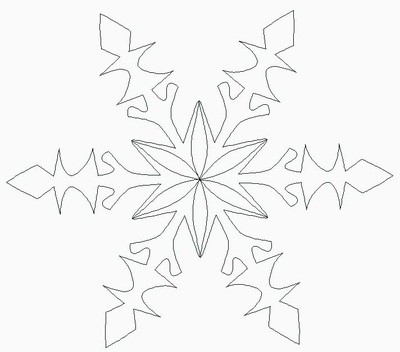
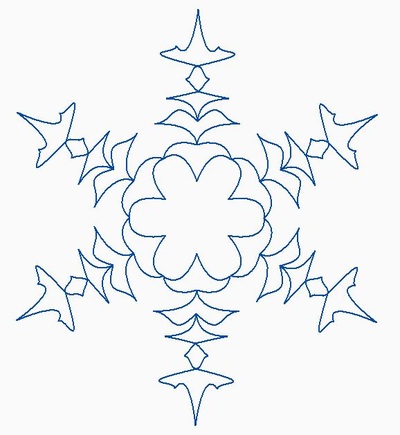
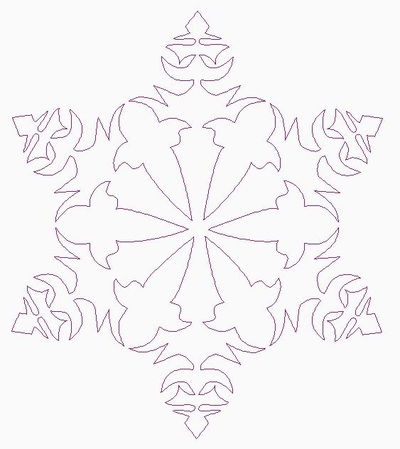
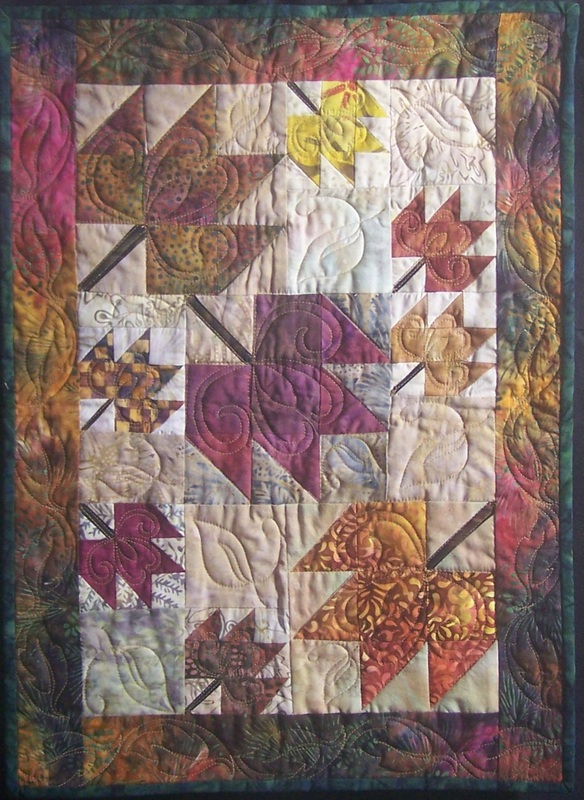
This week I will focus on "How Will I Quilt That ... Elsa and Anna Quilt". I decided I would create two options. One will be able to be used as a pantograph overall quilting pattern. This one could easily be freehanded on domestic machine. The second will be custom. I wanted to use some of those fabulous snowflakes from the exchange. Elsa and Anna Overall Snowflake MeanderI started by drafting a simple snowflake using diamonds. Here are the snowflakes connected with Meander Anything. Snowflake ExchangeSee how I did this using Art and Stitch software. (In reviewing the video this morning, Correction: In the video I mentioned using Snap to Grid to connect the snowflake ends when using Meander Anything. I should have said "Snap to Anchors". For a free copy of a pdf of the quilting design, click here. For a free copy of the Art and Stitch file, click here. Elsa and Anna Custom OptionFor the "custom" option, I decided I wanted to outline both Elsa and Anna. They are "huge". So their clothing would be a nice place to try a creative fill. I also wanted to put snowflakes in the un-pieced blocks and then over the background spaces in the panels. An then I thought I would like to use point to point designs in the pieced borders. Let's get started. Once I figured out how many snowflakes I needed, I started to fill them in with snowflakes from the Art and Stitch exchange. I needed a few more simpler snowflakes, so I also added a few more created with the Magic Circle tool. After I filled in all the snowflakes, I could get ride of the circles as I won't actually quilt them. For the diamonds, I decided on some Point to Point Designs. I thought a variation on the snowflake block in the overall option would work for that and then I added a simple six pointed snowflake (now that I know snowflakes have six sides). Here is what they will look like in the diamond section of the quilt. I drew outlines of the clothing using the Curve tool. When I want a sharp point, I use the Control key while adding a node. For Elsa's dress, I used a creative fill using River Run Meander by David Hudson. I rotated the design and didn't connect the segments to make it easier to quilt out on my machine. Each color is a separate segment in the second photo. Move other segments above the dress shape and repeat the creative fill process. You should select only one "fill" and the dress shape at a time before applying the creative fill button. Apply a running stitch and double check your stitch out. I will try some different creative fills for the other clothing. I was hoping to get my top quilted before this post -- but didn't make it. Hopefully I will have a final quilt to share with you next week. Snowflake ExchangeThere were 44 submissions (plus the 4 projects I shared with you a few weeks ago). Awesome work!!! Here are the designs. Those who submitted should have received a link to the private page and can obtain the actual Art and Stitch files. If you missed the link, please send me an e-mail. Whee! There was a lot to share this week. I hope you enjoyed the quilting ideas and the Elsa and Anna quilt series. Happy quilting. Kari Sign up for my newsletter to stay current on what's happening in my studio and learn more quilting tips. As a thank you, I'll send you a FREE pattern for this small maple leaf quilt.
Sally Poultney
2/21/2015 12:42:51 am
I didn't get to participate in the snowflake exchange but would love to have the designs in art and stitch design. Thanks Sally
Alicia Key
2/23/2015 11:49:40 pm
I didn't get to either, Sally, because my CD hasn't arrived with the software yet. I do have the trial version but it won't "save" anything. I tried some snowflakes, though. Great fun!
Kari
2/21/2015 12:51:09 am
I'm sorry. Only those who participated in the exchange can access the files. I hope you will be able to join us for the next one.
Marg Layton
2/21/2015 01:00:28 am
Very creative. Thanks for sharing your design, and to all the others who submitted designs, it is exciting to see your talent. I'm just a beginner and still have much to learn. Wish I could have participated too. 2/21/2015 01:37:24 am
Love your emails and work...thanks so much for sharing your talents!!!!!
Linda Nahler
2/21/2015 02:09:48 am
This was a great tutorial. I have a quilt coming in to do and I was thinking snowflakes would be the perfect pattern. Enjoyed watching this. Thanks so much for posting this project. I learned so much.
Susan B
2/21/2015 03:40:27 am
This is a great tutorial on Meander Anything. Thanks!
Waynna K
2/21/2015 07:05:14 am
Thank you, Kari! Love your work, and the videos are awesome!! Than you so much for sharing your talent!
Brenda DeCook
2/24/2015 02:47:49 am
I loved doing your tutorial but didn't send mine in. Thanks so much for these great tuts! I've been enjoying them very much.
Gloria
3/1/2015 02:28:31 am
Wow, these videos are soooooo wonderful. I'm so sorry I missed the snowflake exchange. I will follow more closely and contribute the next time!! Thank you so much for sharing your awesome talent. Comments are closed.
|
Kari SchellElectric Quilt Expert and Educator and Pattern Designer. Categories
All
Archives
July 2024
|






 RSS Feed