
|
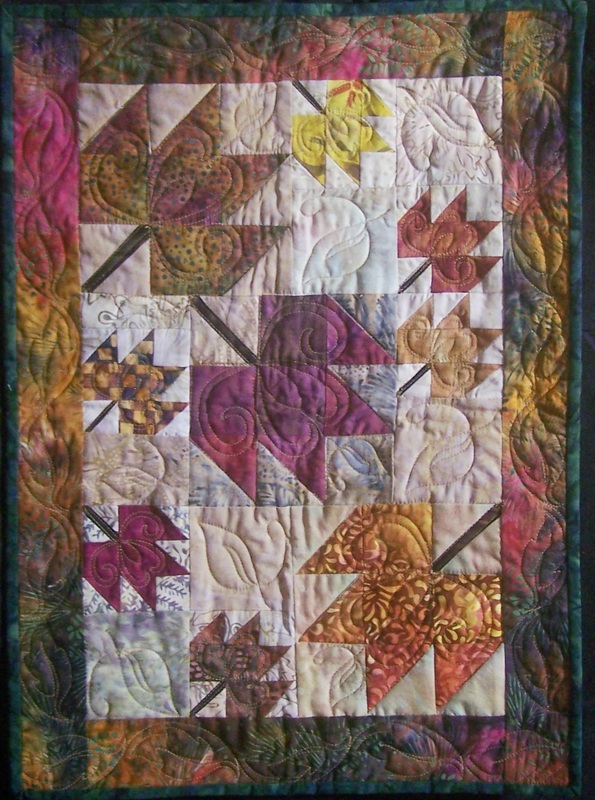
Are you a tracer or a drawer? When I teach Electric Quilt or Art and Stitch, I like to give "tracing" options to my students as it allows them to focus on learning the program. However, if I am going to "trace", I need a good picture to work with. Over the last year, I've been working a lot on my photography skills. However the reality is that it is hard getting the photos square on with no distortion. Most of the "free" software that is out there, will allow me to rotate, crop and do some overall color adjustments -- which works most of the time. My favorite software for this is Microsoft Office Picture manager -- which was included in my Microsoft Office Suite. However, sometimes my photos need more work. For many years, I was using a very old version of Corel's photo editing software. It worked, but it was cumbersome and I had frequent crashes with the software. When my computer died earlier this year, I thought it would be a good opportunity to update to something from this century. Since Adobe's Photoshop appears to be the new "norm", I purchased a copy. I decided I didn't necessarily need the newest version, but went on Amazon and found something at a reasonable price. (I ended up spending $70 for PhotoShop and Premiere version 12. Premiere is their movie editing software.) Opening any new software, can be a bit overwhelming and frustrating when you can't quickly find the one thing you really want to do. So I thought I would share with you, how I used the software to clean up a photo. This is a photo I found on Quilt Index. I loved this pattern and want to trace the block Using Electric Quilt. 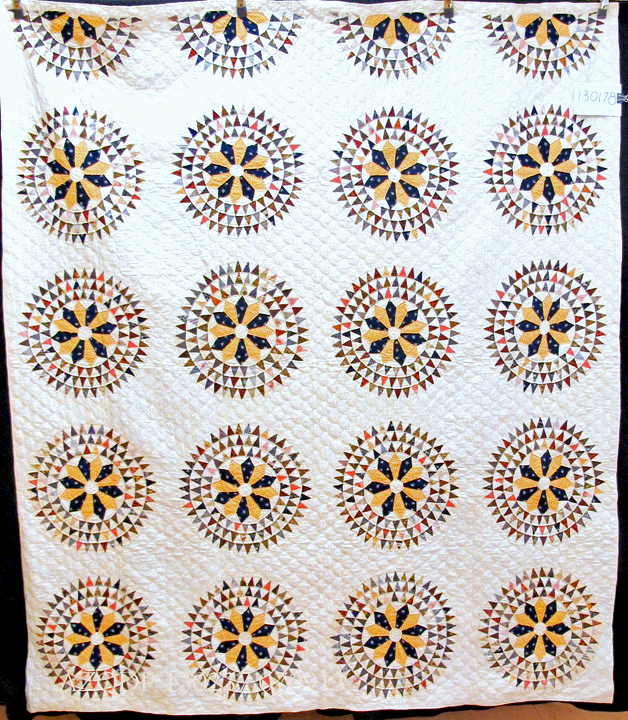 Quilt Photo Before using Photoshop Elements My video tutorial this week is on using Photoshop Elements for Quilters. The video covers a number of items including: 1 - Straightening a photo 2 - Taking a snapshot of one of the blocks. 3 - Filling in the "gaps". (See the block spaces at the top of the quilt.) 3 - Doing some minor color adjustments (i.e. painting small sections). Below is the photo-shopped image. Note that the original photograph had fairly poor resolution, so there was only so much that could be done to enhance the picture. 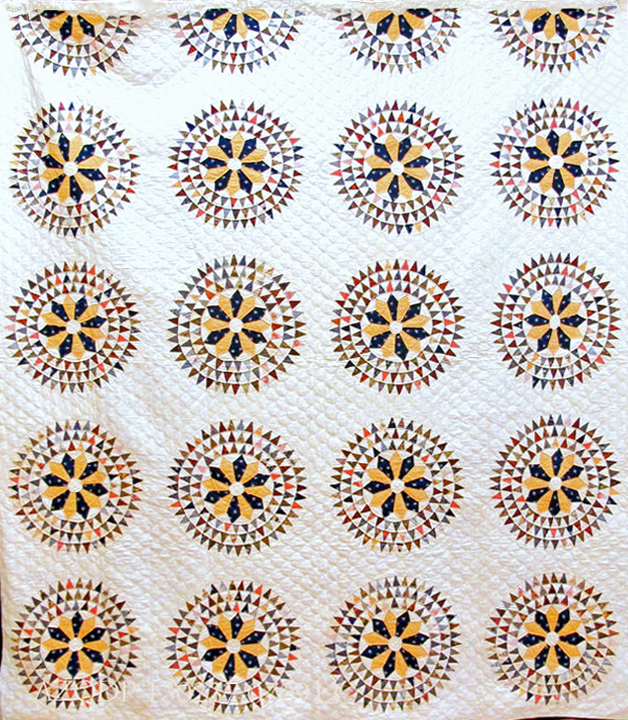 Quilt Photo after using Photoshop Elements When I did an internet search on "PhotoShop for Quilters", I found a site that teaching PhotoShop for fiber artists. Have any of you taken any of the classes from Pixeladies? I'm thinking I might need to check it out. Featured Product - Come Said the Wind Are you starting to think about an autumn quilt for your wall this fall. Now is the time to get started with Come Said the Wind. The pattern includes two sizes and the verse can be printed directly on fabric, traced or hand embroidered. You choose. 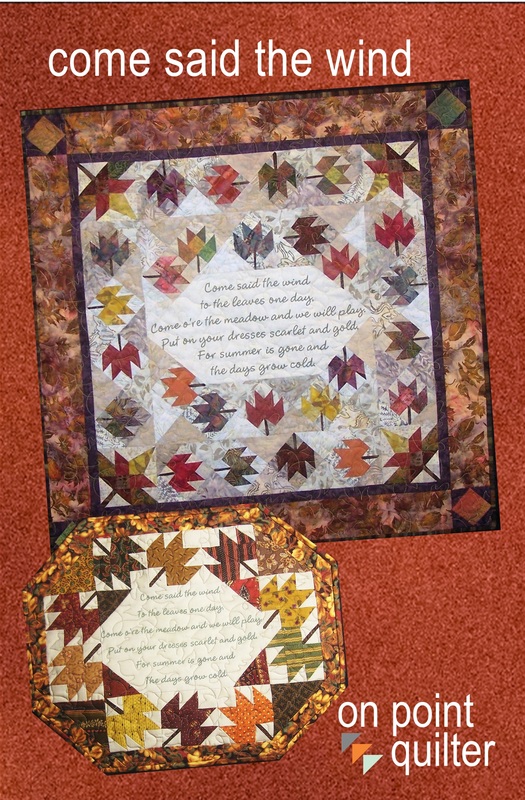 Purchase here. Happy quilting. Kari Sign up for my newsletter to stay current on what's happening in my studio and learn more quilting tips. As a thank you, I'll send you a FREE pattern for this small maple leaf quilt.
Cheri
8/15/2015 01:44:34 am
Thanks very much for the Photoshop video. I am trying to teach myself to use Elements and your tutorial was very helpful. 8/18/2015 02:10:12 am
Thank you so much for your tutorial on adjusting quilt pictures. I photograph my own pictures for my patterns and I have so much to learn. Leaning how to distort the picture was a huge help to me. I just bought Art & Stitch and I wish I had more time to set and play with it. I am also a longarm machine quilter. I really enjoy your website. Diana
Susan Spencer
8/19/2015 11:42:17 pm
Thank you for the tutorial on using Photoshop to fix photos. I am a Longarm quilter and I take photos of the quilt tops to use as a backdrop to test out designs. My studio is small so I can't get a good straight-on shot and your instructions solved the problem! Thanks. PS. I have PS Elements 10 and it worked fine. Susan Comments are closed.
|


Free guide available for newsletter subscribers


Kari SchellElectric Quilt Expert and Educator and Pattern Designer. Categories
All
Archives
July 2024
|
 RSS Feed