• Blog
  • About
  • EQ Training
    • Tech Know Quilters Electric Quilt 8 Membership Training
    • Shoot for the Stars with EQ8
    • Electric Quilt 8 Sneak Peek
    • Scheduling a Workshop or Lecture
  • Store
  • Card Making
  • Contact
  • Free Stuff
    • Other Video Tutorials
Picture

Magic Binding with Flange

1/10/2015

 
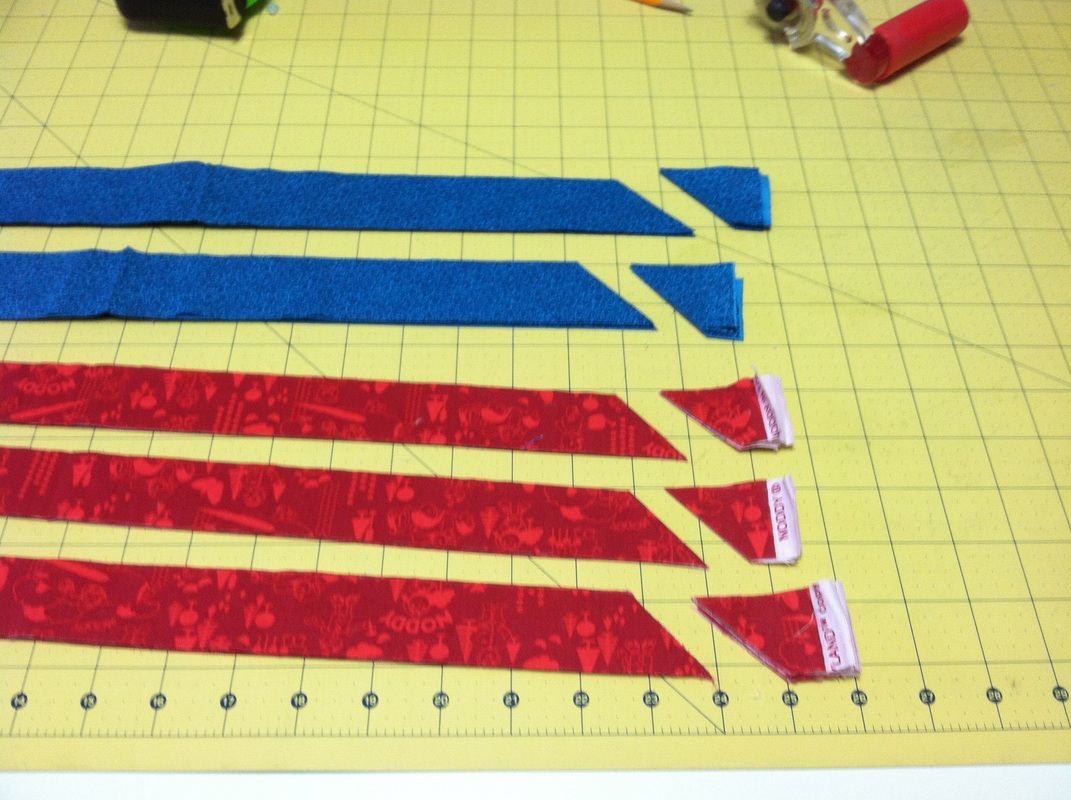
Someone had shared with me a post over a year ago for a “magic binding”.  I had successfully used the technique on a charity quilt, posted about it, and then forgot it.  A month ago a friend showed me a quilt she did with the technique and reminded me that I had written about it on my blog.  Thanks Erin for the reminder.

Since I am currently finishing up a number of baby quilts and a number of Triangle Frenzy table toppers, this was a good opportunity for me to get caught up on my binding.  So I thought I would re-share the technique, with a few more photos and suggestions for successfully creating this magic binding.
Step 1  - Calculate number of strips needed. 

Measure the perimeter of the quilt.  Divide by 40 and round up to the next whole number.

Step 2 - Cut the strips.

Binding fabric strips are cut at 1-1/4”.  (Blue fabric in photo.)

Flange fabric strips are cut at 1-1/2”.  (Red fabric in photo.)

For all strips, cut 45 degree angles on the ends.  Keep my strips folded wrong sides together when making this cut.

Picture
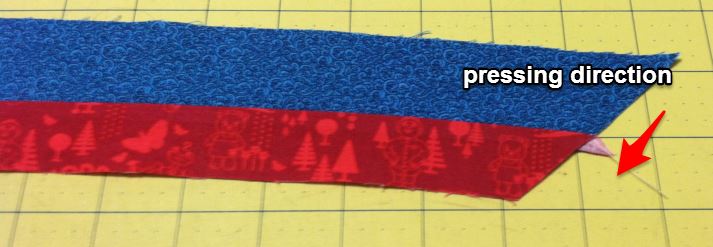
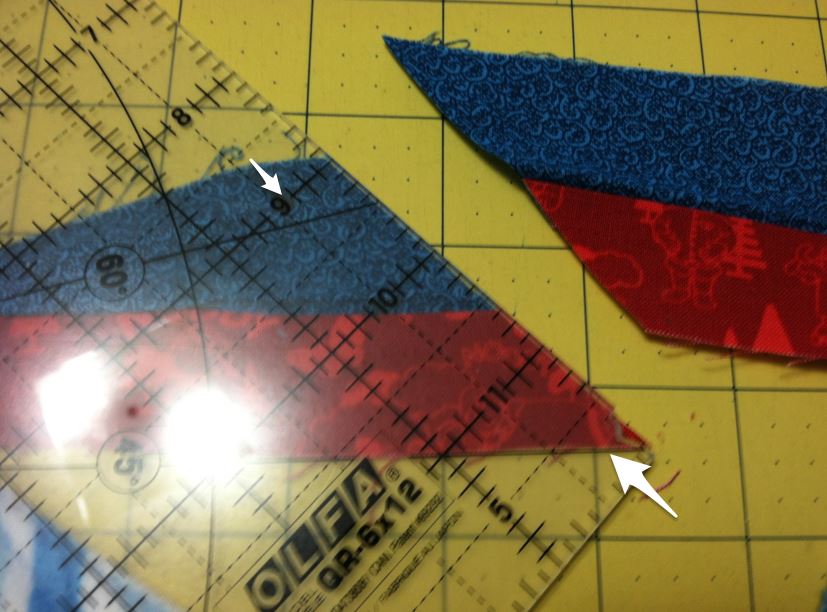
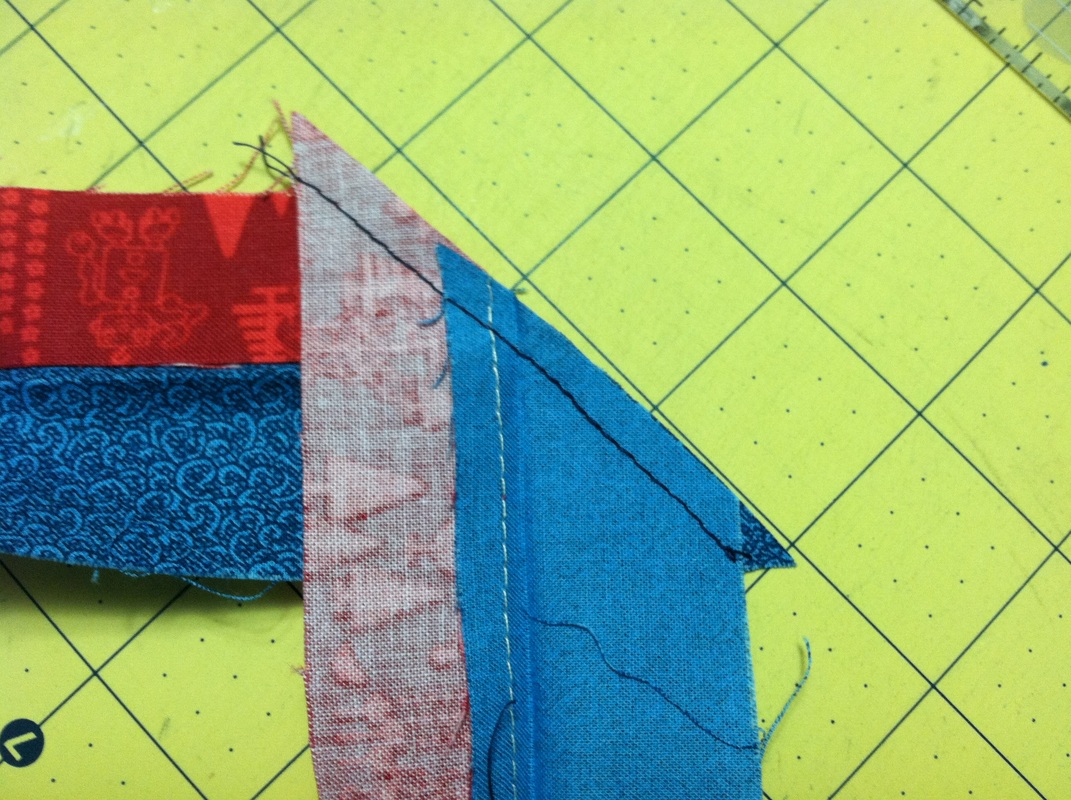
Step 3 – Combine binding and flange strips for one long strip of each.

Because I folded the strips before cutting the 45 degree angle, the strips will all interlock.  If one side doesn’t work, flip to the other side when piecing.

Step 4 - Combine both long strips together.  

Picture
Step 5 - Cut a 45 degree angle on combined strips. 

Step  6 - Press toward BINDING  FABRIC.

Picture
Step 7 - Fold long piece in half wrong sides together and press again.

Picture
Step 8 - With flange side up, sew the flange on the BACK side of the quilt.

Picture
Step 9 – Combine beginning and end of binding.

Here is my tip for this step.  Leave about a four inch tail before starting to stitch down the binding.  Start stitching in the middle of one of the sides.  When you are about eight inches from the start, lay the binding flat and mark the point the end matches the start of the binding.  Also draw a short mark that shows the “angle direction” of the starting piece.

Open the binding and match the 45 degree angle on a ruler with the bottom of the binding.  The pencil mark should be at the 3/8 inch mark on the ruler.   (Technically this should be ½ inch – but because we are working with bias, I have found more success making it a bit smaller.)  Cut the 45 degree angle.

 Now sew the start and finish pieces together with ¼ inch seam.  You should now be able to sew the continuous binding down with no gaps or extra bulk.
Picture
Picture
Picture
Step 10 - Press binding toward the quilt front and pin in place.   

The flange should extend slightly beyond the ¼ inch sewing line.  I like to use the red Clover Wonder clips to hold the binding in place until I can sew it down.  

Picture
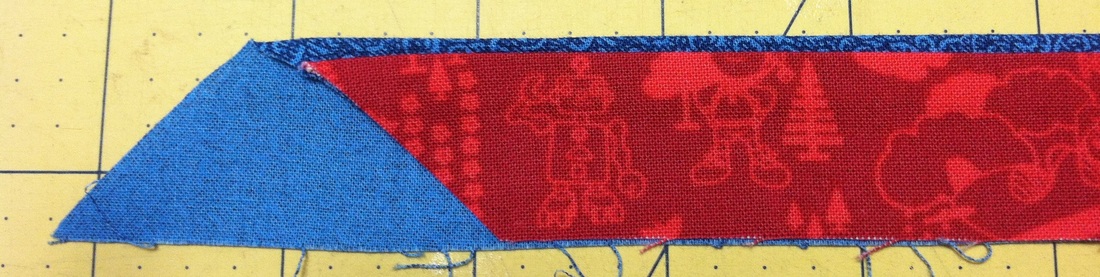
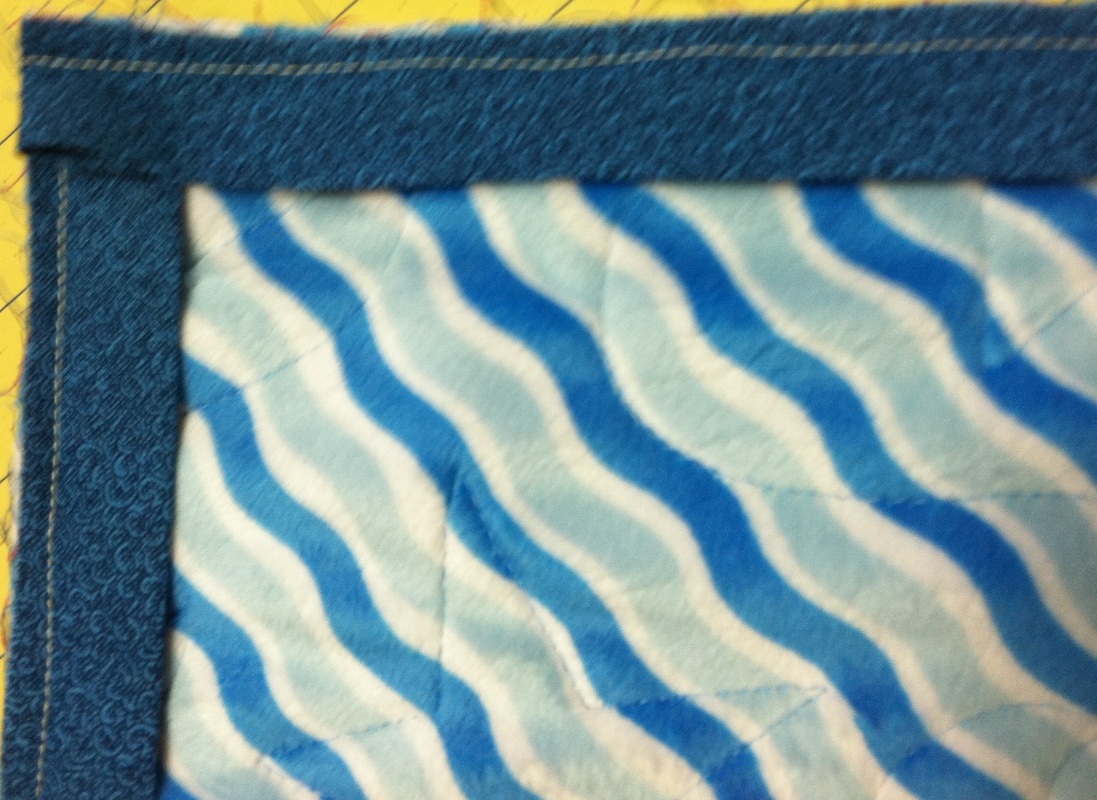
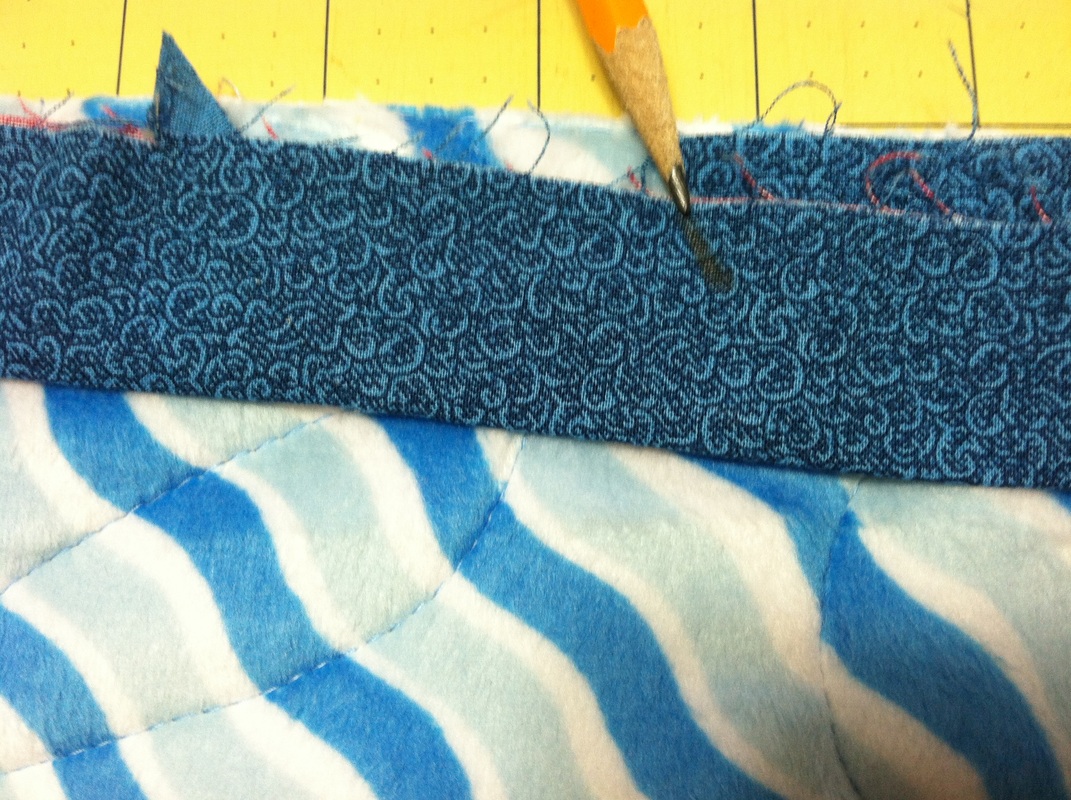
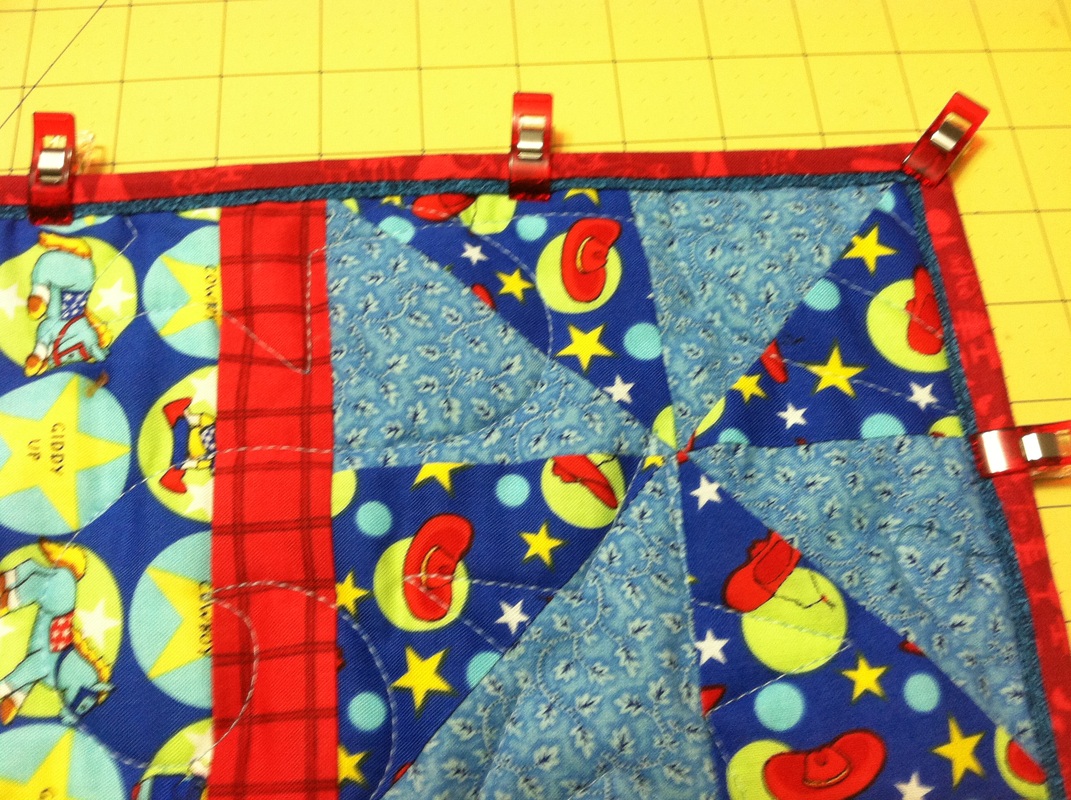
Step 11 - Stitch in the ditch on the flange.

Change thread on the machine so the top thread matches the flange cover (dark blue) and the bottom thread matches the backing fabric or the quilting thread used for the back of the quilt (light blue in my example).   

Picture
Picture
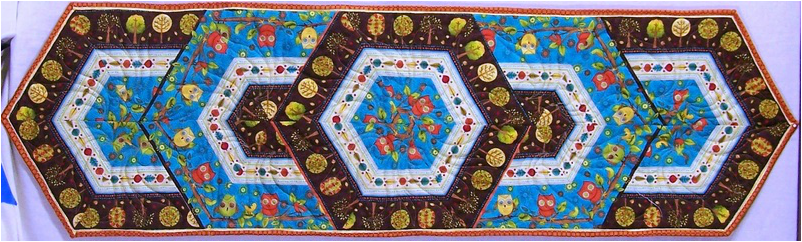
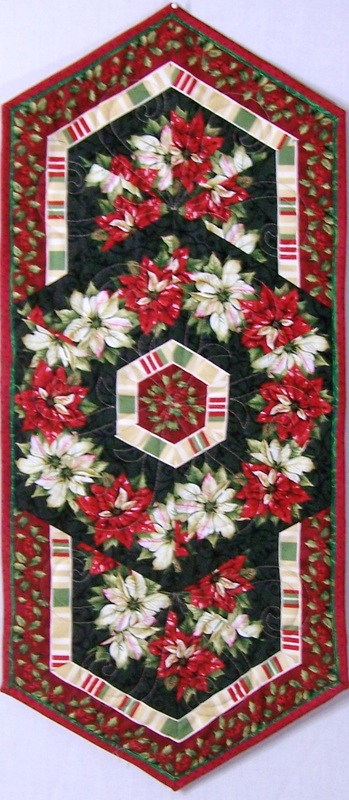
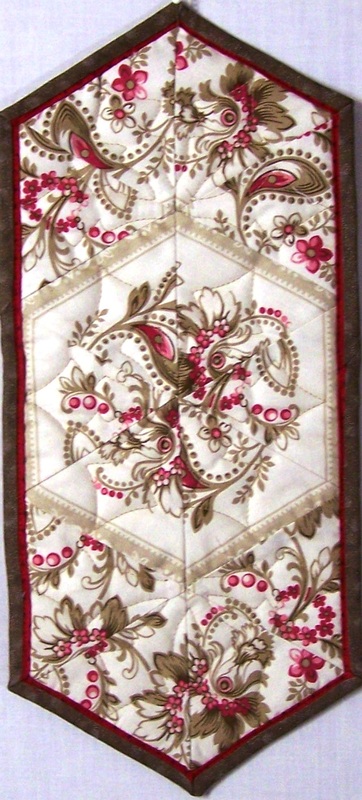
Here are a few additional Triangle Frenzy quilts with the Magic Binding.  These were made using the Triangle Frenzy patterns by Bunnie Clealand and are a great way to use border fabrics.
Picture
Picture
Picture
Picture
Picture

Studio Spotlight Blog Hop

Would you like to see my studio? I will be participating in a blog hop with 10 designers where we will each share a tour of our work pace. There are lots of fun giveaways. A list of the participating designers is included in the link below. 

I'm hoping you can join the fun.

Click on this link for all participating designers. 
Picture
Happy quilting.

Kari
Sign up for my newsletter to stay current on what's happening in my studio and learn more quilting tips.  As a thank you, I'll send you a FREE pattern for this small maple leaf quilt.

Picture
Judy
1/10/2015 02:48:13 am

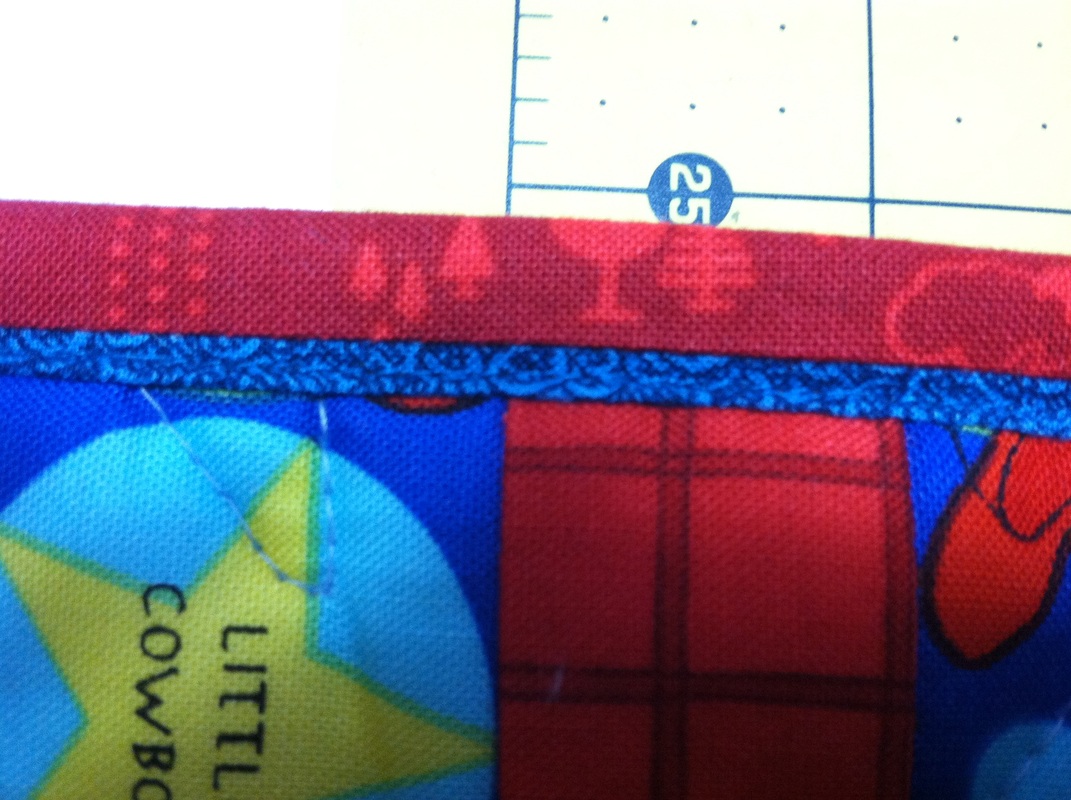
Did you change your mind about the binding and the flange in the middle of the presentation? You cut the blue fabric 1 1/4" _for the binding, but when finished the blue shows as the flange. Which is it?

Kari
1/10/2015 05:35:00 am

You are absolutely correct. I have now fixed the post. The 1-1/4 should be the red and the 1-1/2 the blue.

Thanks for bringing it to my attention.

Lilia
1/10/2015 03:05:51 am

I have added a flange before but not like this. I'm printing it out because it looks super quick and easy. Thanks Kari!

Debra Reber
1/10/2015 03:50:46 am

I'm confused!! At the beginning, you stated that the blue strips were for binding & the red for the flange, but in the pictures & later instructions it looks to me like the blue is the flange & the red is the binding. So are the measurements still the same, just reversed?? Is the binding color cut the narrower width & the flange color cut the wider width?

Kari
1/10/2015 05:37:10 am

The binding is cut with the narrow strip. My apologies the the confusion. I have now corrected the post. Thanks so much for letting me know.


Comments are closed.
    Picture
    Picture
    Picture
    Free guide available for newsletter subscribers
    Picture
    Picture
    Picture

    Kari Schell

    Electric Quilt Expert and Educator and Pattern Designer.

    Categories

    All
    Art And Stitch
    Cricut Maker
    Dear Jane
    Electric Quilt 7
    Electric Quilt 8
    Goose Goose Duck Challenge
    Inkscape
    Longarm Quilting
    Patterns
    Silhouette Cameo
    Stampin Up
    Summer Games
    Tips And Techniques
    Tools And Rulers

    Archives

    March 2023
    February 2023
    January 2023
    December 2022
    November 2022
    October 2022
    September 2022
    August 2022
    July 2022
    June 2022
    May 2022
    April 2022
    March 2022
    February 2022
    January 2022
    December 2021
    November 2021
    October 2021
    September 2021
    August 2021
    July 2021
    June 2021
    May 2021
    April 2021
    March 2021
    February 2021
    January 2021
    December 2020
    November 2020
    October 2020
    September 2020
    August 2020
    July 2020
    June 2020
    May 2020
    April 2020
    March 2020
    February 2020
    January 2020
    December 2019
    November 2019
    October 2019
    September 2019
    August 2019
    July 2019
    June 2019
    May 2019
    April 2019
    March 2019
    February 2019
    January 2019
    December 2018
    November 2018
    October 2018
    September 2018
    August 2018
    July 2018
    June 2018
    May 2018
    April 2018
    March 2018
    February 2018
    January 2018
    December 2017
    November 2017
    October 2017
    September 2017
    August 2017
    July 2017
    June 2017
    May 2017
    April 2017
    March 2017
    February 2017
    January 2017
    December 2016
    November 2016
    October 2016
    September 2016
    August 2016
    July 2016
    June 2016
    May 2016
    April 2016
    March 2016
    February 2016
    January 2016
    December 2015
    November 2015
    October 2015
    September 2015
    August 2015
    July 2015
    June 2015
    May 2015
    April 2015
    March 2015
    February 2015
    January 2015
    December 2014
    November 2014
    October 2014
    September 2014
    July 2014
    June 2014
    May 2014
    April 2014
    March 2014
    February 2014
    January 2014
    December 2013
    November 2013
    October 2013
    September 2013
    August 2013

    RSS Feed

Contact:
On Point Quilter
e-mail:  onpointquilter@comcast.net
phone:  763-566-6536

GET MY NEWSLETTER FOR REGULAR EQ AWESOMENESS!

* indicates required
  • Blog
  • About
  • EQ Training
    • Tech Know Quilters Electric Quilt 8 Membership Training
    • Shoot for the Stars with EQ8
    • Electric Quilt 8 Sneak Peek
    • Scheduling a Workshop or Lecture
  • Store
  • Card Making
  • Contact
  • Free Stuff
    • Other Video Tutorials