ON POINT QUILTER
  • Blog
  • About
  • EQ8 Training
    • Tech Know Quilters Electric Quilt 8 Membership Training
    • EQ8 Made Easy
    • Electric Quilt 8 Sneak Peek
  • Store
  • Contact
Picture

Easter Basket - Free Tutorial

4/19/2014

 
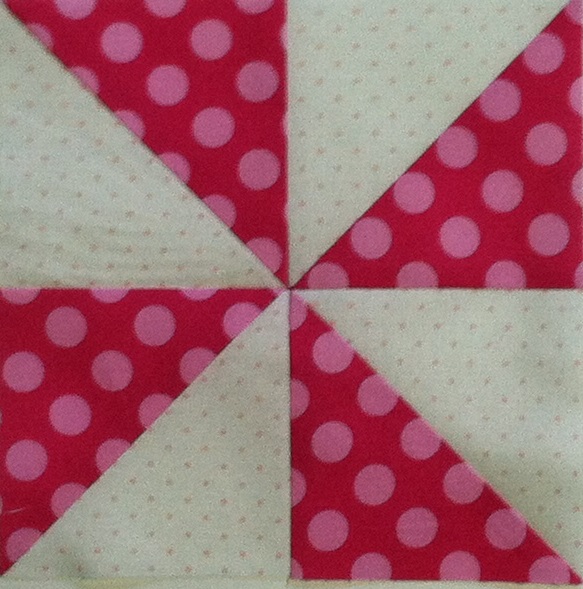
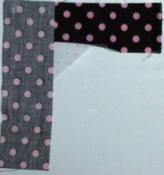
Last week I showed you a quilt I had drafted in Electric Quilt - Easter Baskets.  After a shopping trip to my local quilt shop, I decided to make some adjustments to the pattern.  Here are the fabrics I found.
Picture
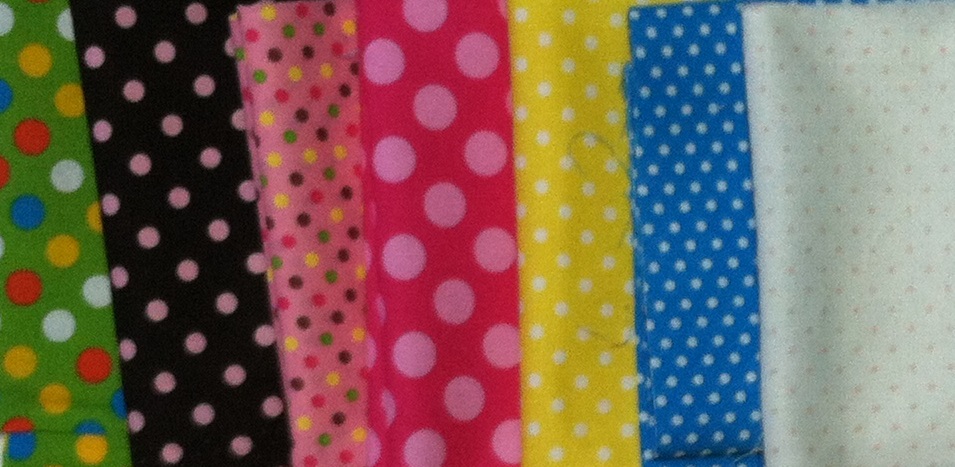
Here is my updated design.
Picture
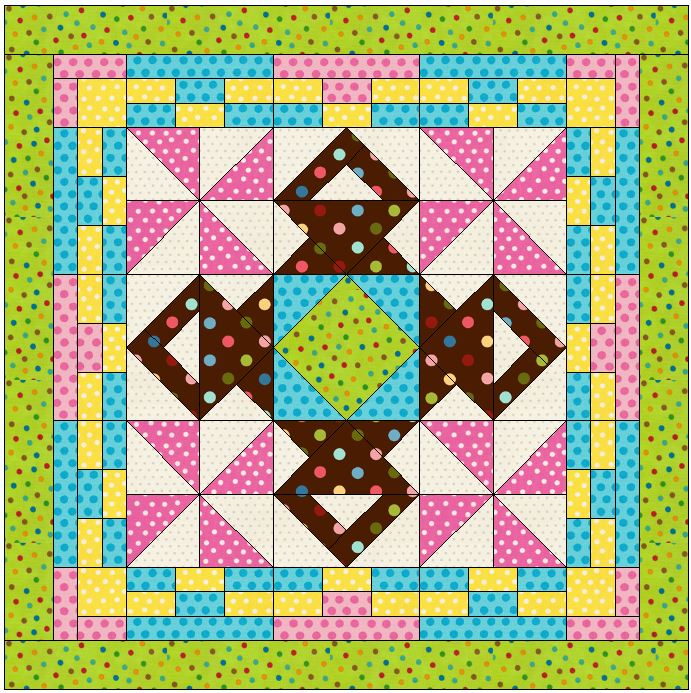
This week I want to provide some a tutorial on how I pieced this quilt.

Pinwheels
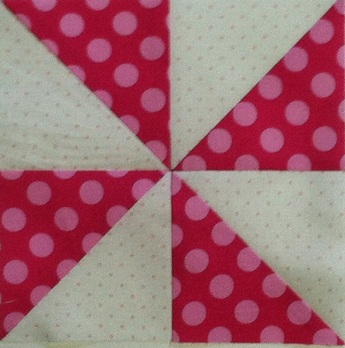
Picture
Cut:
  • White 4-1/4" x 4-1/4" (cut 8)
  • Pink 4-1/4" x 4-1/4" (cut 8) 


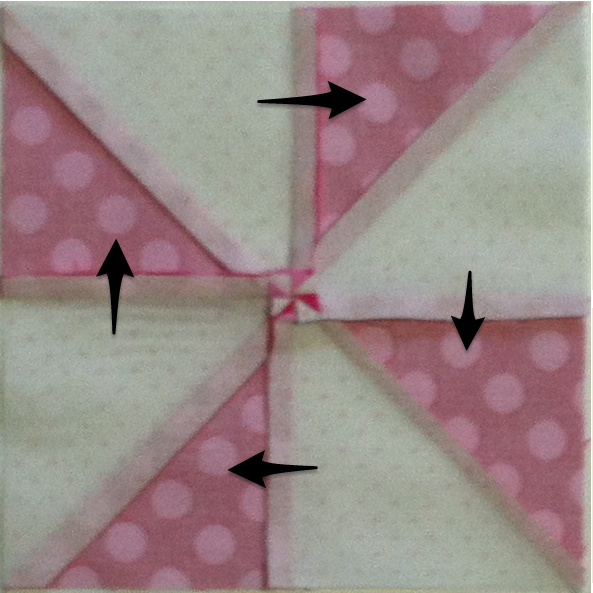
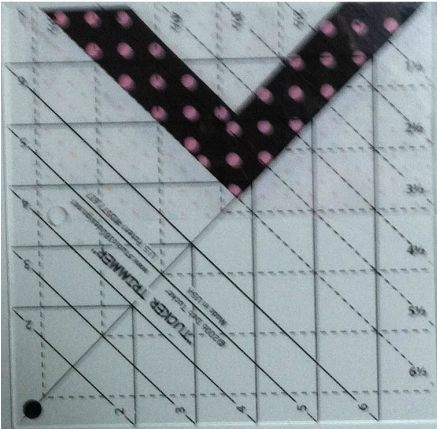
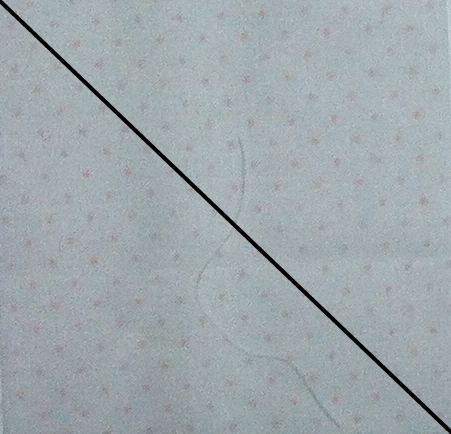
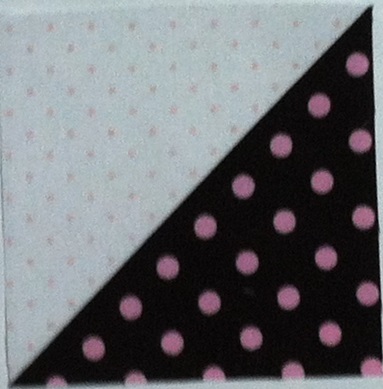
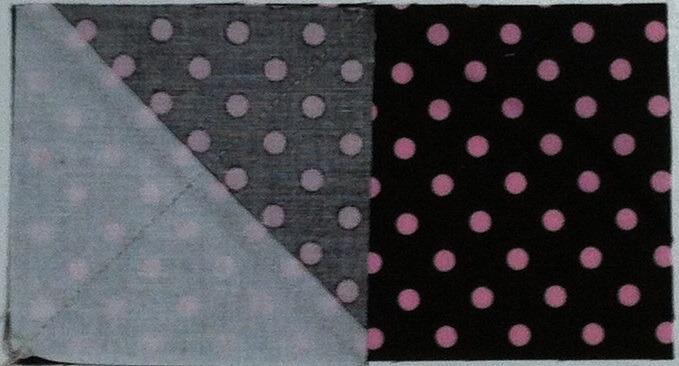
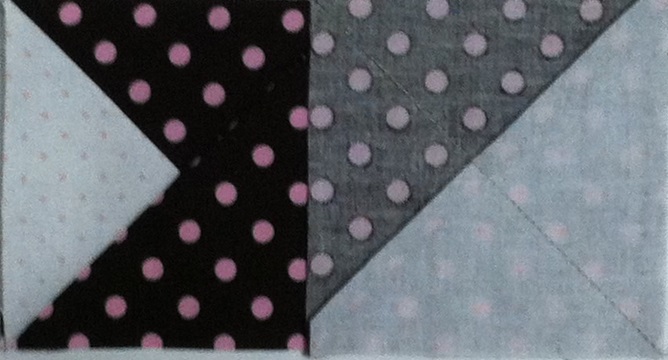
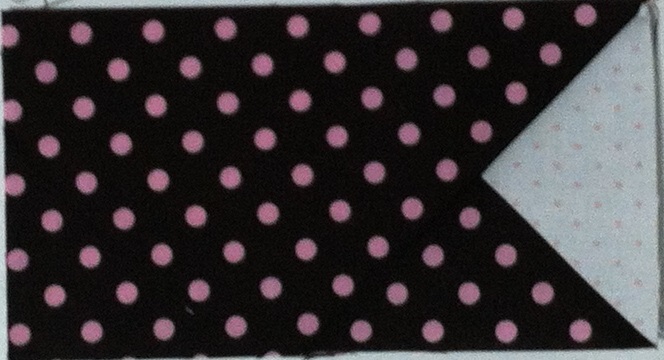
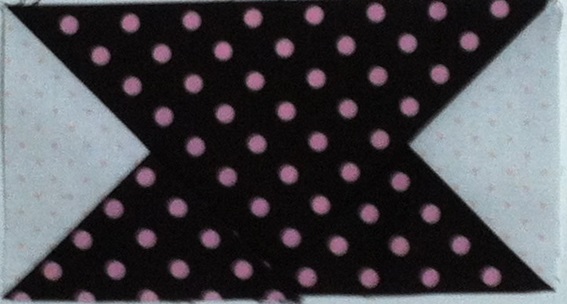
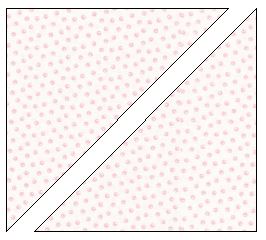
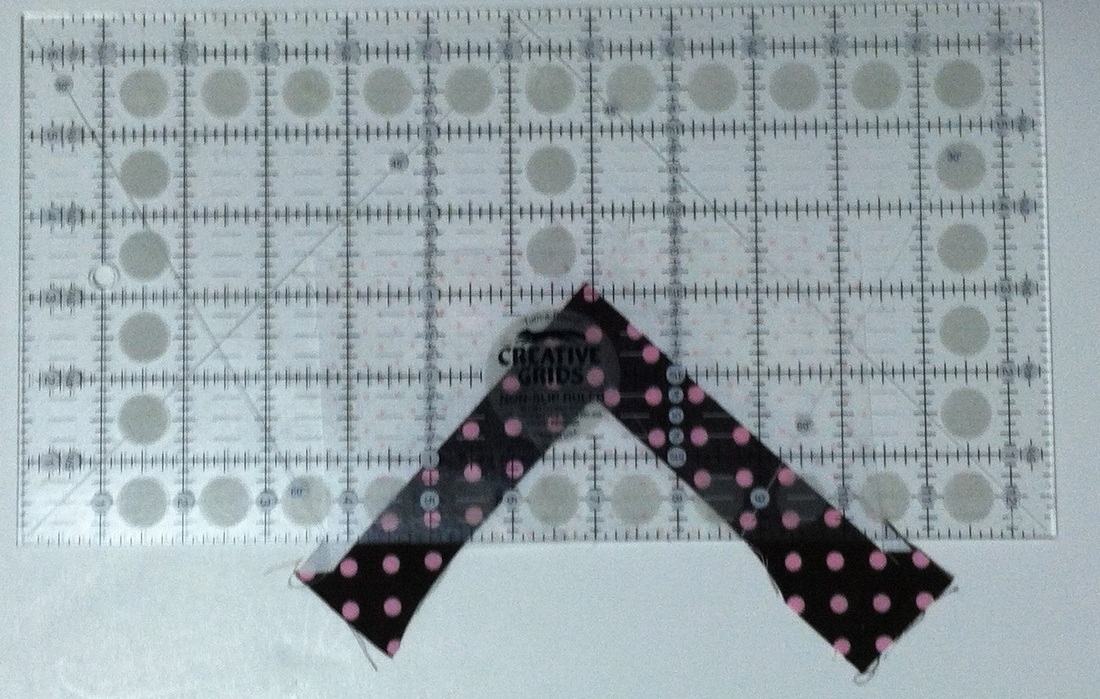
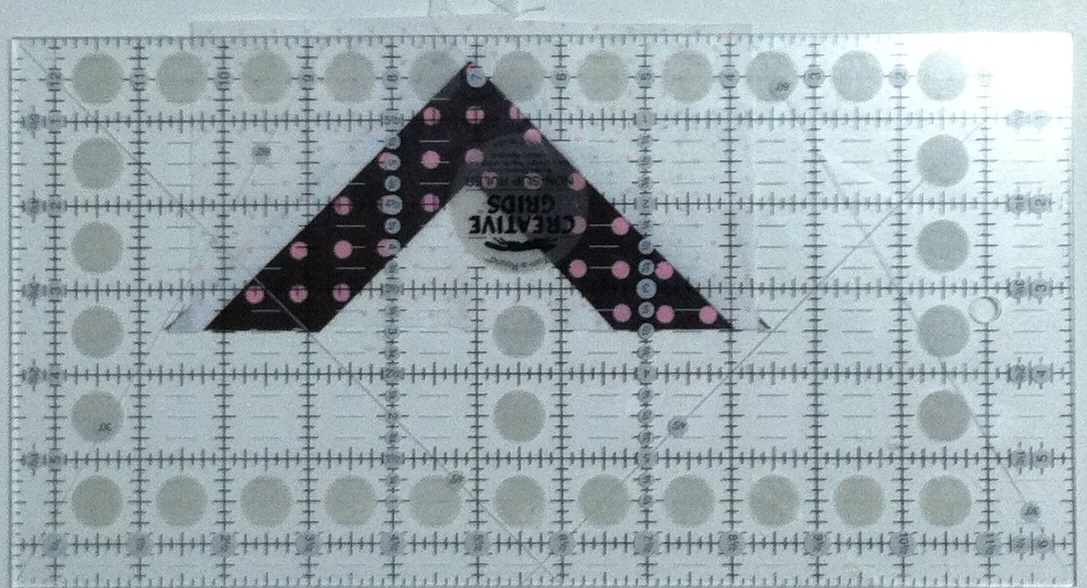
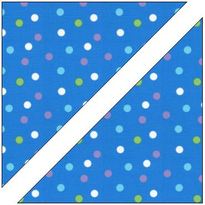
Put white and pink fabrics right sides together.  Draw a diagonal line down the center and stitched 1/4" on both sides of the diagonal line.
Picture
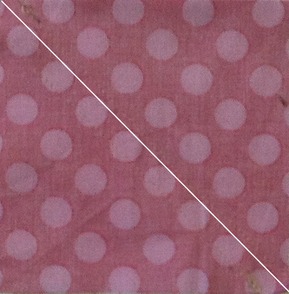
Cut on the drawn line and press toward the pink.

Trim the units to 3-1/2" x 3-1/2" using Tucker Trimmer 1. 

Trim two sides, rotate the unit and then trim the other two sides.
Picture
Combine the units for a four patch.   I then pressed using a split seam.  If you need more information on this, check out my video.
Picture
Picture
Make 4
Picture

Basket


Basket Bottom

Cut:
Background 4-1/4" x 4-1/4" (cut 4)
Basket 4-1/4" x 4-1/4" (cut 4)
Basket 6-1/2" x 3-1/2" (cut 4)


Place Background and Basket 4-1/4" x 4-1/4" pieces right sides together.  Draw a diagonal line down the center and stitch 1/4" on both sides of the diagonal line.  Cut on drawn line.  Press toward Basket. Trim the units to 3-1/2" x 3-1/2" using Tucker Trimmer 1.  Trim two sides, rotate the unit and then trim the other two sides.
Picture
Picture
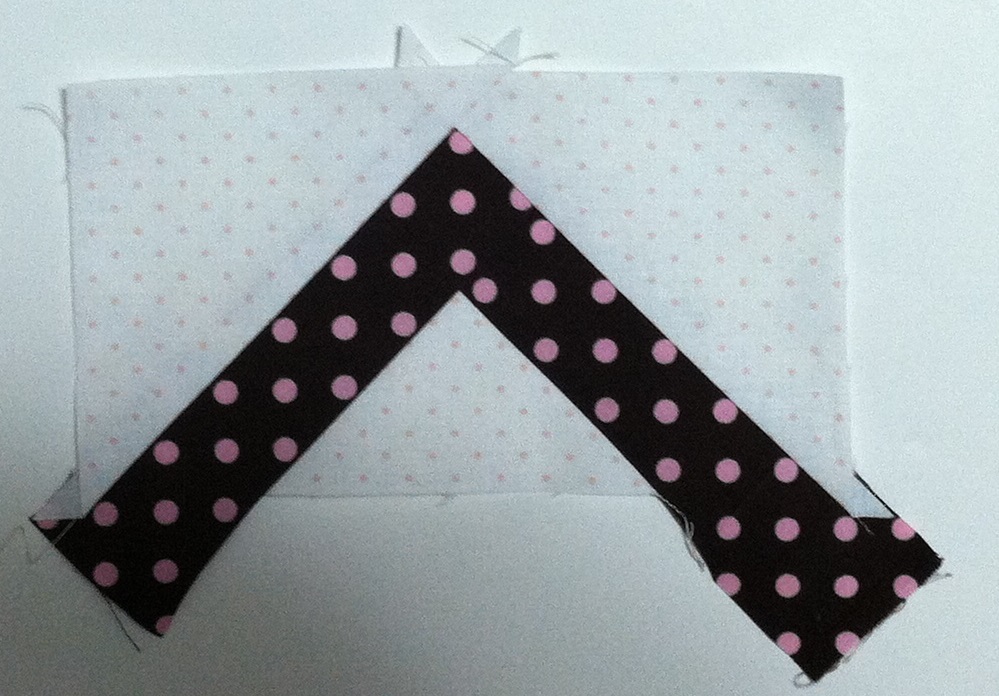
Add half square triangles on lower right and lower left of Basket 6-1/2" x 3-1/2" as folded corners.  Trim bottom two layers.
Picture
Picture
Picture
Picture
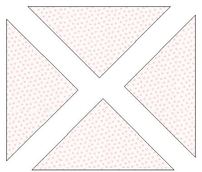
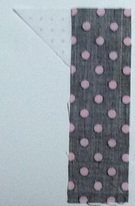
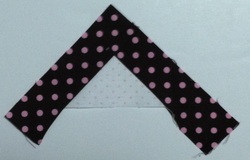
Basket Top

Cut:
Background 4-1/4" x 4-1/4" (cut 1)
Basket  1-9/16 x 4-1/2" (cut 4)
Basket 1-9/16" x 5-1/2" (cut 4)
      (Hint - 9/16" is just a bit larger than 1-1/2".)
Background 4-1/2" x 4-1/2" (cut 4)


X-cut Background 4-1/4" x 4-1/4" for four triangle pieces. 

Add short Basket Handle to one side of X-cut Background triangle.  Add long triangle to the other side.
Picture
Picture
Picture
Picture
Cut Background 4-1/2" x 4-1/2" once on diagonal for two triangles.  Add one to left of handles and one to right.
Picture
Picture
Trim to 6-1/2" x 3-1/2".  
  1. Trim bottom of handles even with bottom of X-cut triangle
  2. Trim top 3-1/2" from bottom.
  3. Use Tucker Trimmer 1 to line up and trim left and right sides to 6-1/2".
Picture
Picture
Picture
Add top and bottom sections together.  Basket section measures 6-1/2" x 6-1/2".
Picture
Make 4

Square within a Square

Cut:
  • Green (i.e. center), 4-3/4" x 4-3/4" (cut 1)
  • Blue (i.e corners), 4-1/4" x 4-1/2" (cut 2)

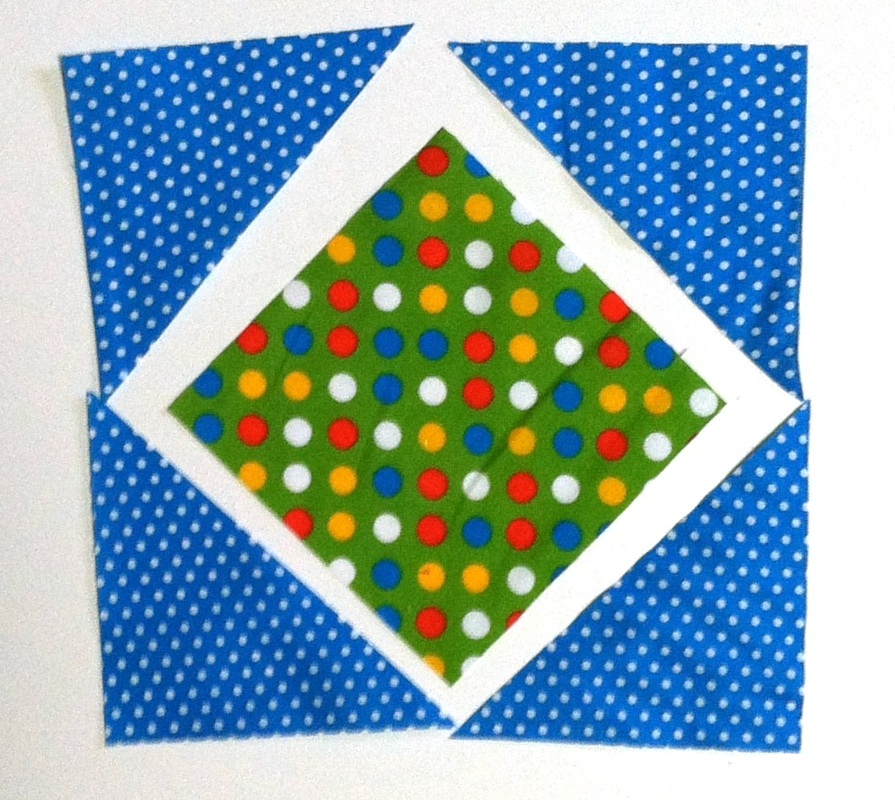
Cut Blue Corners once on diagonal for two triangles.
Picture
Picture
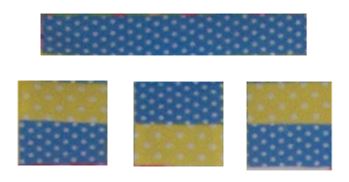
Add triangles to all four sides.  Use the Square 2 ruler from Studio 180 Design to trim unit to 6-1/2" x 6-1/2".  Align Center points with alignment marks on the ruler.  Trim right and top sides.  Rotate unit 180 degrees and trim other two sides.
Picture
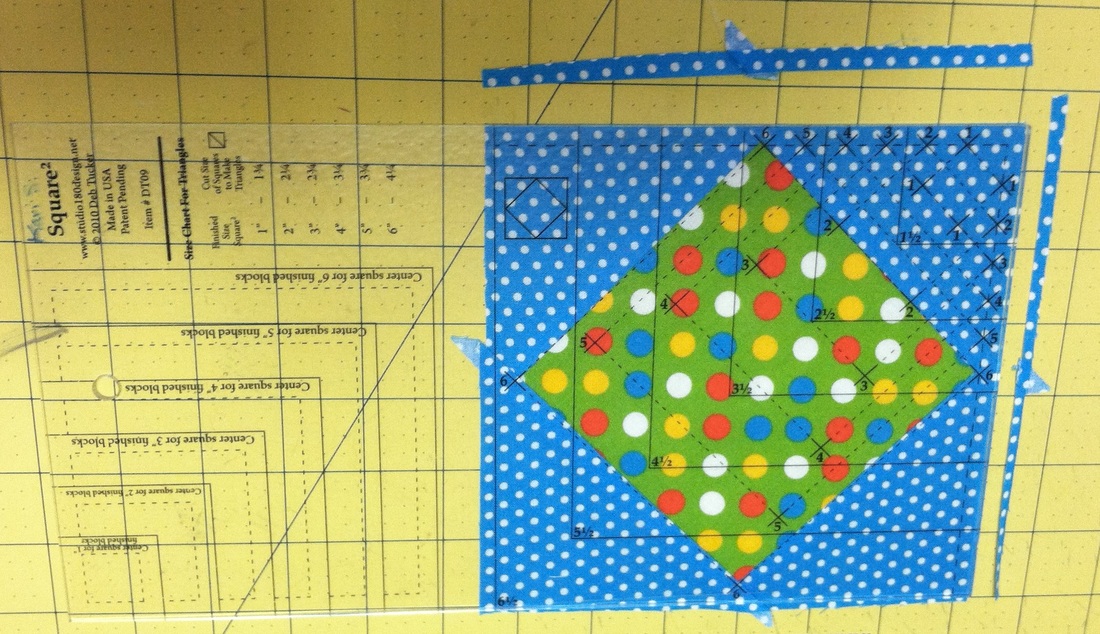
Complete center section.  It will measure 18-1/2" x 18-1/2"
Picture

Pieced Border

Cut 1-1/2" strips of border fabrics (yellow, blue and pink).

Combine blue and yellow strips.  Cross-cut at 2-1/2".  
Cut 32.

Combine pink and yellow strips.  Cross-cut at 2-1/2".  Cut 4.
Picture
Cut blue and pink pieces 6-1/2" x 1-1/2" for top of pieced border sections.

Combine 2-1/2" cross cut units.  Add tops.

Each section measures 6-1/2" x 3-1/2".
Picture
Make 8.
Picture
Make 4.
Corners:
  • Yellow 2-1/2" x 2-1/2"
  • Pink 2-1/2" x 1-1/2"
  • Pink 3-1/2" x 1-1/2"

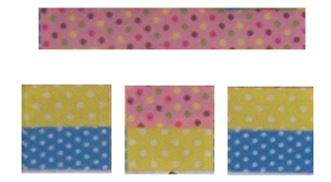
Add Pink 2-1/2" x 1-1/2" to Yellow.  Add Pink 3-1/2".  Corner unit measures 3-1/2" x 3-1/2"
Picture
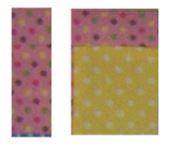
Make 4.
Combine pieced units.  Add corners to top and bottom.  Add pieced borders to quilt center.
Picture
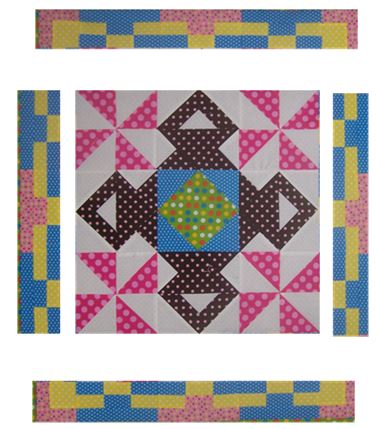
Cut outer border strips
  • 3" x 24-1/2" (cut 2)
  • 3" x 29-1/2" (cut 2)

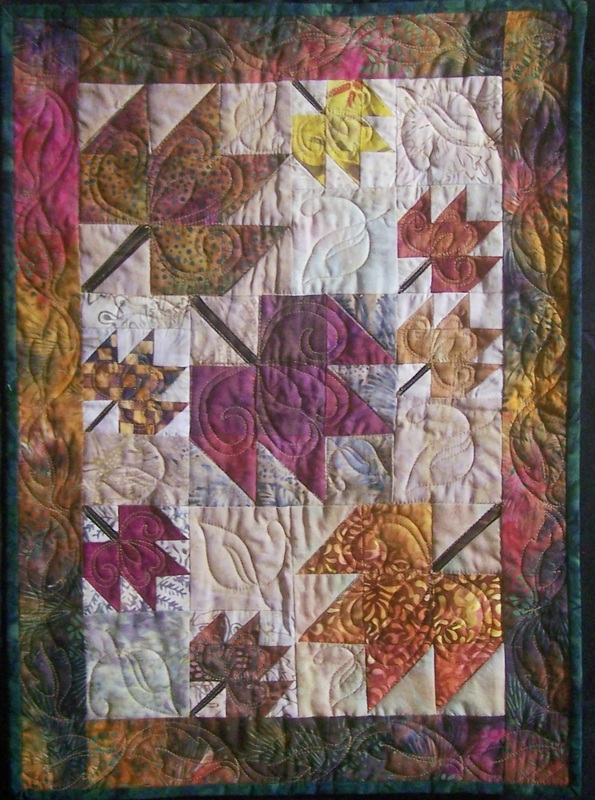
Add borders to quilt center.  Quilt finishes 29-1/2" x 29-1/2".

Picture
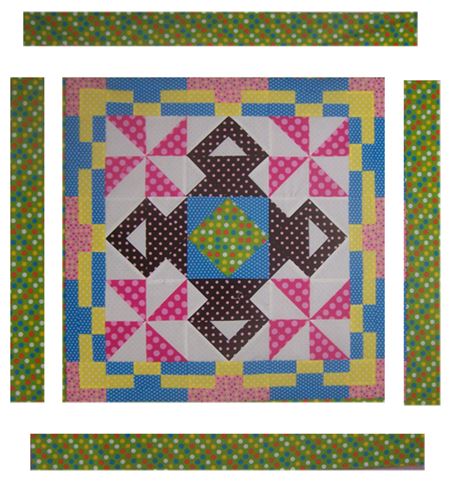
Final quilt.  

Now that I look at the quilt, I think it would also work nicely for May Day as well.
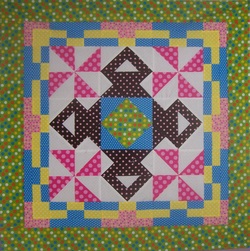
Picture
Happy Easter!

Kari

Picture
Cynthia Marrs
4/19/2014 02:01:10 am

Nicely pieced. As a longarm quilter, getting a top from someone with good piecing technique would make my quilting job so much easier.Thanks for the tutorial.

Carole link
4/19/2014 02:45:02 am

What an interesting block, thank you for sharing it!


Comments are closed.
    Picture
    Picture
    Picture
    Free guide available for newsletter subscribers
    Picture
    Picture
    Picture

    Kari Schell

    Electric Quilt Expert and Educator and Pattern Designer.

    Categories

    All
    Art And Stitch
    Cricut Maker
    Dear Jane
    Electric Quilt 7
    Electric Quilt 8
    Goose Goose Duck Challenge
    Inkscape
    Patterns
    Silhouette Cameo
    Stampin Up
    Tips And Techniques
    Tools And Rulers

    Archives

    April 2025
    March 2025
    February 2025
    January 2025
    December 2024
    November 2024
    October 2024
    September 2024
    August 2024
    July 2024
    June 2024
    May 2024
    April 2024
    March 2024
    February 2024
    January 2024
    December 2023
    November 2023
    October 2023
    September 2023
    August 2023
    July 2023
    June 2023
    May 2023
    April 2023
    March 2023
    February 2023
    January 2023
    December 2022
    November 2022
    October 2022
    September 2022
    August 2022
    July 2022
    June 2022
    May 2022
    April 2022
    March 2022
    February 2022
    January 2022
    December 2021
    November 2021
    October 2021
    September 2021
    August 2021
    July 2021
    June 2021
    May 2021
    April 2021
    March 2021
    February 2021
    January 2021
    December 2020
    November 2020
    October 2020
    September 2020
    August 2020
    July 2020
    June 2020
    May 2020
    April 2020
    March 2020
    February 2020
    January 2020
    December 2019
    November 2019
    October 2019
    September 2019
    August 2019
    July 2019
    June 2019
    May 2019
    April 2019
    March 2019
    February 2019
    January 2019
    December 2018
    November 2018
    October 2018
    September 2018
    August 2018
    July 2018
    June 2018
    May 2018
    April 2018
    March 2018
    February 2018
    January 2018
    December 2017
    November 2017
    October 2017
    September 2017
    August 2017
    July 2017
    June 2017
    May 2017
    April 2017
    March 2017
    February 2017
    January 2017
    December 2016
    November 2016
    October 2016
    September 2016
    July 2016
    June 2016
    May 2016
    April 2016
    March 2016
    February 2016
    January 2016
    December 2015
    November 2015
    October 2015
    September 2015
    August 2015
    July 2015
    June 2015
    May 2015
    April 2015
    March 2015
    February 2015
    January 2015
    December 2014
    November 2014
    October 2014
    September 2014
    July 2014
    June 2014
    May 2014
    April 2014
    March 2014
    February 2014
    January 2014
    December 2013
    November 2013
    October 2013
    September 2013
    August 2013

    RSS Feed

Contact:
On Point Quilter
e-mail:  [email protected]
phone:  763-566-6536

GET MY NEWSLETTER FOR REGULAR EQ AWESOMENESS!

* indicates required
  • Blog
  • About
  • EQ8 Training
    • Tech Know Quilters Electric Quilt 8 Membership Training
    • EQ8 Made Easy
    • Electric Quilt 8 Sneak Peek
  • Store
  • Contact