
|
Check out my Facebook post on December 25th for a chance to relax for a few minutes with a special Christmas video.
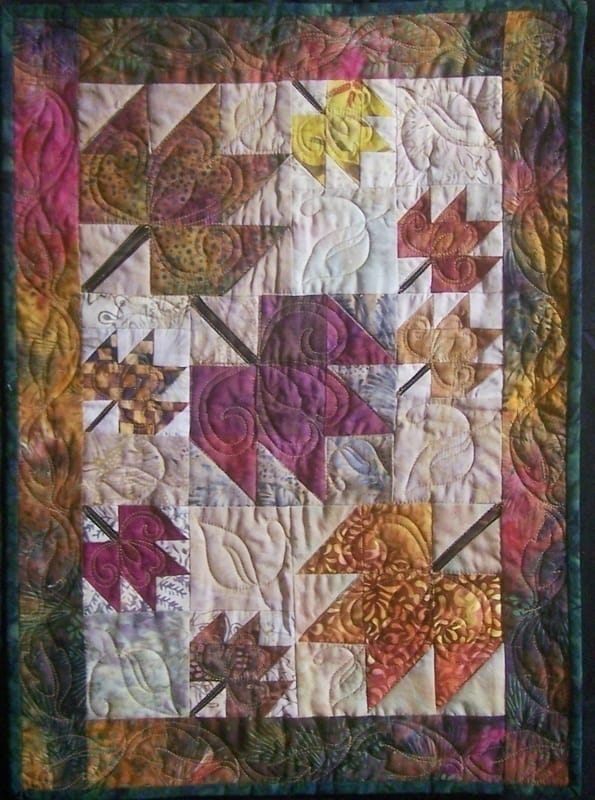
When I did my post last week, I was focused on ornaments for the Christmas tree. After thinking a bit more, I realized that with a few modifications these would also make great gift card holders -- a personal touch that will stand out and be appreciated! Let's get started with Part 2 of the video, which covers adding stitches in the embroidery section. You will only be able to do this if you have EQ Stitch.
After playing with various settings, here is what I finally landed on for my project. These may be slightly different than what was in the video -- but I continued to enhance my stitch file after the video was done.

Applique Edge Stitch for Outside of Ornament

Applique Edge Stitch for Tree

Double Run Stitch for Garland
 Fill Stitch for star, trunk, ornaments, and text. Smooth fill type was used for all. Edge stitch was turned off (red X) for all of these items. Fill Stitch for star, trunk, ornaments, and text. Smooth fill type was used for all. Edge stitch was turned off (red X) for all of these items.
In the Hoop Gift Tag
Here are my steps for creating an In the Hoop Machine Applique design and completing the gift tag. I am still learning this process -- so if you have suggestions to make this better, please feel free to post in the comments section.
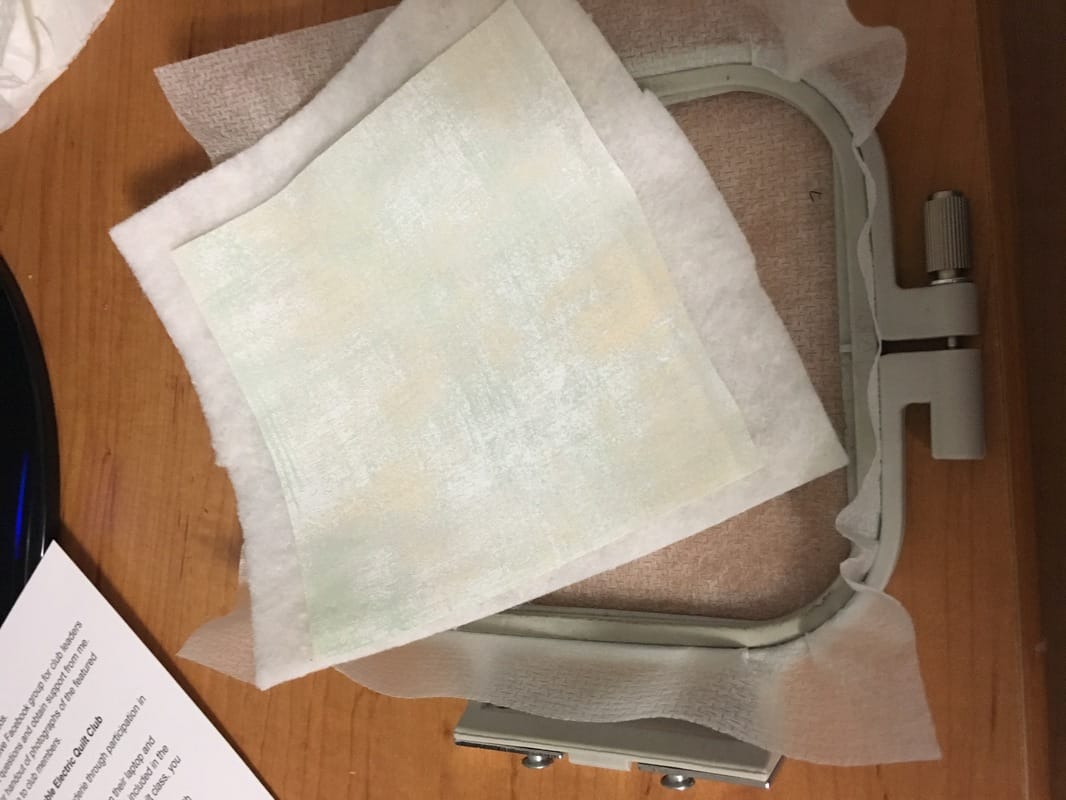
Step 1: Hoop a piece of No Show Poly Mesh Plus Machine Embroidery Stabilizer.
Step 2: Place a 5 x 5 piece of batting and a 5 x 5 piece of background fabric on top and sewed the placement circle using your embroidery machine. The top thread should match the color in the background fabric. (For my first projects, I sprayed both with Sullivan's Quilt basting spray -- but by the last ones I found I could eliminate that step and just hold the pieced in place while it sewed the circle.)
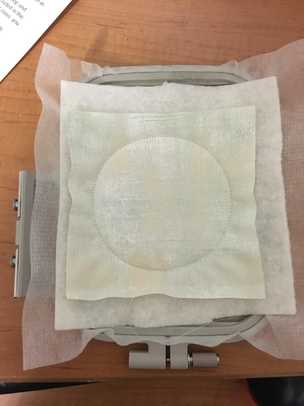
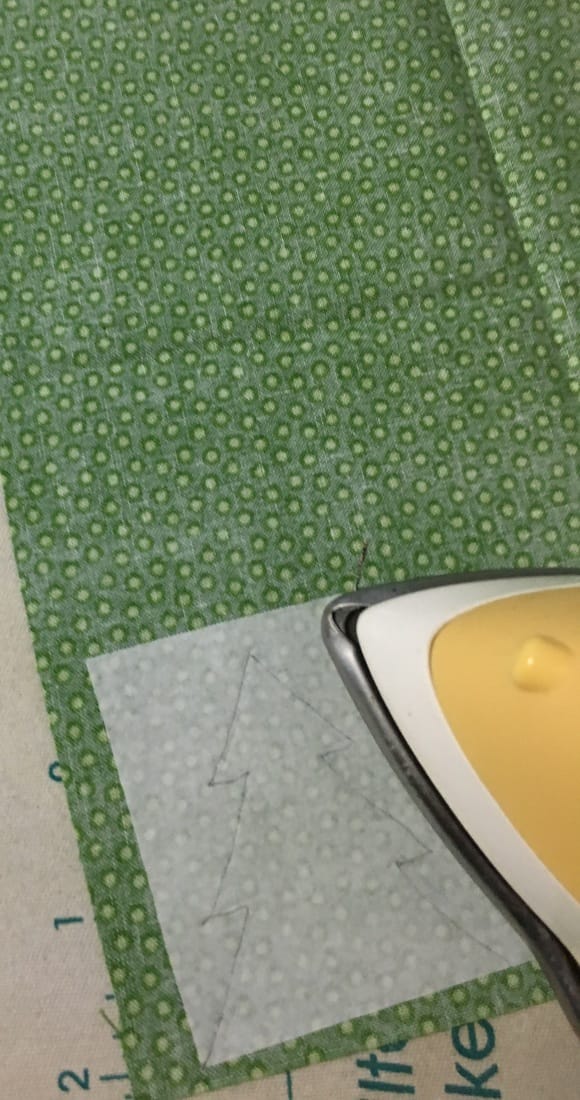
Step 5: Embroider the trunk and the tree placement line. Iron the tree to the background using the placement line as a guide.
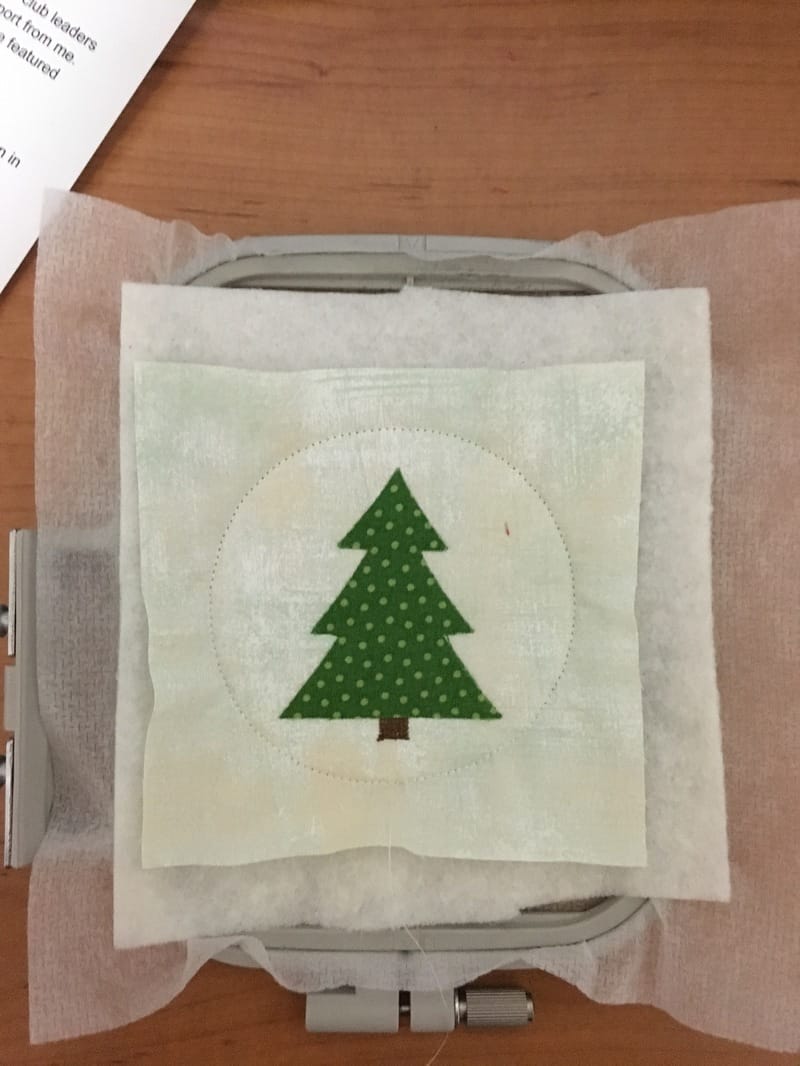
Step 6: Embroider the rest of the the items (other than the outside edge).
Step 7: Remove from hoop and trim just outside the placement lines.
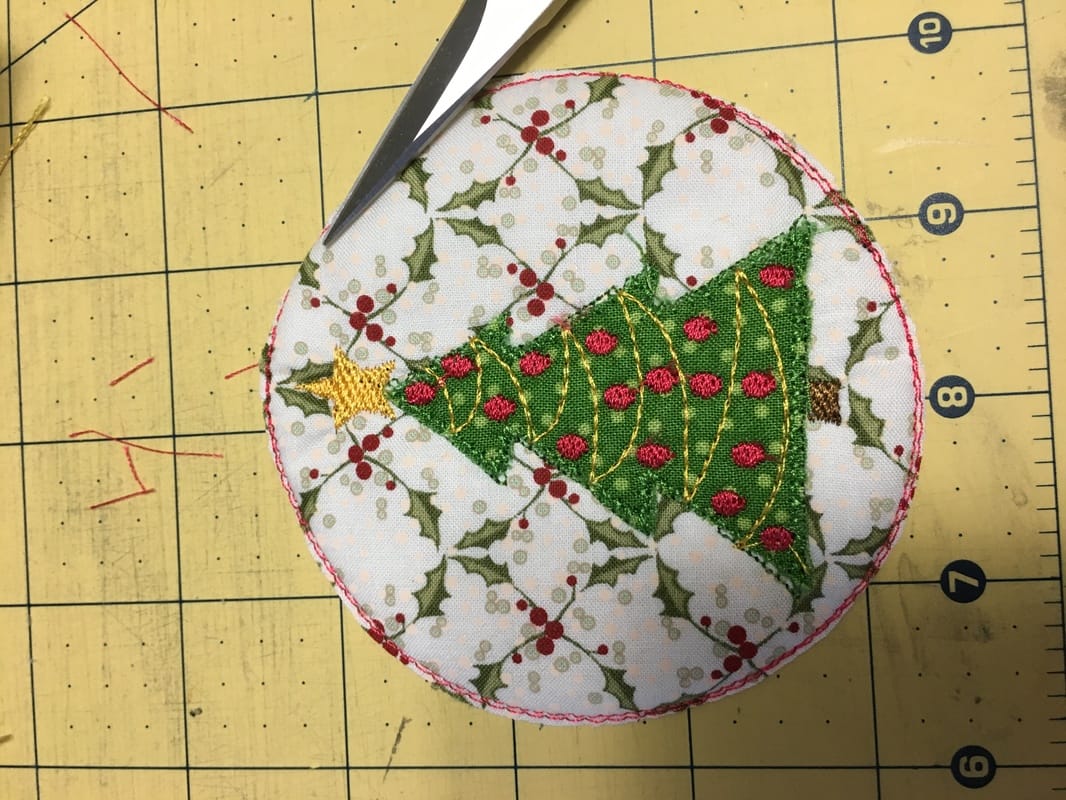
Oops -- forgot to take a photo of my sample project. This was from another ornament (without a name).
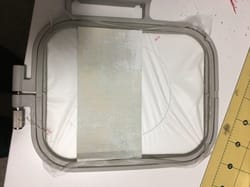
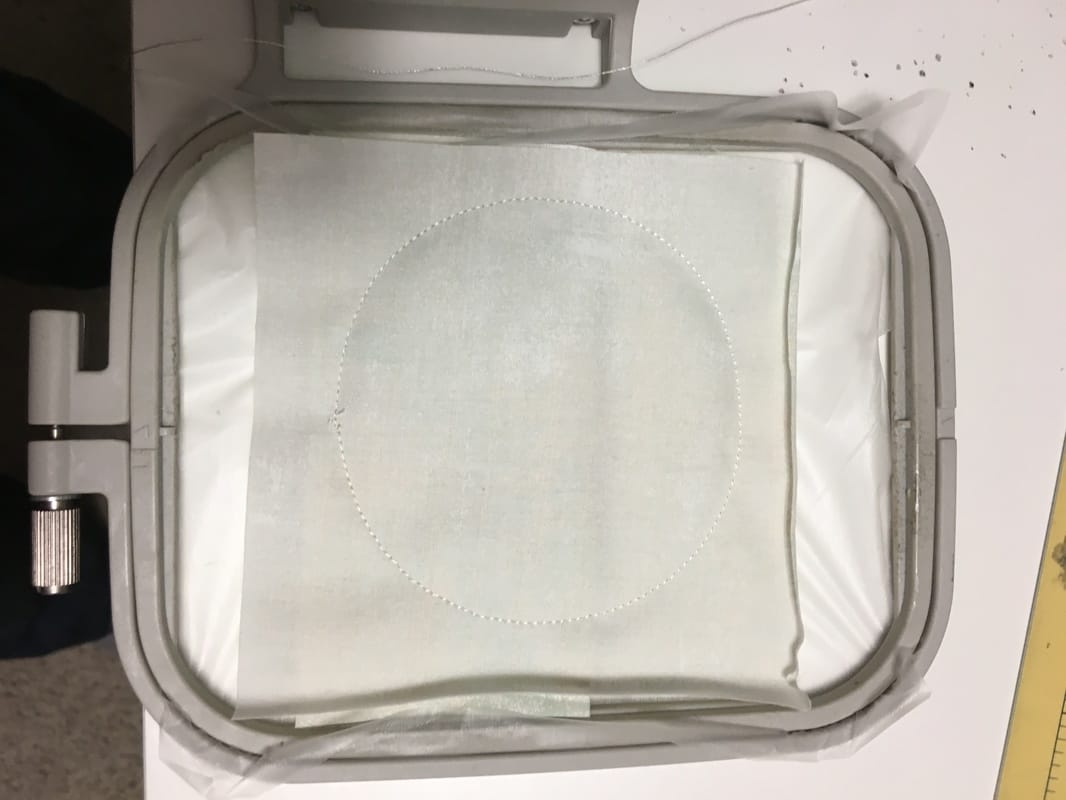
Step 8: Hoop a piece of Wash-away Water Soluable Stabilizer. I think a tear-away stabalizer would also work for this step.
Step 9: Sew the placement line (the same one you did for the first part of the ornament). 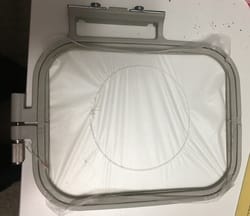
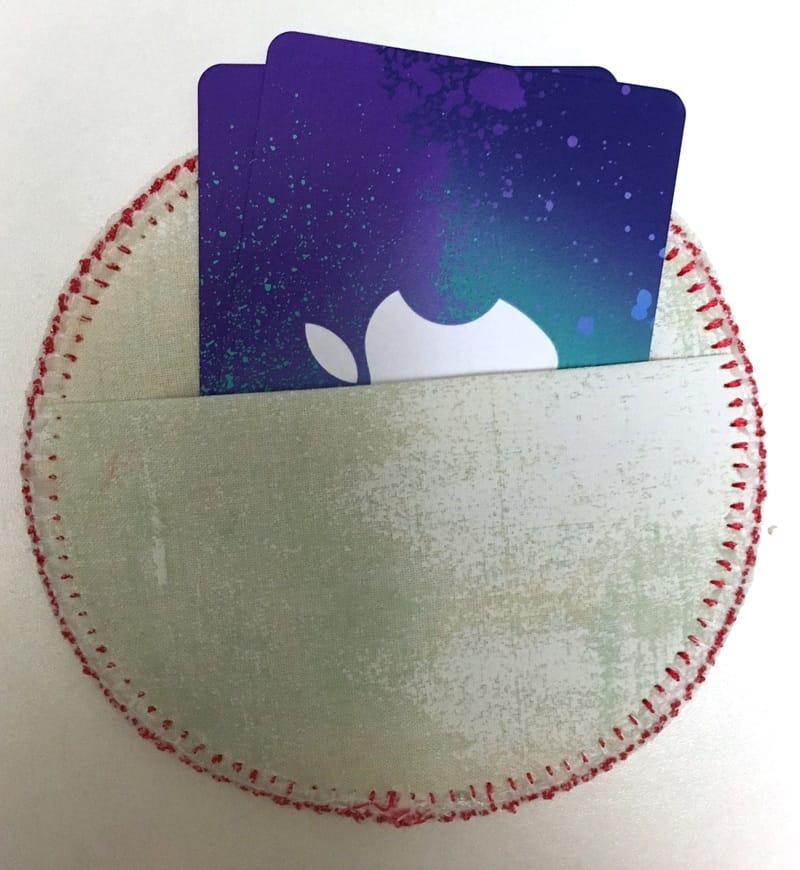
Step 10: Add Gift Card Pocket (a 5 x 5 piece of fabric folded in half with right sides together). The folded seam should be slightly above the center of the placement line.
Step 11: Add a 5 x 5 backing piece, right sides down. Step 12: Sew another placement line.
Step 13: Spray the embroidered ornament with Basting Spray and place on the hooped back using the placement lines as a guide.
Step 14: Sew the Tack Down. The tack down thread color should match the background fabric. Step 15: Sew the Blanket Stitch. The blanket stitch may be contrasting thread color. I like to double stitch the blanket stitch to give it more prominence. 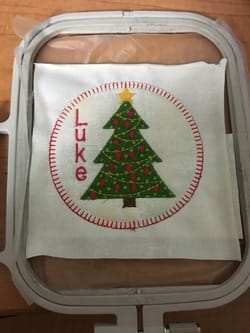
Step 16: Trim close to blanket stitch and remove Wash Away Stabilizer.
Step 17: Add gift cards and deliver! 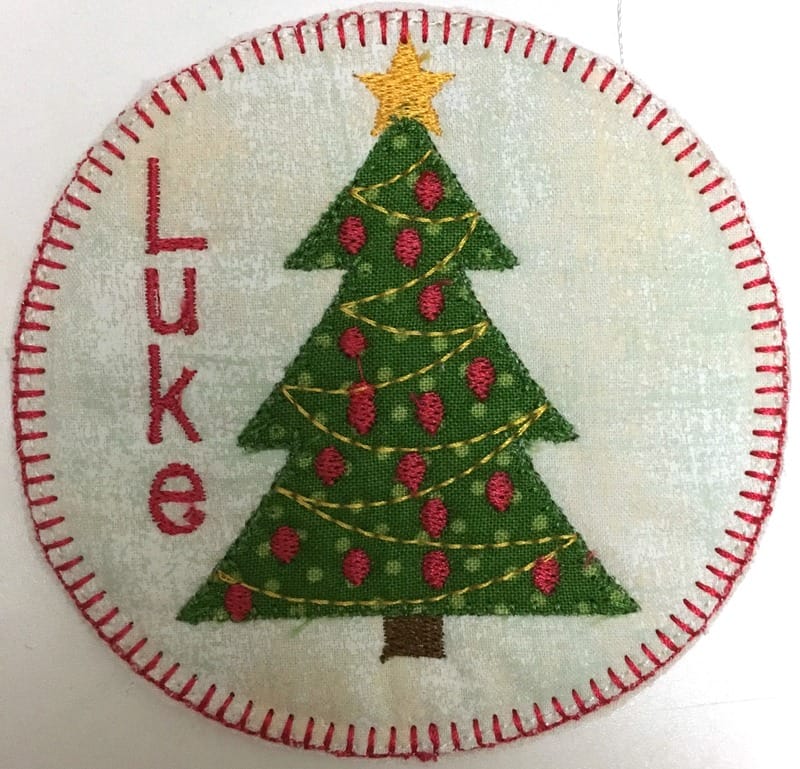
Introduction to Electric Quilt -- Starting January 15, 2017
This online class will cover basic navigation of the software, creating a new project, using the libraries, using Quick Quilts for fast projects, adding borders, coloring tools/fabrics, creating quilt labels and printing quilts, blocks, fabric yardage estimates, rotary cutting and foundation patterns. By the end of class you will be comfortable working with the program and be able to explore additional features on your own. Users of all levels are welcome, with special emphasis on beginners. Dates: January 16, 23, 30, February 6, 7 - 8:30 pm (Central time) (four sessions) Class size will be limited to 8 participants. Seats are available on a first come first serve basis. This class will be exactly like taking at "in person" class at a show or shop. We will use screen sharing technology -- so you will be able to see my screen and if you have specific questions, I will also be able to view yours as well. Early Sign-Up Bonus: As a special bonus, if you sign up December 31,2016 you will be entitled to a private 20 minute coaching call with Kari that may be used any time during the course of the class. Use it for extra help on a topic or to pick Kari's brain on something you wish to do in Electric Quilt. (Value: $60) Purchase here.
Comments are closed.
|


Free guide available for newsletter subscribers


Kari SchellElectric Quilt Expert and Educator and Pattern Designer. Categories
All
Archives
July 2024
|

 RSS Feed