|
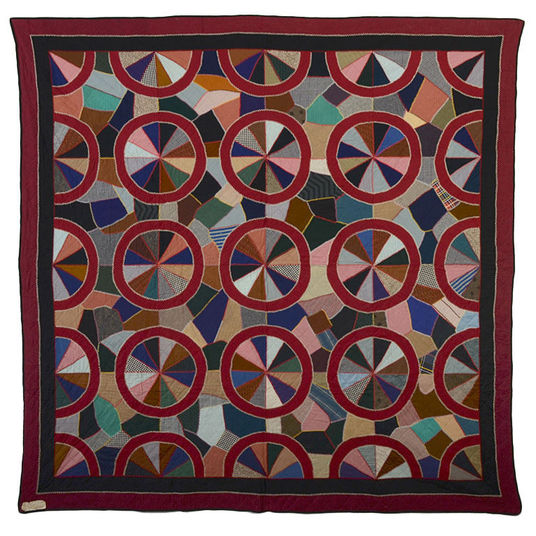
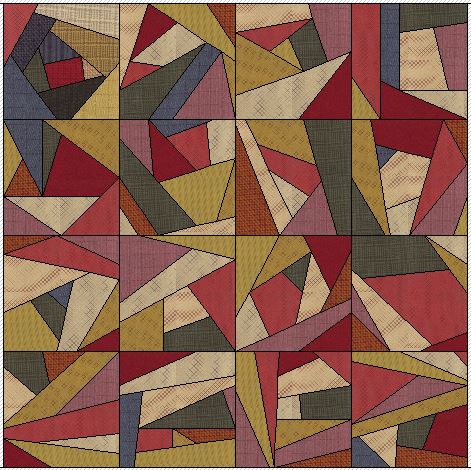
Last week I shared an antique crazy quilt and shared a video tutorial on adding designer fabrics to the sketchbook and drafting a crazy quilt block using Electric Quilt. This week I will focus on creating and adding the "circles", "half circles" and "quarter circles" to the block intersections. These blocks were created using Patch Draw. Once creating the large block, the others were drafted through editing the initial block. Enjoy the new video tutorial. Featured Product - EQ Coaching Program
Linda
12/19/2015 10:49:56 am
Another great tutorial, Kari! Thanks so much. Glad to see you back posting.
Corrine Wilkins
12/27/2015 07:37:24 pm
Compliments of the Seasons to you. Great tutorial. How would the 'print block' work when you have blocks on Layer 1 and Layer 2? Would you have 2 different blocks or would they combine and divide to the original grid, presumably used as foundation piecing?
Kari
12/28/2015 10:20:56 am
Connie -- They would be two separate blocks. Think of the second block as being appliqued on the first block (which was how I designed it).
Corrine Wilkins
12/28/2015 07:39:56 pm
Many thanks. Had not thought of applique! Comments are closed.
|
Kari SchellElectric Quilt Expert and Educator and Pattern Designer. Categories
All
Archives
July 2024
|


 RSS Feed