
|
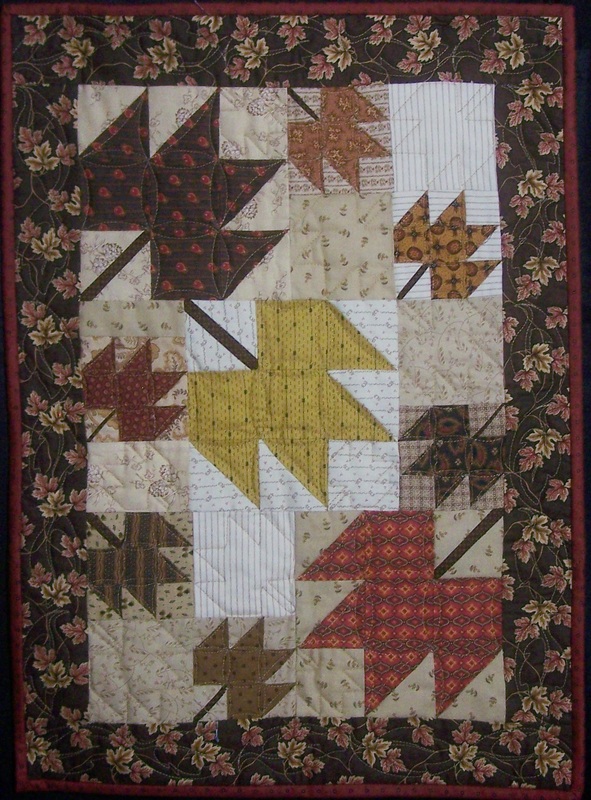
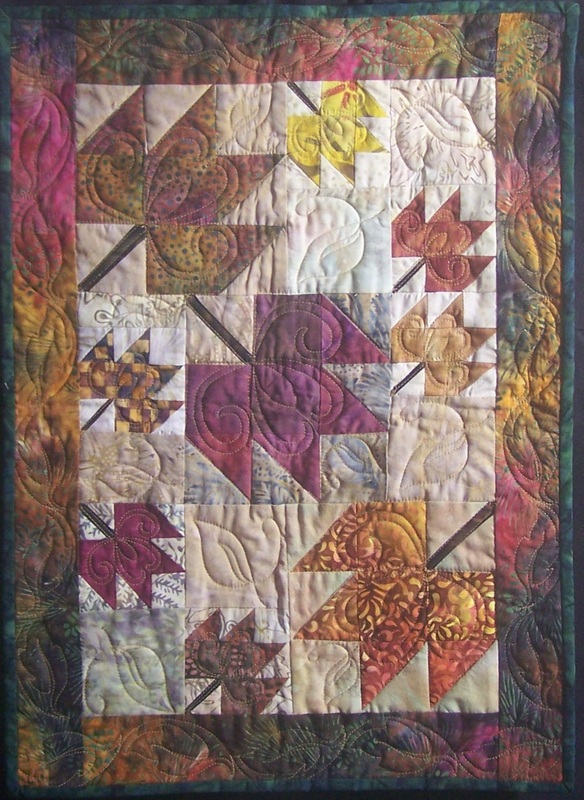
Welcome. This week I am excited to share two videos with you. There was so much to share that I decided to split the video into two parts. Here is the finished project. 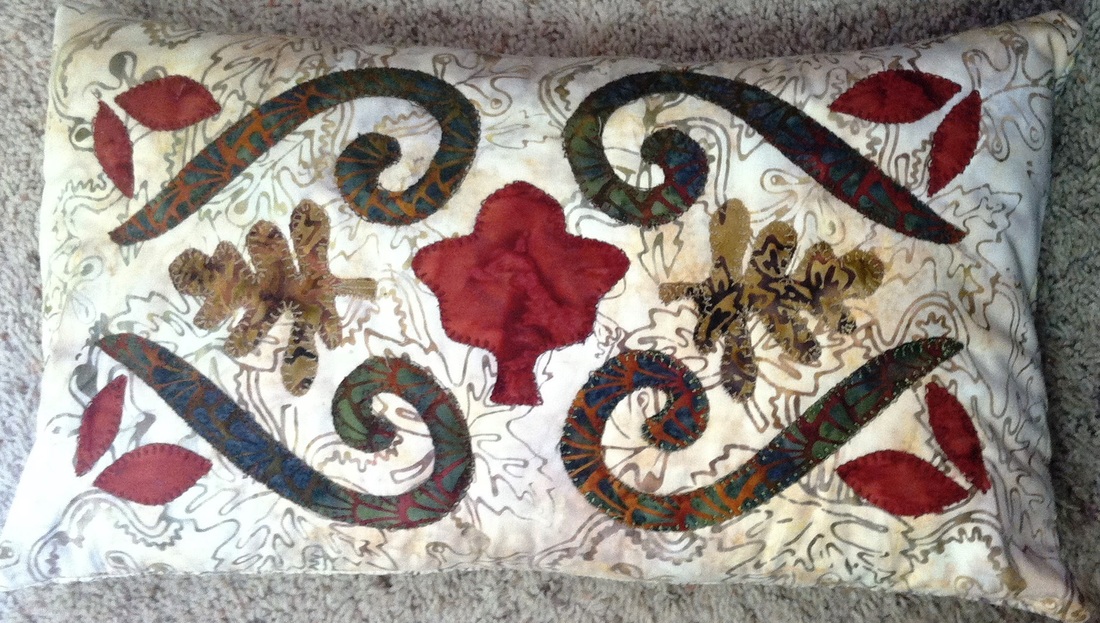 I want to do a special call-out to Anne Hurlburt. She is a certified Art and Stitch instructor and did her Addendum on doing Applique on her longarm. She has a ton of good information particularly for those using a Statler. My approach was a bit different than Anne's, but is built on her technique. I started with a design in Electric Quilt, transferred it to Art and Stitch (where I created my new master). From Art and Stitch I created the stitching for my longarm. I also took the shapes and cut them using my Silhouette Cameo. All of this is described in Part 1 of the Video. if you aren't using a Silhouette cutting machine, you can ignore the last section of Part 1. Just print out the patterns in Art and Stitch and trace them on your fusible interfacing. Postcript on 9/29/2014 - Loes Vanderheijden shared an even better way to transfer from EQ to Art and Stitch. Here are her instructions. In Electric Quilt (I used EQ7): ====================== 1. Open the desired block or stencil in your sketchbook and click on Edit to place it on the EQ Workspace. 2. Look at the rulers and make a note of the block dimensions. 3. Choose menu File > Export Metafile of Block 4. In the next dialog click on the button "Copy to Windows Clipboard". In Art and Stitch (version 3): ==================== 5. Start a new Design Page and choose menu Edit > Paste Special. This will place a copy of the EQ design on the Art and Stitch Design Page, as artwork. 6. While it's still selected, go to Properties panel, tab Transform and enter the dimensions you wrote down in step 2. Click on Apply. 7. To reduce the too many nodes, select all, right-click and choose Simplify Smoothen. Use the following settings: Curve Precision (%): 30 Angle Tolerance: 57 Distance tolerance: 20. Part 2 of the video shows the actual application and stitch out on my APQS Millennium with Intelliquilter. Regardless of your computerized system, I think you will find this useful. Part 2 was done using a small video camera and is a little choppy. I did some major editing to shorten the video which is much more noticeable when using a camera. Once I finished my piece, I added an "envelope" back and created a full fall pillow. I used lots of leftover batting pieces for stuffing the pillow form. Footnote: I heard from a couple of people that are using the Brother Scan-and-Cut system. Silhouette has also recently come out with PixScan technology. If you wanted to avoid tracing the jpeg Art and Stitch file, you could actually print out the filled shapes from Art and Stitch and scan directly into your system of choice. (I just received my PixScan mat this afternoon and was very impressed with the accuracy of the scan of my printed Art and Stitch file.) Happy quilting. Kari Sign up for my newsletter to stay current on what's happening in my studio and learn more quilting tips. As a thank you, I'll send you a FREE pattern for this small maple leaf quilt.
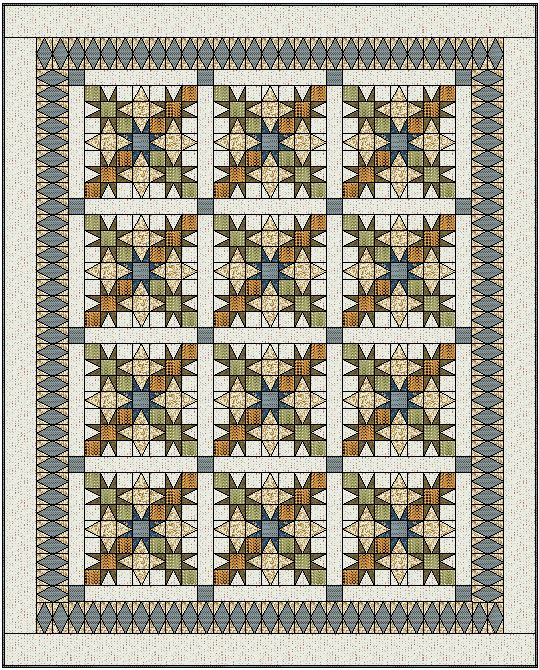
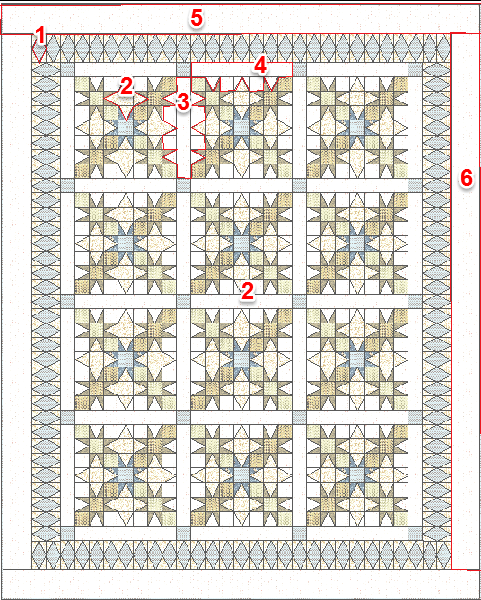
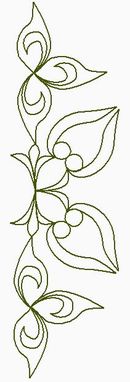
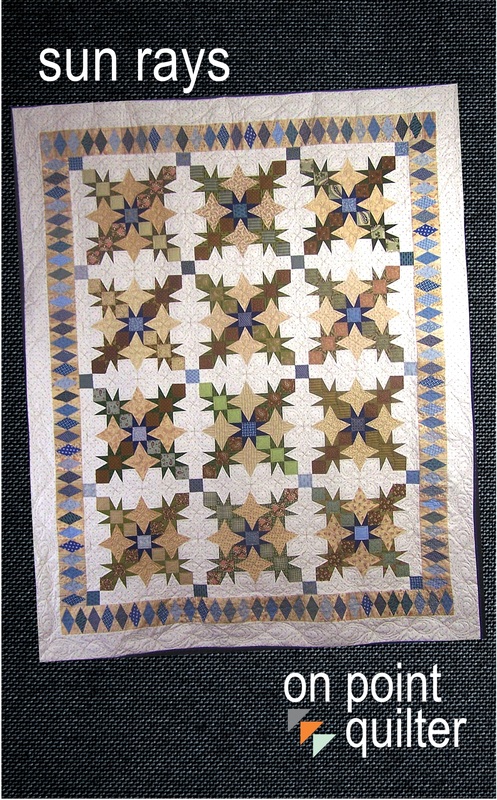
Are you working on a Sun Rays Quilt? This one took me a bit of time to decide what to do for quilting it. For the cover photo on the pattern, I wanted to design some unique elements to fill the background space. All the quilting was designed and digitized with Art and Stitch software -- although the designs could also be executed with both domestic machines and hand-guided longarm set-ups. Let's start with how I analyzed the quilt top. I will use my EQ drawing as it is a little easier to draw out my designs on it.
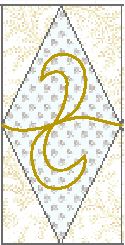
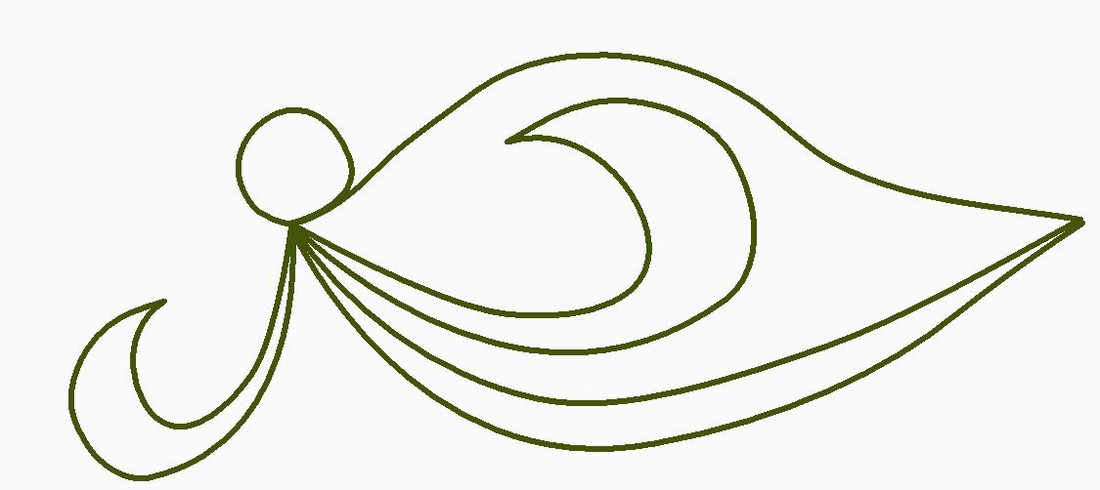
I came up with two primary elements to feature in my quilting.
The next step was to add the tan stars design. I used a small tear drop to connect all the elements together. For the partial sashing I did a variation on this same theme.
I then copied the leaf and mirror imaged it. I then connected to the sections. I liked this design as it allowed for some stretching/shrinking to ensure the design fit into my final borders. 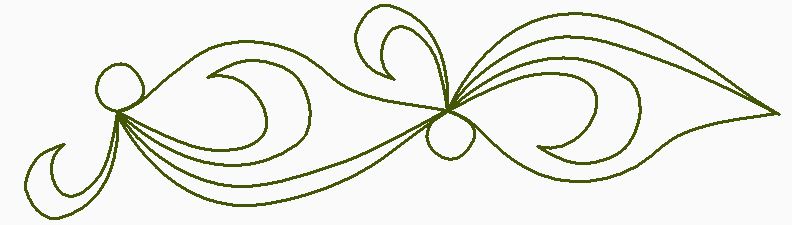 Here are a few close-ups of the finished quilt. 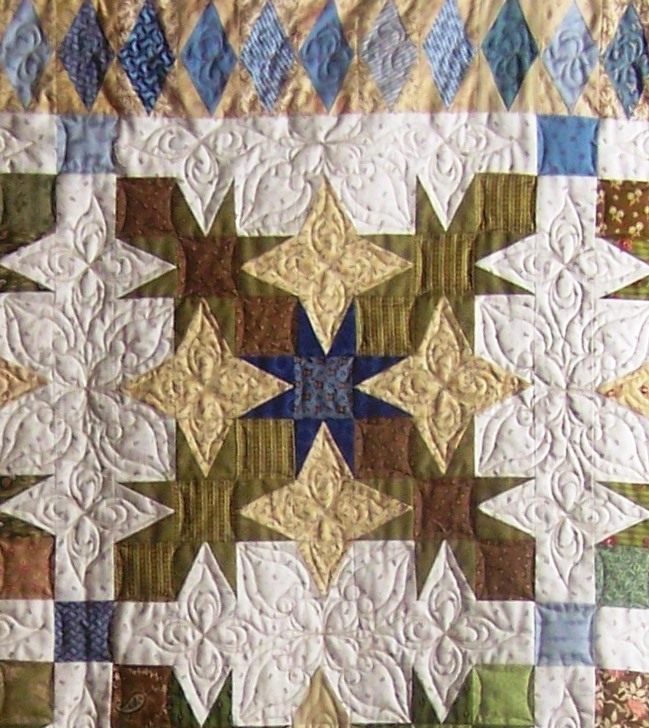 Close-up of Block, Sashing and Pieced Border Quilting  Close-up of Border Quilting. In my video last week, I mentioned I was working on a wall hanging sized quilt. Let me share the finished quilt. 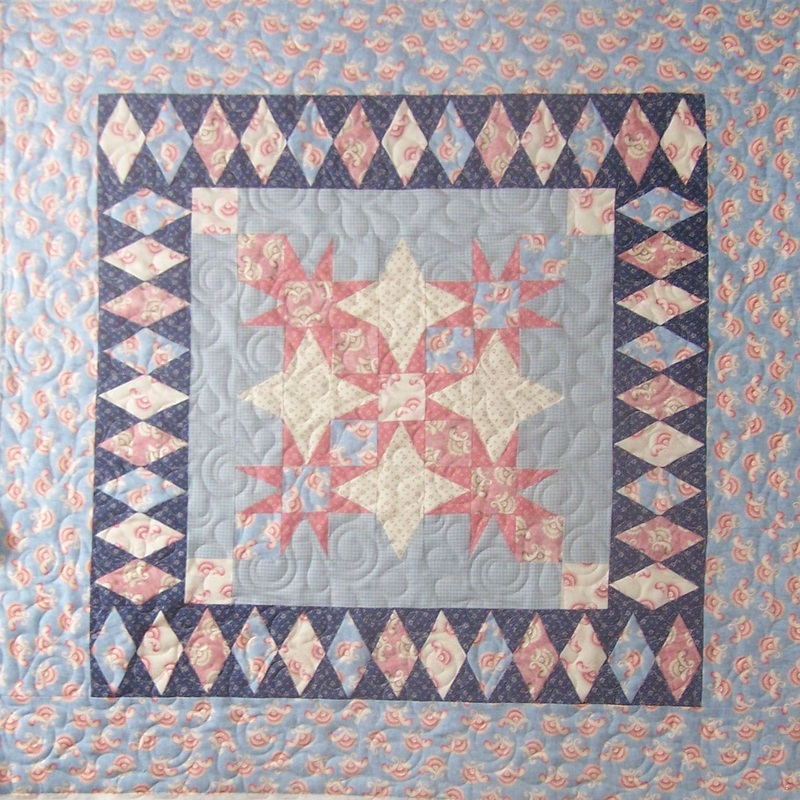 Sun Rays Quilt using Softly Spoken fabric from Marcus Brothers This quilt was pieced using the Softly Spoken collection by Marcus Brothers. For quilting the wall hanging I decided to use a pantograph by Jessica Schick from Digitech. I thought it added some nice curves to the geometric piecing. 
Happy quilting. Kari Sign up for my newsletter to stay current on what's happening in my studio and learn more quilting tips. As a thank you, I'll send you a FREE pattern for this small maple leaf quilt.
Memorial Day is a US federal holiday to remember the men and women who died while serving in the Armed Forces. When I was growing up, we always would walk over to the cemetery where we would observe the annual ceremony. There were always flowers and flags adorning many of the grave sites. In later years, I would often pick my Uncle up and travel with him to Minot. We would typically stop at my Grandparent's home town where we would put flowers on their graves. How do you remember observing Memorial Day? 
Arlington National Cemetery
This year I am staying put. I need to get my handouts and class outlines cemented for the MN Quilt show. I am excited to be teaching four full days of classes -- and I want to make sure I am fully prepared. I decided I still needed to do something to honor Memorial Day. So I decided I would do a flag quilting design. Here is my stitched out version. Click on the photo for a pdf of the pattern. 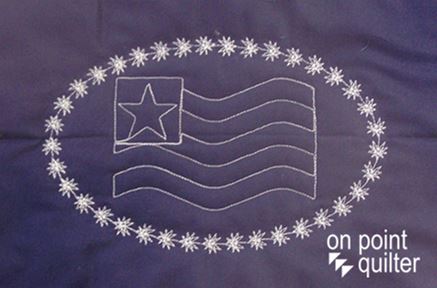
For those that use Art and Stitch, i also have a video tutorial on how I drafted the pattern. You can also see how the pattern can be stitched out with only two starts and stops. I have a new piecing pattern in the works and hope to be releasing it soon. A couple of members of my quilting guild have offered to pattern test it for me this weekend -- so stay tuned. Happy Memorial Day and Happy Quilting. Kari Sign up for my newsletter to stay current on what's happening in my studio and learn more quilting tips. As a thank you, I'll send you a FREE pattern for this small maple leaf quilt.
Have you been seeing some of those quilting designs that incorporate a strand of pearls? I think it adds a bit of elegance to your quilting project. Here is one wreath I designed with Art and Stitch and Intelliquilter. 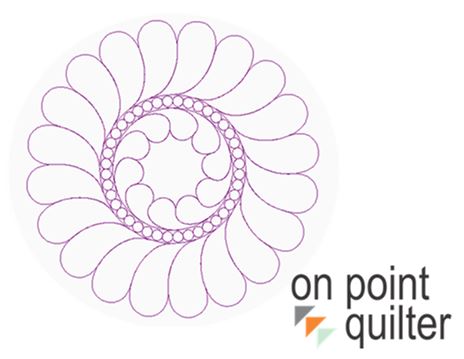
The key in creating the pearls (whether you are doing on your domestic machine or using a computerized system) is going around each circle 1-1/2 times. (Thanks to Helen Baczynski for sharing this tip with the Intelliquilter goup.) Check out my video on how I did this in Art and Stitch. Would you like a pdf of my heart strand design? 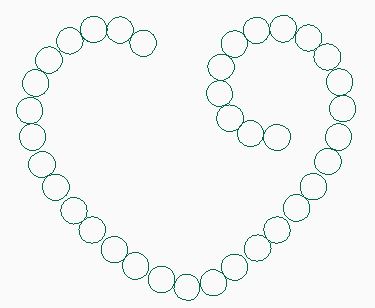
Happy quilting. Kari Sign up for my newsletter to stay current on what's happening in my studio and learn more quilting tips. As a thank you, I'll send you a FREE pattern for this small maple leaf quilt.
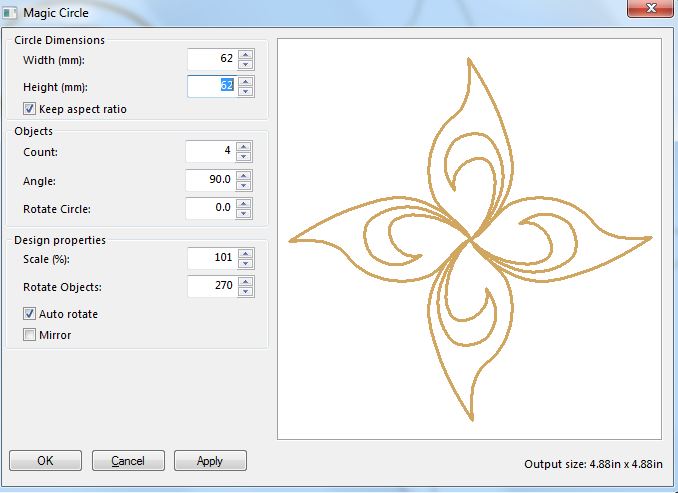
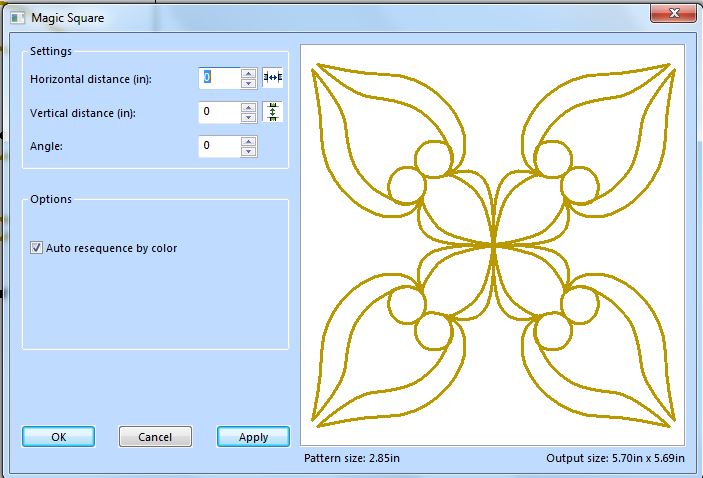
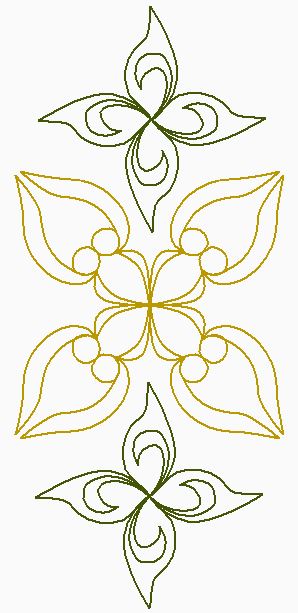
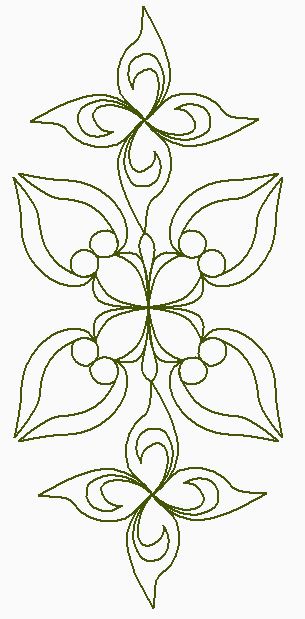
Have you been contemplating how you would quilt my Irish Eyes top? For those that were working in Electric Quilt or Art and Stitch, I hope my mini-tutorials from last week were helpful. 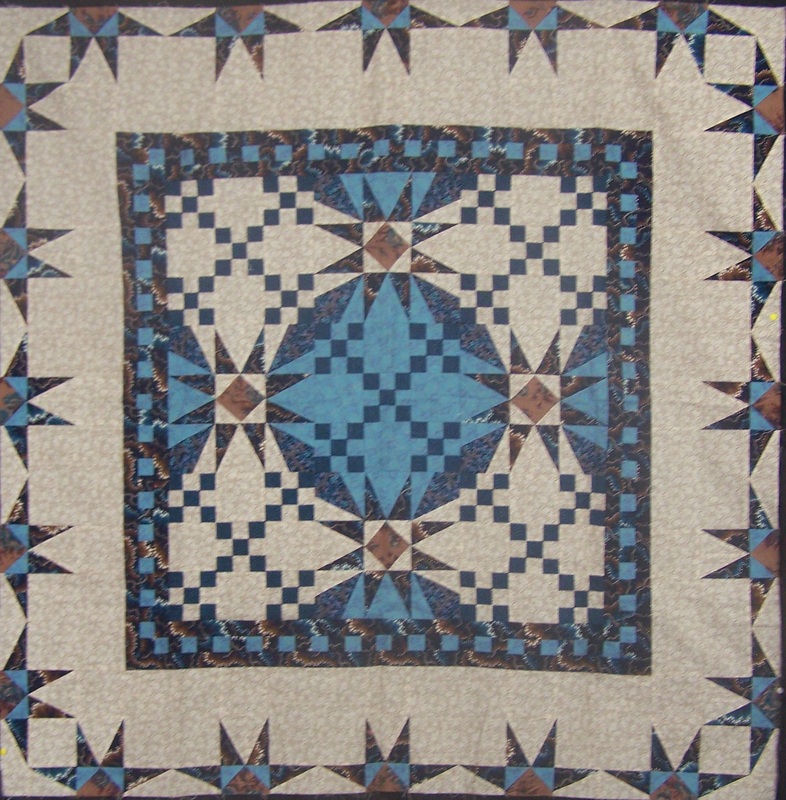 Irish Eyes Quilt top by Kari Schell - Inspired by a Quilt by Irma Gail Hatcher. Let me share how I approached coming up with quilting designs for this top. I worked in Art and Stitch for my quilting solution. The quilt has a fair number of "open spaces". So I decided to go with custom. I identified the potential quilting zones in the quilt. 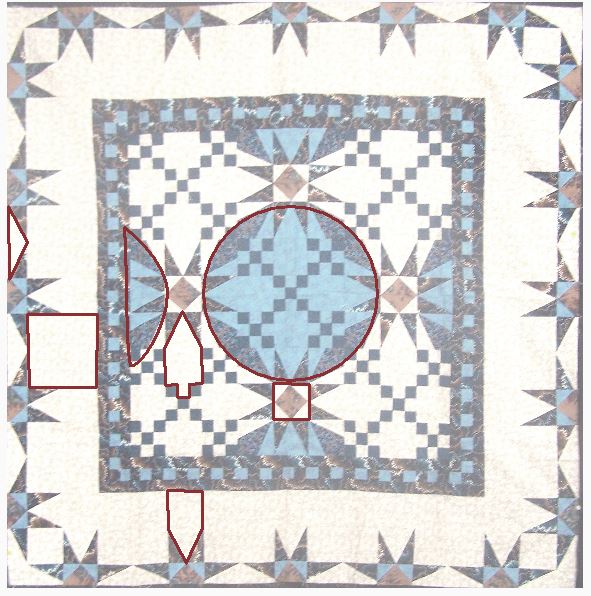 Irish Eyes quilt top by Kari Schell. Inspired from quilt by Irma Gail Hatcher. I then came up with a quilting design to fill one of the unique spaces. I knew I wanted some curves in the quilting and frankly I just doodled a bit until I found something I liked. 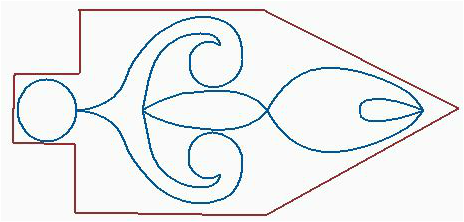 The other elements were pretty much based on this particular element. For the center circle, I created a magic circle. 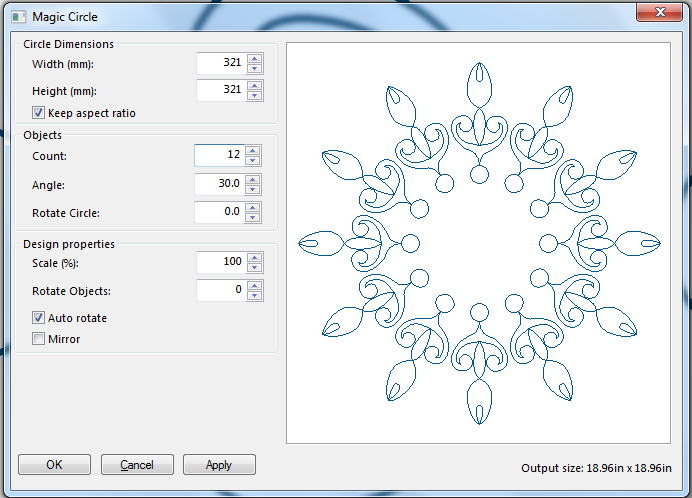 I connected the images. I needed to add one more line to connect the final image back to the beginning image.  Then I added smooth nodes at the center of all the connecting line segment. I also put a couple of placement circles in the center of the block. Then I dragged the smooth nodes to one of the circles. 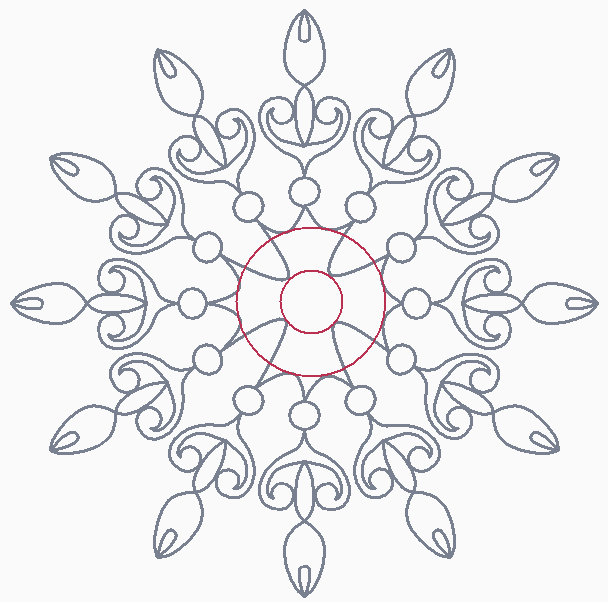 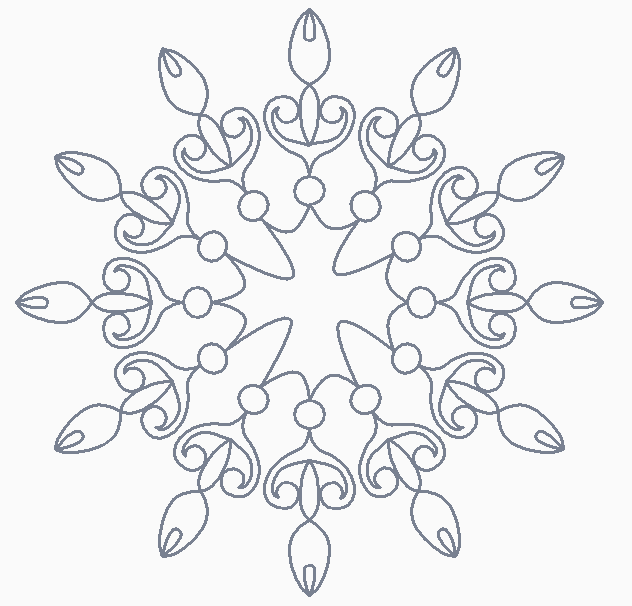 For the half circles, I took a section of the wreath block.  I created a smaller less complex wreath for the smaller blocks in the border.  I just used the top of the original element for the square within a square unit and the half blocks in the border.
The corner was a little wonky, so I played with a number of these elements to fill the space. 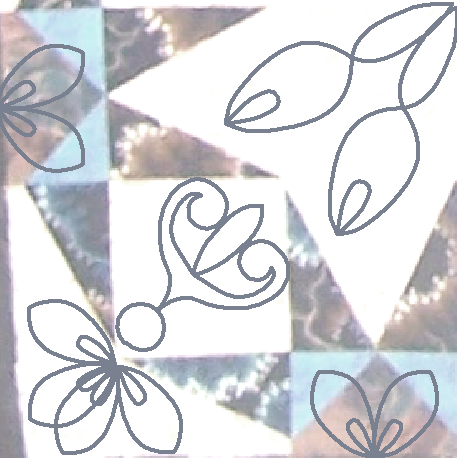 The overall look is as follows: 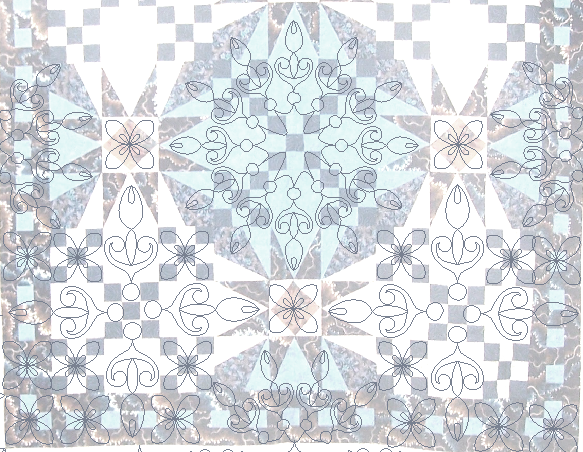 Borders were filled as follows:  Overall, I am pleased with the results. I just now need to find some time to get the quilt on the machine to get it finished. Free Quilting Design Would you like to play with my primary motif. I've included a pdf of the image along with the Art and Stitch file. 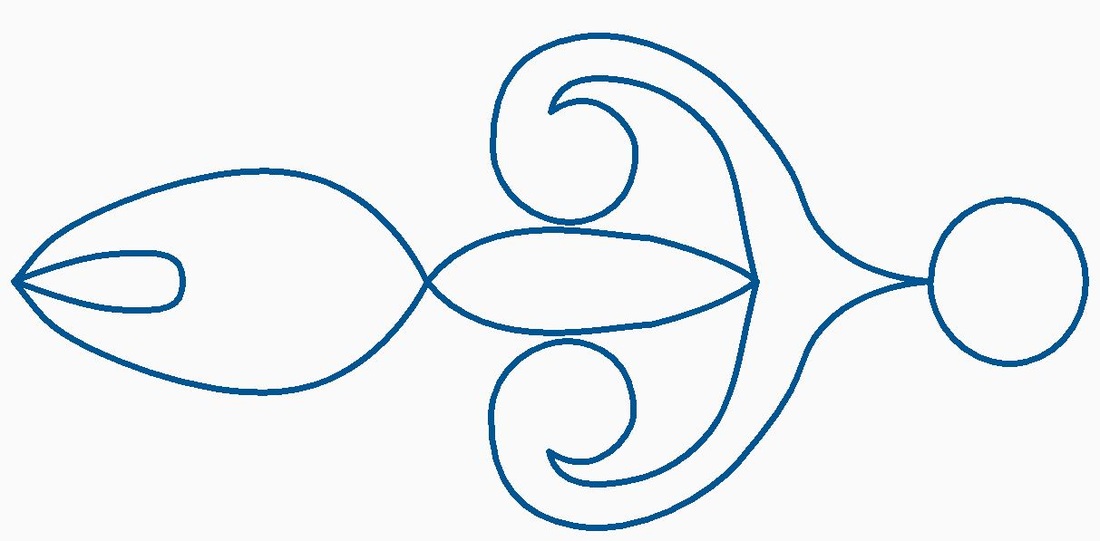 Time to Party Did you come up with some ideas on how you would quilt this? Maybe a pantograph or edge to edge design? Or some other favorite designs from your collection? If you blogged about it, I am hoping you would be willing to share your blog here. If not blogging, come back later in the week to see the other blogger's posts. Here are the guidelines: New Easter Quilt Idea I was playing in Electric Quilt this week and decided this would make a nice Easter quilt. Stay tuned for more about this quilt.  Happy Quilting. Kari Sign up for my newsletter to stay current on what's happening in my studio and learn more quilting tips. As a thank you, I'll send you a FREE pattern for this small maple leaf quilt.
|


Free guide available for newsletter subscribers


Kari SchellElectric Quilt Expert and Educator and Pattern Designer. Categories
All
Archives
April 2024
|


 RSS Feed