
|
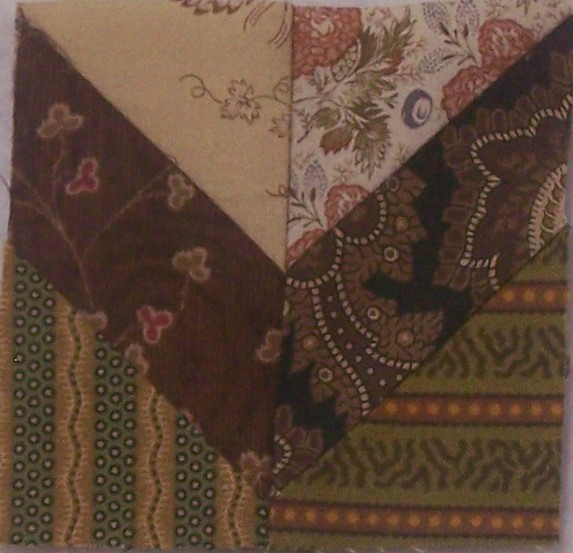
When designing Christmas Presents, I came up with another options that involves Block 2 plus four half blocks. I thought I would present this setting and the additional block for you. I haven't found the time to quilt this one. But you can see the center block (Christmas Presents Block 2) is surrounded by four other presents (Christmas Presents Block 4). 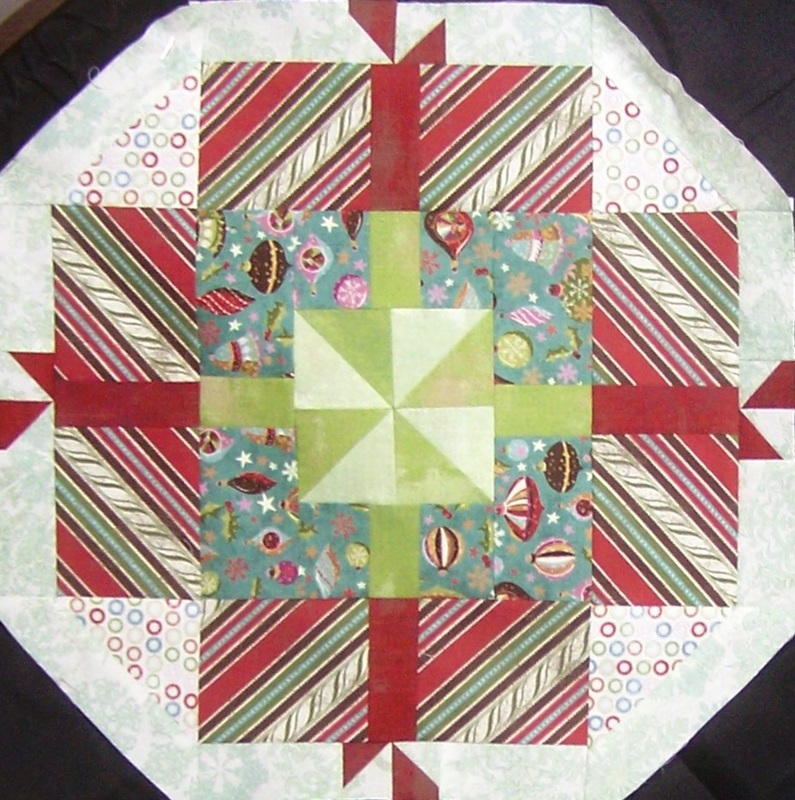 Christmas Presents Block 4 Table Topper The following was my first try at this arrangement. However, I think the corner triangles were too dark -- making it a little hard to visualize all the presents. 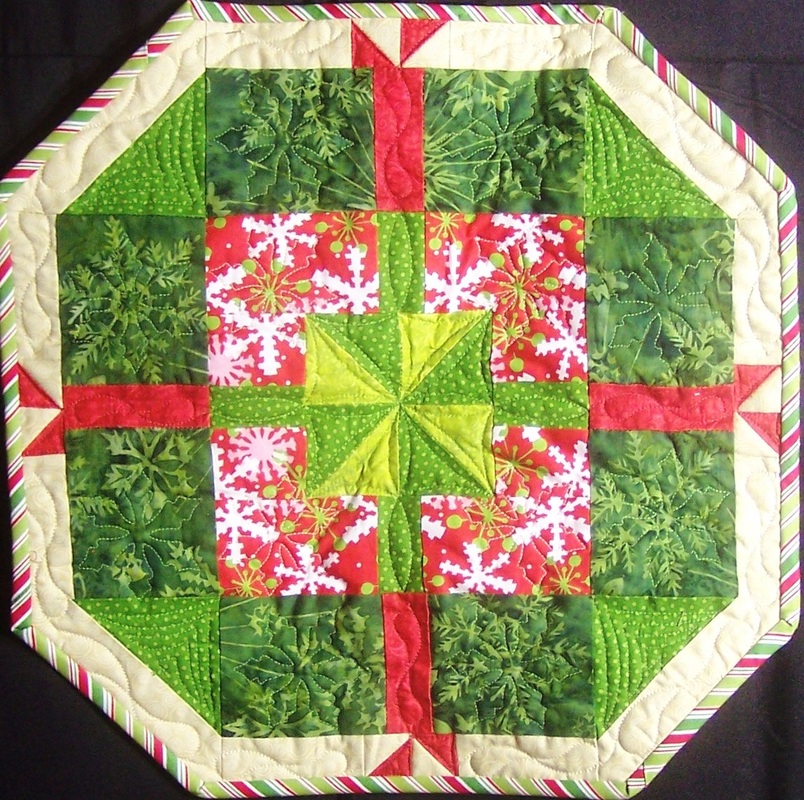 Christmas Presents Block 4 Table Topper Remember that these patterns will be taken off my website at the end of the month. Tania Schell completed her quilt using the vertical setting. I think she did a great job with the blocks. 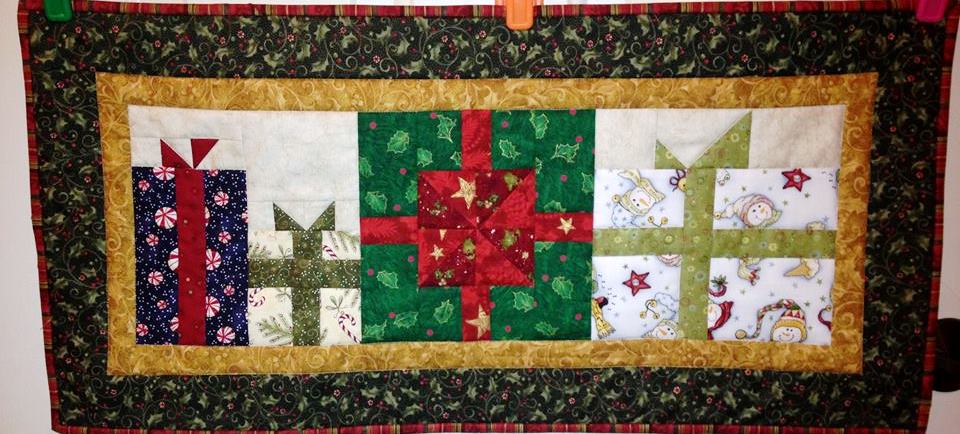 Christmas Presents by Tania Schell I'm busy working on Christmas gifts and getting ready for my next class for Four Season Quilts. I hope to have more to share next week.
Happy Quilting. Kari Schell On Point Quilter I am pleased to report that all my V Blocks from part 1 are done of the mystery offered by Bonnie Hunter on her blog. 
Celtic Solstice Step 1
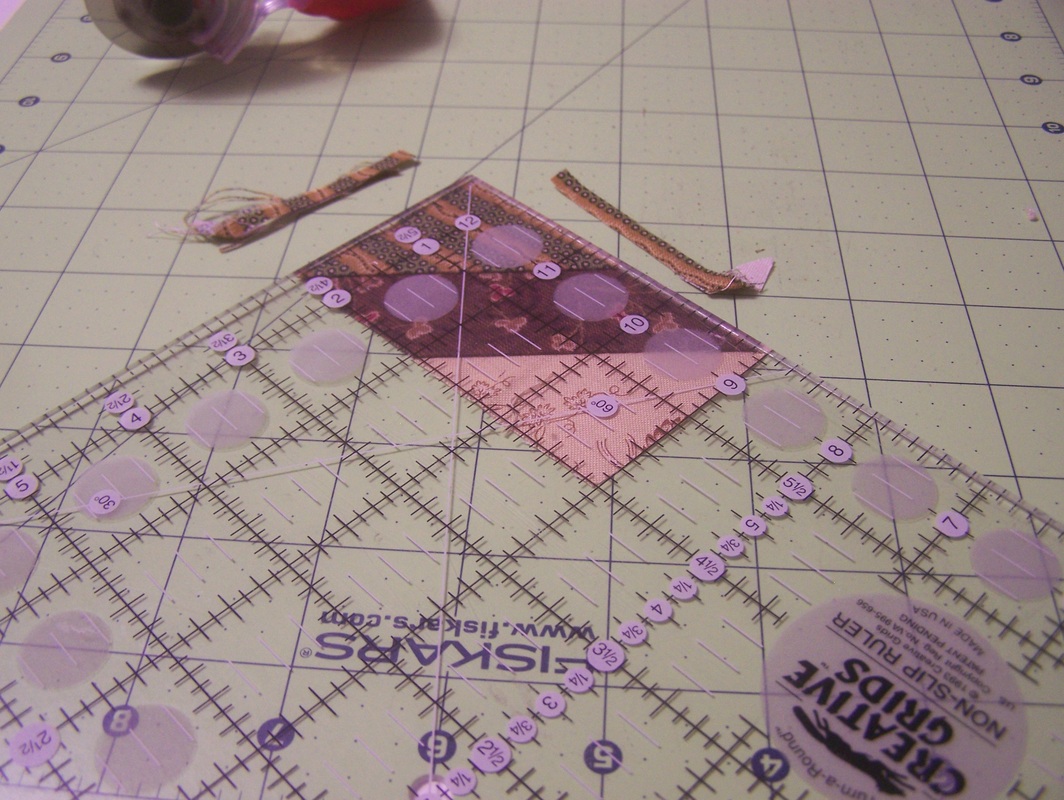
On to Step 2. Since I am a tool fanatic, I am using a recently found ruler called the Perfect Corner Ruler for these units. It is built off the Folded Corner concept. However the variation on the technique gets rid of some of the challenges with the folded corners. The Perfect Corner Method™ and Ruler™ were both developed by Ruthanna Grihalva, Forever In Stitches, LLC. You can actually do this technique without the ruler -- but I love the ruler. 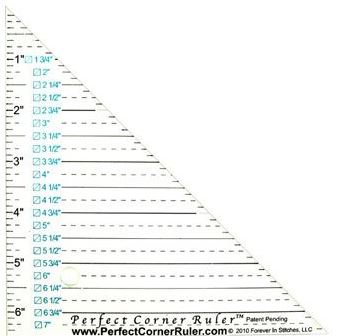
Perfect Corner Ruler
How to Use the Perfect Corner Ruler Using the ruler, draw a diagonal line on the wrong side of the 2" x 3-1/2" piece of fabric. The measurement to use for this line is exactly the same as your folded corner measurement. It just goes on the base piece instead of the folded corner piece. 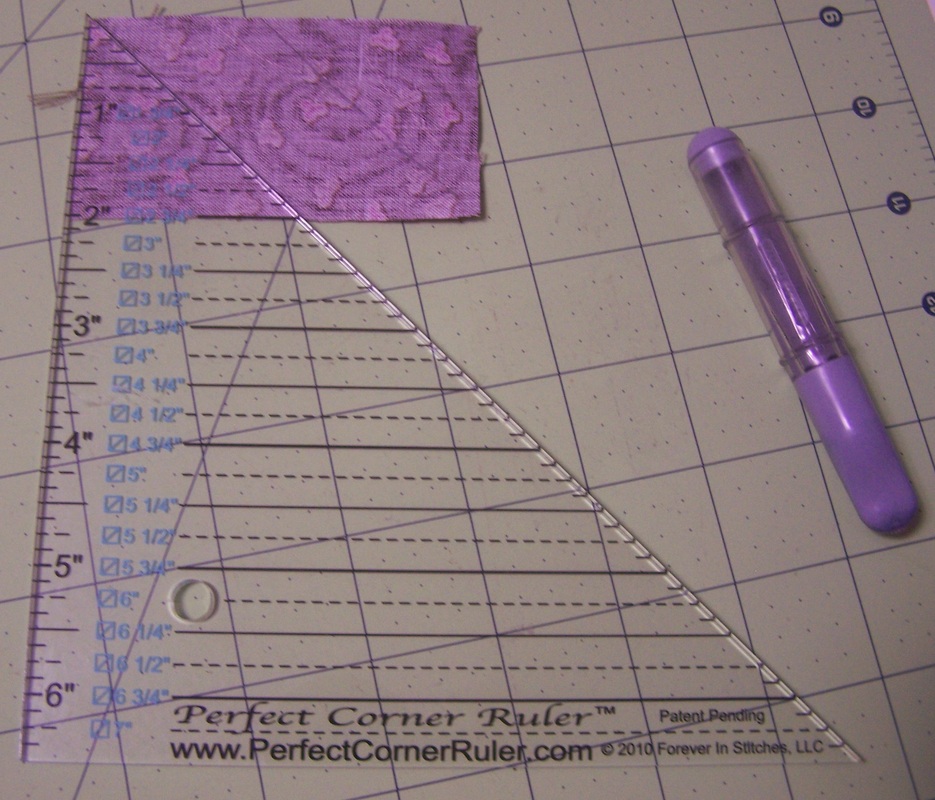
Cut corners. The square these corners are cut from will be 3/4" greater than the drawn line square. So for the chevron units they will be cut 2-3/4" x 2-3/4". I will need half as many squares as called for in the instructions from Bonnie Hunter for this technique. 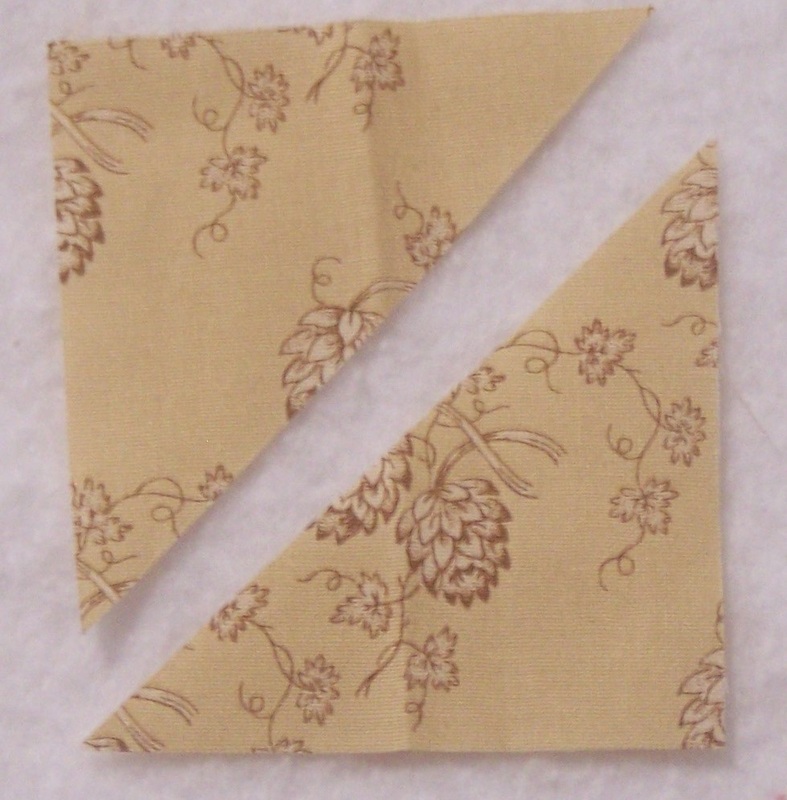
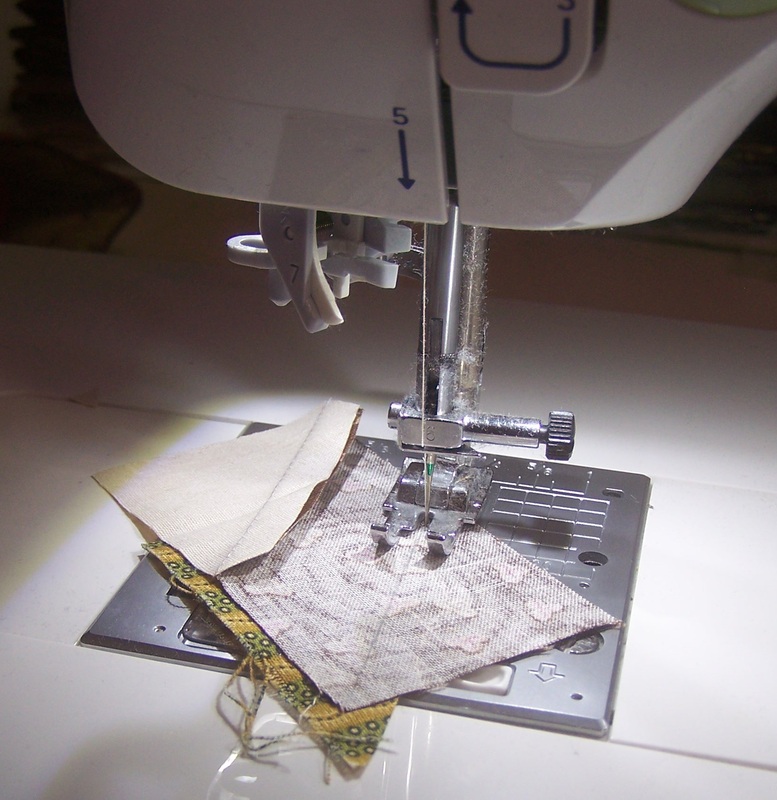
Place one of the Corner Triangles underneath the Base unit (right sides together). You will want to make sure that about 1/4" of Corner Triangle extends beyond the sewing line. The sew directly on the line. 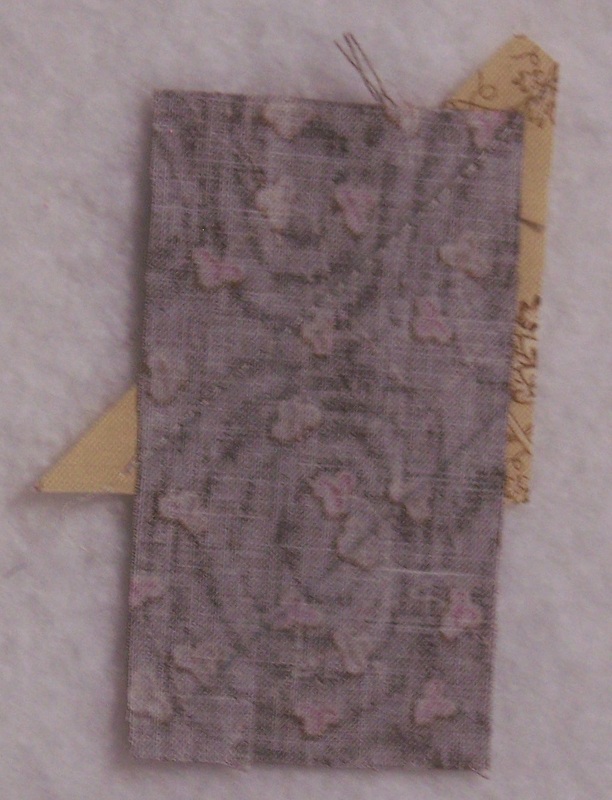
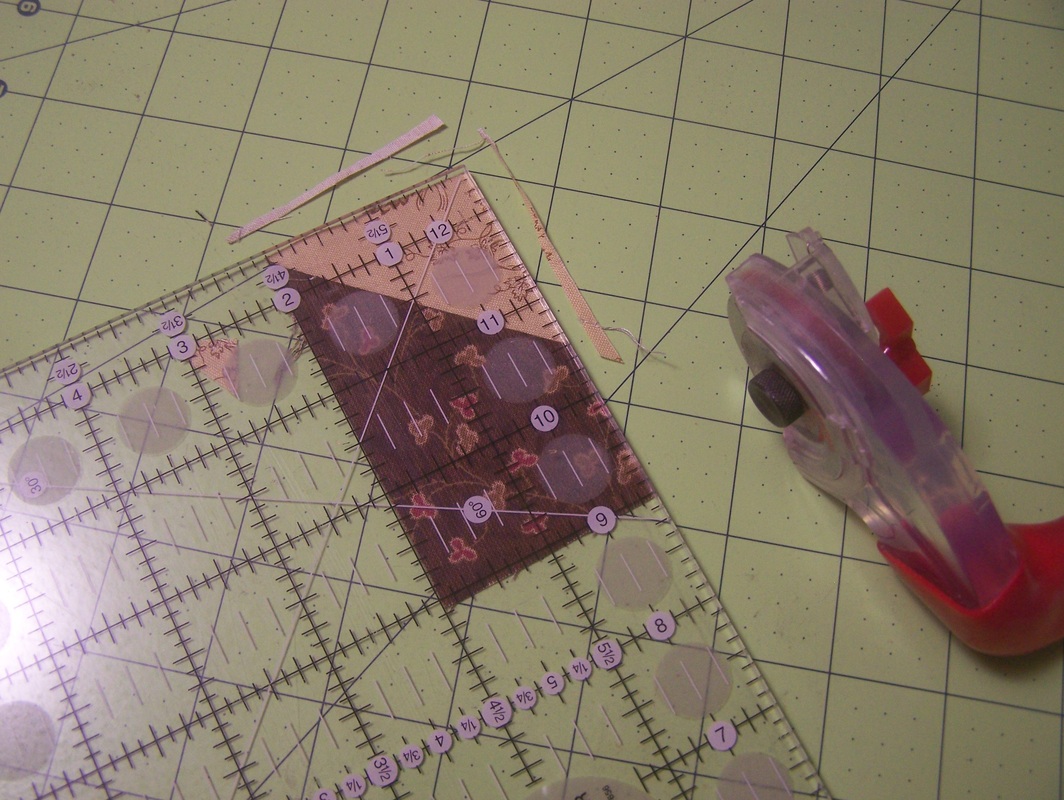
Fold the Corner Triangle into position. An added benefit is that the seam allowance can be pressed either away from or towards the corner. Here is the MAGIC! Align a square ruler to the original size of the Base Unit and trim off the excess Corner Triangle fabric. Finish by folding the Corner Triangle down out of the way and trimming the excess base unit fabric.
Do the other half of the chevron facing the opposite direction.
One other item I chose to do was to do a split seam (rather than pressing them open). If you are uncertain how to do this, check out my You Tube Video on the topic. It reduces bulk, but is much easier to do. Hopefully I won't regret this with the next set of instructions. 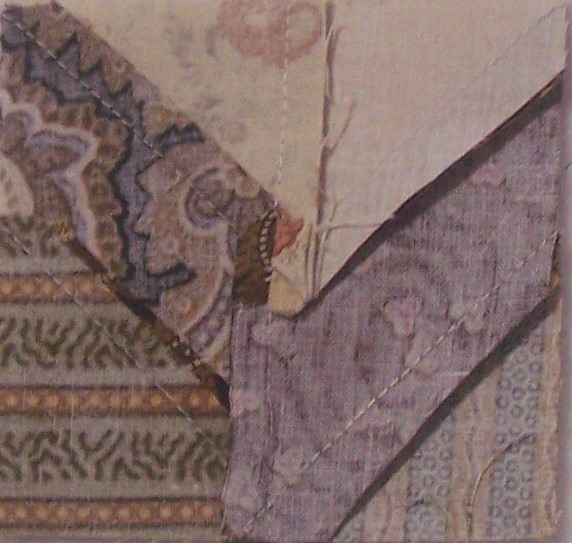
Finished Chevron from Back with Split Seam
Finished Chevron from Front
One down. 99 to go.
Happy quilting. Kari Schell On Point Quilter It is time for the reveal on my Christmas quilt sew along.  Christmas Presents Christmas Presents I decided on the vertical setting for my quilt. It went together quickly and will make a nice addition for the Christmas season. I like using a stripe for binding. This one was cut on the diagonal. A fat quarter will give you sufficient length to bind this quilt. I predominately used three designs when quilting this project. - Curved arcs for the triangles. - Lovely Teardrop Sashing from Creative Stitches. - Teardrop Vine by House of Creations There are two separate layouts -- one vertical and one horizontal. 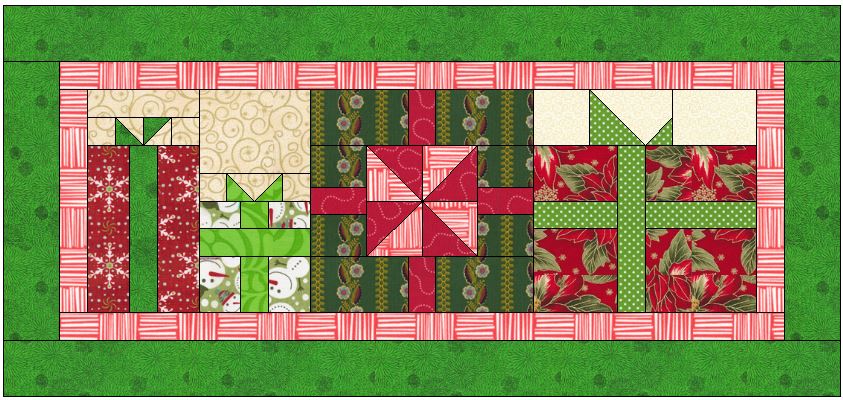 Christmas Presents Horizontal Setting After playing a bit more in EQ, I came up with an option for a table topper using block 2. I will give you the instructions for that layout (plus a new block) next week. Another Option  Christmas Presents Block 2 by Becky Beck Christmas Presents Block 2 by Becky Beck Becky Beck made these pillows from block #2 for a silent auction. Funds will be used to offset adoption costs for a friend. I think some small throw pillows are now on my to do list. Downloads have been deleted. Watch for the release of the pattern in my store. Christmas Quilts GaloreI started unpacking my Christmas quilts this week and realized there are a lot of them. I've been photographing them (one a day) and have been sharing them on my Facebook account. Here are the ones from last week.  Pine Tree Angle Tree Skirt by Pine Tree Lodge Designs 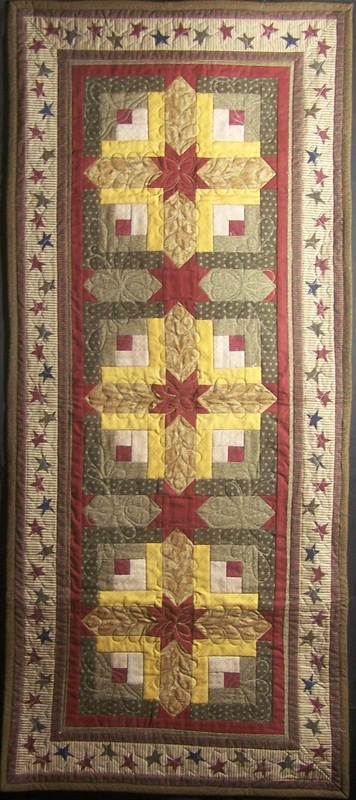 Log Cabin Christmas Stars 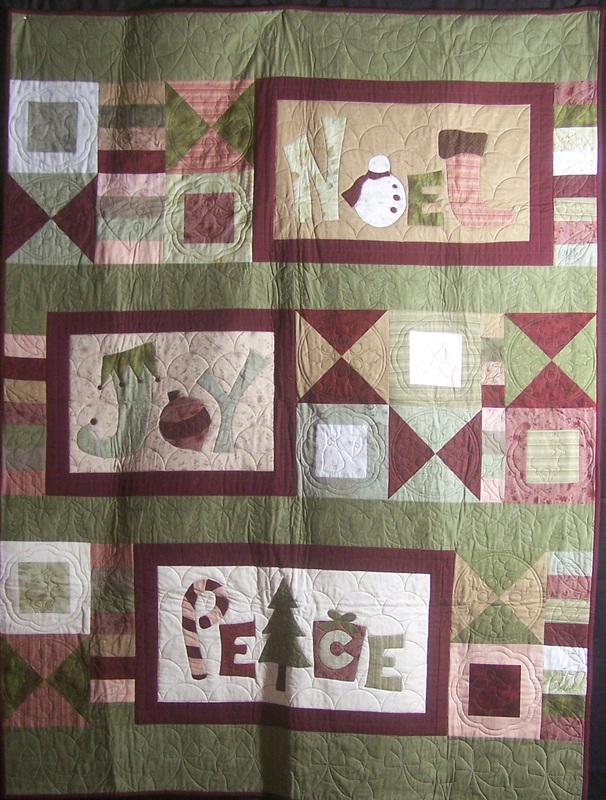 Seasons Greetings by Crazy Old Ladies 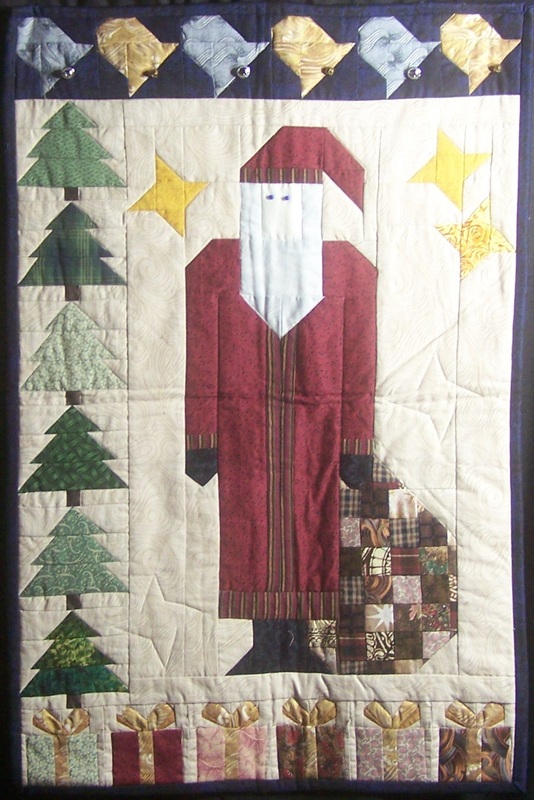 Home Grown Santa by Pine Tree Lodge Designs 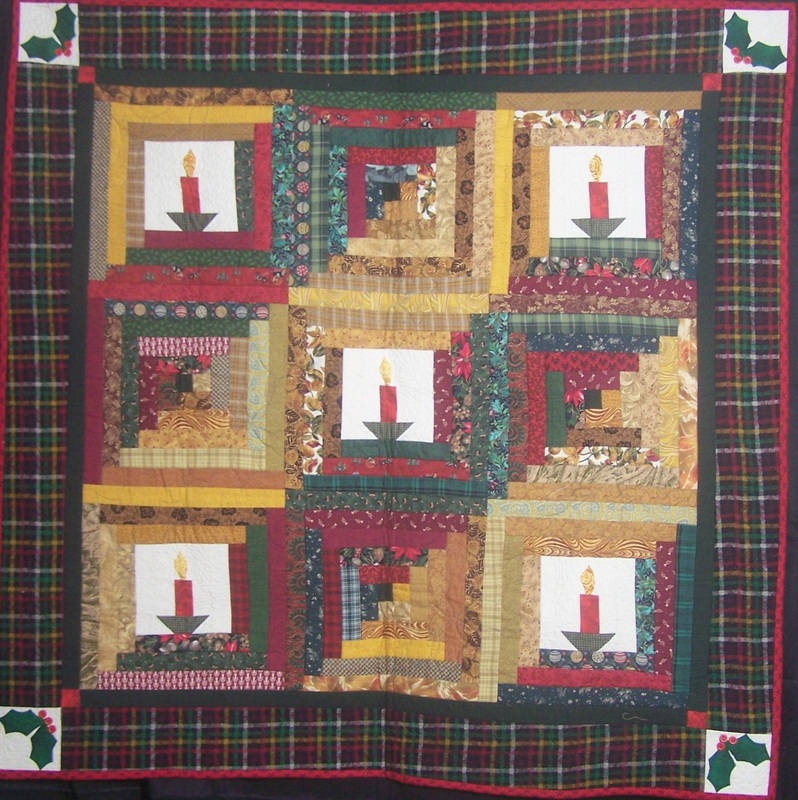 Candles with Log Cabin Blocks (from a magazine)  Banded Lemoyne Star Quilt from a class I took over a decade ago at the Indian Summer Quilt Show in Fargo North Dakota Happy quilting.
Kari On Point Quilter I am a Bonnie Hunter fan. Why? She does an incredible job with scrap quilts. She has some great tips in organizing your scraps. She is generous in sharing her knowledge/patterns. When one of my friends mentioned she had a mystery starting in late November -- I was intrigued. When I saw it was using V Blocks I was hooked and decided I needed to make it. The V Block is one of my favorite quilting units as it can give the illusion of curves with straight piecing. Information on the Celtic Solstice Mystery are here. Here are also the blog posts regarding Clue 1. I've started on Clue #1 - which are the V Blocks. 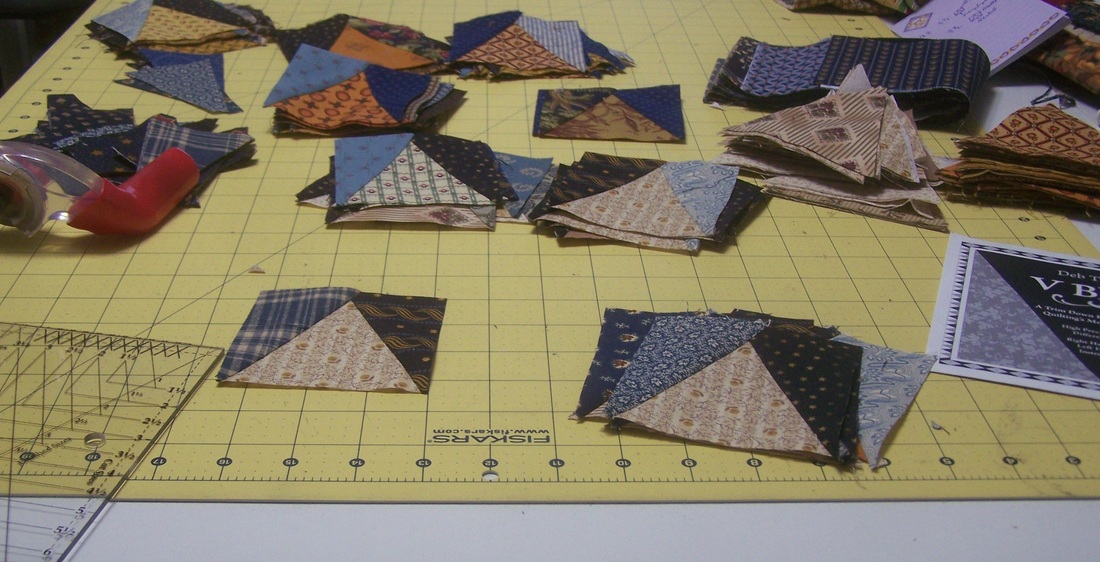
V Blocks Work in Process
Bonnie provided a number of different suggestions of how to piece these units. I choose to go a different route and use a different specialty ruler the V Block Trimmer ™ from Deb Tucker's Studio 180 Design. I've have enjoyed using the recommended Tri-Recs rulers in the past. In fact I think I was probably one of the first purchasers of the rulers. I was taking a class from Joy Hoffman in Fargo and she was offering a class that used her newly produced tool. They didn't even have the packaging available -- so I purchased it in a zip-lock bag. Instructions for using Tri-Recs are available with the Clue 1 instructions from Bonnie Hunter. I used TriRecs for many years and loved cutting the units with the tool. One thing I struggled with was stretching during the piecing process. Not a fault of the tool -- but a reality of my own construction process. A few years ago, a vendor at the MN Quilt Show was demonstrating a new group of rulers by Deb Tucker's Studio 180 Design. Their rulers are based on the concept of oversized cutting with trim-downs of the finished units to the correct size. One of their rulers was designed for the V Blocks. 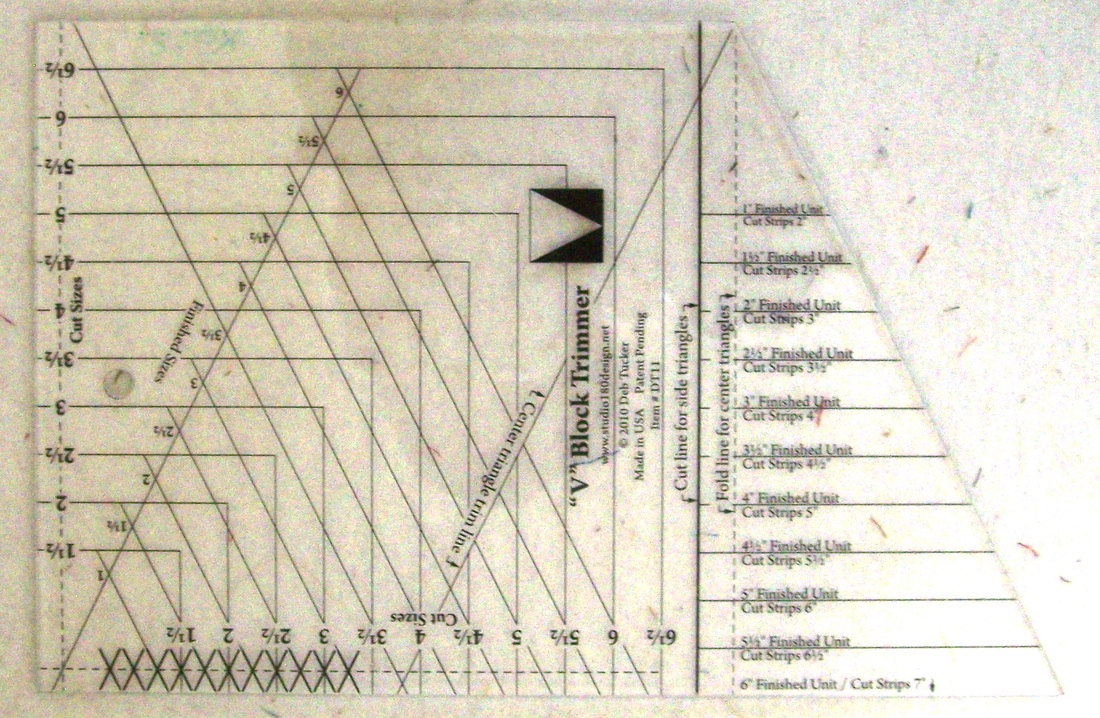
V Block Trimmer by Studio 180 Design
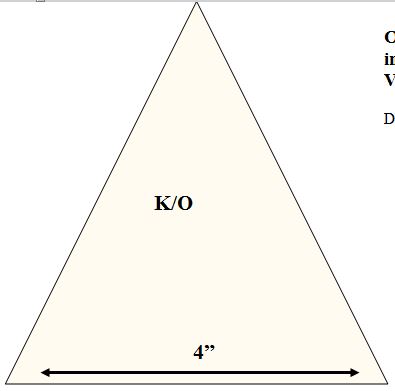
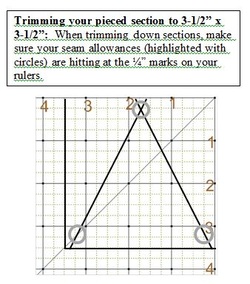
The ruler has the same angles as Tri-Recs. But also has lines for cutting down oversized units. For these 3-1/2" units (3" finished), I started with 4" strips. 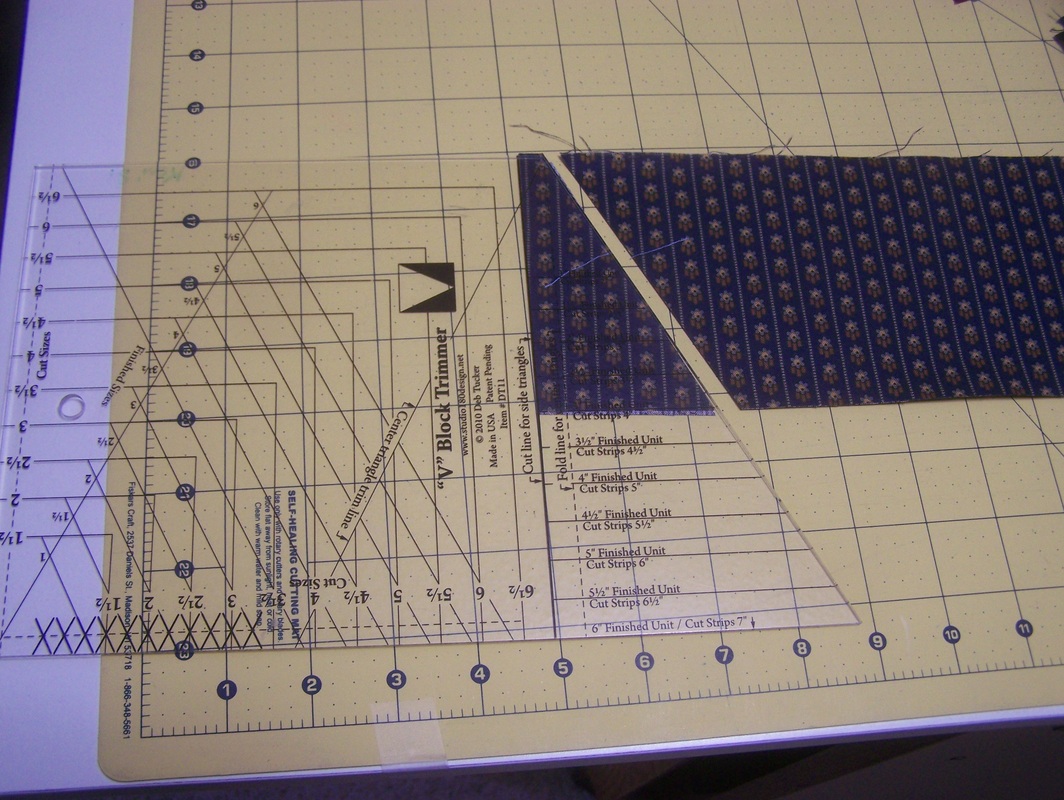
Once I sewed the long sides together, I use the ruler for trimming the units to 3-1/2" x 3-1/2". I've marked the "measurement lines" on the photo with red so you can see what I am matching up. It guarantees me an accurate 1/4" seam at all intersections. 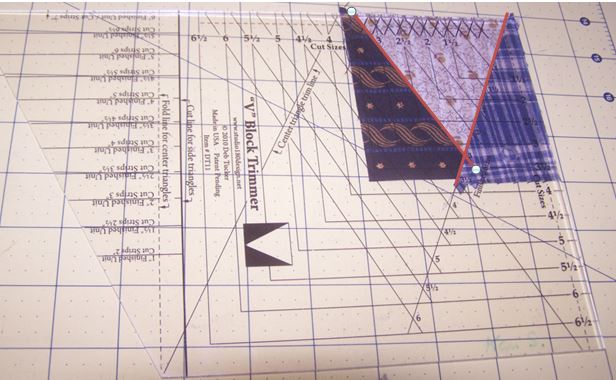
Centering Lines for First Trim. Trim top and right sides.
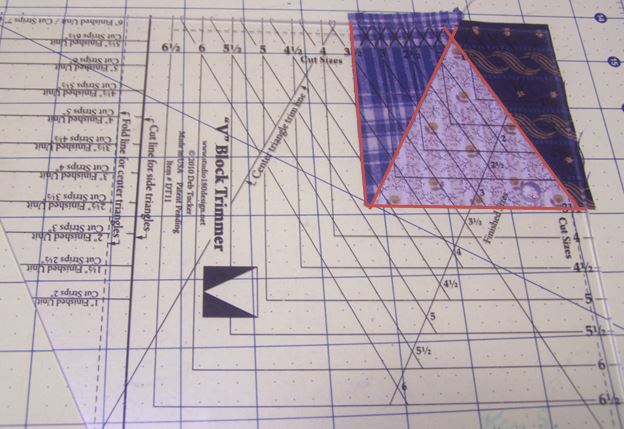
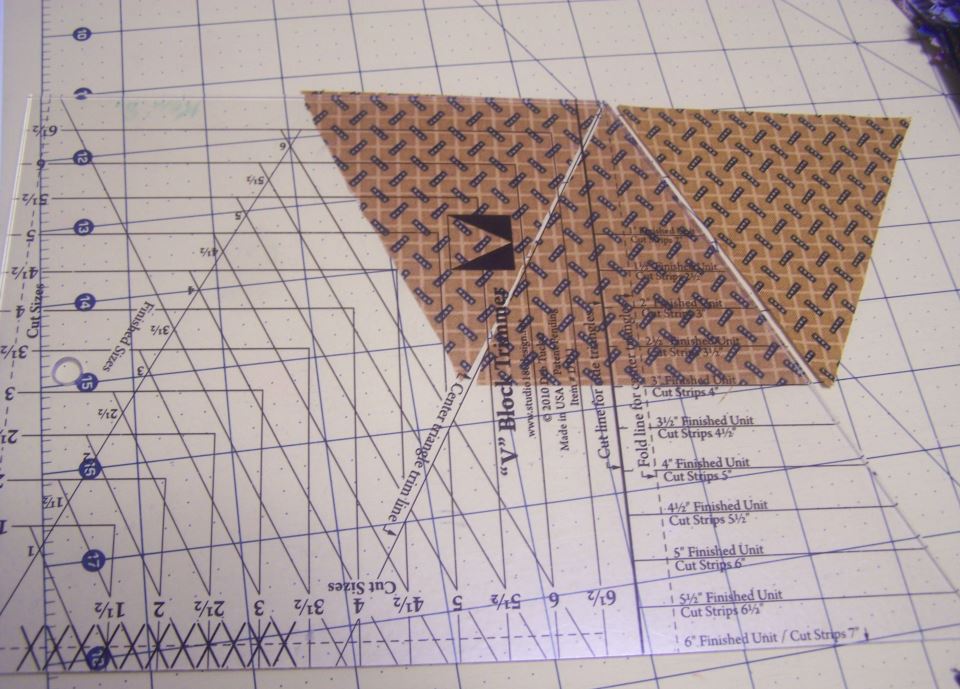
Rotate block under ruler. See new centering Lines for Second Trim. Trim top and right sides.
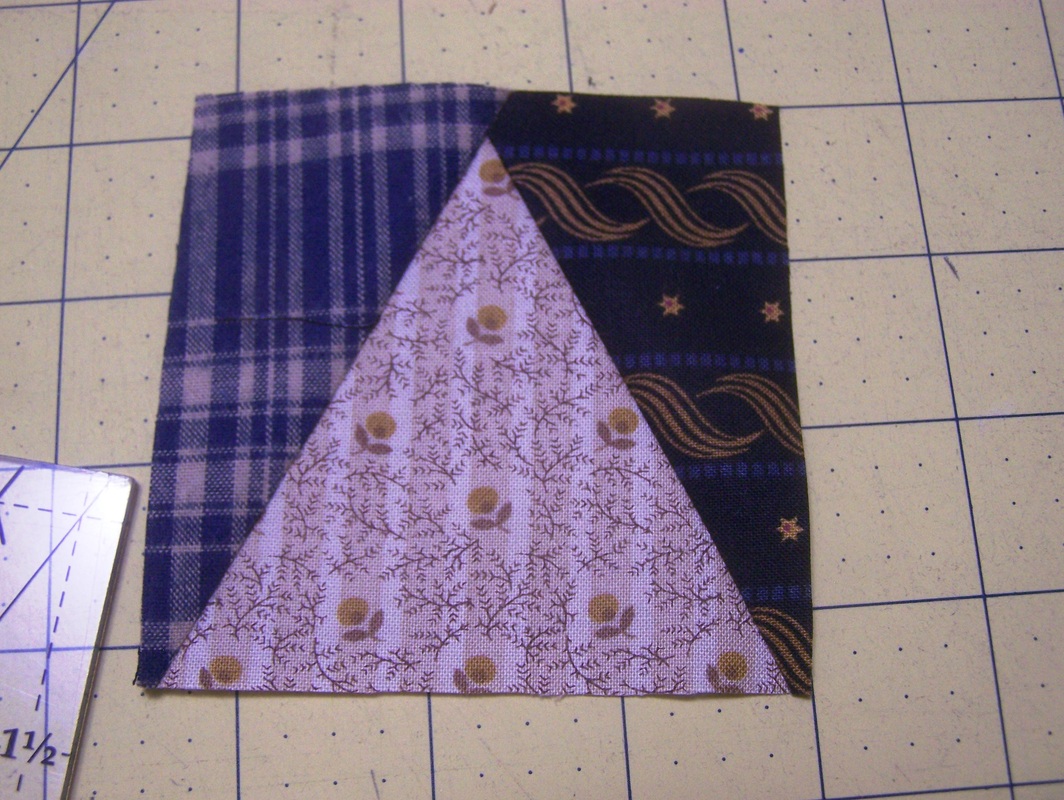
Finished unit now measuring exactly 3-1/2" x 3-1/2".
In my pattern "It's a Mystery", I figured out the cutting angle for the these oversized units if you don't have the tool (along with instructions for those who wish to use the V Block Trimmer). You will want to start with 4" strips. There is no need for using the following charts if you have the Tucker Trimmer or TriRecs. 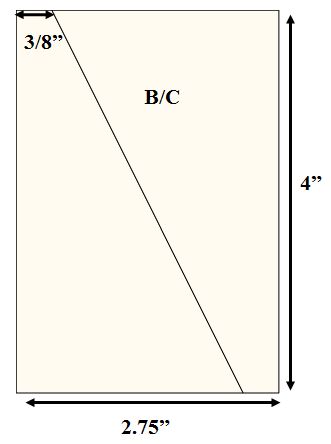
Optional Rotary Cutting without Specialty Rulers
Optional Rotary Cutting without Specialty Rulers
 To do the trim-down without the Tucker Trimmer, I suggest marking the seam allowances on another ruler with a sharpie marker on InvisiGrip put on the ruler. I will admit that I prefer using the various specialty rulers as I think it makes me a more accurate piecer.
Happy quilting. Kari Schell On Point Quilter |


Free guide available for newsletter subscribers


Kari SchellElectric Quilt Expert and Educator and Pattern Designer. Categories
All
Archives
July 2024
|
 RSS Feed